Articles
How To Store Corn Long Term
Modified: October 21, 2024
Learn effective methods for storing corn long term with these insightful articles. Discover the best practices to keep your corn fresh and flavorful for extended periods.
(Many of the links in this article redirect to a specific reviewed product. Your purchase of these products through affiliate links helps to generate commission for Storables.com, at no extra cost. Learn more)
Introduction
When it comes to fresh produce, corn holds a special place in many people’s hearts. Its sweet and crisp kernels add a burst of flavor to a variety of dishes, making it a staple in numerous cuisines around the world. However, if you find yourself with a surplus of corn or want to stock up for future use, you may wonder how to store corn long term.
In this article, we will explore different methods to extend the shelf life of corn and ensure its freshness for an extended period. Whether you prefer storing corn on the cob or want to preserve its essence in the form of cornmeal or cornflour, we’ve got you covered! So, let’s dive in and unlock the secrets to storing corn effectively.
Key Takeaways:
- Preserve the sweetness of corn year-round by freezing, canning, or dehydrating it. Proper storage methods and careful inspection ensure the freshness and quality of stored corn for delightful culinary creations.
- Understanding the factors affecting corn storage, such as temperature, humidity, and airflow, is crucial for maximizing shelf life. Choose the right storage method based on the type of corn and desired end use.
Read more: How To Store Corn Meal For Long Term Use
Understanding the Shelf Life of Corn
Before diving into the various storage methods, it’s essential to understand the shelf life of corn. Freshly harvested corn, also known as sweet corn, can typically be stored for a short period of time at room temperature, usually up to five days. During this time, the sugars in the corn start to convert into starch, which results in a loss of sweetness and crunch.
However, if you want to enjoy the taste and texture of fresh corn for a more extended period, it’s crucial to explore alternative storage options. By selecting the right storage method and ensuring optimal conditions, you can extend the shelf life of corn and preserve its quality for several months. Factors such as temperature, humidity, and exposure to air play a significant role in determining the longevity of stored corn.
Additionally, the type of corn you have will also impact its shelf life. There are three main types of corn: sweet corn, field corn, and popcorn. Sweet corn is the type most commonly consumed on the cob, while field corn is primarily used for animal feed or processed into cornmeal or cornflour. Popcorn, as the name suggests, is known for its ability to pop into fluffy kernels when heated.
Each type of corn has its own unique characteristics and storage requirements. While sweet corn is best consumed fresh, both field corn and popcorn can be stored for longer periods due to their lower moisture content. Understanding the type of corn you have will help you choose the most suitable storage method to maximize its shelf life.
Factors Affecting Corn Storage
When it comes to storing corn, several factors can influence its longevity and overall quality. By taking these factors into consideration, you can ensure that your corn stays fresh for an extended period. Here are the key factors that affect corn storage:
- Temperature: Corn is best stored in cool temperatures to slow down the natural aging process. Ideally, the temperature should be around 32 to 40 degrees Fahrenheit (0 to 4 degrees Celsius). Avoid exposing corn to temperature fluctuations or extreme heat, as this can negatively impact its shelf life.
- Humidity: Corn thrives in a moderately humid environment. If the humidity is too high, it can cause mold or spoilage, while low humidity can lead to the corn drying out. Aim for a humidity level of around 70-75% for optimal storage conditions.
- Airflow: Proper airflow is crucial to prevent the buildup of moisture and reduce the risk of rotting. Avoid tightly packing the corn as this can restrict airflow. Instead, store corn in a well-ventilated area or use breathable bags to maintain optimal airflow.
- Light: Corn is sensitive to light and exposure to sunlight can accelerate the deterioration process. It is best to store corn in a dark or dimly lit area to minimize the impact of light.
- Quality: The quality of the corn at the time of storage also affects its shelf life. Be sure to select corn that is fresh, with no signs of spoilage or damage. Damaged or overripe corn may not store well and can affect the quality of the entire batch.
By considering these factors and creating the ideal storage conditions, you can prolong the shelf life of your corn and maintain its flavor, texture, and nutritional value.
Choosing the Right Storage Method
When it comes to long-term corn storage, selecting the right storage method is crucial. Different methods offer various benefits and are suitable for specific types of corn or desired end products. Here are some popular storage methods to consider:
- Storing Corn in the Husk: This is the most traditional method of storing corn. Simply leave the husks intact and store the corn in a cool, dry place. The husks act as a protective layer, helping to retain moisture and prevent the corn from drying out. However, this method is best suited for short-term storage as the husks can deteriorate over time.
- Storing Corn in the Freezer: Freezing corn is an excellent option if you want to preserve its freshness for an extended period. First, blanch the corn by briefly boiling it, then plunge it into ice water to stop the cooking process. Once cooled, remove the kernels from the cob and pack them into airtight containers or freezer bags. This method allows you to enjoy sweet corn even during the off-season.
- Canning Corn: Canning is another popular method that allows you to store corn in jars. The corn is typically blanched, packed into sterilized jars, and processed in a pressure canner. Canned corn can last for up to a year or more when stored in a cool, dark place. It’s a convenient option for having corn readily available for soups, stews, and other dishes.
- Dehydrating Corn: Dehydrating corn involves removing the moisture content, which prolongs its shelf life. You can use a dehydrator or an oven set to a low temperature. Once dehydrated, store the corn in airtight containers. Dehydrated corn is versatile and can be rehydrated or ground into cornmeal for various recipes.
- Storing Cornmeal and Cornflour: If you have field corn and want to store it as cornmeal or cornflour, grinding the dried kernels into a fine powder is the way to go. Store the cornmeal or cornflour in airtight containers in a cool, dry place to maintain its quality for an extended period.
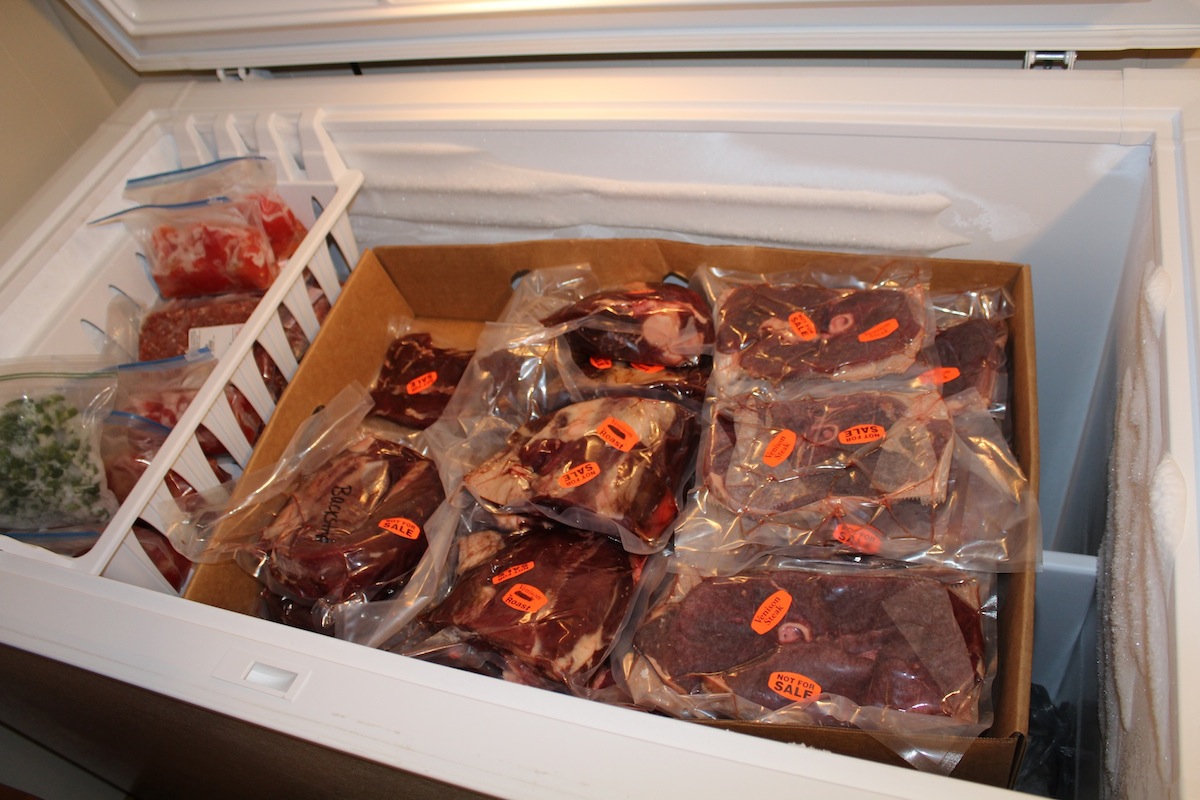
- Vacuum Sealing Corn: Vacuum sealing is an effective method for long-term storage of corn. It removes excess air and helps maintain the quality and freshness of the corn for an extended period. Vacuum-sealed corn can be stored in a cool, dark place or the freezer, depending on your preference.
Consider the type of corn you have and your desired end use when choosing the right storage method. Each method has its advantages, so select the option that best fits your needs and resources.
Storing Corn in the Husk
One of the most traditional and straightforward methods of storing corn is to leave it in the husk. The husks serve as a natural protective layer that helps retain moisture and prevent the corn from drying out. Here are the steps to store corn in the husk:
- Start by selecting fresh, ripe corn. Look for husks that are bright green and tightly wrapped around the corn. Avoid corn with brown or dry husks as they may be past their prime.
- Do not remove the husks from the corn. Leaving them intact is essential for extending the shelf life of the corn.
- Inspect the corn and remove any damaged or discolored kernels. This prevents spoilage and ensures that only the high-quality corn is stored.
- If desired, you can gently shake off any excess dirt or debris from the husks.
- Find a cool, dry place to store the corn. A cellar, basement, or garage can serve as suitable storage locations.
- Arrange the corn in a single layer, avoiding overcrowding. This allows for proper airflow and reduces the risk of mold or rot.
- Leave the corn in the husk until you are ready to use it. As long as the storage conditions are appropriate, the corn can remain fresh for up to a week.
It’s important to note that storing corn in the husk is best for short-term storage. Over time, the husks may start to deteriorate, affecting the quality of the corn. Therefore, it is ideal to consume the corn within a week of storage.
When you are ready to enjoy the corn, remove the husks and prepare the corn as desired. You can boil it, grill it, or even roast it to enhance its natural flavors. Storing corn in the husk allows you to experience the true freshness and sweetness of the kernels.
Remember to check the corn for any signs of spoilage before consuming. If you notice any mold, an unpleasant odor, or slimy texture, discard the corn immediately to prevent foodborne illnesses.
Overall, storing corn in the husk is a simple and effective method to extend its shelf life. It preserves the natural flavors and textures of the corn, making it a delightful addition to your meals.
Read more: How To Store Barley Long Term
Storing Corn in the Freezer
If you have an abundance of fresh corn and want to preserve its flavors and textures for an extended period, storing corn in the freezer is an excellent option. Freezing corn allows you to enjoy the taste of sweet corn even when it’s out of season. Here’s how you can store corn in the freezer:
- Start by selecting fresh, high-quality corn. Look for ears of corn that are firm, with bright green husks.
- Bring a large pot of water to a boil and blanch the corn. This process helps to partially cook the corn and preserve its texture and color during freezing.
- Gently place the corn in the boiling water and cook for about 4-6 minutes, depending on the size of the ears. Blanching times may vary, so refer to a reliable source for specific instructions.
- While the corn is blanching, prepare an ice bath by filling a bowl or basin with cold water and ice cubes.
- Once the blanching time is up, quickly remove the corn from the boiling water and submerge it into the ice bath. This stops the cooking process and cools down the corn rapidly.
- Allow the corn to chill in the ice bath for the same amount of time you blanched it – roughly 4-6 minutes.
- Remove the corn from the ice bath and pat it dry using a clean kitchen towel or paper towels.
- If desired, you can remove the kernels from the cob. Use a sharp knife to cut downward, close to the cob, and remove the kernels in a bowl. Be sure to scrape the cob to get all the corn and juices.
- Transfer the blanched corn kernels or whole cobs into freezer-safe bags or airtight containers. Ensure that you remove any excess air from the bags or containers before sealing them tightly.
- Label the bags or containers with the date and contents to keep track of freshness.
- Place the corn in the coldest part of your freezer, keeping it away from the door to maintain a consistent temperature.
Frozen corn can usually stay fresh for up to 8-12 months. When you’re ready to use the corn, simply thaw it in the refrigerator overnight or cook it directly from frozen. You can boil, steam, or add it to soups and stews without the need for pre-thawing.
Storing corn in the freezer allows you to enjoy the taste of summer sweetness all year round. Whether you choose to freeze whole cobs or kernels, this method provides a convenient and delicious way to have corn readily available for various culinary creations.
Canning Corn
If you’re looking for a method to store corn that can preserve its flavor and texture for an extended period, canning is a great option. Canning corn not only allows you to enjoy the taste of fresh corn throughout the year, but it also locks in its nutritional value. Here’s how you can can corn:
- Start by gathering fresh, ripe corn. Select ears of corn with plump kernels and bright, green husks.
- Remove the husks and silk from the corn, and rinse the ears thoroughly under running water to remove any dirt or debris.
- Bring a large pot of water to a boil and blanch the corn. Submerge the corn in boiling water for about 3-5 minutes, depending on the size of the ears. Blanching helps to preserve the texture, flavor, and color of the corn.
- While the corn is blanching, prepare a large bowl or basin filled with ice-cold water to create an ice bath.
- After the blanching time is up, transfer the corn immediately to the ice bath using tongs or a slotted spoon. Allow the corn to cool for the same amount of time you blanched it – approximately 3-5 minutes.
- Once the corn has cooled, drain it well and pat it dry using a clean kitchen towel or paper towels.
- Using a sharp knife, carefully cut the kernels from the cob. Hold the corn upright on a cutting board, and slice downwards, close to the cob, to remove the kernels. Be sure to scrape the cob to extract any remaining corn and juices.
- Prepare sterilized canning jars by washing them in hot soapy water and then sterilizing them in boiling water or a dishwasher.
- Fill the sterilized jars with the prepared corn kernels, leaving about an inch of headspace at the top.
- Add salt if desired. Typically, ½ teaspoon of salt per pint jar or 1 teaspoon per quart jar is recommended.
- Cover the corn with boiling water, leaving the same amount of headspace as before.
- Remove any air bubbles by gently running a non-metallic utensil around the inside of the jar.
- Wipe the jar rims with a clean, damp cloth to ensure there are no food particles or liquid residue.
- Place the sterilized lids and rings on the jars, tightening them just until finger tight.
- Process the jars in a pressure canner according to the manufacturer’s instructions and the appropriate processing time for your altitude. This is typically around 55-85 minutes for pint jars and 85-115 minutes for quart jars.
- After processing, carefully remove the jars from the canner and place them on a towel to cool. As they cool, you may hear a satisfying “pop” sound, indicating a proper seal.
- Allow the jars to cool completely, undisturbed, for 12-24 hours. Then, check the seals by pressing down on the lids. If they are firm and do not move, the jars are properly sealed. Any unsealed jars should be refrigerated and consumed within a few days.
Properly canned corn can last for up to a year or more when stored in a cool, dark place. It’s a convenient way to have corn readily available for use in soups, stews, casseroles, or as a side dish.
Canning corn allows you to enjoy the taste of fresh summer corn even during the colder months. It’s a rewarding process that offers the satisfaction of preserving seasonal produce for long-term enjoyment.
To store corn long term, remove husks and silk, blanch ears in boiling water for 4-6 minutes, then cool in ice water. Pat dry, place in airtight containers, and store in the freezer for up to 10-12 months.
Dehydrating Corn
Dehydrating corn is a fantastic method to preserve your corn harvest and enjoy its flavors throughout the year. By removing the moisture from the corn, you can extend its shelf life significantly. Here’s a step-by-step guide on how to dehydrate corn:
- Start by selecting fresh, ripe corn. Look for ears of corn with plump, tender kernels.
- Remove the husks and silk from the corn, and rinse the ears thoroughly under running water to remove any dirt or debris.
- Using a sharp knife, carefully remove the kernels from the cob. Hold the corn upright on a cutting board and slice downwards, as close to the cob as possible. Scrape the cob to extract any remaining corn and juices.
- Blanch the corn kernels in boiling water for about 4-6 minutes. This helps to retain the color and quality of the corn during the dehydration process.
- After blanching, immediately transfer the corn to an ice bath to cool and halt the cooking process.
- Once cooled, drain the corn and pat it dry using a clean kitchen towel or paper towels.
- Spread the blanched and dried corn kernels on a dehydrator tray in a single layer. Ensure that the kernels are not touching to ensure proper airflow.
- Follow the manufacturer’s instructions for your dehydrator to set the temperature and time. Typically, corn should be dehydrated at around 125-135 degrees Fahrenheit (52-57 degrees Celsius) for 8-12 hours. Check the corn periodically to ensure it reaches the desired level of dryness.
- Alternatively, if you don’t have a dehydrator, you can use an oven set on a low temperature. Arrange the corn kernels on a baking sheet lined with parchment paper and place them in the oven at the lowest temperature (around 170 degrees Fahrenheit or 75 degrees Celsius). Crack the oven door open slightly to allow moisture to escape. Stir the corn occasionally and continue drying until it reaches the desired level of dryness.
- Once the corn is completely dehydrated, let it cool down to room temperature.
- Transfer the dehydrated corn into airtight containers, such as glass jars or vacuum-sealed bags. Store them in a cool, dry place away from direct sunlight.
Dehydrated corn can be rehydrated for use in various recipes or ground into cornmeal for baking. To rehydrate, simply soak the corn in water for 30 minutes to an hour until it becomes plump and tender. You can then add it to soups, stews, casseroles, or use it as a side dish.
Dehydrated corn can be stored for an extended period, usually up to a year or longer, if kept in optimal conditions. Ensure that the containers are airtight to prevent moisture or air from entering and rehydrating the corn.
Dehydrating corn is a fantastic way to enjoy the flavors of sweet corn all year round. It’s a versatile preservation method that allows you to keep the essence of summer corn in your pantry for whenever you need it.
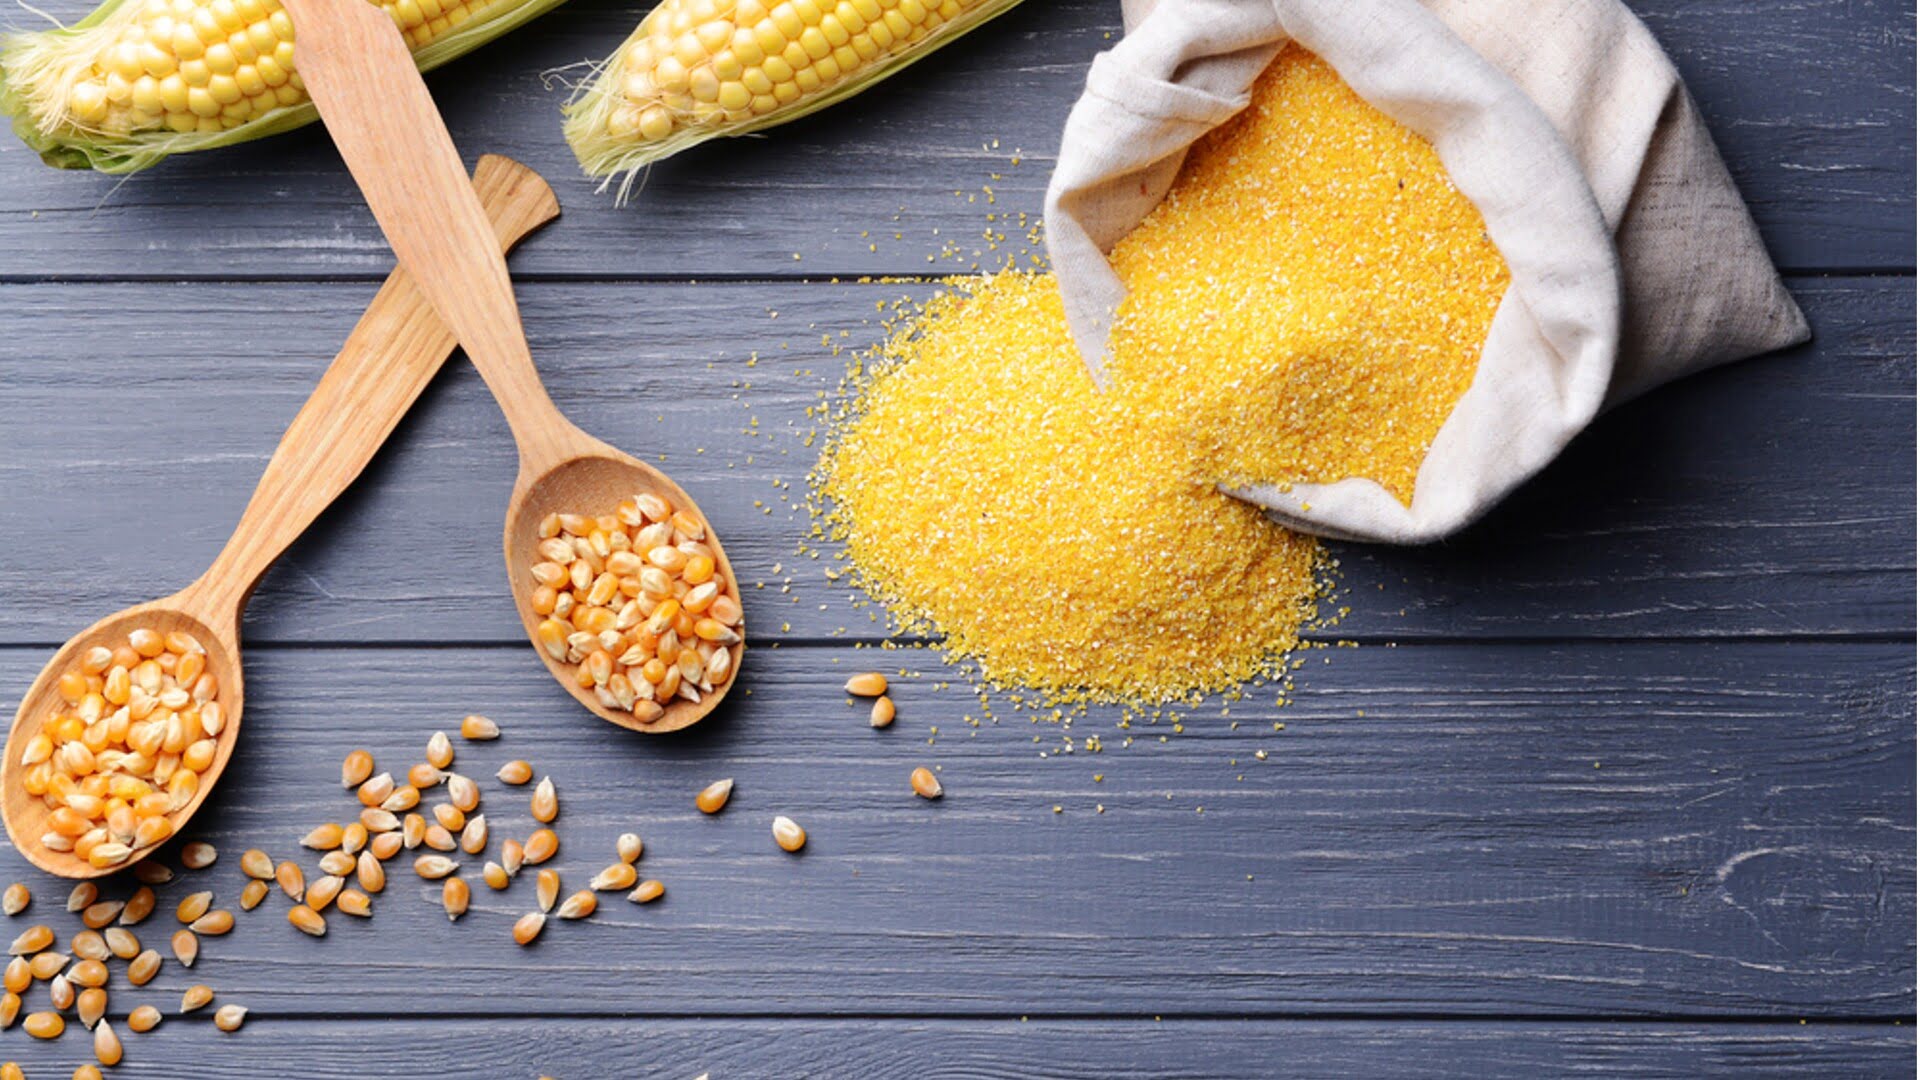
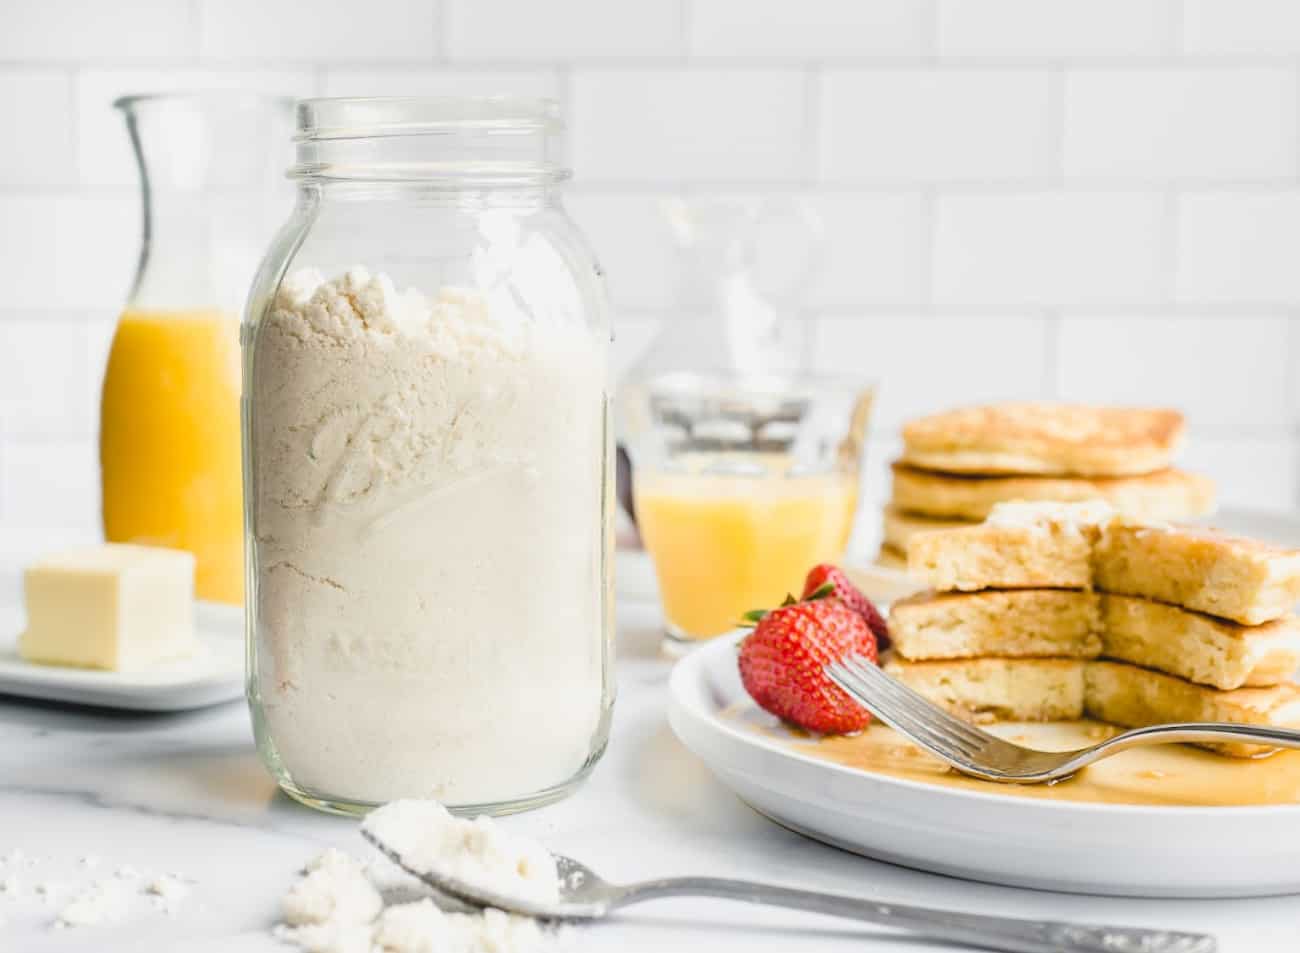
Storing Cornmeal and Cornflour
If you have field corn and want to store it in the form of cornmeal or cornflour, it’s essential to properly store these ingredients to maintain their quality and flavor. Here’s how you can store cornmeal and cornflour:
- Start by selecting high-quality field corn. Look for corn that is free from mold, insects, or any signs of damage.
- Thoroughly clean the corn by removing any dirt, debris, or loose husks.
- Dry the corn completely to ensure that it does not harbor any moisture. You can air-dry it naturally or use a food dehydrator.
- Using a grain mill or a high-powered blender, grind the dried corn kernels into a fine powder. This process will yield cornmeal or cornflour, depending on the desired consistency.
- Once you have the cornmeal or cornflour, transfer it into airtight containers, such as glass jars or food-grade plastic bags.
- Ensure that the containers are tightly sealed to prevent air or moisture from entering. Oxygen and moisture can cause the cornmeal or cornflour to go rancid or develop mold.
- Label the containers with the date of storage to keep track of freshness.
- Store the cornmeal or cornflour in a cool, dry place away from direct sunlight. A pantry or kitchen cabinet is an ideal location.
- Check the containers periodically for any signs of spoilage, such as an off smell or discoloration. Discard any cornmeal or cornflour that appears to be moldy or has an unpleasant odor.
Stored properly, cornmeal and cornflour can last for several months to a year. To ensure the best quality and taste, it’s recommended to use them within the first few months of storage.
When using cornmeal or cornflour from storage, inspect it before use. Look for any signs of mold, insects, or off flavors. It’s always better to be safe than sorry when it comes to consuming stored food products.
Cornmeal and cornflour are versatile ingredients that can be used in a variety of recipes, from cornbread and tortillas to batters for frying or thickening sauces. Properly stored, they provide a convenient and reliable source of nutrition and flavor for your culinary endeavors.
Read more: How To Store Fabric Long Term
Vacuum Sealing Corn
Vacuum sealing is an effective method for long-term storage of corn. This technique removes excess air and creates a vacuum seal, preserving the freshness, flavor, and nutritional value of the corn. Here’s how you can vacuum seal corn:
- Start by selecting fresh, ripe corn. Look for ears of corn with plump kernels and vibrant, green husks.
- Remove the husks and silk from the corn, and rinse the ears thoroughly under running water to remove any dirt or debris.
- Using a sharp knife, carefully remove the kernels from the cob. Hold the corn upright on a cutting board and slice downwards, as close to the cob as possible. Scrape the cob to extract any remaining corn and juices.
- Fill a vacuum sealer bag with the prepared corn kernels. Ensure that the bag is not overloaded and that there is enough room for the sealing process.
- Place the open end of the vacuum sealer bag into the vacuum sealer machine, following the manufacturer’s instructions.
- Activate the vacuum sealing process, allowing the machine to remove the air from the bag and create a tight seal.
- Once the vacuum sealing is complete, carefully remove the bag from the machine and inspect the seal to ensure it is airtight.
- Repeat the process for the remaining corn, filling and vacuum sealing additional bags as needed.
- Label each vacuum-sealed bag with the date and contents for easy identification.
- Store the vacuum-sealed corn in a cool, dry place away from direct sunlight.
Vacuum-sealed corn can last for an extended period, typically up to a year or even longer, if kept in optimal conditions. The lack of air helps to prevent spoilage, freezer burn, and the growth of bacteria or mold.
When you’re ready to use the vacuum-sealed corn, simply remove the desired amount from the bag and reseal the remaining corn. Allow the corn to thaw, either in the refrigerator or by placing it directly in boiling water or a microwave-safe container.
Vacuum sealing corn allows you to preserve the taste and quality of fresh corn, making it a convenient option for enjoying corn year-round or when it’s out of season. Whether you use it in soups, chowders, or other corn-based dishes, vacuum-sealed corn ensures that you’ll always have a supply of delicious sweet kernels on hand.
Tips for Long-Term Corn Storage
Proper storage techniques are essential for maintaining the freshness and quality of corn over an extended period. To ensure successful long-term corn storage, consider the following tips:
- Select Fresh Corn: Choose corn that is fresh, with vibrant colors, plump kernels, and intact husks. Avoid corn with blemishes, mold, or signs of spoilage.
- Handle with Care: Treat the corn with care to prevent bruising or damage. Rough handling can lead to spoilage or deterioration.
- Control Temperature and Humidity: Corn is best stored at cool temperatures, ideally between 32-40 degrees Fahrenheit (0-4 degrees Celsius). Maintain a humidity level of around 70-75% to prevent corn from drying out or becoming too moist.
- Minimize Exposure to Air and Light: Corn is sensitive to air and light, which can accelerate the deterioration process. Store corn in airtight containers, opaque bags, or vacuum-sealed packaging to protect it from oxygen and light.
- Choose Appropriate Storage Methods: Consider the storage method that suits your needs and the type of corn you have. Whether it’s storing corn in the husk, freezing corn, canning corn, dehydrating corn, or vacuum sealing corn, choose the method that is most suitable for your desired end use.
- Properly Label and Date Containers: Clearly label the storage containers or bags with the date of storage and contents. This helps you keep track of freshness and easily identify the corn when retrieving it from storage.
- Rotate Your Stock: If you have multiple batches of stored corn, use the “first in, first out” principle. Consume the oldest batch first to ensure that none of the corn goes to waste or becomes too old.
- Regularly Check for Spoilage: Periodically inspect the stored corn for any signs of mold, off odors, or discoloration. Discard any corn that appears spoiled to avoid contamination.
- Keep Pests Away: Protect your stored corn from pests such as insects or rodents by storing it in sealed containers or using pest deterrents like bay leaves, cloves, or cedar sachets.
By following these tips, you can maximize the shelf life of your corn and maintain its flavor, texture, and nutritional value for an extended period. Whether you’re preserving corn for personal consumption or to enjoy the taste of summer throughout the year, proper storage techniques are key to successful long-term corn storage.
Checking Stored Corn for Freshness
When it comes to stored corn, ensuring its freshness is essential to maintaining its quality and taste. Here are some tips for checking the freshness of stored corn:
- Observe the Appearance: Visually inspect the corn for any signs of spoilage. Look for mold, dark spots, shriveled kernels, or discoloration. Fresh corn should have bright, plump kernels and vibrant green husks.
- Smell the Corn: Give the corn a gentle sniff for any off-putting odors. Fresh corn should have a sweet, pleasant aroma. If you detect any sour, musty, or unpleasant smells, it is an indication that the corn has spoiled.
- Feel the Kernels: Gently press your fingers against the kernels. They should feel firm and slightly springy. If the kernels are soft, mushy, or slimy, it is a sign of spoilage.
- Check for Mold: Examine the corn closely for any signs of mold growth. Mold can appear as green, black, or white fuzzy patches on the surface of the kernels. If you see mold on the corn, it is not safe for consumption.
- Inspect for Insects or Pests: Look for any signs of insect infestation, such as tiny holes, webbing, or the presence of insects themselves. If you notice any signs of pests, discard the corn to prevent contamination.
- Consider the Taste and Texture: If you are unsure about the freshness of the corn, consider tasting a small portion. Fresh corn should have a sweet and crisp taste. If the corn tastes off, has a dull flavor, or a chewy texture, it may have deteriorated.
- Follow Storage Guidelines: Ensure that you have stored the corn properly, following the recommended storage methods and conditions. Even with proper storage, it’s essential to check the corn periodically for any signs of spoilage.
Remember that freshness is subjective, and individual preferences may vary. Trust your senses and use your judgment when assessing the quality of the corn. If you have any doubts about the freshness or safety of the stored corn, it’s best to err on the side of caution and discard it.
By regularly checking stored corn for freshness, you can ensure that you are consuming high-quality corn that is safe and enjoyable to eat. Fresh corn is a delight in various dishes, and with proper storage and careful inspection, you can savor the flavors of summer all year round.
Conclusion
Storing corn long-term allows you to enjoy the taste and nutritional benefits of this versatile grain throughout the year. By employing the right storage methods and techniques, you can preserve the freshness, flavor, and quality of corn for an extended period.
Whether you store corn in the husk, freeze it, can it, dehydrate it, or vacuum seal it, each method offers its own unique advantages. Storing corn in the husk is ideal for short-term storage, while freezing corn ensures the taste of summer sweetness even during the colder months. Canning corn allows you to keep jars of corn readily available for soups, stews, and other dishes. Dehydrating corn removes the moisture content, providing versatility in rehydrating or using it as cornmeal. Vacuum sealing corn creates airtight packaging, maintaining its freshness for an extended duration.
Factors such as temperature, humidity, airflow, light, and the quality of the corn all play a vital role in successful corn storage. By controlling these factors and choosing the appropriate storage method, you can prolong the shelf life of corn and enjoy its delightful flavors and textures when fresh corn is not readily available.
Remember to follow proper storage guidelines, including labeling containers, rotating stock, and regularly checking for signs of spoilage. Inspecting the stored corn for freshness through visual, olfactory, and tactile assessments ensures that only high-quality corn is consumed.
Whether you’re preserving corn for your family’s enjoyment or for stocking up on this delicious grain, proper long-term storage techniques are crucial. With a little planning and attention to detail, you can savor the taste of corn in various meals and recipes throughout the year, bringing the essence of summer into your kitchen whenever you desire.
In summary, by understanding the shelf life of corn, selecting the right storage method, and following the tips for long-term corn storage, you can successfully store corn and enjoy its flavors and nutritional benefits whenever you crave it. So go ahead, stock up on corn and embark on your journey of ensuring a bountiful supply of this beloved vegetable – ready to be transformed into delicious creations in your kitchen at any time!
Frequently Asked Questions about How To Store Corn Long Term
Was this page helpful?
At Storables.com, we guarantee accurate and reliable information. Our content, validated by Expert Board Contributors, is crafted following stringent Editorial Policies. We're committed to providing you with well-researched, expert-backed insights for all your informational needs.


0 thoughts on “How To Store Corn Long Term”