

Articles
How To Store Dahlias
Modified: May 6, 2024
Learn how to store dahlias in this informative articles. Find step-by-step instructions and tips to preserve the beauty of your dahlias all year round.
(Many of the links in this article redirect to a specific reviewed product. Your purchase of these products through affiliate links helps to generate commission for Storables.com, at no extra cost. Learn more)
Introduction
When it comes to the beauty and vibrancy of flowers, few can rival the stunning display of dahlias. With their bold colors and intricate petal patterns, dahlias are a popular choice for gardens and floral arrangements. However, what happens when the growing season comes to an end? How can you ensure that these delicate flowers survive through the cold winter months?
The key to preserving and protecting your dahlias is proper storage. By storing your dahlias correctly, you can enjoy their beauty year after year without the need to replant. In this article, we will guide you on how to store dahlias effectively, ensuring their survival and allowing you to enjoy their blooms in the next growing season.
Choosing the right storage method is essential to the success of preserving your dahlias. Different options are available, each with its own advantages and considerations. The most common methods include storing dahlias in containers, storing them in peat moss or sawdust, and using paper or plastic bags for storage.
Before diving into the specifics of each storage method, it is important to understand the process of digging up your dahlias. When the first frost hits or the growing season comes to an end, it is time to carefully uproot and prepare the dahlias for storage. Properly digging up your dahlias helps to minimize damage and ensures that they are ready for the storage process.
Key Takeaways:
- Preserve the beauty of dahlias year after year by choosing the right storage method, whether it’s containers, peat moss, paper bags, or plastic bags. Experiment to find what works best for your dahlias and climate.
- Ensure the successful replanting of your stored dahlias in the spring by waiting for the right time, preparing the planting area, inspecting the tubers, and providing proper care throughout the growing season. Enjoy the vibrant blooms and colorful joy they bring to your garden.
Read more: How To Store Dahlias For Winter
Choosing the Right Storage Method
When it comes to storing dahlias, there are several methods to choose from. The key is to select the one that best suits your needs and resources. Factors such as the available space, the number of dahlias you have, and your climate will play a role in determining the most suitable storage method for you.
One common storage method is to store dahlias in containers. This method is ideal if you have limited space or if you want to keep your dahlias in a controlled environment. By using containers, you can easily move and store your dahlias in a protected area such as a garage or basement. Ensure that the containers have drainage holes to prevent excess moisture buildup.
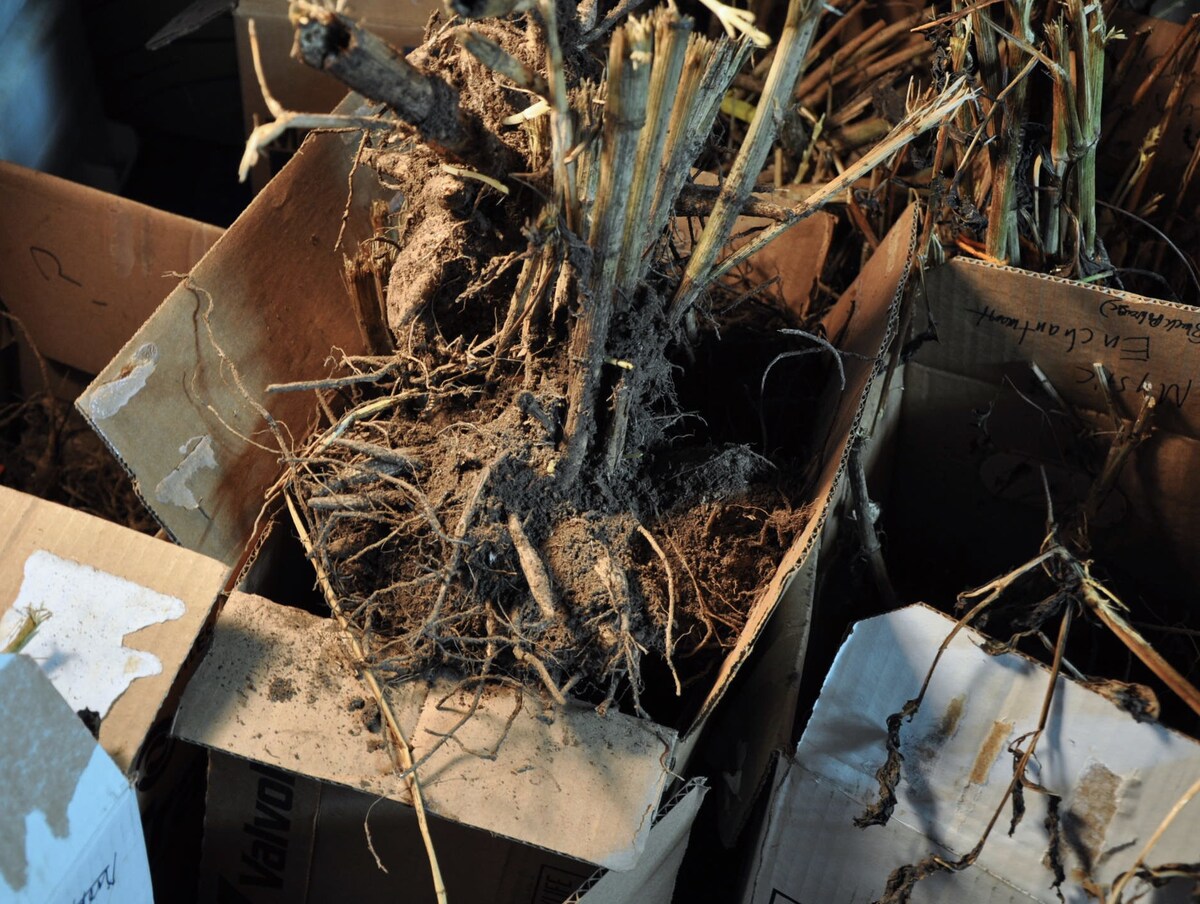
Another popular storage method is to store dahlias in a medium such as peat moss or sawdust. This method provides insulation and helps maintain the right level of moisture. To use this method, dig up your dahlias and gently shake off any loose soil. Place them in a box or crate lined with peat moss or sawdust, making sure the dahlias are not touching each other. Cover the dahlias completely with the chosen medium. Store the box in a cool, dark place with a consistent temperature between 40-50 degrees Fahrenheit (4-10 degrees Celsius).
If you prefer a simpler storage method, you can opt for storing dahlias in paper bags. This method works well for smaller quantities of dahlias. After digging up your dahlias, allow them to air dry for a few days. Once they are dry, place them in individual paper bags, making sure to label each bag with the dahlia variety. Store the bags in a cool, dry location such as a basement or closet.
Alternatively, you can store dahlias in plastic bags. This method is similar to using paper bags but provides an extra layer of protection against moisture. After drying your dahlias, place them in plastic bags and seal them tightly. It is important to check on the dahlias periodically to ensure that there is no excess moisture buildup. If you notice any condensation, carefully open the bags to allow the dahlias to dry before resealing them.
When choosing a storage method, always consider the specific requirements of your dahlias, your climate, and the resources you have available. Experiment with different methods to find the one that works best for you. With the right storage method, you can enjoy the beauty of dahlias year after year, bringing color and joy to your garden or floral arrangements.
Digging Up Dahlias
As the growing season comes to an end, it is important to prepare your dahlias for storage. Properly digging up your dahlias ensures that they are ready for the storage process and minimizes the risk of damage. Here are some steps to follow when digging up dahlias:
- Timing: The ideal time to dig up dahlias is after the first frost or when the foliage starts to turn yellow and die back. This indicates that the tubers have gone dormant.
- Gather the necessary tools: Before you begin, gather the tools you will need, including a garden fork or spade, a pair of pruning shears, and some gloves.
- Prepare the area: Start by cutting back the foliage to a few inches above the ground. This makes it easier to access the tubers and reduces the risk of damaging them.
- Loosen the soil: Use a garden fork or spade to carefully loosen the soil around the base of the plant. Be mindful of the tubers and try to avoid damaging them.
- Gently lift the tubers: Once the soil is loosened, gently lift the tubers out of the ground. Be careful not to pull or tug too hard, as this can damage the tubers.
- Remove excess soil: Shake off any loose soil from the tubers, being careful not to remove too much soil. Leaving a thin layer of soil on the tubers helps prevent them from drying out.
- Inspect for damage or disease: Take a moment to inspect the tubers for any signs of damage or disease. Discard any tubers that appear soft, moldy, or unhealthy.
- Label and store: Lastly, label each tuber with the variety name using a permanent marker. This will help you identify each dahlia when it comes time to replant. Store the tubers according to your chosen storage method.
By following these steps, you can ensure that your dahlias are safely dug up and ready for storage. Remember to handle the tubers with care to avoid any unnecessary damage. Properly preparing your dahlias for storage increases the chances of their survival and allows you to enjoy their beauty in the next growing season.
Cleaning and Preparing Dahlias for Storage
Before storing your dahlias, it is important to clean and prepare them to ensure their long-term survival. Cleaning the tubers helps remove any dirt or debris that can potentially harbor pests or diseases. Here are some steps to follow when cleaning and preparing dahlias for storage:
- Trim the stems: Start by trimming the stems of the dahlias, leaving about an inch of stem attached to the tuber. This allows for easier handling and identification of the tubers during the storage process.
- Inspect for pests and diseases: Take a moment to inspect each tuber for any signs of pests or diseases. Look for any visible damage, such as holes or discoloration, and remove any affected tubers. This helps prevent the spread of pests or diseases to other tubers during storage.
- Wash the tubers: Gently wash the tubers with water to remove any dirt or debris. Be careful not to use any harsh chemicals or scrub the tubers vigorously, as this can damage their delicate skin.
- Air dry the tubers: After washing, allow the tubers to air dry completely. Place them in a well-ventilated area out of direct sunlight. This helps prevent mold or rot from developing during storage.
- Label the tubers: Using a permanent marker or labels, mark each tuber with the variety name. This is important for easy identification when replanting them in the next growing season.
- Separate the tubers: If you have multiple varieties of dahlias, it is advisable to separate them during storage. This prevents any mix-up or confusion when it comes time to replant them in the spring.
Once your dahlias are clean and prepared, you can proceed with the storage method of your choice. Remember to handle the tubers with care to prevent any damage. By taking the time to properly clean and prepare your dahlias for storage, you are setting them up for success and ensuring their beauty and vitality in the seasons to come.
Storage Options for Dahlias
When it comes to storing dahlias, there are several options to choose from. Each storage method has its advantages and considerations, so it’s important to select the one that best suits your needs and resources. Here are some common storage options for dahlias:
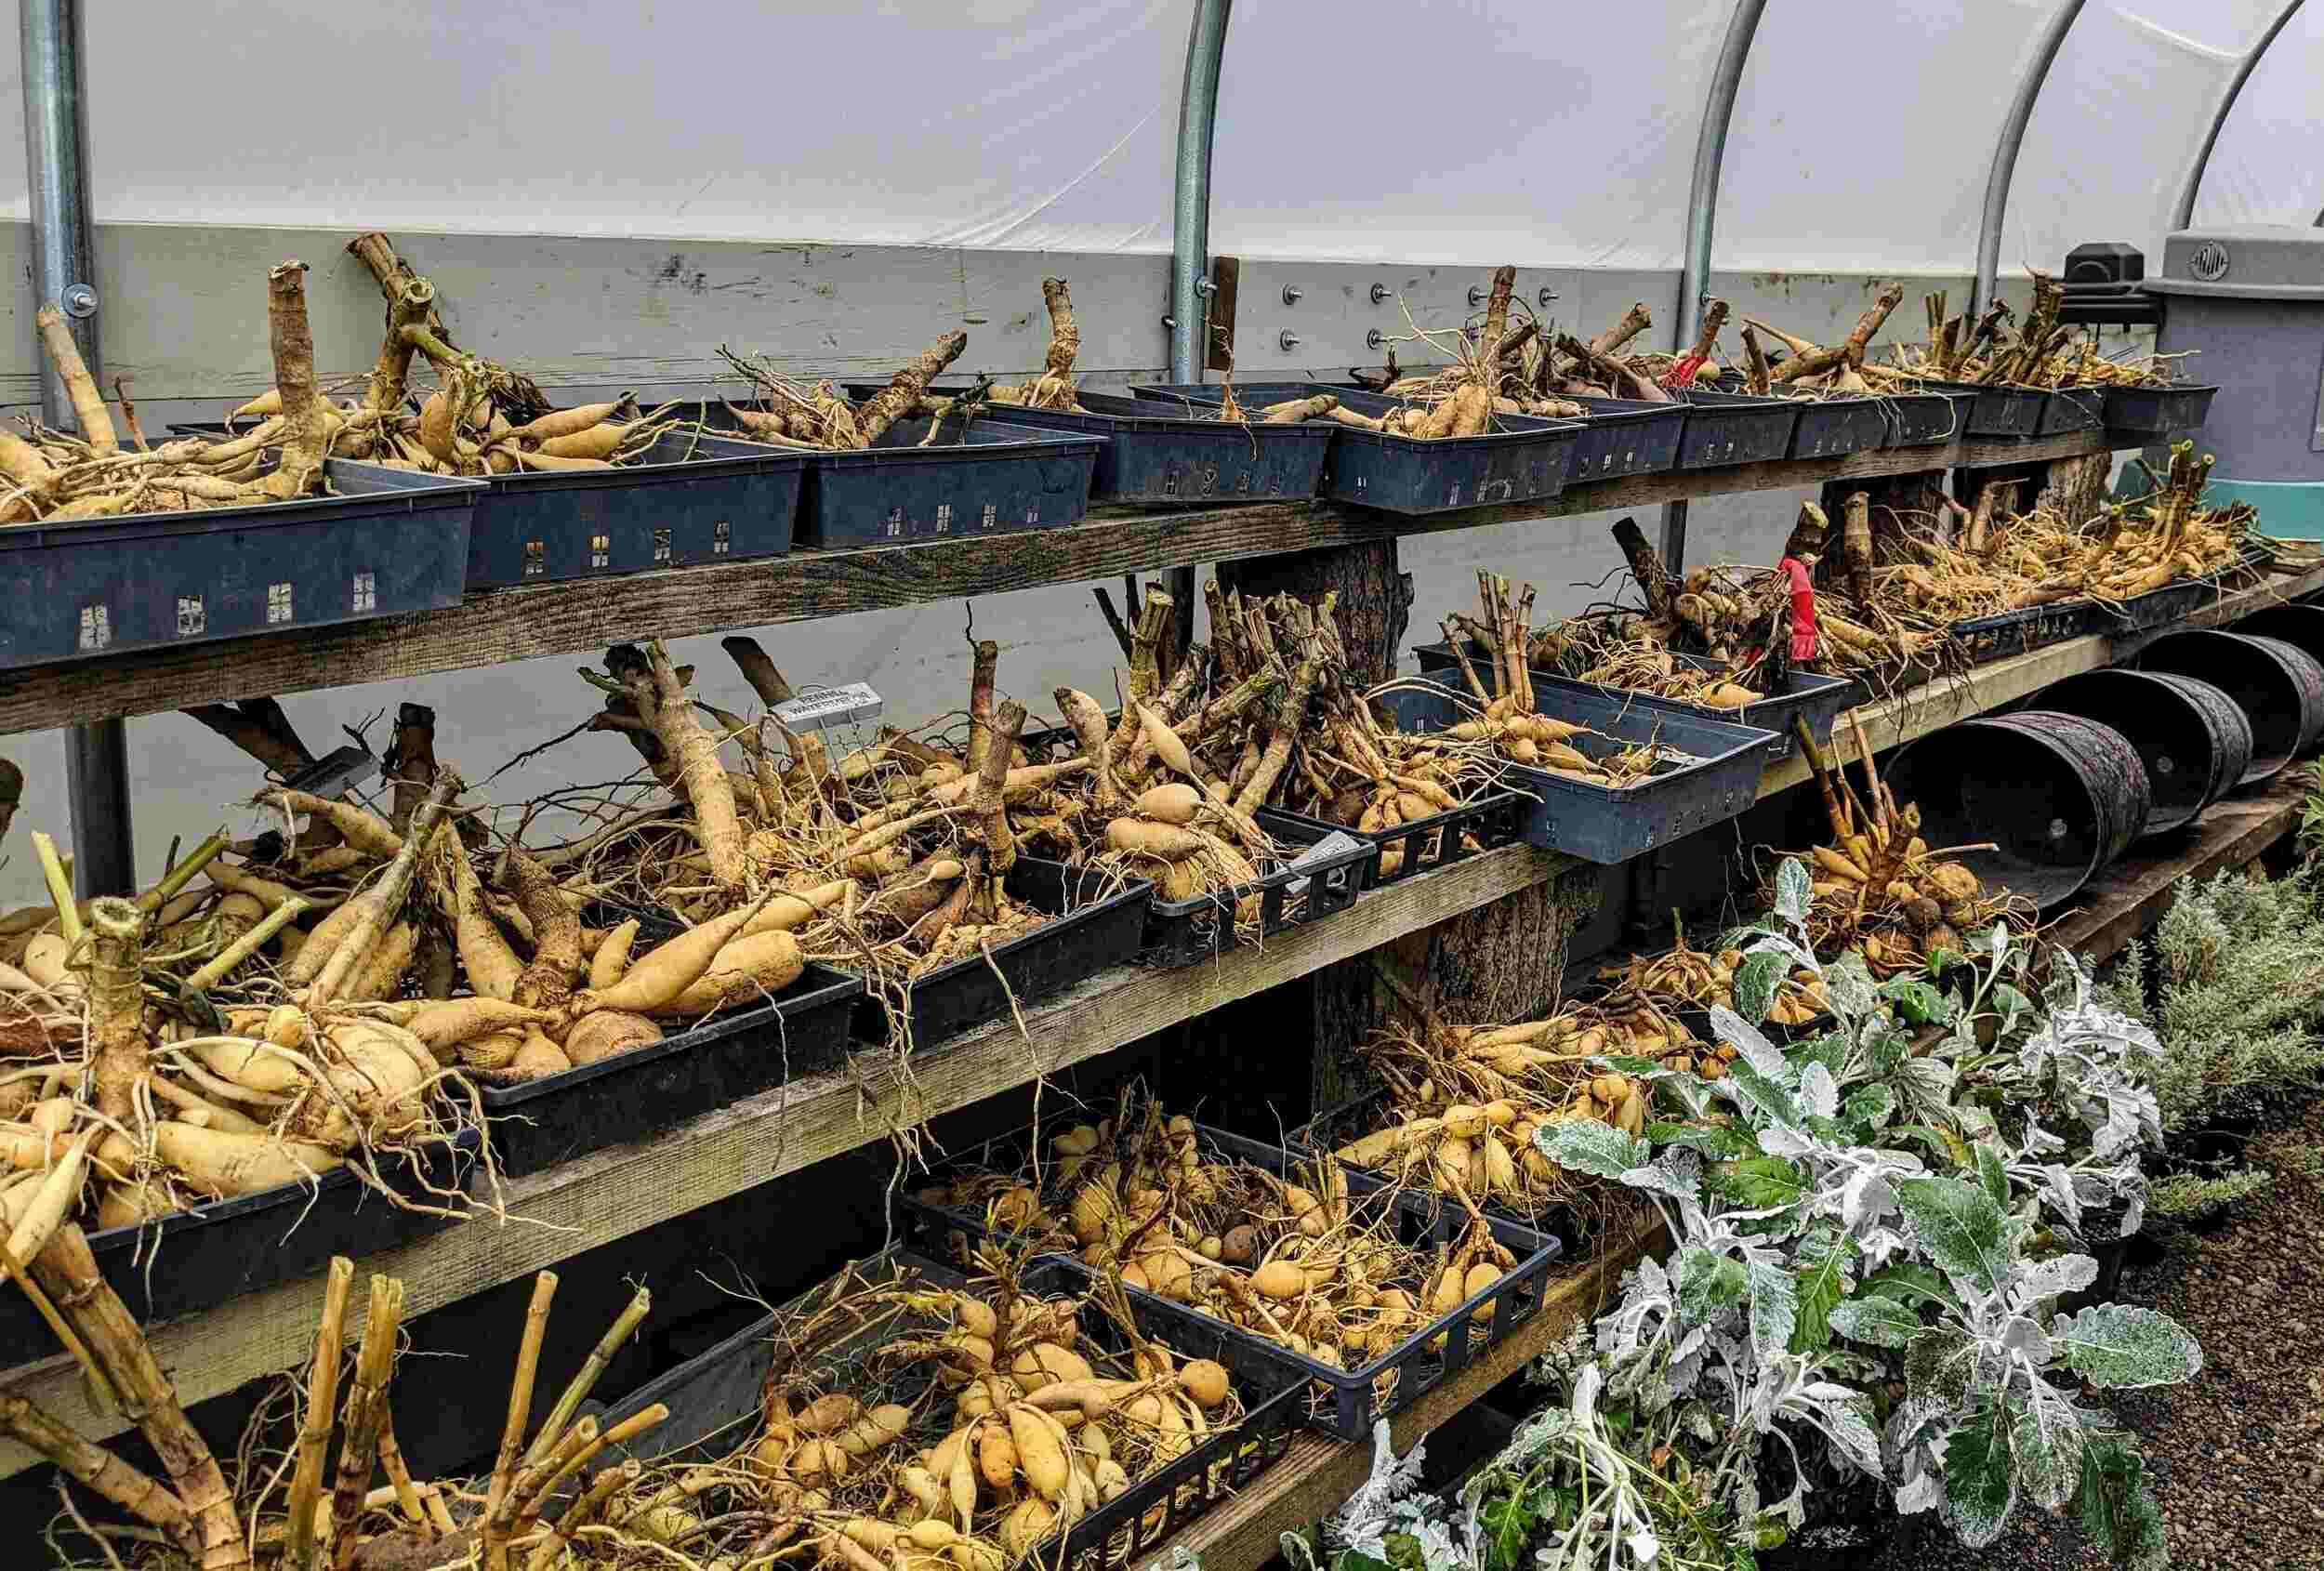
- Storing Dahlias in Containers: This method is ideal if you have limited space or if you want to keep your dahlias in a controlled environment. Place your dug-up tubers in plastic containers or pots filled with vermiculite, perlite, or a well-draining potting mix. Make sure the containers have drainage holes to prevent excess moisture buildup. Store the containers in a cool, dark area such as a garage or basement.
- Storing Dahlias in Peat Moss or Sawdust: This storage method provides insulation and helps maintain the right level of moisture. After cleaning and drying your tubers, place them in a box or crate lined with peat moss or sawdust. Ensure that the tubers are not touching each other and cover them completely with the chosen medium. Store the box in a cool, dark location with a consistent temperature between 40-50°F (4-10°C).
- Storing Dahlias in Paper Bags: This method is suitable for smaller quantities of dahlias. After drying your tubers, place them individually in paper bags. Label each bag with the variety name for easy identification. Store the bags in a cool, dry location such as a basement or closet.
- Storing Dahlias in Plastic Bags: Similar to using paper bags, this method provides an extra layer of protection against moisture. After drying your tubers, place them in plastic bags and seal them tightly. Check on the tubers periodically to ensure there is no excess moisture buildup. If condensation is present, open the bags briefly to allow the tubers to dry before resealing them.
Remember to monitor your stored dahlias regularly throughout the storage period. Check for any signs of mold, rot, or pests, and discard any tubers that appear unhealthy. You can also use this time to inspect and prune any new growth that may appear.
Choosing the right storage option for your dahlias is crucial for their long-term survival. Consider factors such as available space, climate, and the number of dahlias you have when deciding which method to use. With proper storage, you can protect your dahlias and ensure their beauty and vitality for the next growing season.
Read more: How To Store Dahlia Tubers
Storing Dahlias in Containers
Storing dahlias in containers is a popular method, especially if you have limited space or prefer to keep your dahlias in a controlled environment. This storage option provides flexibility and allows you to easily move and store your dahlias in a protected area. Here’s how to store dahlias in containers:
- Select the right containers: Choose plastic or clay containers that are large enough to accommodate your dahlias. Make sure the containers have drainage holes to prevent water from accumulating and causing root rot.
- Prepare the containers: Fill the containers with a well-draining potting mix. You can use a mix specifically formulated for container gardening or create your own by combining equal parts peat moss, perlite, and compost.
- Prepare the dahlias: Dig up your dahlias, being careful not to damage the tubers. Shake off any loose soil and trim the stems to about an inch in length.
- Place the dahlias in the containers: Gently place the tubers in the prepared containers, ensuring that they are not crowded and have room to breathe. Space them out evenly, keeping in mind that they should not touch each other.
- Label the containers: Use plant tags or markers to label each container with the variety name of the dahlias. This will help you keep track of the different varieties and ensure proper identification.
- Store the containers: Find a cool, dark area to store the containers, such as a garage, basement, or insulated shed. The ideal storage temperature for dahlias is between 40-50°F (4-10°C) to maintain their dormancy. Avoid areas that are prone to extreme temperature fluctuations.
- Monitor the containers: Check on the containers periodically throughout the storage period. Ensure that the soil is slightly moist but not overly wet, and water sparingly if needed. Inspect the tubers for any signs of mold, rot, or pests, and remove any affected dahlias immediately.
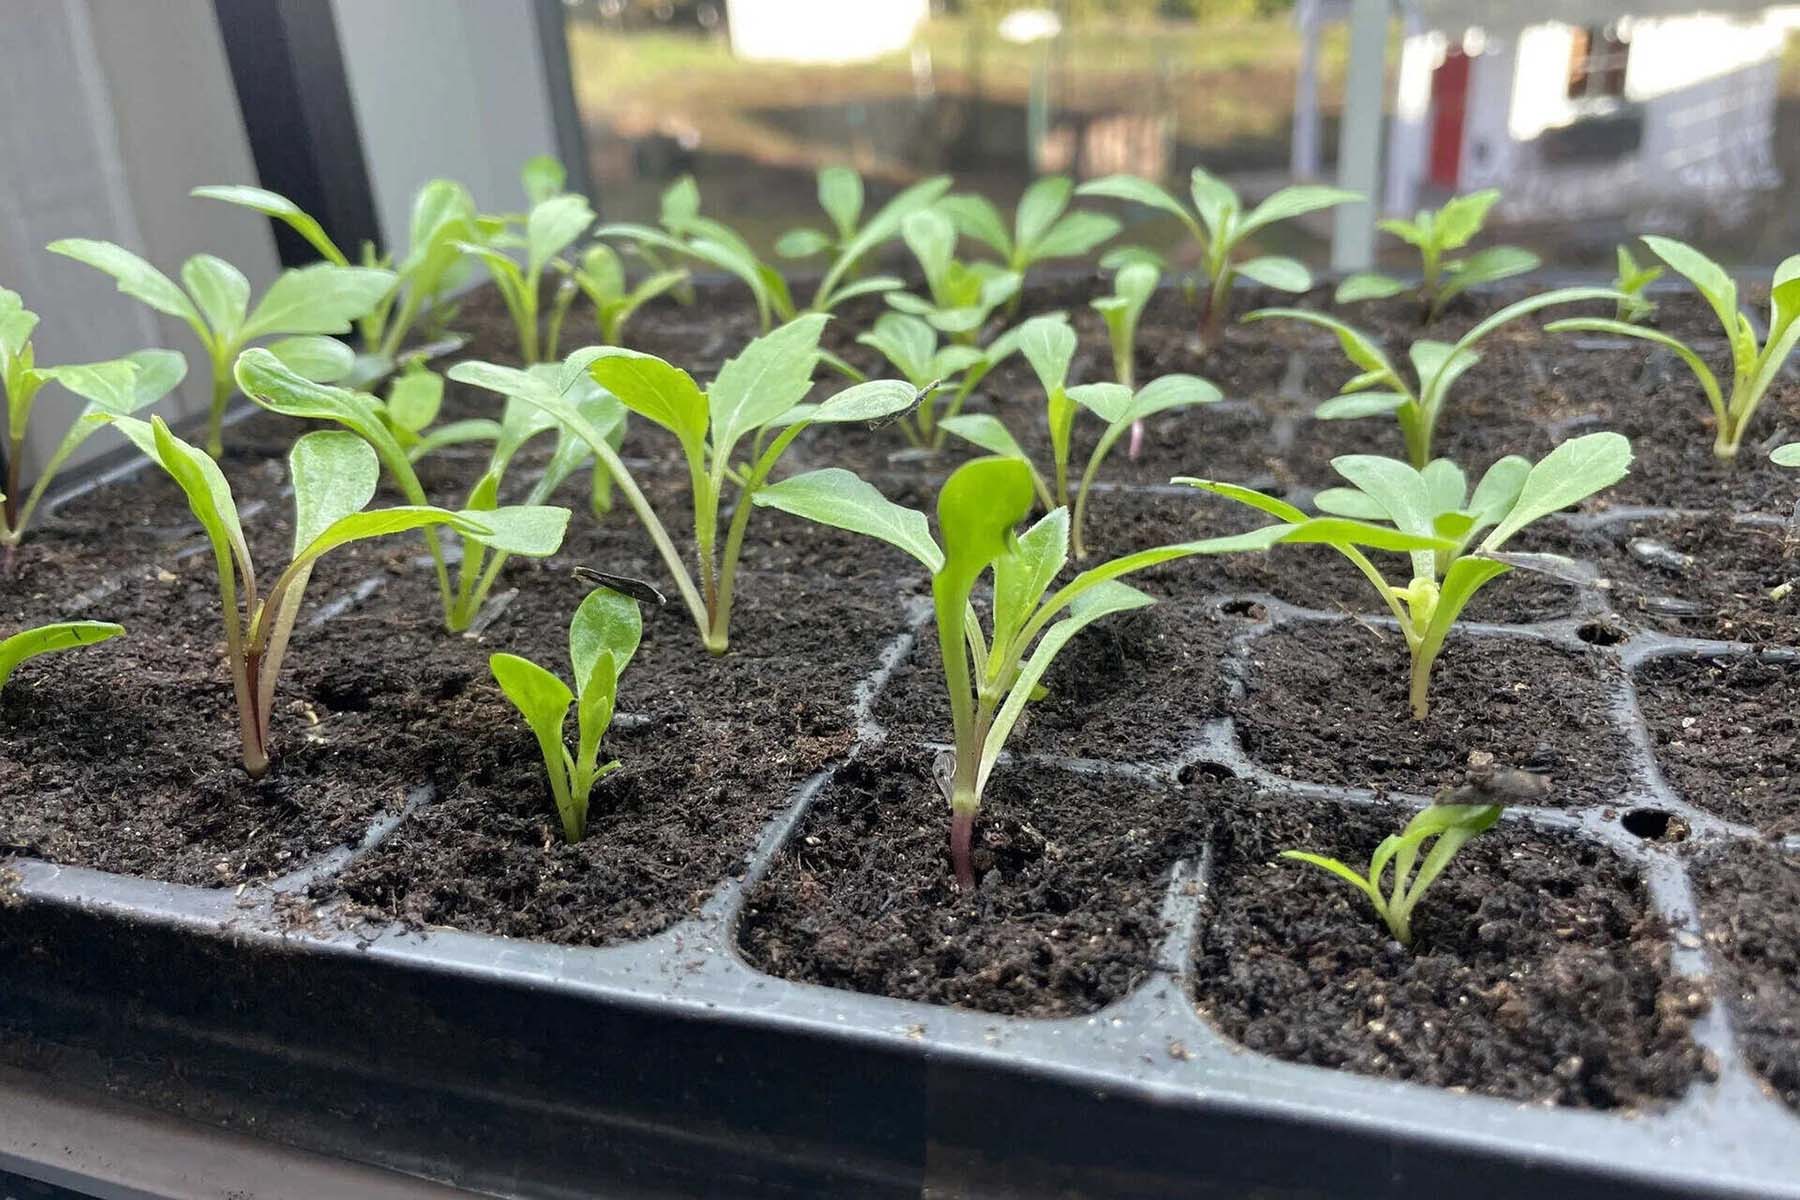
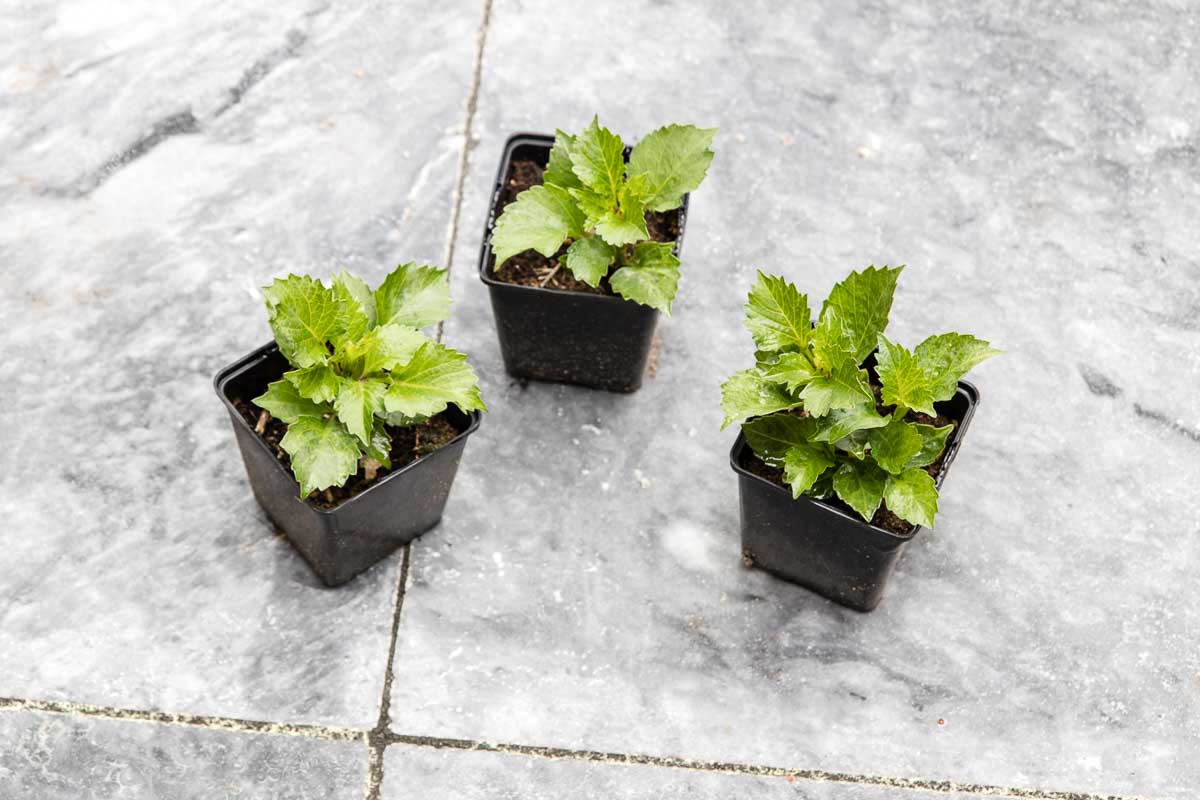
- Replanting in the spring: When the danger of frost has passed and the soil has warmed up in the spring, you can transplant your stored dahlias back into the garden. Simply remove the tubers from the containers, gently tease out any roots that have formed, and plant them at the appropriate depth in prepared soil.
Storing dahlias in containers provides a convenient and controlled environment for preserving these beautiful flowers. By following these steps and providing the necessary care, you can ensure that your dahlias remain healthy and ready to flourish in the next growing season.
After digging up dahlia tubers in the fall, clean off excess soil and let them air dry for a few days. Store in a cool, dry place in peat moss or vermiculite to prevent rot. Check periodically for any signs of mold or drying out.
Storing Dahlias in Peat Moss or Sawdust
If you’re looking for a storage method that provides insulation and retains moisture, storing dahlias in peat moss or sawdust is an excellent option. This method helps protect the tubers from drying out and maintains a favorable environment for their dormancy. Here’s how to store dahlias in peat moss or sawdust:
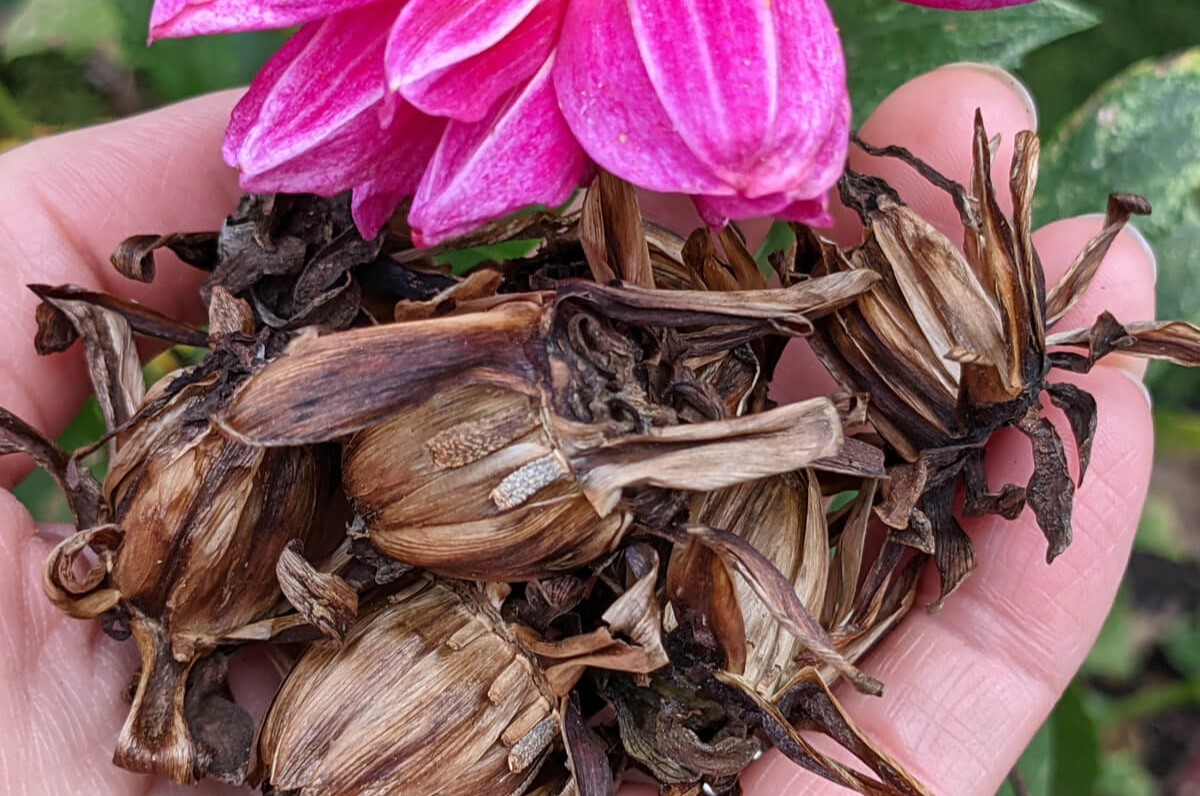
- Prepare the tubers: After digging up your dahlias, gently shake off any excess soil, being careful not to damage the tubers. Remove any foliage or stems, leaving only the tubers.
- Choose your storage container: Use a box, crate, or container that is large enough to accommodate your dahlias. Ensure that it has a lid or cover to keep the tubers protected.
- Prepare the storage medium: Line the bottom of the container with a layer of peat moss or sawdust. This will serve as a cushion for the tubers and help maintain moisture levels.
- Arrange the tubers: Place the cleaned and trimmed dahlias on top of the layer of peat moss or sawdust in a single layer. Make sure to space them out and avoid any overcrowding.
- Cover the tubers: Once the tubers are in place, cover them completely with another layer of peat moss or sawdust. Ensure that the tubers are well-insulated and no part is exposed.
- Store in a cool location: Find a cool, dark area to store the container, such as a basement or garage. Ideally, the storage temperature should be between 40-50°F (4-10°C). Avoid areas that experience extreme temperature fluctuations.
- Check periodically: Regularly monitor the tubers during storage. Check for any signs of mold, rot, or drying out. If you notice any issues, remove affected tubers immediately to prevent further damage.
- Replanting in the spring: When the frost danger has passed and the soil has warmed up in the spring, you can replant the stored dahlias. Gently remove the tubers from the peat moss or sawdust, and inspect them for any signs of growth or damage. Plant them in well-prepared soil, ensuring that the eyes (small buds) are facing upward.
Storing dahlias in peat moss or sawdust provides a protective environment that helps preserve the tubers’ moisture and prevents them from drying out during the dormant period. By following these steps and regularly checking on the stored tubers, you can ensure that your dahlias remain in optimal condition for a successful replanting season.
Storing Dahlias in Paper Bags
If you’re looking for a simple and effective storage method for your dahlias, storing them in paper bags can be an excellent choice. This method is suitable for smaller quantities of dahlias and provides a convenient way to keep them protected during the dormant period. Here’s how to store dahlias in paper bags:
- Prepare the tubers: After digging up your dahlias, gently shake off any excess soil, taking care not to damage the tubers. Trim the stems to about an inch in length, leaving a small portion for easy identification.
- Allow the tubers to dry: Place the tubers in a cool, dry area with good airflow, and allow them to air dry for a few days. This helps to minimize the risk of mold or rot during storage.
- Label the bags: Take paper bags and label each one with the variety name of the dahlias. This is important for easy identification when it comes time to replant them in the spring.
- Place the tubers in individual bags: Gently place each dried tuber individually in a paper bag. Avoid overcrowding the bags to prevent damage or bruising. Fold the top of the bag over to seal it, ensuring that it is secure.
- Store the bags in a cool, dry location: Find a cool, dry spot for storing the paper bags, such as a basement, closet, or garage. The ideal storage temperature for dahlias is between 40-50°F (4-10°C). Avoid areas with excessive moisture or temperature fluctuations.
- Monitor the bags: Periodically check on the bags during the storage period. Inspect the tubers for any signs of mold, rot, or sprouting. If you notice any issues, remove the affected tubers immediately to prevent further spreading.
- Replanting in the spring: Once the frost danger has passed and the soil has warmed up in the spring, you can replant the stored dahlias. Gently remove the tubers from the paper bags and inspect them for any signs of growth or damage. Plant them at the appropriate depth in well-prepared soil.
Storing dahlias in paper bags is a straightforward and practical method, especially for those with a smaller collection of tubers. By following these steps and regularly monitoring the bags, you can ensure that your dahlias remain in good condition and are ready to flourish in the next growing season.
Storing Dahlias in Plastic Bags
If you’re looking for a storage method that provides an extra layer of protection against moisture, storing dahlias in plastic bags can be an effective option. This method works well for smaller quantities of dahlias and helps to create a controlled environment for their dormancy. Here’s how to store dahlias in plastic bags:
- Prepare the tubers: After digging up your dahlias, gently shake off any excess soil, being careful not to damage the tubers. Trim the stems to about an inch in length, leaving a small portion for easy identification.
- Allow the tubers to dry: Place the tubers in a dry and well-ventilated area, allowing them to air dry for a few days. This helps to minimize the risk of mold or rot during storage.
- Choose suitable plastic bags: Select clean and sturdy plastic bags that are large enough to accommodate each tuber individually. Sealable bags or ziplock bags work well for this purpose.
- Place the tubers in individual bags: Gently place each dried tuber individually in a plastic bag. It’s advisable to label each bag with the variety name of the dahlias for easy identification later.
- Remove excess air and seal: Squeeze out as much air as possible from the bags before sealing them tightly. This helps to create a compact and protective environment for the tubers.
- Store the bags in a cool location: Find a cool, dark spot for storing the plastic bags, such as a basement, closet, or garage. The ideal storage temperature for dahlias is between 40-50°F (4-10°C). Avoid areas with high humidity or temperature fluctuations.
- Check on the bags periodically: Regularly monitor the plastic bags during the storage period. Inspect the tubers for any signs of mold, rot, or excessive condensation. If you notice any issues, carefully open the bags to allow the tubers to dry before resealing them.
- Replanting in the spring: Once the frost danger has passed and the soil has warmed up in the spring, you can replant the stored dahlias. Gently remove the tubers from the plastic bags and inspect them for any signs of growth or damage. Plant them at the appropriate depth in well-prepared soil.
Storing dahlias in plastic bags offers an additional layer of protection against moisture, which can help maintain the tubers’ dormancy and prevent rot. By following these steps and regularly checking on the bags, you can ensure that your dahlias remain in optimal condition and are ready to thrive in the next growing season.
Read more: How To Store Dahlia Bulbs For The Winter
Checking on Stored Dahlias
Regularly checking on your stored dahlias is an essential part of their successful storage process. By monitoring them periodically, you can ensure that they are in good condition and address any issues that may arise. Here are some important steps to follow when checking on your stored dahlias:
- Schedule regular inspections: Set a schedule to check on your stored dahlias every few weeks during the storage period. This allows you to stay on top of any potential problems.
- Assess for signs of mold or rot: Carefully examine each tuber for any signs of mold, rot, or soft spots. If you come across any tubers showing these symptoms, remove them immediately to prevent further spread of disease.
- Check for excessive condensation: Moisture buildup can be detrimental to stored dahlias. Inspect the storage containers or bags for any signs of excessive condensation. If you notice condensation, open the containers or bags briefly to allow the tubers to dry before resealing them.
- Ensure proper temperature and humidity: Check the storage area to ensure that the temperature and humidity levels remain within the recommended range for dahlias. Avoid storing them in areas that are prone to extreme temperature fluctuations or high humidity.
- Inspect for pests: Keep an eye out for any signs of pests such as insects or rodents. If you notice any pest activity, take appropriate measures to eliminate them and protect your stored dahlias.
- Adjust storage conditions if needed: If you notice any issues during your inspections, take the necessary steps to correct them. This may include adjusting the temperature, improving ventilation, or changing storage containers or mediums.
- Revisit labeling and organization: Take the opportunity to double-check the labeling on your stored dahlias. Ensure that the variety names are still visible and accurate. This will help you in planning for future replanting and maintaining an organized collection.
- Document any changes or improvements: Keep a record of your inspections and note any observations or adjustments made. This will help you track the progress and make informed decisions for the next storage season.
Regularly checking on your stored dahlias ensures that any issues or concerns are promptly addressed, improving their chances of survival and healthy growth. By following these steps and maintaining a vigilant approach, you can protect your dahlias and enjoy their beauty in the next growing season.
Replanting Dahlias in the Spring
As the winter months come to an end, it’s time to prepare for the joy of replanting your stored dahlias in the spring. Replanting dahlias is an exciting process that allows you to enjoy their vibrant blooms once again. Here’s a step-by-step guide on successfully replanting dahlias:
- Choose the right time: Wait until the danger of frost has passed and the soil has warmed up in the spring before replanting your dahlias. This typically occurs when temperatures consistently reach around 60°F (15°C).
- Prepare the planting area: Select a sunny location in your garden with well-draining soil. Dahlias thrive in full sun, so choose a spot that receives at least 6-8 hours of direct sunlight each day. Amend the soil with organic matter, such as compost, and ensure it is loose and friable.
- Inspect the stored tubers: Before replanting, inspect each stored tuber for signs of damage or disease. Discard any tubers that appear moldy, soft, or unhealthy. Only replant healthy tubers to ensure the best chances of success.
- Prepare the tubers: Prior to planting, soak the tubers in room temperature water for a few hours. This helps to rehydrate them and promotes stronger growth.
- Planting depth and spacing: Dig holes that are about 6-8 inches deep. Place each tuber in the hole horizontally, with the eyes (small buds) facing upwards. Space the tubers about 1-2 feet apart to give them room to grow.
- Backfill and protect: Fill in the hole with soil, gently firming it around the tuber while ensuring the eyes are still visible. Consider using stakes or protective cages to support taller dahlia varieties and prevent them from bending or breaking during windy conditions.
- Water and mulch: After planting, thoroughly water the newly planted tubers to settle the soil. Apply a layer of mulch around the plants to help retain moisture and suppress weed growth. Be careful not to cover the emerging shoots of the dahlias with mulch.
- Provide care throughout the growing season: Water the dahlias regularly, keeping the soil consistently moist but not waterlogged. Fertilize every few weeks with a balanced fertilizer or a slow-release fertilizer according to the package instructions. Remove any weeds that may compete with the dahlias for nutrients.
- Monitor for pests and diseases: Regularly inspect your dahlias for any signs of pest damage or disease. If necessary, take appropriate action to control pests or treat any diseases promptly.
- Enjoy the blooms: With proper care and attention, your dahlias will grow and produce stunning blooms throughout the summer and into the fall. Enjoy the beauty and vibrancy that these remarkable flowers bring to your garden and floral arrangements.
Replanting dahlias in the spring is a rewarding process that allows you to continue enjoying their stunning display year after year. By following these steps and providing proper care, you can witness your dahlias thrive and bring colorful joy to your garden.
Once you've mastered storing dahlias, consider preventing critters from entering spaces where valuables are kept during colder months. For those passionate about outdoor aesthetics, creative garden fence designs can offer both practical and decorative solutions. Ready to tackle more? Dive into effective strategies for maintaining serene winter storage environments or discover inspiring garden fence ideas perfect for any home.
Frequently Asked Questions about How To Store Dahlias
Was this page helpful?
At Storables.com, we guarantee accurate and reliable information. Our content, validated by Expert Board Contributors, is crafted following stringent Editorial Policies. We're committed to providing you with well-researched, expert-backed insights for all your informational needs.


0 thoughts on “How To Store Dahlias”