
Articles
How To Store Electronics At Home
Modified: August 31, 2024
Learn how to properly store your electronics at home with our informative articles. Keep your devices safe and organized to prevent damage and save space.
(Many of the links in this article redirect to a specific reviewed product. Your purchase of these products through affiliate links helps to generate commission for Storables.com, at no extra cost. Learn more)
Introduction
Storing electronics at home is a crucial task that requires careful consideration and attention to detail. Whether you’re looking to store your old gadgets, protect your valuable devices, or simply declutter your living space, effective electronic storage is essential to prolong their lifespan and maintain their functionality. In this article, we will explore ten steps to help you store your electronics at home safely and conveniently.
Electronics, such as smartphones, laptops, cameras, and gaming consoles, are sensitive devices that can be easily damaged if not stored correctly. Factors such as dust, moisture, temperature changes, and physical impact can significantly impact their performance and longevity. Therefore, it is essential to follow proper storage techniques to safeguard your electronics and ensure they remain in optimal condition for future use.
By following the steps outlined in this article, you will not only protect your devices but also create an organized and efficient storage system that allows for easy access and maintenance. So, let’s dive into these ten steps and learn how to store electronics at home effectively.
Key Takeaways:
- Proper electronic storage involves choosing the right location, organizing cables, protecting from humidity, and using protective cases. Avoid stacking devices and maintain regular cleaning and maintenance for optimal functionality and longevity.
- Label and inventory your electronics, create a designated charging area, and follow manufacturer guidelines for specific care. By implementing these steps, you can ensure an organized and well-maintained collection of electronics at home.
Read more: How To Store Camera Equipment
Step 1: Choose the Right Location
When it comes to storing your electronics, the first and most crucial step is to choose the right location. Ideally, you should opt for a cool, dry, and well-ventilated area that is away from direct sunlight and extreme temperature fluctuations.
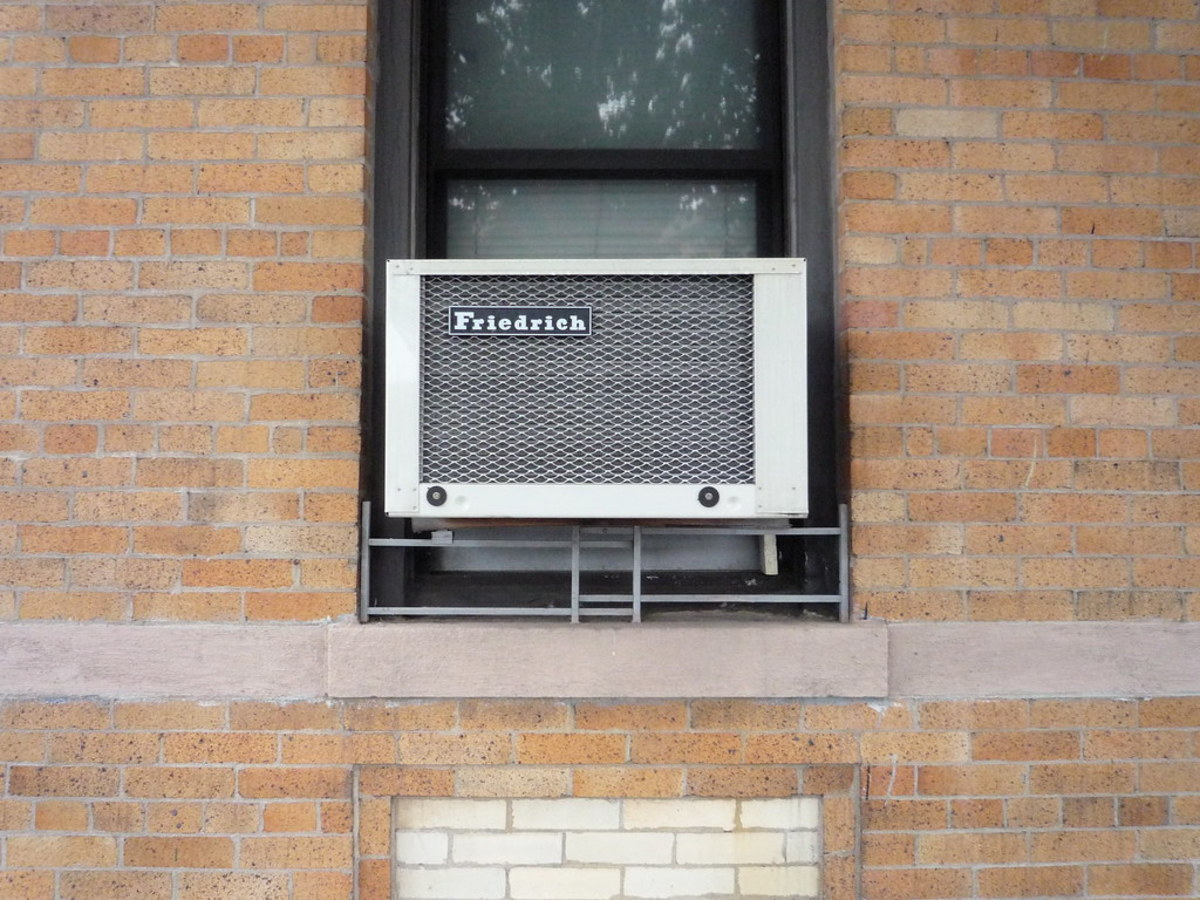
Avoid storing electronics in areas prone to high humidity, such as basements or bathrooms, as moisture can damage sensitive components and lead to corrosion. Additionally, keep them away from areas where they might be exposed to water sources, such as near sinks or windows.
Consider dedicating a specific room or cabinet for electronic storage. This will help keep your devices organized and protected from potential accidents or mishandling. If you don’t have a separate room, choose a designated shelf or storage box to keep your electronics in one place.
Ensure that the storage location is easily accessible so that you can retrieve and put away your electronics conveniently. However, avoid placing them near high-traffic areas or where they may be at risk of being knocked over or damaged accidentally.
Lastly, keep in mind that electronics are sensitive to temperature changes. Extreme heat or cold can impact their performance and potentially cause irreversible damage. Therefore, it’s important to select a storage location with a consistent room temperature, ideally between 60-75 degrees Fahrenheit (15-24 degrees Celsius).
By choosing the right location for storing your electronics, you create a solid foundation for maintaining their longevity and functionality. Let’s move on to the next step and learn about cleaning and preparing the storage area.
Step 2: Clean and Prepare the Storage Area
Before storing your electronics, it’s crucial to clean and prepare the storage area properly. This step ensures that the environment is free of dust, debris, and potential hazards that may harm your devices.
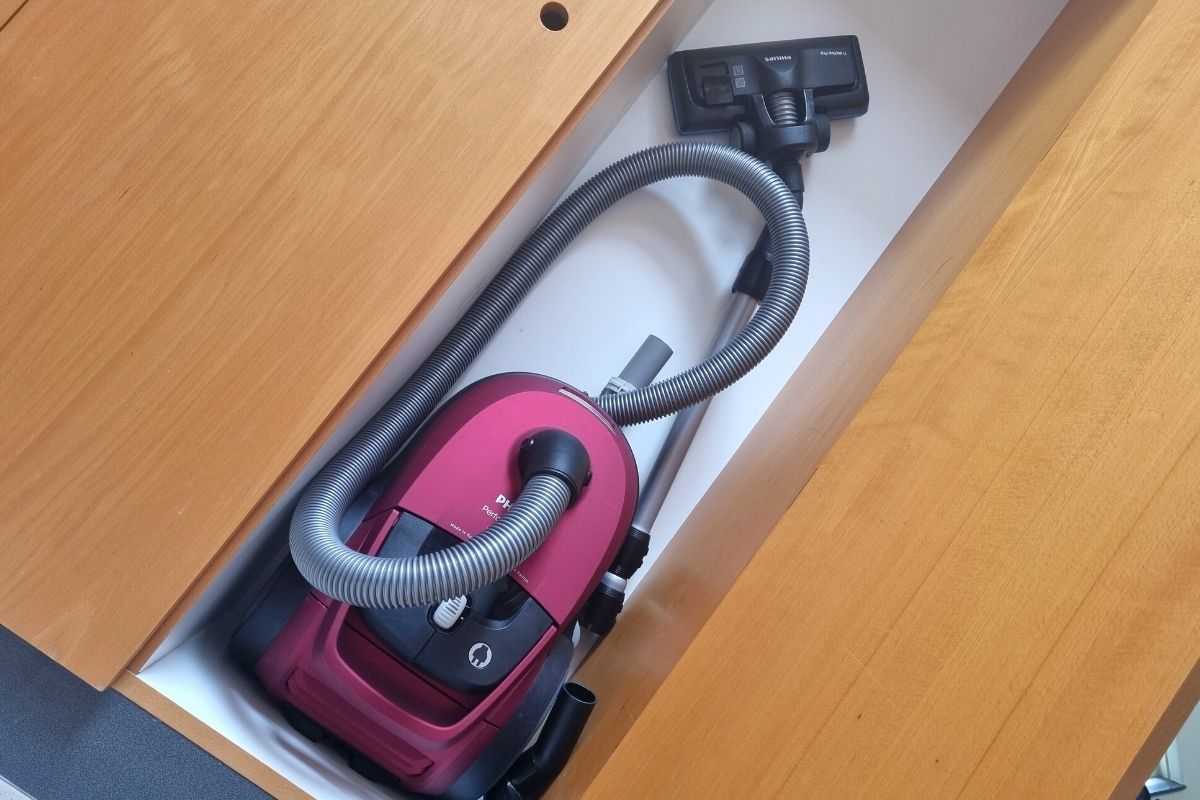
Start by removing any existing dirt or dust from the storage area. Vacuum or sweep the floor, shelves, or cabinets to eliminate any particles that can potentially contaminate your electronics. Use a microfiber cloth to wipe down surfaces to remove any remaining dust or smudges.
If your storage area has windows, consider using curtains or blinds to block out direct sunlight. Sunlight can cause discoloration and damage to screens and sensitive components over time. If blocking sunlight completely is not possible, you can at least minimize exposure by using curtains or window films that filter out harmful UV rays.
In addition to cleaning, you should also prepare the storage area to minimize any potential hazards. Ensure that there are no exposed wires, sharp objects, or liquids that can pose a risk to your electronics. If necessary, cover or seal any outlets or electrical sockets to prevent accidental water damage or electric shocks.
If you live in an area prone to power outages or electrical fluctuations, consider investing in a surge protector or an uninterruptible power supply (UPS). These devices can protect your electronics from power surges and provide a stable power source during outages, preventing potential damage.
By cleaning and preparing the storage area, you create a clean and safe environment for your electronics. In the next step, we will discuss how to organize cables and accessories to keep everything tidy and easily accessible.
Step 3: Organize Cables and Accessories
One of the biggest challenges when it comes to storing electronics is managing the tangle of cables and accessories. Taking the time to organize them properly not only makes it easier to find what you need but also helps prevent damage or loss.
Start by untangling and sorting out all the cables. Use cable ties, Velcro straps, or zip ties to keep them neatly bundled together. It’s also helpful to label each cable, indicating its purpose or the device it belongs to. This will save you time and frustration when you need to connect or replace cables in the future.
Consider using cable management solutions, such as cable clips or cable sleeves, to keep cables organized and prevent them from tangling. These tools help streamline the appearance of your storage area and make it easier to identify and access specific cables.
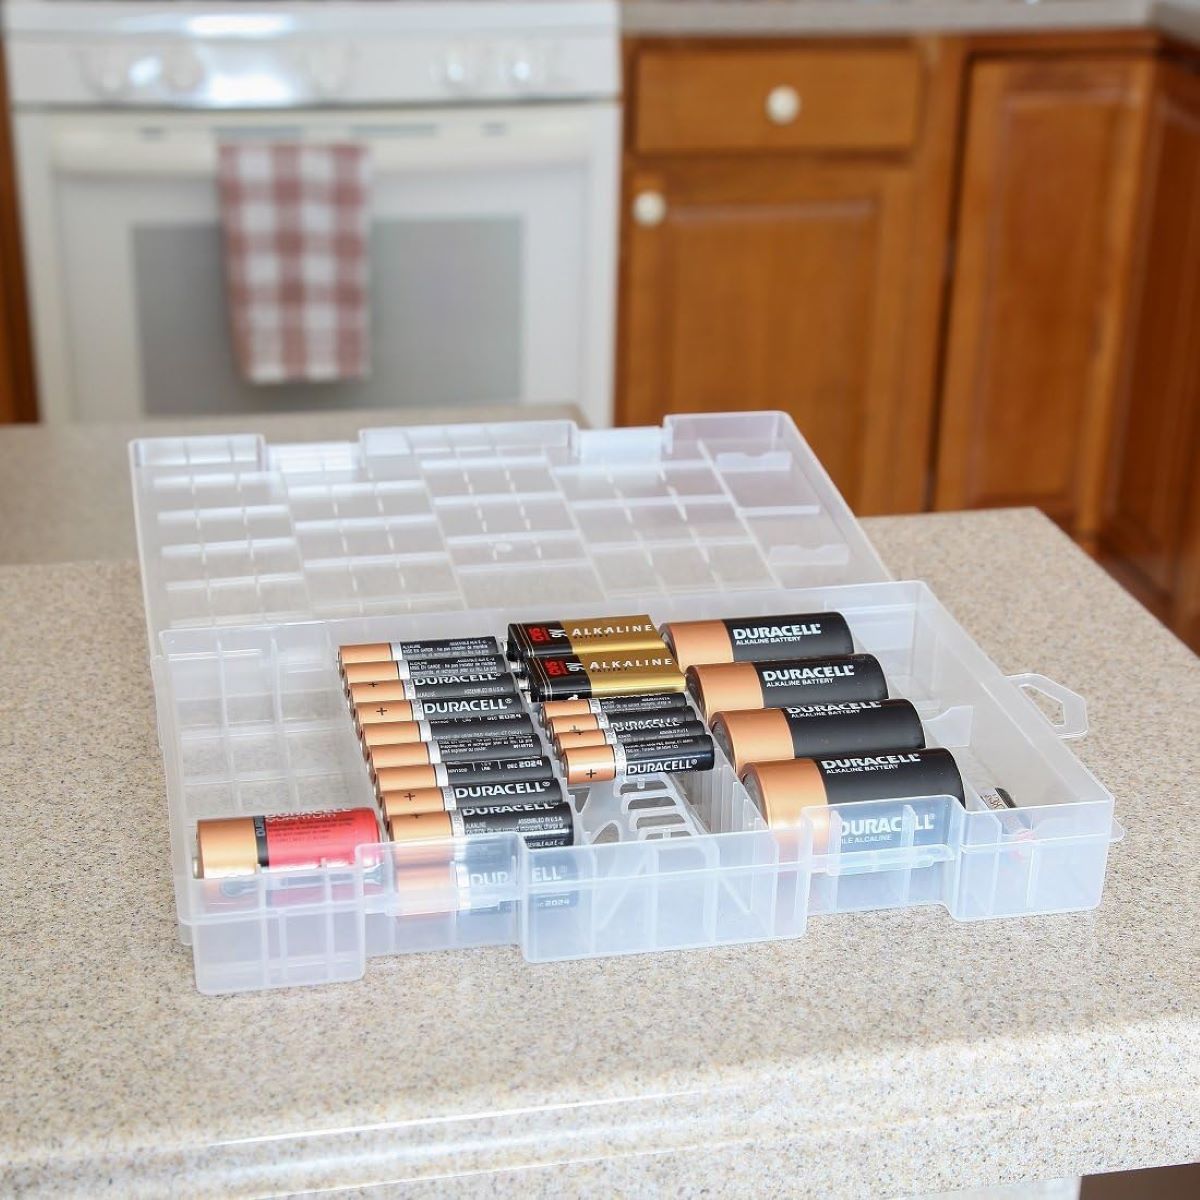
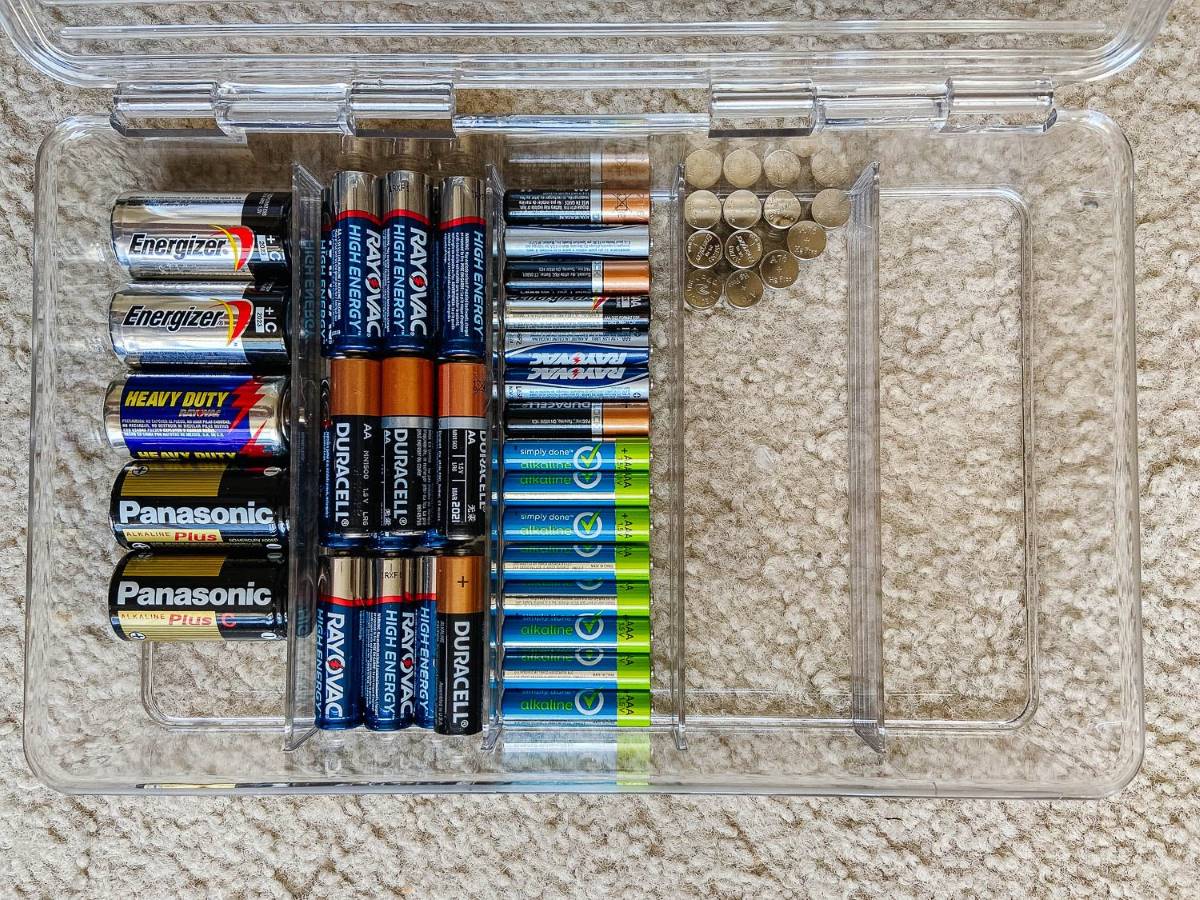
In addition to cables, organize your electronic accessories like chargers, adapters, and batteries. Use small storage bins, pouches, or dividers to keep these items separate and easy to find. Label the containers or use color-coding systems to further enhance organization.
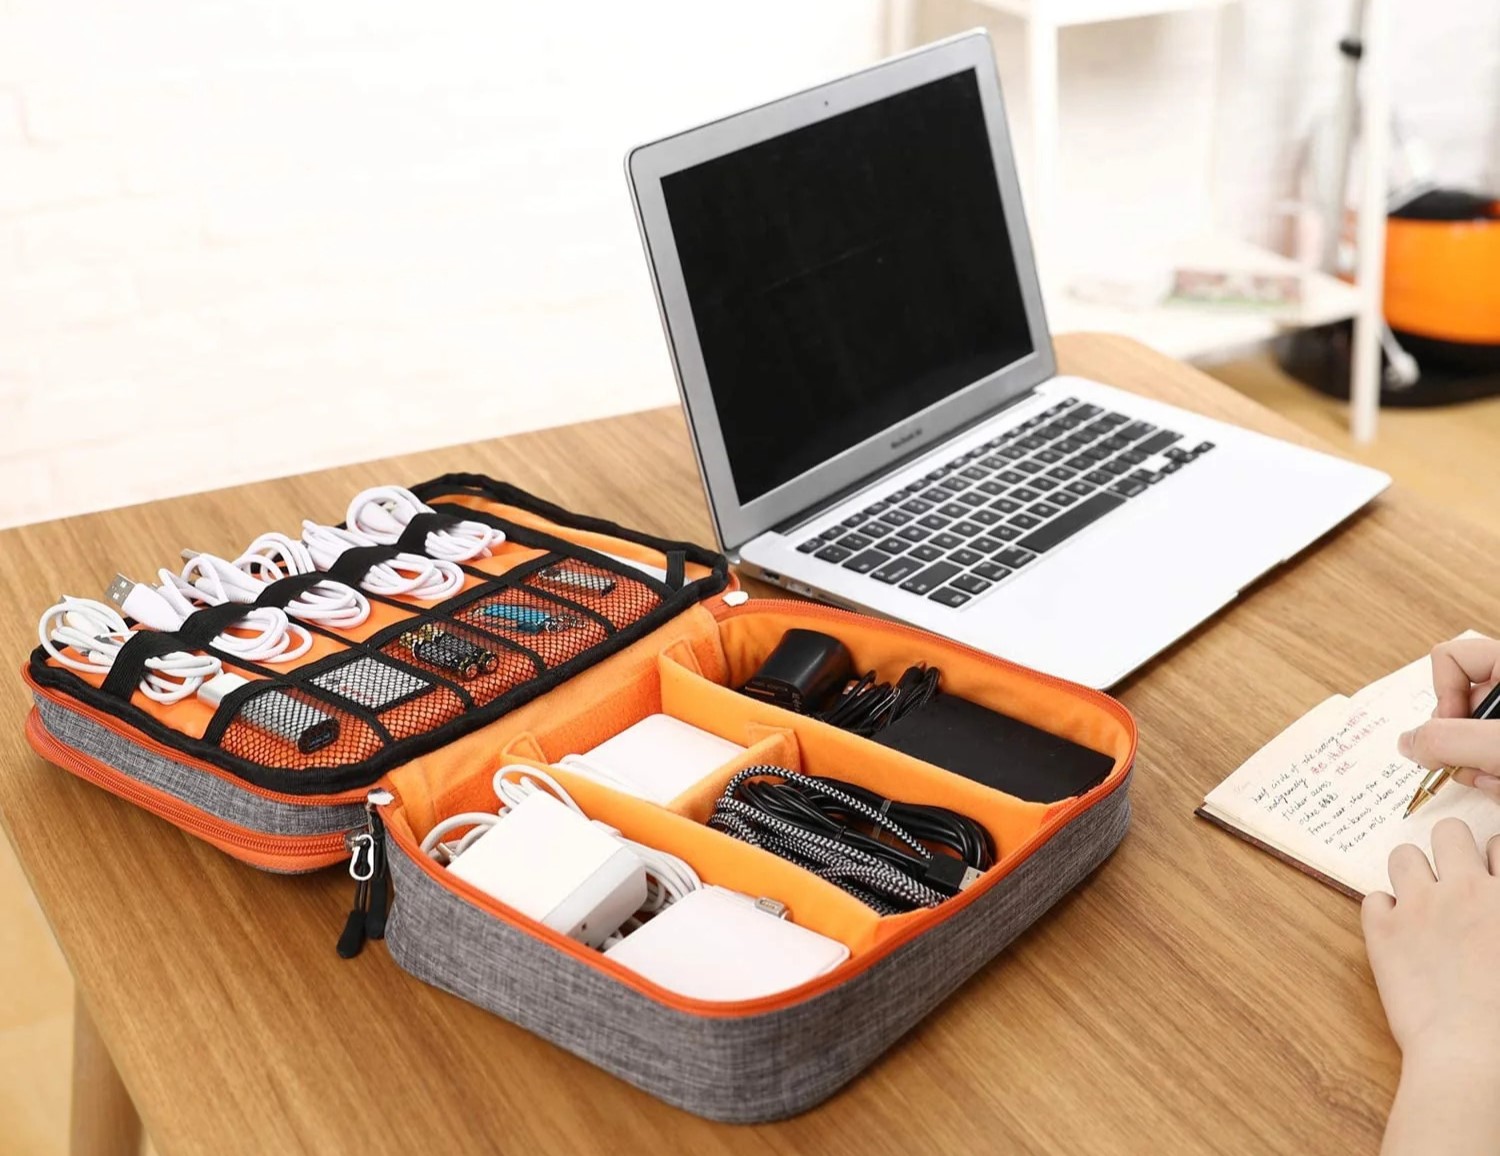
If you have multiple devices with similar chargers or accessories, consider using cable organizers or storage cases designed specifically for electronics. These organizers usually have compartments and slots to neatly store each device and its corresponding accessories, minimizing the risk of misplacing or damaging them.
By organizing cables and accessories, you create a clutter-free and efficient space for storing your electronics. In the next step, we will discuss how to protect sensitive electronics from humidity.
Step 4: Protect Sensitive Electronics from Humidity
Humidity can be extremely damaging to sensitive electronics, causing moisture buildup and corrosion. It’s important to take precautions to protect your devices from excessive humidity and maintain an optimal moisture level.
Consider investing in a dehumidifier or using moisture-absorbing products, such as desiccant packs or silica gel packets, in your storage area. These products help remove excess moisture from the air and prevent it from harming your electronics.
Another effective way to protect your electronics from humidity is by using air-tight storage containers or bags. These containers create a barrier between your devices and the surrounding moisture, keeping them dry and safe. Ensure that the containers are properly sealed to prevent any air or moisture from entering.
If you live in a particularly humid climate, you can also try using moisture-proof storage boxes. These boxes are designed to be resistant to moisture and provide an additional layer of protection for your electronics.
In addition to these measures, avoid storing electronics directly on the floor, especially if your storage area is prone to dampness. Elevated shelves or storage racks provide better airflow and prevent moisture from seeping into your devices.
Lastly, regularly check the humidity levels in your storage area using a hygrometer. Aim for a relative humidity level below 50% to ensure optimal conditions for your electronics. If necessary, adjust the humidity using the dehumidifier or other methods mentioned earlier.
By taking steps to protect your electronics from humidity, you can significantly prolong their lifespan and prevent potential damage. In the next step, we will discuss how to properly store your electronics using protective cases or bags.
Read more: How To Store Computer Monitors
Step 5: Store Electronics in Protective Cases or Bags
Storing your electronics in protective cases or bags is an excellent way to shield them from dust, scratches, and accidental damage. These protective coverings act as a barrier between your devices and potential hazards.
For portable electronics like smartphones, tablets, and laptops, invest in high-quality cases specifically designed for your device model. These cases provide cushioning and shock absorption, protecting your devices from accidental drops or impacts.
When selecting a case, look for features like reinforced corners, padded interiors, and secure closures to ensure maximum protection. Consider options with additional pockets or compartments to conveniently store accessories like charging cables or earphones.
For larger electronics like gaming consoles or desktop computers, consider using dust covers or storage bags. These covers are designed to repel dust and keep your devices clean during storage. Look for covers made from breathable materials to prevent moisture buildup.
When storing multiple devices, you can also use cable management bags or organizers to store each device and its accessories together. These bags usually have separate compartments or sleeves, ensuring that everything stays organized and protected.
Remember to clean your devices thoroughly before placing them in the protective cases or bags. Remove any dirt, fingerprints, or debris from the surfaces to prevent potential damage or staining.
Label the cases or bags with the name of the device to easily identify and locate specific electronics when needed. This saves time and reduces the chances of misplacing or mixing up your devices.
By storing your electronics in protective cases or bags, you ensure that they are shielded from potential damage and remain in excellent condition even during storage. In the next step, we will discuss the importance of avoiding stacking electronics on top of each other.
Store electronics in a cool, dry place away from direct sunlight and extreme temperatures. Use protective cases or covers to prevent dust and damage. Keep cords and accessories organized to avoid tangles.
Step 6: Avoid Stacking Electronics on Top of Each Other
Stacking electronics on top of each other may seem like a convenient way to save space, but it can lead to potential damage and compromise the functionality of your devices. It’s important to avoid stacking electronics and instead opt for alternative storage methods.
When you stack electronics on top of each other, you risk exposing them to excessive pressure and potential impact. This can result in screen damage, component misalignment, or even internal hardware issues. Additionally, the weight of the devices themselves can cause strain and deformation to the bottom ones.
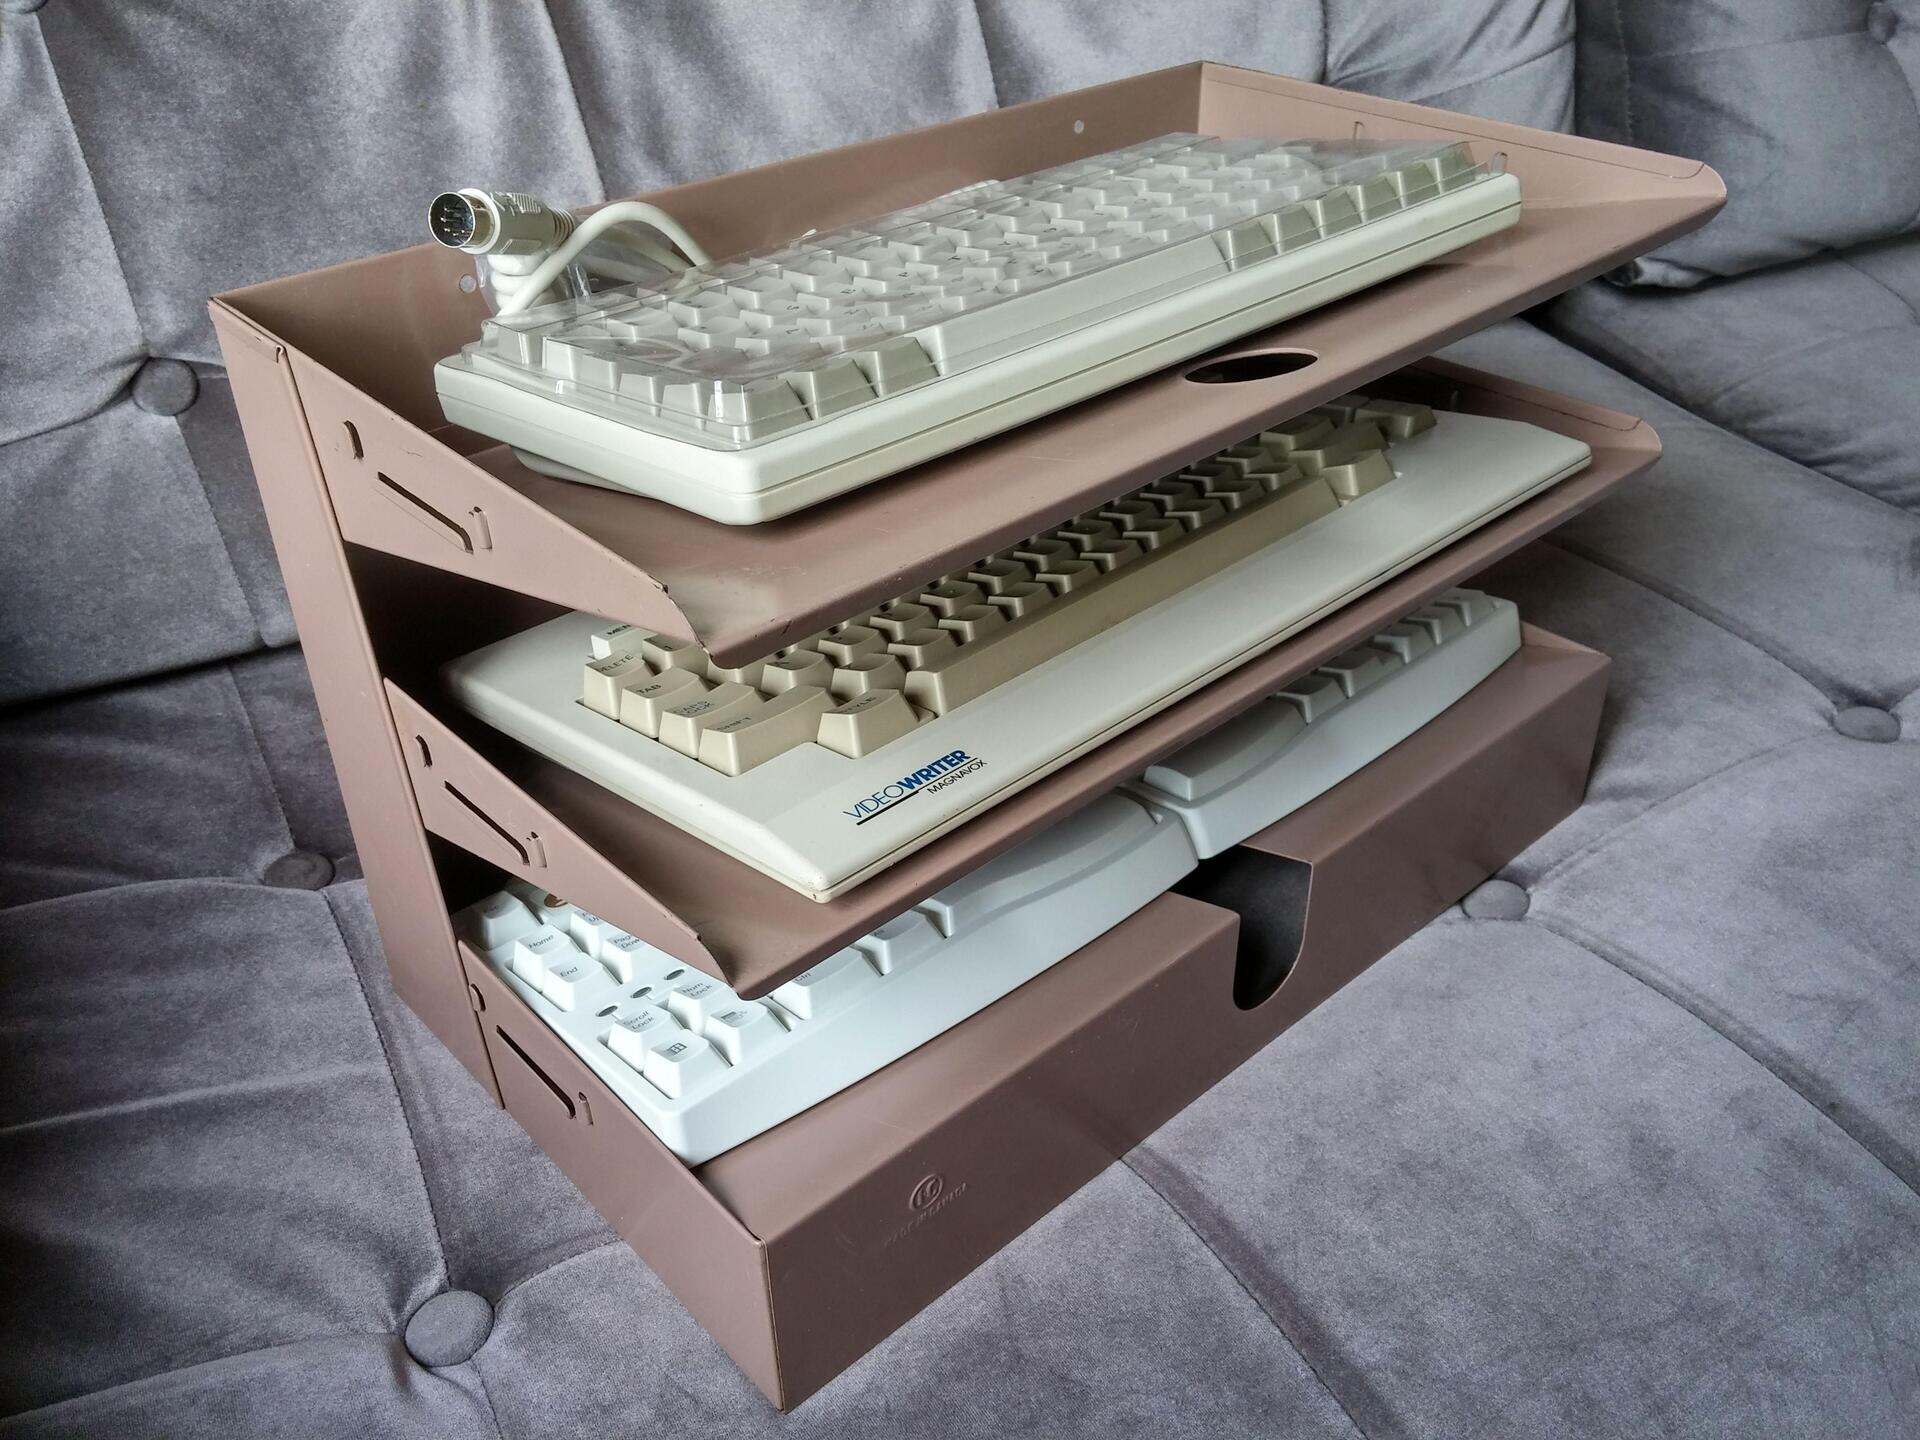
Instead, store your electronics side by side or use dedicated shelves or compartments to keep them separate. This prevents any unnecessary pressure or stress on the devices and ensures their integrity is maintained.
If you’re short on space, consider investing in storage solutions such as adjustable shelves or storage racks. With these options, you can customize the spacing between devices and ensure they are adequately supported without the need for stacking.
If you must stack items due to limited space, use caution and take extra measures to protect the devices. Place a soft cloth or padding between each electronic device to create a buffer and minimize direct contact. Avoid stacking more than two devices on top of each other to reduce the risk of damage.
Remember to account for any accessories or charging cables when organizing your devices. Avoid placing heavy objects on top of cables or bending them in a way that could cause damage.
By avoiding the practice of stacking electronics on top of each other, you ensure that your devices remain safe from potential damage and maintain their optimal functionality. In the next step, we will discuss the importance of using proper containers for storage.
Step 7: Use Proper Containers for Storage
Using proper containers for storing your electronics is essential for keeping them organized, protected, and easily accessible. By selecting the right containers, you can prevent damage from dust, moisture, and physical impact.
Plastic bins with secure lids are a popular choice for storing electronics. Look for bins that are durable, stackable, and have a sealable lid to keep out dust and moisture. Transparent bins are especially helpful as they allow you to easily see what’s inside without opening each container.
For smaller electronics and accessories, consider using clear storage boxes with compartments or dividers. These boxes are designed specifically for organizing small items and help prevent tangles and confusion.
To provide extra protection for delicate devices like cameras or lenses, invest in padded carrying cases or foam inserts. These cases are designed to cushion and securely hold your electronics in place, offering maximum protection during storage or transport.
When using containers for storage, it’s important to make sure they are clean and free of any debris or residue. Dust and dirt can transfer onto your electronics and potentially cause damage over time.
Label each container with the contents or category of electronics stored inside. This makes it easier to locate specific devices without having to open multiple containers.
Keep in mind that storing electronics in containers allows for easy access and prevents items from getting misplaced. It also helps free up space and maintains a neat and organized storage area.
By using proper containers for storage, you ensure that your electronics are protected from dust, moisture, and physical damage, while also simplifying the retrieval process. In the next step, we will discuss the importance of labeling and inventorying your electronics.
Step 8: Label and Inventory Your Electronics
Labeling and inventorying your electronics is an essential step in maintaining an organized storage system. By clearly labeling your devices and keeping an inventory, you can easily locate specific electronics and keep track of what you have.
Start by labeling each device with its name or model number using adhesive labels or marker pens. This helps identify each device quickly without the need to open containers or cases.
Consider creating a detailed inventory list of all your electronics. This can be done using a spreadsheet or a dedicated inventory management app. Include information such as the device name, serial number, purchase date, and any other relevant details. Update the inventory regularly to reflect any additions or removals from your collection.
If you have multiple similar devices, such as smartphones or tablets, it’s helpful to label each device with a unique identifier. This can be a combination of numbers or letters to differentiate them easily.
For an added layer of organization, group devices together based on categories or usage. For example, you can have separate sections or containers for mobile devices, gaming consoles, or audio equipment. This further simplifies the retrieval process and helps maintain order within your storage area.
Consider using QR codes or barcode labels for easy scanning and retrieval of information about your devices. This can be particularly useful for larger collections or if you intend to lend or share your electronics with others.
Regularly update and review your inventory list to ensure its accuracy and completeness. This will help you keep track of your devices and identify any missing or misplaced items in a timely manner.
By labeling and inventorying your electronics, you create an organized system that allows for easy retrieval and management of your devices. In the next step, we will discuss the importance of creating a designated area for charging your devices.
Read more: How To Store Thermal Paste
Step 9: Create a Designated Area for Charging Devices
Creating a designated area for charging your devices is essential for keeping them organized, easily accessible, and ready for use. Having a dedicated space for charging also helps prevent clutter and ensures that your devices are always ready when you need them.
Choose an area in your home where you can set up a charging station. Ideally, this area should be close to a power outlet and have enough space to accommodate multiple devices simultaneously.
Consider using a charging station or charging dock that allows you to charge multiple devices at once. These charging stations often come equipped with multiple USB ports or slots for different types of charging cables.
Make sure that the charging area is well-ventilated to prevent overheating of the devices while they are charging. Avoid placing devices on soft surfaces like beds or sofas, as this can restrict airflow and potentially lead to heat buildup.
Use cable management solutions, such as cable clips or cable sleeves, to keep charging cables organized and prevent them from tangling or getting damaged. This not only reduces clutter but also makes it easier to locate the right cable when you need to charge a specific device.
Consider labeling or color-coding the charging cables to ensure that you can easily identify which cable belongs to which device. This saves time and prevents the risk of mixing up cables or using the wrong charger for a device.
Regularly check the charging area and cables for any signs of wear or damage. Replace frayed or damaged cables immediately to prevent potential hazards or inefficiency in charging.
By creating a designated area for charging your devices, you establish a streamlined and convenient system for keeping your electronics powered up and ready to go. In the final step, let’s discuss the importance of maintaining regular cleaning and maintenance for your stored electronics.
Step 10: Maintain Regular Cleaning and Maintenance
Maintaining regular cleaning and maintenance for your stored electronics is crucial to ensure their longevity and optimal performance. Dust, dirt, and debris can accumulate over time, affecting the functionality and appearance of your devices. By incorporating regular cleaning and maintenance into your storage routine, you can keep your electronics in excellent condition.
Start by regularly dusting your electronics using a soft microfiber cloth or an anti-static duster. Pay attention to the vents, ports, and any crevices where dust can accumulate. This prevents dust from clogging the devices and impeding proper airflow, which can cause overheating and performance issues.
For screens, use a screen-cleaning solution or a mild detergent diluted in water. Apply the solution to a microfiber cloth and gently wipe the screen in a circular motion. Avoid using abrasive materials or harsh chemicals, as they can damage the screen’s protective coating.
For devices with physical keyboards, use a can of compressed air to remove trapped debris between the keys. Alternatively, you can use a small brush or a soft toothbrush to clean the keys and crevices.
Regularly inspect cables, connectors, and charging ports for any signs of damage or wear. Replace damaged cables or connectors to ensure optimal charging and data transfer.
Pay attention to battery maintenance for devices that are not in frequent use. It’s recommended to charge and discharge the battery periodically to prevent battery degradation. Refer to the manufacturer’s instructions for specific recommendations on battery maintenance for your devices.
If you store your electronics for an extended period without use, consider powering them on occasionally to prevent moisture buildup and ensure all functions are working correctly. This helps prevent potential issues caused by long-term inactivity.
Lastly, always consult the manufacturer’s guidelines and recommendations for cleaning and maintenance specific to your devices. Different electronics may require different care and handling, so it’s important to follow the instructions provided.
By maintaining regular cleaning and maintenance for your stored electronics, you can prolong their lifespan, ensure optimal performance, and keep them looking and functioning like new. With all ten steps covered, you are now ready to store your electronics at home effectively and enjoy the benefits of an organized and well-maintained collection.
Conclusion
Storing electronics at home is not a task that should be taken lightly. Proper storage techniques are essential to protect your devices, prolong their lifespan, and maintain their functionality. By following the ten steps outlined in this article, you can create an organized and efficient system for storing your electronics at home.
Choosing the right location is the first step in ensuring that your electronics are stored in a suitable environment. A cool, dry, and well-ventilated area away from direct sunlight and extreme temperature fluctuations is ideal. Cleaning and preparing the storage area, organizing cables and accessories, and protecting electronics from humidity are crucial steps for maintaining optimal conditions.
Storing electronics in protective cases or bags helps safeguard them from dust, scratches, and accidental damage. Avoid stacking devices on top of each other to prevent unnecessary pressure and potential impact. Instead, use proper containers that are clean, well-sealed, and labeled to keep your electronics organized and accessible.
Labeling and inventorying your electronics provide a clear overview of what you have and make it easier to locate specific devices when needed. Creating a designated area for charging devices streamlines the process and prevents clutter, while regular cleaning and maintenance ensure optimal performance and longevity.
By implementing these steps, you can create an effective and organized system for storing electronics at home. Not only will this help protect and preserve your devices, but it will also ensure that they are readily available and in proper working order whenever you need them.
Remember, each electronic device may have specific storage requirements or recommendations from the manufacturer. Always refer to the instructions and guidelines provided by the manufacturer for your individual devices to ensure the best practices are followed.
With the right storage techniques in place, you can enjoy the convenience of an organized collection of electronics while ensuring that your devices are well-maintained and ready for use whenever you need them. Happy storing!
Frequently Asked Questions about How To Store Electronics At Home
Was this page helpful?
At Storables.com, we guarantee accurate and reliable information. Our content, validated by Expert Board Contributors, is crafted following stringent Editorial Policies. We're committed to providing you with well-researched, expert-backed insights for all your informational needs.



0 thoughts on “How To Store Electronics At Home”