Articles
How To Store Ac
Modified: December 7, 2023
Looking for tips on how to store AC articles? Check out our comprehensive guide for effective methods and best practices to keep your articles safe and organized.
(Many of the links in this article redirect to a specific reviewed product. Your purchase of these products through affiliate links helps to generate commission for Storables.com, at no extra cost. Learn more)
Introduction
Welcome to the comprehensive guide on how to store an AC unit. Whether you are preparing for the winter season or simply need to store your air conditioner for an extended period, proper storage is essential to ensure its longevity and performance. By following the steps outlined in this article, you can protect your AC unit from potential damage and keep it in optimal condition.
Storing your AC unit involves several key steps, including choosing the right container, preparing the storage area, cleaning the unit, removing and storing filters, covering the outdoor unit, protecting it from moisture, and securing the power supply. Each of these steps plays a crucial role in safeguarding your AC unit during the storage period.
So, let’s dive into the details of each step to effectively store your AC unit and ensure it is ready to provide efficient cooling when you need it again.
Key Takeaways:
- Properly storing your AC unit involves choosing the right container, preparing the storage area, cleaning the unit, removing and storing filters, covering the outdoor unit, protecting it from moisture, and securing the power supply. These steps are crucial for safeguarding your AC unit during storage and ensuring its longevity and optimal performance.
- Remember to invest time and effort in selecting the right container, cleaning the unit thoroughly, and protecting it from moisture. Properly storing your AC unit will contribute to its longevity and ensure efficient cooling for many years to come.
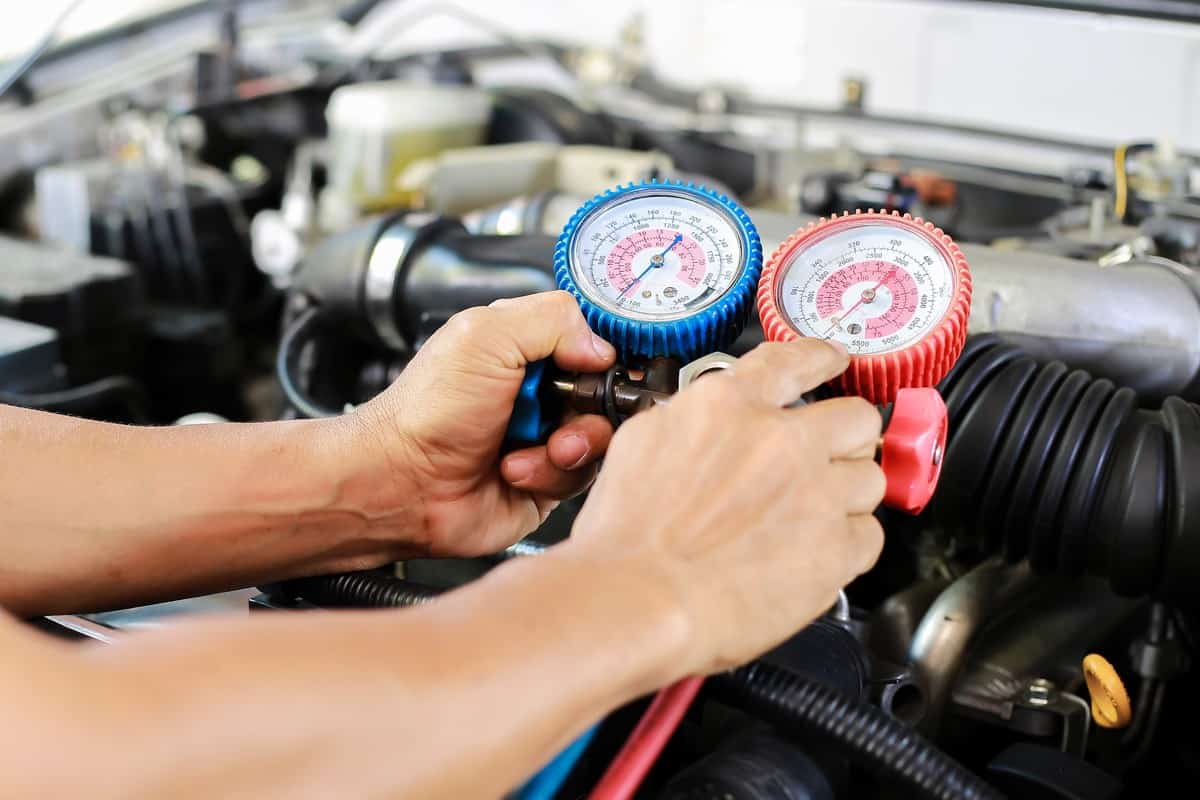
Read more: How To Check AC Pressure In Car
Step 1: Choosing the Right Container
Choosing the right container is an important step in the process of storing your AC unit. It ensures that the unit is protected from dust, debris, and moisture while in storage. Here are a few key considerations when selecting a container:
- Size: The container should be large enough to accommodate your AC unit comfortably. It should allow for some breathing room around the unit to avoid any potential damage.
- Material: Opt for a container made of a sturdy and durable material, such as plastic or metal. This will provide adequate protection against external elements and prevent any potential damage to your AC unit.
- Lid or Cover: Ensure that the container has a tight-fitting lid or cover to keep out dust, insects, and moisture. This will help maintain the cleanliness and integrity of your AC unit during storage.
- Accessibility: Choose a container that allows for easy access to your AC unit when you need to retrieve or reassemble it. This will save you time and effort in the future.
Once you have chosen an appropriate container, clean it thoroughly to remove any dust or debris that could potentially get into your AC unit during storage. Use a mild detergent and water to clean the container and allow it to dry completely before placing your AC unit inside.
Remember, the container you choose will have a direct impact on the condition of your AC unit when you take it out of storage. So, invest some time and effort in selecting the right container to ensure the best possible protection for your AC unit.
Step 2: Preparing the Storage Area
Before storing your AC unit, it is important to properly prepare the storage area to ensure optimal conditions for the unit. Here are some essential steps to follow:
- Clean the area: Start by clearing out any debris or clutter in the storage area. Remove any items that could potentially obstruct the AC unit or impede airflow.
- Check for moisture: Ensure that the storage area is dry and free from any leaks or excessive humidity. Moisture can cause damage to the AC unit, leading to mold or corrosion. If necessary, use a dehumidifier to maintain a dry environment.
- Consider temperature: Ideally, the storage area should be a cool and dry place to prevent any damage to the AC unit. Extreme temperatures can affect the internal components, so avoid storing the unit in areas prone to excessive heat or cold.
- Elevate the unit: If the storage area has a concrete floor, consider elevating the AC unit slightly to prevent moisture from seeping into the unit. You can place wooden pallets or boards under the unit to provide some elevation.
By taking these steps to prepare the storage area, you ensure that the environment is suitable for storing the AC unit. This will help maintain its integrity and prevent any potential damage or issues that could arise from improper storage conditions.
Step 3: Cleaning the AC Unit
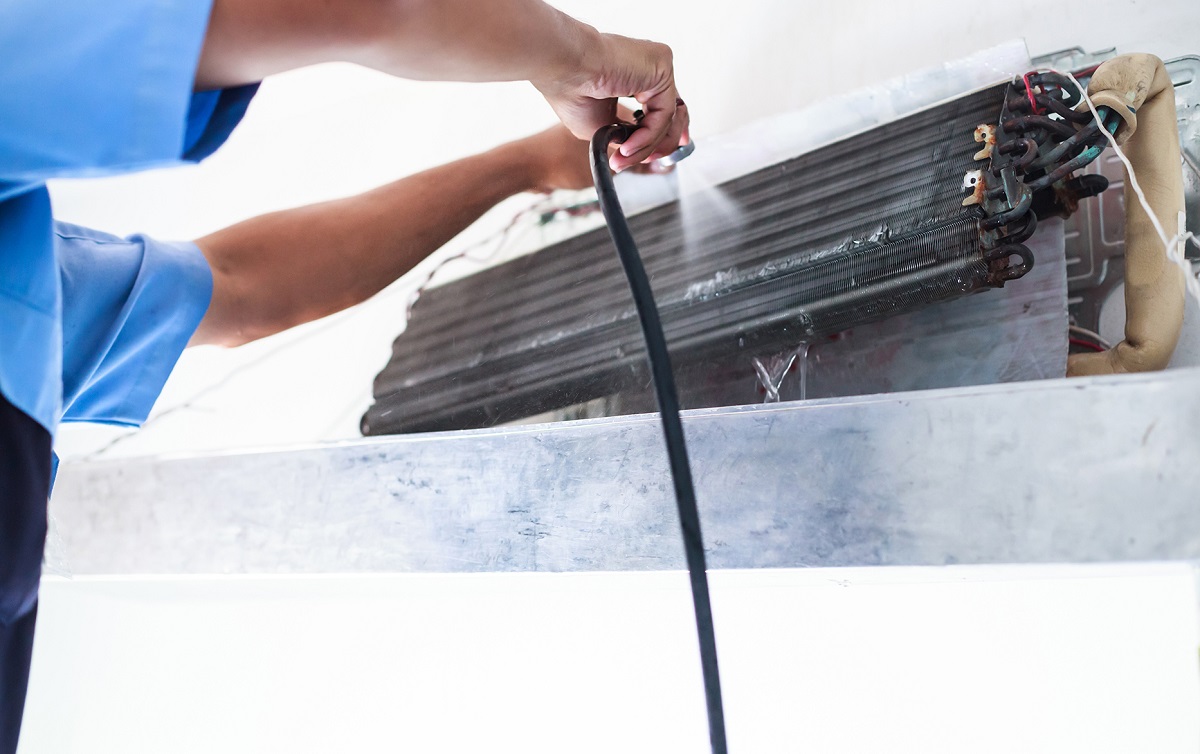
Cleaning your AC unit before storing it is crucial to remove any dirt, dust, or debris that may have accumulated. This step ensures that the unit is in optimal condition and ready for storage. Follow these steps to clean your AC unit:
- Turn off the power: Before cleaning the AC unit, make sure to turn off the power supply at the circuit breaker. This ensures your safety while working on the unit.
- Remove the outer covers: Start by removing the outer covers of the AC unit. This may involve unscrewing or lifting the covers, depending on the model. Be sure to keep any screws or fasteners in a safe place for reassembly later.
- Clean the filters: Gently remove the air filters from the AC unit. If they are reusable filters, you can clean them with mild detergent and water. If they are disposable filters, replace them with new ones.
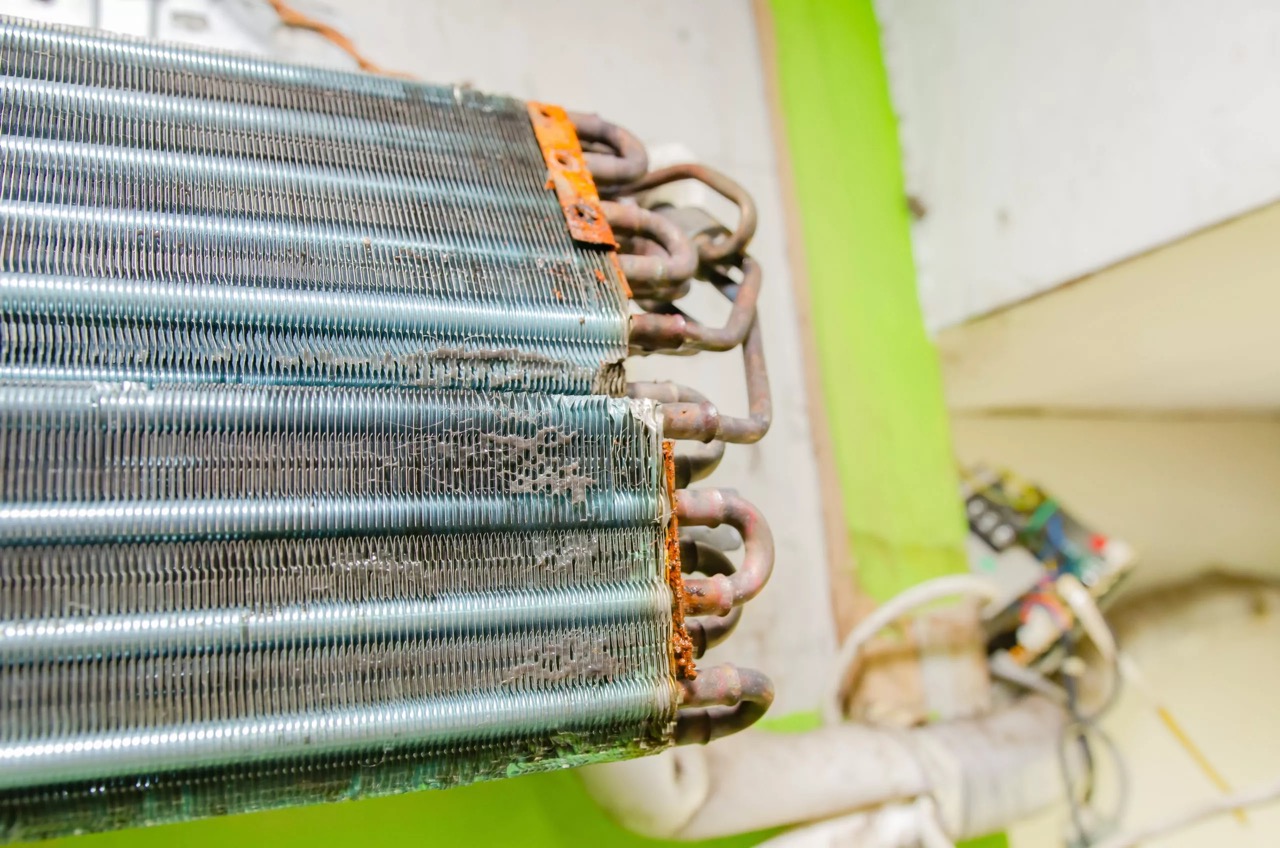
- Clean the fins and coils: Use a soft brush or a vacuum cleaner with a brush attachment to carefully remove dust and debris from the fins and coils of the AC unit. Be gentle to avoid bending or damaging the delicate fins.
- Clear debris from the fan and blades: Remove any debris, leaves, or twigs that may have accumulated in the fan and blades of the AC unit. This helps maintain proper airflow and prevents any obstructions when the unit is in use.
- Inspect for damage: While cleaning, take the time to inspect the AC unit for any signs of damage or wear. Look for loose wires, bent fins, or leaks. If you notice any significant damage, it is advisable to have a professional technician repair it before storing the unit.
Once you have completed the cleaning process, allow the AC unit to dry completely before moving on to the next step. This helps prevent any potential moisture-related issues during storage.
By thoroughly cleaning your AC unit, you ensure that it is free from dirt and debris that could affect its performance. This step contributes to the longevity and optimal functioning of your AC unit while in storage.
Step 4: Removing and Storing Filters
Removing and storing the filters properly is an important step in the process of storing your AC unit. Follow these steps to ensure the filters are well-preserved:
- Remove the filters: Start by removing the air filters from the AC unit. These filters are responsible for trapping dust and other particles from the air, ensuring clean airflow. Removing them before storing the unit helps prevent them from getting damaged or clogged during storage.
- Clean reusable filters: If you have reusable filters, clean them with mild detergent and water. Gently scrub away any dirt or debris, rinse them thoroughly, and allow them to air dry completely. Once dry, you can place them in a clean plastic bag or container for storage.
- Replace disposable filters: If your AC unit has disposable filters, replace them with new ones before storing the unit. Disposable filters should not be reused as they are designed for single-use only.
- Label the filters: It is a good practice to label the filters if you are using multiple units or have different types of filters. This helps you easily identify which filter belongs to which unit when it’s time to reinstall them.
- Store the filters safely: Once the filters are clean or replaced, store them in a safe and dry location. A sealed plastic bag or a labeled storage container works well to protect the filters from dust and damage.
Remember to check and replace the filters when you bring your AC unit out of storage. Clean or new filters ensure optimal airflow and help maintain the efficiency of your AC unit.
Properly removing and storing the filters will not only protect them during storage but also ensure that they are ready for use when you reinstall the AC unit in the future.
Store ac in a cool, dry place away from direct sunlight and heat sources. Keep it in its original packaging or a tightly sealed container to prevent moisture and air exposure.
Read more: How Many Watts To Run Rv AC
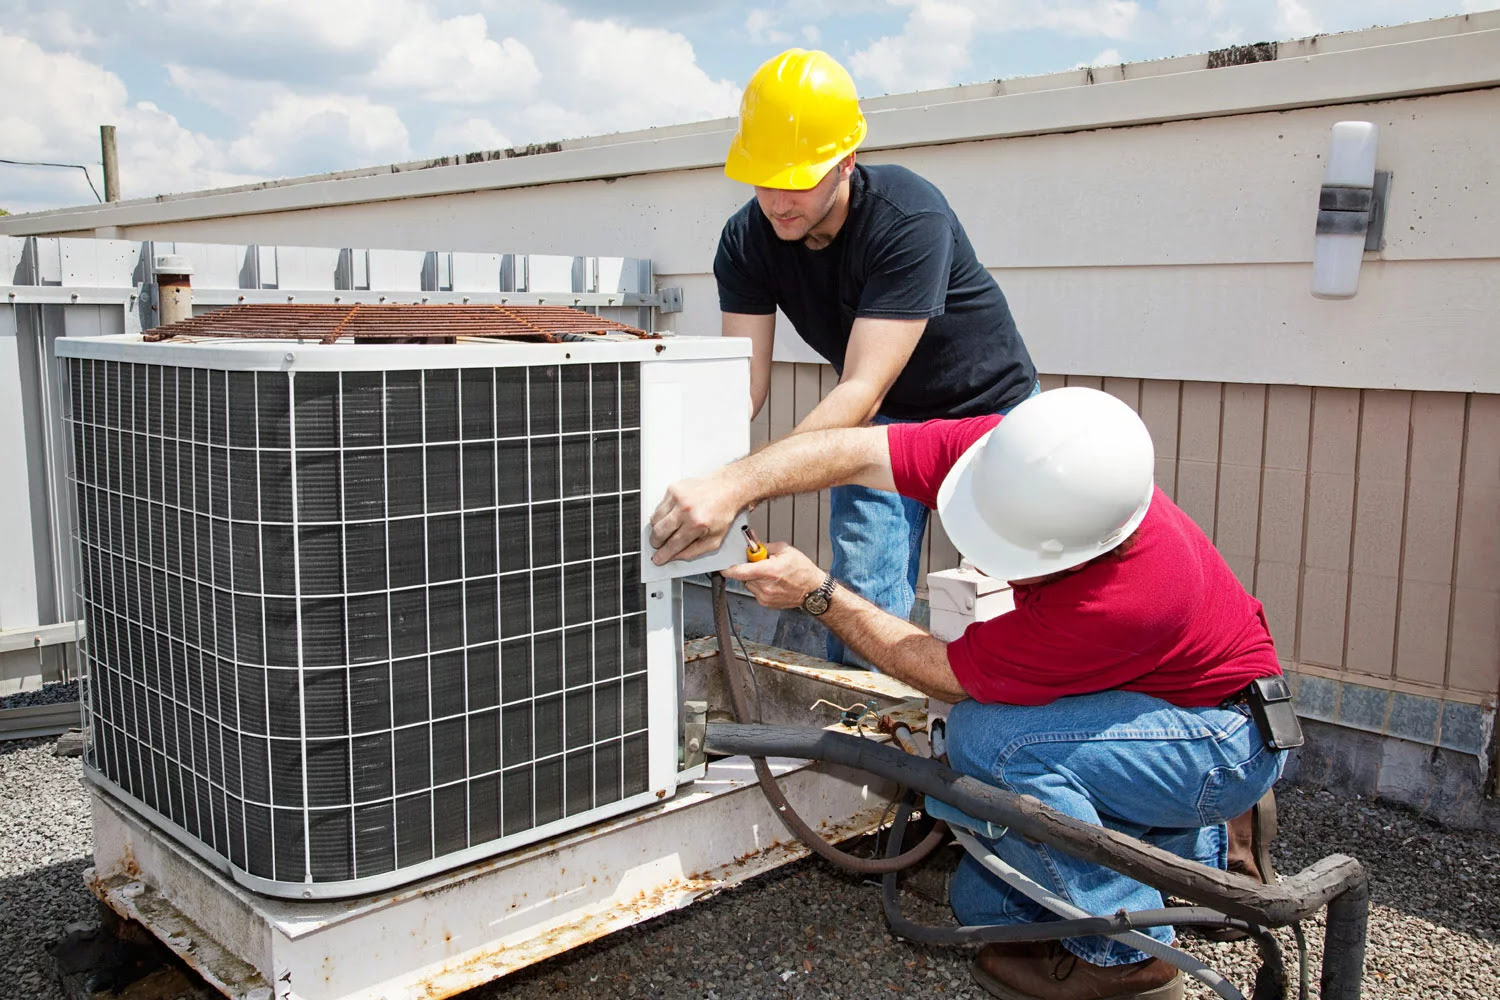
Step 5: Covering the Outdoor Unit
Covering the outdoor unit of your AC unit is an important step in protecting it from the elements while in storage. Here are the steps to effectively cover the outdoor unit:
- Clean the unit: Before covering the outdoor unit, make sure it is clean and free from any dirt or debris. Use a soft brush or a vacuum cleaner with a brush attachment to remove any loose particles.
- Select a cover: Choose a cover that is specifically designed for outdoor units or AC condensers. The cover should be made of a durable and weather-resistant material, such as heavy-duty vinyl or polyester.
- Measure and secure: Measure the dimensions of your outdoor unit to ensure the cover fits properly. The cover should be large enough to completely enclose the unit but not too loose that it blows away in strong winds. Secure the cover with straps or cords to keep it in place.
- Avoid plastic covers: Avoid using plastic covers or materials that do not allow for proper airflow. Plastic can trap moisture and lead to condensation, which can cause damage to the unit. Opt for breathable covers that provide adequate ventilation.
- Check periodically: During the storage period, periodically check the cover to ensure it is still securely in place and has not been damaged. If you notice any tears or signs of wear, repair or replace the cover as needed.
By covering the outdoor unit, you provide an extra layer of protection against dust, debris, and weather elements. This helps maintain the integrity and performance of the unit during storage.
Remember to remove the cover when you bring your AC unit out of storage and perform a thorough inspection before reconnecting and using the unit again. Ensuring that the outdoor unit is clean and in good condition is essential for optimal functioning.
Step 6: Protecting the AC Unit from Moisture
Protecting your AC unit from moisture during storage is crucial to prevent potential damage and ensure its proper functioning when you use it again. Here are some steps to follow:
- Check for existing moisture: Before storing your AC unit, inspect it for any signs of moisture or condensation. If you notice any dampness, use a dry cloth or towel to wipe it away and ensure the unit is completely dry.
- Use moisture-absorbing products: Place moisture-absorbing products, such as silica gel packets or desiccant bags, near or inside the storage container. These products help absorb excess moisture in the air and prevent it from damaging the AC unit.
- Avoid humid storage areas: Choose a storage area that is free from excessive humidity or moisture. High humidity can lead to condensation, which can cause corrosion or mold growth in the AC unit. If necessary, use a dehumidifier or a moisture absorber in the storage area to maintain optimal humidity levels.
- Don’t wrap the unit in plastic: While it may seem like a good idea to wrap the AC unit in plastic for added protection, it can actually trap moisture and cause more harm than good. Plastic can create a humid environment, leading to condensation inside the unit. Opt for breathable covers or materials instead.
- Regularly check for moisture: Throughout the storage period, periodically inspect the AC unit for any signs of moisture or water accumulation. If you notice any, thoroughly dry the unit and address the source of the moisture to prevent further damage.
By taking these precautions, you significantly reduce the risk of moisture-related issues and ensure that your AC unit remains in excellent condition during storage.
Remember to carefully follow these steps to protect your AC unit from moisture, as excess moisture can lead to damage and affect the performance of your unit when you need it again.
Step 7: Securing the Power Supply
Securing the power supply to your AC unit during storage is essential for safety and to prevent any potential electrical issues. Follow these steps to properly secure the power supply:
- Turn off the power: Start by turning off the power supply to your AC unit at the circuit breaker or main electrical panel. This ensures that there is no electricity running to the unit while it is in storage.
- Label the circuit breaker: To easily identify which circuit breaker controls the power to your AC unit, label it accordingly. This will be helpful when you need to turn the power back on after storage.
- Wrap or secure the power cord: Carefully wrap the power cord of your AC unit to prevent it from tangling or getting damaged. You can use cable ties or Velcro straps to secure the cord neatly. Avoid bending or pinching the cord to maintain its integrity.
- Store the power cord: Once the power cord is secured, store it neatly either inside the storage container with the AC unit or in a separate designated area. This ensures that the cord is protected and easily accessible when you need to reconnect the unit.
- Protect the power outlet: Consider covering the power outlet with a plastic cover or inserting a childproof outlet plug to prevent any accidental insertion of other objects and to keep it free from dust and debris.
- Periodically check the power supply: During the storage period, periodically check the power supply to ensure that the circuit breaker is still in the off position and that the power cord is secure and undamaged.
Taking these steps to secure the power supply helps protect against electrical mishaps and ensures the safety of your AC unit during storage.
Remember to follow these precautions when securing the power supply of your AC unit to maintain a safe storage environment and to facilitate an easy reconnection when you are ready to use the unit again.
Conclusion
Properly storing your AC unit is crucial to maintain its performance and extend its lifespan. By following the steps outlined in this comprehensive guide, you can ensure that your AC unit is protected and ready for use when you need it again.
From choosing the right container to securing the power supply, each step plays a vital role in the storage process. Taking the time to clean the unit, remove and store filters, cover the outdoor unit, protect against moisture, and secure the power supply safeguards your AC unit from potential damage and ensures its optimal functioning.
Remember to clean the AC unit thoroughly, remove and clean or replace filters, cover the outdoor unit with a suitable cover, protect against moisture, and secure the power supply. These steps will help preserve the integrity of your AC unit during storage and contribute to its longevity.
When the time comes to use your AC unit again, be sure to carefully inspect and clean it, reinstall filters, and properly reconnect the power supply. Regular maintenance and care will ensure that your AC unit performs at its best and continues to keep you cool and comfortable.
By following these guidelines and investing a little effort into properly storing your AC unit, you can enjoy its efficient cooling for many years to come.
Frequently Asked Questions about How To Store Ac
Was this page helpful?
At Storables.com, we guarantee accurate and reliable information. Our content, validated by Expert Board Contributors, is crafted following stringent Editorial Policies. We're committed to providing you with well-researched, expert-backed insights for all your informational needs.

0 thoughts on “How To Store Ac”