Articles
How To Store A Vacuum Cleaner
Modified: August 28, 2024
Discover effective ways to store your vacuum cleaner with these informative articles. Keep your vacuum in top shape and maximize its lifespan.
(Many of the links in this article redirect to a specific reviewed product. Your purchase of these products through affiliate links helps to generate commission for Storables.com, at no extra cost. Learn more)
Introduction
Storing your vacuum cleaner properly is crucial for extending its lifespan and ensuring optimal performance. Whether you are putting it away for a short period or long-term storage, following the right steps will help keep your vacuum cleaner in top shape. In this article, we will guide you through the process of storing a vacuum cleaner to ensure its longevity.
Proper storage not only prevents damage to the vacuum cleaner but also maintains its suction power and efficiency. By taking a few extra minutes to store your vacuum cleaner correctly, you can avoid unnecessary repairs and replacements in the future.
Before diving into the necessary steps, it is important to note that different models of vacuum cleaners may have specific storage instructions in their user manuals. Therefore, it is always recommended to consult the manufacturer’s guidelines before storing your vacuum cleaner. However, the general steps mentioned here should apply to most vacuum cleaner models.
Now let’s proceed with the step-by-step guide to storing your vacuum cleaner:
Key Takeaways:
- Properly storing your vacuum cleaner by emptying the dustbin, cleaning the filters, and detaching attachments ensures longevity and optimal performance, preventing unnecessary repairs and replacements.
- Winding the power cord, storing in a clean and dry place, and taking additional protective measures safeguard your vacuum cleaner, maintaining its readiness for future use.
Read more: How To Use A Vacuum Cleaner
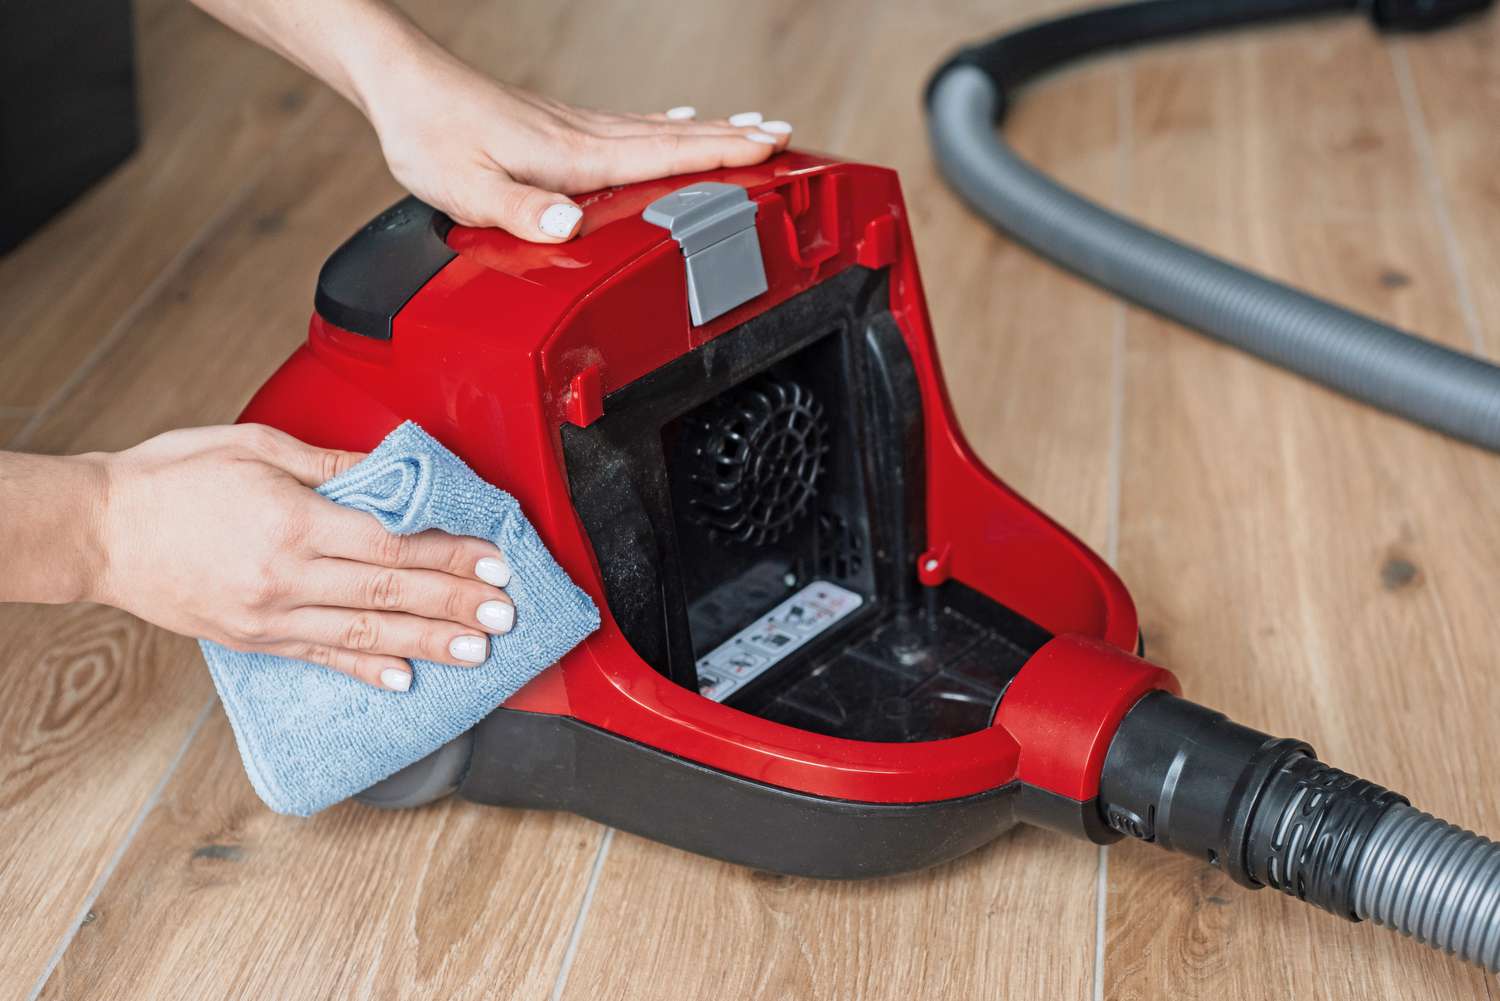
Step 1: Empty the Dustbin
Before storing your vacuum cleaner, it is essential to empty the dustbin or bag. Over time, dirt, debris, and allergens accumulate in the dustbin, which can not only cause unpleasant odors but also affect the efficiency of your vacuum cleaner. Follow these simple steps to empty the dustbin:
- Switch off the vacuum cleaner and unplug it from the power source.
- Locate the dustbin or bag compartment. Depending on the model, it may be at the front, back, or side of the vacuum.
- Open the dustbin compartment or remove the bag, following the manufacturer’s instructions.
- Hold the dustbin or bag over a trash can and gently tap or shake to remove any loose dirt and debris.
- If the dustbin is washable, rinse it with water to remove any remaining dirt. Be sure to check the manufacturer’s instructions regarding washability.
- Allow the dustbin or bag to air dry completely before putting it back into the vacuum cleaner. Unclean or damp dustbins can lead to mold or unpleasant smells.
By regularly emptying the dustbin, you not only maintain the cleanliness of your vacuum cleaner but also keep it running efficiently. It is recommended to empty the dustbin after each use or when it reaches the maximum fill line indicated by the manufacturer.
Once you have emptied and cleaned the dustbin, you can move on to the next step to prepare your vacuum cleaner for storage.
Step 2: Clean the Filters
One of the most important maintenance tasks for a vacuum cleaner is cleaning the filters. Filters are responsible for trapping dust, allergens, and other particles, allowing the vacuum cleaner to provide clean air output. Over time, these filters can become clogged, reducing suction power and overall performance. Follow these steps to clean the filters:
- Refer to the user manual to locate the filters in your vacuum cleaner. Common types of filters include foam, HEPA, and mesh filters.
- Remove the filters from the vacuum cleaner according to the manufacturer’s instructions.
- Check the condition of the filters. If they are disposable and visibly dirty or damaged, replace them with new ones.
- For washable filters, gently tap or brush off any loose dirt and debris. Avoid using water on filters unless stated otherwise by the manufacturer.
- If the filters are washable, rinse them under running water using mild soap if necessary. Be sure to follow the manufacturer’s instructions for cleaning.
- Allow the filters to air dry completely before putting them back into the vacuum cleaner. Avoid using the vacuum cleaner with wet filters, as it can cause damage.
Cleaning the filters regularly helps maintain the suction power of the vacuum cleaner and ensures the efficient capture of dust and allergens. Depending on the frequency of use, it is recommended to clean the filters every few months or as specified by the manufacturer.
Now that you have cleaned the filters, you can proceed to the next step to prepare your vacuum cleaner for storage.
Step 3: Detach Attachments
Before storing your vacuum cleaner, it is important to detach any attachments or accessories that may be connected to it. This ensures that the attachments remain in good condition and are readily available for future use. Here are the steps to detach the attachments:
- Switch off the vacuum cleaner and unplug it from the power source.
- Identify the attachments that are currently connected to the vacuum cleaner. This may include brushes, nozzles, crevice tools, or extension wands.
- Depending on the vacuum cleaner model, attachments may be removed by pressing a release button or twisting them counterclockwise.
- Gently detach each attachment and set them aside.
Once the attachments are detached, inspect them for any visible dirt or debris. Use a soft brush or cloth to clean them if necessary. Ensure that the attachments are completely dry before storing them separately to prevent any mold or mildew growth.
Detaching and cleaning the attachments not only ensures their longevity but also prevents any potential blockages or malfunctions in the vacuum cleaner. It also allows for easier storage of both the vacuum and its attachments.
With the attachments detached and cleaned, let’s move on to the next step to store your vacuum cleaner effectively.
To store a vacuum cleaner, always empty the dustbin or replace the bag to prevent odors and maintain suction power. Store in a dry, cool place to prevent mold and mildew growth.
Step 4: Wind the Power Cord
Properly winding the power cord of your vacuum cleaner is essential to prevent tangles, knots, and damage. Following this step will ensure that the cord remains in good condition and is ready for use when you need it next. Here’s how to wind the power cord:
- Switch off the vacuum cleaner and unplug it from the power source.
- Hold the end of the power cord firmly in one hand.
- With your other hand, start winding the power cord in a clockwise direction, making sure to keep it taut and even.
- Continue winding until you reach the end of the cord, leaving a few inches of slack at the end.
- Secure the wound cord with a twist tie or cord strap to keep it neat and prevent unraveling.
Avoid winding the cord too tightly or forcefully, as this can damage the cord or strain the connections. It is also important to protect the ends of the power cord from being bent or crushed, as this can affect its functionality.
By taking the time to wind the power cord properly, you ensure its longevity and prevent any potential hazards or inconveniences when you use your vacuum cleaner again.
With the power cord properly wound, let’s move on to the next step and discuss the best way to store your vacuum cleaner.
Read more: How To Draw A Vacuum Cleaner
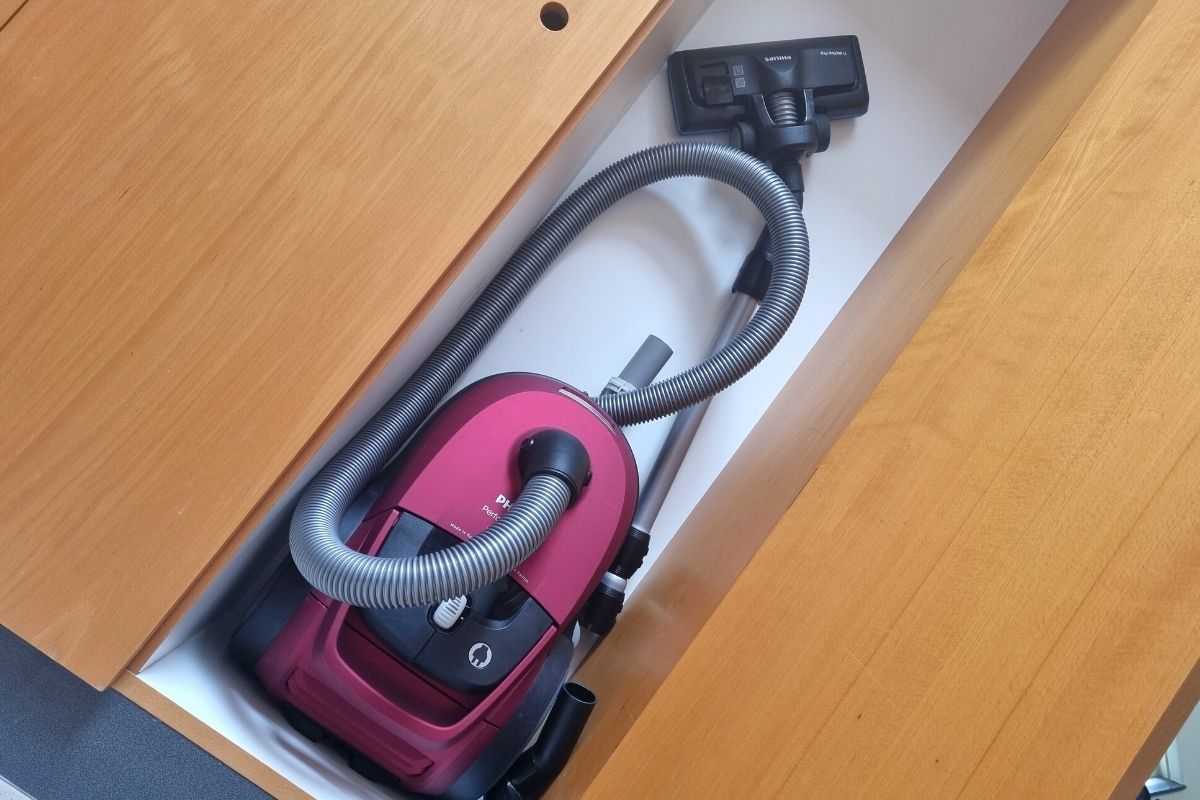
Step 5: Store in a Clean and Dry Place
Choosing the right storage location for your vacuum cleaner is crucial to prevent damage and maintain its performance. Storing it in a clean and dry place protects it from dust, moisture, and potential pests. Follow these steps to store your vacuum cleaner in the best possible way:
- Find a storage area that is clean and free from dirt, moisture, and extreme temperature fluctuations.
- Ensure that the storage space is well-ventilated to prevent the build-up of humidity, which can lead to mold and mildew growth.
- Consider placing your vacuum cleaner in a dedicated storage closet or a garage shelf away from direct exposure to sunlight or harsh elements.
- Avoid storing your vacuum cleaner near cleaning chemicals or any other potentially harmful substances that may cause damage to the machine.
- If possible, cover your vacuum cleaner with a clean cloth or dust cover to provide an extra layer of protection against dust and debris.
By storing your vacuum cleaner in a clean and dry place, you minimize the risk of damage to its internal components and keep it ready for use when you need it next. This step ensures that your vacuum cleaner remains in excellent condition and maintains its performance over time.
Now that you have found the perfect storage spot, let’s proceed to the final step to maximize the protection of your vacuum cleaner during storage.
Step 6: Protect the Vacuum Cleaner
To ensure maximum protection for your vacuum cleaner during storage, it is important to take some additional measures. These steps will safeguard your vacuum against potential damage and ensure it remains in excellent condition. Here’s how you can protect your vacuum cleaner:
- Wrap the power cord around the vacuum cleaner or use cable clips to keep it securely attached. This will prevent the cord from tangling or getting damaged.
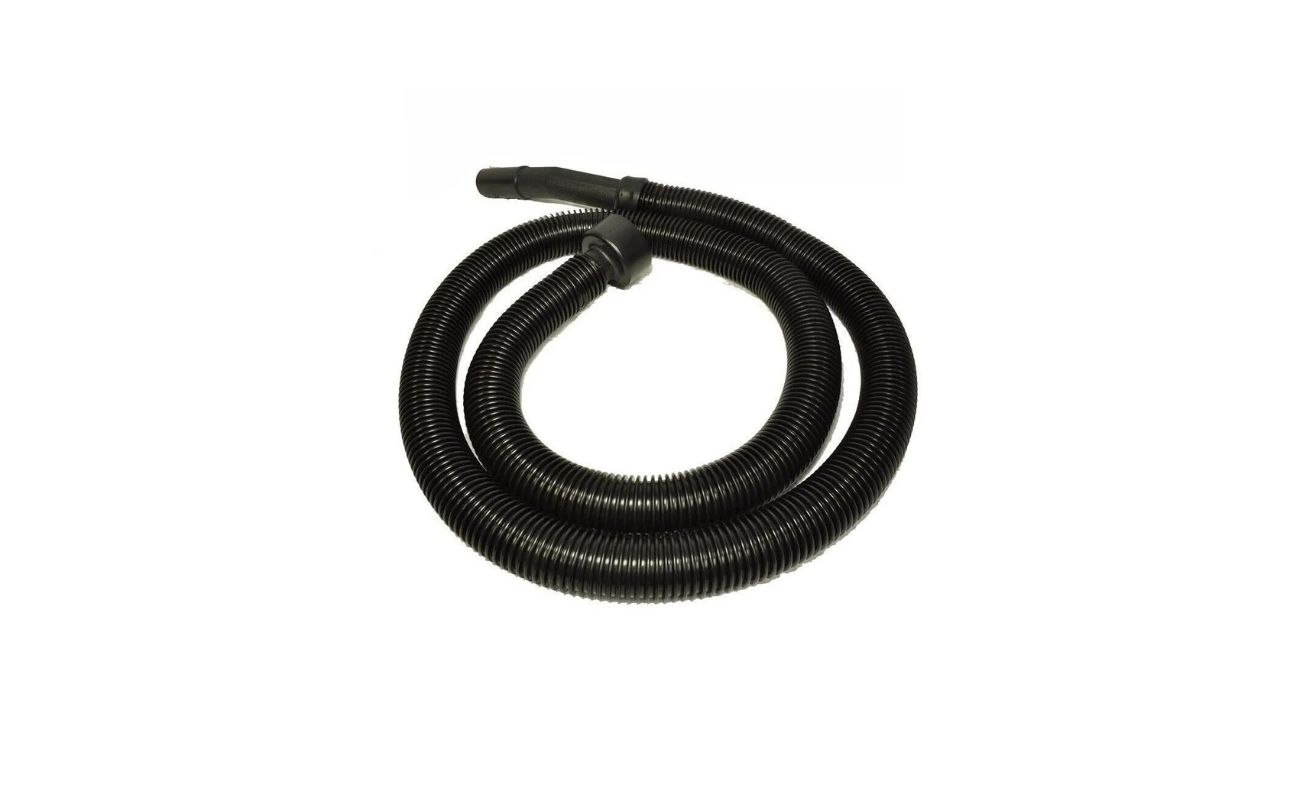
- If your vacuum cleaner has a detachable hose, coil it neatly and secure it with twist ties or Velcro straps. This prevents it from becoming tangled or bent during storage.
- Avoid placing heavy objects on top of your vacuum cleaner, as this can cause dents or damage to the body of the machine.
- If you are storing your vacuum cleaner for an extended period, consider removing the batteries if applicable. This prevents any potential leakage and damage to the electronic components.
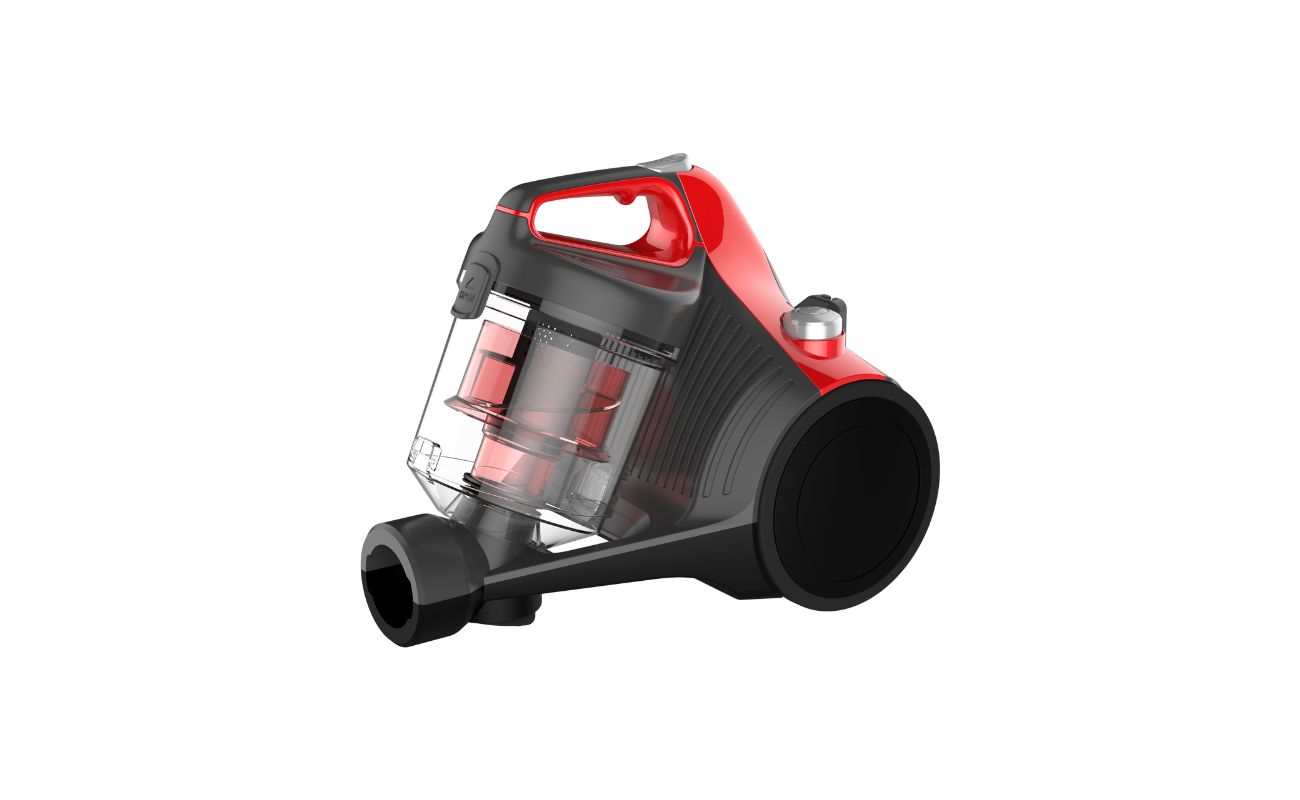
- If your vacuum cleaner has a bag, ensure that it is properly closed to prevent any dust or debris from entering the machine during storage.
- Periodically check on your stored vacuum cleaner to ensure no pests have made their way into the storage area. If you notice any signs of infestation, take appropriate measures to resolve the issue.
By following these additional protective measures, you can rest assured that your vacuum cleaner remains well-maintained and protected from any potential damage while in storage. These steps will help extend its lifespan and keep it ready for use whenever you need it next.
With step 6 completed, you have successfully prepared and stored your vacuum cleaner, ensuring its longevity and performance. Remember to consult your vacuum cleaner’s user manual for any specific storage instructions. By following the steps outlined in this guide, you can confidently store your vacuum cleaner and have it in optimal condition for future use.
Frequently Asked Questions about How To Store A Vacuum Cleaner
Was this page helpful?
At Storables.com, we guarantee accurate and reliable information. Our content, validated by Expert Board Contributors, is crafted following stringent Editorial Policies. We're committed to providing you with well-researched, expert-backed insights for all your informational needs.
0 thoughts on “How To Store A Vacuum Cleaner”