
Articles
How To Store Fermented Pickles
Modified: December 7, 2023
Learn the best methods to store fermented pickles in this informative article. Keep your pickles fresh and tasty with these helpful tips.
(Many of the links in this article redirect to a specific reviewed product. Your purchase of these products through affiliate links helps to generate commission for Storables.com, at no extra cost. Learn more)
Introduction
Welcome to the wonderful world of homemade fermented pickles! If you’re a pickle lover, you’re in for a treat. Fermenting pickles not only preserves their crunch and tanginess but also introduces beneficial probiotics that are great for your gut health. In this article, we’ll guide you through the step-by-step process of how to store fermented pickles, ensuring that you can enjoy their deliciousness for weeks to come.
But before we dive into the nitty-gritty of storing fermented pickles, it’s essential to understand the basic equipment and ingredients you’ll need. Don’t worry; you won’t require any fancy gadgets – just a few kitchen essentials and some pantry staples. Let’s gather our supplies and get started!
Key Takeaways:
- Fermenting pickles is a simple and rewarding process that preserves the crunch and tanginess of cucumbers while introducing beneficial probiotics. Enjoy the tangy, probiotic-rich pickles as a snack or flavor enhancer for your favorite dishes.
- Properly storing fermented pickles involves transferring them to clean, sterilized glass jars, adding brine, and refrigerating them to maintain their flavor and quality. Experiment with different pickling spices and herbs to create unique flavor profiles for your pickles.
Read more: How To Store Pickled Radish
Equipment and Ingredients Needed
Before you embark on your pickle-storing journey, let’s make sure you have everything you need. Here’s a list of the equipment and ingredients you’ll need:
Equipment:
- Glass jars with tight-fitting lids
- Large mixing bowl
- Weights (such as fermentation weights or clean stones)
- Fermentation airlock lids (optional, but recommended)
- Knife or mandoline slicer
Ingredients:
- Fresh cucumbers
- Water
- Non-iodized salt (such as sea salt or pickling salt)
- Garlic cloves
- Dill weed or fresh dill heads
- Spices (optional) – mustard seeds, coriander seeds, peppercorns, red pepper flakes
These are the basic equipment and ingredients you’ll need to store your fermented pickles. Now that we’re all set, let’s move on to the first step of preparing the pickles!
Step 1: Preparing the Pickles
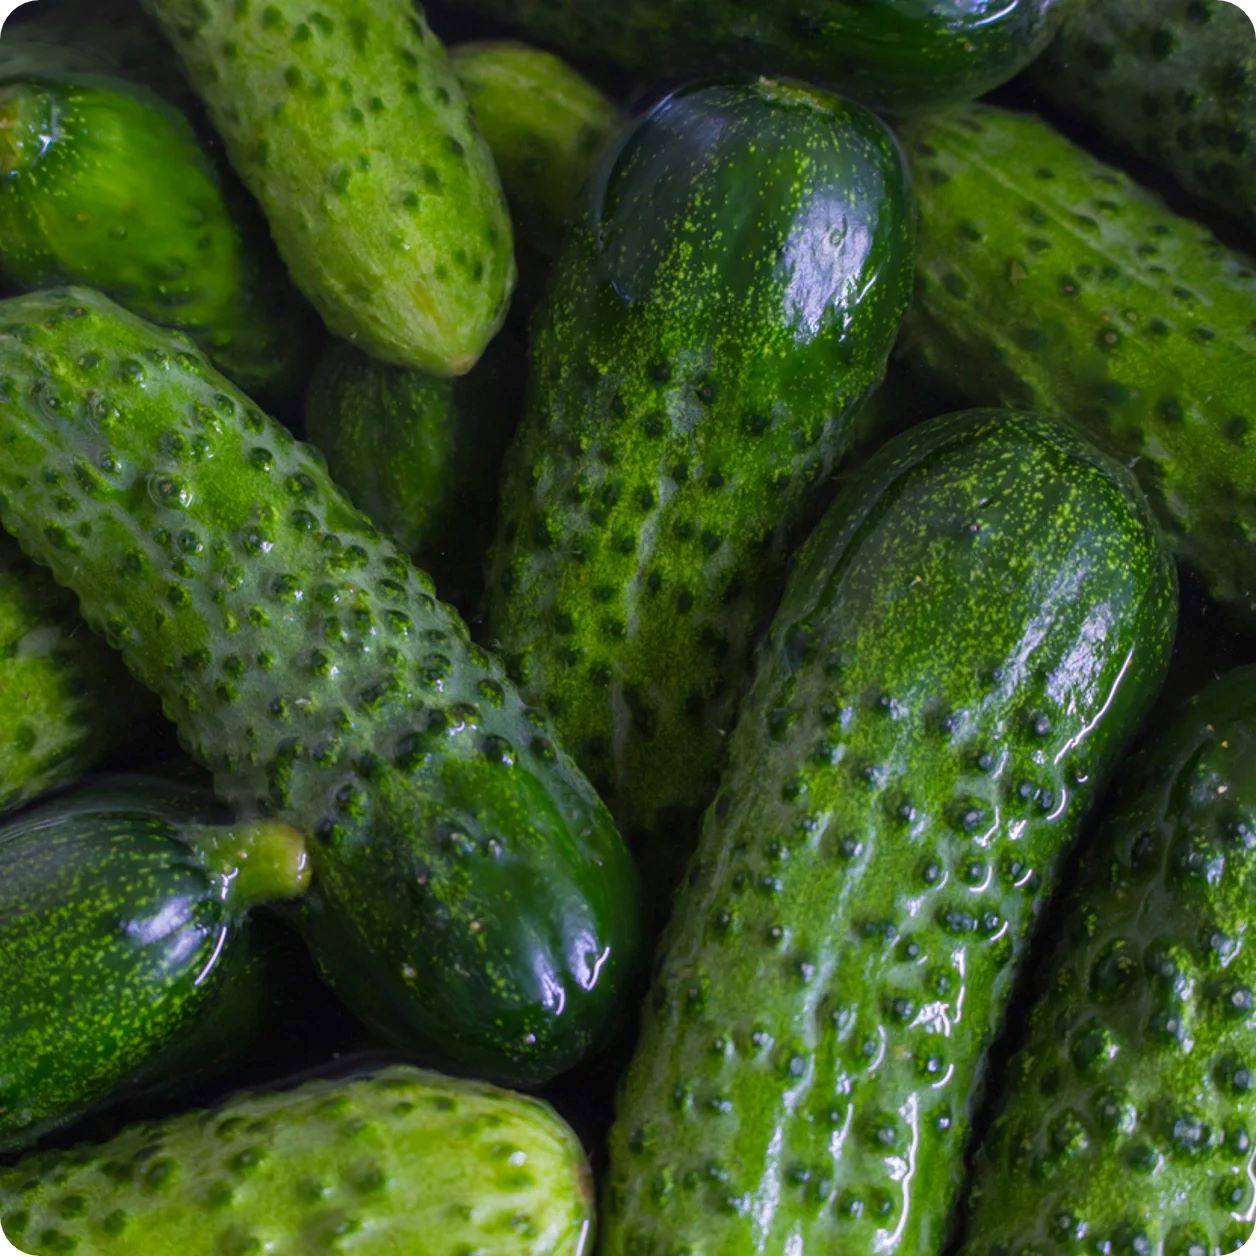
The first step in storing fermented pickles is to prepare the cucumbers. Start by selecting fresh cucumbers that are firm and free from any blemishes. You can choose from various cucumber varieties like pickling cucumbers, kirby cucumbers, or even regular cucumbers if they are not too large. Wash the cucumbers thoroughly to remove any dirt or impurities.
Next, you’ll need to slice the cucumbers into your desired shape and thickness. You can slice them into spears, chips, or leave them whole if you prefer. If you want evenly sliced pickles, consider using a mandoline slicer to ensure consistent thickness.
After slicing the cucumbers, it’s time to add some flavor. Peel and crush a few garlic cloves, and gather some dill weed or fresh dill heads. These traditional pickle seasonings will give your fermented pickles a delightful and aromatic taste. If you prefer a spicier kick, feel free to add spices like mustard seeds, coriander seeds, peppercorns, or red pepper flakes. You can get creative with your pickling spice mix.
Now that the cucumbers are sliced and the seasonings are ready, it’s time to move on to the fermentation process. Before we do that, make sure your equipment is clean and sanitized to avoid any unwanted bacteria growth. A thorough wash with hot, soapy water should do the trick.
With the pickles prepped and the equipment clean, we’re ready to dive into the exciting world of fermentation. In the next step, we’ll cover the fermentation process in detail.
Read more: How To Store Homemade Pickles
Step 2: Fermenting the Pickles
Now that the cucumbers are sliced and seasoned, it’s time to begin the fermentation process. Fermentation is a natural process that transforms the cucumbers into deliciously tangy pickles, full of probiotics and flavor. Follow these steps to ferment your pickles:
- Prepare a brine solution by dissolving non-iodized salt in water. The general recommendation is to use 1-2 tablespoons of salt per quart of water, but you can adjust according to your taste preferences.
- Place the sliced cucumbers, garlic cloves, dill weed, and any additional spices you’re using into a large mixing bowl.
- Pour the brine solution over the cucumbers in the mixing bowl. Make sure the cucumbers are submerged completely in the brine.
- Place a weight on top of the cucumbers to keep them fully submerged in the brine. You can use fermentation weights or clean stones for this purpose.
- Cover the mixing bowl with a clean cloth or a lid that allows air to escape. This will protect the cucumbers from dust and contaminants while allowing the carbon dioxide that forms during fermentation to escape.
- Allow the cucumbers to ferment at room temperature, ideally between 65°F (18°C) and 75°F (24°C). Fermentation times can vary depending on the desired level of tanginess. Generally, fermenting pickles can take anywhere from a few days to a couple of weeks.
- During the fermentation process, you may notice bubbles and a slightly sour smell. This is a sign that fermentation is taking place.
- Check the pickles daily to ensure they remain submerged in the brine. If any scum or mold forms on top, simply skim it off with a clean spoon.
Remember, the longer you ferment the pickles, the tangier they will become. Taste the pickles periodically to determine your desired level of tanginess. Once you’re satisfied with the flavor, it’s time to move on to the final step – storing the fermented pickles.
Step 3: Storing the Fermented Pickles
After the fermentation process is complete and you’ve achieved the desired tanginess in your pickles, it’s time to store them properly to maintain their flavor and texture. Follow these steps to store your fermented pickles:
- Using clean hands or utensils, remove the pickles from the brine, taking care not to introduce any contaminants.
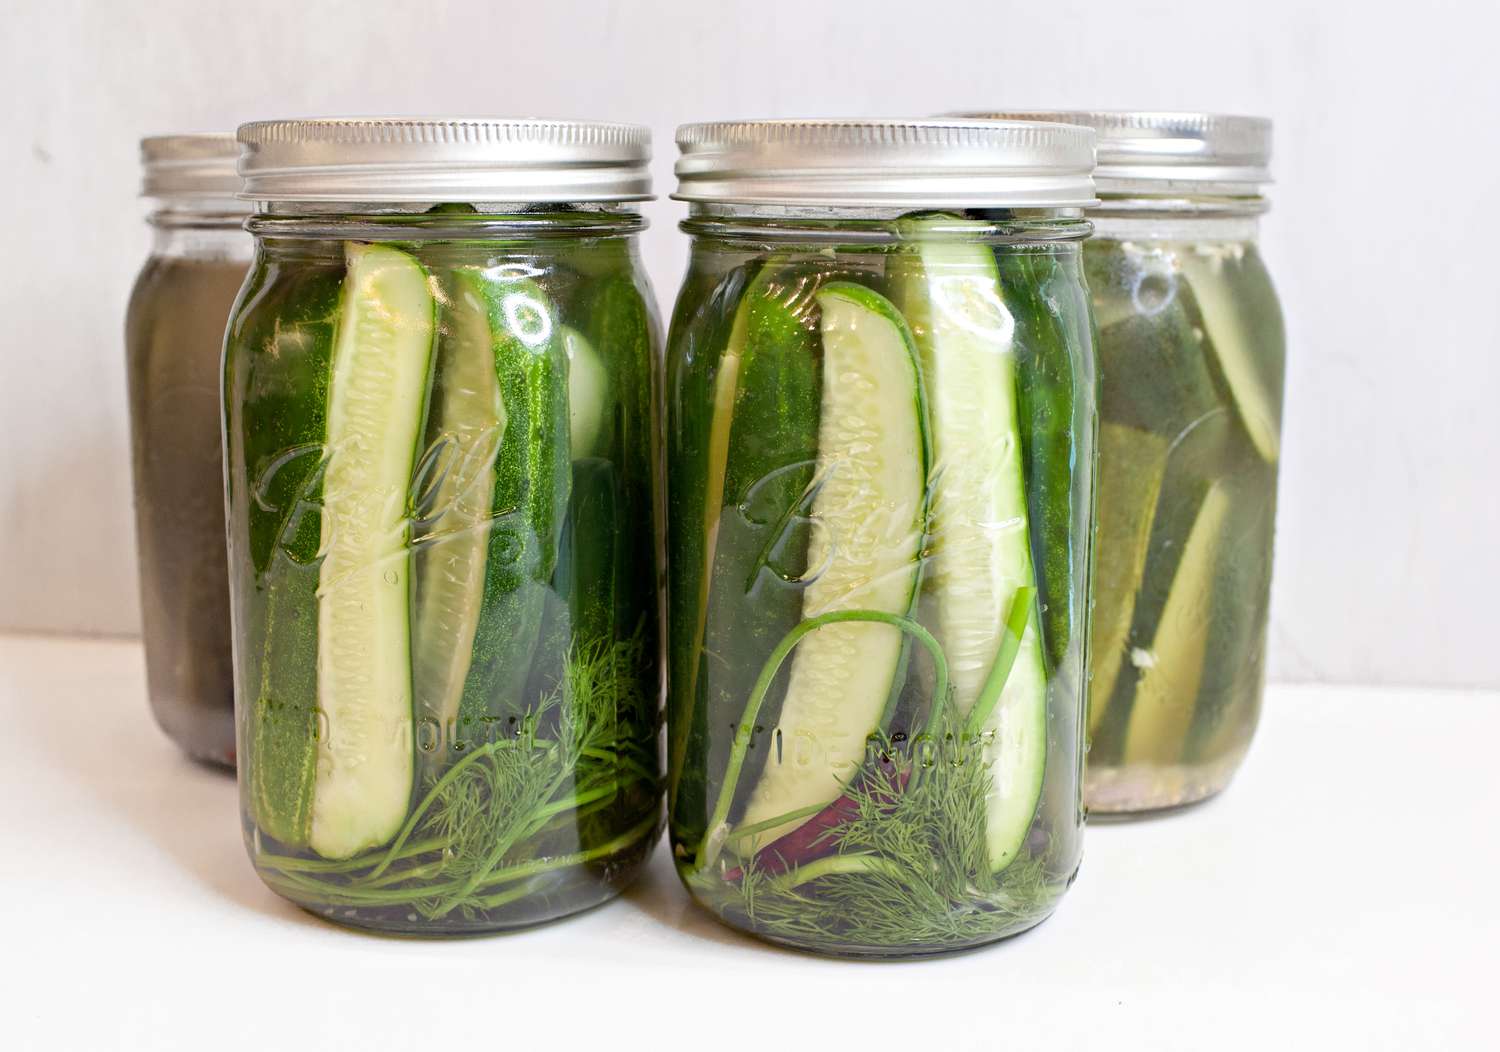
- Transfer the pickles to clean, sterilized glass jars with tight-fitting lids. You can use mason jars or any other glass containers that are suitable for food storage.
- Fill each jar with the fermented pickles, leaving about 1 inch (2.5 cm) of headspace at the top.
- If desired, you can add fresh dill weed or a dill head to each jar for added flavor and visual appeal.
- Pour the brine from the fermentation process into the jars, ensuring that the pickles are fully covered.
- Seal the jars tightly and store them in the refrigerator. The cold temperature will slow down the fermentation process and help preserve the pickles.
- Allow the pickles to marinate in the refrigerator for at least a week before consuming. This will allow the flavors to meld and develop further.
- Once opened, consume the pickles within a few weeks for the best quality and flavor.
Remember to label your jars with the date of storage so that you can keep track of the freshness. Stored properly, your fermented pickles can last for several months in the refrigerator.
Now that you’ve successfully stored your fermented pickles, you can enjoy them as a tasty snack, add them to sandwiches and burgers, or use them to elevate the flavors of your favorite dishes.
Before we conclude, let’s take a look at some additional tips and suggestions to ensure success with your fermented pickle storage.
Store fermented pickles in the refrigerator to slow down the fermentation process and preserve their crunchiness. Use a clean, airtight container and make sure the pickles are fully submerged in the brine.
Additional Tips and Suggestions
Here are some additional tips and suggestions to help you with storing your fermented pickles:
- Make sure all equipment and jars are clean and properly sterilized to prevent any unwanted bacteria growth.
- Use non-iodized salt for the brine to avoid any discoloration or undesirable flavors.
- Experiment with different pickling spices and herbs to create unique flavor profiles for your pickles.
- If you prefer sweeter pickles, you can add a small amount of sugar or honey to the brine solution before fermenting.
- If you notice any off odors or mold growth during the fermentation process, it’s best to discard the batch and start fresh.
- Consider using fermentation airlock lids for the jars to create an anaerobic environment and prevent the introduction of contaminants.
- Label your jars with the date of storage to keep track of their freshness.
- Store the pickles in the refrigerator to prolong their shelf life and maintain their quality.
- As the pickles continue to ferment in the refrigerator, their flavors will develop and intensify.
- Feel free to customize the tanginess of your pickles by adjusting the fermentation time. Taste them periodically to determine the desired level of tanginess.
Remember, homemade fermented pickles are meant to be enjoyed and shared with friends and family. Get creative with your flavor combinations and have fun experimenting with different techniques. With proper storage and care, you can savor the tangy deliciousness of your homemade fermented pickles for weeks to come.
Now that you have all the information you need, it’s time to get started on your pickle-storing adventure. Enjoy the process and relish the flavors of your homemade fermented pickles!
Happy pickling!
Conclusion
Congratulations! You’ve now learned how to store fermented pickles and embark on a journey of tangy and flavorful delights. By following the steps outlined in this guide, you can enjoy homemade pickles that not only taste fantastic but also provide numerous health benefits.
Fermenting pickles is a simple and rewarding process that allows you to preserve the crispness of cucumbers while introducing beneficial probiotics. The result is a jar full of tangy, probiotic-rich pickles that can be enjoyed as a snack, added to sandwiches, or used to elevate the flavors of your favorite dishes.
Remember to start with fresh cucumbers and prepare them with your desired seasonings before allowing them to undergo the natural fermentation process. Once the pickles have reached your desired level of tanginess, store them in clean and sterilized glass jars. Keep the jars refrigerated to preserve the flavor and quality of the pickles for an extended period of time.
Don’t forget to get creative with your pickling spice combinations and experiment with different flavors. The possibilities are endless, and you can tailor the pickles to your taste preferences. Whether you prefer a classic dill pickle or a spicy variation, the choice is yours.
By following the additional tips and suggestions provided, you can enhance your pickle-storing experience and ensure the best results. From using non-iodized salt to labeling your jars with the storage date, these small details can make a significant difference in the outcome of your pickles.
So, what are you waiting for? Gather your equipment, choose your favorite cucumbers, and start fermenting your pickles. With a little time and patience, you’ll have a batch of delicious homemade pickles ready to enjoy.
Now it’s time for you to embark on your pickle-storing adventure. Have fun, experiment, and enjoy the delectable flavors of your homemade fermented pickles!
Happy pickling!
Frequently Asked Questions about How To Store Fermented Pickles
Was this page helpful?
At Storables.com, we guarantee accurate and reliable information. Our content, validated by Expert Board Contributors, is crafted following stringent Editorial Policies. We're committed to providing you with well-researched, expert-backed insights for all your informational needs.







0 thoughts on “How To Store Fermented Pickles”