Articles
How To Store Pickling Cucumbers
Modified: August 17, 2024
Learn how to store pickling cucumbers properly with our informative articles. Discover the best techniques to keep your cucumbers fresh and flavorful for longer.
(Many of the links in this article redirect to a specific reviewed product. Your purchase of these products through affiliate links helps to generate commission for Storables.com, at no extra cost. Learn more)
Introduction
Pickling cucumbers are a popular and delicious way to preserve the flavors of fresh cucumbers all year round. Whether you’re a fan of crunchy dill pickles or tangy bread and butter pickles, learning how to store pickling cucumbers properly is essential for achieving the best results.
In this article, we will guide you through the steps of storing pickling cucumbers to maintain their crispness and flavor. By following these steps, you’ll be able to enjoy homemade pickles that are bursting with taste.
From choosing the right cucumbers to preparing the pickling brine and sealing the jars, we’ll cover everything you need to know to ensure successful pickling. So let’s dive in and get ready to embark on a pickling adventure!
Key Takeaways:
- Master the art of pickling by choosing the right cucumbers, preparing the perfect brine, and sealing jars for optimal flavor and freshness. Enjoy the satisfaction of creating your own delicious homemade pickles!
- Store pickling cucumbers in a cool, dark place to preserve their texture and flavor. Experiment with spices and flavorings to create unique and personalized pickles. Share the joy of homemade pickles with friends and family!
Read more: How To Store Fermented Pickles
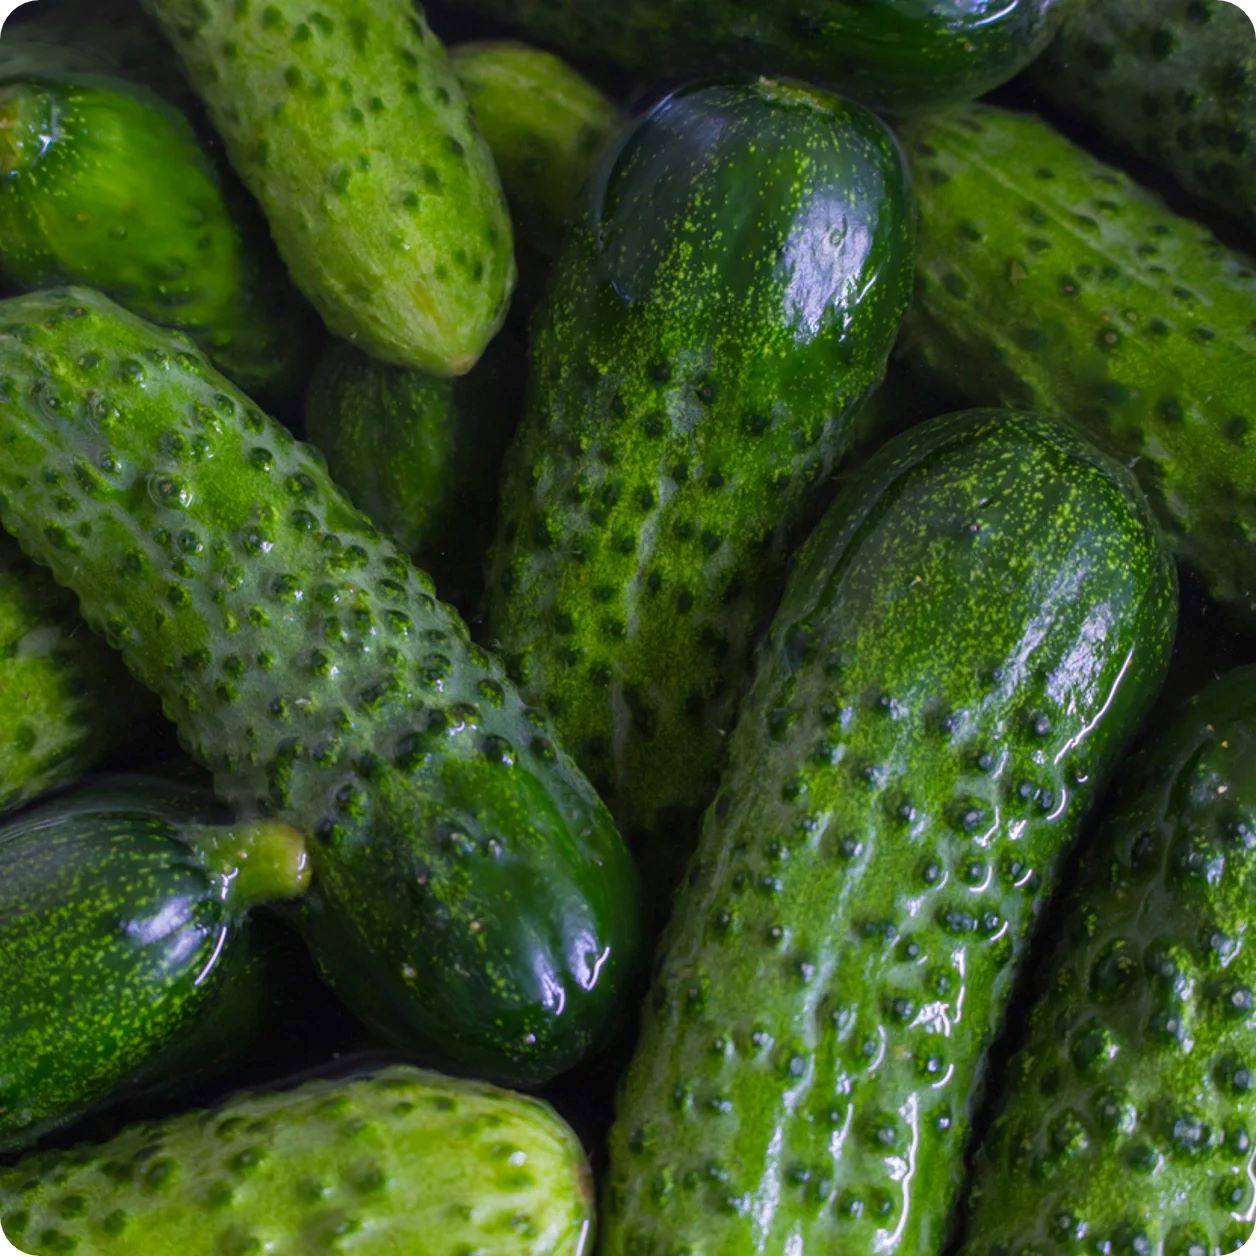
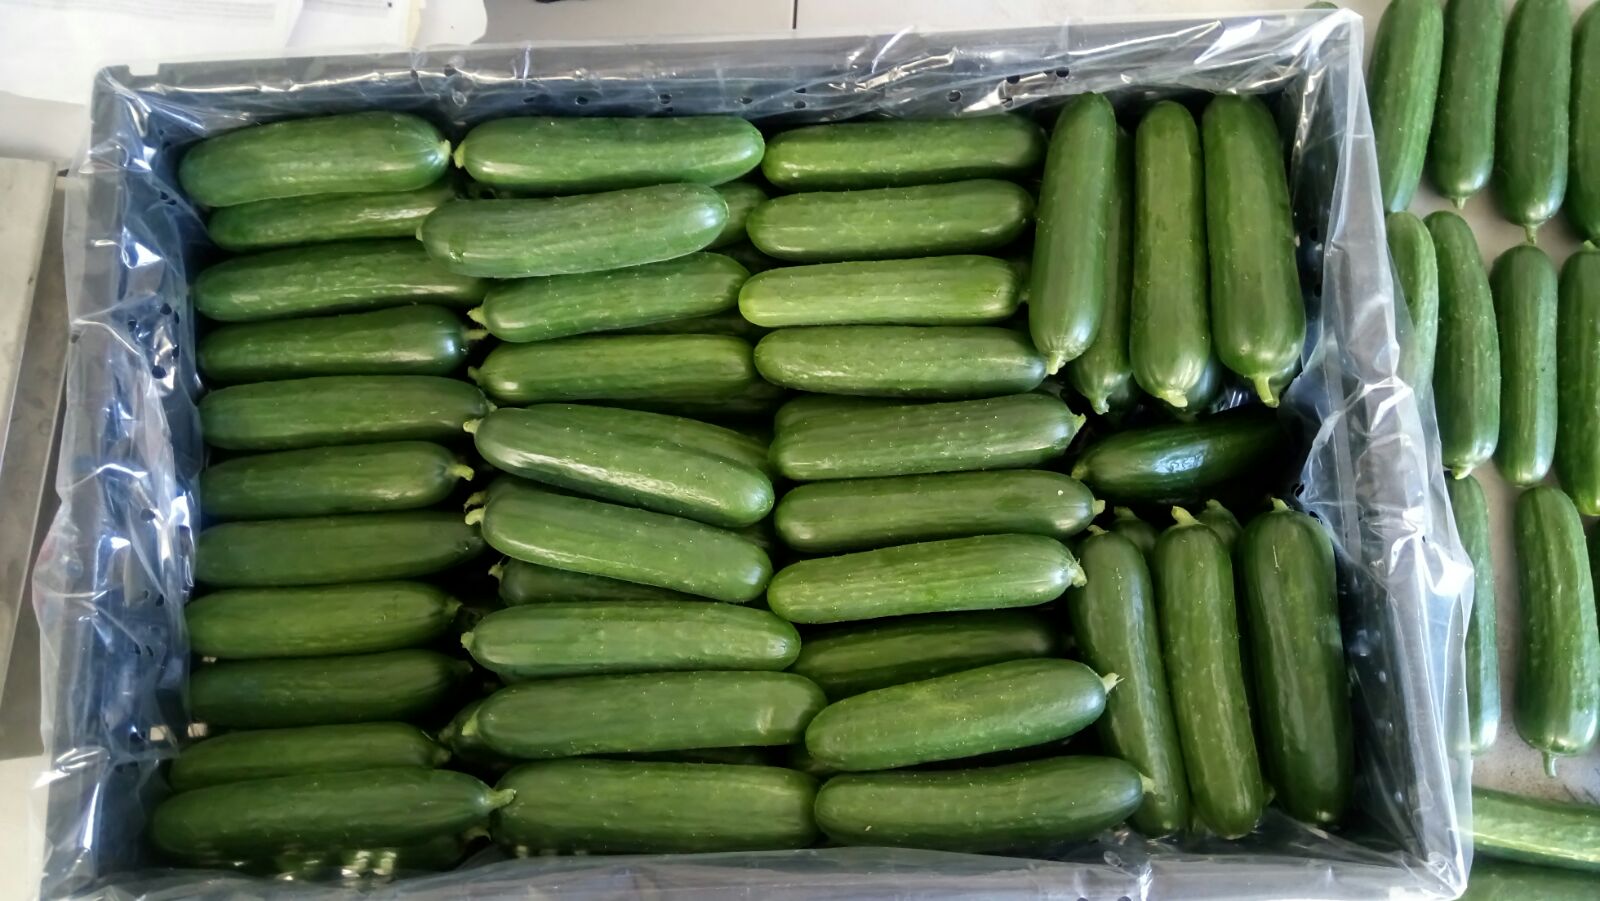
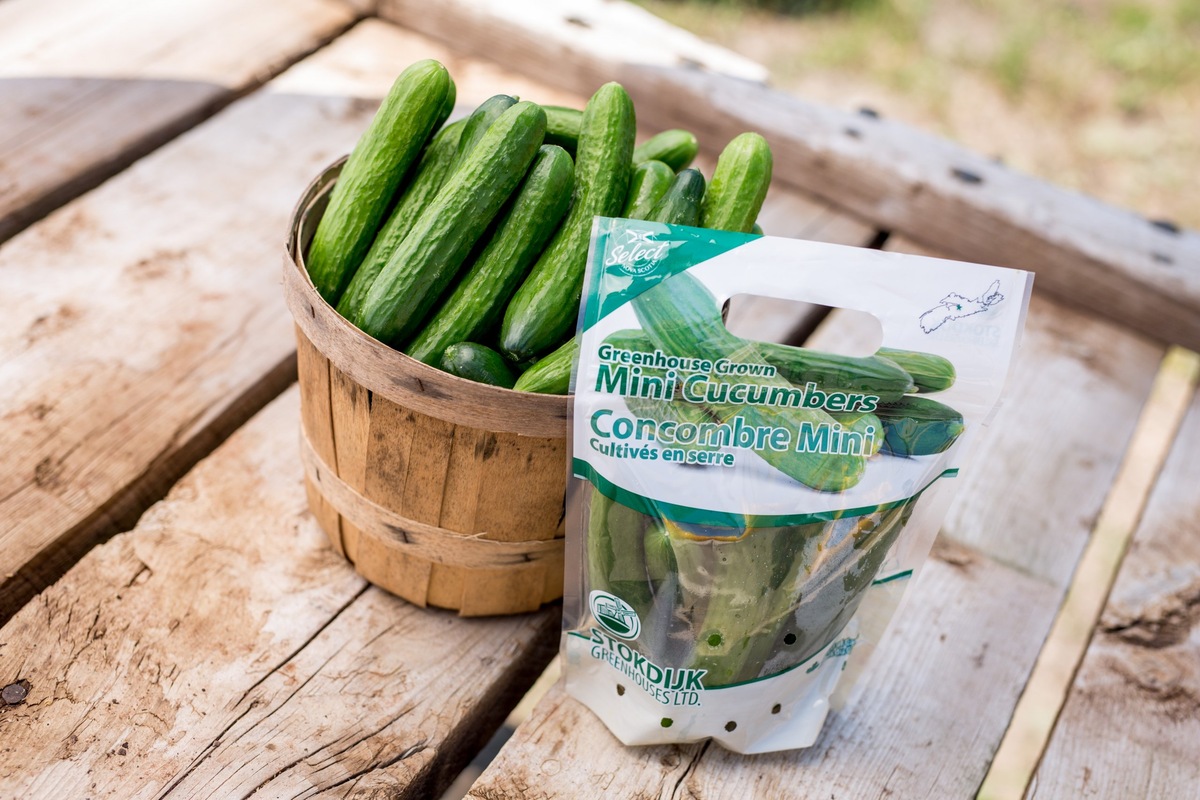
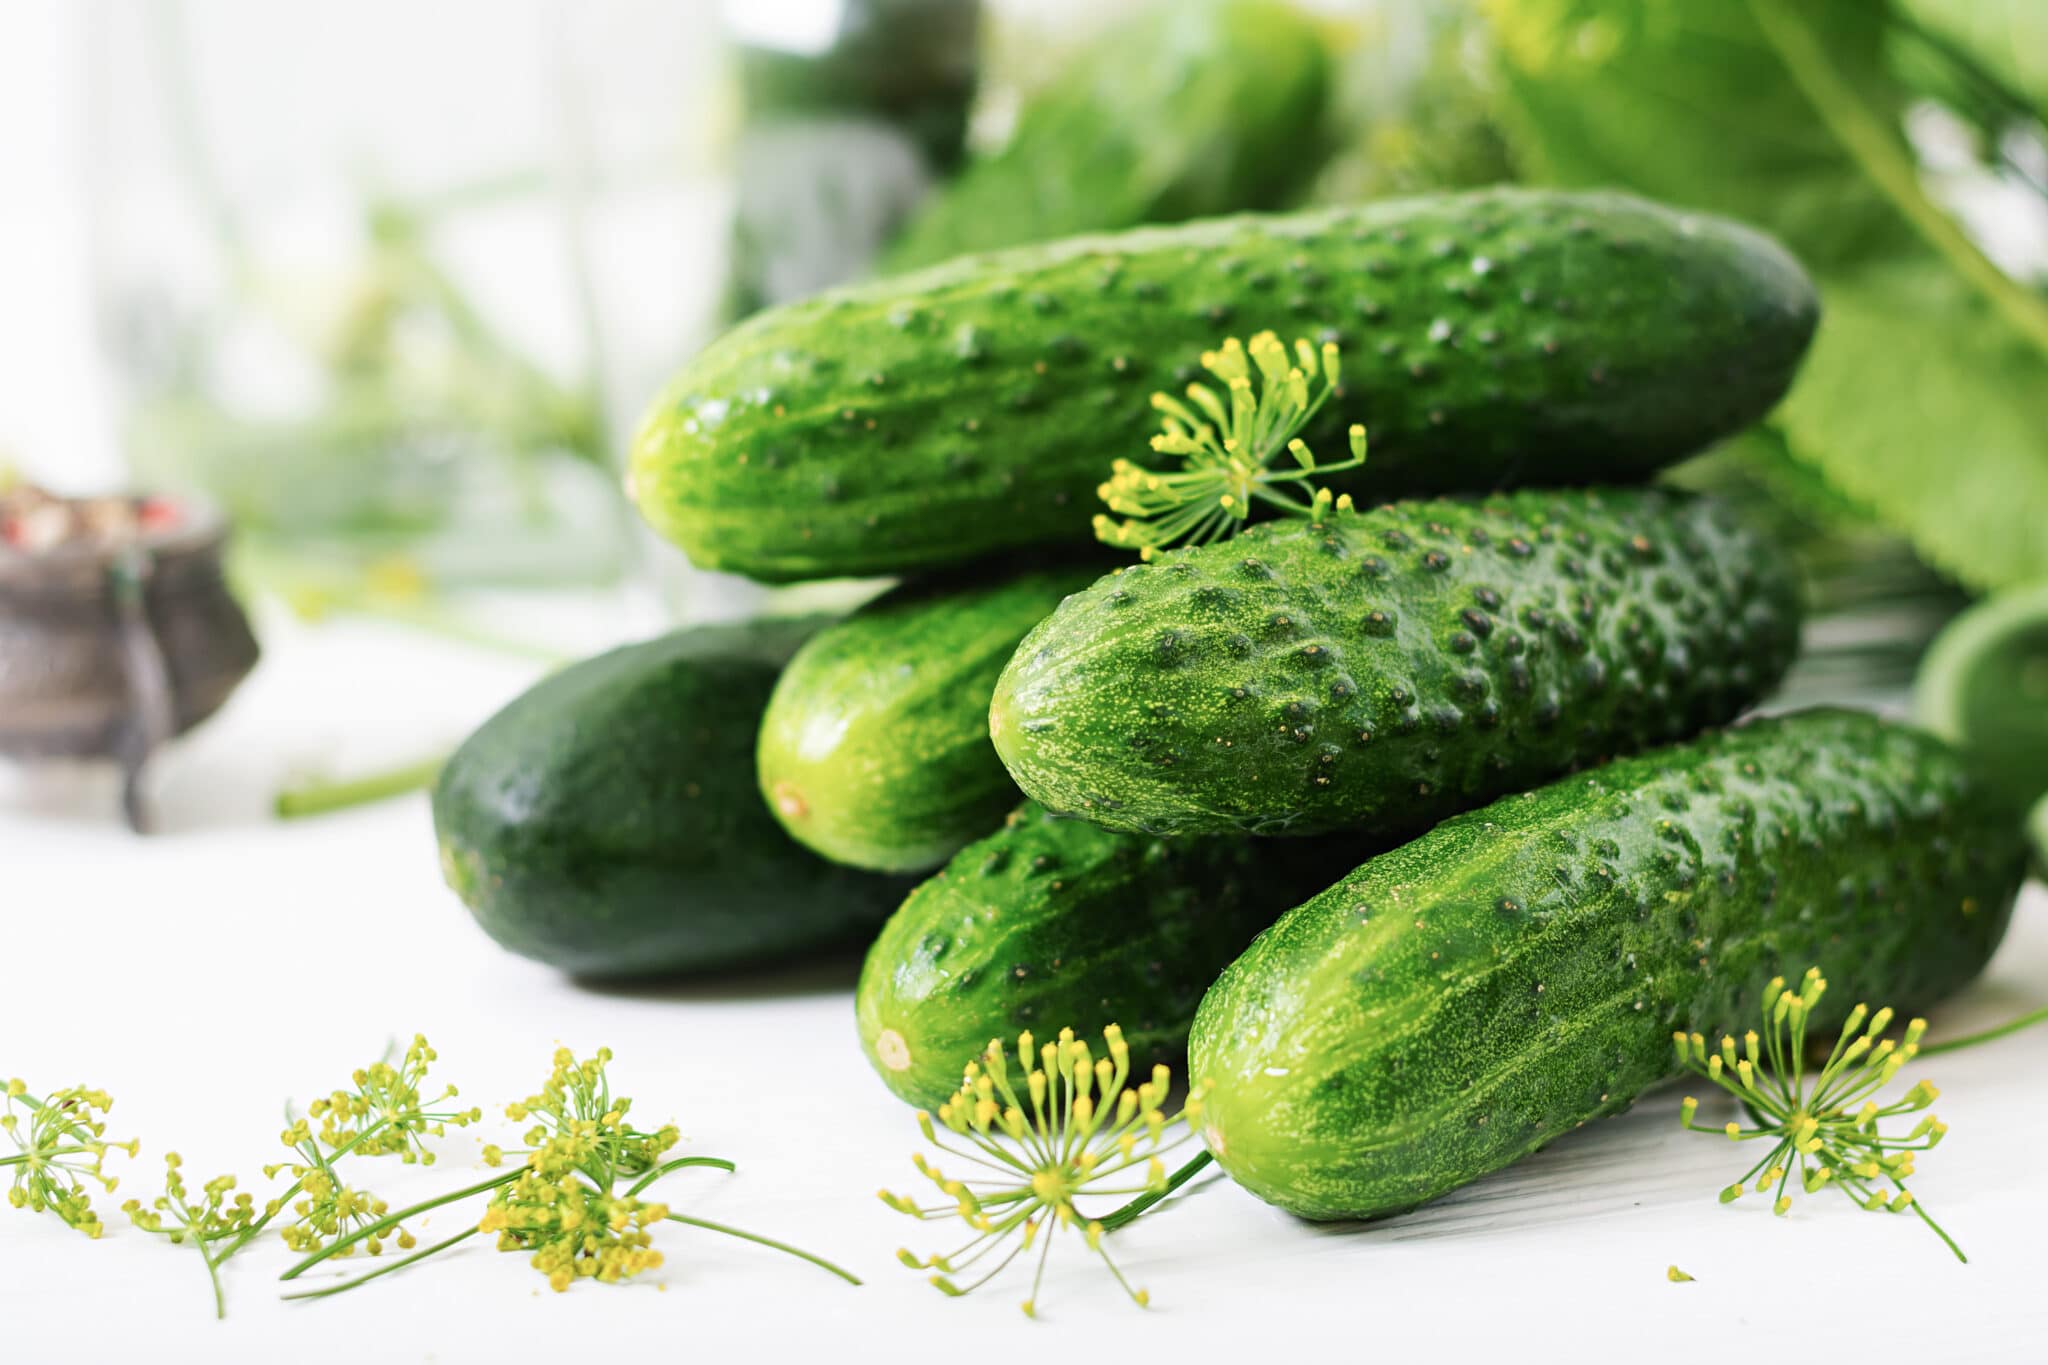
Step 1: Choosing the Right Cucumbers
When it comes to pickling cucumbers, selecting the right ones is crucial for achieving the desired texture and taste. Here are some factors to consider when choosing cucumbers for pickling:
- Cucumber Variety: Look for varieties specifically bred for pickling, such as Kirby cucumbers. These tend to have a crisp texture and hold up well during the pickling process.
- Size: Opt for smaller cucumbers that are about 2-4 inches in length. Smaller cucumbers are generally more tender with fewer seeds, making them ideal for pickling.
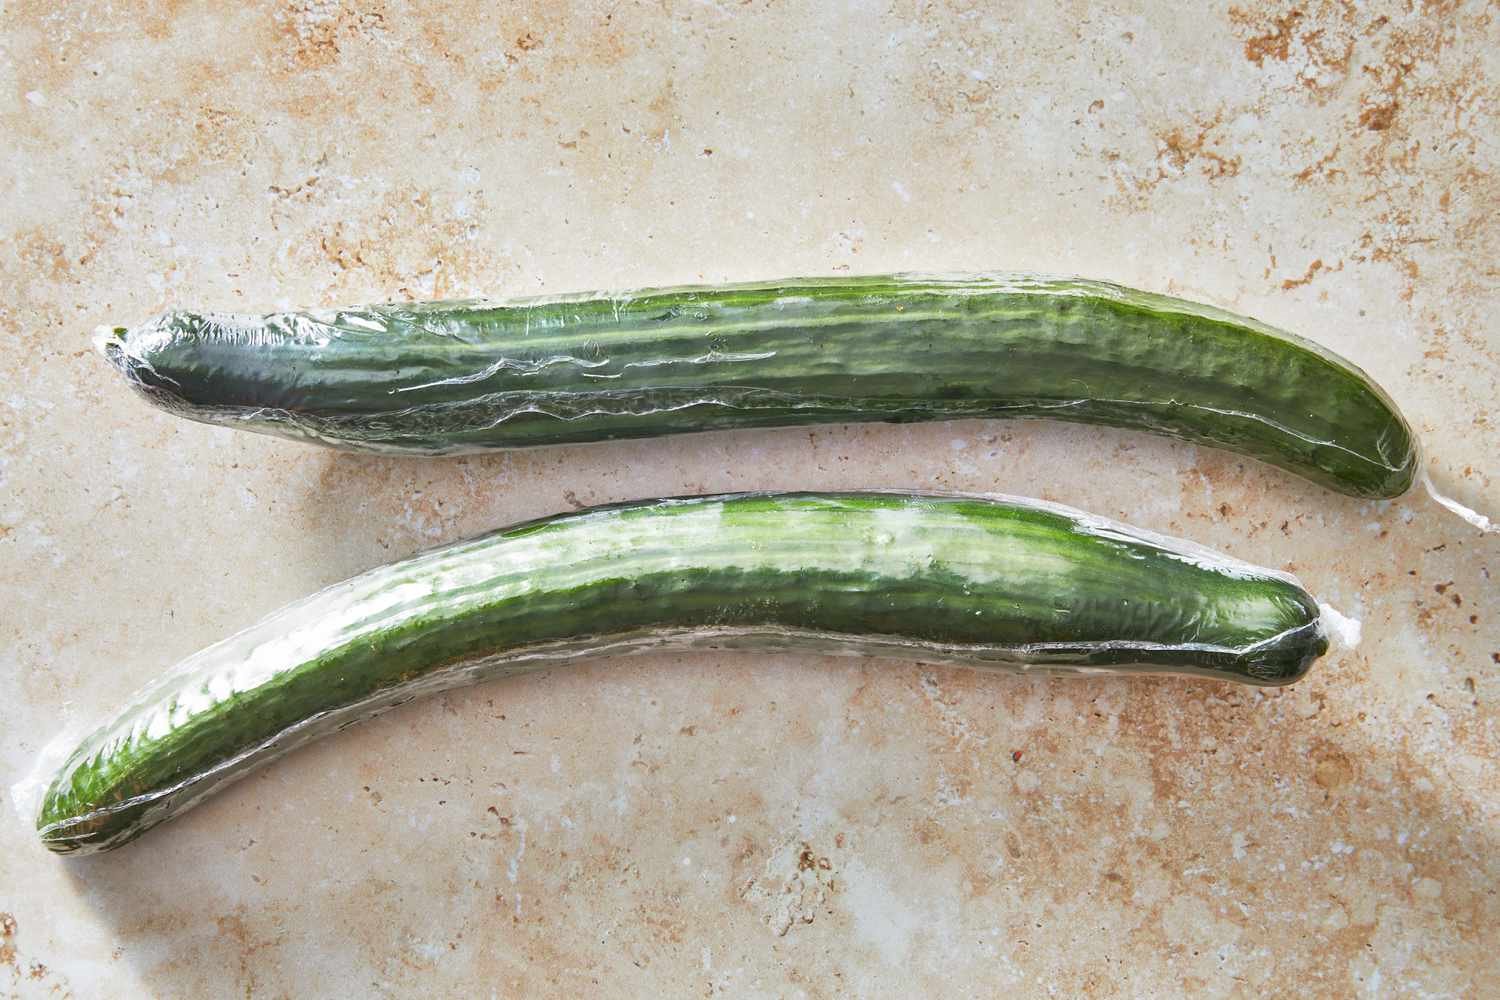
- Firmness: Give the cucumbers a gentle squeeze to check for firmness. They should be firm but not rock-hard, indicating that they are fresh and will maintain their crunchiness during pickling.
- Shape: Look for cucumbers that are straight and uniform in shape. This will make it easier to pack them into jars and create a visually appealing final product.
- Skin Texture: Choose cucumbers with smooth, unblemished skin. Avoid cucumbers with wrinkled or discolored skin, as they may not pickle well and could affect the overall quality of the pickles.
It’s also worth noting that you can grow your own pickling cucumbers if you have the space and inclination for gardening. This way, you have complete control over the growing process and can harvest cucumbers at their peak freshness.
Once you’ve selected the perfect cucumbers, it’s time to move on to the next step in the pickling process: cleaning and preparing the cucumbers.
Step 2: Cleaning and Preparing the Cucumbers
Properly cleaning and preparing the cucumbers is essential to remove any dirt and ensure that they are ready for pickling. Follow these steps to clean and prepare your cucumbers:
- Rinse the Cucumbers: Start by rinsing the cucumbers under cool running water to remove any dirt or debris. Use a gentle scrub brush to lightly scrub the surface, if needed.
- Trim the Ends: Using a sharp knife, trim off both ends of each cucumber. This helps to remove any wax coating or bitterness that may be present.
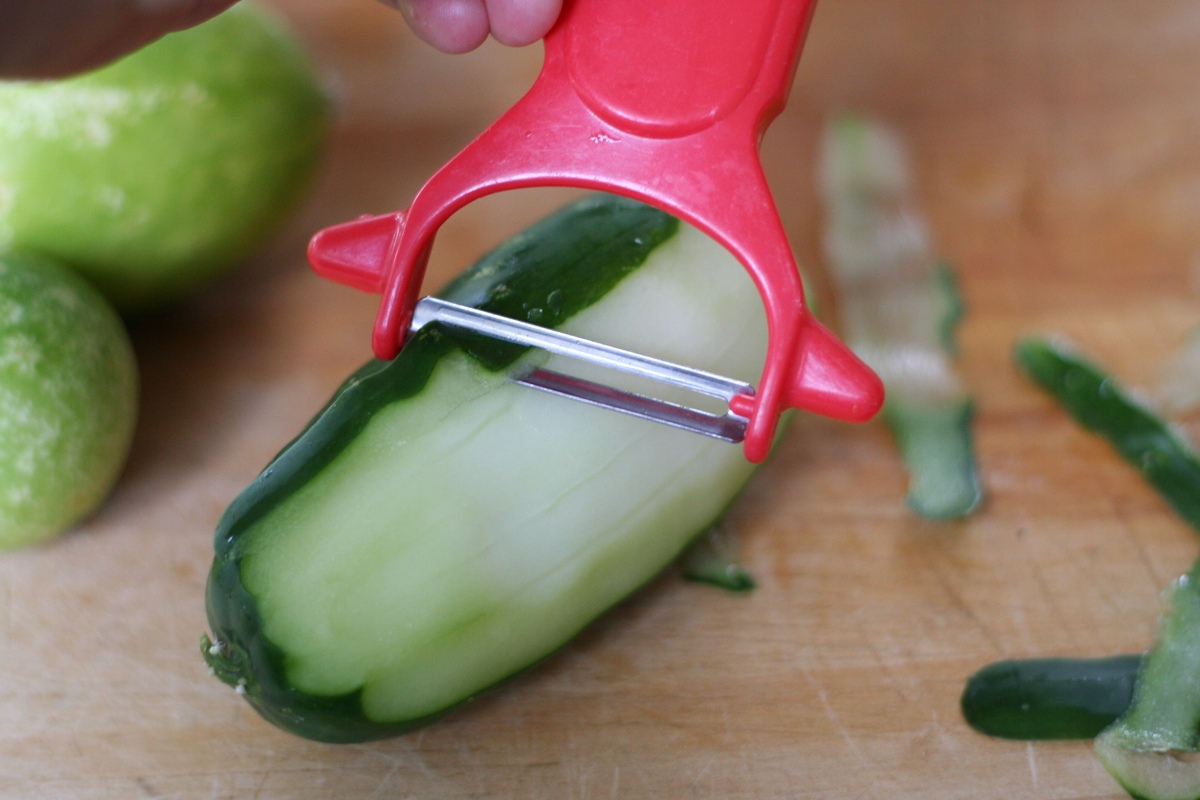
- Optional: Peel the Cucumbers: If you prefer pickles with a softer texture, you can choose to peel the cucumbers. However, keep in mind that the skin of the cucumbers contains nutrients and adds a nice texture to the finished pickles.
- Optional: Slice or Leave Whole: Decide whether you want whole pickles or sliced pickles. If you prefer sliced pickles, use a sharp knife or a mandoline slicer to cut the cucumbers into thin, uniform slices. If you prefer whole pickles, leave the cucumbers intact.
- Remove the Seeds: If you’re making sliced pickles and prefer them without seeds, you can use a spoon or a small knife to gently scrape out the seeds. However, this step is optional as the seeds can add some texture and flavor to the pickles.
Once the cucumbers are cleaned and prepared, it’s time to move on to the next step – sterilizing the jars to ensure the pickles stay fresh and bacteria-free.
Step 3: Sterilizing the Jars
Sterilizing the jars is an important step in the pickling process to prevent any bacterial contamination and ensure the longevity of your pickles. Follow these steps to sterilize your jars:
- Gather Your Materials: You’ll need glass jars with tight-fitting lids, such as mason jars, as well as a large pot, a rack to fit inside the pot, and tongs for handling the jars.
- Wash the Jars: Start by washing the jars, lids, and bands in hot, soapy water. Rinse them thoroughly to remove any soap residue.
- Preheat the Oven: Place the jars, open-side up, on a baking sheet and put them in a preheated oven at 250°F (120°C) for 15-20 minutes. This will dry and heat the jars to sterilize them.
- Boil the Lids and Bands: While the jars are in the oven, bring a pot of water to a rolling boil. Add the lids and bands, making sure they are fully submerged, and boil them for about 5 minutes. This will kill any bacteria on the lids and bands.
- Remove the Jars from the Oven: Using oven mitts or a towel, carefully remove the jars from the oven. Be cautious as they will be hot.
- Fill the Jars: While the jars are still hot, fill them with the prepared cucumbers, leaving about 1/2 inch of headspace at the top. This will allow for the expansion of the pickling brine.
- Apply the Lids: Remove the sterilized lids and bands from the boiling water using tongs. Place them onto the filled jars and tighten them securely.
Now that the jars are sterilized and ready, it’s time to move on to the next step – preparing the pickling brine that will give your pickles their signature flavor.
Step 4: Preparing the Pickling Brine
The pickling brine is the key ingredient that gives pickles their tangy, flavorful taste. Here’s how you can prepare the pickling brine for your pickles:
- Gather Your Ingredients: To make the pickling brine, you’ll need vinegar, water, salt, sugar, and any desired spices or flavorings, such as dill, garlic, or peppercorns.
- Choose Your Vinegar: The type of vinegar you use will impact the flavor of your pickles. White distilled vinegar, apple cider vinegar, or white wine vinegar are commonly used. Each vinegar imparts a slightly different taste, so choose according to your preference.
- Measure the Ingredients: In a saucepan, combine the vinegar, water, salt, and sugar. The exact measurements will depend on your recipe and personal preference. Bring the mixture to a boil, stirring until the salt and sugar dissolve completely.
- Add Spices and Flavorings: Once the brine is boiling, you can add your desired spices and flavorings to enhance the taste of your pickles. Some popular options include dill sprigs, garlic cloves, mustard seeds, or red pepper flakes. Experiment with different combinations to find your favorite flavor profile.
- Simmer the Brine: Reduce the heat and let the brine simmer for a few minutes to allow the flavors to meld together. This step helps infuse the brine with the spices and seasonings.
- Taste and Adjust: Before pouring the brine over the cucumbers, give it a taste to ensure it has the right balance of flavors. Adjust the seasonings as needed by adding more vinegar, salt, or sugar according to your preference.
Once the pickling brine is prepared and seasoned to your liking, it’s time to move on to the next step – packing the cucumbers into the sterilized jars.
Read more: How To Store Cucumber
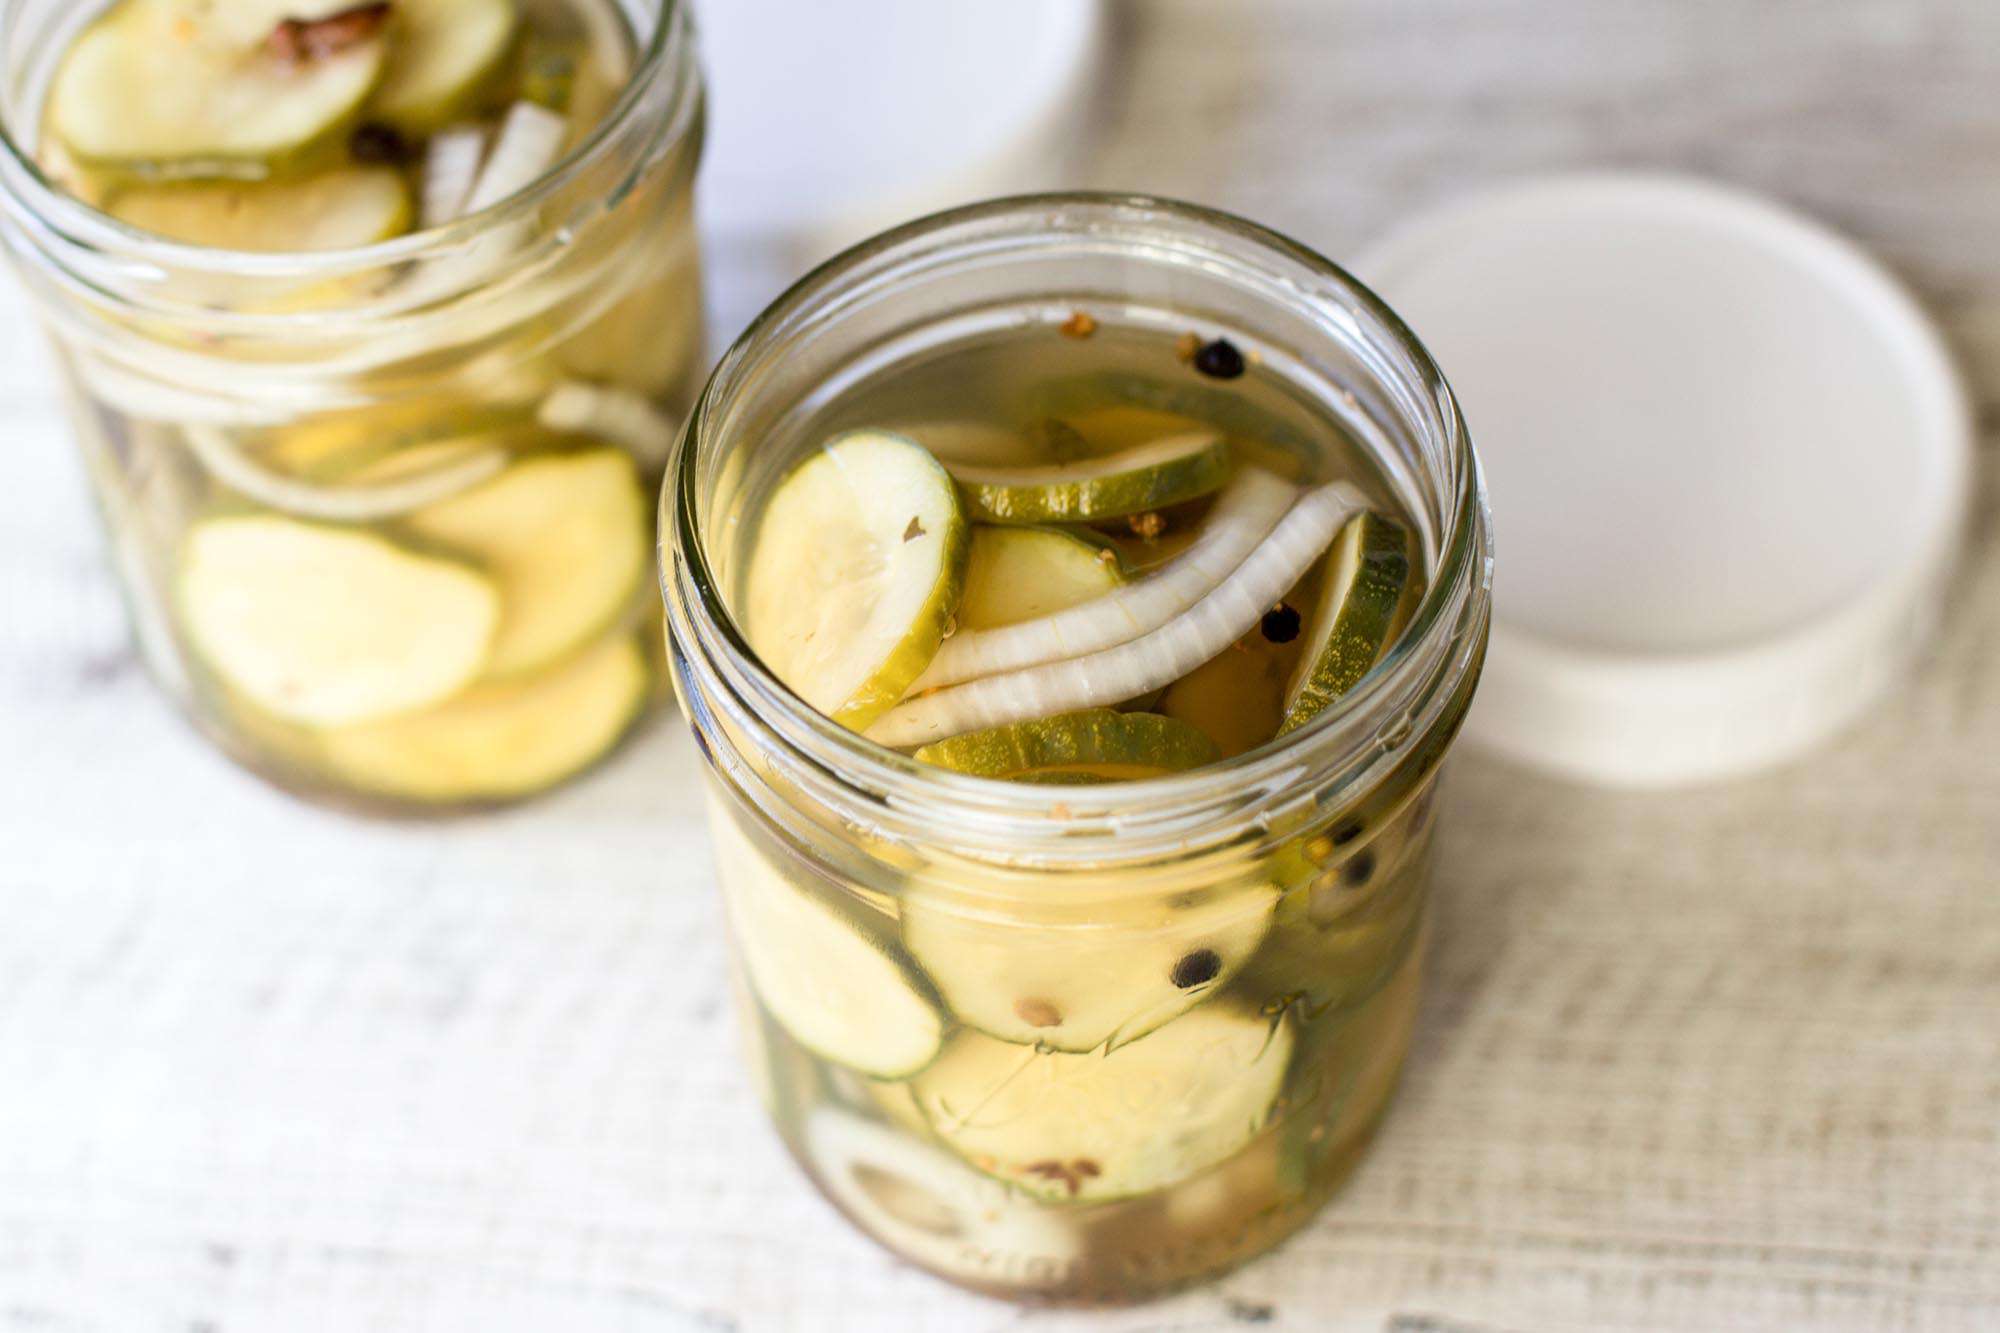
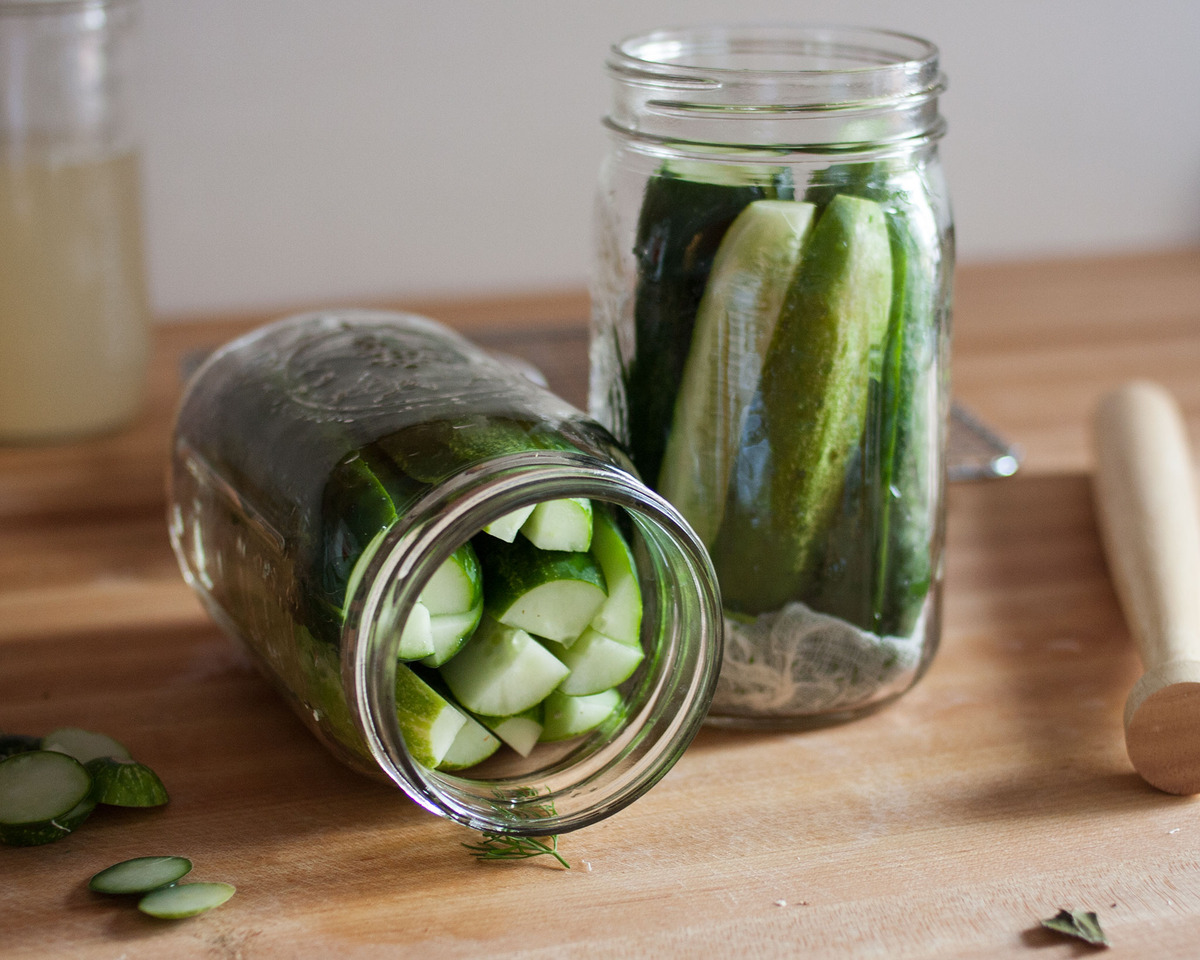
Step 5: Packing the Cucumbers into Jars
With your pickling brine ready, it’s time to pack the cucumbers into the sterilized jars. Follow these steps to ensure that the cucumbers are properly packed:
- Remove Air Bubbles: Gently tap the jars on a countertop to remove any air bubbles that may be trapped among the cucumbers. This will help ensure that the pickling brine makes contact with all surfaces of the cucumbers.
- Arrange the Cucumbers: Carefully place the cucumbers into the jars, arranging them in a way that they fit snugly and can be easily accessed for serving. You can pack them vertically or horizontally, depending on your preference.
- Add Flavorings: If desired, you can add additional flavorings to the jars. This is where you can include things like dill sprigs, garlic cloves, or any other spices or seasonings that will enhance the flavor of your pickles.
- Layer the Cucumbers: For sliced pickles, layer them carefully in the jars, ensuring they are evenly distributed. You can also alternate layers of cucumbers with layers of flavorings, such as dill sprigs or garlic cloves.
- Fill the Jars: Continue packing the cucumbers until the jars are filled to about 1/2 inch below the top. It’s important to leave some headspace to allow for the pickling brine to cover the cucumbers completely.
Once the cucumbers are packed into the jars, it’s time to move on to the next step – adding spices and pouring the pickling brine.
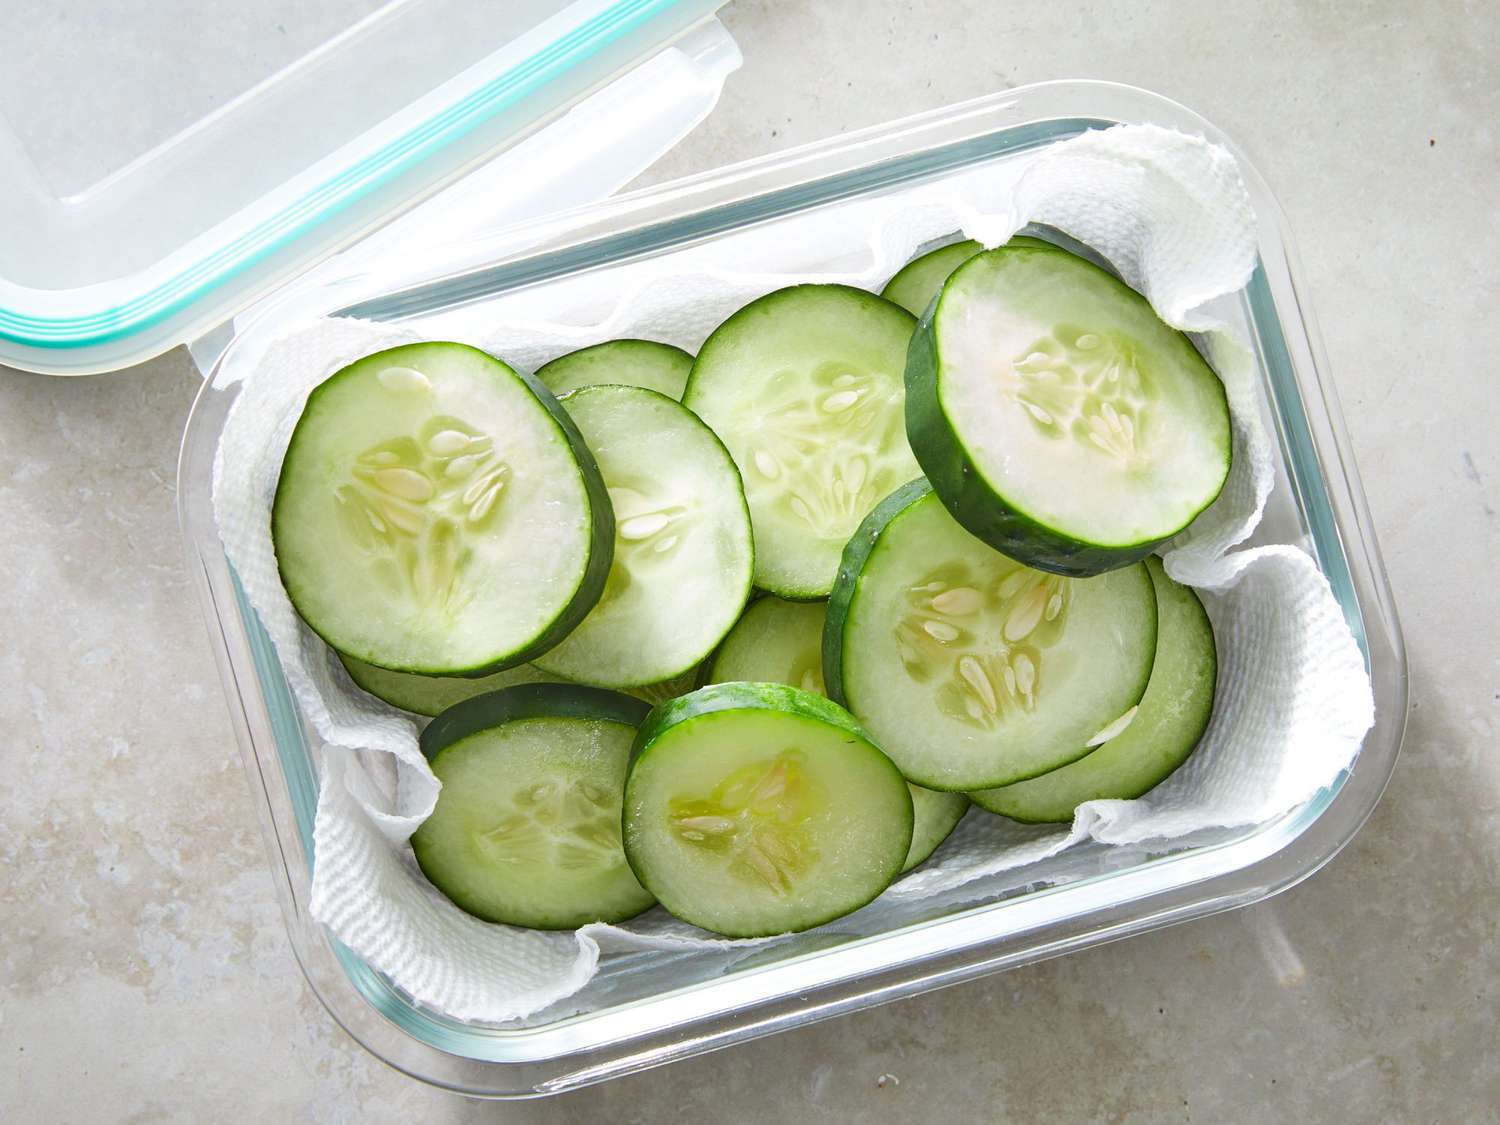
After pickling cucumbers, store them in the refrigerator in an airtight container or a resealable plastic bag. This will help to keep them fresh and crisp for a longer period of time.
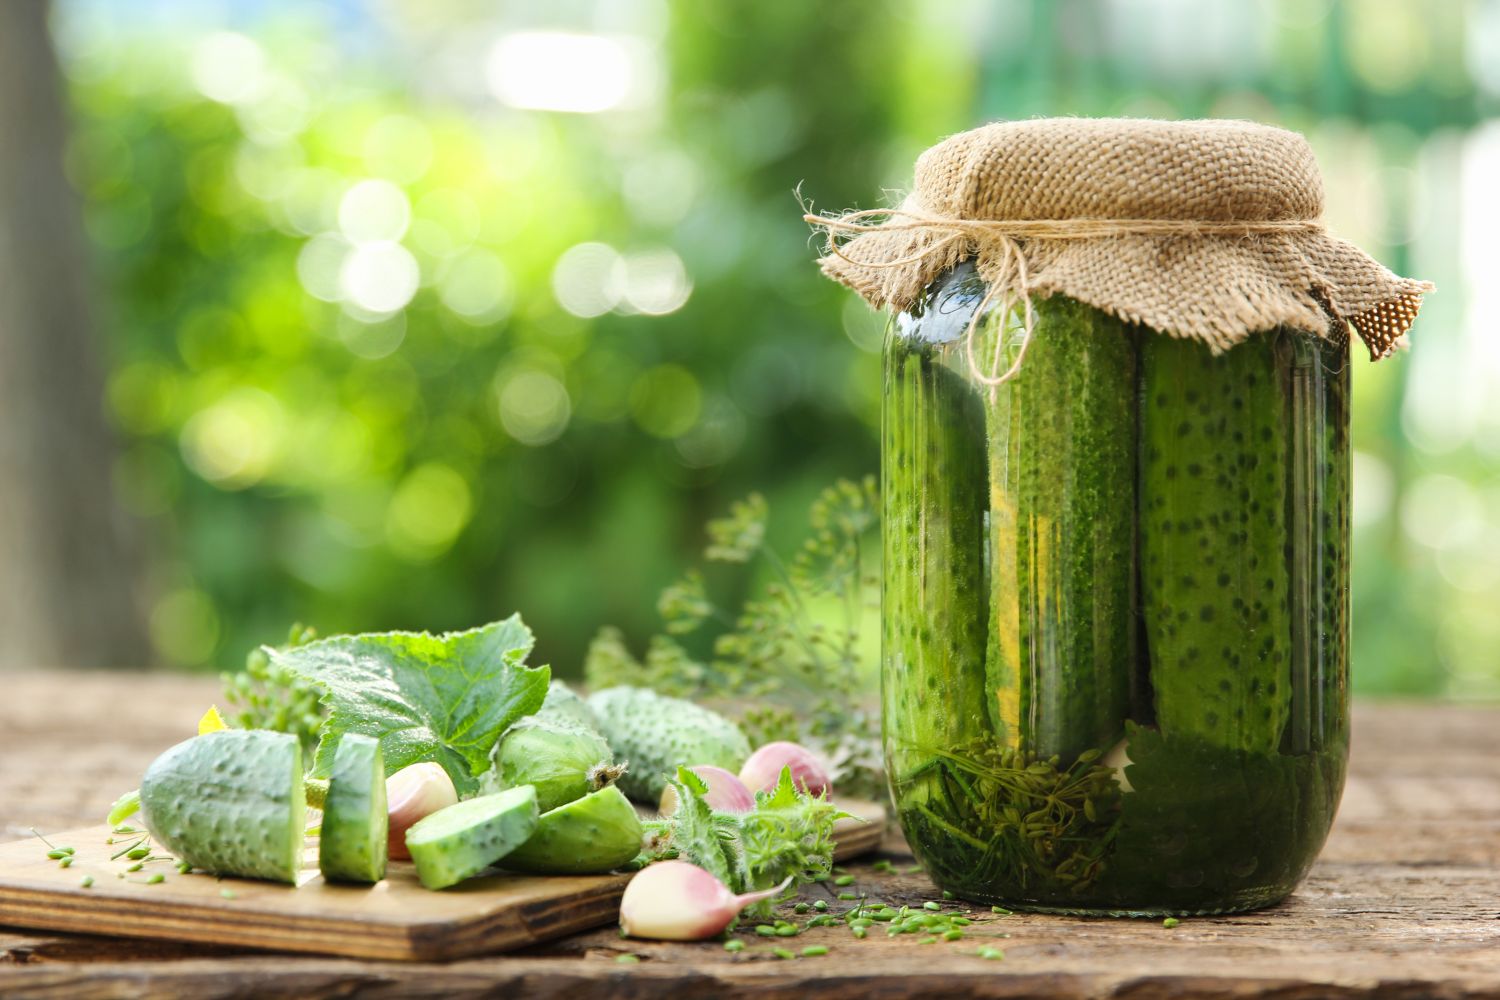
Step 6: Adding Spices and Flavorings
To elevate the flavor of your pickles, adding spices and flavorings is a crucial step. Here’s how you can infuse your pickles with a burst of deliciousness:
- Dill: Dill is a classic spice used in pickling and adds a refreshing and aromatic flavor. Place fresh dill sprigs or dill seeds in the jars, distributing them evenly among the cucumbers.
- Garlic: If you love the pungent flavor of garlic, add a few cloves to each jar. Peeled garlic cloves not only enhance the taste but also add a touch of complexity to your pickles.
- Peppercorns: Peppercorns add a subtle hint of spiciness to your pickles. Add a few whole peppercorns or crush them slightly to release more flavor before placing them in the jars.
- Mustard Seeds: Mustard seeds bring a delightful tang to your pickles. Add a teaspoon or two of mustard seeds to each jar to enhance the flavor and give your pickles a distinct taste.
- Red Pepper Flakes: For those who enjoy a touch of heat, red pepper flakes are an excellent addition. Sprinkle some flakes into the jars, adjusting the amount according to your spice preference.
Feel free to experiment with different spices and flavorings to customize your pickles to your liking. You can also get creative by adding additional ingredients like bay leaves, cinnamon sticks, or even sliced jalapenos for a spicy twist.
Once you’ve added your desired spices and flavorings, it’s time to move on to the next step – pouring the pickling brine into the jars.
Step 7: Pouring the Pickling Brine
Now that the cucumbers and spices are in the jars, it’s time to pour the prepared pickling brine over them. Follow these steps to ensure your pickles are properly soaked in the flavorful brine:
- Prepare the Brine: Make sure your pickling brine is still warm but not boiling. This will help the flavors infuse into the cucumbers more effectively.
- Fill the Jars: Carefully pour the pickling brine into each jar, ensuring that the cucumbers are fully submerged. Leave about 1/2 inch of headspace at the top of the jars to allow for expansion during the pickling process.
- Remove Air Bubbles: Gently tap the jars on a countertop to release any air bubbles that may have formed. This helps to eliminate any trapped air pockets and ensures the brine reaches all areas of the cucumbers.
- Adjust the Brine Level: If necessary, add more pickling brine to fill the jars completely. The cucumbers should be completely covered to ensure proper pickling and preservation.
- Wipe the Jar Rims: Use a clean, damp cloth or paper towel to wipe the rims of the jars to remove any spills or drips. This will help create a good seal when the lids are applied.
Once the pickling brine is poured and the jars are wiped clean, it’s time to move on to the next step – sealing the jars to lock in the flavors and freshness.
Step 8: Sealing the Jars
Sealing the jars is an important final step in the pickling process. It ensures that the pickles stay fresh and properly preserved. Follow these steps to seal your pickling jars:
- Apply the Lids: Remove the lids from the hot water using tongs and place them onto the jars. Ensure they are centered and fit tightly.
- Secure the Bands: Screw the bands onto the jars, making sure they are securely tightened. This will help create a vacuum seal and prevent air from entering the jars.
- Check for Proper Seal: After sealing each jar, gently press down on the center of the lid. If it doesn’t pop back up, it indicates a good seal. If it does pop back up, the jar is not properly sealed, and it should be refrigerated and consumed within a few weeks.
- Label the Jars: Use a permanent marker or labels to mark the jars with the date of pickling and any flavor-specific information. This way, you’ll know how long the pickles have been stored and what flavor profile they have.
Properly sealed jars can be stored in a cool, dark place away from direct sunlight. Keep in mind that pickles need time to develop their flavors, so it’s recommended to let them sit for at least a few weeks before consuming. The longer they sit, the more flavorful they will become.
Now that the jars are sealed, it’s time for the eagerly anticipated step – storing the pickling cucumbers!
Read more: How To Store Pickled Radish
Step 9: Storing the Pickling Cucumbers
Proper storage is essential to maintain the quality and freshness of your pickling cucumbers. Follow these guidelines to ensure optimal storage:
- Cool, Dark Location: Store the pickling cucumbers in a cool, dark place, such as a pantry or basement. Cucumbers are sensitive to light and heat, so keeping them in a cool location away from direct sunlight will help preserve their texture and flavor.
- Temperature: Ideally, the storage temperature should be around 50-55°F (10-13°C). This temperature range helps slow down the natural enzymatic processes that can lead to spoilage.
- Avoid Extreme Temperatures: Avoid storing pickling cucumbers in extremely hot or cold temperatures, as this can cause them to deteriorate. Refrigeration is not recommended for pickling cucumbers, as it can result in a loss of crunchiness.
- Vertical Storage: It’s best to store the jars in an upright position. This helps prevent brine from leaking and ensures an even distribution of flavors within the jar.
- Prolonged Shelf Life: Properly sealed and stored pickling cucumbers can typically last for several months to a year. However, it’s always a good idea to check for any signs of spoilage, such as unusual odors or mold, before consuming.
Remember, the flavors of the pickles will continue to develop over time as they age in storage. So, resist the temptation to open the jars too soon and allow the pickles to mature for the best taste.
Now that you have successfully stored the pickling cucumbers, it’s time for the final step – savoring and enjoying your homemade pickles!
Step 10: Enjoying Homemade Pickles!
After patiently waiting for the pickling process to work its magic, it’s time to enjoy the fruits of your labor – your homemade pickles! Here are some tips for savoring and enjoying your delicious pickles:
- Allow for Flavor Development: Homemade pickles need time to develop their flavors. As a general guideline, let the pickles sit for at least a few weeks before opening the jars. This allows the brine to infuse into the cucumbers, resulting in a more flavorful taste.
- Try Different Combinations: Don’t be afraid to experiment with different spices and flavorings. Each jar of pickles can have its own unique flavor profile. Have fun and try various combinations to discover your favorite.
- Serve Them Your Way: Pickles are versatile and can be enjoyed in various ways. Serve them as a side to burgers and sandwiches, chop them up and add them to salads, or even use them to create tasty appetizers like pickle wraps or deviled eggs.
- Share and Gift: If you’re proud of your homemade pickles, consider sharing them with friends, family, or neighbors. Pickles make for thoughtful gifts that can be enjoyed by others.
- Check for Quality: Before consuming your pickles, always check for signs of spoilage. Look for any unusual odors, changes in color, or mold growth. If any of these are present, discard the pickles to ensure your safety.
Remember, the joy of homemade pickles comes not only from their delicious taste but also from the satisfaction of creating something with your own hands. So savor each bite and take pride in the fact that you’ve mastered the art of pickling!
Congratulations on successfully storing and enjoying your homemade pickles. It’s time to relish your culinary accomplishment and share the joy of homemade pickles with others. Happy pickling!
Conclusion
Congrats! You’ve now learned the step-by-step process of storing pickling cucumbers and creating your own delicious homemade pickles. By carefully choosing the right cucumbers, cleaning them properly, sterilizing the jars, preparing the pickling brine, and packing the cucumbers, you’ve set yourself up for pickle success.
Adding spices and flavorings to your pickles allows you to experiment with different taste profiles, creating a personalized culinary experience. And by sealing the jars and storing them in a cool, dark place, you ensure that your pickles stay fresh and flavorful for a long time to come.
Remember, the storing process allows the flavors to develop, so be patient before indulging in the tangy goodness of your pickles. Allow them to sit for a few weeks to fully enjoy their delicious taste.
So go ahead, relish your accomplishment, and share your homemade pickles with friends and family. Whether you serve them as a side dish, add them to sandwiches or salads, or get creative with unique recipes, your homemade pickles will surely impress.
Enjoy the fruits of your labor and continue to refine your pickling skills. With practice, you’ll become even more proficient in creating pickles that suit your taste preferences perfectly.
Thank you for joining us on this pickling journey. We hope you’ve found this guide helpful in becoming a pickle enthusiast. Get ready to create a pantry full of jars filled with delicious homemade pickles that you can enjoy year-round!
Frequently Asked Questions about How To Store Pickling Cucumbers
Was this page helpful?
At Storables.com, we guarantee accurate and reliable information. Our content, validated by Expert Board Contributors, is crafted following stringent Editorial Policies. We're committed to providing you with well-researched, expert-backed insights for all your informational needs.


0 thoughts on “How To Store Pickling Cucumbers”