Articles
How To Store A Keg
Modified: October 19, 2024
Learn the proper technique for storing a keg in this informative article. Discover tips and tricks to keep your keg fresh and ready to serve.
(Many of the links in this article redirect to a specific reviewed product. Your purchase of these products through affiliate links helps to generate commission for Storables.com, at no extra cost. Learn more)
Introduction
Storing a keg properly is essential for preserving the freshness and quality of your favorite beverages. Whether you’re a homebrewing enthusiast or you just enjoy having a keg on hand for parties and gatherings, ensuring that it is stored correctly will make all the difference in the taste and longevity of the beer or other beverage inside.
In this article, we will walk you through the steps of how to store a keg effectively. From choosing the right storage location to maintaining the proper temperature, we will provide you with all the information you need to keep your keg in optimal condition.
So, let’s dive in and learn the best practices for storing a keg!
Key Takeaways:
- Proper keg storage involves choosing the right location, maintaining the correct temperature, and securing the keg to prevent damage. Accessorizing with tap handles and labels adds a personalized touch to the experience.
- Regular maintenance, cleanliness, and attention to temperature control are essential for preserving the quality and flavor of the beverage inside the keg. Proper storage ensures an enjoyable and satisfying pouring experience.
Read more: What Is a Kegerator and What Is It Used For?
Step 1: Choose a Suitable Storage Location
Choosing the right storage location for your keg is crucial in maintaining its quality and preventing any damage. Here are some factors to consider when selecting a suitable place:
- Temperature: Ensure that the storage location provides a consistent and cool temperature. Ideally, the temperature should be between 36°F and 42°F (2°C to 6°C). Avoid storing the keg in areas that experience extreme temperature fluctuations as it can affect the taste of the beverage.
- Light Exposure: It’s important to store the keg in a place away from direct sunlight or fluorescent lights. UV rays can interact with the hops in the beer, leading to a skunky flavor. Opt for a dark and shaded location.
- Adequate Space: Make sure you have enough space to accommodate the keg, including the necessary clearance for easy handling and access. Avoid storing the keg in tight spaces where it may be prone to getting bumped or damaged.
- Stability: Choose a stable surface or area that can support the weight and size of the keg. The keg should be stored in a place where it won’t be at risk of falling or being knocked over.
Once you have identified a suitable storage location based on these factors, you are ready to move on to the next step in storing your keg.
Step 2: Clean and Prepare the Area
Before placing your keg in the chosen storage location, it’s essential to clean and prepare the area to ensure optimal hygiene and prevent any contamination. Follow these steps to clean and prepare the area:
- Clean the Surface: Thoroughly clean the surface where the keg will be placed. Use a mild detergent and warm water to remove any dirt, dust, or residue. Rinse the area well and allow it to dry completely.
- Sanitize the Area: After cleaning, sanitize the area to eliminate any potential bacteria or germs. Use a food-grade sanitizer or a mixture of 1 tablespoon of bleach per gallon of water to sanitize the surface. Allow the sanitizer to sit for a few minutes before rinsing it off.
- Remove Excess Moisture: Ensure that the area is dry and free from any excess moisture. This will help prevent mold or mildew growth and maintain a clean environment for your keg.
- Clear Space: Remove any clutter or objects that may obstruct the area around the keg. This will make it easier to access the keg and prevent any accidental damage or spillage.
By taking the time to clean and prepare the area, you are creating a suitable and hygienic environment for your keg, ensuring the quality of the beverage inside remains intact.
Step 3: Position the Keg Correctly
Properly positioning the keg is crucial for easy access, maintaining carbonation, and preventing any damage. Follow these guidelines to ensure you position the keg correctly:
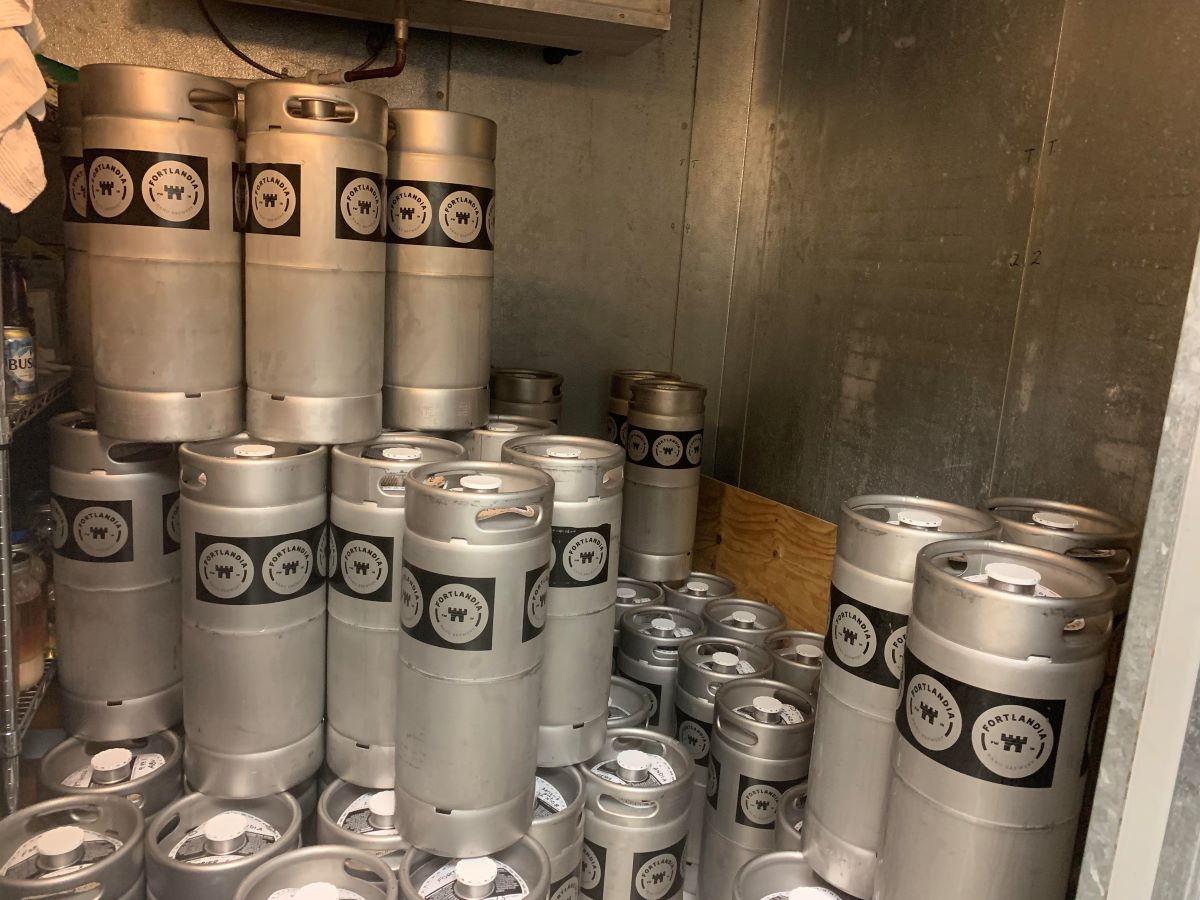
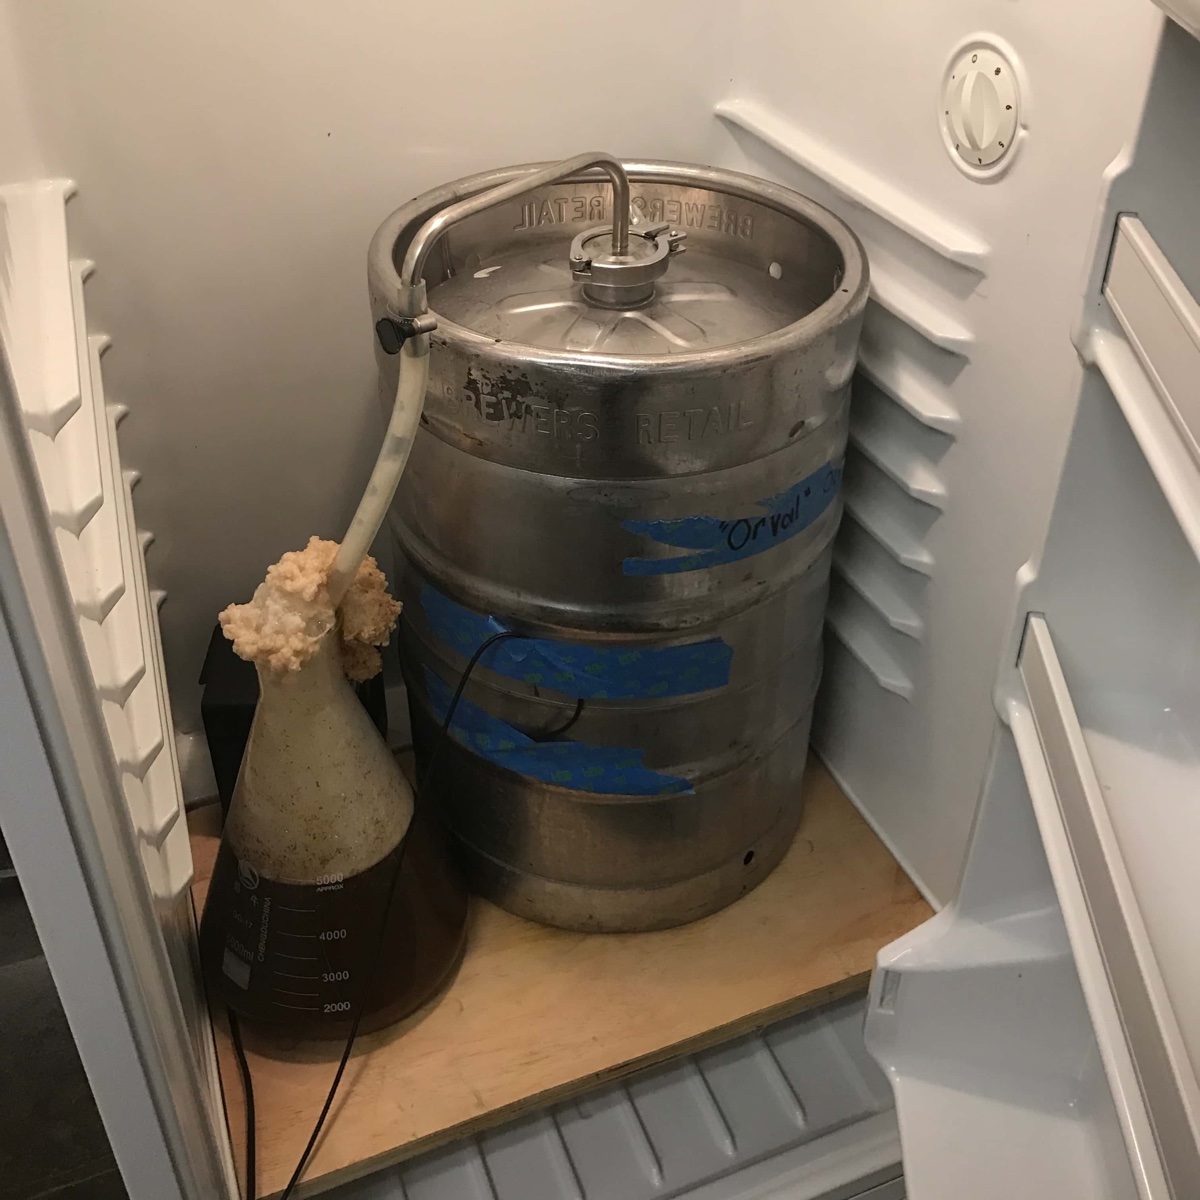
- Upright Position: It’s important to store the keg in an upright position. This helps prevent any leakage or excessive pressure buildup that can occur when the keg is positioned on its side or at an angle.
- Flat Surface: Place the keg on a flat and stable surface to provide stability and prevent it from rolling or tipping over. Avoid uneven or sloping surfaces that may compromise the keg’s position.
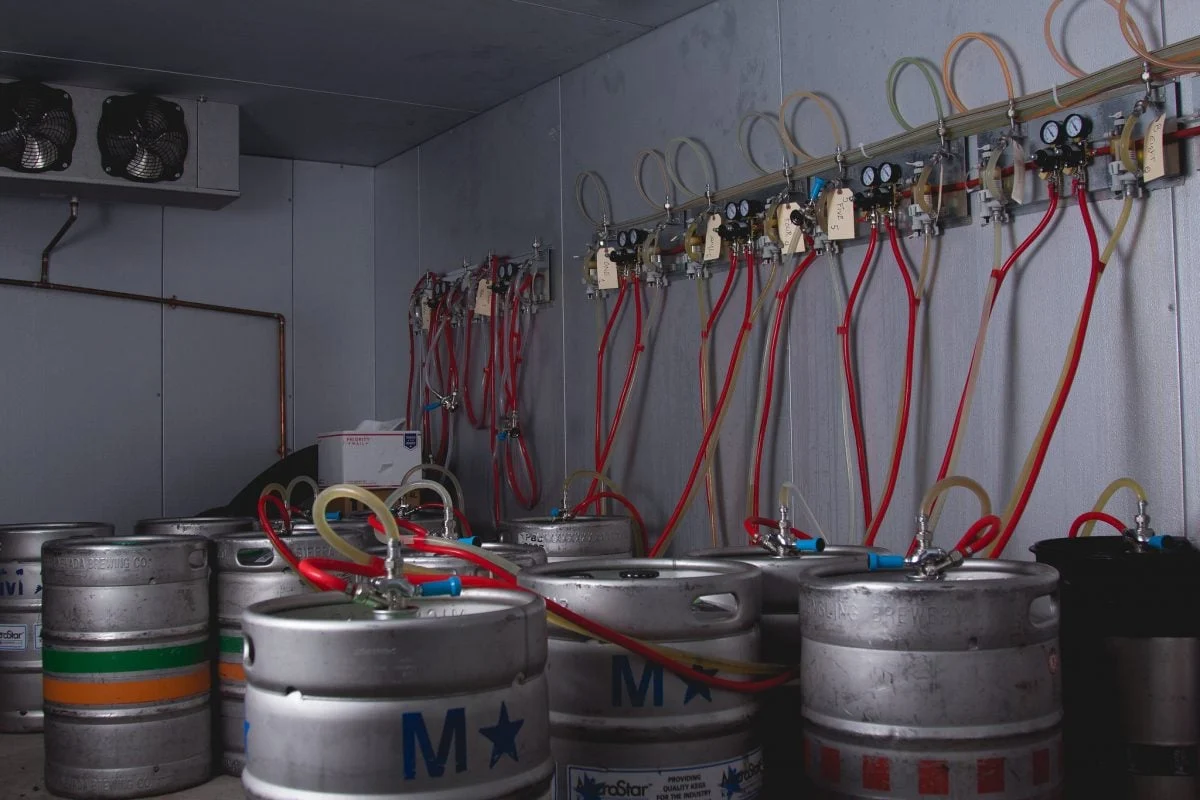
- Coupler Access: Keep the coupler access point of the keg easily accessible. This allows for smooth tapping and dispensing without the need to move the keg. Ensure there is enough clearance around the access point for attaching and removing the coupler.
- Space for Dispensing: Leave enough space around the keg to accommodate a draft system or dispensing setup if you plan to serve the beverage directly from the keg. This includes space for the tapping mechanism, hoses, and any additional equipment.
By positioning your keg correctly, you can ensure easy accessibility and maintain the integrity of the keg’s contents, allowing for a smooth and enjoyable pouring experience.
Step 4: Keep the Keg at the Right Temperature
Controlling the temperature of the keg is essential for preserving the quality and taste of the beverage inside. Follow these steps to ensure that your keg is kept at the right temperature:
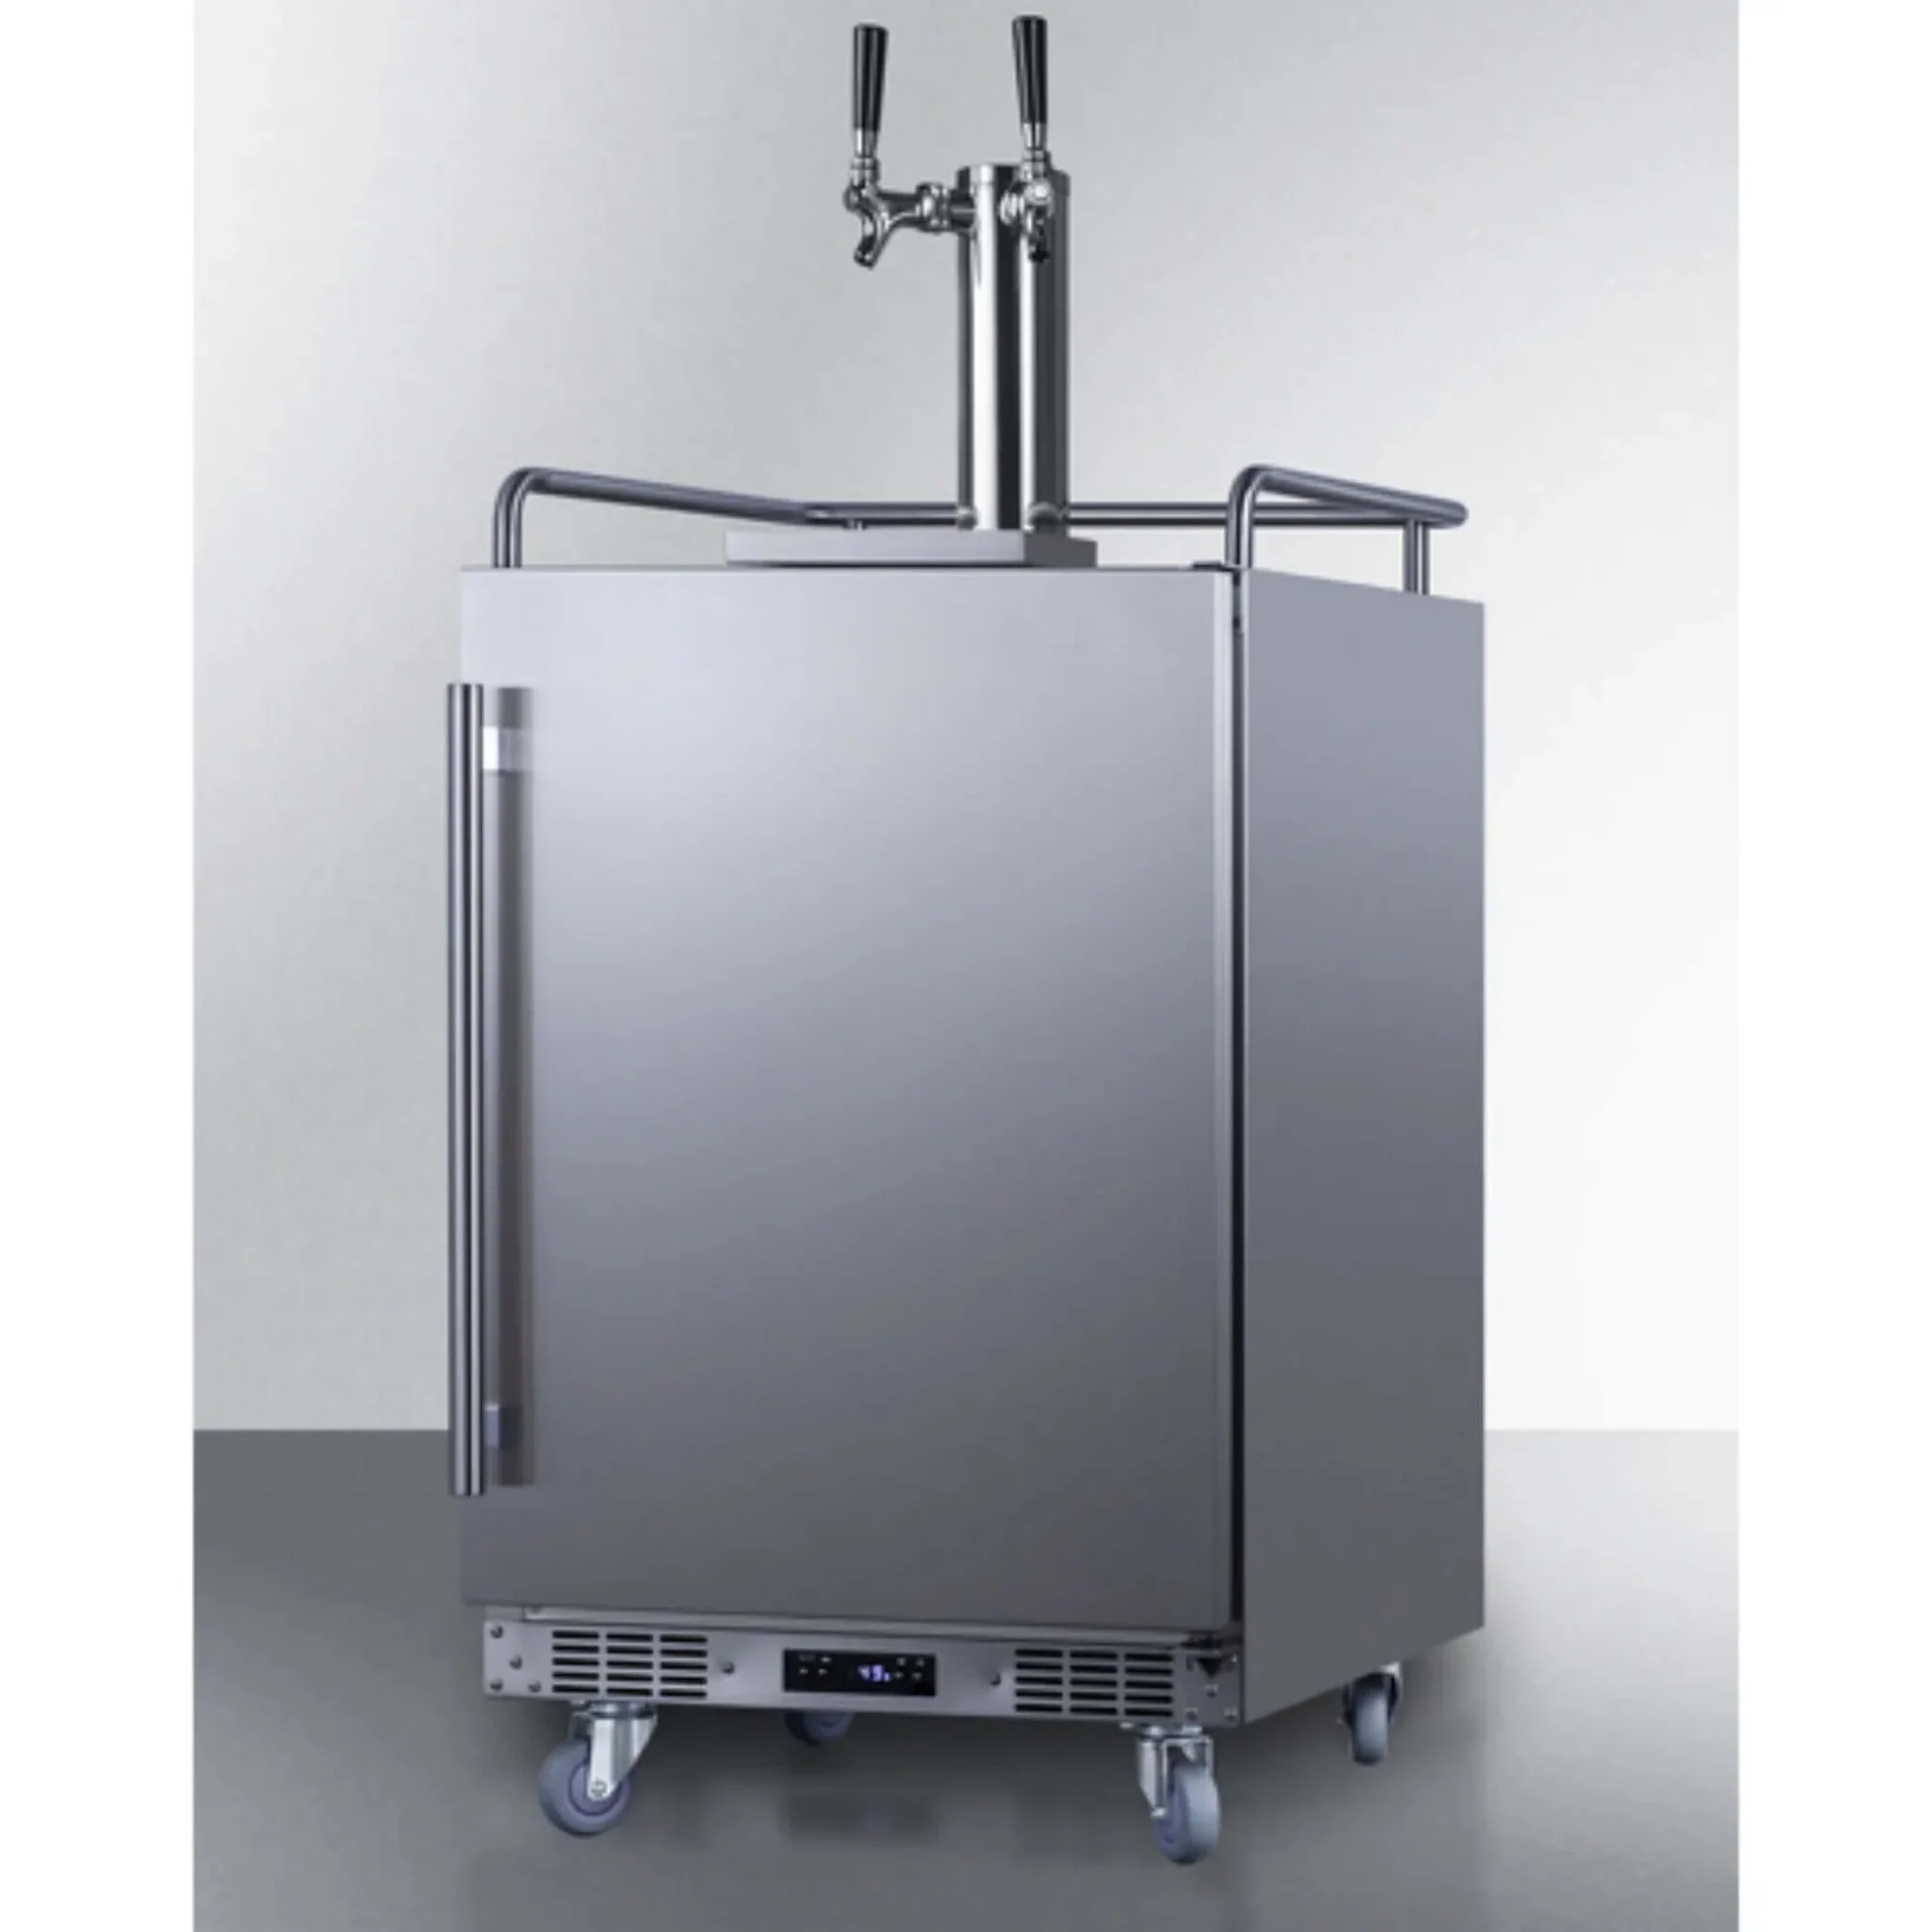
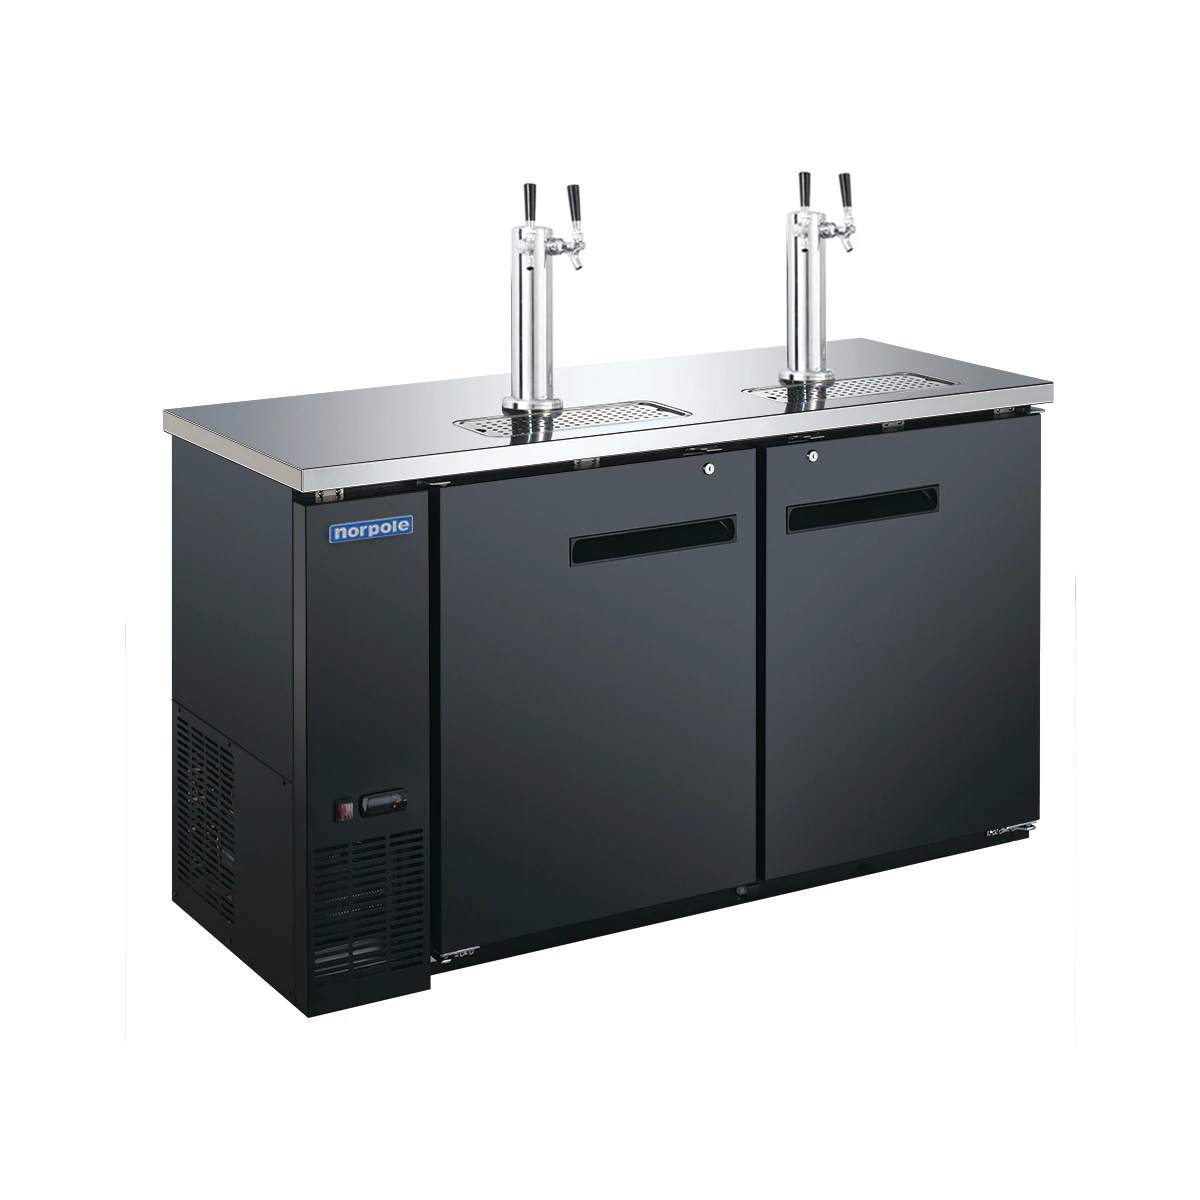
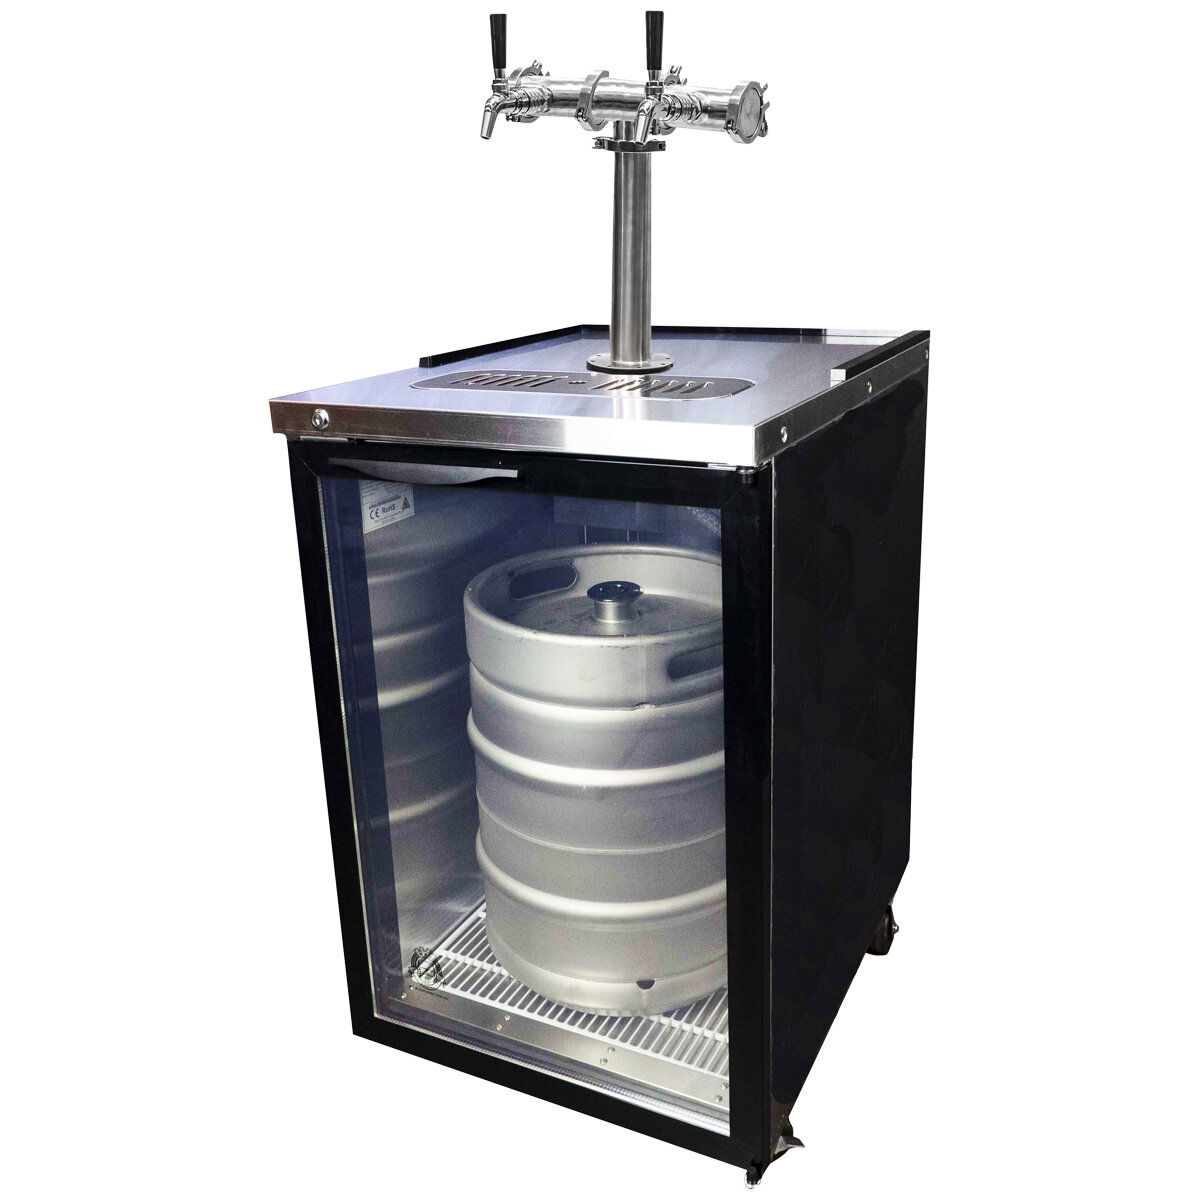
- Use a Keg Cooler or Refrigerator: If possible, store the keg in a dedicated keg cooler or a refrigerator specifically designed for kegs. These units are equipped with temperature controls that allow you to set and maintain the ideal temperature range for storing the keg.
- Monitor the Temperature: Regularly check and monitor the temperature inside the storage area to ensure it remains within the recommended range of 36°F to 42°F (2°C to 6°C). Use a reliable thermometer to accurately measure the temperature.
- Avoid Freezing: Be cautious not to allow the keg to freeze. Freezing can lead to beer expansion and potential damage to the keg. If the temperature drops too low, adjust the settings to prevent freezing.
- Avoid Temperature Fluctuations: Try to minimize temperature fluctuations as much as possible. Constant changes in temperature can affect the carbonation and flavor of the beverage. Keep the storage area away from heat sources or areas prone to temperature fluctuations.
By maintaining the keg at the right temperature, you can enjoy a perfectly chilled and flavorful beverage every time you tap into it.
Store your keg in a cool, dark place to maintain the quality of the beer. Keep it upright to prevent sediment from settling and store it at the proper temperature for the type of beer inside.
Read more: How Many 1/6Th Kegs In A 90 Inch Kegerator
Step 5: Secure the Keg to Prevent Movements
Securing the keg is essential to prevent any accidental movements or tipping over, which can cause damage to the keg or compromise its contents. Follow these steps to ensure the keg stays secure:
- Use Keg Stabilizers: Consider using keg stabilizers or supports to keep the keg in place. These devices help prevent any rolling or shifting of the keg, especially during transport or if the storage area is prone to vibrations.
- Strap or Tie Down: Use straps or tie-downs to secure the keg to a fixed structure or surface. This is particularly important if you are storing the keg in a moving vehicle or in an area where it may be susceptible to accidental movements.
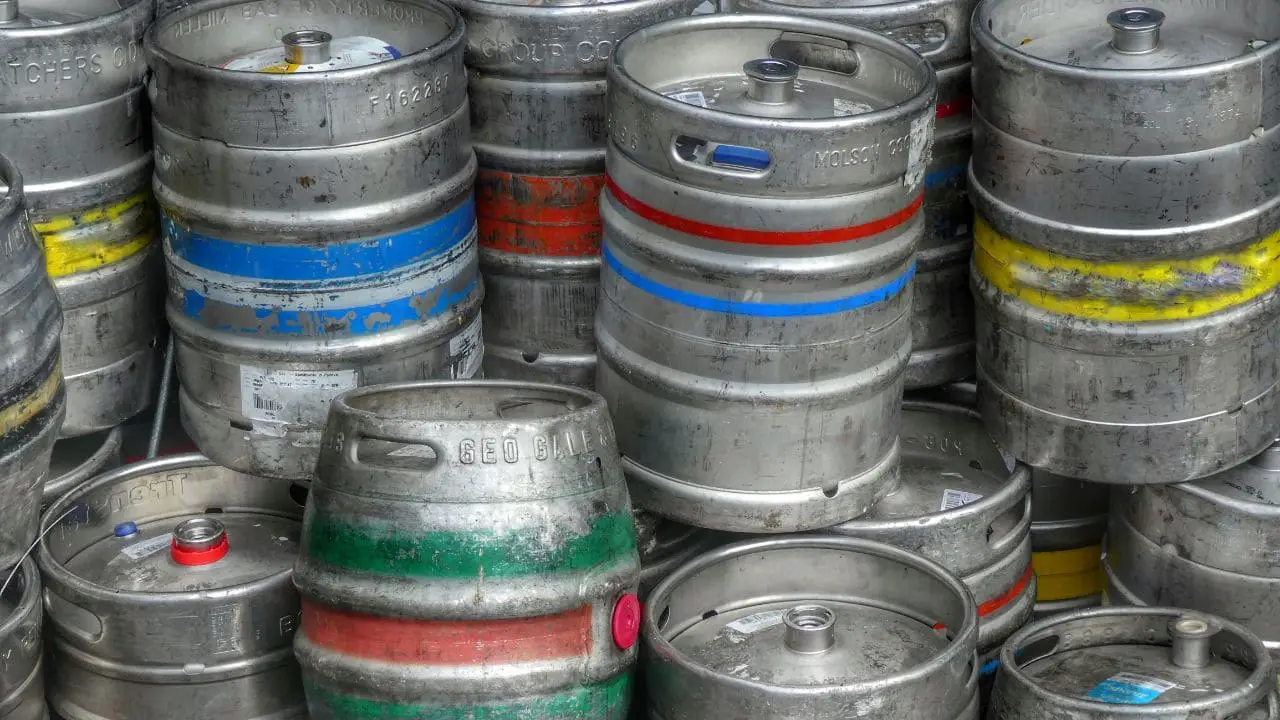
- Avoid Stacking: If you are storing multiple kegs, it’s essential to avoid stacking them on top of each other. Stacking can create instability and increase the risk of accidents. Instead, place them side by side or use a proper rack system to store them.
- Check Stability Regularly: Periodically check the stability of the keg and the security measures in place. Ensure that straps or tie-downs are intact and tight, and keg stabilizers are properly positioned and functioning.
By securely fastening the keg, you can have peace of mind knowing that it is safe from any unexpected movements or accidents.
Step 6: Maintain Proper Maintenance and Check for Leaks
Maintaining the keg and regularly checking for leaks is vital to ensure the quality and longevity of the beverage inside. Follow these steps to maintain proper maintenance and identify any potential leaks:
- Inspect the Keg: Regularly inspect the keg for any signs of damage, such as dents, cracks, or rust. If you notice any issues, it’s important to address them promptly to prevent leaks or contamination.
- Clean the Keg: Clean the exterior of the keg regularly to remove any dirt or residue. Use a mild detergent, warm water, and a scrub brush. Rinse thoroughly and allow it to dry completely before storage.
- Check for Leaks: Before storing the keg, perform a leak check to ensure it is sealed properly. Apply a solution of water and dish soap to all connection points, including the coupler, valves, and fittings. If you see any bubbles forming, it indicates a leak that needs to be addressed.
- Repair any Leaks: If you identify any leaks, address them immediately. Depending on the severity, you may need to replace gaskets, tighten connections, or even consult a professional for repairs.
- Keep Records: Maintain a record of the maintenance and inspections performed on the keg. This will help you track any issues over time and ensure that regular maintenance is being carried out.
By maintaining proper maintenance and regularly checking for leaks, you can ensure the integrity of the keg and the quality of the beverage it holds.
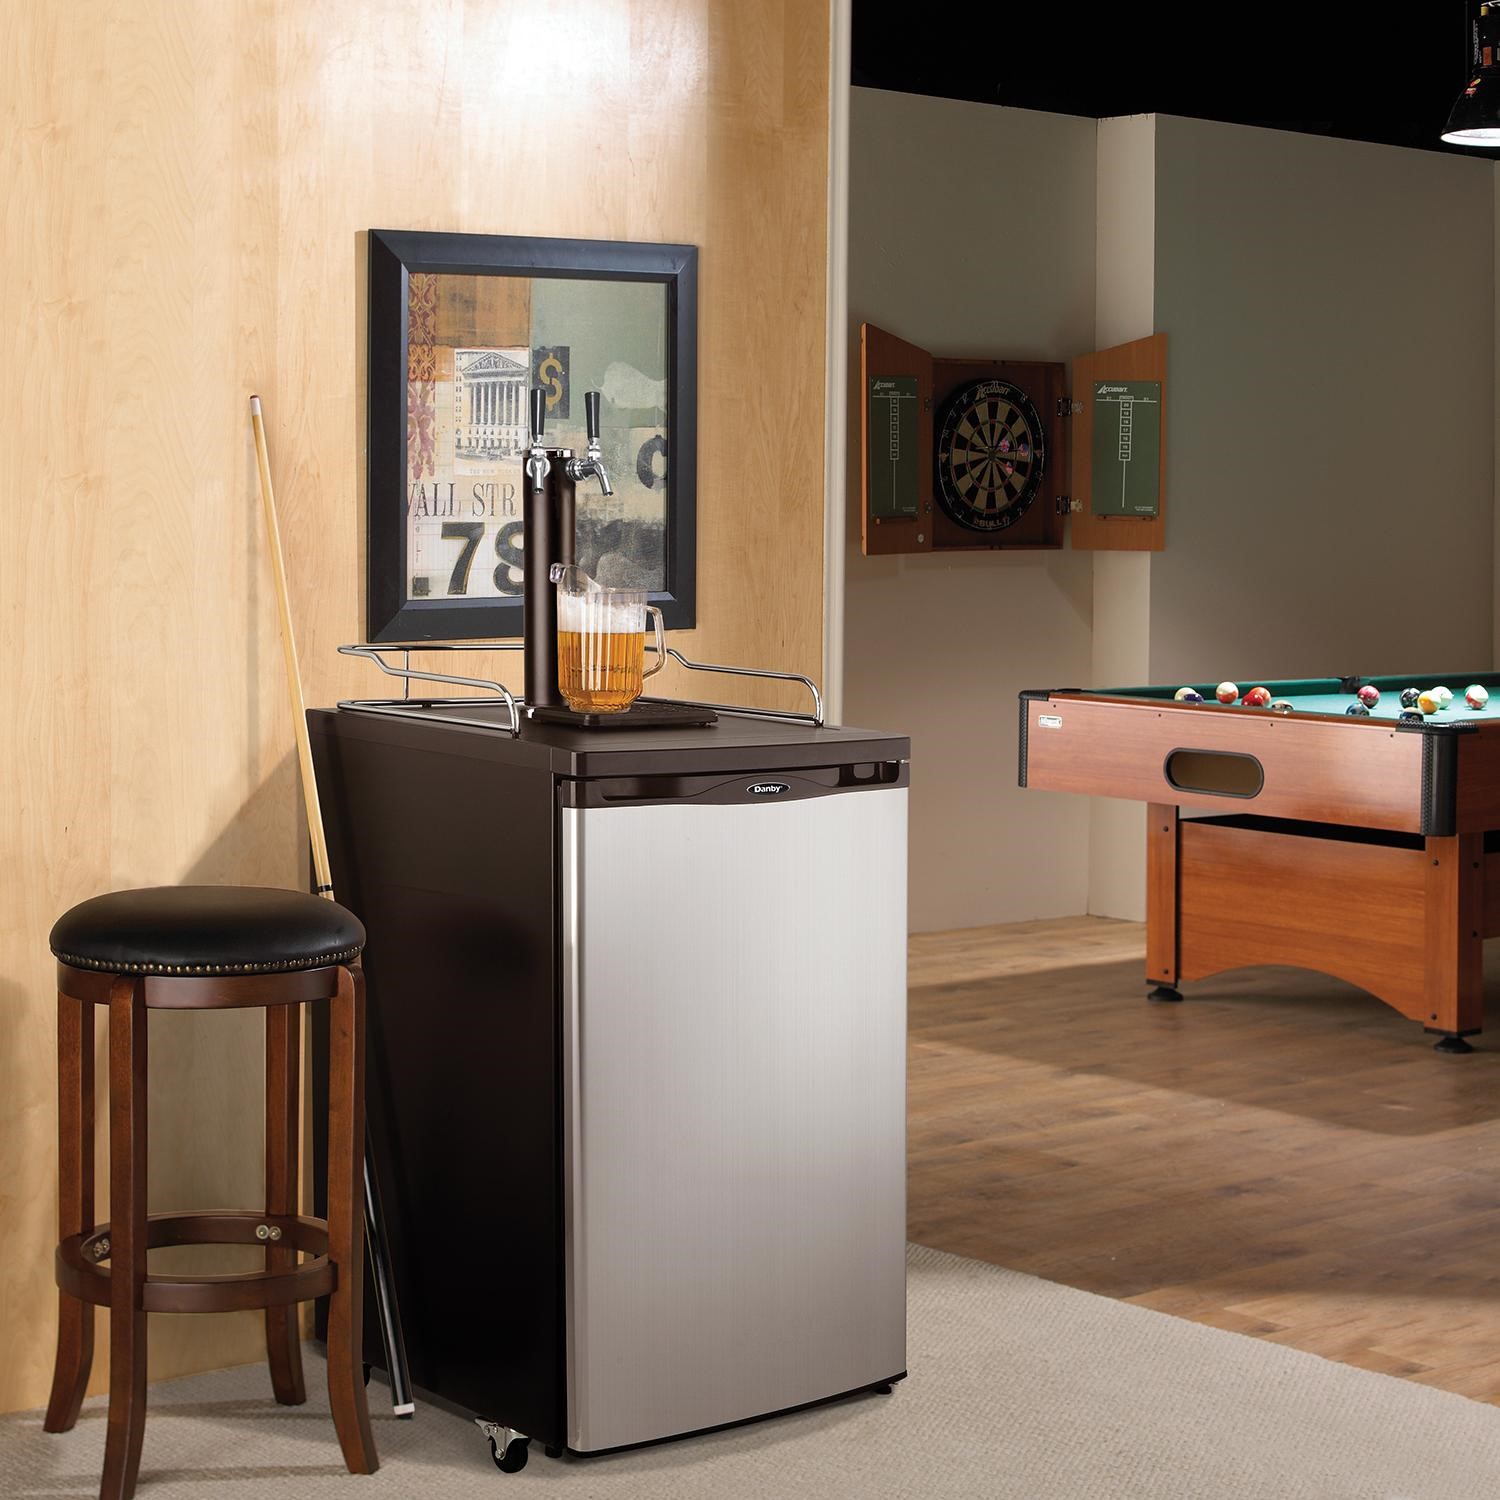
Step 7: Accessorize with Tap Handles and Labels
Accessorizing your keg with tap handles and labels not only adds a stylish and personalized touch but also enhances the overall experience of serving and enjoying the beverage. Consider the following steps to accessorize your keg:
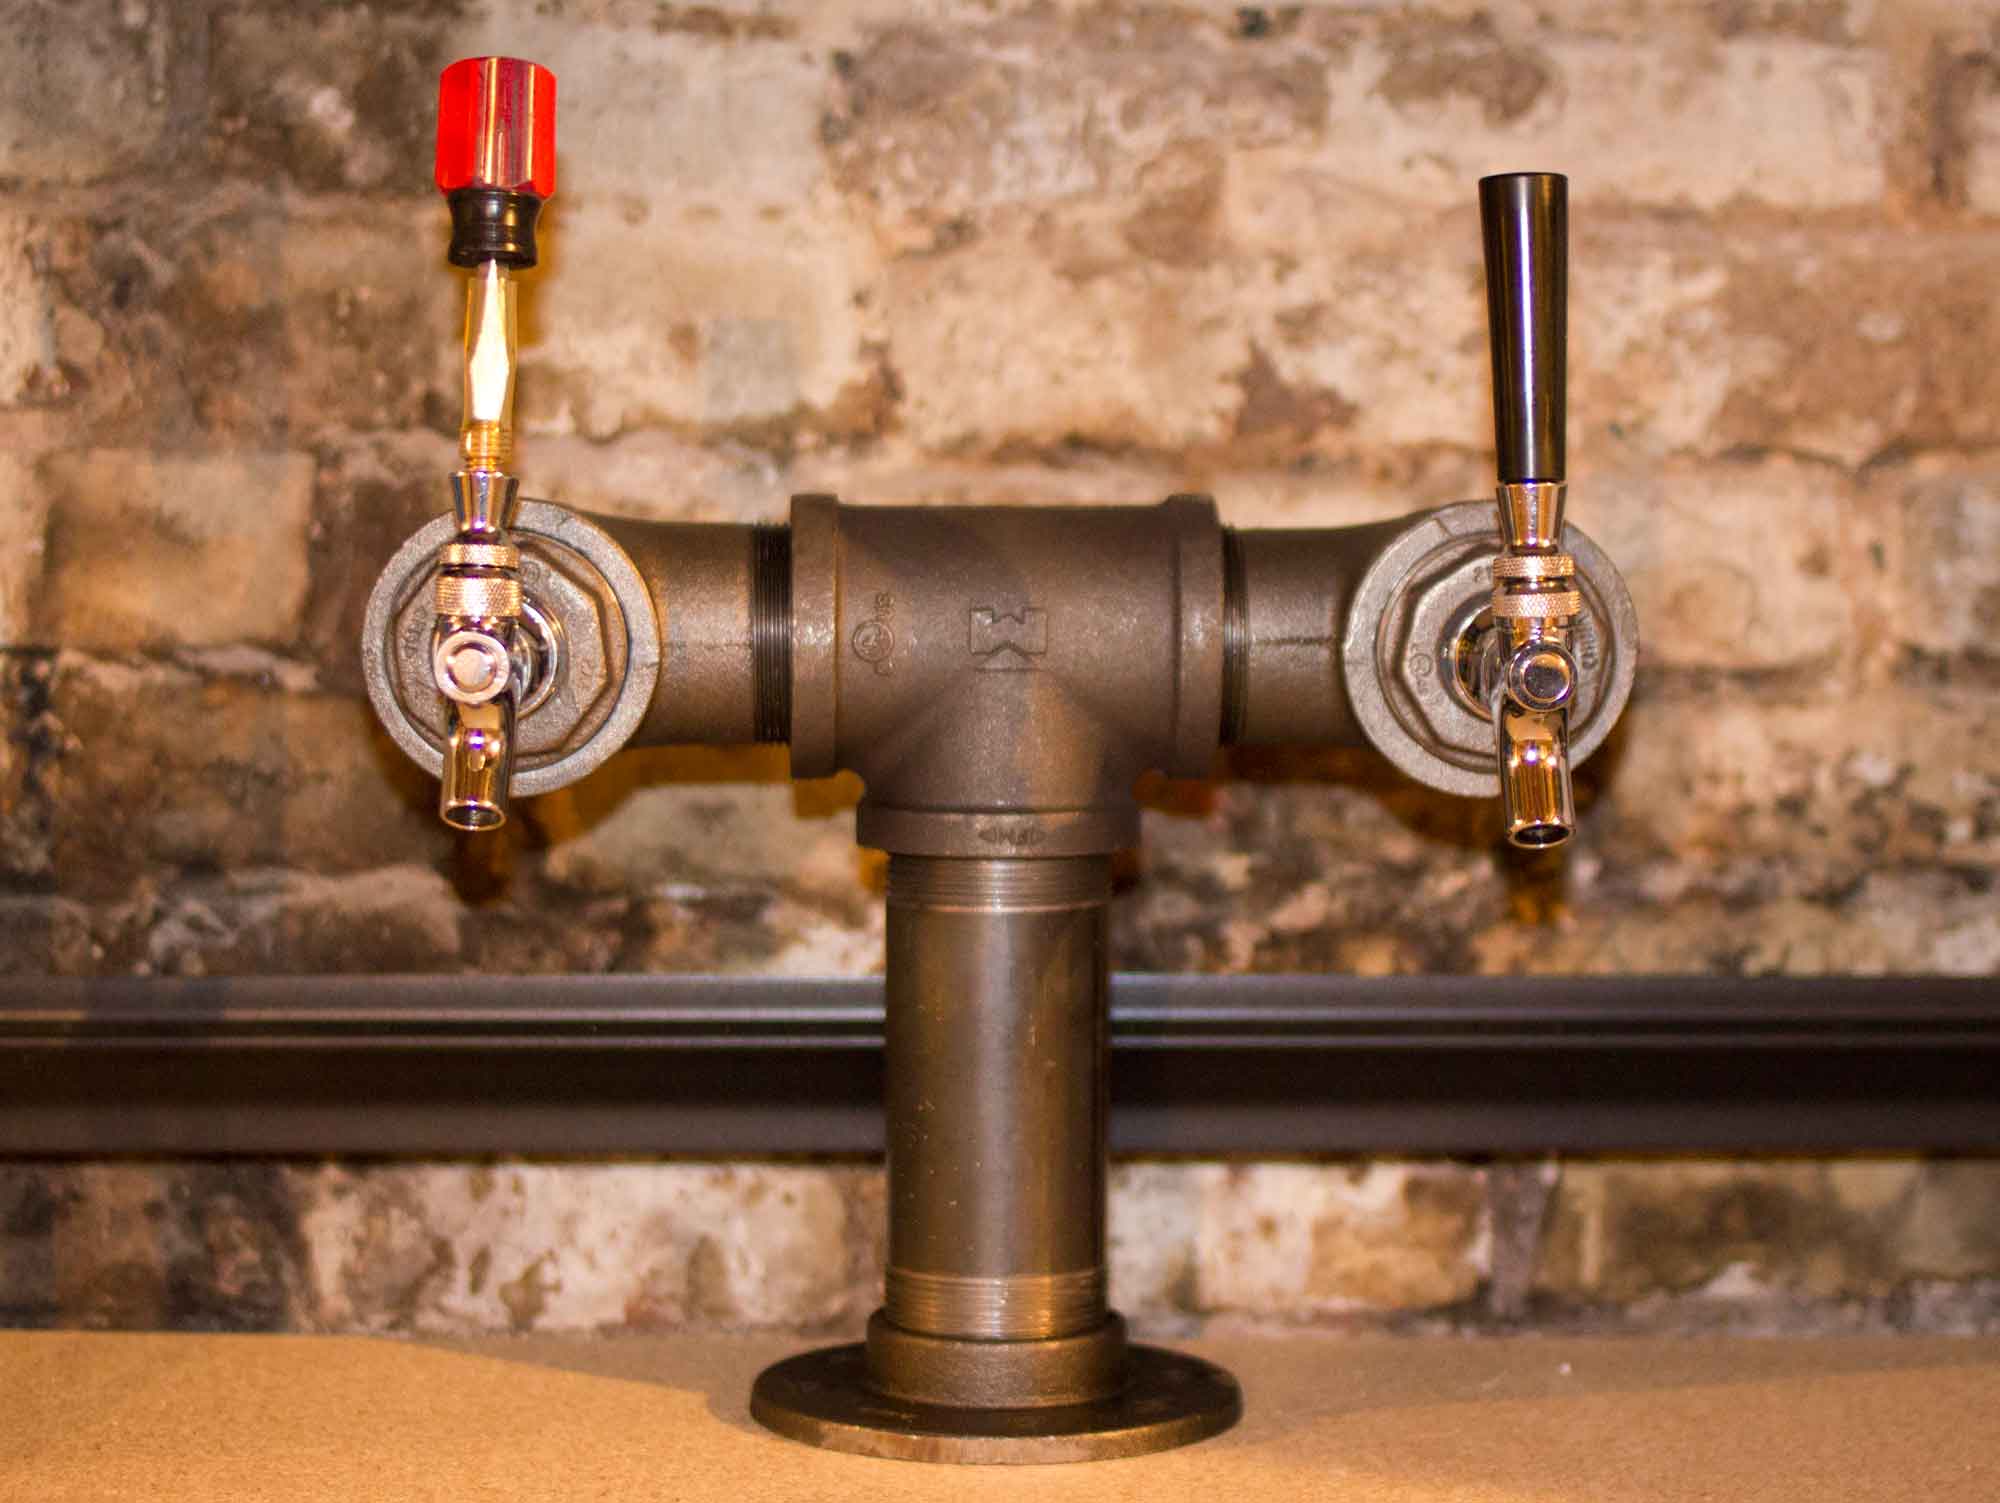
- Choose Tap Handles: Select tap handles that match your personal style or the theme of the event. Tap handles come in a variety of materials, shapes, and designs. Pick ones that are easy to grip and operate.
- Attach Tap Handles: Install the tap handles onto the faucet or keg coupler. Follow the instructions provided by the manufacturer for proper installation. Ensure that the tap handles are securely attached and aligned properly.
- Add Labels: Apply labels to the keg to indicate the type of beverage it contains. Use waterproof and removable labels to prevent damage to the keg’s surface. Labels can include the name of the beer or drink, ABV (alcohol by volume), and any other relevant information.
- Customize Labels: Get creative and personalize your labels. You can design and print your own labels featuring custom graphics, logos, or event-specific information. This adds a unique and memorable touch.
- Consider Accessories: Explore additional accessories like drip trays, tap covers, or keg cozies to enhance the functionality and aesthetics of your keg setup.
By accessorizing your keg with tap handles and labels, you can elevate the presentation of the beverage and create a more engaging and enjoyable experience for yourself and your guests.
Conclusion
Storing a keg properly is essential to preserve the freshness and quality of your favorite beverages. By following the steps outlined in this article, you can ensure that your keg remains in optimal condition, ready to be tapped and enjoyed.
Choosing a suitable storage location, cleaning and preparing the area, positioning the keg correctly, maintaining the right temperature, securing the keg to prevent movements, performing regular maintenance checks, and accessorizing with tap handles and labels are all crucial aspects of keg storage.
Remember to select a storage location that provides the right temperature and avoids light exposure. Clean and sanitize the area, position the keg upright on a stable surface, and ensure easy access to the coupler. Maintain the appropriate temperature and avoid fluctuations that can affect the beverage. Secure the keg to prevent movements and check for stability regularly. Lastly, customize your keg with tap handles and labels for a personalized and visually appealing touch.
By following these steps, you can ensure that the keg remains in optimal condition, preserving the flavor and quality of the beverage inside. Whether you’re a homebrewing enthusiast or simply enjoying a keg at a party, proper keg storage will enhance the overall experience.
So, take the necessary steps to store your keg correctly and enjoy your favorite beverages at their best!
Frequently Asked Questions about How To Store A Keg
Was this page helpful?
At Storables.com, we guarantee accurate and reliable information. Our content, validated by Expert Board Contributors, is crafted following stringent Editorial Policies. We're committed to providing you with well-researched, expert-backed insights for all your informational needs.


0 thoughts on “How To Store A Keg”