Articles
How To Store Food For Meal Prep
Modified: April 22, 2024
Learn how to store food for meal prep with these helpful articles. Find tips, tricks, and recommendations to keep your meals fresh and delicious throughout the week.
(Many of the links in this article redirect to a specific reviewed product. Your purchase of these products through affiliate links helps to generate commission for Storables.com, at no extra cost. Learn more)
Introduction
Meal prepping has become a popular practice for individuals seeking a convenient and efficient way to maintain a healthy diet. By carefully planning and preparing meals in advance, you can save time, reduce stress, and ensure that you always have nutritious options available, even on busy days. One essential aspect of successful meal prepping is proper food storage. In this article, we will explore the benefits of food storage for meal prep, as well as provide insights into essential supplies, container options, techniques for storing various food items, and safety guidelines to follow.
When it comes to meal prep, the quality and freshness of the ingredients are crucial. By storing food properly, you can extend its shelf life and retain its nutritional value, allowing you to enjoy delicious, wholesome meals throughout the week. Effective food storage also helps minimize food waste by preventing spoilage and deterioration. Let’s dive into the details and discover the best practices for storing your meal prep ingredients.
Key Takeaways:
- Proper food storage for meal prep extends shelf life, saves money, and promotes healthy eating. Utilize airtight containers, freezing techniques, and safety guidelines to maximize the benefits.
- Organize and label stored food effectively to streamline meal prep. Follow safety guidelines, utilize proper containers, and implement freezing techniques for convenient, delicious meals.
Read more: How To Make Freezer Meals
Benefits of Food Storage for Meal Prep
Proper food storage plays a vital role in ensuring the success of your meal prep journey. Here are the key benefits of effective food storage:
- Extended Shelf Life: By storing your ingredients correctly, you can extend their shelf life and prevent premature spoilage. This means you can buy fresh produce, meats, and other perishables in bulk without worrying about them going bad before you have a chance to use them.
- Cost Savings: Purchasing ingredients in bulk quantities is often more cost-effective. By storing the excess properly, you can save money and reduce the frequency of shopping trips. Additionally, by preventing food waste through proper storage, you can avoid throwing away spoiled or expired items, further minimizing expenses.
- Convenience: When you have a busy schedule, the last thing you want is to spend valuable time each day shopping for ingredients and preparing meals from scratch. Proper food storage allows you to prepare and store multiple meals in advance, enabling you to grab a pre-prepared dish whenever you need it, saving time and effort.
- Healthy Choices: Having properly stored meal prep ingredients readily available encourages you to make healthier food choices. By eliminating the temptation to reach for unhealthy takeout or processed foods, you can stick to your nutrition goals and maintain a balanced diet.
- Variety: With a well-stocked and organized pantry and freezer, you can create a wide variety of meal options. Storing ingredients like grains, legumes, frozen fruits, and veggies allows you to experiment with different recipes and enjoy diverse flavors throughout the week.
- Portion Control: Proper food storage enables you to portion out your meals in advance, helping you manage your calorie intake and control portion sizes. This is particularly beneficial for those aiming to lose weight or maintain a healthy weight.
By taking advantage of the benefits offered by food storage for meal prep, you can streamline your cooking process, save money, eat healthier, and enjoy a wide range of delicious home-cooked meals with minimal effort.
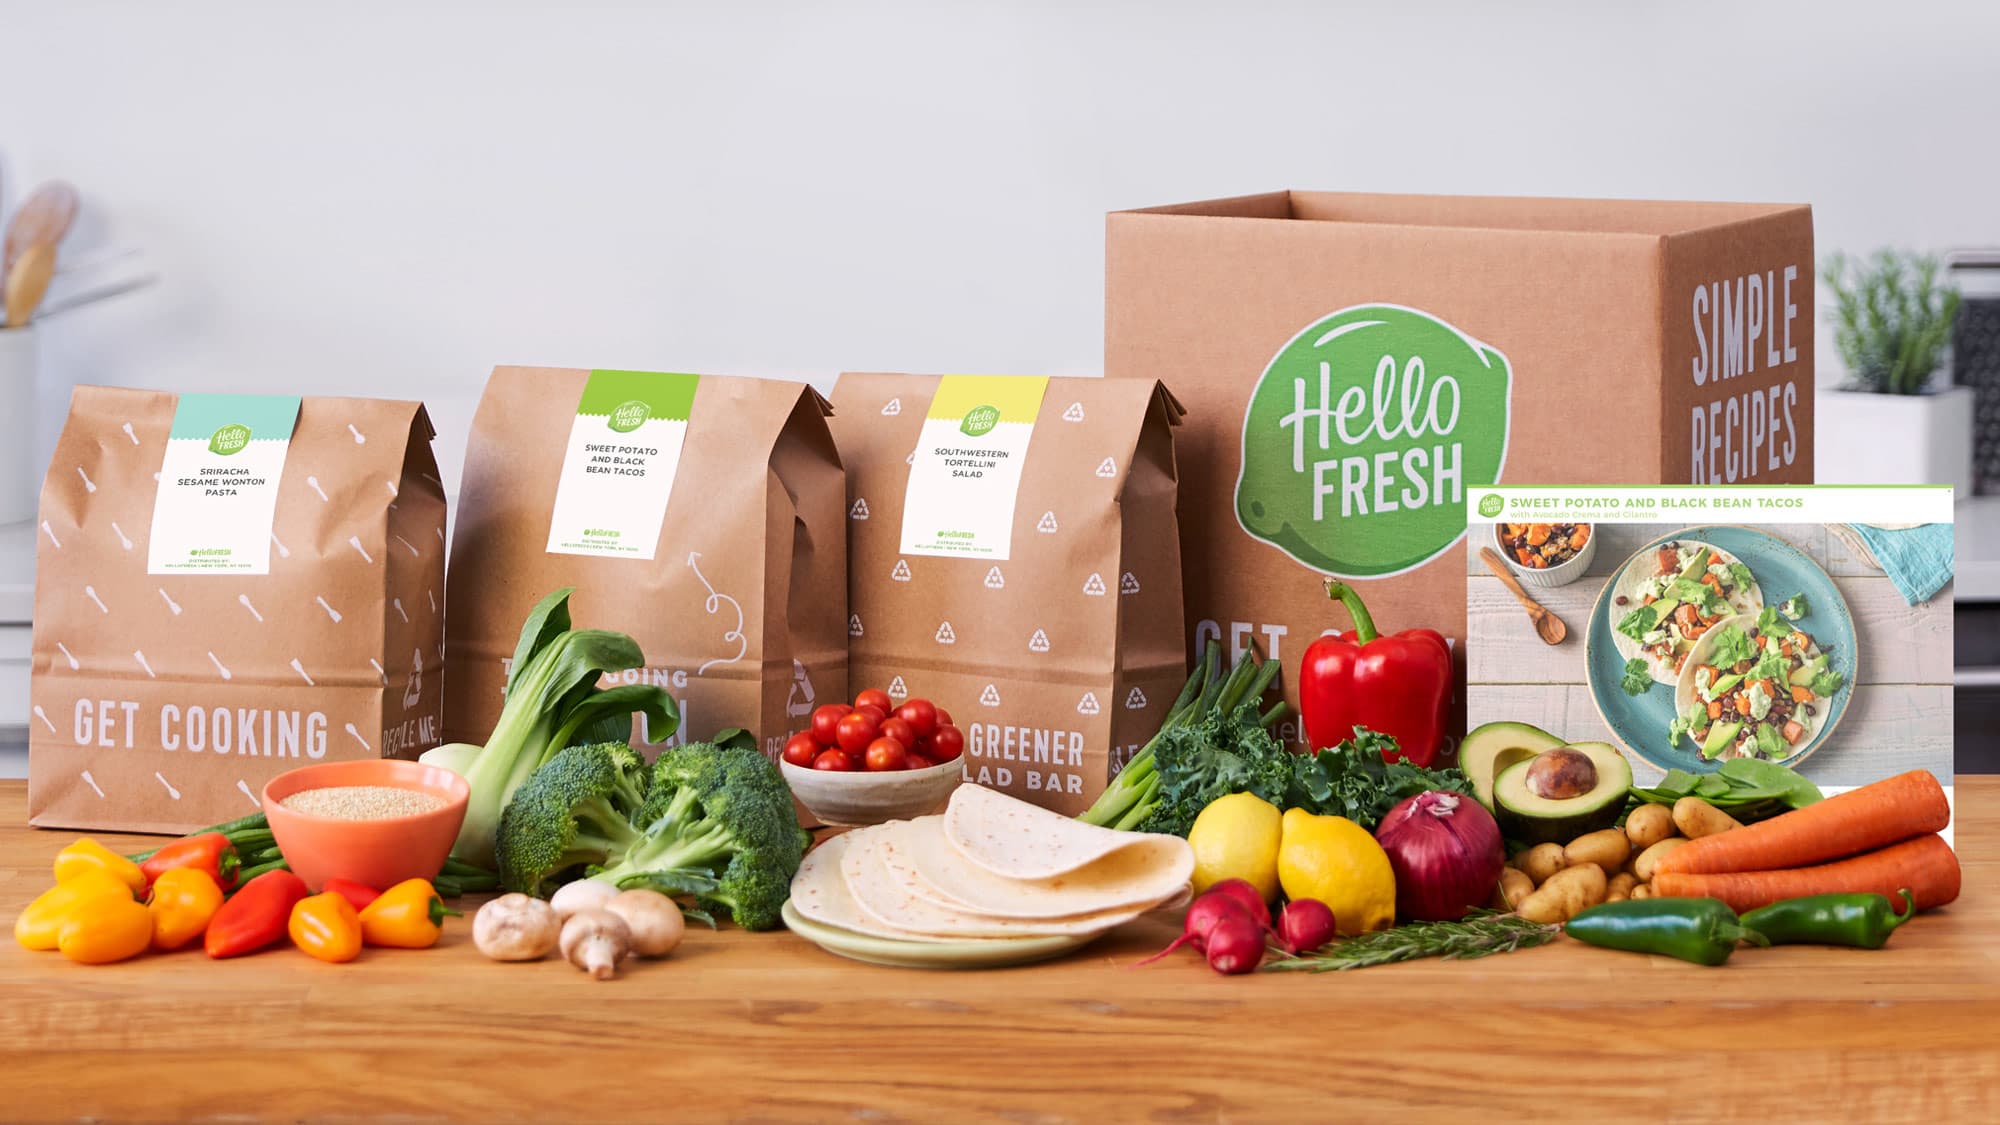
Essential Supplies for Food Storage
When it comes to storing food for meal prep, having the right supplies is essential. Here are some essential items to consider:
- Airtight Containers: Invest in high-quality airtight containers to store prepped meals, ingredients, and leftovers. These containers help maintain the freshness and prevent moisture from seeping in, extending the shelf life of the food.
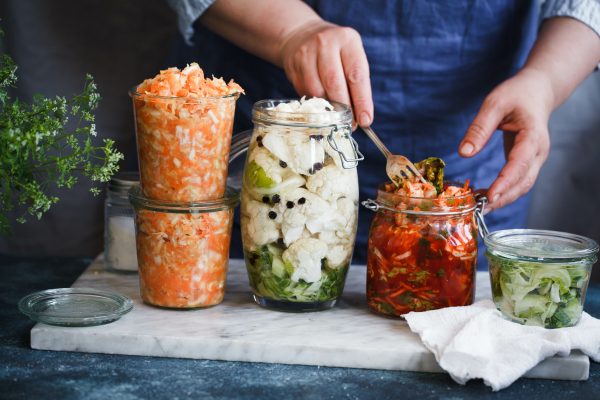
- Mason Jars: Mason jars are versatile and perfect for storing dry goods like grains, nuts, and spices. They are also great for portioning out sauces, dressings, and homemade snacks.
- Ziplock Bags: Ziplock bags are handy for storing individually portioned items such as pre-cut vegetables, marinated meats, and even single servings of soup or stew. Opt for high-quality freezer bags to prevent freezer burn.
- Aluminum Foil and Plastic Wrap: These wrapping materials are useful for covering and protecting dishes, especially those that need to be reheated in the oven or microwave.
- Meal Prep Containers: Consider investing in specialized meal prep containers with compartments. These containers allow you to keep different components of a meal separate, preventing any sogginess or cross-contamination.
- Labels and Permanent Markers: Labeling your containers with the contents and the date of preparation helps you stay organized and maintain food freshness. Permanent markers are ideal for writing on containers, ziplock bags, and freezer packages.
- Proper Kitchen Tools: Having the right tools, such as a food scale, measuring cups, and a vacuum sealer, can make food storage easier and more precise.
Investing in these essential supplies will not only make your meal prepping journey more efficient but also ensure that your food stays fresh, organized, and easily accessible.
Proper Containers for Food Storage
Choosing the right containers for food storage is crucial to maintain the quality and freshness of your meal prep ingredients. Here are some tips for selecting proper containers:
- Airtight and Leak-Proof: Look for containers with tight-fitting lids that create a proper seal to keep air and moisture out. This helps preserve the freshness of the food and prevents any leaks or spills.
- BPA-Free Materials: Opt for containers made from BPA-free materials such as glass or high-quality food-grade plastic. This ensures that no harmful chemicals leach into your food, especially when storing acidic or hot items.
- Freezer-Safe: If you plan to freeze your meals or ingredients, make sure the containers are safe for freezer use. Look for containers labeled as freezer-safe, as they are designed to withstand low temperatures without cracking or becoming brittle.
- Food Compartments: Consider using containers with separate compartments or dividers to keep different components of a meal separate. This is especially useful for storing meals with sauces or dressings, preventing them from making other ingredients soggy.
- Easy to Stack and Store: Opt for containers that are stackable and have a space-saving design, making it easier to organize and store your meal prep items in the refrigerator or freezer.
- Microwave and Dishwasher Safe: Check if the containers are microwave and dishwasher safe for convenient reheating and cleaning. This saves you time and effort when it comes to meal prep and cleanup.
- Transparent: Clear containers allow you to see the contents at a glance, making it easier to identify what you have on hand and plan your meals accordingly. Clear containers also help prevent any forgotten or expired items at the back of your fridge or pantry.
Remember to choose containers that are suitable for the specific type of food you are storing. For example, use glass containers for acidic or oily foods, as they are more resistant to staining and won’t retain odors. By selecting proper containers, you can ensure that your food stays fresh, organized, and easily accessible throughout your meal prep journey.
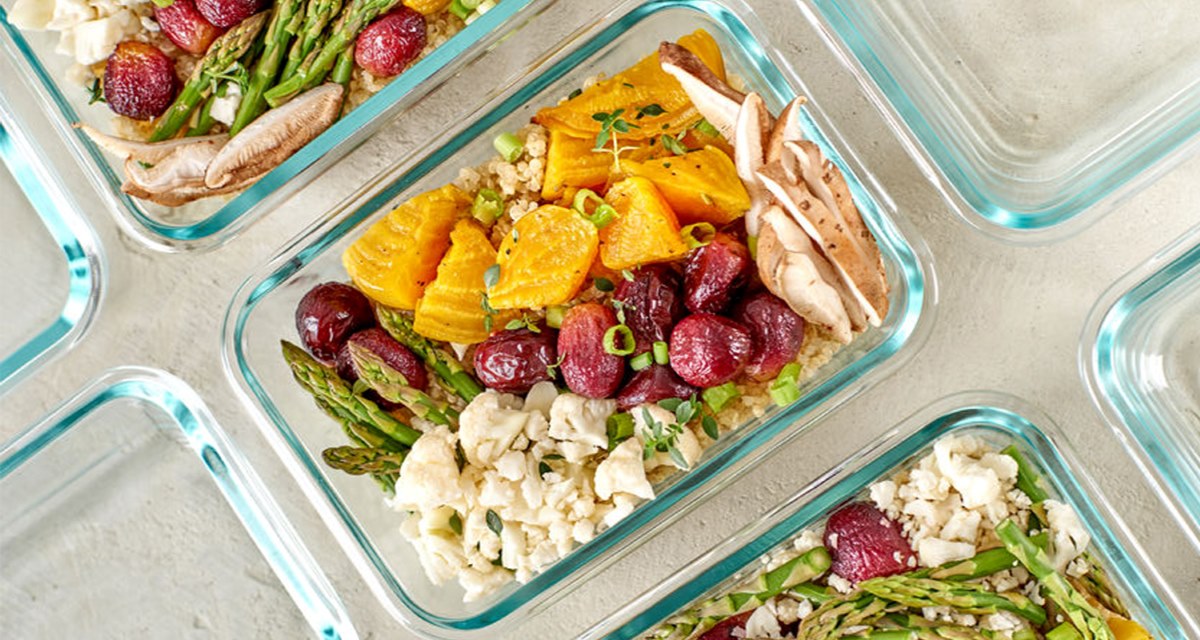
Best Practices for Storing Fresh Produce
Properly storing fresh produce is essential to maintain its quality, flavor, and nutrient content. Here are some best practices for storing different types of fresh produce:
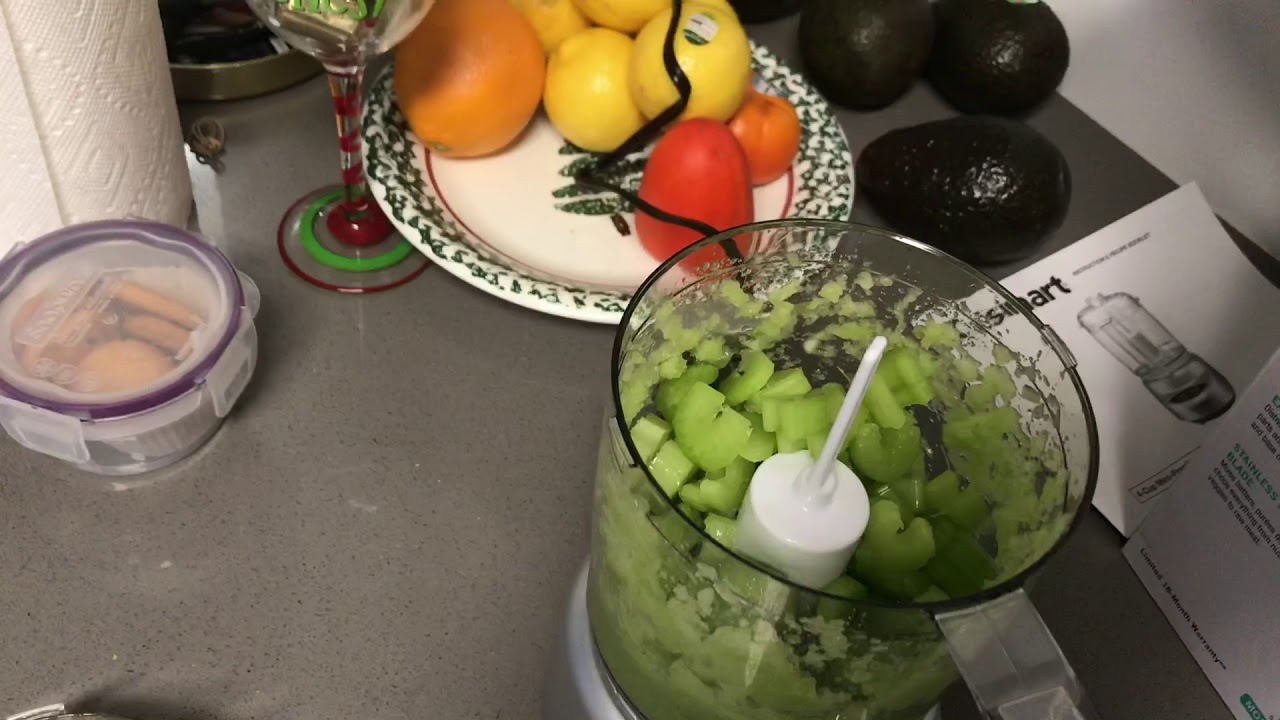
- Leafy Greens: Remove any rubber bands or ties, then wash and dry thoroughly. Place in a reusable produce bag or wrap in a paper towel before storing in the crisper drawer of your refrigerator. This helps absorb excess moisture and extends the shelf life of leafy greens.
- Root Vegetables: Remove any leafy tops from root vegetables like carrots, beets, and radishes. Store them in a separate plastic bag in the refrigerator, while the roots can be stored loose or in a perforated plastic bag to allow airflow.
- Tomatoes: Keep tomatoes at room temperature away from direct sunlight until ripe. Once ripe, store them in a cool, dry place, preferably in a single layer, to prevent them from becoming mushy or overripe.
- Citrus Fruits: Store citrus fruits, such as oranges, lemons, and grapefruits, at room temperature and away from direct sunlight. If you need to store them for a longer period, place them in the refrigerator, but allow them to come to room temperature before consuming to enhance their flavor.
- Berries: Berries are highly perishable. Remove any spoiled or moldy berries before storage. Store them in a single layer in a shallow container or spread them out on a paper towel in the refrigerator. Do not wash them until ready to eat, as excess moisture can accelerate spoilage.
- Herbs: Place fresh herbs, such as basil, cilantro, and parsley, in a jar or glass of water, similar to a bouquet of flowers, and cover loosely with a plastic bag. Change the water every few days to maintain freshness. Alternatively, you can wrap them in a damp paper towel and store them in a plastic bag in the refrigerator.
- Onions and Garlic: Store onions and garlic in a cool, dry, and well-ventilated area, away from direct sunlight. Avoid storing them near potatoes, as the moisture and gases emitted by the potatoes can cause onions and garlic to spoil faster.
Remember to handle fresh produce gently, and avoid washing or prepping it until you are ready to use it. By following these best practices, you can prolong the shelf life of your fresh produce, reduce waste, and enjoy the full flavors and nutritional benefits of your meal prep ingredients.
Read more: How To Store Shredded Chicken
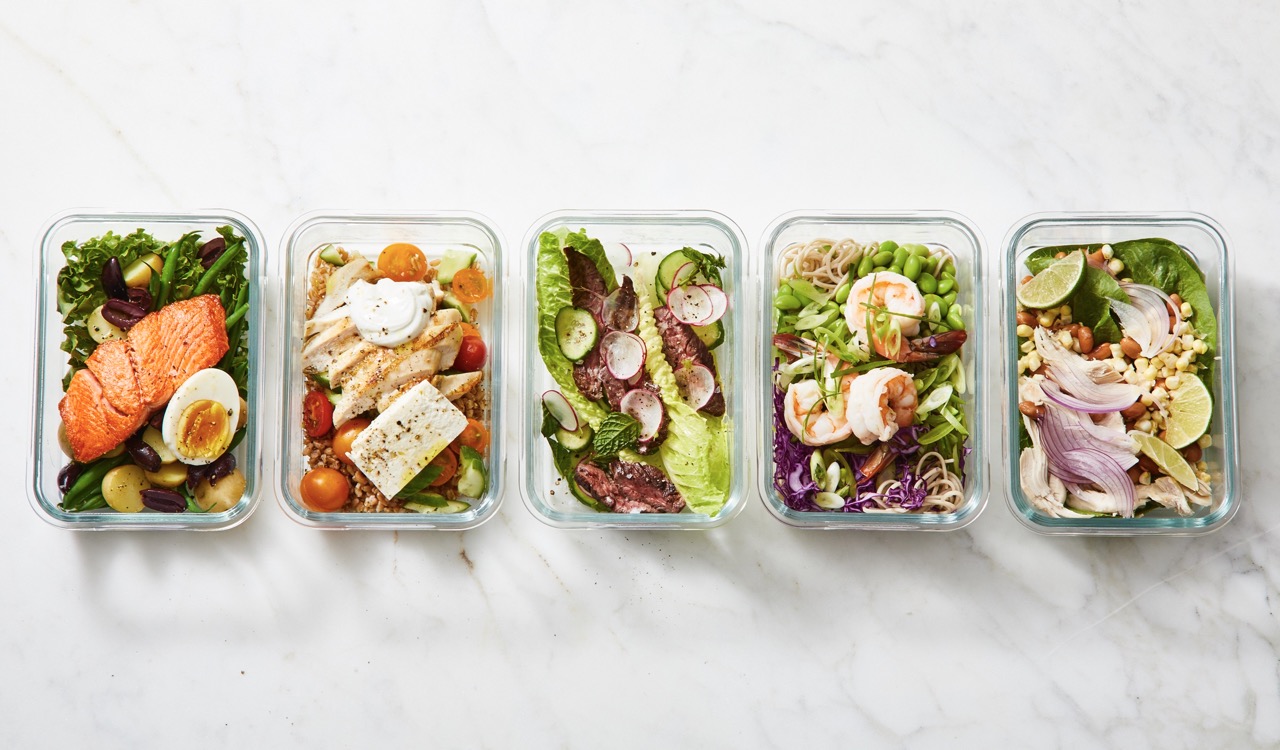
Storing Cooked Proteins for Meal Prep
Properly storing cooked proteins is crucial for maintaining their freshness, texture, and taste. Here are some tips for storing different types of cooked proteins:
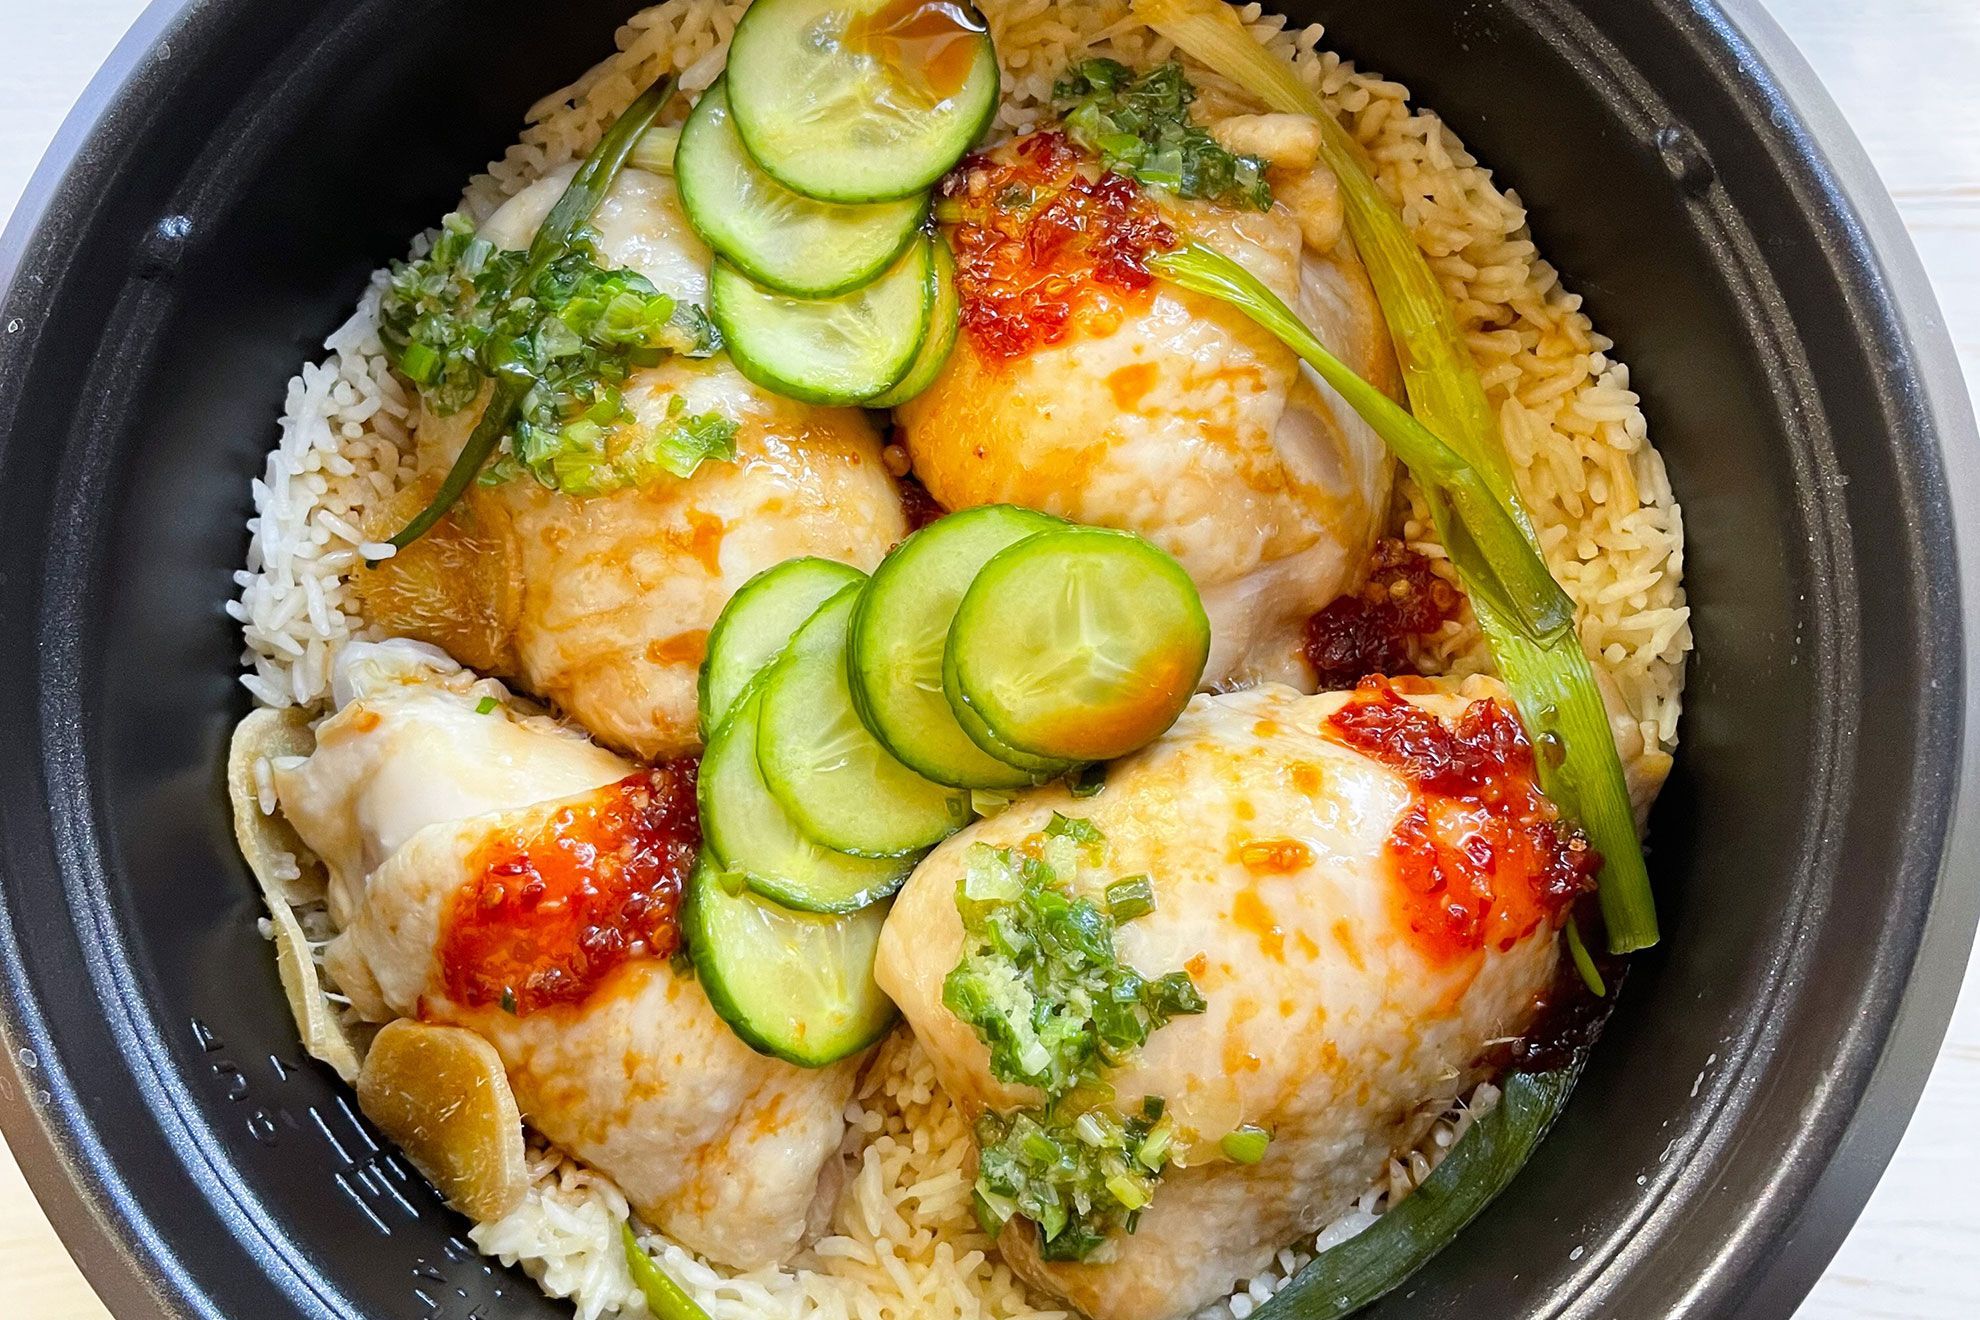
- Chicken and Turkey: Allow cooked chicken or turkey to cool completely before storing. Divide into individual portions and place them in airtight containers or ziplock bags. Store in the refrigerator for up to 4 days. If you plan to store them longer, place the containers in the freezer instead.
- Beef, Pork, and Lamb: Similar to chicken and turkey, let cooked beef, pork, or lamb cool down before storing. Slice or shred the meat if desired and store in airtight containers or ziplock bags. Keep them in the refrigerator for up to 4 days or freeze for longer-term storage.
- Fish and Seafood: Cooked fish and seafood are highly perishable, so consume them within 1-2 days. Store them in airtight containers in the refrigerator, ideally on ice to maintain freshness. Alternatively, you can freeze them for up to 3 months. Wrap them tightly in plastic wrap and place in a freezer-safe bag before freezing.
- Beans and Legumes: If you’re meal prepping with beans or legumes, let them cool down completely before storing. Store them in airtight containers and keep in the refrigerator for up to 4-5 days. You can also freeze them in portioned containers or ziplock bags for longer-term storage. Drain and rinse canned beans before storing.
- Tofu and Tempeh: Cooked tofu and tempeh can be stored in airtight containers in the refrigerator for 3-4 days. To maintain their texture, keep them in the cooking liquid or marinade. Freezing tofu is also an option. Before freezing, drain and press out excess moisture, then store in a freezer-safe container.
- Eggs: Hard-boiled eggs can be stored in the refrigerator, unpeeled, for up to 1 week. Peeled hard-boiled eggs should be consumed within a day or two. If you want to freeze eggs, scramble or mix them well and store in an airtight container or ziplock bag for up to 3 months.
When reheating stored cooked proteins, make sure to heat them thoroughly, reaching a safe internal temperature before consuming. It is also important to note that cooked proteins may lose some moisture during storage, so consider incorporating sauces, dressings, or broths when reheating to add moisture and enhance flavor.
By properly storing cooked proteins, you can enjoy the convenience of pre-prepared proteins in your meal prep while ensuring they remain safe and delicious.
When storing food for meal prep, use airtight containers to keep food fresh for longer periods of time. This will help prevent spoilage and maintain the quality of the food.
Storing Grains and Legumes for Meal Prep
Properly storing grains and legumes is essential to preserve their quality, flavor, and nutritional value. Here are some tips for storing different types of grains and legumes:
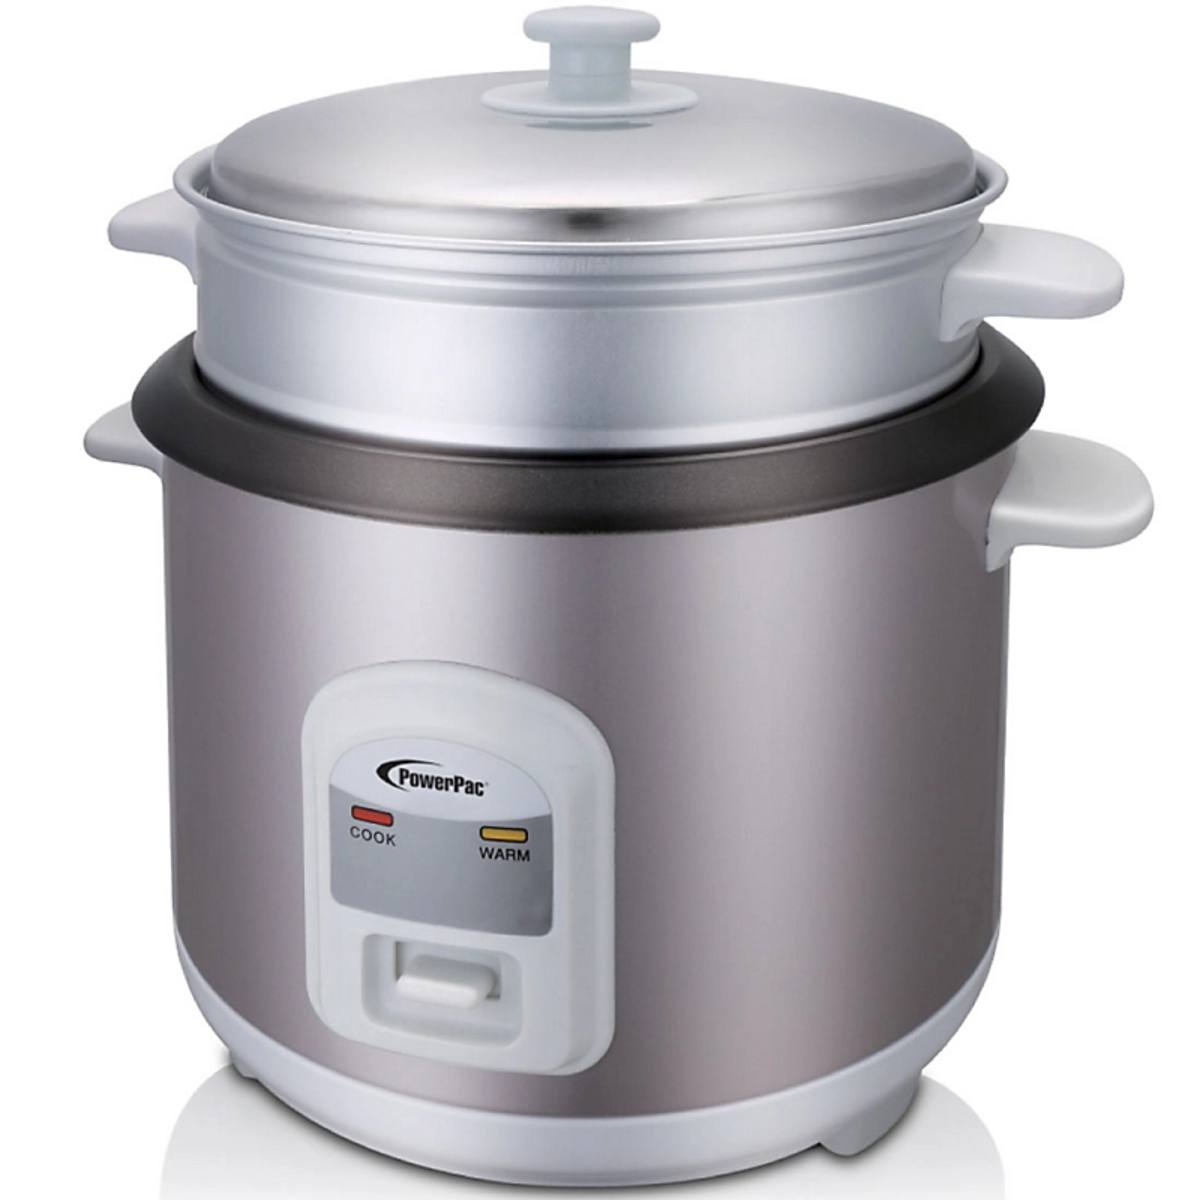
- Rice: Store uncooked rice in airtight containers in a cool, dry place, away from direct sunlight. White rice can be stored for up to a year, while brown rice has a shorter shelf life of 6-8 months due to its higher oil content. Cooked rice should be stored in airtight containers in the refrigerator for up to 4-5 days.
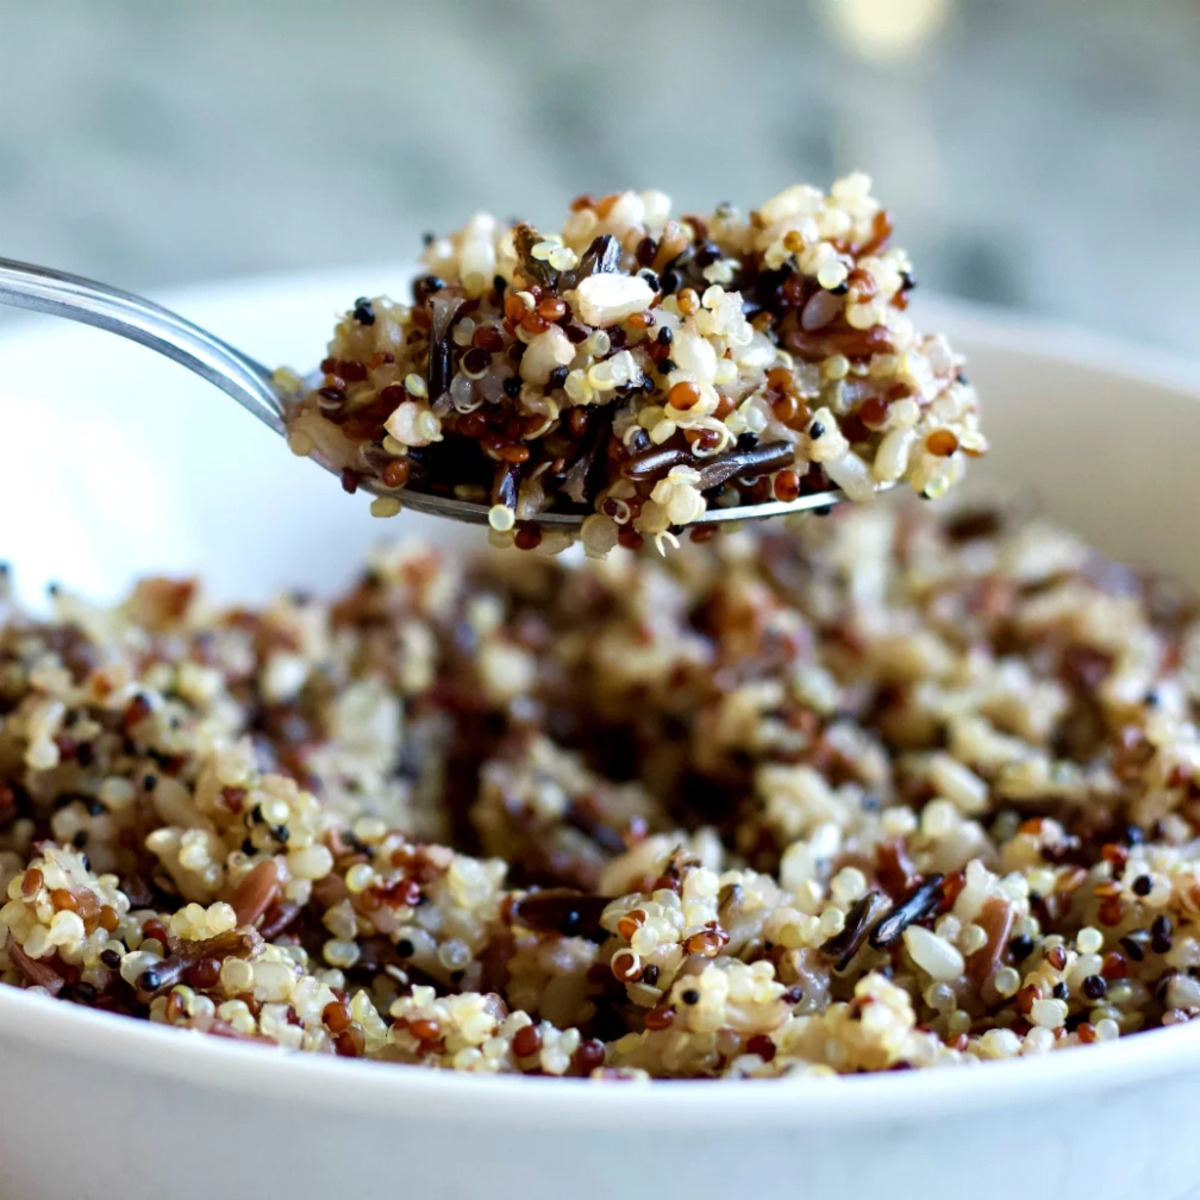
- Quinoa: Uncooked quinoa should be stored in airtight containers in a cool, dark place. It can last for up to 2 years. Cooked quinoa can be stored in the refrigerator for 4-5 days. To prevent clumping, fluff it up with a fork before storing.
- Pasta: Store uncooked pasta in its original packaging or transfer to airtight containers. Keep it in a cool, dry place. Cooked pasta should be stored in airtight containers in the refrigerator for 3-4 days. Consider tossing cooked pasta with a little olive oil to prevent sticking.
- Beans: Dried beans can be stored in airtight containers in a cool, dark place for up to 1 year. Before cooking, rinse the beans thoroughly and remove any debris. Once cooked, beans can be stored in airtight containers in the refrigerator for 4-5 days. They can also be frozen for up to 3 months.
- Lentils: Similar to beans, dried lentils can be stored in airtight containers in a cool, dark place for about a year. Cooked lentils can be stored in the refrigerator for 4-5 days or frozen for up to 3 months. Rinse lentils before cooking to remove any dirt or debris.
- Chickpeas: Dried chickpeas can be stored in airtight containers in a cool, dark place for up to a year. Cooked chickpeas should be stored in airtight containers in the refrigerator for 4-5 days or frozen for up to 3 months. They are versatile and can be used in various recipes, including salads, stews, and hummus.
When cooking grains and legumes for meal prep, it’s important to follow the recommended cooking instructions to ensure they are cooked properly and retain the desired texture. Properly cooked grains and legumes not only taste better but also store well, maintaining their quality and flavor during storage.
Remember to check for any signs of spoilage, such as a musty smell or mold, before using stored grains and legumes. Discard any items that show any signs of deterioration.
By following these storage guidelines, you can stock up on grains and legumes, ensuring that you always have the foundation for nutritious and satisfying meals as part of your meal prep routine.
Freezing Techniques for Meal Prep
Freezing is an excellent way to extend the shelf life of your meal prepped dishes and ingredients. Here are some freezing techniques to help you maximize the benefits of freezer storage:
- Cool Food before Freezing: It’s important to let cooked food cool down completely before freezing. This helps maintain the texture and prevents excess moisture from forming ice crystals.
- Portion Control: Divide your meal prepped dishes into individual or family-sized portions before freezing. This allows for easier meal planning and thawing, as you can defrost only what you need.
- Freezer Bags: Invest in high-quality freezer bags that are durable and leak-proof. Squeeze out any excess air before sealing the bag to minimize freezer burn. Label the bags with the dish name and date for easy reference.
- Freezer-Safe Containers: Use containers specifically designed for freezer storage. Choose containers that are stackable to save space in the freezer. Make sure they are airtight to prevent any air or moisture from entering.
- Flash Freezing: For items like berries, sliced fruits, or vegetables, lay them out in a single layer on a baking sheet lined with parchment paper. Place the baking sheet in the freezer for a couple of hours until the items are individually frozen. This prevents them from sticking together when stored in bags or containers.
- Wrap and Label: Wrap individual portions of food in plastic wrap or aluminum foil before placing them in bags or containers. This additional layer of protection helps prevent freezer burn. Label each package with the dish name and date for easy identification.
- Thawing: When it’s time to enjoy your frozen meals, it’s important to thaw them properly. Ideally, transfer the frozen meal from the freezer to the refrigerator the night before and let it thaw slowly. Alternatively, you can use the defrost function on your microwave or place the package in a bowl of cold water to speed up the thawing process.
- Reheating: When reheating frozen meals, make sure to heat them thoroughly until they reach the appropriate internal temperature to ensure all bacteria are destroyed. Follow the recommended reheating instructions for each specific dish or ingredient.
By utilizing these freezing techniques, you can confidently stock up your freezer with a variety of meal prep options, allowing you to enjoy convenient and delicious meals whenever you need them.
Tips for Labeling and Organizing Stored Food
Proper labeling and organization are essential for a well-functioning meal prep system. Here are some helpful tips to ensure your stored food is labeled and organized effectively:
- Clear Labels: Use clear and legible labels, either on the container or freezer bag, that include the dish name and the date it was prepared. This makes it easy to identify each item and track its freshness.
- Color-Coding: Consider using colored labels or markers to categorize different types of food. For example, use one color for proteins, another for grains, and so on. This simple visual system can help you locate specific items quickly.
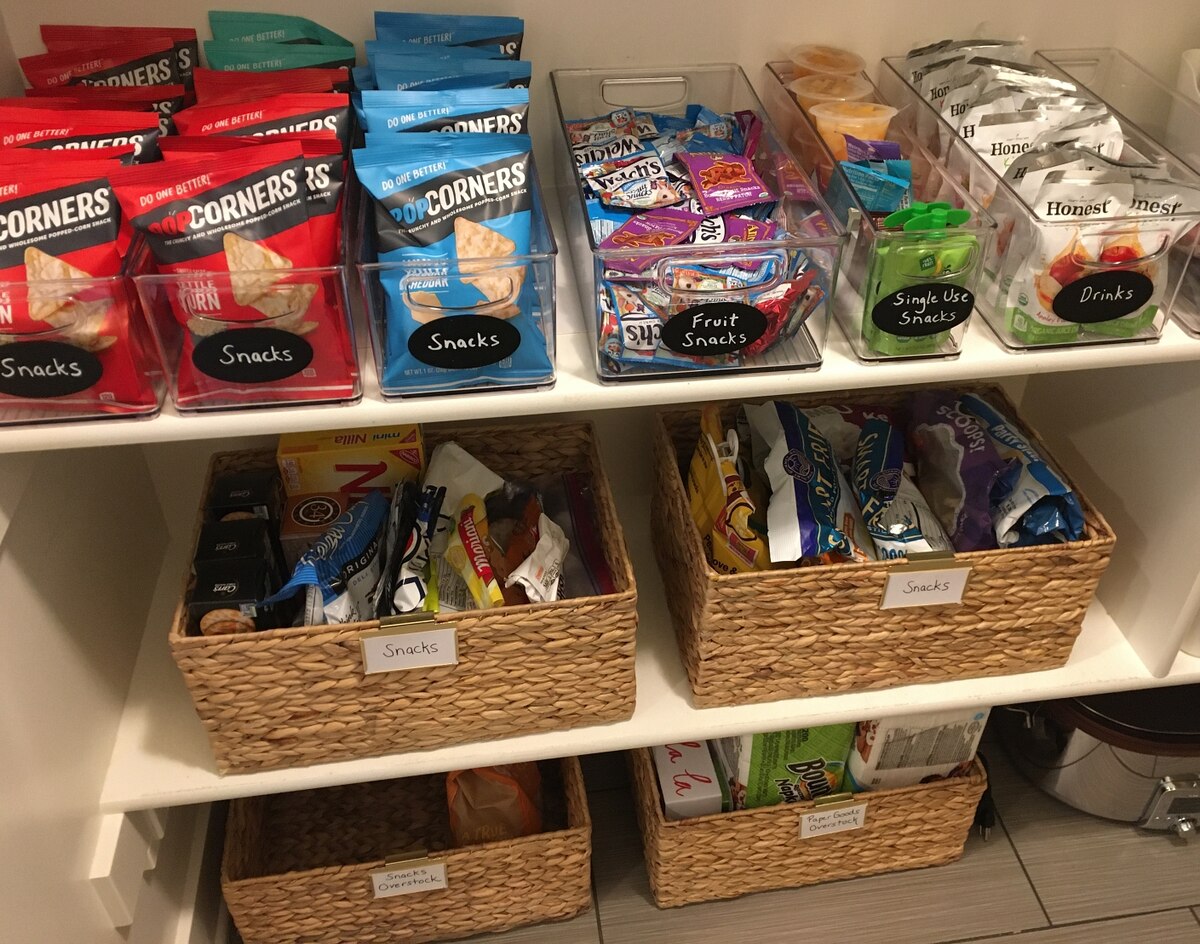
- Storage Areas: Assign specific areas in your refrigerator, freezer, and pantry for different types of storage. This can include dedicating shelves or drawers for meal prepped dishes, produce, condiments, or dry goods. This organization will save you time and avoid having items get lost or forgotten.
- First In, First Out (FIFO): When storing multiple batches of the same dish or ingredient, use the FIFO principle. Place the most recent items behind the older ones, so you use the oldest items first, minimizing food waste.
- Group Similar Items: Group similar items together, such as all prepped breakfasts, lunches, or dinners. This allows for easier meal planning and prevents the need to search through multiple containers or bags.
- Use Transparent Containers: Whenever possible, opt for transparent containers or labels that allow you to see the contents easily. This eliminates the need to open multiple containers to identify what’s inside.
- Utilize Freezer Bins or Dividers: For the freezer, consider using bins or dividers to keep items organized and prevent them from getting lost in a crowded freezer. Keep alike items together, such as fruits, vegetables, or meats, to make meal planning and retrieval more efficient.
- Keep a Freezer Inventory: Maintain a list or digital spreadsheet of the items in your freezer. Update it whenever you add or remove items, noting the name of the dish, quantity, and date it was frozen. This inventory list helps you keep track of available options without digging through your freezer.
By implementing these labeling and organizational tips, you can easily locate and utilize your stored food, minimize food waste, and streamline your meal prep process.
Read more: How To Store Meal Prep Chicken
Safety Guidelines for Food Storage
Ensuring food safety is crucial when it comes to storing your meal prep ingredients and dishes. Here are some important safety guidelines to follow:
- Temperature Control: Keep your refrigerator at or below 40°F (4°C) and the freezer at 0°F (-18°C) or below to prevent bacterial growth. Use a refrigerator thermometer to monitor the temperatures regularly.
- Proper Handling: Wash your hands thoroughly with soap and warm water before handling any food. This helps prevent the transfer of bacteria and other pathogens.
- Preparation Surfaces: Clean and sanitize all preparation surfaces, cutting boards, and utensils before and after use. This reduces the risk of cross-contamination and the spread of harmful bacteria.
- Separate Raw and Cooked Foods: Avoid storing raw and cooked foods together to prevent cross-contamination. Raw meats, seafood, and poultry should be stored in separate containers to avoid the risk of bacterial contamination.
- Timely Storage: Refrigerate or freeze perishable foods promptly after cooking or purchasing. Leaving food at room temperature for extended periods increases the risk of bacterial growth and foodborne illnesses.
- Safe Thawing: If you need to thaw frozen ingredients, do so safely. The best method is to thaw them in the refrigerator overnight. If you’re in a hurry, you can use the defrost function on your microwave or place the ingredients in a watertight plastic bag and submerge them in cold water.
- Safe Reheating: When reheating stored meals, ensure they reach a safe internal temperature of 165°F (74°C) to kill any bacteria present. Use a food thermometer to check the temperature before consuming.
- Expiration Dates: Pay attention to expiration dates on packaged items and dispose of any expired or spoiled food promptly. Properly label and date your stored food, and consume them within suggested timeframes for optimal safety and quality.
- Odor and Appearance: Inspect stored food for any signs of spoilage, such as foul odors, mold, or discoloration. When in doubt, it’s better to err on the side of caution and discard any questionable items.
- Frequent Inspection: Regularly inspect your stored food for any issues, leaks, or abnormalities. This allows you to catch any problems early and prevent potential health risks.
By adhering to these safety guidelines, you can protect yourself and others from foodborne illnesses and ensure the quality and safety of your meal prep ingredients and dishes.
Conclusion
Proper food storage is a crucial aspect of successful meal prep. By implementing effective storage techniques, you can maximize the freshness, flavor, and nutritional value of your ingredients while minimizing food waste. From utilizing the right supplies and containers to following proper freezing techniques and safety guidelines, every step in the food storage process plays a vital role in achieving meal prep success.
By storing fresh produce correctly, you can extend their shelf life and ensure they remain crisp and flavorful. Properly storing cooked proteins, grains, and legumes allows you to enjoy pre-prepped dishes and easily incorporate them into your meals throughout the week. Freezing techniques enable you to store a variety of meals and ingredients, giving you the flexibility to enjoy your favorite dishes at any time. And through labeling and organizing your stored food, you can stay in control of your meal prep system, reducing waste and ensuring easy access to your prepped items.
Remember to prioritize food safety by following proper handling, temperature control, and storage procedures. By maintaining proper hygiene practices and being mindful of expiration dates, you can ensure the safety and quality of your stored food.
In conclusion, mastering the art of food storage for meal prep is key to saving time, money, and effort in your daily routine. By implementing these tips and techniques, you can take your meal prep game to the next level, enjoying convenient, healthy, and delicious meals that support your lifestyle and dietary goals.
Frequently Asked Questions about How To Store Food For Meal Prep
Was this page helpful?
At Storables.com, we guarantee accurate and reliable information. Our content, validated by Expert Board Contributors, is crafted following stringent Editorial Policies. We're committed to providing you with well-researched, expert-backed insights for all your informational needs.


0 thoughts on “How To Store Food For Meal Prep”