Articles
How To Store Fresh Mussels
Modified: December 7, 2023
Learn how to store fresh mussels properly with this informative article. Discover helpful tips and tricks to ensure your mussels stay fresh and delicious.
(Many of the links in this article redirect to a specific reviewed product. Your purchase of these products through affiliate links helps to generate commission for Storables.com, at no extra cost. Learn more)
Introduction
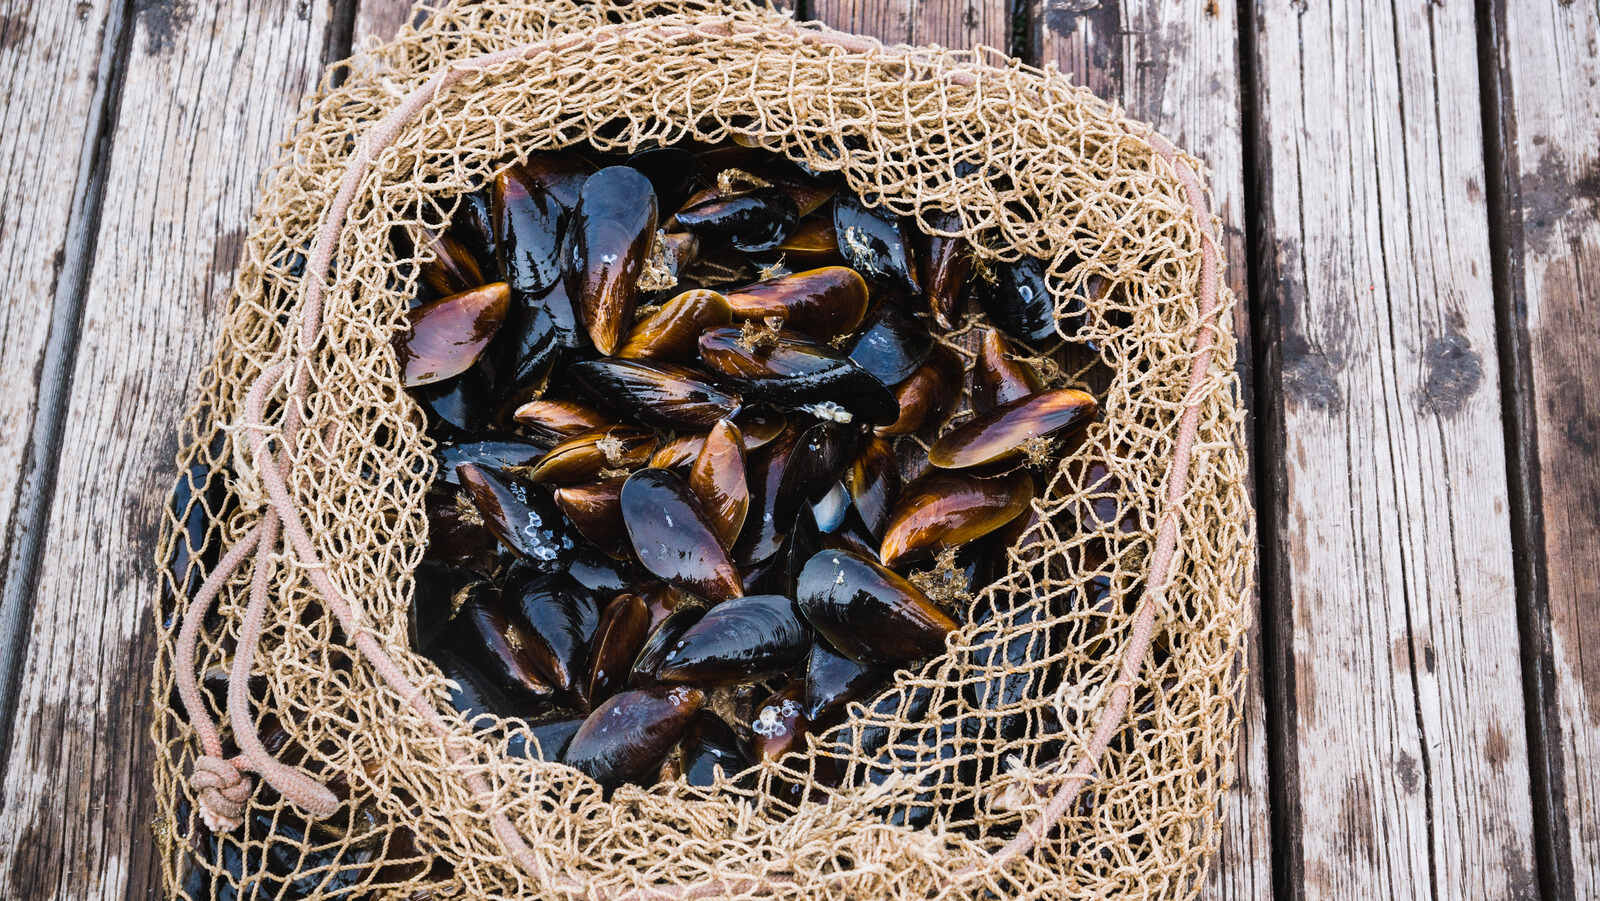
Fresh mussels are a delicious and versatile seafood option that can be enjoyed in a variety of dishes. Whether you have purchased a batch of mussels from the local fishmonger or harvested them yourself, knowing how to store them properly is essential for maintaining their freshness and flavor.
When it comes to storing fresh mussels, there are a few key factors to consider. These include selecting the right mussels, cleaning and preparing them, and ensuring they are stored in the proper conditions. In this article, we will guide you through the process of storing fresh mussels to help you keep them fresh and safe to consume.
Before we delve into the specifics of storing mussels, it’s important to note that mussels are highly perishable and should be consumed within a day or two of purchase or harvest. Therefore, it’s essential to handle them with care and store them properly to maintain their taste and texture.
So, if you’re ready to learn how to store fresh mussels like a pro, let’s dive in!
Key Takeaways:
- Select live, fresh mussels with intact shells and a pleasant aroma. Clean and store them in a breathable container in the refrigerator for short-term freshness, or freeze for longer storage, ensuring proper packaging and labeling.
- Practice safety precautions, handle mussels delicately, and follow recommended storage times. Plan meals, experiment with flavors, and enjoy mussels in various dishes for a burst of briny flavor.
Read more: How To Store Mussels
Selecting Fresh Mussels
When it comes to selecting fresh mussels, there are a few things to keep in mind to ensure you’re choosing the best quality seafood. Here are some tips for selecting fresh mussels:
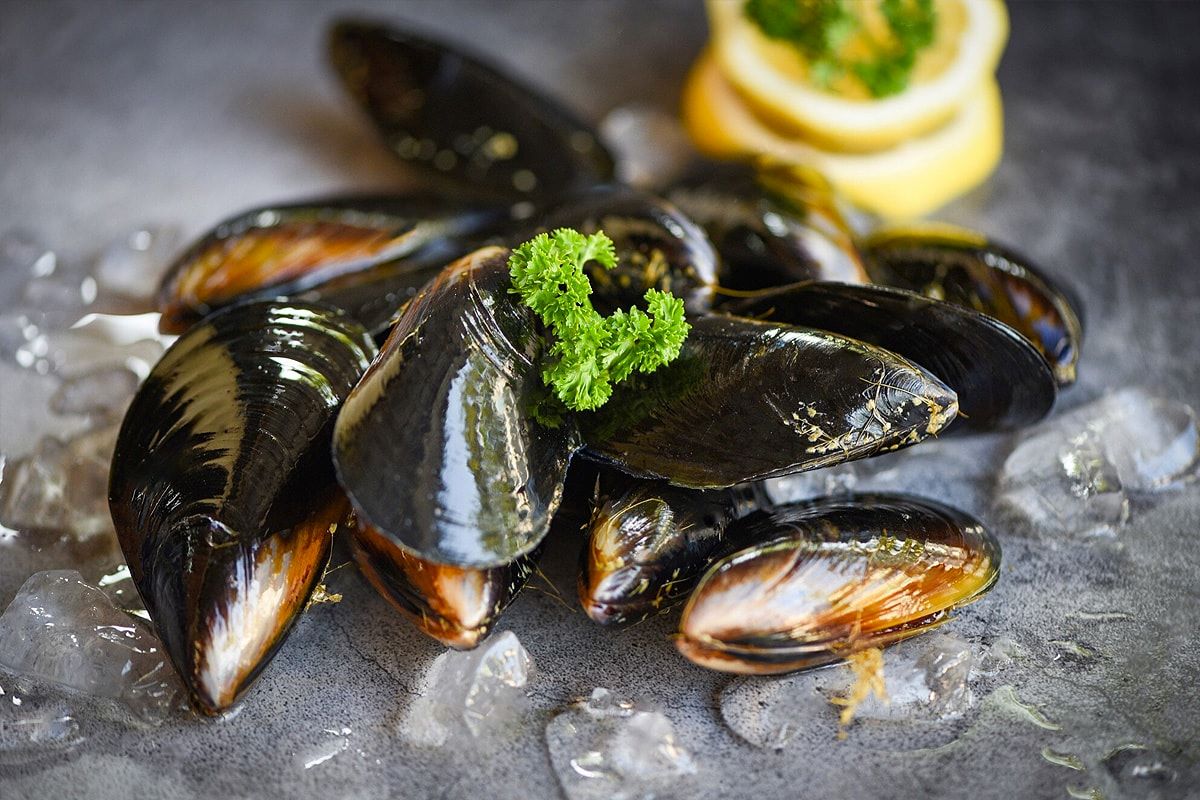
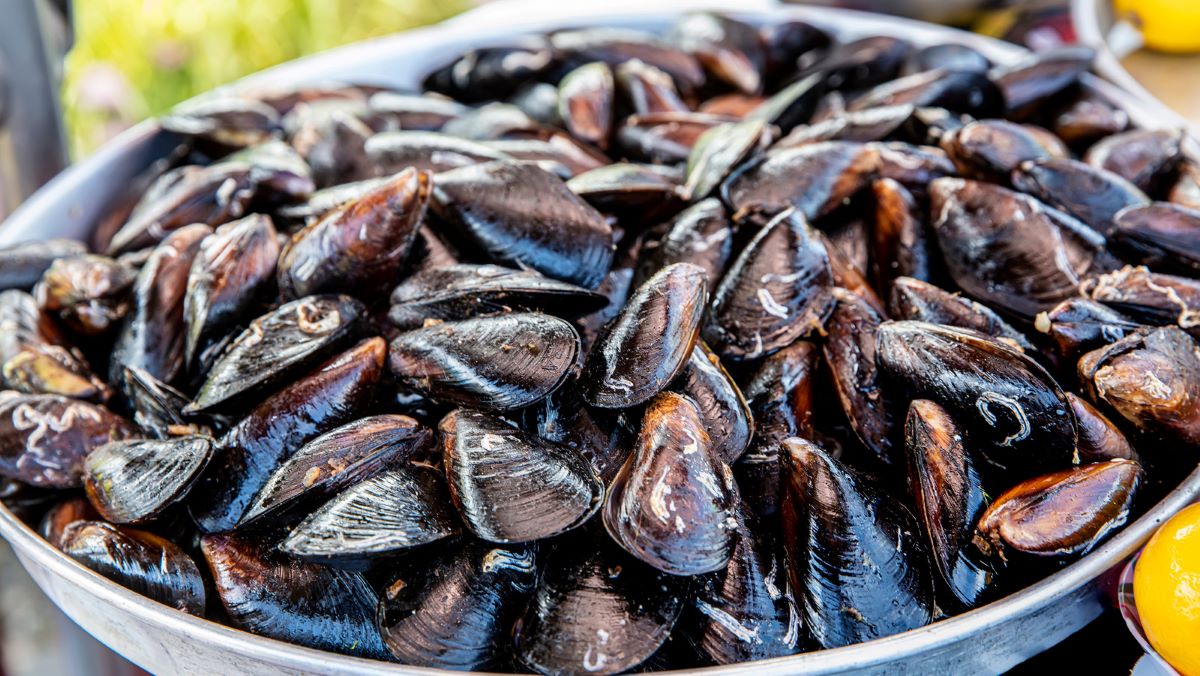
- Choose live mussels: Look for mussels that are alive and tightly closed. The shells should be intact and not chipped or broken. Avoid mussels that are open or have shells that do not close when tapped.
- Fresh smell: Fresh mussels should have a pleasant, seawater-like odor. Avoid mussels that have a strong, fishy smell or any offensive odors.
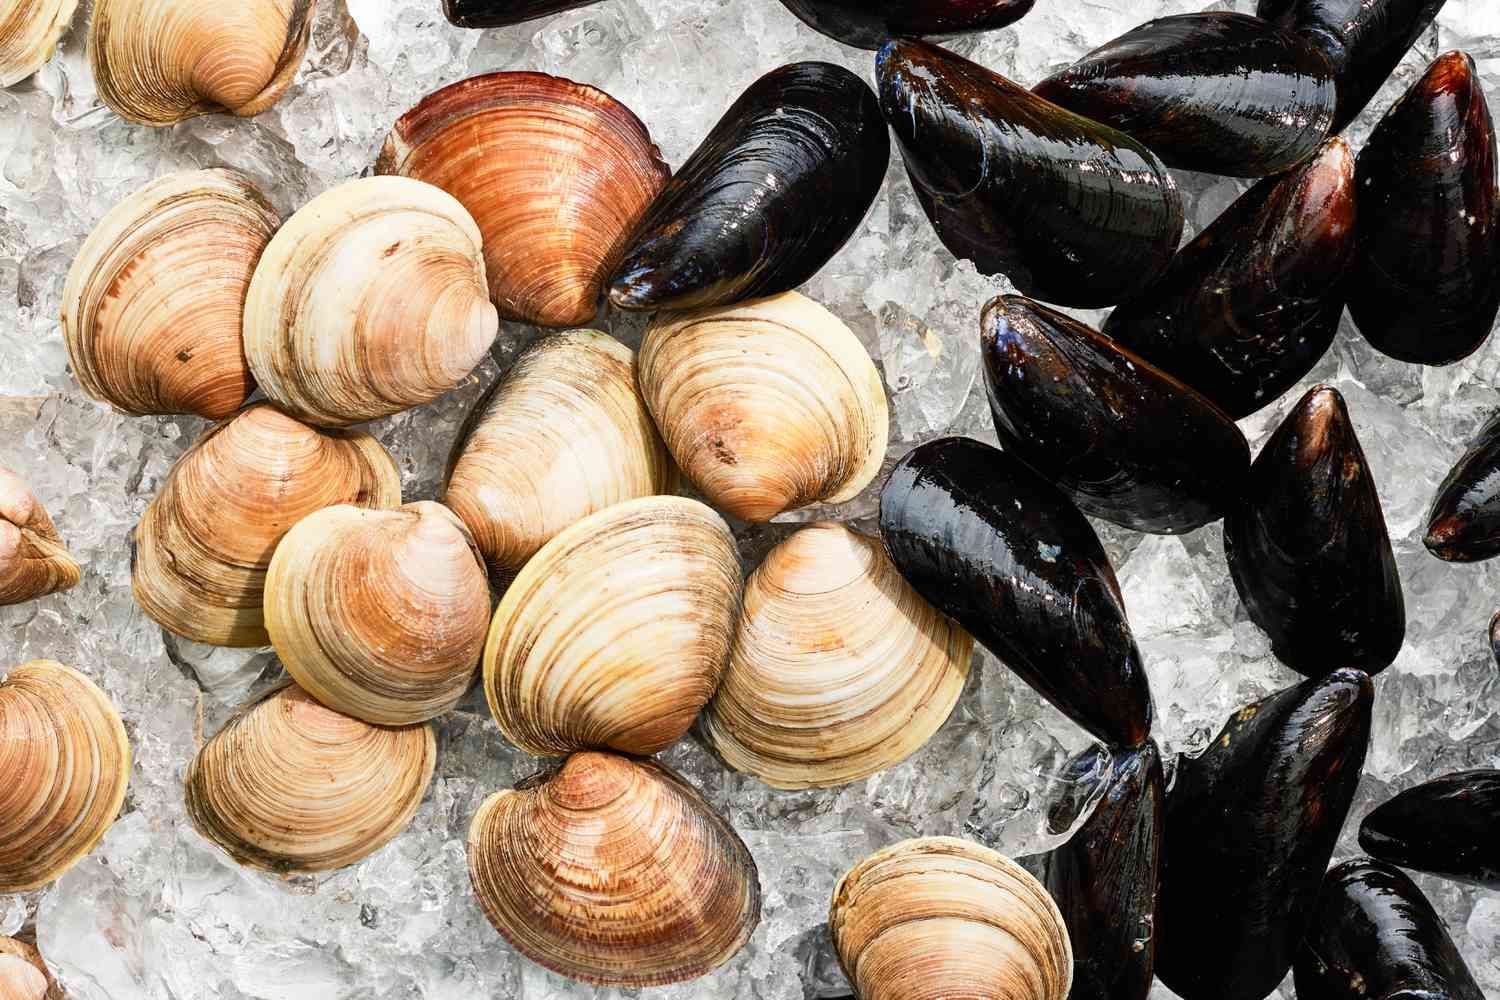
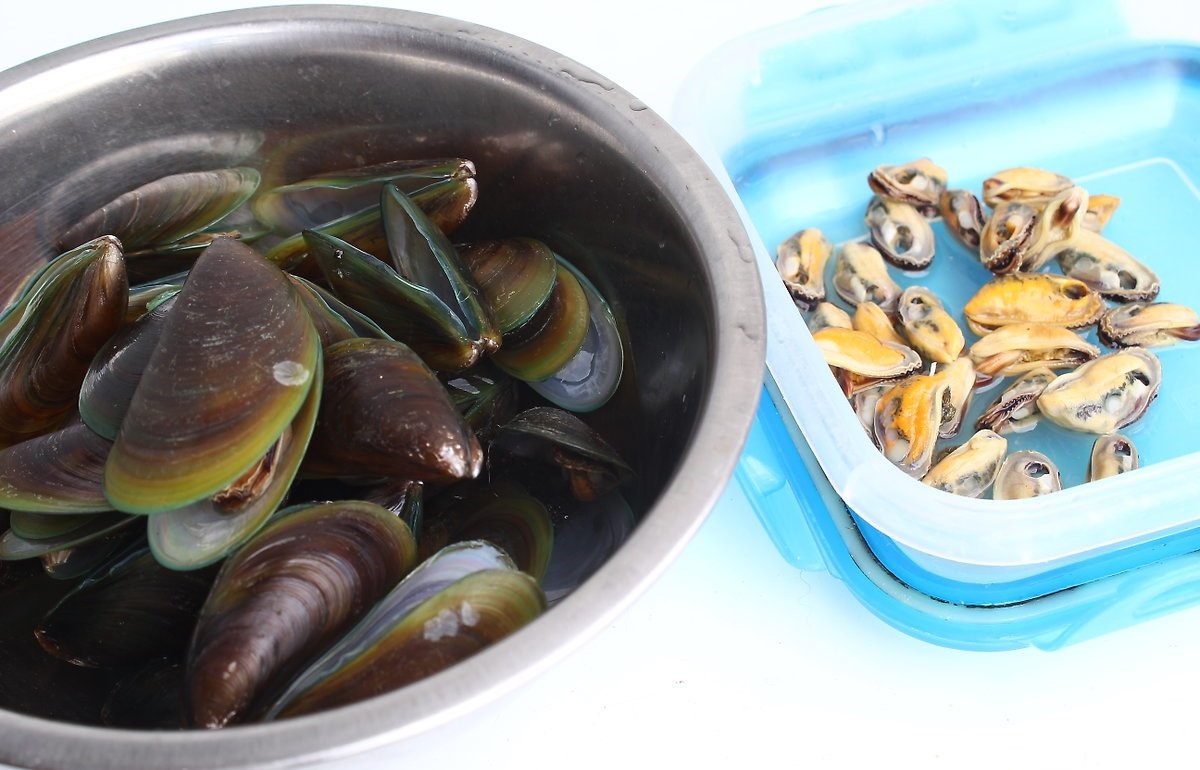
- Healthy appearance: Look for mussels with shiny shells that are moist and free from excessive barnacles or seaweed. The color of the shells can vary, ranging from black, brown, or green.
It’s also worth noting that there are different types of mussels available, such as Blue mussels, Mediterranean mussels, and New Zealand green-lipped mussels. Each variety has its own unique flavor profile, so feel free to experiment and find your preference.
When purchasing mussels, it’s best to source them from a reputable seafood market or supplier that has a high turnover rate. This ensures that the mussels are fresh and haven’t been sitting on the shelf for too long. If you’re harvesting mussels yourself, be sure to do so from clean and unpolluted waters.
Now that you know how to choose the freshest mussels, let’s move on to the next step: cleaning and preparing them for storage.
Cleaning and Preparing Mussels
Before storing fresh mussels, it’s important to clean and prepare them properly. Cleaning mussels not only removes any dirt or debris but also helps eliminate any potential contaminants that can affect their quality and taste. Here’s how to clean and prepare mussels:
- Inspect and discard damaged mussels: Check each mussel individually, discarding any that are cracked, broken, or open and do not close when tapped. These mussels may be compromised and should not be used.
- Remove the “beard”: The beard is a fibrous string-like structure that protrudes from between the shells of some mussels. To remove it, gently grasp the beard between your fingers and pull it towards the hinge end of the shell, exerting a firm but gentle pressure. This step is optional, as some mussels may have already had the beard removed during the cleaning process at the market.
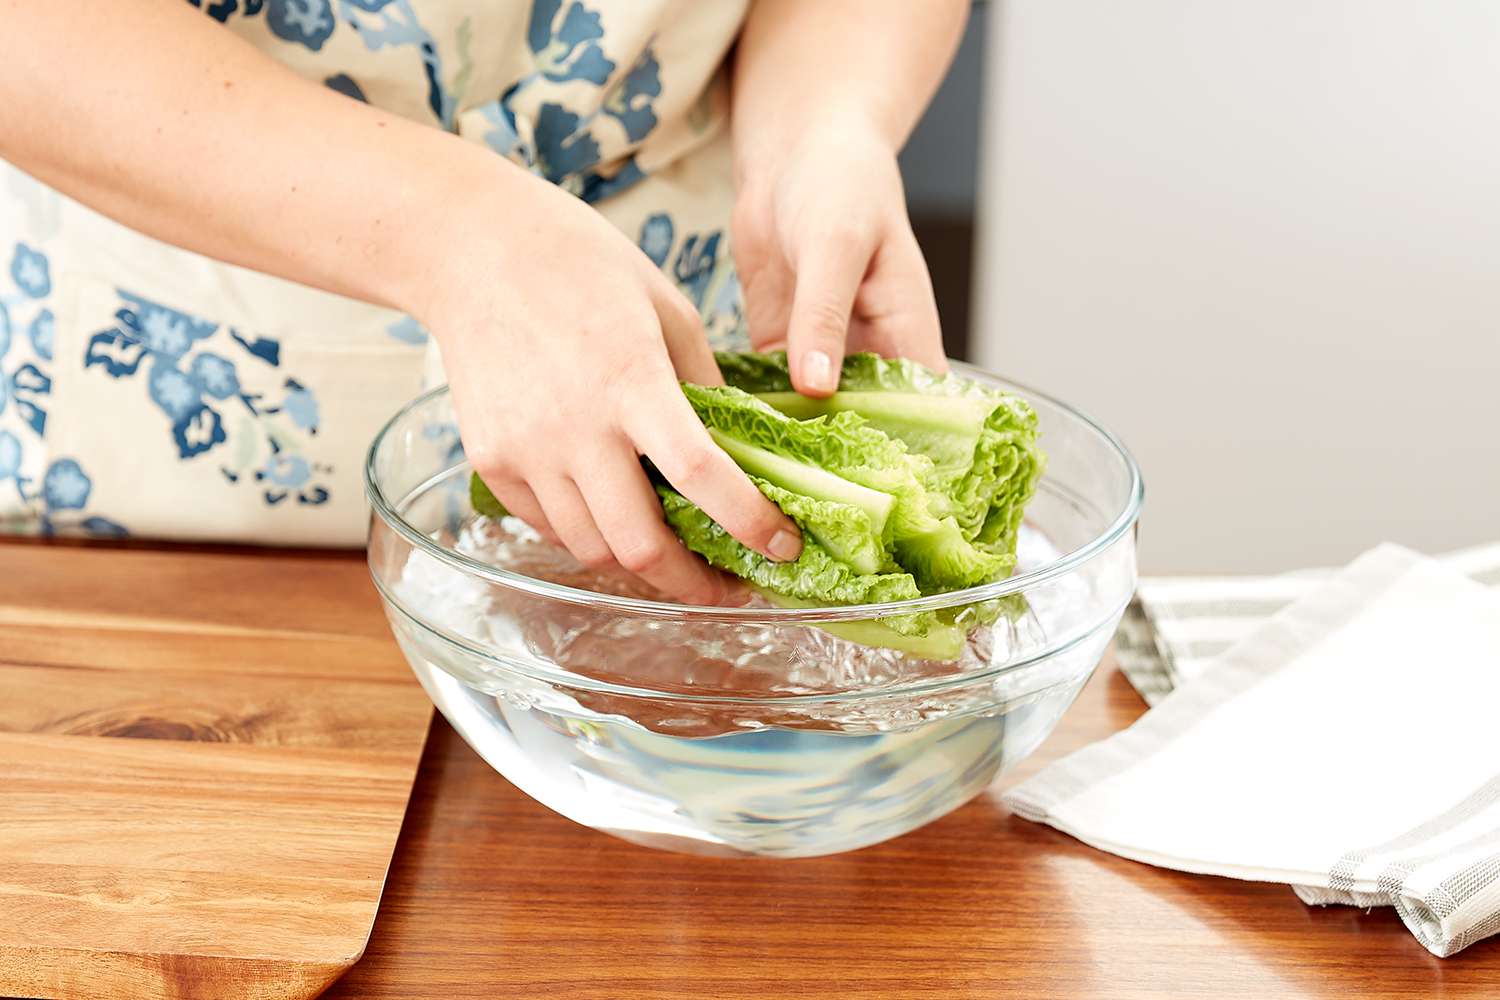
- Rinse the mussels: Place the mussels in a colander or a large bowl. Rinse them under cold running water, gently rubbing their shells to remove any dirt, sand, or seaweed. This step helps remove any impurities from the outer surface of the mussels.
- Give them a soak: After rinsing, place the mussels in a large bowl or a sink filled with cold water. Add a handful of salt to the water and let the mussels soak for about 20 minutes. This soak helps further clean the mussels and encourages them to expel any sand or grit they may have inside their shells.
- Drain and rinse again: Once the mussels have soaked, drain the water and give them a final rinse under cold running water. This ensures that any remaining debris or grit is removed.
After cleaning and preparing the mussels, they are ready to be stored. However, it’s important to remember that mussels are highly perishable and should be consumed as soon as possible, ideally within a day or two of purchase or harvest. If you are not able to cook them immediately, follow the proper storage guidelines we will discuss in the next section.
Now that you have cleaned and prepared your mussels, it’s time to learn how to store them in the best possible way to ensure their freshness and flavor.
Proper Storage Conditions
To maintain the freshness and quality of fresh mussels, it’s essential to store them under the right conditions. Here are the key factors to consider:
- Temperature: Mussels are sensitive to temperature, and they thrive in cool environments. The ideal storage temperature for mussels is between 32°F and 40°F (0°C and 4°C). It’s important to avoid temperatures above 45°F (7°C) to prevent the growth of bacteria that can spoil the mussels.
- Airflow: Mussels need to breathe, so it’s crucial to store them in a well-ventilated container. This allows for proper airflow and prevents the build-up of excess moisture that can lead to spoilage.
- Humidity: While mussels require moisture, excessive humidity can lead to condensation and promote the growth of bacteria. Therefore, it’s important to store mussels in a controlled humidity environment.
- Container: Use a breathable container, such as a mesh bag or a shallow tray, to store mussels. This allows for proper airflow and prevents the accumulation of moisture.
By taking these factors into consideration, you can create the ideal storage conditions for fresh mussels and prolong their shelf life.
Next, let’s explore two common methods of storing fresh mussels: refrigerating and freezing.
Storing Fresh Mussels in the Refrigerator
Refrigeration is the most common and convenient method for storing fresh mussels when you plan to consume them within a day or two. Follow these steps to store mussels in the refrigerator:
- Transfer the mussels into a breathable container: Place the cleaned and prepared mussels into a breathable container, such as a mesh bag or a shallow tray. Avoid using airtight containers, as they can trap moisture and lead to the spoilage of the mussels.
- Cover the container: Loosely cover the container with a damp cloth or paper towel. This helps maintain the moisture levels and prevents the mussels from drying out.
- Store in the coldest part of the refrigerator: Place the container of mussels in the coldest part of your refrigerator, typically in the bottom compartment. This area tends to be cooler and provides a stable temperature for optimal storage.
- Check for freshness: Before cooking, always check the mussels for freshness. Discard any mussels that are cracked, broken, or open and do not close when tapped, as they may be spoiled.
It’s important to note that while refrigeration can help extend the shelf life of mussels, they are best consumed as soon as possible to ensure the best taste and texture.
If you are not able to consume the mussels within a day or two, another option is to freeze them for longer storage.
Store fresh mussels in the refrigerator in a breathable container, such as a mesh bag or a bowl covered with a damp cloth. Do not store them in an airtight container or directly on ice.
Read more: How To Store Live Mussels
Freezing Fresh Mussels
If you have an abundance of fresh mussels and want to extend their storage life beyond a few days, freezing is a great option. Follow these steps to freeze fresh mussels:
- Blanch the mussels (optional): While not necessary, blanching the mussels before freezing can help maintain their flavor and texture. To blanch, briefly simmer the mussels in boiling water for about 30 seconds to 1 minute. Then, immediately transfer them to an ice bath to cool and halt the cooking process. Drain the mussels thoroughly after blanching.
- Package the mussels: Place the cleaned and optionally blanched mussels into a freezer-safe plastic bag or airtight container. Try to arrange them in a single layer to prevent them from freezing in clumps.
- Remove excess air: If using a plastic bag, squeeze out as much air as possible before sealing. If using an airtight container, make sure it is tightly sealed to prevent freezer burn and maintain the quality of the mussels.
- Label and date the package: It’s essential to label the package with the date of freezing. This will help you keep track of how long the mussels have been frozen and ensure you use them within the recommended storage time.
- Store in the freezer: Place the packaged mussels in the coldest part of your freezer for optimal storage. Keep in mind that the freezer temperature should be set to 0°F (-18°C) or below to maintain the quality of the mussels.
Frozen mussels can be stored for up to 3 months in the freezer. However, it’s important to note that freezing can slightly affect the texture of the mussels. They may become slightly more tender after thawing. Therefore, frozen mussels are best used in cooked dishes where slight texture changes are less noticeable.
When you’re ready to use the frozen mussels, thaw them in the refrigerator overnight. Avoid thawing them at room temperature to minimize the risk of bacterial growth. Once thawed, cook the mussels immediately to ensure they are safe to consume.
Now that you know how to freeze fresh mussels, you have another option for storing them for longer periods of time.
Safety Precautions for Storing Mussels
When storing mussels, it’s important to follow proper safety precautions to ensure they remain safe to consume. Here are some essential safety tips to keep in mind:
- Choose fresh mussels: Always start with fresh, high-quality mussels from a reputable source. Avoid mussels that are past their prime or have a strong, off-putting odor.
- Handle mussels with care: Treat mussels delicately to avoid any damage to their shells. Damaged shells can allow bacteria to enter and contaminate the mussels.
- Practice proper hygiene: Wash your hands thoroughly before handling mussels and ensure that all utensils and surfaces used during the cleaning and preparation process are clean and sanitized.
- Store mussels promptly: Avoid leaving mussels at room temperature for extended periods. Get them into the refrigerator or freezer as soon as possible to prevent bacterial growth.
- Check for freshness: Before using the mussels, always perform a freshness check. Discard any mussels that are open, cracked, or don’t close when tapped. This is an indication that the mussel is no longer alive and may not be safe to eat.
- Follow recommended storage times: Whether refrigerating or freezing, adhere to the recommended storage times for mussels. Consuming them within these time frames ensures they are at their best quality and reduces the risk of foodborne illnesses.
- Thaw safely: If you choose to freeze mussels, thaw them safely by placing them in the refrigerator overnight. Avoid thawing at room temperature, as this can promote bacterial growth.
- Cook properly: Always cook mussels thoroughly before consuming. Cooking not only enhances their flavor but also kills any potential bacteria or parasites that may be present.
By following these safety precautions, you can enjoy stored mussels with peace of mind, knowing that you have taken the necessary steps to maintain their freshness and safety.
Now that you are aware of the safety measures, let’s move on to some useful tips for using stored mussels.
Tips for Using Stored Mussels
Using stored mussels can be a convenient way to add a burst of flavor to your dishes. Here are some helpful tips for making the most out of your stored mussels:
- Plan your meals: Before storing mussels, consider the meals you can prepare with them. Plan ahead and gather the necessary ingredients to create flavorful dishes using your stored mussels.
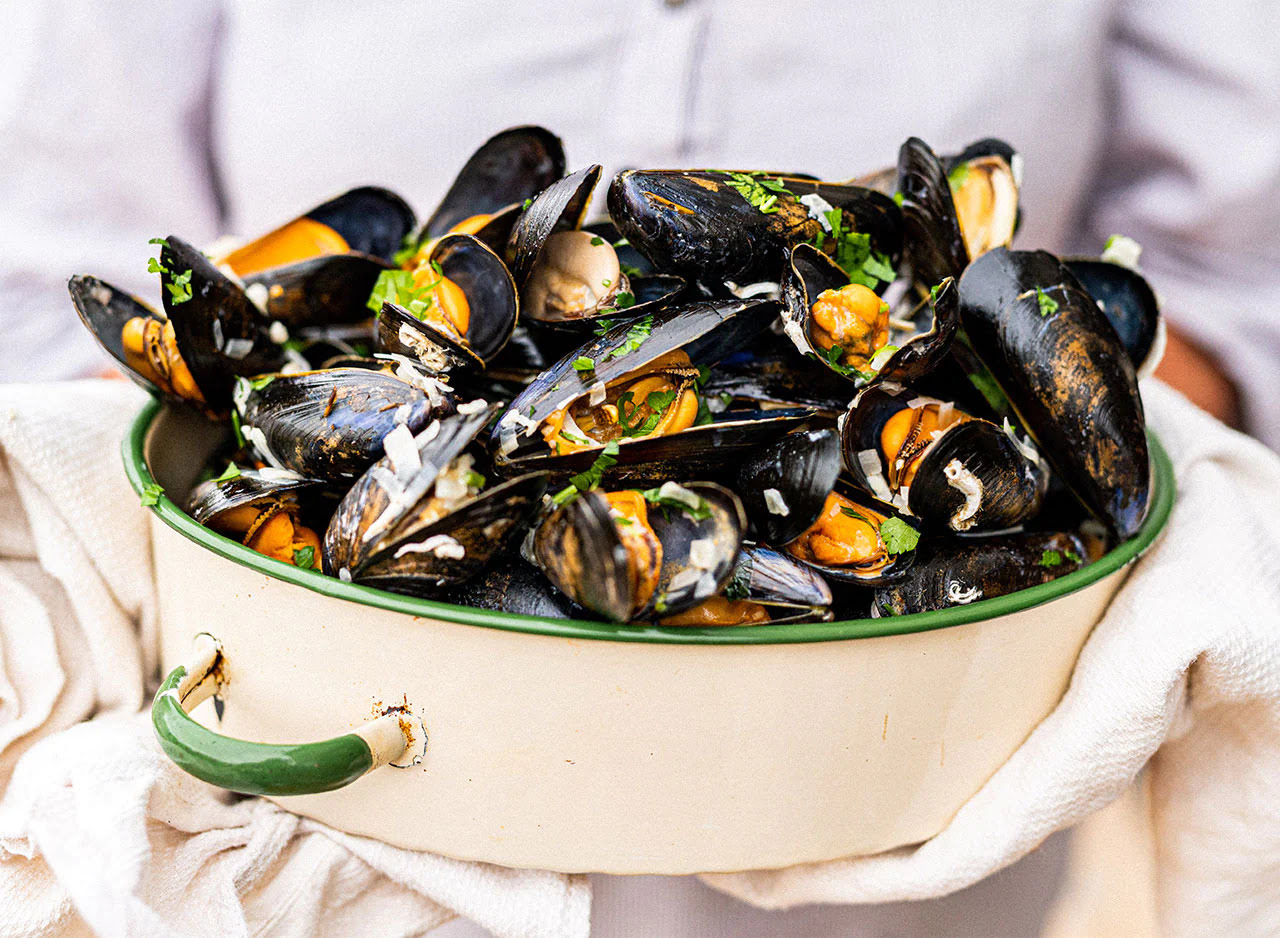
- Cooking options: Use stored mussels in a variety of dishes, such as soups, stews, pastas, paellas, or even grilled recipes. Their briny and rich flavor can complement a wide range of cuisines.
- Combine with other ingredients: Mussels pair well with various flavors, such as garlic, shallots, tomatoes, white wine, or herbs like parsley and thyme. Experiment with different combinations to create delicious and memorable meals.
- Thawing and cooking time: When using frozen mussels, thaw them in the refrigerator overnight. Once thawed, cook them immediately to ensure proper food safety. Be mindful of the cooking time because overcooking can result in rubbery and less flavorful mussels.
- Enhance sauces and broths: Use the liquid released by the mussels when cooking to create flavorful sauces or broths. This adds depth to the dish and allows the flavors of the mussels to infuse the entire meal.
- Add mussels towards the end: If you are incorporating mussels into a dish such as a soup or stew, add them towards the end of the cooking process. This ensures that they cook just enough to be tender and retains their briny flavor.
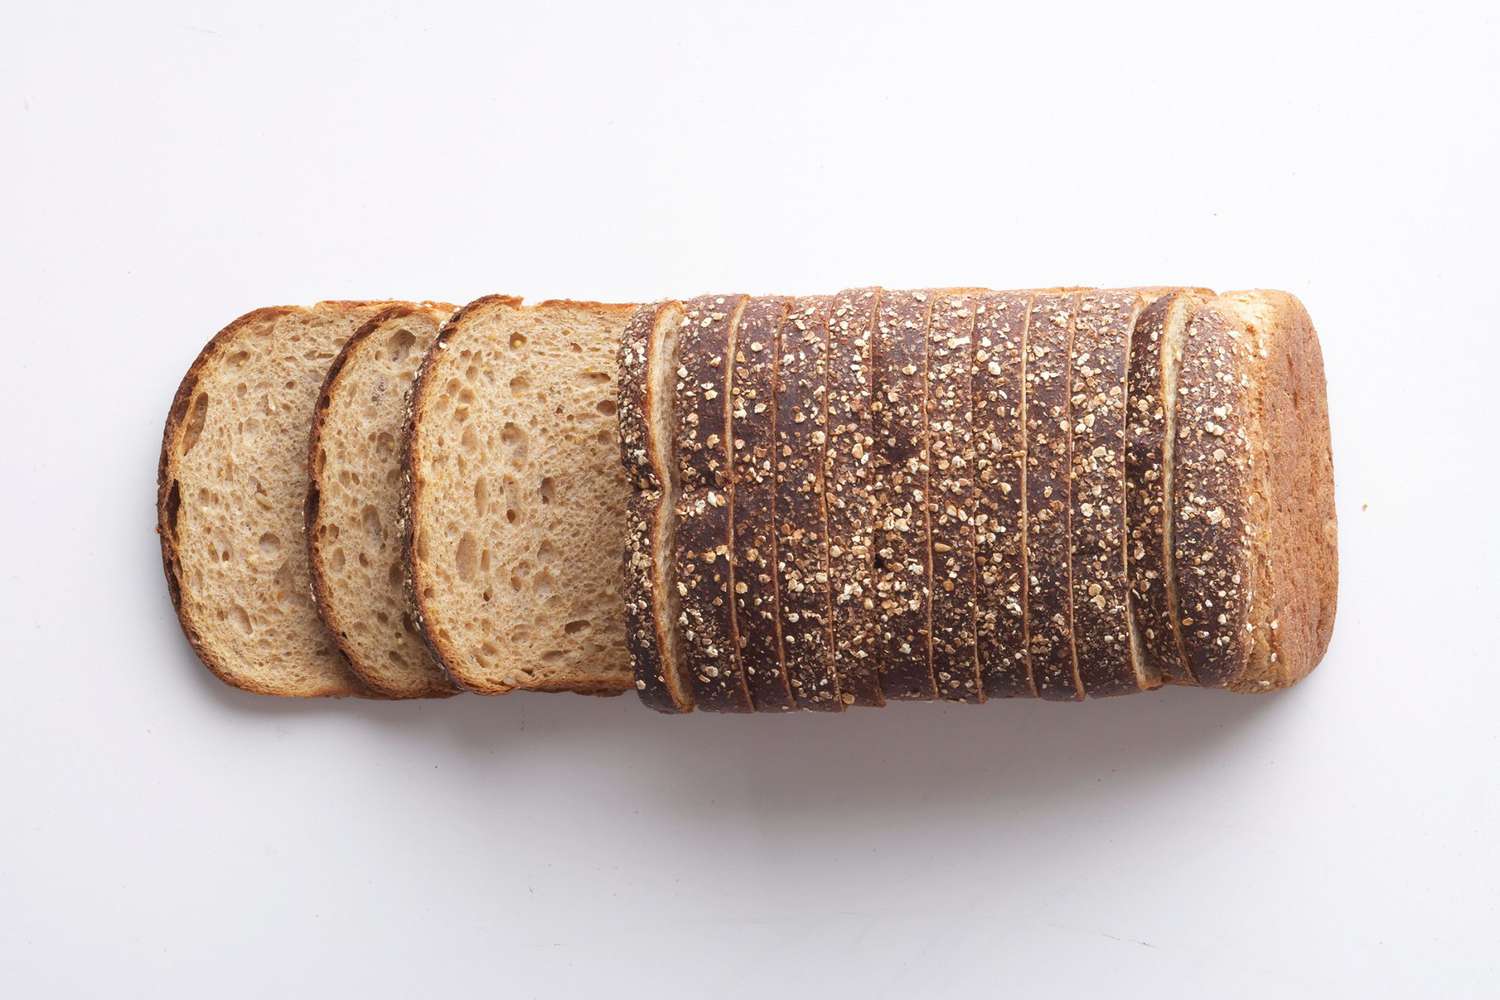
- Serve with crusty bread: Mussels in a flavorful broth are best enjoyed with a crusty bread on the side. This allows you to soak up the delicious broth and savor every bite.
- Don’t forget about leftovers: If you have leftover cooked mussels, store them in the refrigerator for up to 2 days. They can be enjoyed cold in salads or reheated gently in a sauce or broth.
By following these tips, you can make the most out of your stored mussels and create memorable dishes bursting with flavor.
Now that you have a collection of tips at your disposal, you’re ready to store and use your fresh mussels with ease and confidence.
Conclusion
Storing fresh mussels properly is essential to maintain their freshness and flavor. Whether you purchase mussels from a fishmonger or harvest them yourself, following the right storage practices ensures you can enjoy these delectable shellfish for longer periods.
Start by selecting the freshest mussels possible, ensuring they are alive, have intact shells, and emit a pleasant aroma. Clean and prepare the mussels by removing any damaged shells and giving them a thorough rinse.
When it comes to storage, refrigeration is ideal for short-term storage of up to a day or two. Use a breathable container, cover with a damp cloth, and store in the coldest part of the refrigerator. If you want to store them for longer, freezing is a suitable option.
Freezing mussels requires proper packaging, removing excess air, and labeling with the freezing date. Frozen mussels can be stored for up to three months, but it’s important to note that their texture may change slightly after thawing.
Always practice safety precautions when storing mussels, such as handling them delicately, practicing proper hygiene, and checking for freshness before cooking. Thaw frozen mussels in the refrigerator and cook them thoroughly to ensure they are safe to eat.
Lastly, make the most of your stored mussels by planning your meals, experimenting with flavors and combinations, and adding mussels towards the end of the cooking process to retain their taste and tenderness. Don’t forget to enjoy them with crusty bread and explore creative uses for leftovers.
By following these guidelines and tips, you can confidently store fresh mussels and create delicious culinary experiences with these flavorful shellfish. So, go ahead and savor the taste of fresh mussels whenever you desire!
Frequently Asked Questions about How To Store Fresh Mussels
Was this page helpful?
At Storables.com, we guarantee accurate and reliable information. Our content, validated by Expert Board Contributors, is crafted following stringent Editorial Policies. We're committed to providing you with well-researched, expert-backed insights for all your informational needs.


0 thoughts on “How To Store Fresh Mussels”