
Articles
How To Store Mussels In Fridge
Modified: December 7, 2023
Learn how to store mussels in the fridge with these helpful articles. Keep your mussels fresh and delicious for longer.
(Many of the links in this article redirect to a specific reviewed product. Your purchase of these products through affiliate links helps to generate commission for Storables.com, at no extra cost. Learn more)
Introduction
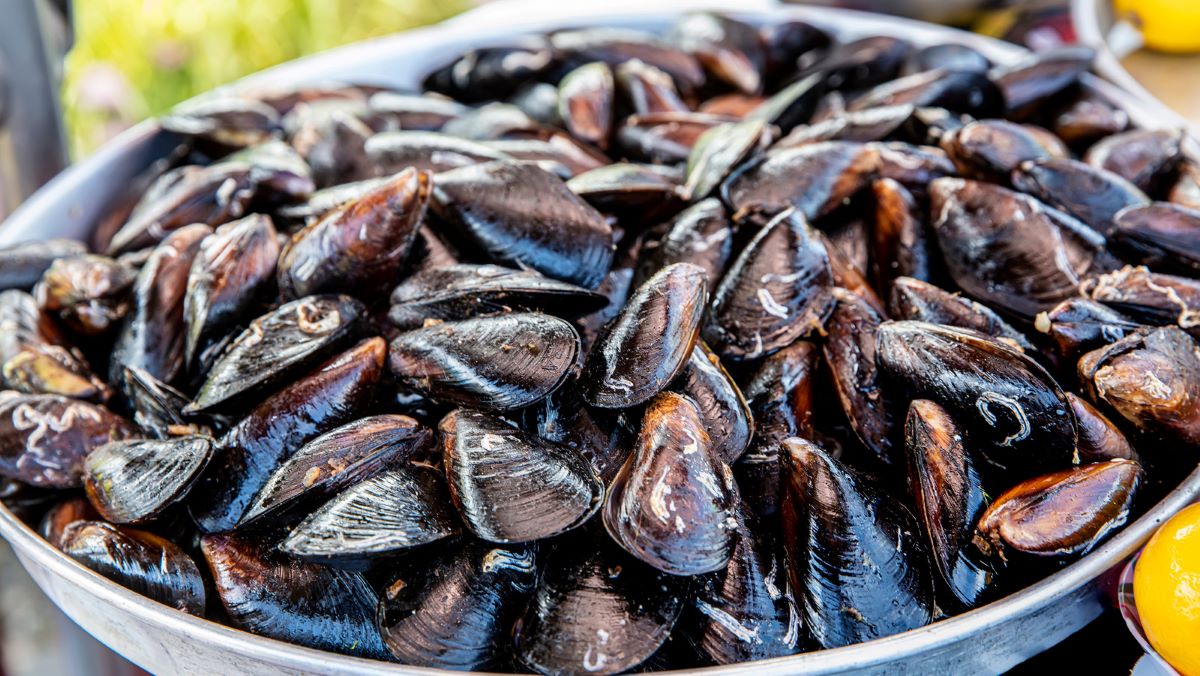
When it comes to enjoying fresh seafood, mussels are a popular choice for many food enthusiasts. Whether you plan to cook them immediately or save them for later, knowing how to store mussels in the fridge is essential to maintain their freshness and flavor.
Mussels are delicate shellfish that need to be handled and stored properly to ensure they remain safe to consume. With the right techniques, you can keep your mussels fresh and ready to cook, allowing you to enjoy them at your convenience.
In this article, we will guide you through the step-by-step process of properly storing mussels in the fridge. From purchasing and preparing mussels to checking for freshness and sealing the container, we’ve got you covered with all the necessary information. So, let’s dive in!
Key Takeaways:
- Properly storing mussels in the fridge involves selecting fresh ones, cleaning them thoroughly, and storing them in a shallow container with a damp cloth. Checking for freshness before cooking is essential for a safe and enjoyable culinary experience.
- When using stored mussels, cook them promptly and enjoy them in a variety of delicious dishes. Remember not to re-store unused cooked mussels, and savor the flavors of these delicate shellfish in one sitting for optimal taste and quality.
Read more: How To Store Cooked Mussels In Fridge
Step 1: Purchasing and Preparing Mussels
The first step in storing mussels in the fridge begins with purchasing and preparing them properly. Here are the key things to keep in mind:
- Choose fresh mussels: When buying mussels, it’s crucial to select ones that are fresh. Look for live mussels with tightly closed shells or those that close immediately when tapped. Avoid mussels with cracked or open shells, as they may be dead and could pose a health risk.
- Check for cleanliness: Look for mussels that are clean and free from excess dirt or grit. A clean shell indicates that the mussel has been properly handled and stored.
- Inspect the smell: Fresh mussels should have a pleasant, briny odor reminiscent of the sea. Avoid mussels with a strong, pungent smell, as it could indicate spoilage.
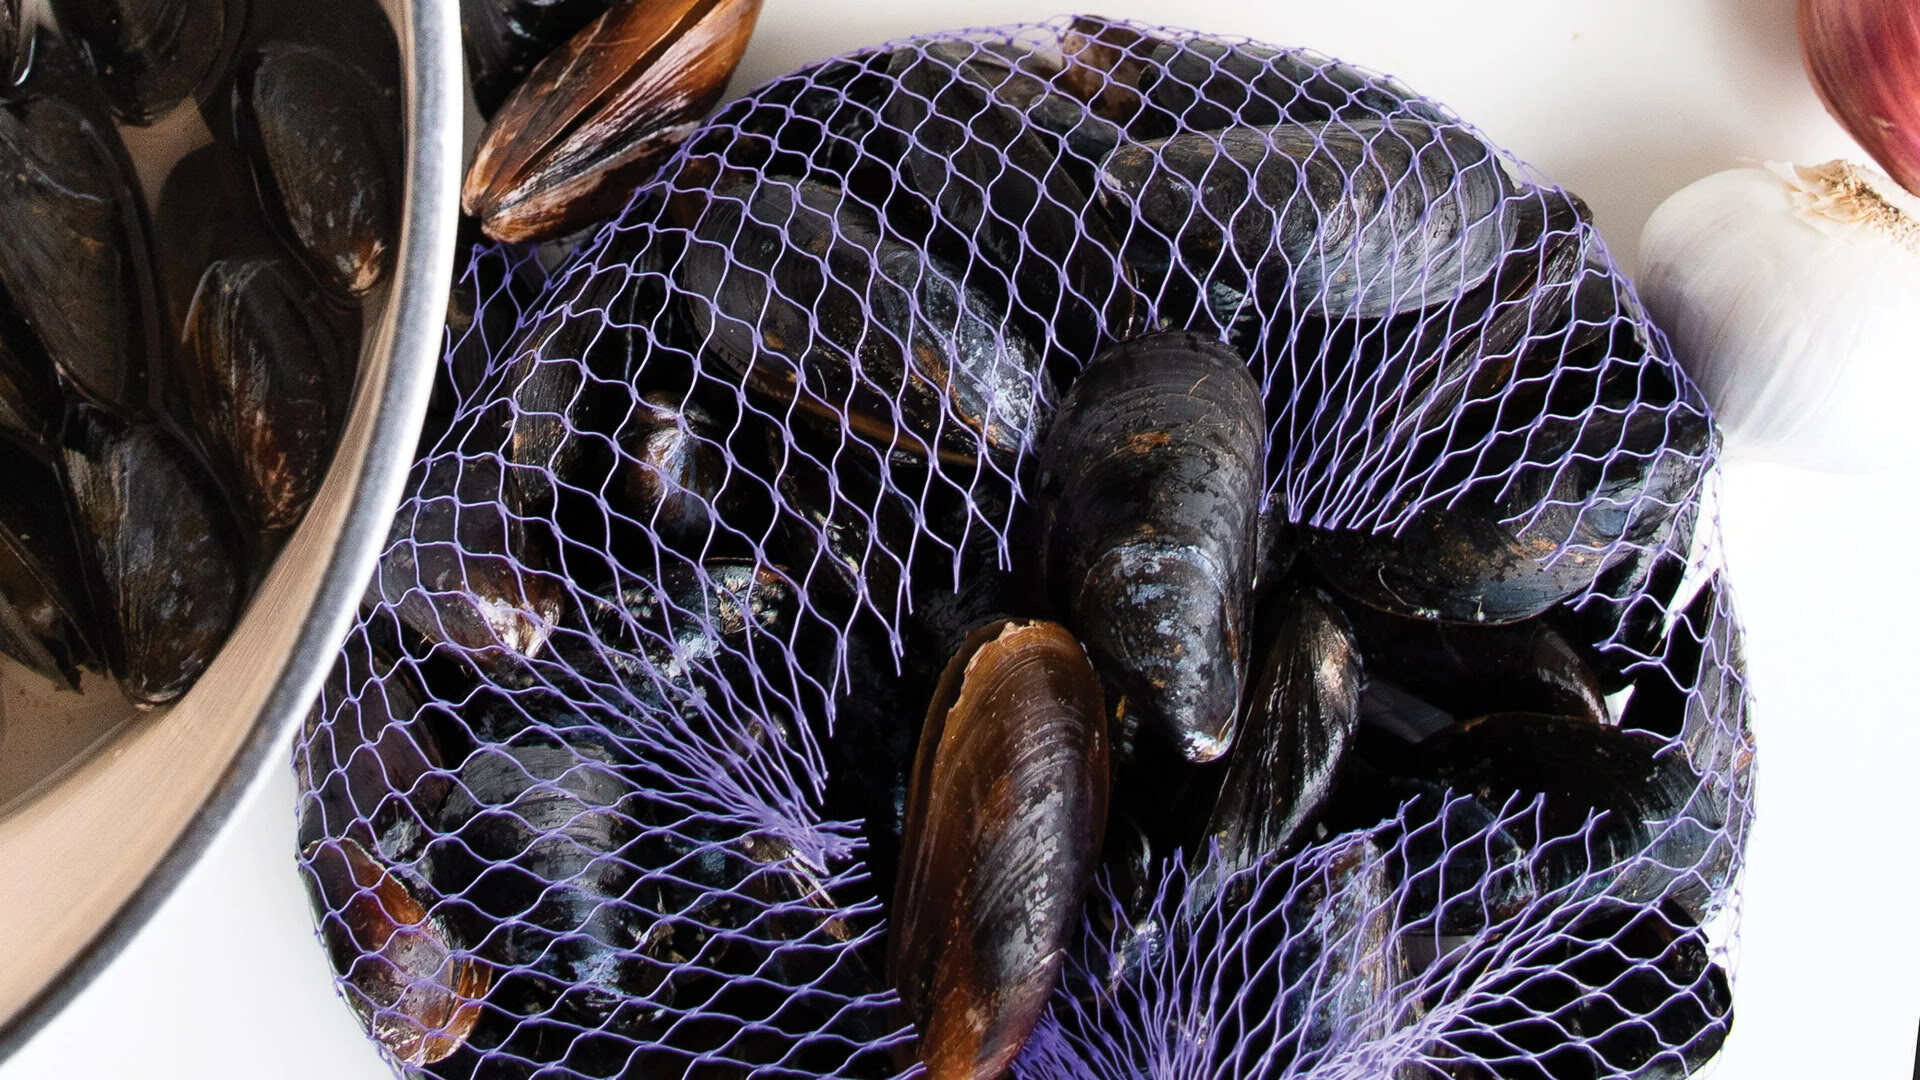
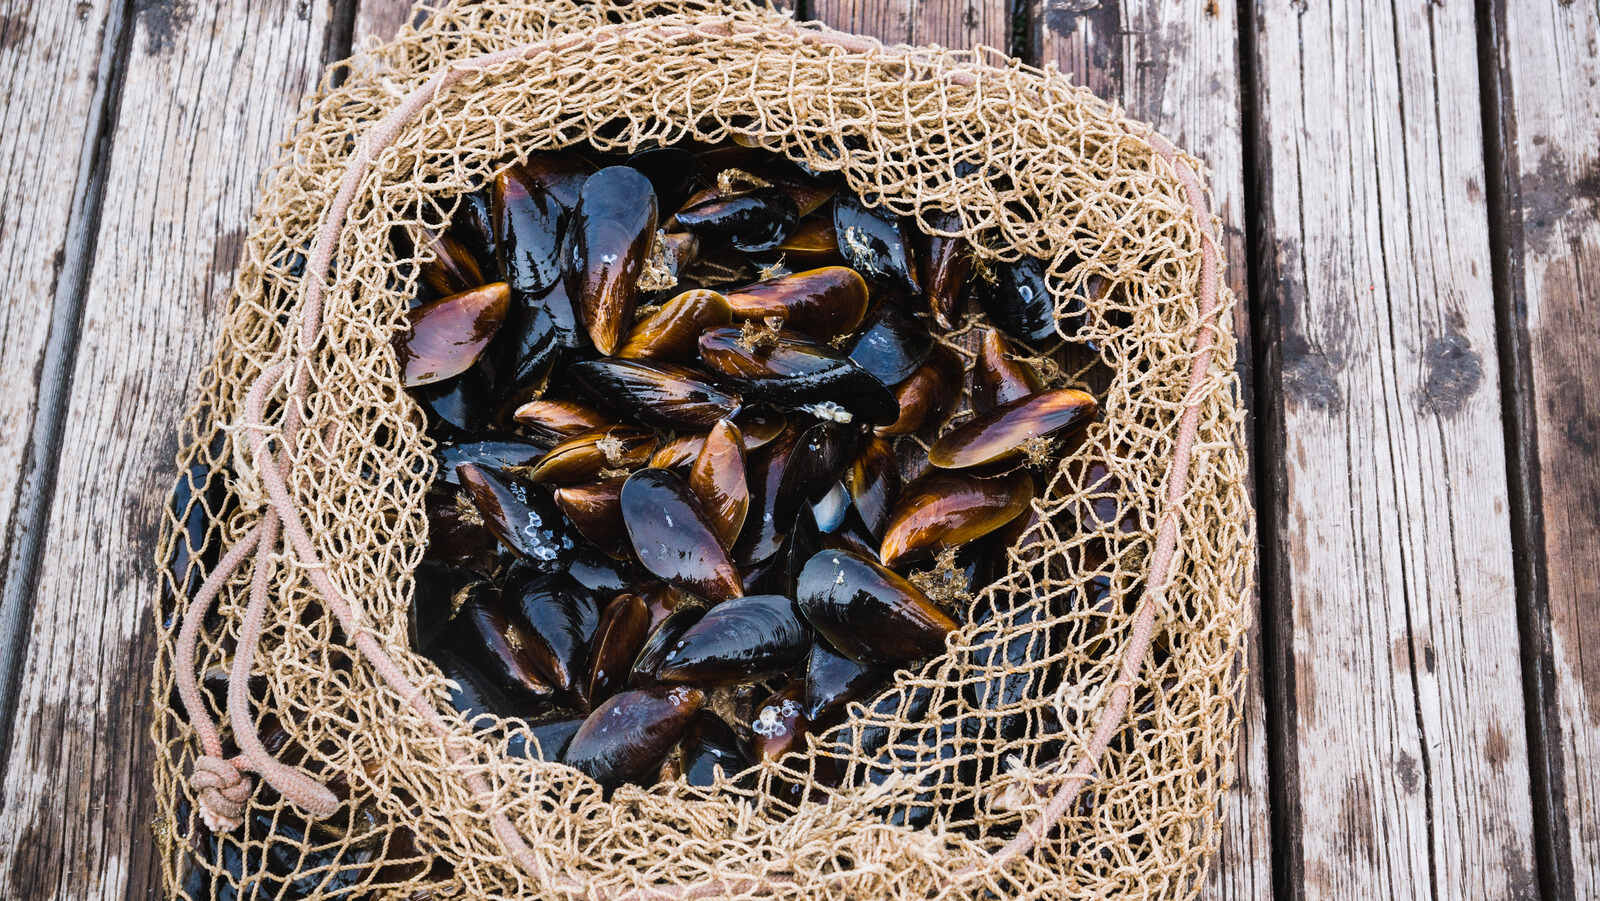
- Store mussels in a breathable bag: Once you’ve purchased your mussels, transfer them to a breathable bag such as a mesh produce bag or a perforated bag. This allows the mussels to breathe and prevents them from suffocating or becoming overly moist.
- Remove any packaging: If the mussels are packaged in plastic or airtight containers, remove them from the packaging as soon as possible. Keeping mussels in an airtight environment can lead to rapid spoilage and the growth of bacteria.
- Discard any dead mussels: Before storing the mussels, it’s crucial to check for any dead ones. Gently tap the open shells and observe if they close. If a mussel remains open after tapping or does not respond to touch, it is likely dead and should be discarded immediately.
By following these steps, you’ll guarantee that you’re starting with the best possible mussels and laying the foundation for proper storage in the fridge. Buying and preparing mussels carefully will ensure their quality and taste when you’re ready to use them.
Step 2: Cleaning Mussels
Properly cleaning mussels is essential to remove any dirt, sand, or debris that may be present on the shells. Additionally, it helps ensure that you are storing clean and safe mussels in the fridge. Here’s how you can clean mussels effectively:
- Rinse the mussels: Start by placing the mussels in a colander or large bowl. Rinse them under cold running water, gently scrubbing the shells with a brush to remove any dirt or debris.
- Remove the beards: Mussels have small, fibrous “beards” that may be attached to their shells. To remove these beards, grasp them tightly near the hinge of the shell and pull them towards the pointed end. Give them a gentle tug to ensure they come off completely.
- Inspect for shell damage: While cleaning the mussels, check for any visible cracks, chips, or broken shells. Discard any mussels with damaged shells, as they may have a higher risk of spoilage or contamination.
- Give them a final rinse: After removing the beards and checking for shell damage, give the mussels one final rinse to remove any remaining debris or particles.
It’s important to note that you should clean the mussels just before storing them in the fridge. Cleaning them in advance and leaving them soaking in water can cause them to suffocate and deteriorate, leading to a loss of quality and taste.
By following these cleaning steps, you can ensure that your mussels are free from any impurities and are ready to be stored in the fridge. Clean mussels not only stay fresh for longer but also contribute to a more enjoyable culinary experience.
Step 3: Storing Mussels in the Fridge
Now that you have purchased and cleaned your mussels, it’s time to store them properly in the fridge. Here’s how:
- Use a shallow container: Choose a shallow container that has enough space to accommodate all the mussels without overcrowding. This allows for proper air circulation, preventing the mussels from becoming too moist and developing an off-putting smell.
- Add a damp cloth or paper towels: Place a damp cloth or a few moistened paper towels at the bottom of the container. This helps maintain the necessary level of humidity, keeping the mussels hydrated and fresh. Make sure the cloth or paper towels are not dripping wet, as excessive moisture can lead to spoilage.
- Arrange the mussels: Arrange the cleaned mussels in a single layer on top of the damp cloth or paper towels. Make sure the mussels are not stacked on top of each other, as this can cause them to become crushed and spoil faster.
- Leave the container partially opened: It’s important to allow for some ventilation when storing mussels in the fridge. Loosely cover the container, preferably with a lid or plastic wrap, but leave a small opening for air circulation.
- Place the container in the coldest part of the fridge: Position the container of mussels in the coldest section of your refrigerator, usually near the back. This area maintains a more consistent temperature, keeping the mussels fresh and safe to consume.
- Consume within 2 to 3 days: Mussels are highly perishable and should be consumed within 2 to 3 days of purchase. It’s best to cook and enjoy them as soon as possible to experience the optimal taste and texture.
By following these storage guidelines, you can ensure that your mussels remain fresh and of high quality while awaiting their turn to be cooked. Propper storage is crucial in preserving the delicate flavor and texture of the mussels, allowing you to enjoy them at their best.
After purchasing mussels, store them in the refrigerator in a breathable container such as a mesh bag or a bowl covered with a damp cloth. Do not store them in an airtight container or directly on ice.
Step 4: Checking for Freshness
Before using the stored mussels, it’s essential to check their freshness to ensure they are safe to consume. Here are some signs to look for to determine if your mussels are still fresh:
- Inspect the shells: Fresh mussels will have tightly closed shells. Give the mussels a gentle tap on a hard surface, and if they close immediately, it indicates that they are alive and fresh. Discard any mussels that remain open or do not respond to the tap, as they may be dead and not safe to eat.
- Look for cracked shells: Examine the shells for any cracks or chips. Mussels with damaged shells can spoil more quickly and may be contaminated, so it’s best to discard them to avoid any foodborne illnesses.
- Check for a strong odor: Fresh mussels should have a pleasant, briny smell like the ocean. However, mussels with a strong, foul odor may indicate spoilage and should be discarded.
- Inspect for slimy texture: Fresh mussels should have a slightly moist and slimy texture. However, if the mussels are excessively slimy or have a sticky film, it can be a sign of spoilage or bacteria growth.
- Trust your instincts: If something about the mussels looks or smells off, it’s better to err on the side of caution and discard them. Trust your instincts and prioritize your safety when it comes to seafood consumption.
By carefully examining the mussels and paying attention to any signs of spoilage, you can ensure that the mussels are fresh and safe to cook and enjoy. It’s always better to be cautious and discard any mussels that raise concerns rather than risk consuming contaminated seafood.
Read more: How To Store Mussels
Step 5: Properly Sealing the Mussel Container
Once you have stored the mussels in a container in the fridge, it’s essential to properly seal the container to maintain their freshness and prevent any cross-contamination. Follow these steps to ensure the mussels are well sealed:
- Cover the container: Place a lid or plastic wrap over the top of the container. This helps prevent any odors from other foods in the fridge from permeating the mussels.
- Leave a small opening: While covering the container, leave a small opening to allow for some air circulation. This helps avoid the accumulation of condensation, which can make the mussels too moist and lead to spoilage.
- Avoid stacking heavy items: Ensure that the container of mussels is not placed under or next to any heavy items in the fridge. Stacking heavy items on top of the mussels can crush them and compromise their quality.
- Keep the container away from strong odors: Avoid storing the mussels near strong-smelling foods, as they can absorb those odors and affect their flavor. It’s best to keep the container separate in order to preserve the natural taste of the mussels.
- Check the seal periodically: Make sure to check the seal of the container every now and then to ensure it hasn’t been compromised. If you notice any cracks or damage to the seal, transfer the mussels to a new container with a secure closure.
- Label with storage date: It’s helpful to label the container with the date of storage. This way, you can keep track of how long the mussels have been stored and ensure they are used within the recommended timeframe.
By properly sealing the mussel container, you can maintain the quality and freshness of the stored mussels. This step is crucial in preventing any contamination and preserving the optimal flavor for when you’re ready to cook and enjoy them.
Step 6: Using the Stored Mussels
Now that you have stored the mussels safely in the fridge, it’s time to put them to use in a delicious dish. Here are some tips on using the stored mussels:
- Cook them promptly: It’s best to cook and consume the stored mussels as soon as possible after purchasing and storing them. The longer they are kept, the greater the risk of spoilage and loss of flavor.
- Prepare them properly: Before cooking, give the mussels one final check to ensure they are still fresh. Discard any mussels with cracked shells or that do not close when tapped. Rinse them under cold running water to remove any excess debris or sand.
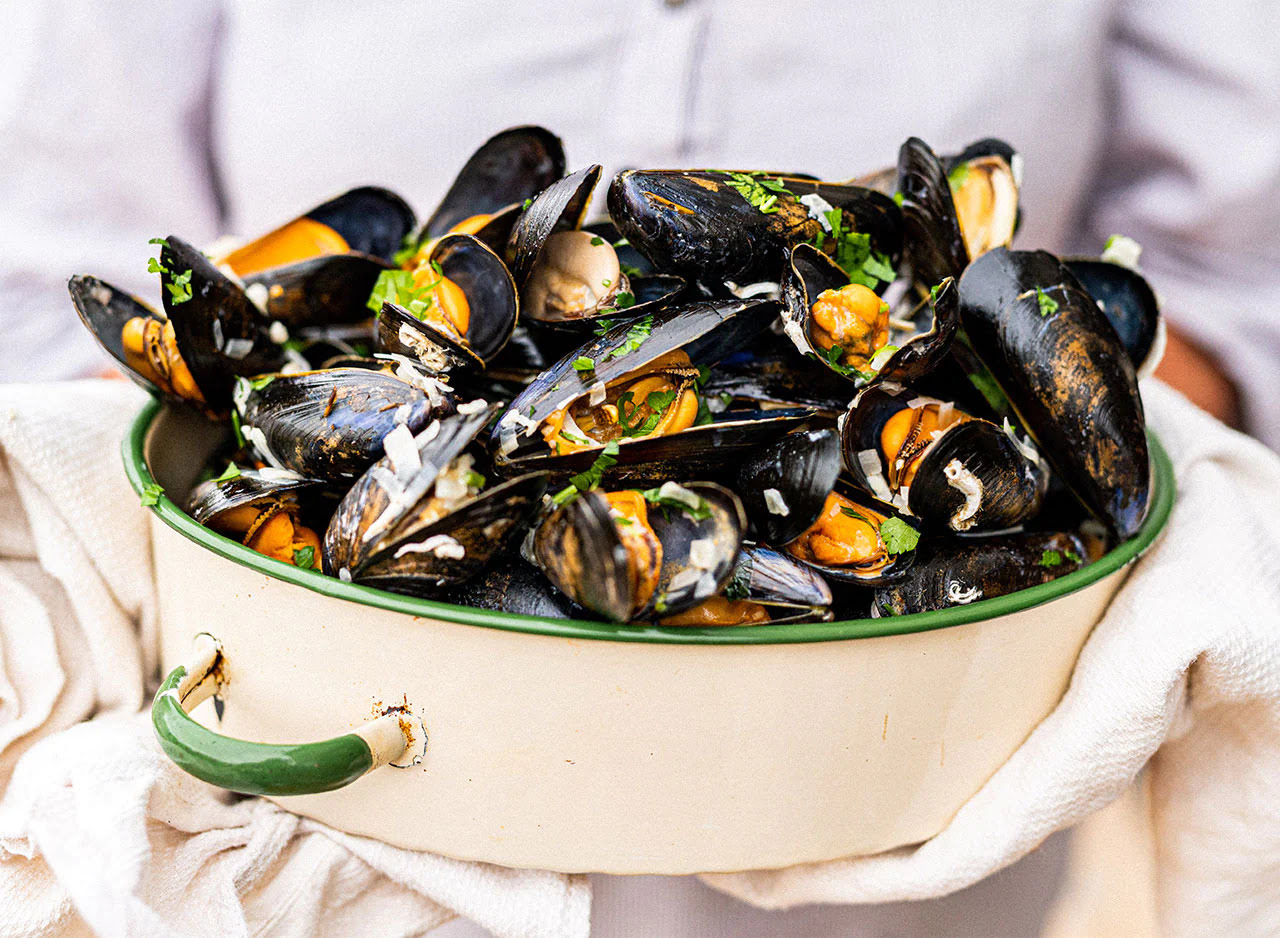
- Elevate your dish: Mussels are incredibly versatile and can be used in a variety of dishes. Consider incorporating them into classic recipes such as steamed mussels in white wine, linguine with mussels, or mussels in a vibrant seafood stew. Get creative and experiment with different flavors and ingredients to create your own unique dishes.
- Follow cooking guidelines: When cooking with mussels, ensure you follow proper cooking techniques. They should be cooked until the shells open, which indicates they are fully cooked and safe to eat. Discard any mussels that do not open during the cooking process.
- Serve immediately: Once the mussels are cooked, serve them immediately to enjoy their full flavor and texture. Pair them with crusty bread, pasta, or a side of fresh vegetables for a complete and satisfying meal.
- Do not re-store unused cooked mussels: It’s important to note that once mussels have been cooked, they should not be re-stored. Cooked mussels have a shorter shelf life and can spoil quickly, so it’s best to consume them in one sitting to ensure food safety.
Whether you prepare a classic recipe or get adventurous with your culinary creations, using the stored mussels in a timely manner will ensure the best taste and quality. So, unleash your culinary skills and savor the deliciousness of your cooked mussels!
Conclusion
Storing mussels in the fridge requires careful attention to detail to maintain their freshness and quality. By following the steps outlined in this article, you’ll be well-equipped to handle mussels properly from purchase to consumption.
Starting with selecting fresh mussels at the store and properly cleaning them, you ensure a solid foundation for safe storage. Storing mussels in a shallow container with a damp cloth or paper towels helps maintain the necessary level of humidity without suffocating the shellfish. Checking for freshness before cooking is crucial, as it ensures you are using mussels that are safe to eat.
Properly sealing the mussel container minimizes the risk of contamination and allows for optimal air circulation. When it comes time to use the stored mussels, cook them promptly and enjoy them in a variety of delicious dishes. Remember, cooked mussels should not be re-stored, so it’s best to consume them in one sitting.
Incorporating these steps into your mussel storage and cooking routine will help you fully enjoy the flavors of these delicate shellfish. So, next time you have mussels on hand, confidently store them in the fridge, knowing that you’re maintaining their freshness and preparing for a delightful meal.
Frequently Asked Questions about How To Store Mussels In Fridge
Was this page helpful?
At Storables.com, we guarantee accurate and reliable information. Our content, validated by Expert Board Contributors, is crafted following stringent Editorial Policies. We're committed to providing you with well-researched, expert-backed insights for all your informational needs.


0 thoughts on “How To Store Mussels In Fridge”