Articles
How To Store Hangers When Moving
Modified: April 28, 2024
Learn the best way to store hangers during a move with these helpful articles. Keep your clothes organized and protected throughout the moving process.
(Many of the links in this article redirect to a specific reviewed product. Your purchase of these products through affiliate links helps to generate commission for Storables.com, at no extra cost. Learn more)
Introduction
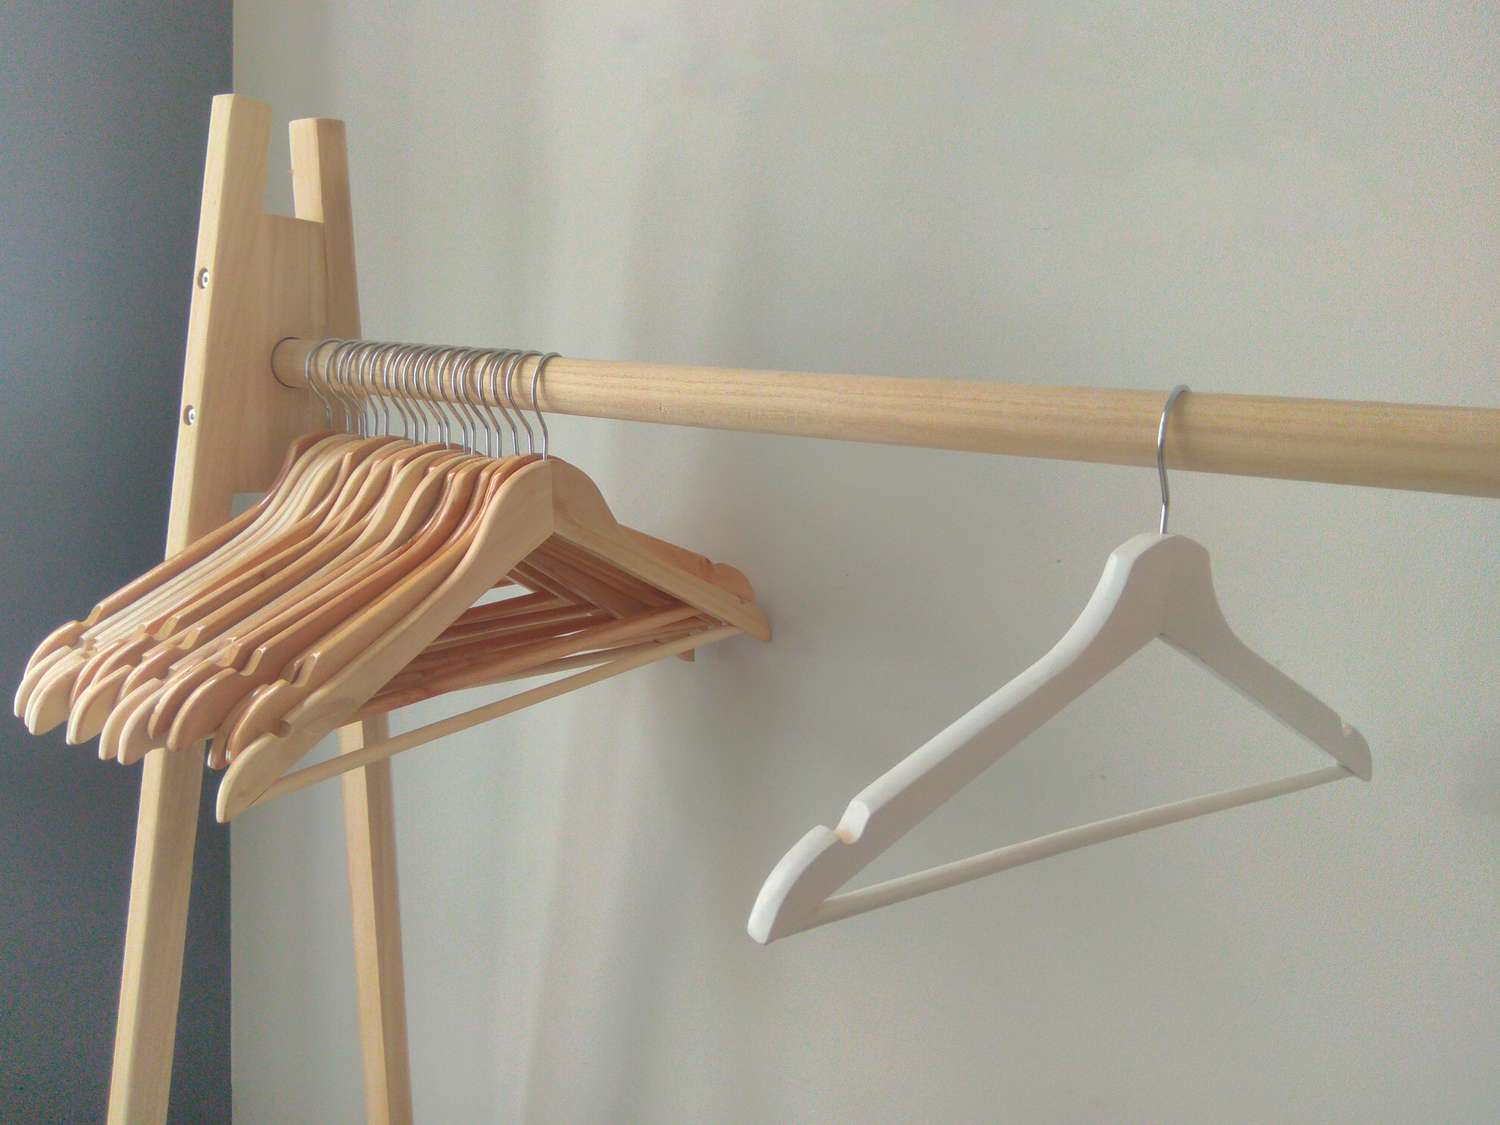
Moving can be a daunting and chaotic task, requiring careful planning and organization. One aspect of moving that often gets overlooked is how to store hangers effectively. Properly storing hangers during a move not only helps to keep your clothes organized and wrinkle-free, but it also facilitates the unpacking process and ensures that your garments remain in great condition.
In this article, we will explore the importance of properly storing hangers during a move and discuss different options for doing so. We will also provide some handy tips for packing and protecting your hangers to make your moving experience easier and stress-free.
So, if you’re gearing up for a move and want to ensure that your hangers and clothes are well taken care of, keep reading to discover the best methods for storing hangers during a move.
Key Takeaways:
- Properly storing hangers during a move ensures organized unpacking, prevents wrinkles and damage, maximizes closet space, and preserves garment quality, making the transition to a new home smoother and stress-free.
- Options for storing hangers during a move include using garment bags, plastic wrap or rubber bands, garbage bags, wardrobe boxes, and DIY cardboard hanger boxes, providing flexibility and convenience based on individual needs and resources.
Read more: How To Store Posters When Moving
Why Properly Storing Hangers is Important During a Move
When it comes to moving, it’s easy to overlook the importance of properly storing hangers. However, neglecting this crucial step can lead to a host of issues that can make the unpacking process more chaotic and time-consuming. Here are a few reasons why properly storing hangers is essential during a move:
- Organized unpacking: Storing your hangers properly ensures that your clothes remain in their designated order. When it comes time to unpack, you can simply hang your clothes back in the closet without having to sort through a jumbled mess. This saves you time and effort and allows you to settle into your new home quickly.
- Prevention of wrinkles and damage: Properly stored hangers help to maintain the shape and integrity of your clothes. Without hangers, clothes can become wrinkled, creased, or even damaged during the moving process. By securely storing your hangers, you can prevent unwanted wrinkles and ensure that your garments arrive in excellent condition.
- Maximizing closet space: Storing hangers efficiently means you can make the most of your closet space. By utilizing space-saving techniques, such as using specialized storage solutions or compact packaging, you can ensure that your clothes take up minimal space and leave room for other items in your closet.
- Easy accessibility: Properly storing hangers ensures that your clothes are easily accessible once you arrive at your new home. You won’t have to rummage through boxes or search for misplaced hangers. Instead, your clothes will be neatly hung, ready to be worn or put away.
- Preserving garment quality: Hanging clothes on hangers helps to preserve their quality and condition. By storing hangers properly and ensuring that your clothes are securely hung, you can prevent any unnecessary stretching, tearing, or damage to your garments.
Now that we understand the importance of properly storing hangers during a move, let’s explore some different options for achieving this.
Different Options for Storing Hangers
When it comes to storing hangers during a move, there are several options to choose from. The choice you make will depend on factors such as the type and number of hangers you have, the available storage space, and your personal preferences. Here are five popular options for storing hangers during a move:
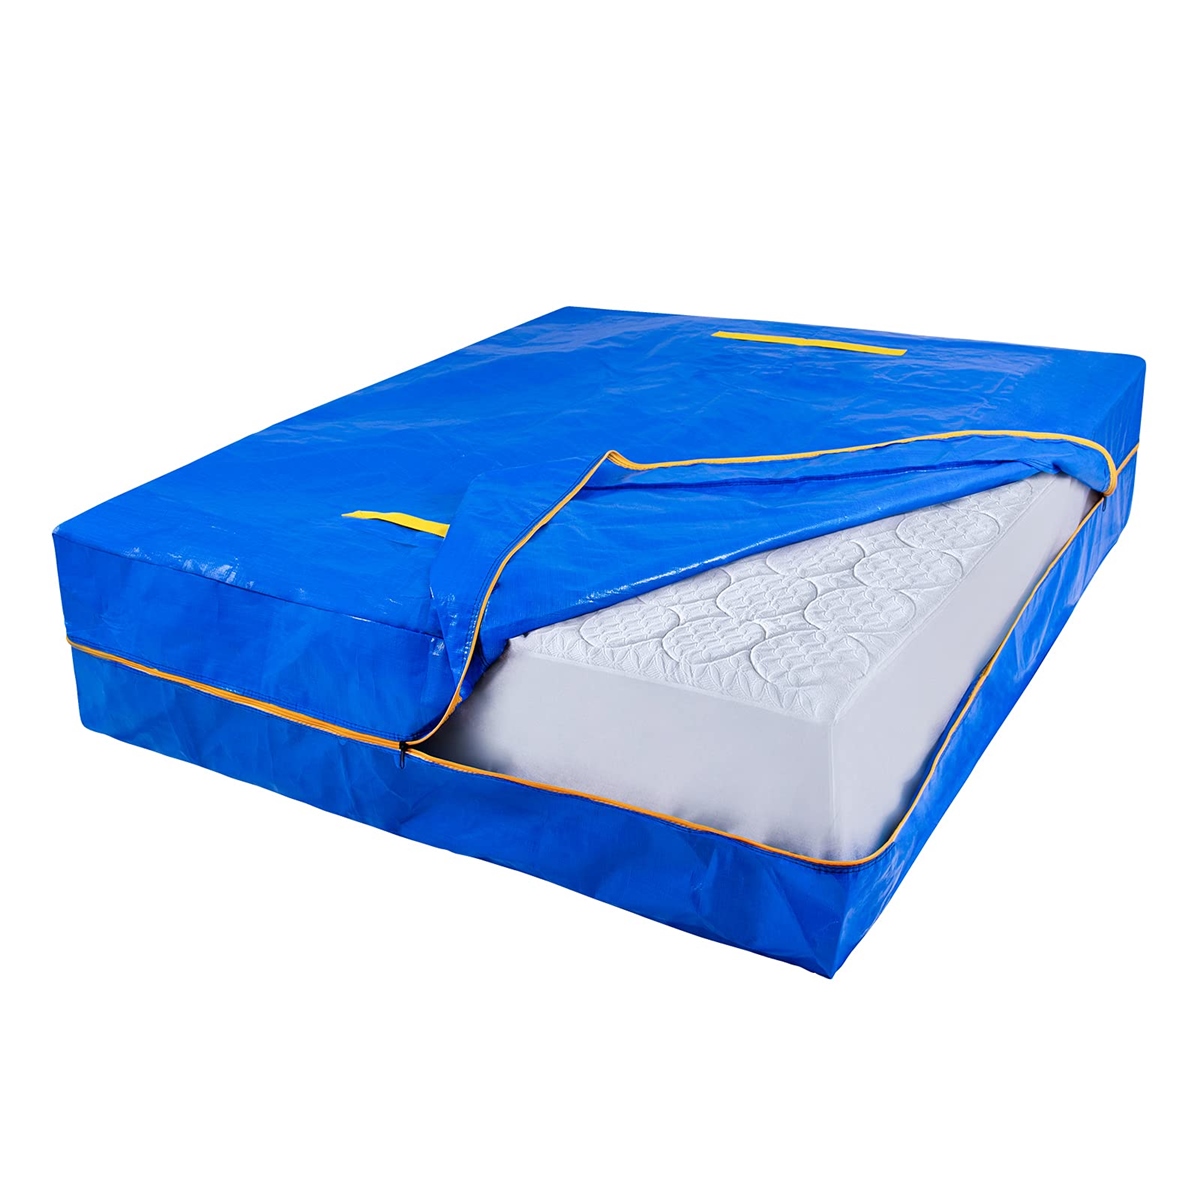
- Using Garment Bags: Garment bags are a convenient option for storing hangers. Simply remove your clothes from the closet, leave them on the hangers, and place them inside garment bags. These bags typically have a zipper closure to keep your clothes protected and dust-free during the move. The advantage of using garment bags is that your clothes can remain hanging, minimizing the chance of wrinkles or damage.
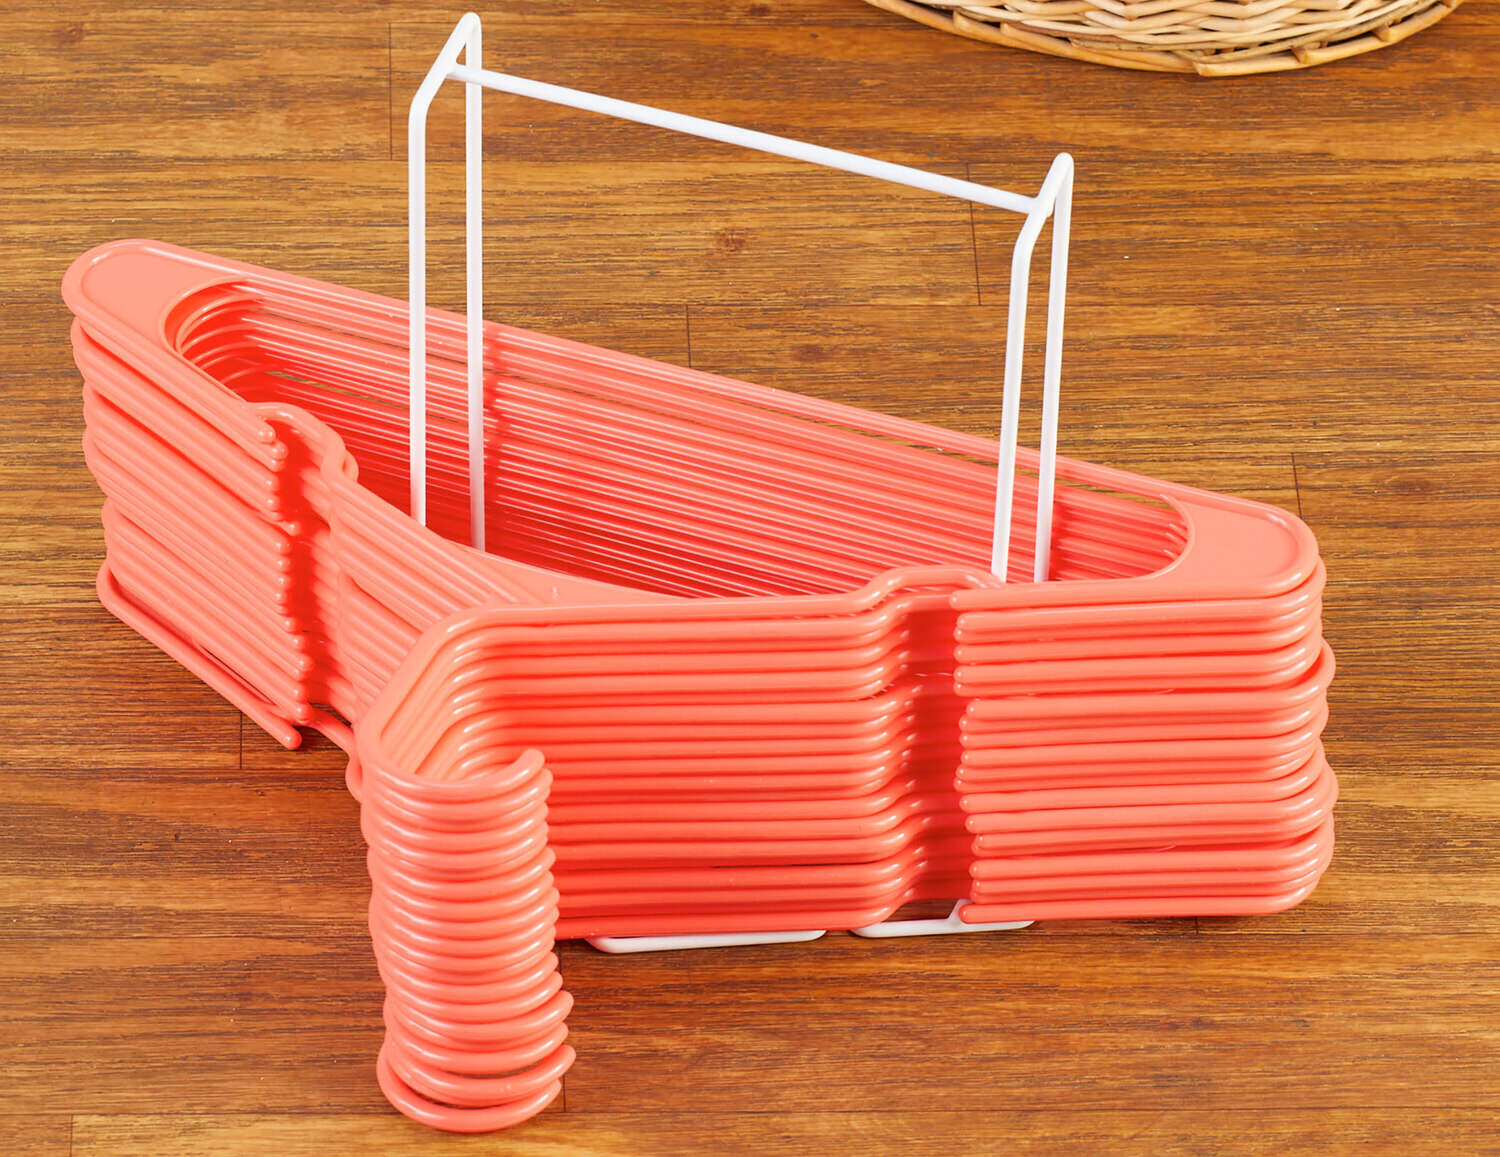
- Using Plastic Wrap or Rubber Bands: If you prefer a more budget-friendly option, you can use plastic wrap or rubber bands to secure your hangers. Start by grouping a few hangers together and wrapping them tightly with plastic wrap or securing them with rubber bands. This method helps to keep your hangers organized and prevents them from tangling during transportation.
- Using Garbage Bags: Garbage bags can be a surprisingly effective option for storing hangers. Simply remove the clothes from the closet, leaving them on the hangers, and carefully place them inside a large garbage bag. Tie the bag at the top to securely enclose the hangers. This method keeps your clothes protected from dirt and dust while also allowing for easy transportation.
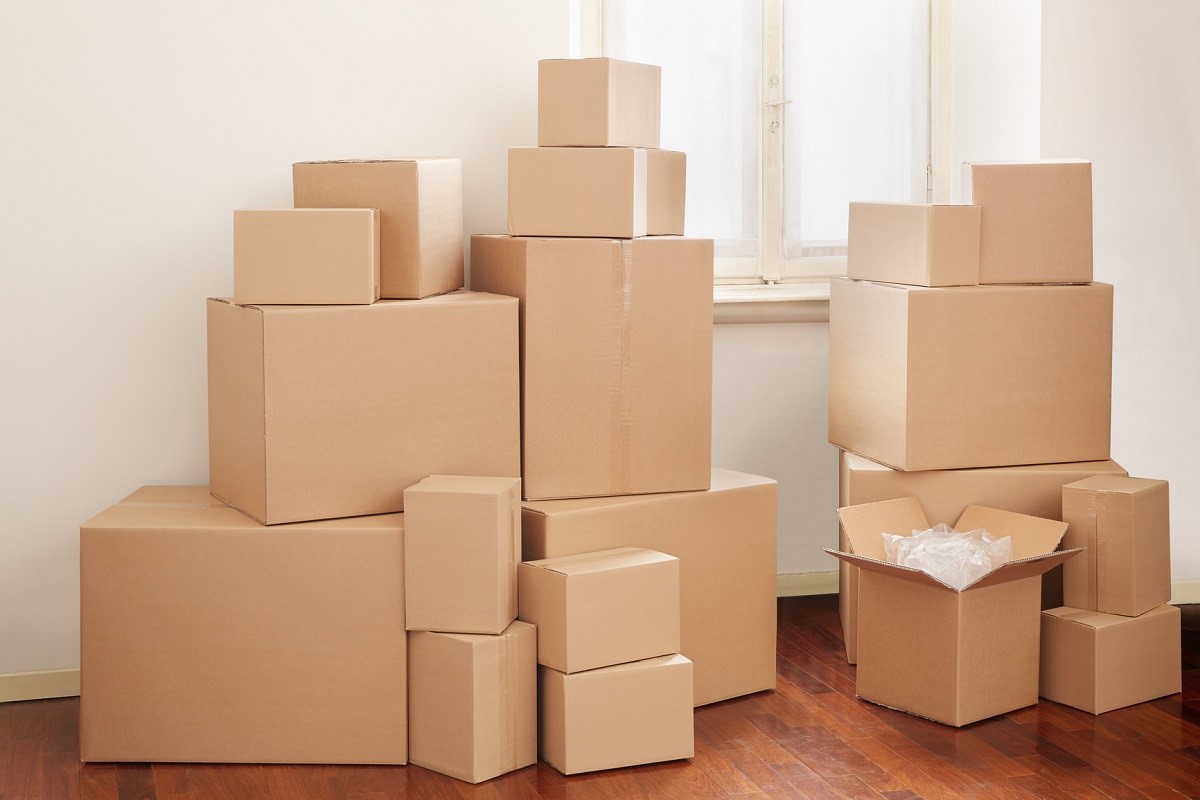
- Using Wardrobe Boxes: Wardrobe boxes are specifically designed for moving clothes on hangers. These tall, upright boxes come with a metal hanging bar inside, allowing you to transfer your clothes directly from the closet onto the bar. Simply lift the bar, secure it in place, and close the box. The advantage of using wardrobe boxes is that they provide extra protection for your clothes and keep them wrinkle-free during the move. They are especially useful for delicate or formal garments.
- Using DIY Cardboard Hanger Boxes: If you have the time and inclination, you can create your own cardboard hanger boxes. Start by finding sturdy cardboard boxes that are large enough to accommodate your hangers. Cut a small slit or opening on one side of the box to slide the hangers through. This method provides a cost-effective solution for securely storing hangers while also protecting your clothes.
Choose the option that best suits your needs and available resources. Whichever method you choose, remember to ensure that your hangers and clothes are secure and protected during the move. Next, we will provide some useful tips for packing and protecting your hangers.
Option 1: Using Garment Bags
Using garment bags is a popular and convenient option for storing hangers during a move. These bags are specifically designed to hold and protect your clothes while keeping them wrinkle-free. Here’s how you can effectively use garment bags to store your hangers:
- Prepare your clothes: Start by removing your clothes from the closet, but leave them on the hangers. Take the time to remove any accessories, such as belts or scarves, and set them aside. Ensure that your clothes are clean and dry before packing them into the garment bags.
- Choose the right garment bags: Look for garment bags that are made of durable materials and have a zipper closure. Opt for bags that are long enough to accommodate your longest garments and wide enough to fit multiple hangers.
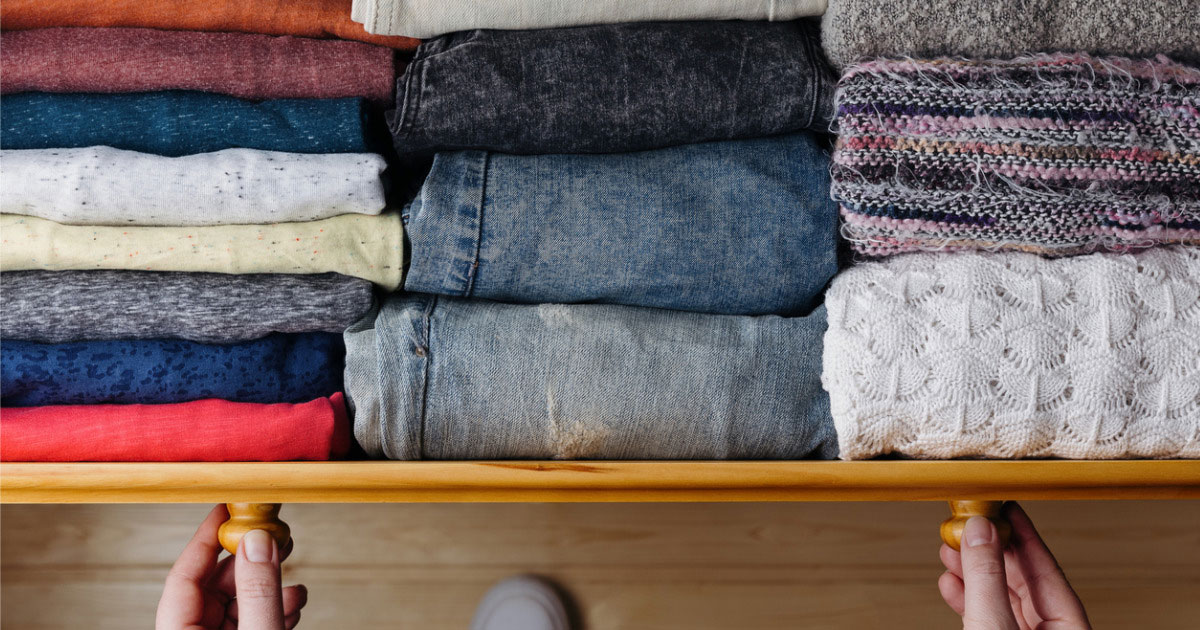
- Group and arrange your clothes: Sort your clothes by category or by the order in which you want to hang them in your new closet. This will make unpacking easier. Group similar items together, such as shirts, dresses, pants, and so on. Arrange the clothes neatly on the hangers and ensure that they are hanging straight.
- Place clothes in the garment bags: Carefully slide the hangers with the clothes into the garment bags. If you have multiple garments on one hanger, make sure they are neatly folded or arranged to prevent any rubbing or wrinkling. Fill the bags without overpacking to avoid excessive pressure on the clothes.
- Secure and label the bags: Zip up the garment bags to securely enclose your clothes. If the bags have a clear window or space for labeling, use this opportunity to write a brief description of the contents inside. This will help you easily identify and locate specific items during unpacking.
- Handle with care: When moving the garment bags, take care to avoid any sharp objects or rough handling that could potentially damage your clothes or the bags themselves. If possible, transport the bags in a separate section of the moving truck to minimize any potential for compression or damage.
- Hang the bags in your new closet: Once you arrive at your new home, locate your new closet space and hang the garment bags directly onto the closet rod. Ensure that there is enough space between the bags to allow for proper airflow. This will help prevent any musty odors and ensure your clothes remain fresh during the unpacking process.
Using garment bags to store your hangers is a convenient and effective option, allowing you to keep your clothes organized and wrinkle-free during the move. Remember to handle the bags with care and hang them in your new closet for easy unpacking and access to your clothes. Continue reading for more storage options and tips for packing and protecting your hangers during a move.
Option 2: Using Plastic Wrap or Rubber Bands
If you’re looking for a budget-friendly option to store your hangers during a move, using plastic wrap or rubber bands can be a simple yet effective solution. This method helps to keep your hangers organized and prevents them from tangling, making the unpacking process much easier. Here’s how you can utilize plastic wrap or rubber bands to store your hangers:
- Gather your hangers: Start by removing your clothes from the closet, but leave them hanging on the hangers. If you have any accessories, such as belts or scarves, set them aside for packing separately.
- Group the hangers: Group a small number of hangers together, depending on their thickness and strength. It’s best to keep the number manageable to prevent any bending or breaking of the hangers.
- Wrap with plastic wrap: Starting at the top of the hangers, tightly wrap the bunch of hangers with plastic wrap. Begin wrapping at the top of the hooks and continue down to cover the lower part of the hangers. Ensure that the wrap is secure and holds the hangers tightly together.
- Secure with rubber bands: Alternatively, you can use rubber bands instead of plastic wrap to secure the hangers. Place a rubber band around the top of the hooked part of the hangers, pulling it tightly so that the hangers are firmly held together. You can double or triple the rubber bands if needed.
- Repeat for each group of hangers: Repeat the wrapping or banding process for each group of hangers until all your hangers are securely packed. Make sure to label or remember which garments are grouped together for easier unpacking later.
- Store the packed hangers: Once all your hangers are wrapped or banded, store them in a box or bin dedicated to hanger storage. Place the heaviest items at the bottom and avoid over-packing the container to prevent any damage to the hangers.
- Transport with care: When moving the box or bin with the wrapped hangers, handle it with care to avoid any excessive movement or pressure that could potentially damage the hangers. Keep the box upright, avoiding any sideways or upside-down positioning during transportation.
- Unpack and unwrap: Upon reaching your new home, carefully unpack the hangers from the box or bin. Remove the plastic wrap or rubber bands and hang the hangers back in your new closet, arranging them as desired.
Using plastic wrap or rubber bands to secure your hangers is an economical and efficient option for storing them during a move. This method keeps your hangers organized and prevents them from tangling, ensuring a smoother unpacking process. Continue reading to explore more storage options and valuable tips for packing and protecting your hangers during a move.
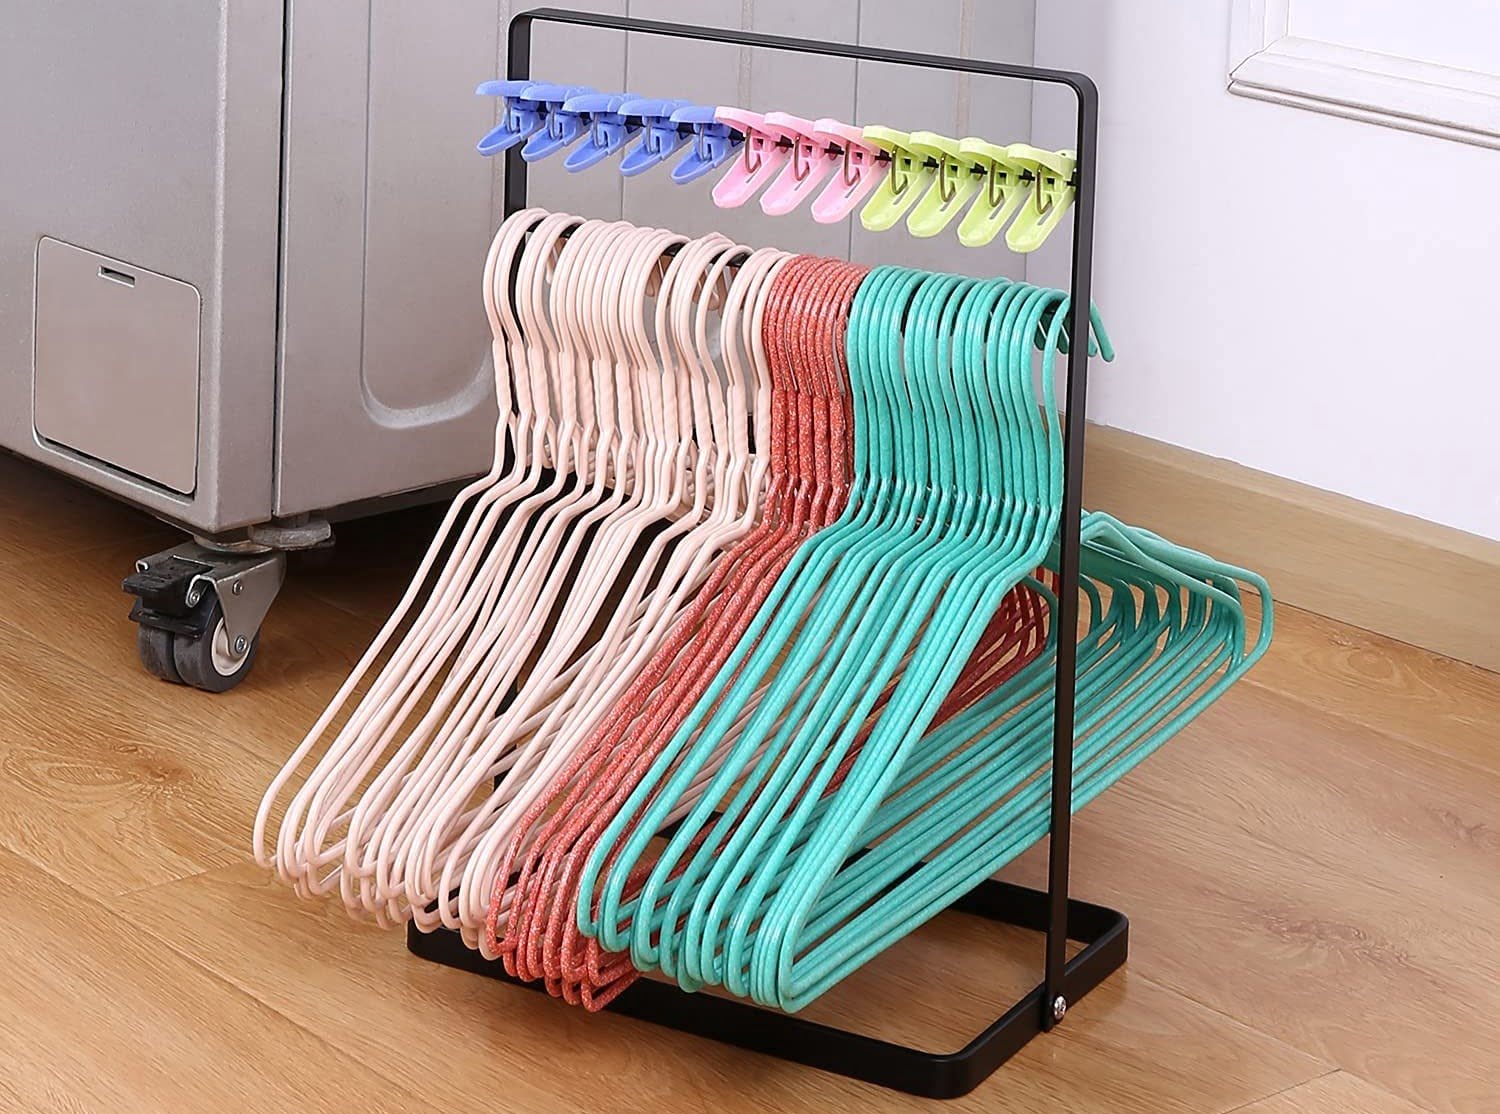
When moving, bundle hangers together with rubber bands or zip ties to keep them organized and prevent tangling. Place them in a box or garment bag for easy transport.
Read more: How To Store Hangers
Option 3: Using Garbage Bags
Using garbage bags as a storage solution for your hangers during a move may sound unconventional, but it can actually be surprisingly effective and budget-friendly. This method allows you to quickly and easily protect your hangers and clothes from dust and dirt while providing a convenient transportation option. Here’s how you can use garbage bags to store your hangers:
- Prepare your hangers: Start by removing your clothes from the closet, leaving them on the hangers. Take a moment to remove any accessories or items that are not suitable for hanging, such as belts, scarves, or jewelry.
- Choose the right garbage bags: Opt for large, durable garbage bags that are suitable for your hanger’s length. They should be able to comfortably accommodate your hangers without bending or damaging them.
- Group the hangers: Group a reasonable number of hangers together. Depending on the thickness and strength of the hangers, grouping around 10 to 15 hangers together is typically a good rule of thumb to prevent any tangling or overcrowding.
- Slip the hangers into the bag: Carefully slide the grouped hangers, with the clothes still hanging, into the garbage bag. Make sure the clothes are all facing the same direction and that the hangers are evenly spaced within the bag to avoid excessive wrinkling or tangling.
- Tie or knot the bag: Once the hangers are inside the bag, secure the bag by tying or knotting it at the top. This will prevent the hangers from falling out and keep the bag securely closed during transportation.
- Label the bags: To make unpacking easier, consider labeling the bags with a marker or using colored tape. This can help you identify specific categories of clothes or easily locate items when unpacking.
- Handle with care: When moving the bags with the hangers, handle them with care to avoid any excessive movement or rough handling that could potentially damage the clothes or hangers. It’s best to transport the bags in a separate section of the moving truck to minimize the possibility of compression or damage.
- Unpack the bags: Upon arrival at your new home, untie or unknot the garbage bags and carefully remove the hangers. Hang the hangers back in your new closet, taking the time to arrange them as desired.
Although using garbage bags may not be the most conventional method for hanger storage, it can be an effective and cost-efficient solution during a move. It’s important to handle the bags with care and ensure that the hangers are secured properly to prevent any damage. Now, let’s explore more storage options and discover useful tips for packing and protecting your hangers during a move.
Option 4: Using Wardrobe Boxes
If you want to ensure the utmost protection and organization for your hangers during a move, using wardrobe boxes is an excellent option. These specialized boxes are designed specifically for hanging clothes and provide a convenient solution for storing hangers while keeping your garments wrinkle-free. Here’s how you can effectively use wardrobe boxes to store your hangers:
- Select the appropriate wardrobe boxes: Purchase or acquire wardrobe boxes that are specifically designed for moving clothes. These boxes are tall and come with a metal hanging bar inside to hold your hangers.
- Prepare your clothes: Remove your clothes from the closet, but leave them on the hangers. Take a moment to ensure that your clothes are clean and dry before packing them into the wardrobe boxes.
- Group and arrange your clothes: Sort your clothes into categories, such as shirts, dresses, pants, etc. Arrange the clothes neatly on the hangers and group similar items together. You can use rubber bands or clothespins to secure pairs of pants or skirts to prevent them from slipping off the hangers.
- Transfer clothes to the wardrobe boxes: Lift the metal hanging bar of the wardrobe box and slide the hangers, with the clothes still hanging, onto the bar. Fill the box without overpacking to allow enough space for the clothes to hang freely and prevent any excessive wrinkling.
- Secure and close the wardrobe boxes: Once the hangers are in place, securely close the wardrobe box using the flaps provided. Ensure that the box is tightly sealed to protect your clothes from dust and moisture during the move.
- Label the boxes: To make unpacking easier, label each wardrobe box with a brief description of its contents or the room it belongs to. This will help you identify and locate specific items when unpacking.
- Handle with care: When moving the wardrobe boxes, handle them with care to minimize any excessive movement or rough handling. Keep the boxes upright and avoid placing heavy objects on top of them to prevent any damage to the clothes or the boxes.
- Unpack and hang in your new closet: Upon reaching your new home, open the wardrobe boxes carefully and remove the hanging bar with the hangers. Hang the clothes back in your new closet, arranging them as desired.
Using wardrobe boxes to store your hangers provides excellent protection for your clothes and ensures that they remain wrinkle-free during the move. These boxes are especially useful for delicate or formal garments that require extra care. Remember to handle the boxes with care and hang the clothes back in your new closet for easy access. Continue reading to explore additional storage options and valuable tips for packing and protecting your hangers during a move.
Option 5: Using DIY Cardboard Hanger Boxes
If you’re looking for a cost-effective and customizable option for storing your hangers during a move, creating your own DIY cardboard hanger boxes can be a practical solution. This method allows you to protect your hangers while also providing a way to transport them easily. Here’s how you can create and use DIY cardboard hanger boxes:
- Gather sturdy cardboard boxes: Find sturdy and durable cardboard boxes that are large enough to accommodate your hangers. Opt for boxes with a width that can comfortably fit the width of the hangers.
- Measure and cut the boxes: Measure the height and length required to fit your hangers. Use a utility knife or scissors to carefully cut the cardboard boxes to the desired dimensions. You will need one portion as the base and another portion as the cover of the box.
- Create openings for the hangers: On one side of the base portion, carefully cut small slits or rectangular openings to slide the hangers through. Ensure that the openings are wide enough to accommodate the hanger hooks and allow the clothes to hang freely.
- Secure the sides of the box: Once the openings are created, fold the sides of the base portion and secure them using strong tape or adhesive. This will give stability to the box and ensure that the hangers are held securely during transportation.
- Place the hangers and cover the box: Arrange your clothes on the hangers, leaving enough space between them to prevent any excessive wrinkling. Slide the hangers through the slits or openings on the base portion. Once all the hangers are in place, carefully slide the cover portion of the cardboard box over the base portion to close it.
- Seal and label the box: Use tape or adhesive to securely seal the edges of the cardboard box. Consider labeling the box with a brief description of its contents or the room it belongs to, making it easier to identify and locate specific items during unpacking.
- Handle with care during transportation: Treat the DIY cardboard hanger boxes with care to minimize any bending or damage to the hangers. Keep the boxes upright and avoid placing heavy objects on top of them to prevent any crushing of the box or the hangers.
- Unpack and arrange hangers: Upon reaching your new home, carefully open the cardboard box and slide the cover portion off. Remove the hangers and hang them back in your new closet, arranging them as desired.
Creating your own DIY cardboard hanger boxes provides an affordable and customizable option for storage during a move. While it requires a bit of effort, it allows you to protect your hangers and clothes without spending a significant amount of money on specialized boxes. Remember to handle the boxes with care and hang the clothes back in your new closet for easy access. Continue reading to discover additional storage options and useful tips for packing and protecting your hangers during a move.
Tips for Packing and Protecting Hangers
When it comes to moving, ensuring the proper packing and protection of your hangers is crucial to keep your clothes organized and in excellent condition. Here are some valuable tips to help you pack and protect your hangers during a move:
- Remove accessories: Before packing your hangers, take the time to remove any belts, scarves, or other accessories that are not suitable for hanging. Pack these items separately to prevent them from tangling or damaging your clothes.
- Sort and declutter: Take the opportunity to declutter your wardrobe before the move. Remove any garments you no longer wear or need to make the packing process more manageable.
- Group by category: Sort your clothes by category, such as shirts, dresses, pants, etc., and pack them accordingly. This will make unpacking and organizing your new closet much easier.
- Protect delicate materials: If you have delicate or fragile garments, such as silky dresses or sequined items, consider using tissue paper or garment covers to provide an extra layer of protection during the move.
- Avoid overpacking: Be mindful of the weight and number of hangers you place in a single storage container. Overpacking can lead to bending or breakage of the hangers and potentially damage your clothes.
- Secure with padding: If using boxes or containers other than wardrobe boxes, consider using padding materials, such as bubble wrap or towels, to securely cushion the hangers and prevent any shifting or damage during transportation.
- Label and inventory: Clearly label each box or container with its contents and the room it belongs to. Additionally, keep an inventory list of the boxes containing your hangers to make it easier to locate specific items during unpacking.
- Handle with care: Treat your hangers and packed containers with care during the moving process. Avoid dropping or tossing boxes, as this can cause damage to the hangers and potentially result in wrinkled or damaged clothes.
- Consider professional help: If you have valuable or delicate clothing items, consider seeking professional assistance for packing and transporting them. Professional movers have experience in handling fragile items and can provide additional protection during the move.
- Unpack and hang immediately: Once you arrive at your new home, prioritize unpacking and hanging your clothes as soon as possible. This will help to prevent wrinkles and allow you to quickly settle into your new space.
By following these tips, you can ensure that your hangers and clothes are well-packed and protected during a move. Take the time to properly organize and secure your hangers, allowing for an easier and smoother transition into your new home. Now that you’re equipped with these packing tips, you’re ready to make your move a success.
Valid HTML output.
Read more: How To Store Clothes Hangers
Conclusion
Properly storing hangers during a move is a crucial step that often gets overlooked. By following the right methods and taking the necessary precautions, you can ensure that your clothes remain organized and in excellent condition throughout the moving process.
In this article, we explored different options for storing hangers, including using garment bags, plastic wrap or rubber bands, garbage bags, wardrobe boxes, and DIY cardboard hanger boxes. Each option offers its own advantages and can be chosen based on your specific needs, budget, and available resources.
Additionally, we provided valuable tips for packing and protecting your hangers during a move. From removing accessories and decluttering your wardrobe to properly labeling boxes and handling them with care, these tips will help you keep your hangers and clothes secure and well-organized.
Remember, properly storing your hangers not only helps with a smooth unpacking process but also contributes to preserving the quality and condition of your garments. Taking the time to pack your hangers thoughtfully will save you from the hassle of ironing out creases and wrinkles later on.
Now that you have a comprehensive understanding of how to store hangers during a move, it’s time to put these tips into action. Happy moving and may your hangers and clothes arrive safely and ready to be hung in your new closet!
Valid HTML output.
Frequently Asked Questions about How To Store Hangers When Moving
Was this page helpful?
At Storables.com, we guarantee accurate and reliable information. Our content, validated by Expert Board Contributors, is crafted following stringent Editorial Policies. We're committed to providing you with well-researched, expert-backed insights for all your informational needs.


0 thoughts on “How To Store Hangers When Moving”