Home>Interior Design>How To Save Your Wall Decals When Moving
Interior Design
How To Save Your Wall Decals When Moving
Modified: October 31, 2024
Learn how to safely remove and protect your wall decals during a move. Get expert tips from our interior design team to ensure your decals stay intact and ready for a new space.
(Many of the links in this article redirect to a specific reviewed product. Your purchase of these products through affiliate links helps to generate commission for Storables.com, at no extra cost. Learn more)
Introduction
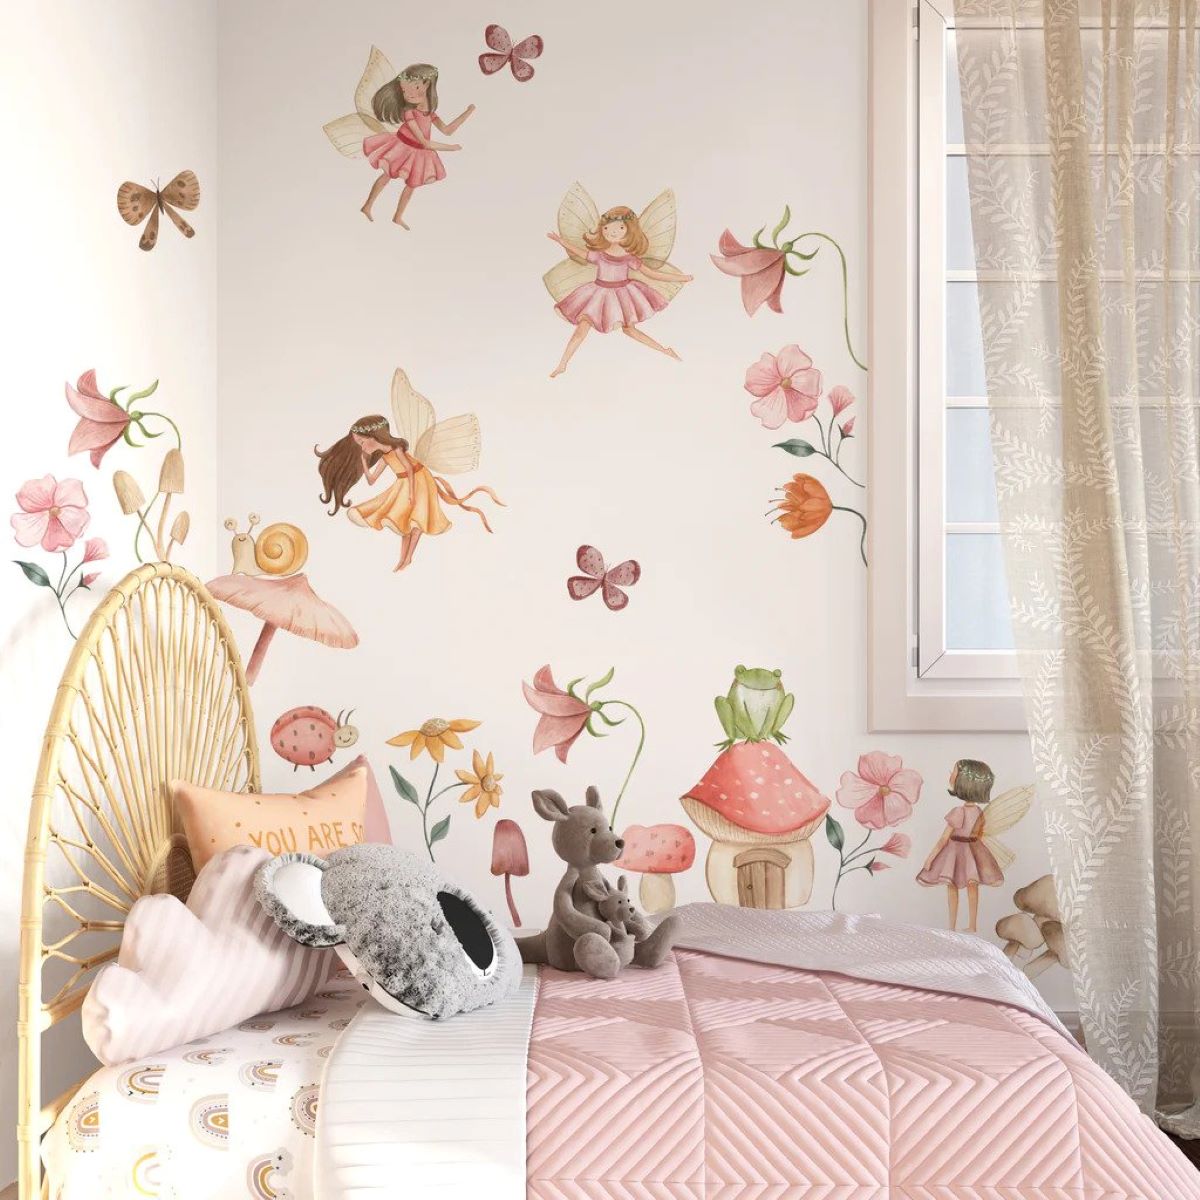
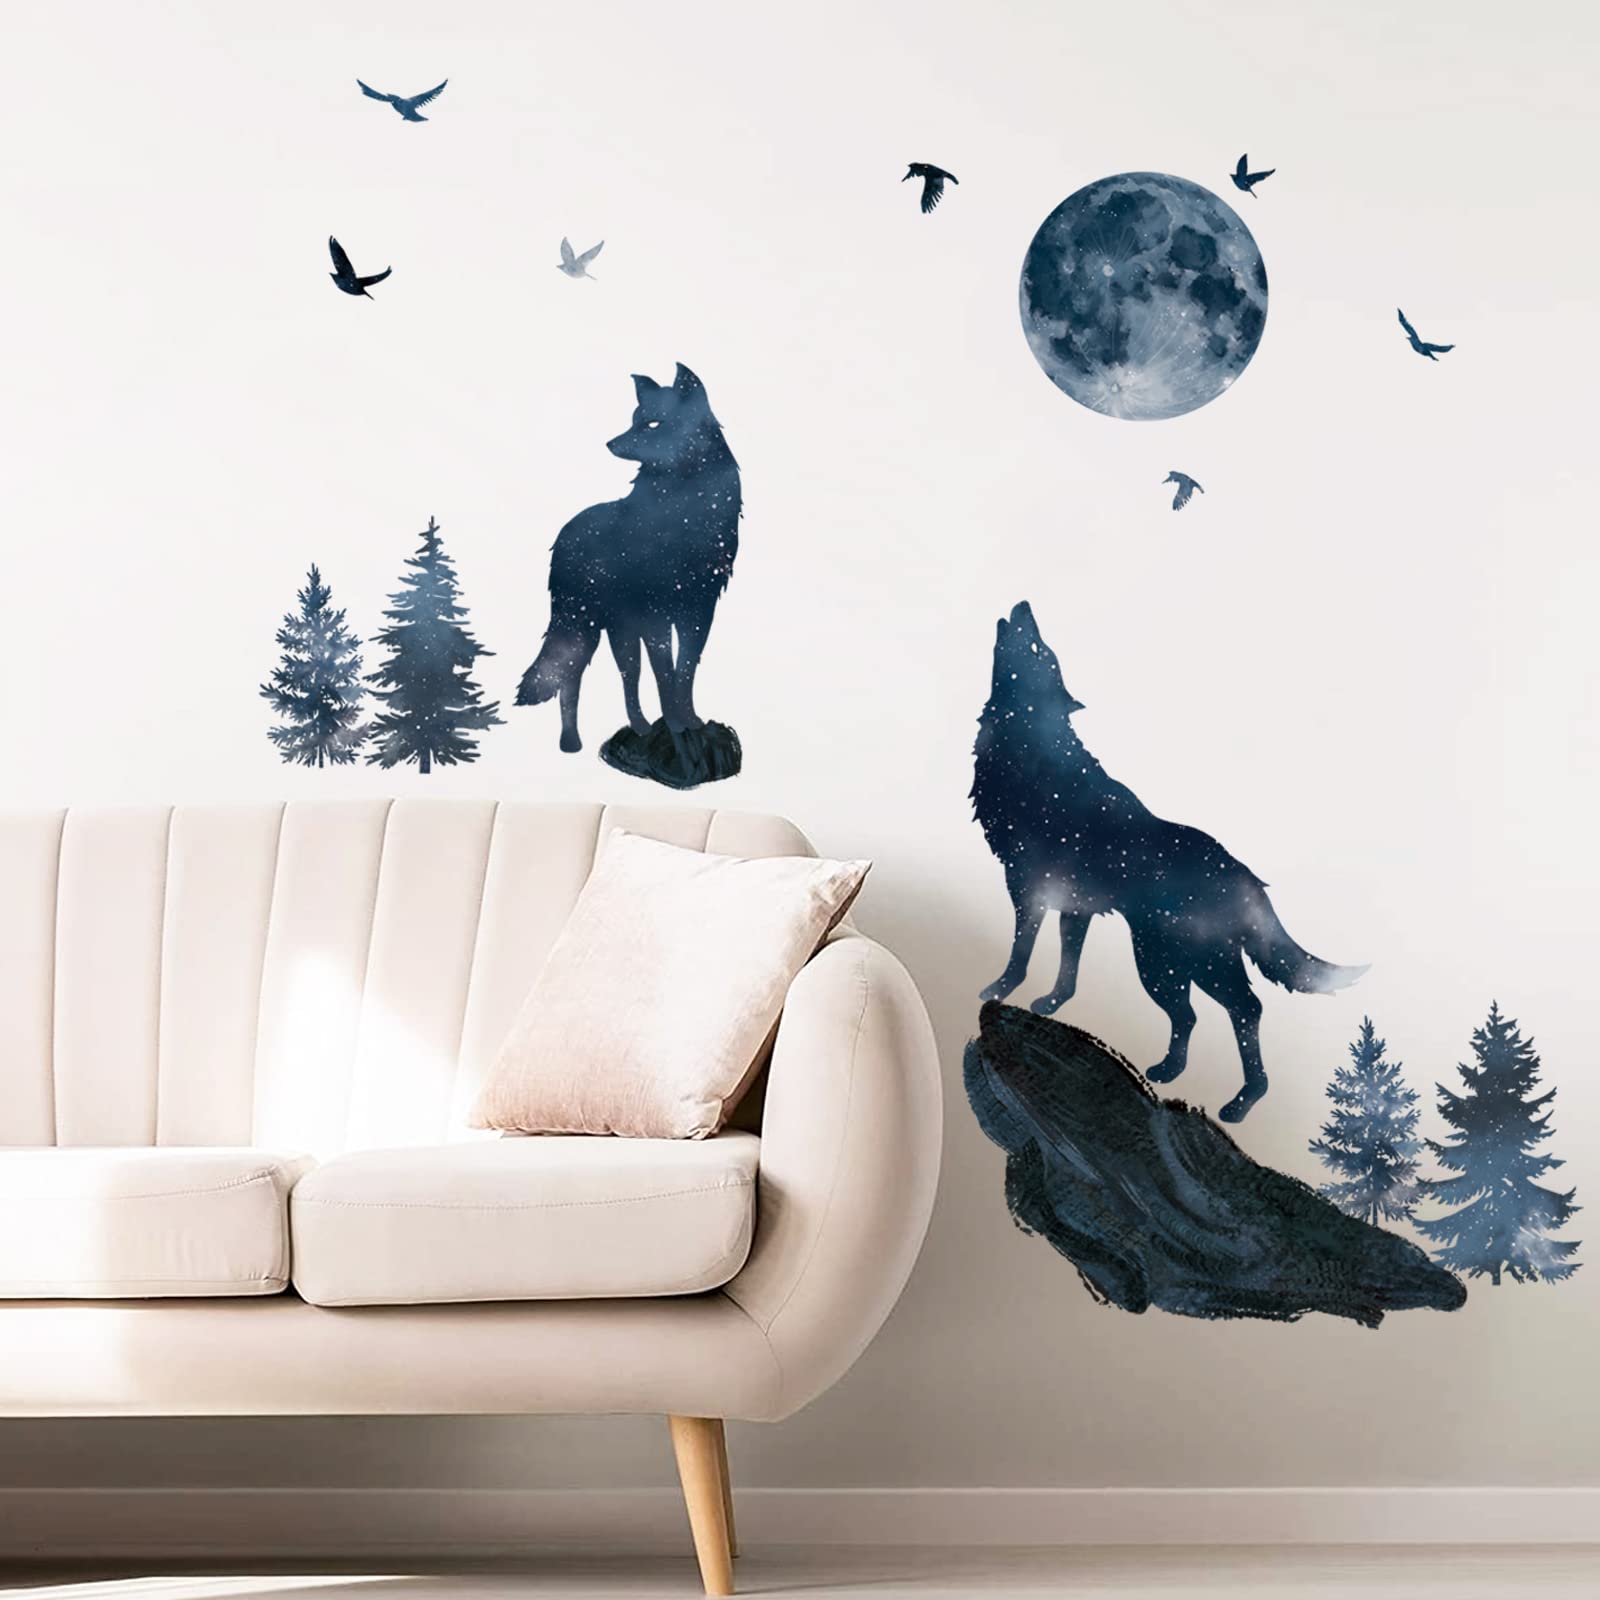
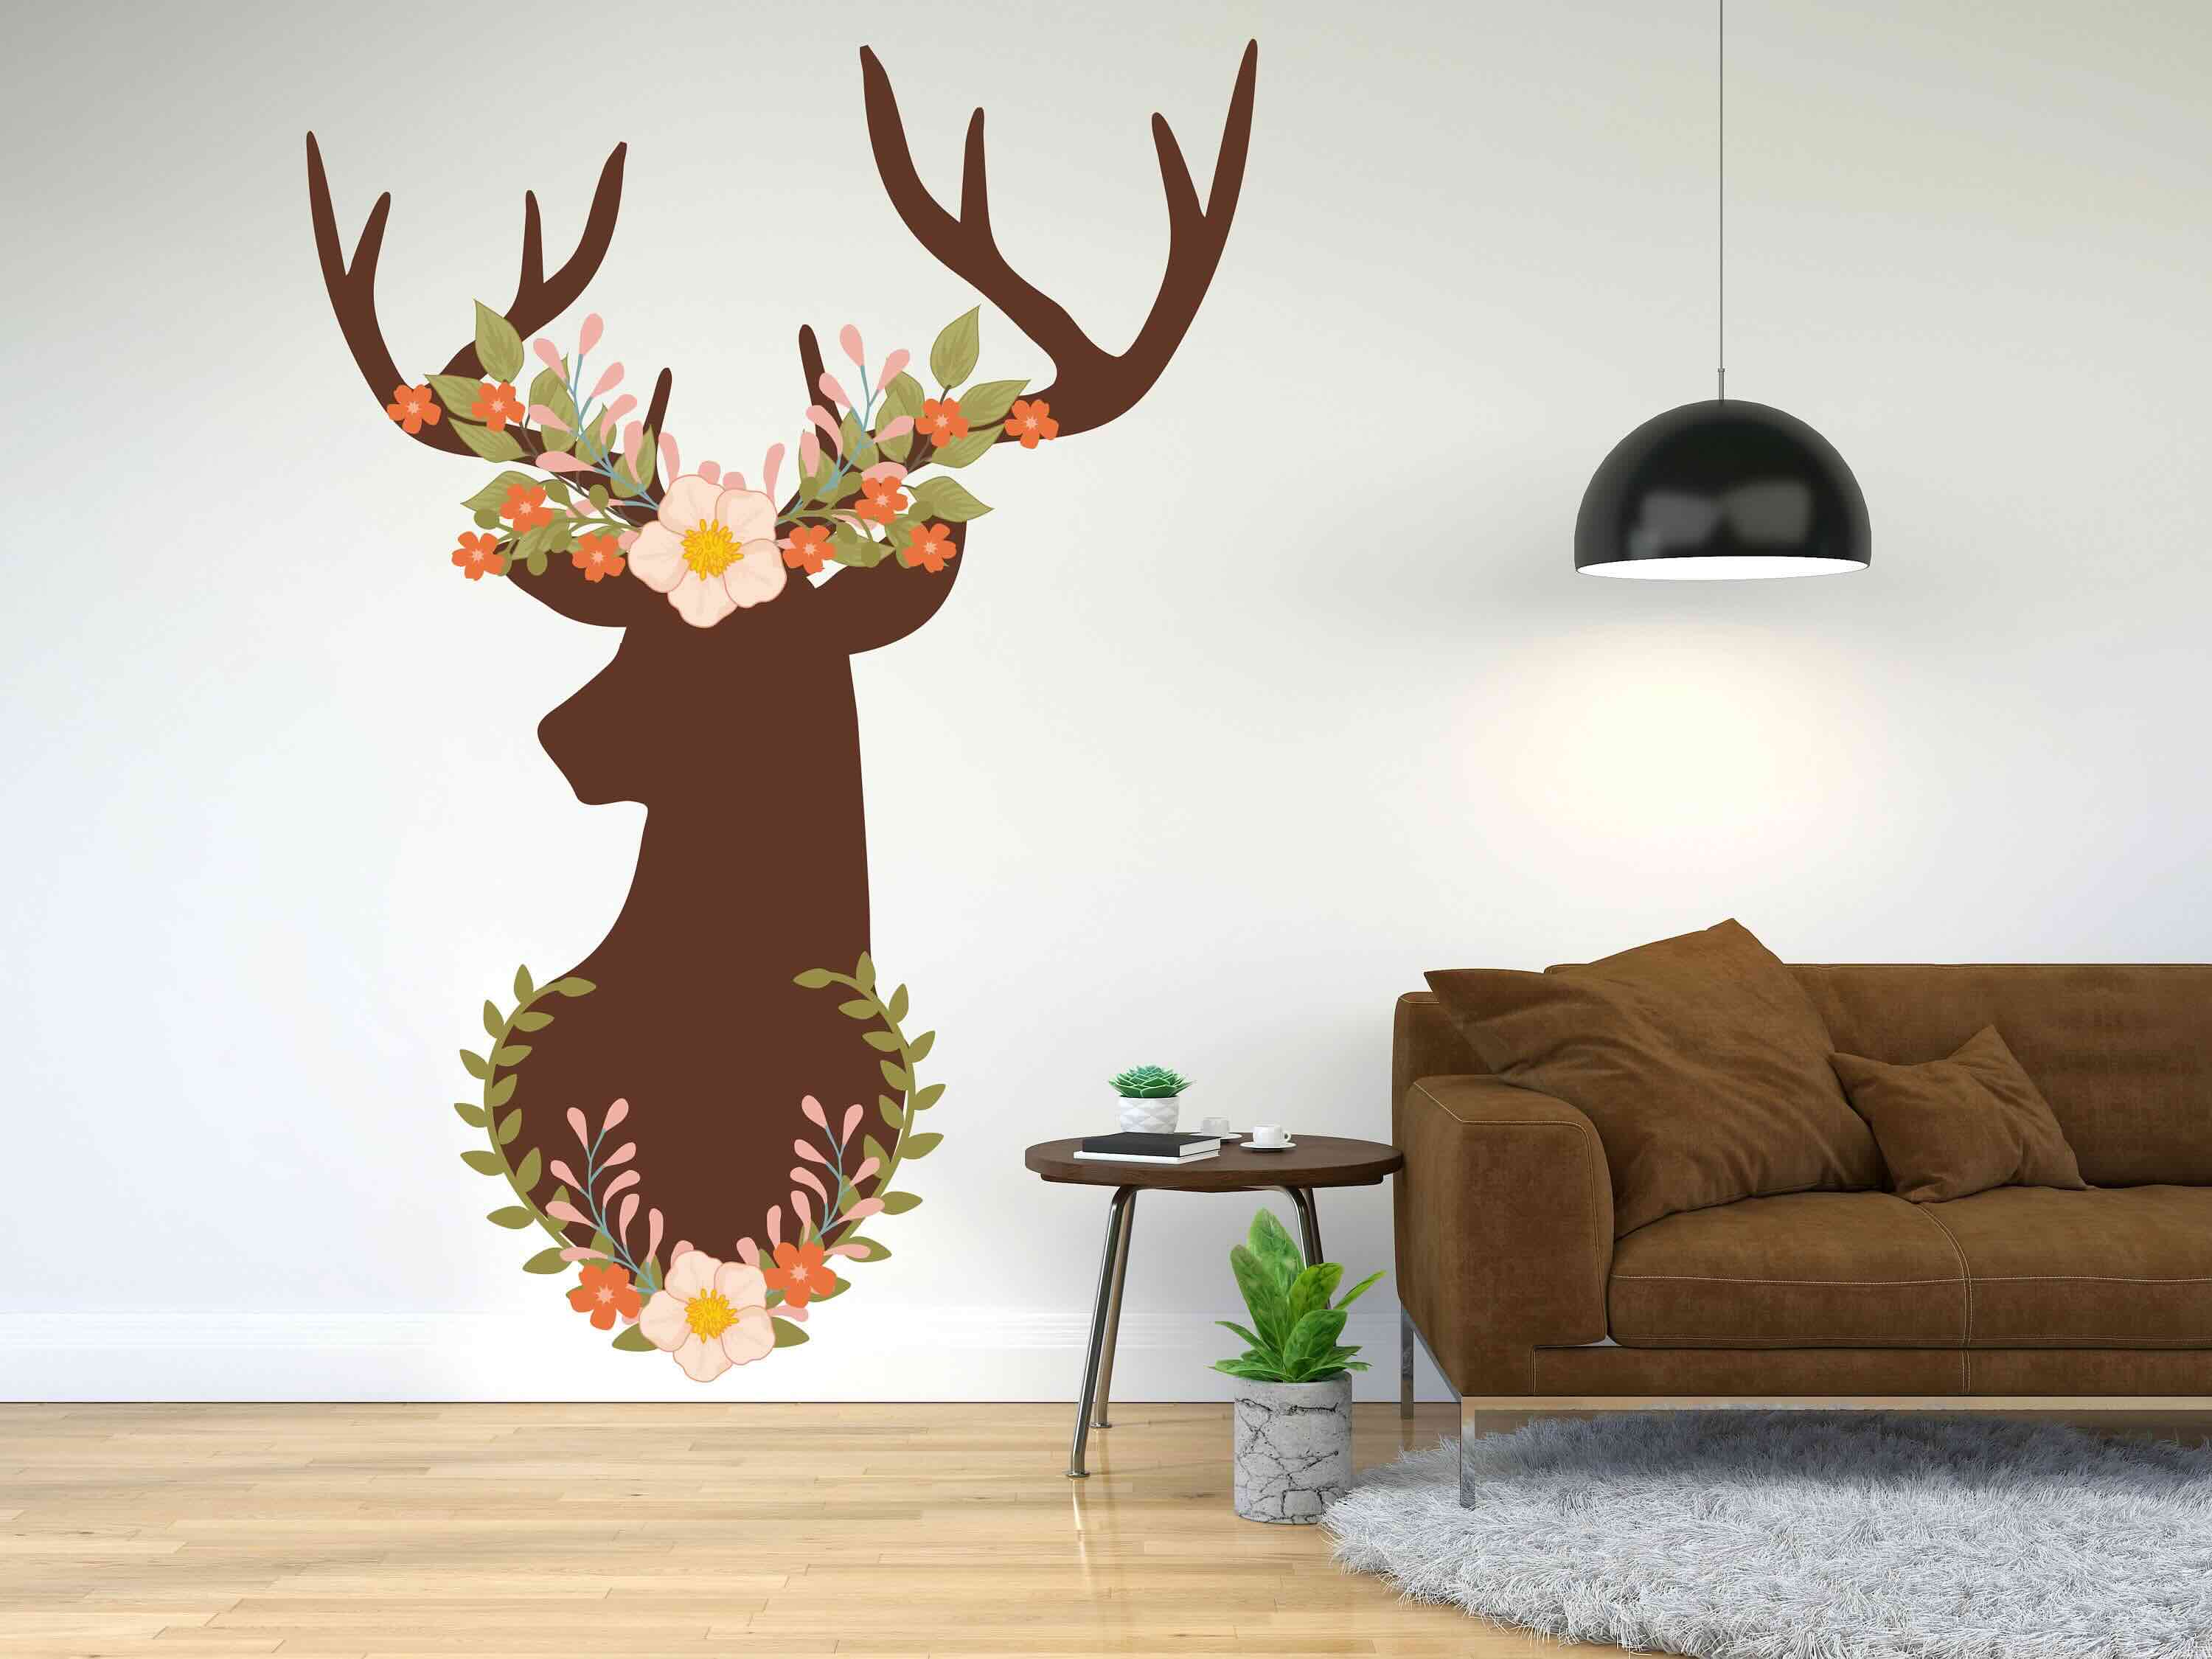
Wall decals are a fantastic way to add a touch of personality and style to your living space. Whether you have chosen inspirational quotes, intricate designs, or whimsical patterns, wall decals can instantly transform the look and feel of a room. But what happens when it’s time to move? How can you ensure that your beloved wall decals survive the transition and are ready to be reattached in your new home?
In this article, we will guide you through the process of saving your wall decals when moving. We will provide you with step-by-step instructions to ensure that your wall decals are carefully removed, cleaned, protected, and packed for the journey to your new abode. So, let’s get started and learn how to safely preserve your wall decals throughout the moving process!
Key Takeaways:
- Safely preserve your wall decals during a move by carefully removing, cleaning, protecting, and packing them. Label boxes for organized unpacking and reattach with patience for a fresh, familiar touch in your new home.
- Gather tools, assess decal condition, and allocate time for the task. Use heat to remove, clean with care, and protect before packing. Label boxes, unpack thoughtfully, and reattach for a stylish, personalized space.
Read more: How To Train Your Dragon Wall Decals
Preparation
Before you begin the process of removing your wall decals, it’s important to gather the necessary tools and materials. This will ensure that you have everything you need to safely remove, clean, and protect your wall decals. Here are the items you will need:
- Plastic scraper or credit card
- Heat source (hairdryer or heat gun)
- Mild dish soap
- Microfiber cloth or sponge
- Plastic wrap or parchment paper
- Packing tape
- Marker or pen
Having these supplies ready will streamline the process and make it easier for you to handle your wall decals.
Furthermore, it’s crucial to assess the condition of your wall decals before moving. Take note of any damage, tears, or peeling edges. This will help you determine whether the decals are suitable for transferring to your new space or if you need to order replacements. It’s also a good idea to take photographs of the decals in their current position on the walls. These photos can serve as a reference point during the reattachment process.
Lastly, make sure to allocate sufficient time for the task. Removing and saving wall decals can be a time-consuming process, especially if you have multiple decals or large-scale designs. Set aside ample time, preferably when you won’t be rushed or interrupted, to ensure that you can give this task your full attention and care.
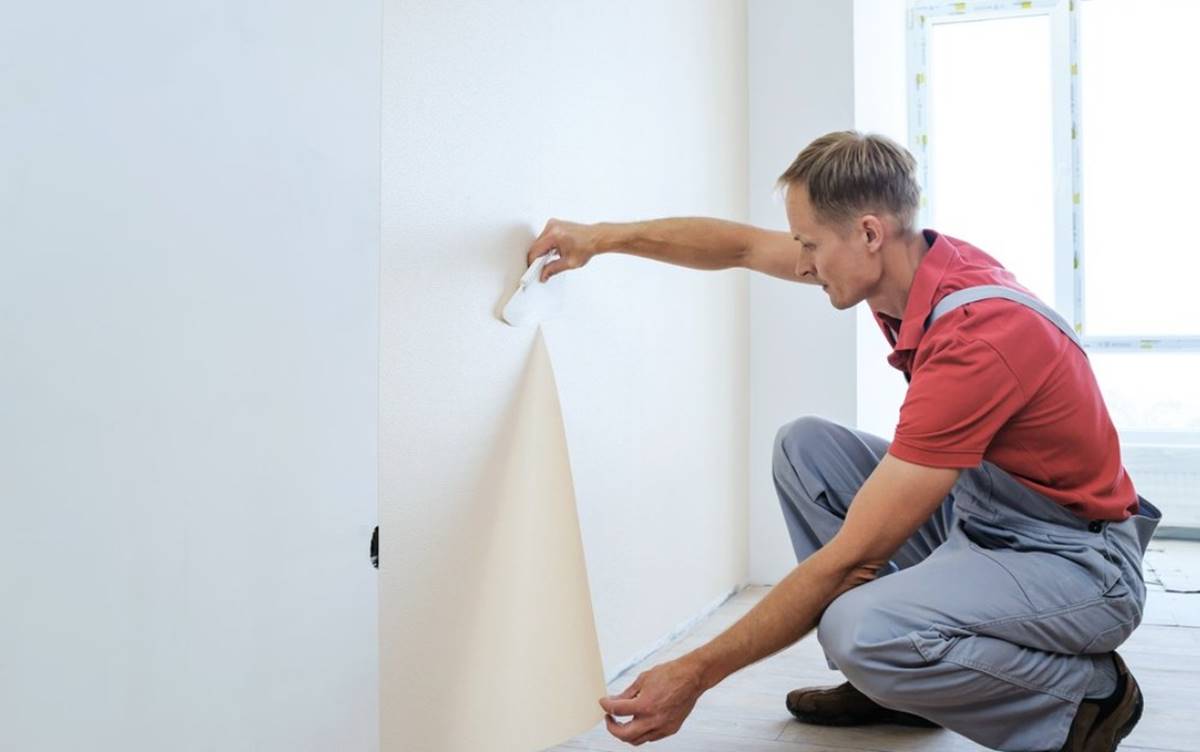
Removing Wall Decals
Now that you are properly prepared, it’s time to start removing your wall decals. Follow these steps to ensure a successful removal process:
- Start by warming up the decal with a heat source. Use a hairdryer or heat gun on low heat, and gently heat the decal for a few seconds. This will soften the adhesive and make it easier to remove.
- Once the decal is heated, use a plastic scraper or credit card to carefully lift one corner of the decal. Gradually peel it off the wall, applying even pressure to avoid tearing.
- If the decal is stubborn and doesn’t come off easily, reapply heat to the area and try again. Be patient and take your time to avoid damaging the decal or the wall surface.
- Continue peeling the decal off the wall, working slowly and methodically. Use the plastic scraper or credit card to smooth out any air bubbles or wrinkles as you go.
- If you encounter any resistance or the decal starts to tear, stop and apply more heat to that specific area. This will loosen the adhesive and allow for easier removal.
- Repeat these steps for each wall decal you want to save.
Remember to take breaks as needed, especially if you are removing multiple decals or working on larger wall designs. This will help prevent fatigue and ensure that you maintain precision throughout the removal process.
Keep in mind that the condition of the wall surface may vary once the decal is removed. There may be residue or adhesive residue left behind. Don’t worry – we’ll address how to clean the wall surface in the next section.
Cleaning Wall Decals
After successfully removing your wall decals, it’s time to give them a thorough cleaning. This will ensure that the decals are free from dust, dirt, and any residue that may have accumulated over time. Follow these steps to clean your wall decals:
- Fill a small bowl or sink with warm water and add a few drops of mild dish soap. Mix the soap and water until it creates a gentle cleaning solution.
- Dampen a microfiber cloth or sponge with the cleaning solution. Make sure the cloth or sponge is not soaked but slightly dampened.
- Gently wipe down both sides of the wall decal, starting from the center and working your way outward. Take care to remove any dirt or grime without applying excessive pressure that could damage the decal.
- For stubborn stains or residue, you can gently scrub the affected area with the damp cloth or sponge. Avoid using abrasive materials or harsh chemicals, as they can damage the decal.
- Once you have cleaned the decal, rinse the cloth or sponge with clean water and wipe down the decal again to remove any soap residue.
- Take a dry microfiber cloth and gently pat the decal dry. Ensure that the decal is completely dry before proceeding to the next step.
By cleaning your wall decals, you not only maintain their appearance but also ensure that they are in optimal condition for reattachment in your new home. Cleaning will also help the adhesive to stick properly when you reapply the decals.
It’s important to note that different types of wall decals may require specific cleaning instructions. Always refer to the manufacturer’s guidelines for cleaning and maintenance to avoid any potential damage.
Protecting Wall Decals
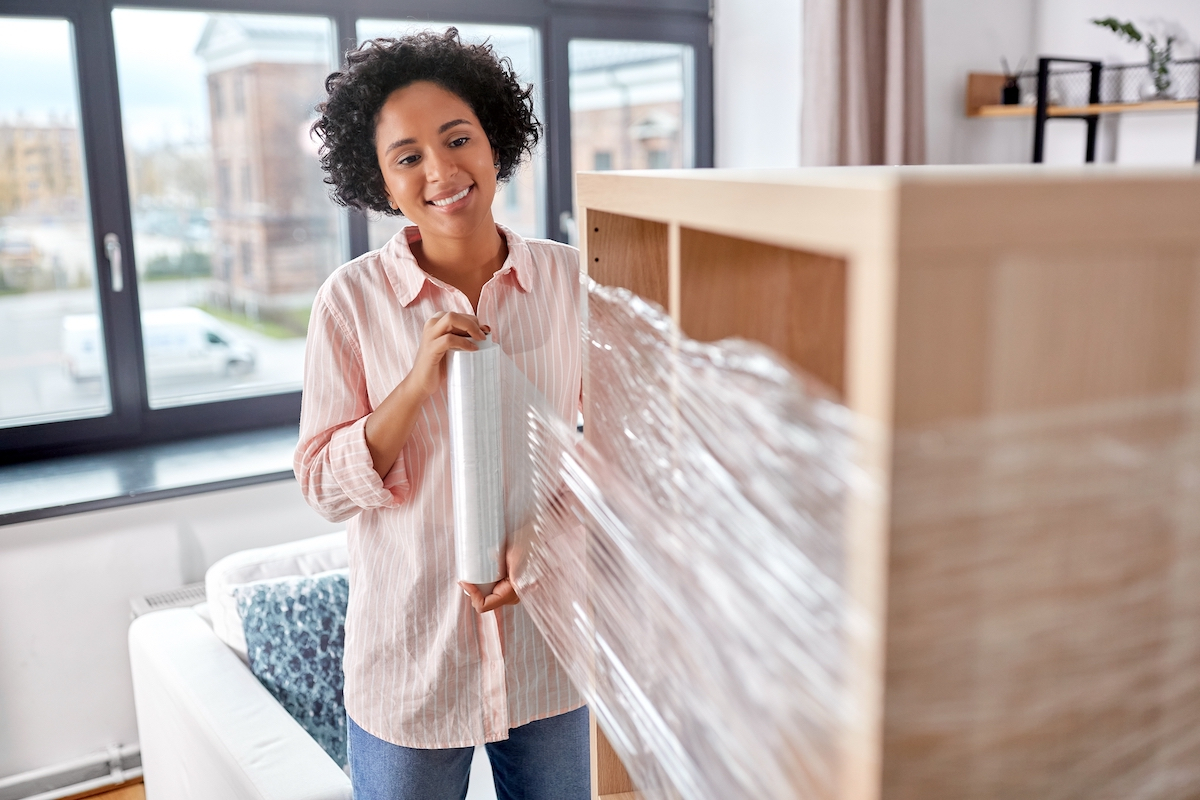
Once your wall decals are clean and dry, it’s essential to take steps to protect them during the moving process. By properly safeguarding your decals, you can minimize the risk of damage and ensure that they arrive safely at your new home. Here are some ways to protect your wall decals:
- Cover each decal with plastic wrap or parchment paper. This will provide a layer of protection against dust, moisture, and potential scratches.
- Secure the plastic wrap or parchment paper in place using gentle packing tape. Avoid taping directly onto the decal, as it may leave adhesive residue or cause damage.
- If you have larger wall decals or multiple decals, consider using a flat piece of cardboard or foam board to create a protective barrier between the decals. This will prevent them from rubbing against each other and potentially causing damage.
- If your wall decals are particularly delicate or intricate, you can also purchase specialized decal protectors or sleeves. These are transparent plastic covers designed to fit over the decals and provide an extra layer of protection.
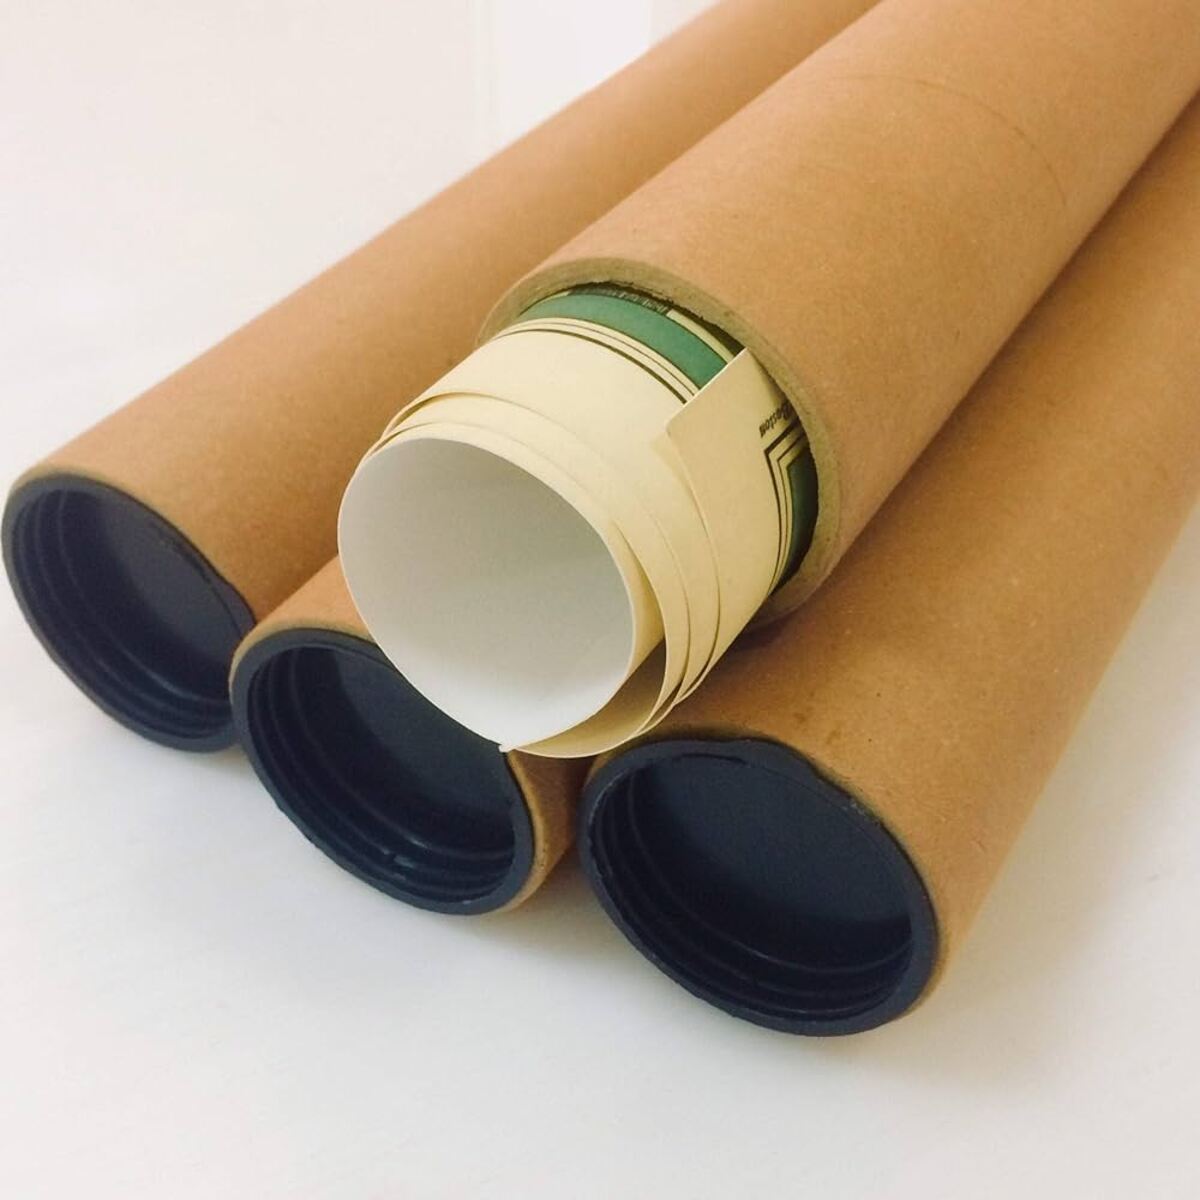
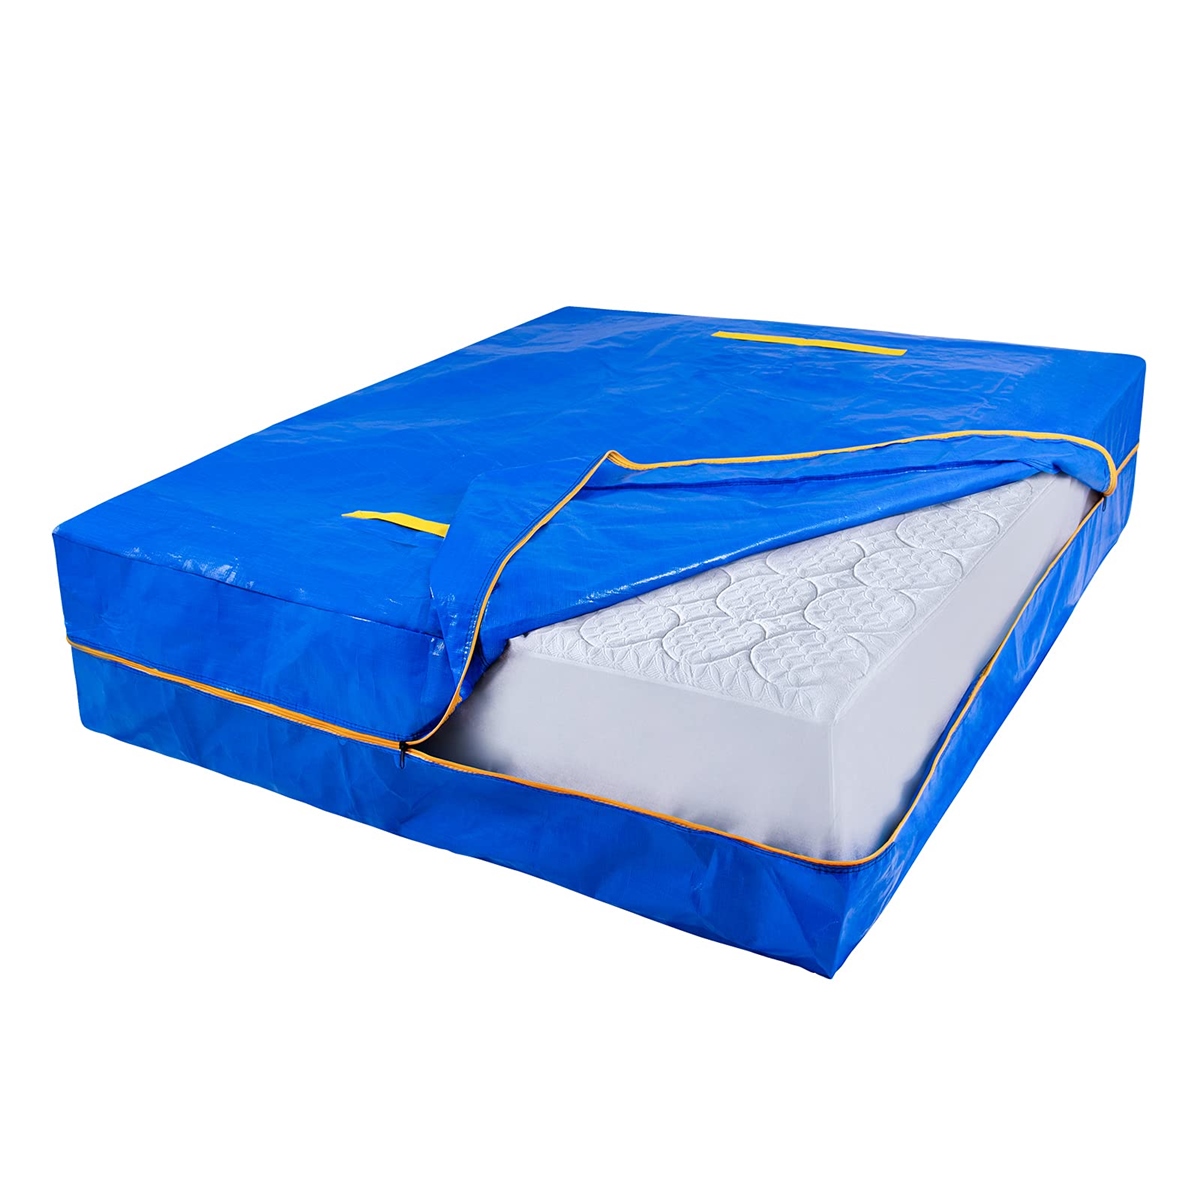
- Store the protected wall decals in a sturdy, flat box or container. Make sure the box is large enough to accommodate the decals without bending or folding.
- Label the box as “Fragile” and indicate that it contains wall decals. This will alert movers and help ensure that the box is handled with care during transportation.
By taking these protective measures, you can help preserve the integrity of your wall decals and reduce the chances of any damage occurring during the move.
Remember to handle the protected wall decals with care and avoid placing heavy objects on top of them. Additionally, store the box in a cool, dry place to maintain the decals’ optimal condition while in transit.
To save your wall decals when moving, carefully peel them off the wall and place them on wax paper or plastic wrap. Then, roll them up and secure with tape to prevent damage during transport.
Read more: What Are Wall Decals
Packing Wall Decals
Now that your wall decals are clean and protected, it’s time to pack them securely for the move. Proper packing will ensure that your decals stay safe and intact during transportation. Follow these steps to pack your wall decals efficiently:
- Place the protected wall decals carefully into a sturdy, appropriately sized box. Make sure there is enough space for the decals without overcrowding or bending them.
- Add additional packing material, such as bubble wrap or packing peanuts, to fill any empty spaces in the box. This will provide cushioning and prevent the decals from shifting during transportation.
- Close the box securely and seal it with packing tape. Ensure that all seams are properly sealed to prevent dust or moisture from entering.
- If you have multiple boxes containing wall decals, label each box with a marker or pen. Clearly indicate that the boxes contain wall decals and write down a brief description of the contents, such as “Living room decals” or “Bedroom decals”. This will make it easier to identify the boxes when unpacking in your new home.
- Consider carrying the box with wall decals yourself, especially if you have delicate or large decals. This will allow you to have more control and ensure careful handling.
Packing your wall decals with care will help protect them from any potential damage or mishaps during the moving process. By following these steps, you can be confident that your wall decals will remain safe and ready for reattachment in your new home.
Remember to note the location of the boxes containing your wall decals on your inventory list or moving checklist. This will make it easier to locate them when unpacking and setting up your new space.
Labeling Wall Decals
Labeling your boxes containing wall decals is an important step to ensure organized and efficient unpacking in your new home. By clearly identifying the boxes, you can easily locate and prioritize the reinstallation of your wall decals. Here’s how to effectively label your wall decal boxes:
- Use a marker or pen with a bold, legible font to write “Wall Decals” on the outside of each box. Write this label on multiple sides of the box to make it visible from different angles.
- Include a brief description of the contents of the box. For example, you can write “Living Room Wall Decals” or “Bathroom Wall Decals”. Be specific and concise to easily identify the decals for each room.
- If you have multiple boxes containing wall decals, assign numbers or letters to each box. Create a corresponding list or spreadsheet where you note the contents of each box. This will help you keep track of what decals are in each box and streamline the unpacking process.
- Consider using color-coded labels or markers to categorize different types of wall decals. For example, you can use red labels for decals in the living room, blue labels for decals in the bedroom, and so on. This visual differentiation can make it even easier to locate specific decals when unpacking.
- To provide additional instructions, you can write “Fragile” or “Handle with Care” on the boxes. This will alert movers and remind you to handle the boxes and wall decals with the necessary caution during unpacking.
- Keep the list of labeled boxes with you or in a designated area for reference when you begin unpacking. It will serve as a helpful guide to ensure that your wall decals are unpacked and reinstalled in their respective rooms.
By labeling your wall decal boxes, you will save time and avoid any confusion when you start unpacking. This organized approach will make it easier to find and reattach your decals in their intended locations, allowing you to quickly enjoy the aesthetic transformation they bring to your new home.
Unpacking Wall Decals
Now that you’ve arrived at your new home and have the labeled boxes containing your wall decals, it’s time to unpack and reattach them to your walls. Follow these steps for a smooth and successful unpacking process:
- Identify the box labeled “Wall Decals” and locate the specific box or bags containing the decals for each room or area of your home.
- Carefully open the box and remove the plastic wrap or parchment paper from each decal. Check for any signs of damage or deformation during the transportation process.
- Refer to the photographs you took prior to moving to help remember the original placement of each decal. This will assist you in determining their ideal location in your new space.
- Start by reattaching the decals in the designated room or area. Begin with the larger or more prominent decals to establish a focal point and then work your way to the smaller ones.
- Follow the manufacturer’s instructions for reapplying the decals. If there are specific guidelines for surface preparation or adhesive application, be sure to adhere to them to ensure optimal adhesion.
- Meticulously apply each decal, smoothing out any air bubbles or wrinkles as you go. Take your time and ensure that each decal is correctly aligned before firmly pressing it onto the wall.
- Once all the decals have been reattached, step back and assess the overall appearance of the room. Adjust the position of any decals if needed to achieve the desired aesthetic effect.
- Pay attention to the lighting in the room. Consider how it interacts with the decals and adjust the placement accordingly for the best visual impact.
- Take a moment to admire your reinstalled wall decals and appreciate the fresh look they bring to your new home.
Remember, it’s essential to be patient and take your time during the unpacking process. Carefully handling and positioning each decal will ensure that they adhere properly and enhance the visual appeal of your new space.
If you encounter any issues or have difficulty reattaching any of the decals, consult the manufacturer’s instructions or reach out to their customer support for guidance.
By following these steps, you can recreate the ambiance and personality that your wall decals brought to your previous home, infusing your new space with a familiar touch.
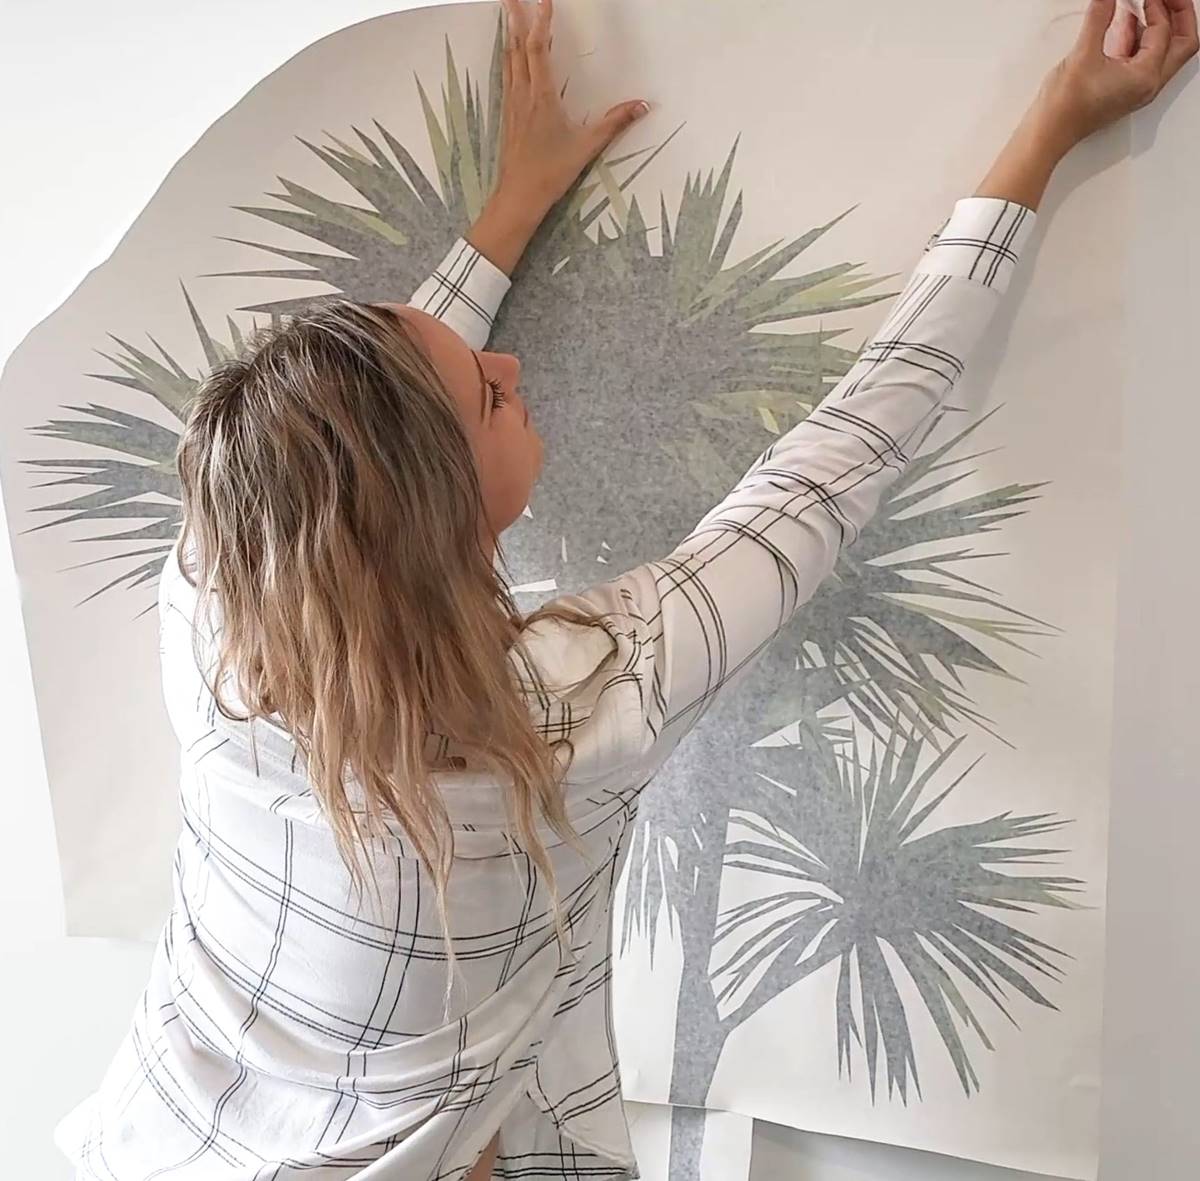
Reattaching Wall Decals
After successfully unpacking your wall decals and reattaching them to your walls, it’s important to ensure that they are properly secured and will stay in place. Follow these steps to effectively reattach your wall decals:
- Double-check the adhesive backing of each decal. If necessary, apply additional adhesive to areas that may have lost stickiness during the removal and packing process. Make sure to use a suitable adhesive recommended by the manufacturer.
- Before applying the decal to the wall, clean the wall surface thoroughly. Wipe away any dust, dirt, or residue that may have accumulated during the move.
- Peel off the backing of the decal, taking care not to touch the adhesive with your fingers. Handling the decal by the edges will help maintain its stickiness.
- Align the decal carefully and position it on the wall. Start at one corner and gradually press the decal onto the wall, smoothing it out as you go to eliminate any air bubbles or wrinkles.
- If the decal is large or complex, you may find it helpful to have someone assist you in positioning and applying the decal, ensuring it goes on straight and even.
- Use a plastic scraper or credit card to gently smooth out the decal, applying pressure to ensure a secure bond between the decal and the wall surface. This will help the decal adhere firmly.
- Inspect each decal once it’s reattached to ensure there are no loose edges or areas that need extra attention. If needed, apply additional pressure to those areas or reapply adhesive.
- Step back and admire your reattached wall decals. Take a moment to ensure they are level and positioned as desired, making any necessary adjustments if needed.
By following these steps, you can ensure that your wall decals are securely reattached to your walls, allowing you to enjoy their beauty and charm without concerns of them coming loose or falling off.
If you encounter any difficulties during the reattachment process or notice any issues with the decals, such as peeling or curling, try reapplying them or consult the manufacturer for further guidance.
Now that your wall decals are back in place, you can fully appreciate the visual impact they bring to your new home. Sit back and enjoy the ambiance and personal touch they add to your living space.
Read more: How To Reuse Wall Decals
Conclusion
Moving to a new home doesn’t mean you have to leave behind the charm and personality that your wall decals bring to your living space. By following the steps outlined in this article, you can safely remove, clean, protect, pack, label, unpack, and reattach your wall decals, ensuring they survive the transition and continue to enhance the ambiance of your new home.
Remember to prepare yourself with the necessary tools and materials, assess the condition of your decals before moving, and allocate ample time for the task at hand. Carefully remove the decals using heat and a plastic scraper, clean them using mild dish soap and a damp cloth, and protect them with plastic wrap or parchment paper before packing them securely.
Don’t forget to label the boxes containing the wall decals, providing clear descriptions and using color-coded labels if desired. When unpacking, refer to your photographs and patiently reattach the decals, ensuring proper alignment and smooth application. Take the time to admire your reinstalled wall decals and appreciate the personal touch they bring to your new space.
By following these steps and taking the necessary precautions, you can successfully save your wall decals when moving. So, embrace the transition to your new home with the confidence that your beloved wall decals will be preserved and ready to adorn your walls, creating an inviting and stylish atmosphere.
Enjoy the process, and may your wall decals continue to bring joy and beauty to your living space for years to come!
Frequently Asked Questions about How To Save Your Wall Decals When Moving
Was this page helpful?
At Storables.com, we guarantee accurate and reliable information. Our content, validated by Expert Board Contributors, is crafted following stringent Editorial Policies. We're committed to providing you with well-researched, expert-backed insights for all your informational needs.


0 thoughts on “How To Save Your Wall Decals When Moving”