Home>Storage Ideas>Kitchen Storage>How To Pack Kitchen Items When Moving, According To Pros
Kitchen Storage
How To Pack Kitchen Items When Moving, According To Pros
Modified: October 20, 2024
Discover expert tips for packing kitchen items when moving and get efficient kitchen storage ideas to make your move a breeze.
(Many of the links in this article redirect to a specific reviewed product. Your purchase of these products through affiliate links helps to generate commission for Storables.com, at no extra cost. Learn more)
Plates and Bowls
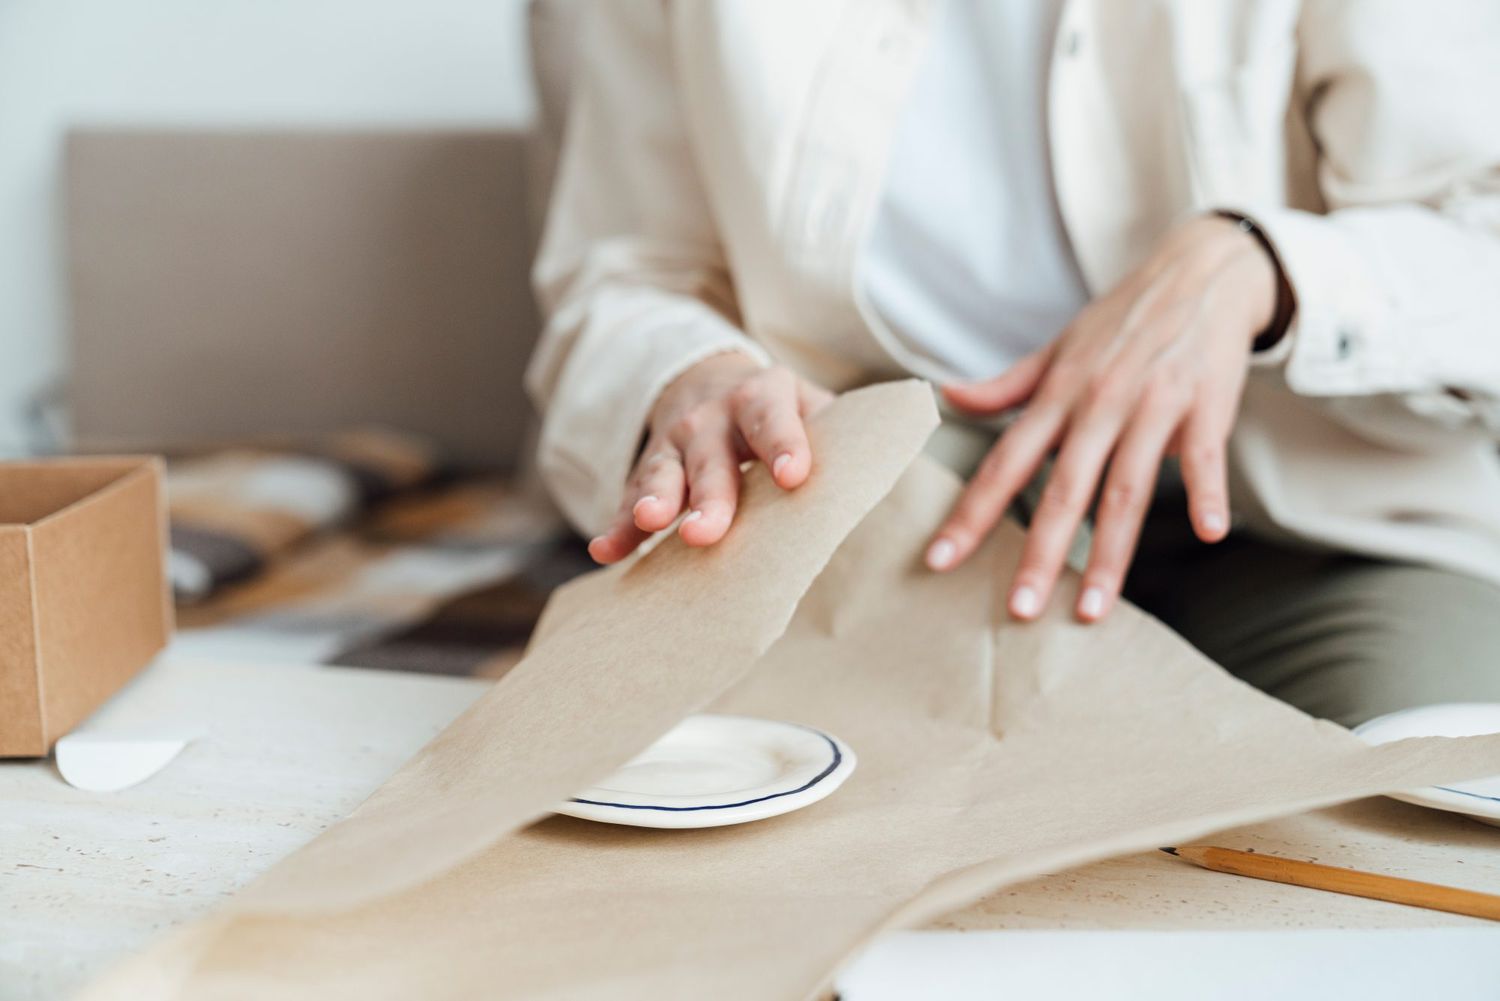
When it comes to packing plates and bowls, it’s important to take extra care to prevent any damage during the moving process. Here are some tips from the pros to help you pack plates and bowls safely:
1. Gather Packing Supplies: Start by collecting sturdy boxes of the appropriate size for your plates and bowls. You will also need packing paper, bubble wrap, packing tape, and marker pens.
2. Stack and Wrap: Begin by stacking the plates and bowls of similar sizes together. Place a layer of packing paper or bubble wrap between each plate and bowl to provide cushioning. You can also use bubble wrap or foam sleeves for added protection.
3. Use Dividers: Consider using cardboard dividers designed specifically for dishes to provide extra stability and prevent them from shifting during transit. These dividers can be placed vertically in the box to separate each plate and bowl.
4. Pack Vertically: Instead of stacking plates and bowls flat, pack them vertically in the box. This will help distribute the weight evenly and reduce the chances of breakage.
5. Fill Empty Spaces: Fill any empty spaces in the box with crumpled packing paper or bubble wrap to prevent items from moving around.
6. Label and Secure: Once all the plates and bowls are packed, seal the box with packing tape. Clearly label the box as “Fragile” and “Kitchen – Plates and Bowls” to ensure proper handling.
7. Handle with Care: When carrying the box, make sure to hold it from the bottom to provide proper support. Avoid placing heavy objects on top of the box during transit.
8. Unpacking: When unpacking, take out each plate and bowl individually. Carefully remove the packing materials, and inspect each piece for any signs of damage. If there are any broken or chipped items, dispose of them properly.
Remember, proper packing is crucial to protect your plates and bowls during the moving process. By following these tips, you can ensure that your kitchenware arrives at your new home intact and ready for use.
Key Takeaways:
- Pack fragile kitchen items vertically in sturdy boxes with extra padding and dividers to prevent breakage during moving. Label boxes as “Fragile” for careful handling.
- Wrap each glass and mug individually with extra padding, and avoid stacking them to minimize the risk of breakage. Label boxes as “Fragile” for safe transport.
Glasses and Mugs
When it comes to packing glasses and mugs, it’s important to take extra precautions to prevent any breakage or damage. Follow these expert tips to safely pack your glassware and mugs for a smooth move:
1. Gather Packing Materials: Start by collecting sturdy boxes specifically designed for glassware and mugs. You will also need packing paper, bubble wrap, packing tape, and marker pens.
2. Wrap Individually: Begin by wrapping each glass and mug individually with packing paper or bubble wrap. Start from the base and wrap it around the glass, leaving no exposed areas. Secure with tape.
3. Extra Padding: For delicate glassware, consider adding an additional layer of protection. You can use foam sleeves or wrap the glass with extra bubble wrap or packing paper.
4. Separate Stems: If you have wine glasses or stemware, it is essential to protect the stems. Use cardboard or bubble wrap to create individual compartments for each glass, ensuring that the stem is secure.
5. Arrange Strategically: Place the wrapped glasses and mugs in the box in an upright position. Avoid stacking them, as this increases the risk of breakage. Leave some space between each glass and fill any gaps with crumpled packing paper or bubble wrap for added cushioning.
6. Label and Mark: Clearly label the box as “Fragile” and “Kitchen – Glasses and Mugs.” Include an arrow indicating the correct orientation. This will help movers handle the box with care and prevent it from being placed under heavy items during transport.
7. Secure the Box: Seal the box with packing tape, ensuring all edges are securely closed. Reinforce the bottom of the box with extra tape for added strength.
8. Handling and Transport: When carrying the box, make sure to hold it from the bottom to provide proper support. Avoid stacking heavy items on top of the box during transit. If possible, personally transport the box to ensure the safety of your glassware.
9. Unpacking: When you’re ready to unpack, carefully remove the packing materials from each glass and mug. Inspect them for any signs of damage or cracks. If any pieces are broken, dispose of them safely.
By following these expert packing tips, you can ensure the safety of your glasses and mugs during the moving process. Proper packing and handling will help to preserve their condition and make your kitchen setup in your new home a breeze.
Pots and Pans
Packing pots and pans requires a bit of organization and care to ensure they arrive at your new home in good condition. Follow these expert tips for packing your pots and pans:
1. Clean and Dry: Before packing your pots and pans, ensure they are clean and completely dry to prevent any moisture or food residue from causing damage during transit.
2. Nesting: Take advantage of the nesting feature of your pots and pans. Stack smaller pots and pans inside larger ones to save space and protect their surfaces.
3. Protect with Paper: Place a layer of packing paper or bubble wrap between each pot and pan to prevent them from scratching or chipping each other. Consider placing paper or cloth between any non-stick surfaces to prevent them from sticking together.
4. Separate Lids: If your pots and pans have lids, remove them and pack them separately. Place a piece of packing paper or cloth in between each lid to prevent them from scratching each other.
5. Wrap Handles: To prevent handles from getting damaged or causing any accidents, wrap them with packing paper or bubble wrap. Secure the wrapping with tape to keep it in place.
6. Pack with Stability: When placing the pots and pans in a box, ensure that they are packed tightly to prevent any movement during transportation. Fill any gaps with crumpled packing paper or bubble wrap to provide additional stability.
7. Use a Sturdy Box: Place your pots and pans in a sturdy box that is sized appropriately to accommodate their weight and size. Reinforce the bottom of the box with extra tape for added strength.
8. Label and Identify: Clearly label the box as “Kitchen – Pots and Pans” and mark it as fragile. This will help you and your movers identify the contents and handle the box with care.
9. Transport Carefully: When carrying the box, use both hands and hold it from the bottom to provide better support. Avoid placing heavy objects on top of the box during transit.
10. Unpacking: When you’re ready to unpack, carefully remove the packing materials from each pot and pan. Inspect them for any signs of damage. If any pieces are bent or warped, consider replacing them.
By following these expert tips for packing pots and pans, you can ensure that your kitchen essentials remain protected during the move. With proper packing and handling, you’ll be able to enjoy cooking in your new home without any hassle.
Small Appliances
When moving, it is important to take extra care when packing small appliances to ensure they arrive at your new home in good working condition. Here are some expert tips for packing your small appliances:
1. Clean and Prepare: Before packing any small appliances, make sure they are clean and dry. Remove any detachable parts or accessories and clean them separately. If possible, refer to the appliance’s user manual for specific cleaning instructions.
2. Gather Packing Materials: Collect sturdy boxes that are appropriately sized for each appliance. You will also need packing paper, bubble wrap, packing tape, and marker pens.
3. Wrap with Care: Start by wrapping each appliance individually with packing paper or bubble wrap. Pay special attention to any delicate parts or knobs. Secure the wrapping with tape to keep it in place.
4. Provide Cushioning: Place a layer of packing paper or bubble wrap at the bottom of the box to provide extra cushioning. Carefully place the wrapped appliances inside, making sure they are snug but not overcrowded. Fill any empty spaces with packing paper or bubble wrap to prevent shifting during transit.
5. Label and Organize Cords: Use cable ties or twist ties to neatly secure and organize the cords of your small appliances. This will prevent them from tangling and getting damaged.
6. Secure Moving Parts: For appliances with moving parts, such as blenders or food processors, make sure to secure them in place. Use packing paper or bubble wrap to immobilize any blades, attachments, or removable parts.
7. Protect Fragile Components: For appliances with delicate components, such as glass blender jars or mixing bowls, wrap them separately with extra layers of packing paper or bubble wrap. Consider using foam padding or packing peanuts for additional protection.
8. Label and Mark: Clearly label the box with the name of the appliance and mark it as “Fragile” and “Kitchen – Small Appliances.” This will help you identify the contents and movers handle the box with care.
9. Transport with Caution: When carrying the box, use both hands and hold it from the bottom to provide better support. Avoid placing heavy items on top of the box during transit.
10. Unpacking and Testing: When unpacking, carefully remove the packing materials from each small appliance. Inspect them for any signs of damage. Before using the appliances in your new home, plug them in and test their functionality to ensure everything is in working order.
By following these expert packing tips, you can ensure that your small appliances are protected during the moving process. Taking the time to pack them properly will help you continue to enjoy the convenience they provide in your new kitchen.
Use sturdy boxes and plenty of packing paper to wrap fragile items like dishes and glassware. Pack heavier items at the bottom and lighter items on top to prevent breakage. Label boxes clearly for easy unpacking.
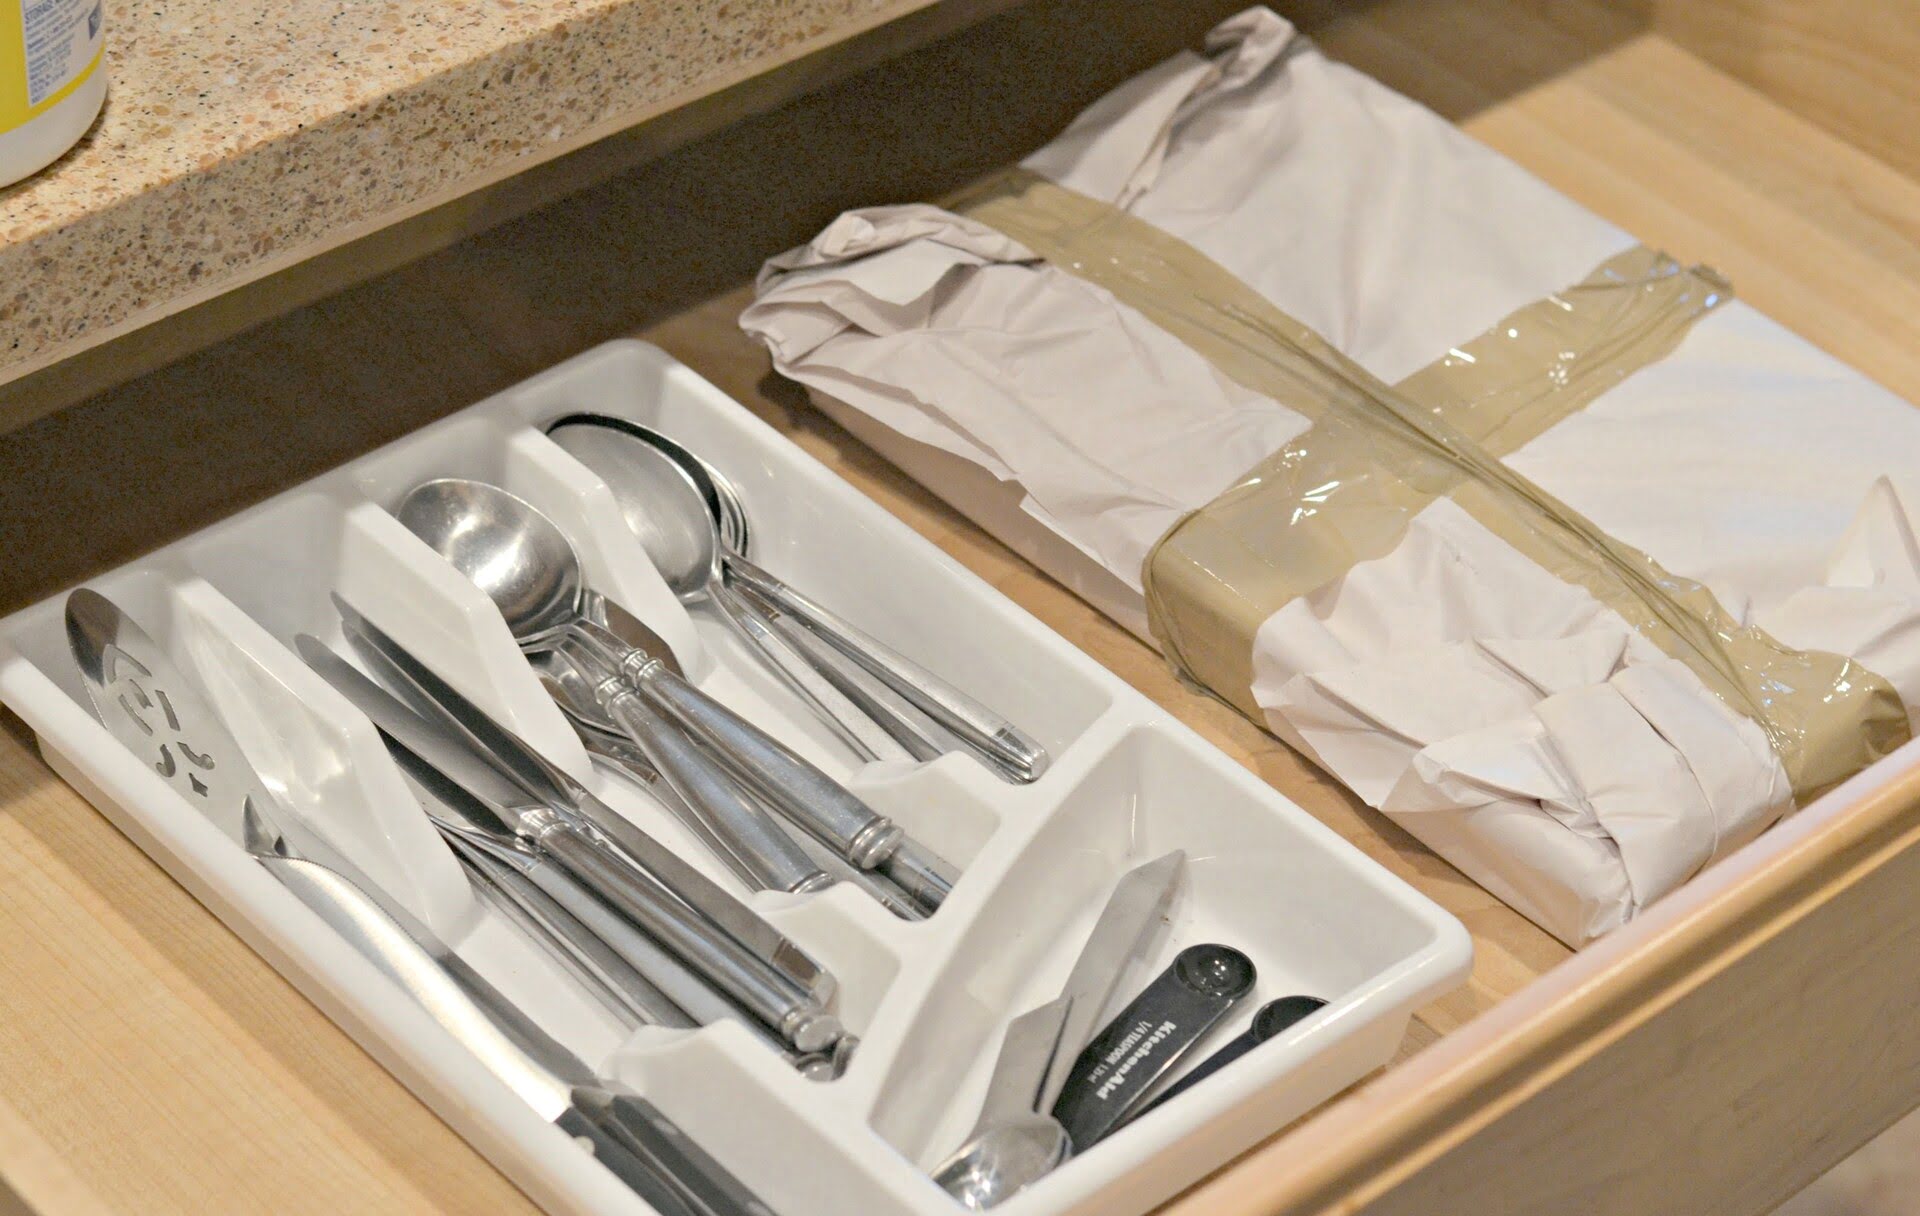
Cutlery and Utensils
When it comes to packing cutlery and utensils, it’s important to ensure they are organized, protected, and easily accessible during the moving process. Follow these expert tips to pack your cutlery and utensils safely:
1. Sort and Organize: Start by sorting your cutlery and utensils into different categories, such as knives, forks, spoons, serving utensils, etc. This will make it easier to pack and unpack them later.
2. Gather Packing Supplies: Collect sturdy boxes or drawer organizers that are appropriately sized for your cutlery and utensils. You will also need packing paper, bubble wrap, packing tape, and marker pens.
3. Wrap Accordingly: Begin by wrapping each cutlery item individually with packing paper or bubble wrap. This will protect the utensils from scratching or damaging each other during the move. If you have a cutlery tray or organizer, you can wrap the entire tray with plastic wrap to keep the utensils in place.
4. Use Dividers or Ziplock Bags: Consider using dividers or ziplock bags to separate different types of cutlery within the box. This will help keep them organized and prevent them from jumbling together during transit.
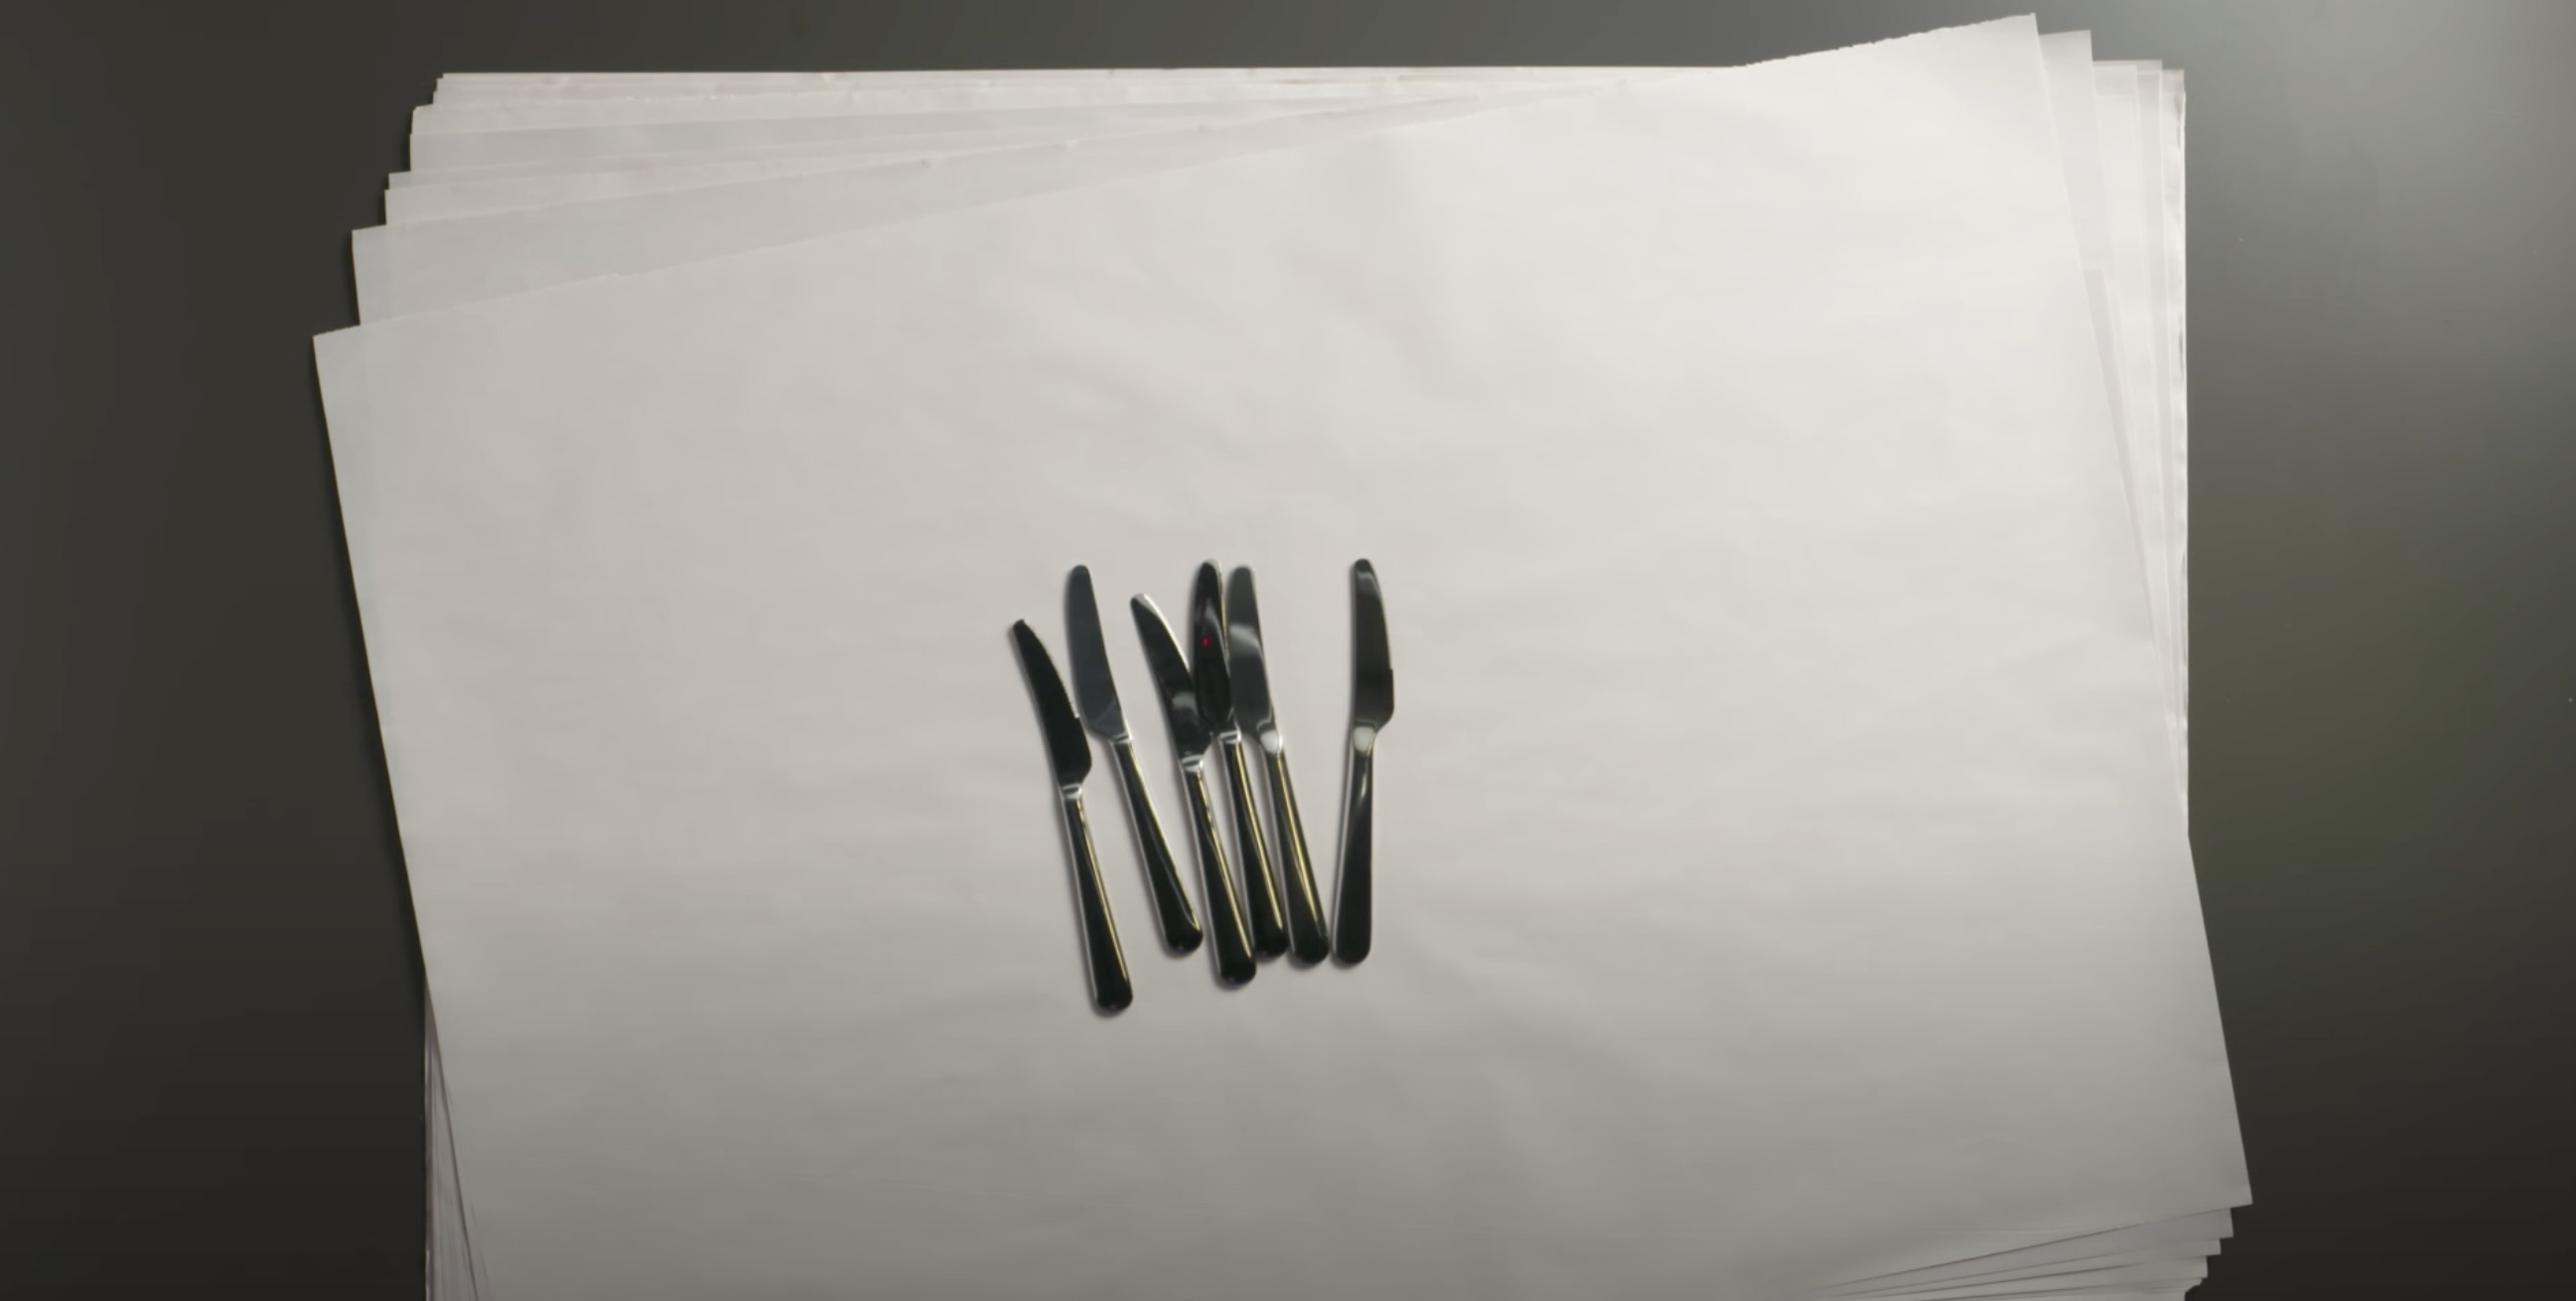
5. Secure Knife Blades: If you have sharp knives in your cutlery set, take extra precautions to protect the blades. Use blade guards or wrap the knives in cardboard or foam sleeves to prevent any accidental cuts.
6. Pack in an Organized Manner: Place the wrapped cutlery and utensils in the box or drawer organizer neatly. Group similar items together and avoid overcrowding. Fill any empty spaces with crumpled packing paper or bubble wrap to ensure they don’t shift during the move.
7. Label and Mark: Clearly label the box as “Kitchen – Cutlery and Utensils.” Consider marking it as fragile if you have any delicate or valuable utensils inside. This will make identification easier during unpacking and help movers handle the box with care.
8. Securely Seal the Box: Once all the cutlery and utensils are packed, seal the box with packing tape to ensure it stays closed during transportation.
9. Transport with Care: When handling the box, be mindful of its contents. Carry the box with both hands and hold it from the bottom to prevent it from accidentally opening or tipping over.
10. Unpacking: When you arrive at your new home, carefully unpack the cutlery and utensils. Inspect them for any signs of damage. Give them a thorough cleaning before storing them in their designated place in your kitchen.
By following these expert tips, you can ensure that your cutlery and utensils are packed safely for your move. Proper packing will help keep your kitchen essentials organized and ready for use in your new home.
Bakeware and Mixing Bowls
When it comes to packing bakeware and mixing bowls, it’s important to take precautions to protect these items from damage during the moving process. Here are some expert tips to help you pack your bakeware and mixing bowls safely:
1. Clean and Dry: Before packing your bakeware and mixing bowls, make sure they are clean and thoroughly dry. Remove any food debris or residue to prevent odors or stains during transit.
2. Sort and Organize: Group your bakeware and mixing bowls by size and material. This will help you plan the packing process and ensure that similar items can be nested together.
3. Gather Packing Materials: Collect sturdy boxes, bubble wrap, packing paper, and packing tape. Ensure that the boxes are appropriately sized to accommodate your bakeware and mixing bowls.
4. Wrap with Care: Start by wrapping each individual piece of bakeware and each mixing bowl with packing paper or bubble wrap. Pay special attention to any handles, edges, or delicate areas. Secure the wrapping with tape to keep it in place.
5. Nesting: Take advantage of nesting capabilities for your bakeware and mixing bowls. Stack smaller bowls and pans inside larger ones to save space and protect their surfaces. Place a layer of packing paper or cloth in between nested items for additional protection.
6. Use Padding: For extra protection, consider using foam padding or packing peanuts inside the box to provide cushioning for your bakeware and mixing bowls. Fill any gaps or empty spaces to prevent movement.
7. Label the Box: Clearly label the box as “Kitchen – Bakeware and Mixing Bowls.” Additionally, mark the box as fragile to ensure careful handling.
8. Seal and Secure: Once all the bakeware and mixing bowls are packed, seal the box with packing tape. Ensure that the box is securely closed to avoid any accidental opening during transportation.
9. Handle with Care: When carrying the box, use proper lifting techniques and hold it from the bottom to provide better support. Avoid placing heavy items on top of the box during transit.
10. Unpacking: When you’re ready to unpack, carefully remove the packing materials from each piece of bakeware and mixing bowl. Inspect them for any signs of damage, such as cracks or chips. If any items are damaged, dispose of them properly.
By following these expert tips, you can protect your bakeware and mixing bowls during the moving process. Proper packing will ensure that these essential kitchen items arrive at your new home in great condition, ready to be used for your culinary adventures.
Food Storage Containers
When it comes to packing food storage containers, proper organization and care are essential to ensure they remain intact and easily accessible during the moving process. Follow these expert tips to safely pack your food storage containers:
1. Clean and Dry: Before packing your food storage containers, ensure that they are thoroughly cleaned and completely dry. Remove any leftover food or residue to prevent odors or staining during transit.
2. Sort and Match: Sort your food storage containers by size and shape. Match each container with its corresponding lid to ensure a proper fit.
3. Gather Packing Materials: Collect sturdy boxes or plastic bins that are appropriately sized to hold your food storage containers. You will also need packing paper, bubble wrap, packing tape, and marker pens.
4. Organize the Containers: Stack the food storage containers according to size. Place larger containers at the bottom and smaller ones on top. This will help save space and prevent them from shifting during the move.
5. Separate Lids: Remove the lids from the containers and set them aside. Keep them organized and easily accessible for packing.
6. Wrap Fragile Items: If you have any fragile or delicate food storage containers, consider wrapping them individually with packing paper or bubble wrap for added protection.
7. Nesting: Take advantage of nesting capabilities for containers of the same shape. Stack smaller containers inside larger ones to save space and keep them together.
8. Secure Lids: To prevent lids from getting misplaced or separated, consider using rubber bands or ziplock bags to keep them attached to their respective containers.
9. Fill Empty Spaces: Fill any gaps or empty spaces in the box with crumpled packing paper or bubble wrap to prevent the containers from shifting during the move.
10. Label and Mark: Clearly label the box as “Kitchen – Food Storage Containers.” Additionally, marking the box as fragile will prompt the movers to handle it with care.
11. Seal and Secure: Once all the food storage containers are packed, seal the box with packing tape to ensure it stays closed during transportation.
12. Handle with Care: When carrying the box, use both hands and hold it from the bottom to provide better support. Avoid placing heavy items on top of the box during transit.
13. Unpacking: When unpacking, carefully remove the packing materials from each food storage container. Inspect them for any signs of damage, such as cracks or chips. If any items are damaged, dispose of them accordingly.
By following these expert tips, you can ensure that your food storage containers remain safe and organized during the moving process. Proper packing will make it easier for you to access your containers in your new home and continue to keep your food fresh and well-organized.
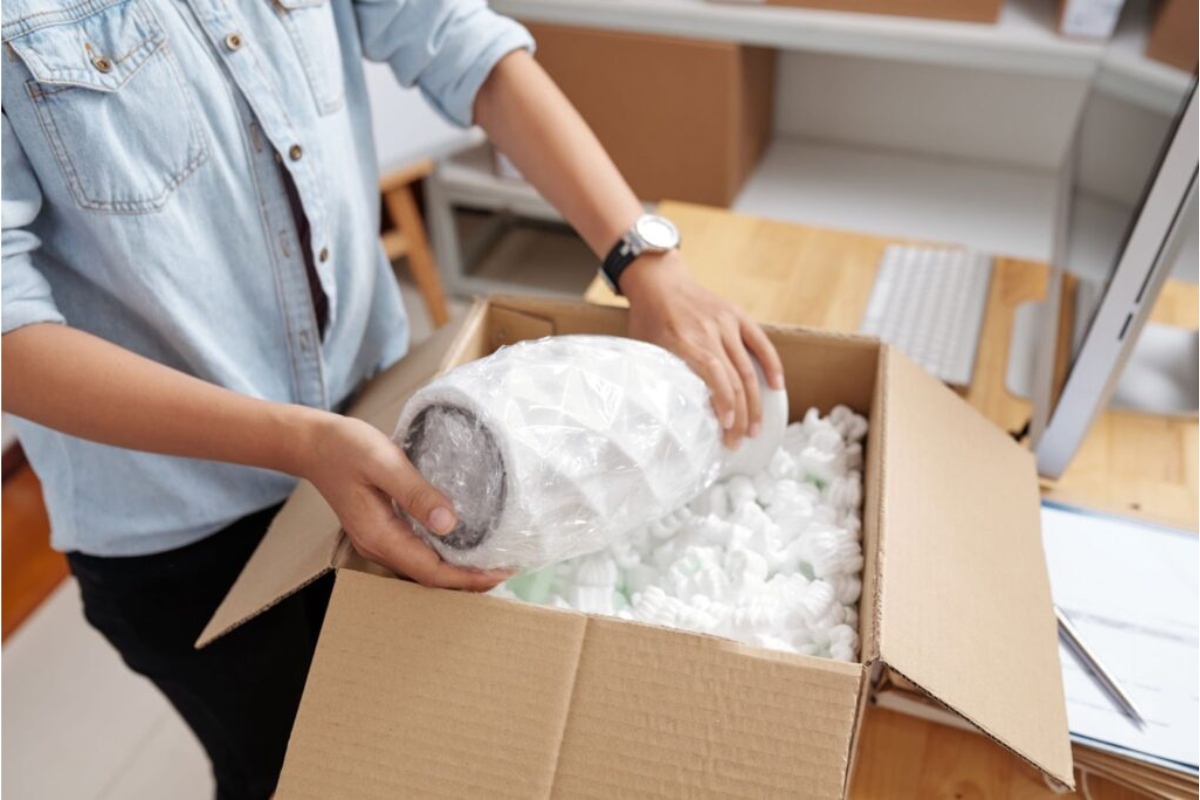
Fragile Items (e.g., Wine Glasses, China)
When it comes to fragile items such as wine glasses and fine china, extra care is needed during packing to ensure their safe transportation. Follow these expert tips to pack fragile items effectively:
1. Gather Packing Materials: Collect sturdy boxes specifically designed for fragile items. You will also need packing paper, bubble wrap, packing tape, and marker pens.
2. Wrap Individually: Begin by wrapping each fragile item individually with packing paper or bubble wrap. Provide extra cushioning by wrapping multiple layers around delicate areas or using foam sleeves for added protection.
3. Use Dividers: Consider using cardboard dividers or cell kits specifically designed for fragile items. These dividers can be placed vertically in the box to create compartments and prevent items from touching each other.
4. Pack Vertically: Place fragile items, such as wine glasses or china plates, in the box vertically. This distributes the weight and reduces the risk of breakage.
5. Labeling and Organizing: Clearly label the box as “Fragile” and “Kitchen – Fragile Items” to alert movers and ensure proper handling. Take inventory of the items packed in the box, noting any particularly valuable or sentimental pieces.
6. Protecting with Extra Padding: Provide additional padding at the bottom of the box by lining it with packing paper or bubble wrap. Fill empty spaces with crumpled paper or foam peanuts to prevent movement.
7. Pack Non-Food Items Separately: Keep in mind that non-food-related fragile items, such as decorative glassware or ceramic figurines, should be packed separately from your kitchen items. Use separate boxes and follow the same packing principles.
8. Properly Packing and Securing Liquids: If you need to transport liquids, such as bottles of oil or vinegar, ensure they are tightly sealed and place them in a leak-proof container. Wrap the container in plastic wrap and place it in a secure, upright position in a separate box.
9. Disassembling and Packing Larger Kitchen Appliances: For larger kitchen appliances, such as blenders or coffee machines, refer to the manufacturer’s instructions for disassembling and packing. Wrap individual components in bubble wrap or foam padding and pack them separately.
10. Cleaning and Preparing the Empty Kitchen: Before packing your kitchen items, clean and dry all surfaces to avoid any dirt or residue being transferred during transit. Empty and defrost your refrigerator and freezer, ensuring they are properly cleaned and dried before moving.
11. Moving Day Tips: When loading the boxes into the moving truck, place fragile items on top and secure them in place to prevent shifting. Communicate with your movers about the fragile nature of the packed boxes, ensuring they handle them with utmost care.
12. Unpacking the Kitchen Items: When unpacking, start with the fragile items first. Carefully remove the packing materials and inspect each item for any damage. Clean and arrange them in their designated places in your new kitchen.
13. Conclusion: By following these expert tips, you can safely pack and transport your fragile kitchen items. Proper labeling, organization, and protection are key to ensuring their safe arrival at your new home. Remember to handle them with care and enjoy setting up your kitchen in your new space.
Frequently Asked Questions about How To Pack Kitchen Items When Moving, According To Pros
Was this page helpful?
At Storables.com, we guarantee accurate and reliable information. Our content, validated by Expert Board Contributors, is crafted following stringent Editorial Policies. We're committed to providing you with well-researched, expert-backed insights for all your informational needs.

0 thoughts on “How To Pack Kitchen Items When Moving, According To Pros”