
Articles
How To Store Heirloom Seeds
Modified: September 1, 2024
Learn the best methods for storing heirloom seeds in this comprehensive collection of articles. Ensure the long-term viability of your seeds and preserve their unique genetic characteristics.
(Many of the links in this article redirect to a specific reviewed product. Your purchase of these products through affiliate links helps to generate commission for Storables.com, at no extra cost. Learn more)
Introduction
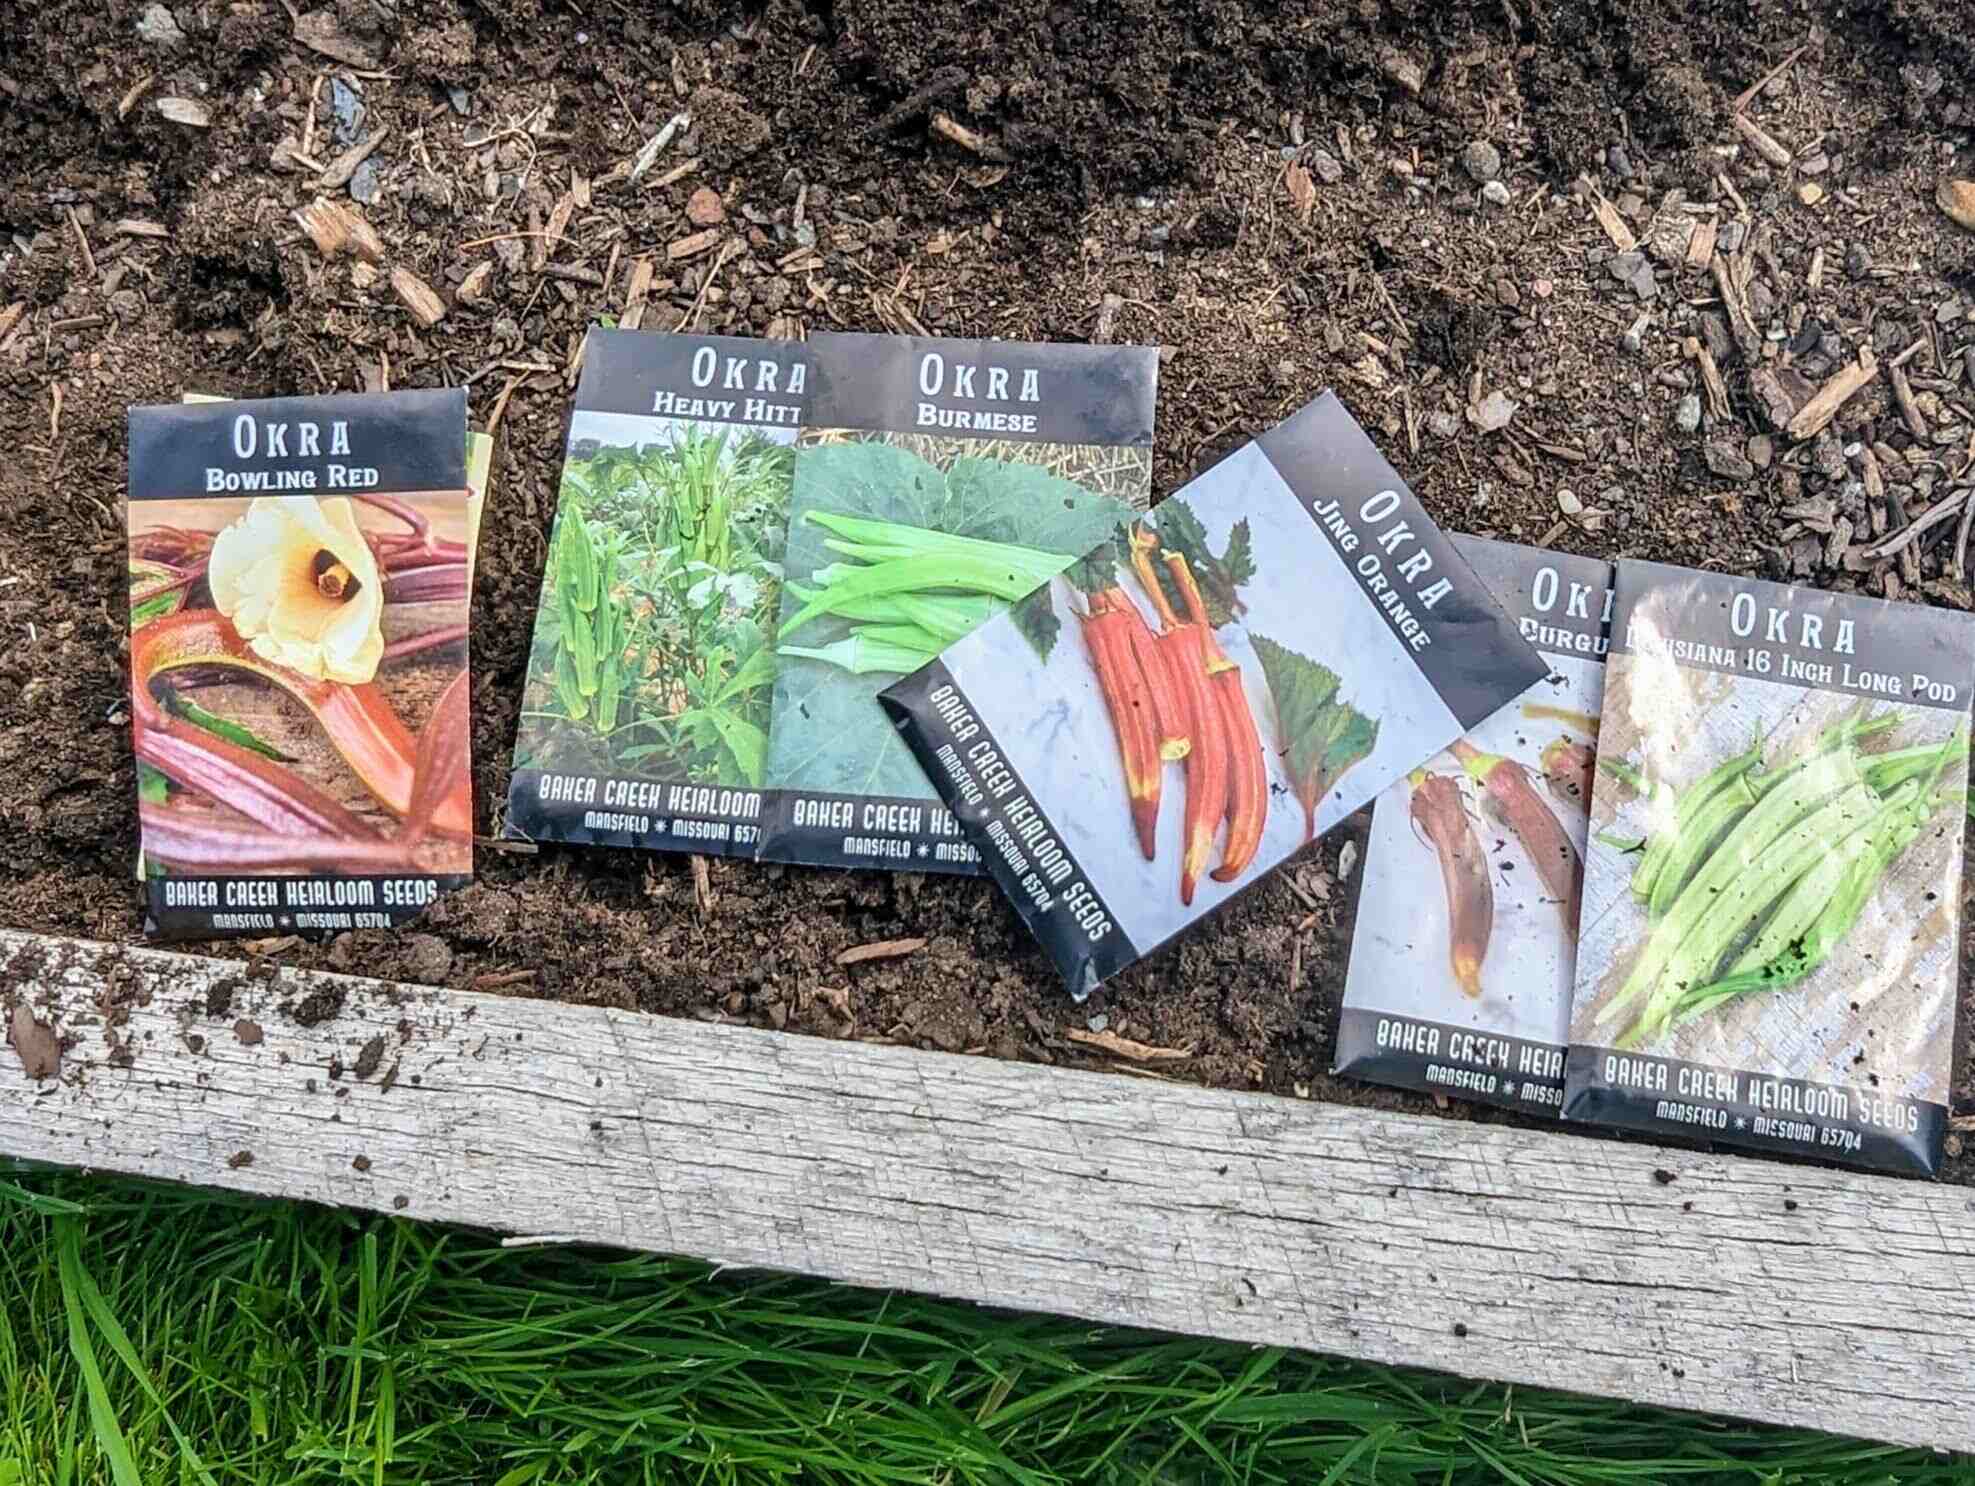
Welcome to the world of heirloom seeds, where the beauty of nature meets a legacy of timeless flavors and diverse plant varieties. Heirloom seeds are open-pollinated seeds that have been carefully preserved and passed down through generations. These seeds allow us to connect with our agricultural heritage and experience the joy of growing unique and delicious plants in our own gardens.
However, with this incredible opportunity comes the responsibility of properly storing heirloom seeds to ensure their long-term viability. This article will guide you through the process of storing heirloom seeds, from understanding their characteristics to implementing proper storage techniques.
Before we delve into the specifics of heirloom seed storage, it’s essential to understand why these seeds are so valuable. Heirloom seeds are the result of years, if not centuries, of cultivation and selection by dedicated gardeners and farmers. They offer a rich genetic diversity that modern hybrid seeds often lack, making them resilient, adaptable, and more flavorful.
Another unique aspect of heirloom seeds is their ability to reproduce true to type. This means that when you plant an heirloom seed, the resulting plant should closely resemble its parent plant, with all its unique characteristics. This is in contrast to hybrid seeds, which are the result of cross-pollination and may not produce consistent offspring.
With the growing popularity of heirloom seeds, it’s essential to know how to properly store them to maintain their viability. Improper storage can lead to loss of germination rate and vitality, rendering the seeds useless for future plantings. By following the guidelines in this article, you can preserve the genetic heritage of heirloom seeds and continue the legacy of these remarkable plant varieties for years to come.
Now let’s dive deeper into the world of heirloom seeds and discover the steps to store them effectively.
Key Takeaways:
- Preserve the legacy of heirloom seeds by storing them in suitable containers, drying them properly, and maintaining a consistent storage environment. This ensures their long-term viability and genetic diversity for future generations.
- Regularly test the viability of heirloom seeds to maintain high germination rates, preserve genetic diversity, and avoid crop failure. By protecting seeds from pests and diseases, you contribute to sustainable agriculture and food security.
Read more: How To Plant Heirloom Seeds
Understanding Heirloom Seeds
Before delving into the storage process, it’s important to have a clear understanding of what heirloom seeds are and why they are so cherished by gardeners and growers alike.
Heirloom seeds are varieties that have been carefully cultivated and preserved over generations. They are open-pollinated, meaning they are pollinated by natural means such as insects, wind, or birds, allowing for genetic diversity and stability in plants.
One key characteristic of heirloom seeds is that they have been passed down through families or communities, often with a rich history and cultural significance attached to them. These seeds are treasured for their unique characteristics, including distinctive flavors, vibrant colors, or unusual growth patterns.
Unlike hybrid seeds, which are created by crossing two distinct parent plants to create new and often uniform traits, heirloom seeds have a diverse genetic background. This genetic diversity allows them to adapt to a wide range of growing conditions, making them resilient and well-suited to different climates and soil conditions.
Heirloom seeds play an important role in preserving biodiversity. As large-scale agriculture has increasingly favored uniformity and standardized traits, many traditional seed varieties have been lost. Heirloom seeds help to preserve these plant varieties and the genetic diversity they offer. They contribute to the preservation of unique regional flavors and textures, as well as the ability to adapt to changing environmental conditions.
When choosing heirloom seeds for your garden, it’s important to select varieties that are well-suited to your climate and growing conditions. Consider factors such as average temperature, rainfall, and sunlight when making your selections, as some heirloom varieties may be more resilient or productive in specific environments.
By choosing heirloom seeds, you are not only accessing a wide array of flavors and varieties, but you are also contributing to the preservation of our agricultural heritage. These seeds have a story to tell and invite us to connect with the past, celebrate diversity, and foster a sustainable future.
Now that we have a deeper understanding of heirloom seeds and their significance, let’s explore the best practices for storing them to ensure their long-term viability.
Choosing the Right Storage Containers
When it comes to storing heirloom seeds, selecting the appropriate containers is crucial to maintaining their quality and viability over time. The containers you choose should provide protection from moisture, temperature fluctuations, and pests, while also allowing for proper air circulation. Here are some factors to consider when choosing the right storage containers for your heirloom seeds:
1. Material: Opt for containers made of durable materials that are both airtight and moisture-resistant. Glass jars with tight-fitting lids, metal tins, or food-grade plastic containers can all be suitable choices.
2. Size: Choose containers that accommodate the quantity of seeds you plan to store. Smaller containers can help prevent moisture buildup and maintain seed viability, while larger containers should be avoided as they may lead to moisture retention and increased chances of seed degradation.
3. Transparency: Transparent or semi-transparent containers allow you to easily monitor the seeds for any signs of mold or insect infestations without the need to open the container. This can be particularly helpful when conducting routine inspections.
4. Airtightness: Ensure that the containers have airtight seals to prevent moisture from entering and damaging the seeds. This is crucial for maintaining the seed’s viability over an extended period.
5. Reusability: Consider using containers that can be reused to store seeds season after season. This helps reduce waste and provides a consistent storage environment for your seeds.
6. Labeling: Select containers that provide enough space for labeling or affixing seed packets. Proper labeling ensures easy identification and prevents mix-ups when it comes time to sow the seeds.
7. Accessibility: Choose containers that allow easy access to the seeds when you need to retrieve them for planting. This will save you time and effort when it’s time to sow your heirloom seeds.
8. Protection: Lastly, keep in mind the overall protection the containers can offer against physical damage, such as dropping or crushing. Sturdy containers will help safeguard your precious heirloom seeds from accidents that could render them unusable.
Remember to clean and sanitize the containers before using them to store your seeds. This will help prevent the introduction of any contaminants that may compromise the quality and viability of your seeds.
By choosing the right storage containers, you can create an optimal environment for your heirloom seeds, ensuring their long-term viability and preserving their unique qualities for future generations.
Properly Drying Heirloom Seeds
Drying heirloom seeds is a critical step in the storage process, as it helps to remove excess moisture and prevent mold or fungal growth. Proper drying techniques ensure that the seeds remain viable and in optimal condition for long-term storage. Here are some essential steps to follow when drying heirloom seeds:
1. Harvest at the Right Time: It’s important to harvest your heirloom seeds at the correct stage of maturity. Allow the plant to reach full maturity and dry out naturally on the plant before collecting the seeds. This ensures that the seeds have reached their maximum potential for germination and will store well.
2. Remove Excess Debris: After harvesting, remove any excess debris, such as leaves, stems, or husks. This helps prevent the accumulation of moisture and reduces the chances of mold or fungal growth during the drying process.
3. Place in a Single Layer: Spread the seeds out in a single layer on a clean, dry surface. This allows for even airflow and helps speed up the drying process. Avoid overcrowding the seeds, as this can create pockets of moisture and inhibit proper drying.
4. Avoid Direct Sunlight: Place the seeds in a well-ventilated area away from direct sunlight. Direct sunlight can heat up the seeds and cause them to lose their viability. Instead, choose a cool, dry, and shaded spot for drying, such as a well-ventilated room or a screen or mesh drying rack.
5. Monitor the Drying Process: Regularly check on the seeds to monitor the progress of drying. Gently stir or turn the seeds every few days to ensure even drying and prevent clumping. This will help avoid any trapped moisture and promote uniform drying.
6. Test for Dryness: To determine if the seeds are adequately dried, conduct a simple seed moisture test. Take a few seeds and attempt to bend or break them. If the seeds break easily without bending, they are likely dry enough for storage. If they are still pliable or have a soft texture, continue drying them until they become brittle.
7. Allow for Additional Drying Time: Depending on the moisture content of the seeds and environmental conditions, the drying process can take anywhere from a few days to a few weeks. Be patient and allow the seeds to thoroughly dry before moving on to the next steps of storage.
8. Store in Dry, Airtight Containers: Once the seeds are fully dry, transfer them into dry, airtight containers, as discussed earlier. Avoid using plastic bags for long-term storage, as they can trap excess moisture and lead to seed degradation. Instead, opt for glass jars or metal tins to maintain optimal seed dormancy.
Properly drying your heirloom seeds ensures their longevity and viability for future plantings. It reduces the risk of mold or fungal growth and provides a solid foundation for the storage process. By following these drying steps, you’ll be well on your way to preserving the genetic heritage of your cherished heirloom seeds.
Tips for Cleaning and Sorting Seeds
Before storing your heirloom seeds, it’s essential to clean and sort them to remove any impurities, damaged seeds, or plant debris. This process helps ensure that only high-quality seeds are stored, maximizing their viability and preserving their genetic integrity. Here are some tips for effectively cleaning and sorting your heirloom seeds:
1. Remove Plant Debris: Start by separating the seeds from any surrounding plant debris, such as stems, leaves, or fruit pulp. You can do this by gently rubbing or gently blowing on the seeds to dislodge any attached plant material.
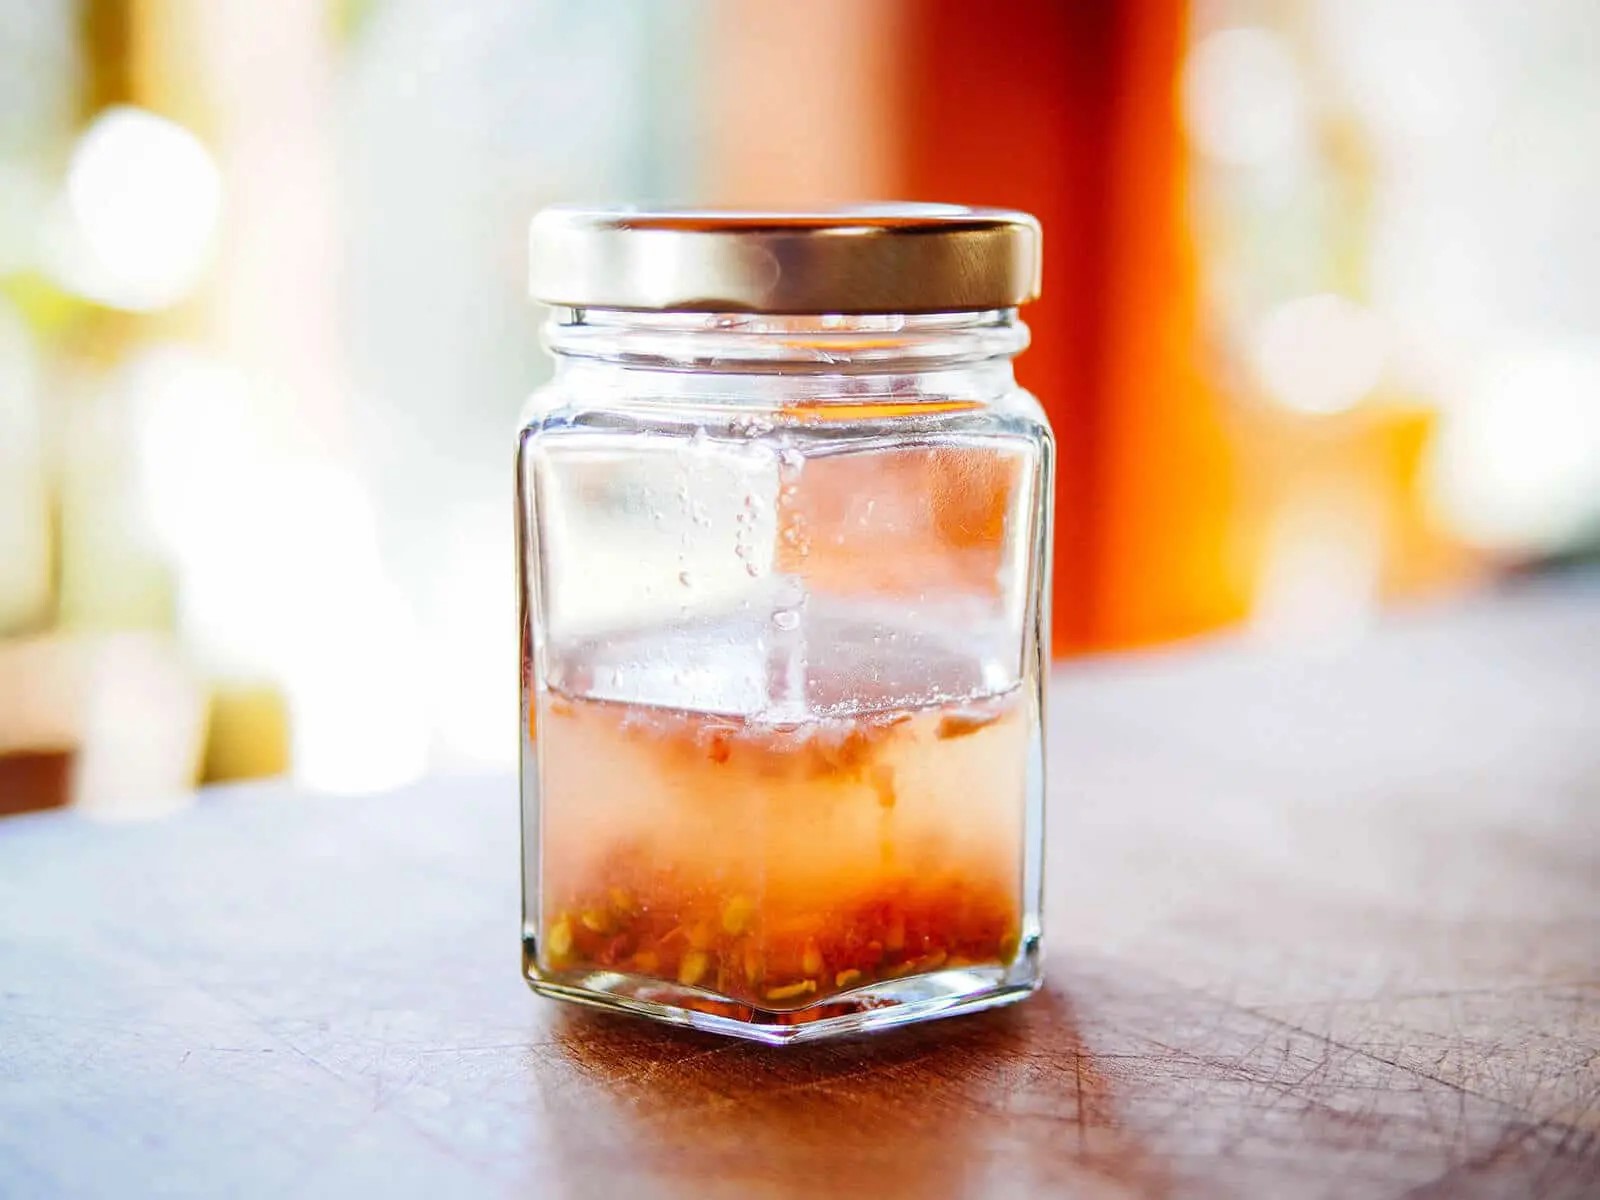
2. Water Separation Method: For larger seeds that sink in water, you can use the water separation method. Place the seeds in a bowl filled with water and gently agitate them. Healthy, viable seeds will sink to the bottom, while any debris or damaged seeds will float to the top, making it easier to separate them.
3. Mesh Screens or SIFT Method: For small seeds, using mesh screens or a SIFT method can be effective. Simply pass the seeds through a series of fine mesh screens, shaking or gently tilting them to separate out the larger debris and retain the smaller seeds.
4. Winnowing: Winnowing is a traditional method used to separate seeds from chaff or husks. It involves gently pouring the seeds from one container to another in front of a light breeze or a fan. The lightweight chaff or husks will be blown away, leaving behind the clean seeds.
5. Handpicking: In some cases, it may be necessary to handpick any remaining debris or damaged seeds from the batch. This can be done by carefully examining the seeds and removing any undesirable elements by hand.
6. Drying After Cleaning: Once the seeds have been cleaned and separated from impurities, allow them to dry completely before proceeding with the storage process. Ensure that they are thoroughly dry to prevent mold or fungal growth during storage.
7. Seed Treatment: In some cases, it may be beneficial to treat the seeds with a fungicide or organic treatment to prevent any potential fungal or bacterial infections. Consult gardening references or experts for appropriate treatments if necessary.
8. Record-Keeping: While cleaning and sorting the seeds, take the opportunity to catalogue and record relevant information about each variety. Note the name of the seed, the date harvested, and any specific details about its origin or characteristics. This information will be helpful for future reference.
By cleaning and sorting your heirloom seeds, you ensure that only the highest quality seeds are stored and increase the chances of successful germination. It also allows you to confidently share or trade seeds with other gardeners, knowing that you are passing along healthy and viable plants. Take the time to perform these steps carefully, and your heirloom seeds will be ready for long-term storage and future cultivation.
Read more: What Are Heirloom Seeds
Creating a Suitable Storage Environment
Once you have properly prepared and cleaned your heirloom seeds, it’s crucial to create a suitable storage environment to maintain their viability and prevent deterioration. The storage conditions should be optimal for keeping the seeds dormant and protecting them from moisture, temperature fluctuations, and pests. Here are some key factors to consider when creating a suitable storage environment:
1. Temperature: Seeds should be stored in a cool and consistent temperature environment. Ideally, the temperature should be around 40-50°F (4-10°C). Avoid storing seeds in areas prone to extreme heat or cold fluctuations, such as attics or garages.
2. Humidity: Moisture can significantly reduce seed viability and lead to mold or fungal growth. Aim for a relative humidity level of 40-50%. Too much humidity can cause seed deterioration, while too little humidity can lead to seed desiccation. Include a desiccant or moisture-absorbing packet in the storage container to reduce moisture levels if needed.
3. Light: Seeds should be stored in a dark environment. Exposure to light can stimulate premature germination or reduce seed viability over time. Choose opaque containers or place the containers in a dark storage area to protect the seeds from light exposure.
4. Air Circulation: Proper air circulation is crucial for preventing moisture buildup and maintaining the integrity of the seeds. Ensure that the storage containers have adequate ventilation or perforations to allow sufficient airflow. Avoid storing seeds in airtight containers without any airflow, as this can lead to condensation and spoilage.
5. Pest Control: Protect your heirloom seeds from pests such as insects and rodents. Ensure that the storage area is clean and free of any food or organic material that may attract pests. Consider using natural pest deterrents, such as bay leaves or silica gel packets, to deter pests from accessing the seeds.
6. Consistency: Once you have established the optimal storage conditions, it’s essential to maintain consistency. Avoid frequent temperature or humidity fluctuations, as they can impact seed viability. Check the storage environment regularly to ensure that the conditions remain stable and make any necessary adjustments if needed.
7. Organization: Keep your stored seeds well-organized and easily accessible. Label each container with the seed variety, date of harvest, and any other relevant information. This will help you keep track of your collection, easily identify seeds, and rotate them accordingly.
Remember, the longevity of the stored seeds depends on the conditions they are kept in. By creating a suitable storage environment, you can maximize the viability and longevity of your heirloom seeds, ensuring that they are preserved and ready for successful germination in the future.
Store heirloom seeds in a cool, dry place to maintain their viability. Airtight containers such as glass jars or seed envelopes can help protect them from moisture and pests. Label each container with the seed variety and date of collection.
Packaging and Labeling Heirloom Seeds
Proper packaging and labeling of heirloom seeds are essential to ensure their identification, organization, and long-term viability. By carefully packaging and labeling your seeds, you can easily access them when needed, prevent mix-ups, and maintain the integrity of your seed collection. Here are some important considerations for packaging and labeling heirloom seeds:
1. Seed Packets: Consider using seed packets as a convenient and organized way to store your seeds. You can find pre-made seed packets or create your own by using small envelopes or folded paper. Ensure that the packets are made from acid-free and lignin-free paper to prevent deterioration.
2. Packet Size: Choose the appropriate packet size based on the quantity of seeds you have. Avoid using oversized packets, as they can lead to excessive moisture retention and affect seed viability. Similarly, using small packets for large quantities of seeds can result in overcrowding and degradation.
3. Sealing: Seal the seed packets securely to prevent moisture or air from entering. You can use adhesive or heat-sealable envelopes or fold and staple the packets. Ensure that the seal is tight to maintain the seeds’ viability and protect them from external factors.
4. Labeling: Label each seed packet with clear and accurate information. Include the name of the seed variety, the date of harvest, and any other relevant details like the source or specific growing instructions. The labels should be legible and waterproof to prevent smudging or fading over time.
5. Information: Include additional information on the seed packet that can be useful for future reference, such as seed starting tips, recommended planting times, or any unique characteristics of the variety. This will assist you in successfully growing and caring for your plants.
6. Organization: Store the labeled seed packets in a systematic and orderly manner. Consider using storage containers, binders, or filing systems to keep the packets organized by plant type, alphabetical order, or planting season. This will help you easily locate specific varieties and maintain a well-managed seed collection.
7. Backup Copies: Make backup copies of important information associated with your seeds. If possible, keep a digital record of your seed collection, including photos, descriptions, and planting notes. This ensures that even if the physical packets are lost or damaged, you still have vital information about your seeds.
8. Storage Containers: Place the labeled seed packets in suitable storage containers that provide protection from moisture, light, and pests. Choose a container that is airtight, moisture-resistant, and opaque. Glass jars, metal tins, or plastic storage boxes with tight-fitting lids can be effective options.
Properly packaging and labeling your heirloom seeds not only helps with organization and identification but also ensures that the seeds remain viable and readily available for future planting. Take the time to create well-labeled seed packets and an organized storage system, and you’ll have a valuable and manageable heirloom seed collection to enjoy for years to come.
Monitoring and Maintaining Seed Viability
Monitoring and maintaining the viability of your heirloom seeds is crucial to ensure their successful germination and continued productivity. Regularly checking and assessing the quality of your stored seeds allows you to identify any issues that may affect their viability and take necessary measures to preserve them. Here are some key steps to monitor and maintain seed viability:
1. Regular Inspections: Schedule regular inspections of your stored seeds. Check for any signs of mold, mildew, or insect infestation. Remove any damaged or discolored seeds to prevent them from affecting the overall quality of the batch.
2. Germination Testing: Conduct germination tests to assess the viability of your seeds. This involves selecting a small sample of seeds, sowing them in a controlled environment, and observing the percentage of seeds that successfully germinate. Germination rates can vary from one seed variety to another, but it’s generally recommended to aim for a minimum germination rate of 80%.
3. Retest Old Seeds: As seeds age, their viability naturally declines. It’s a good practice to periodically retest old seeds to determine their germination rate and make informed decisions about their usability. If the germination rate significantly drops, it may be necessary to replenish your seed collection with fresh seeds.
4. Proper Seed Storage: Ensure that your stored seeds are kept in optimal conditions as discussed in the previous section. Follow the recommendations for temperature, humidity, darkness, and airflow to maintain seed viability. Monitor and adjust the storage environment if necessary to prevent any deterioration.
5. Seed Rotation: Rotate your seed collection by using older seeds first and regularly replenishing them with fresh seeds. This practice helps to maintain a healthy and viable seed supply. It also allows you to avoid dependence on a single batch of seeds and reduces the risk of losing an entire variety.
6. Document Seed Viability: Keep a record of the germination rates and performance of each seed variety. This information will help you make informed decisions about seed replacement and assess the overall quality of your collection. It can also serve as a reference for future planting and seed saving efforts.
7. Seed Saving: Consider saving seeds from your own plants to maintain the genetic diversity of the heirloom varieties you grow. Adhering to proper seed-saving techniques, such as avoiding cross-pollination or isolation, ensures that the saved seeds remain true to type and retain their unique characteristics.
8. Seek Expert Advice: If you encounter any challenges or uncertainties regarding seed viability or storage, don’t hesitate to reach out to gardening experts or local seed-saving organizations. They can provide valuable insights and guidance to help maintain the viability of your heirloom seeds.
By actively monitoring and maintaining the viability of your heirloom seeds, you can ensure a successful and bountiful harvest season after season. Regular inspections, germination testing, and proper storage practices are key to preserving the genetic heritage and integrity of your cherished heirloom seed collection.
Protecting Heirloom Seeds from Pests and Diseases
Protecting your heirloom seeds from pests and diseases is essential to maintain their viability and ensure successful germination. Pest infestations or the spread of diseases can compromise the quality of your seeds, hinder plant growth, and diminish the productivity of your garden. Here are some effective strategies to protect your heirloom seeds from pests and diseases:
1. Hygiene and Cleanliness: Implement proper sanitation practices in your garden and seed storage area. Remove any plant debris, weeds, or fallen leaves that may harbor pests or disease-causing pathogens. Regularly clean and disinfect your gardening tools and equipment to prevent cross-contamination.
2. Seed Treatment: Treat your heirloom seeds with organic fungicides or natural treatments before storage or planting. These treatments can help protect the seeds from fungal infections and some soil-borne diseases. Follow the instructions for seed treatments carefully and ensure they are safe for the specific seed variety.
3. Integrated Pest Management: Adopt integrated pest management (IPM) practices to control common garden pests without resorting to harmful chemicals. This approach involves monitoring and identifying pests, using physical barriers, encouraging beneficial insects, practicing crop rotation, and implementing companion planting strategies.
4. Proper Plant Spacing: Avoid overcrowding your plants, as it can create favorable conditions for pests and diseases. Proper plant spacing allows for better air circulation and reduces the risk of fungal infections. It also makes it easier to identify and address pest infestations promptly.
5. Companion Planting: Planting certain companion plants alongside your heirloom crops can help repel pests and attract beneficial insects. For example, marigolds can deter aphids and nematodes, while basil can repel tomato hornworms. Research companion planting combinations that are effective for the specific pests and diseases you want to target.
6. Physical Barriers: Use physical barriers, such as mesh netting or row covers, to protect young seedlings from pests like birds, rabbits, or insects. These barriers can be especially helpful during the initial stages of plant growth when the plants are most vulnerable to damage.
7. Crop Rotation: Practice crop rotation by changing the location of your heirloom crops each growing season. This helps break pest and disease cycles as different plants are susceptible to different pathogens and pests. Rotate plant families to minimize the risk of specific diseases or pests building up in the soil.
8. Regular Inspections: Conduct regular inspections of your plants for any signs of pest infestations or disease symptoms. Look for unusual discoloration, wilting, leaf damage, or insect activity. Early detection allows for prompt treatment and intervention to prevent the spread of pests or diseases to your seeds.
9. Organic Pest Control: If pest populations become too large or pose a significant threat to your seeds, consider using organic pest control methods. This can include using insecticidal soaps, neem oil, natural predators, or other approved organic pest control products. Ensure that any products used are safe for edible crops and won’t harm the viability of your seeds.
10. Stay Informed: Stay updated on the common pests and diseases that affect your heirloom crops. Local agricultural extension offices, gardening forums, and gardening publications can provide valuable information and insights to help you protect your seeds effectively.
By implementing these strategies, you can minimize the risk of pests and diseases damaging your heirloom seeds. Protecting their integrity ensures that you continue to preserve the unique qualities and genetic diversity of these treasured plant varieties year after year.
Read more: How To Collect Heirloom Seeds
The Importance of Regular Seed Testing
Regular seed testing is a crucial aspect of maintaining a high-quality seed collection. Testing the viability and germination rate of your heirloom seeds helps ensure that they are still capable of producing healthy and vigorous plants. It allows you to assess the quality of your seeds, make informed decisions about seed storage and replanting, and avoid potential disappointments in the garden. Here are some reasons highlighting the importance of regular seed testing:
1. Assessing Seed Viability: Seed testing provides valuable information about the viability of your seeds. By conducting germination tests, you can determine the percentage of seeds that have the potential to germinate and establish healthy plants. This information helps you decide which seeds to use for planting and which ones may need to be replaced.
2. Ensuring High Germination Rates: High germination rates are essential for successful plant establishment. Regular seed testing allows you to identify any decline in germination rates over time. If the germination rates are dropping significantly, it may be necessary to acquire fresh seeds to maintain a healthy and productive garden.
3. Preserving Genetic Diversity: Heirloom seeds play a critical role in preserving genetic diversity in our food system. Regular seed testing ensures that the unique characteristics and traits of heirloom varieties are maintained. It allows you to identify any loss of genetic variability and take steps to save or acquire new seeds to bolster diversity in your collection.
4. Planning and Timely Seed Replacements: By regularly testing your seeds, you can plan ahead and arrange for seed replacements if necessary. If the germination rates of certain varieties are diminishing, you can acquire fresh seeds in advance to avoid disappointment when it’s time for planting.
5. Avoiding Crop Failure: Seeds that have low germination rates or low viability can lead to poor crop establishment or crop failure. By testing your seeds, you can identify potential issues early on and take appropriate measures, such as adjusting planting rates or sourcing new seeds, to prevent crop failures.
6. Optimizing Garden Space and Resources: Regular seed testing helps you make informed decisions about the quantity of seeds to plant. If your seeds have high germination rates, you can optimize your garden space and resources by only planting what is necessary. This prevents wastage and ensures efficient use of your limited gardening resources.
7. Sharing Quality Seeds: Regular seed testing allows you to confidently share quality seeds with other gardeners or seed-saving organizations. Knowing the germination rates of your seeds ensures that you can provide viable and reliable seeds to others, contributing to the continued preservation and sharing of heirloom varieties.
8. Tracking and Recording Seed Performance: By documenting the results of your seed testing, you create a valuable record of the performance and viability of different seed varieties over time. This information is useful for future reference, comparisons, and improvements in seed-saving and storage practices.
Regular seed testing is a proactive approach to maintain the quality, viability, and genetic diversity of your heirloom seed collection. By regularly assessing the germination rates and viability of your seeds, you can make informed decisions, plan ahead, and ensure a vibrant and successful garden season after season.
Conclusion
Preserving and storing heirloom seeds is both a responsibility and a privilege for gardeners and plant enthusiasts. These seeds carry a rich history, remarkable flavors, and an incredible diversity that connects us to our agricultural heritage. By following the proper techniques for storing and maintaining heirloom seeds, we can ensure their long-term viability, protect their unique genetic makeup, and continue the legacy of these treasured varieties for generations to come.
Throughout this article, we have explored various aspects of storing heirloom seeds, from understanding their significance and characteristics to implementing suitable storage practices. We have learned the importance of selecting the right containers, properly drying and cleaning the seeds, and creating an ideal storage environment. We have also discussed the significance of labeling the seeds, monitoring their viability, protecting them from pests and diseases, and conducting regular seed testing.
By applying these practices, we can safeguard the integrity of our heirloom seed collection and ensure optimal conditions for germination and growth. Whether you are a seasoned gardener, a seed saver, or someone new to the world of heirloom seeds, these guidelines will empower you to preserve these invaluable plant varieties and contribute to the preservation of biodiversity.
Remember, heirloom seeds not only offer immense satisfaction and joy in the garden but also play a crucial role in maintaining food security, preserving cultural heritage, and nurturing sustainable agriculture practices. As stewards of these seeds, we have a responsibility to protect and perpetuate their legacy.
So, let us embrace the art of storing heirloom seeds with care, passion, and dedication. Let us continue to grow these remarkable plants, savor their unique flavors, and share the beauty of heirloom gardening with others. By doing so, we can ensure that our heirloom seeds endure, thrive, and inspire future generations to appreciate the beauty and diversity of our natural world.
Frequently Asked Questions about How To Store Heirloom Seeds
Was this page helpful?
At Storables.com, we guarantee accurate and reliable information. Our content, validated by Expert Board Contributors, is crafted following stringent Editorial Policies. We're committed to providing you with well-researched, expert-backed insights for all your informational needs.


0 thoughts on “How To Store Heirloom Seeds”