Articles
How To Store Homeade Bread
Modified: January 9, 2024
Learn how to properly store homemade bread with these helpful articles. Find tips and tricks to keep your bread fresh and delicious for longer.
(Many of the links in this article redirect to a specific reviewed product. Your purchase of these products through affiliate links helps to generate commission for Storables.com, at no extra cost. Learn more)
Introduction
There’s something incredibly satisfying about baking your own bread. The delicious aroma wafting through the house, the anticipation as you watch the golden crust form in the oven – it’s a labor of love that yields a fresh and flavorful loaf. But what happens once you’ve enjoyed a few slices? How do you keep your homemade bread fresh and delicious for as long as possible?
In this article, we will explore the best practices for storing homemade bread to maintain its quality and prevent it from going stale. We’ll cover everything from choosing the right container to proper cooling and wrapping techniques. Whether you’re a novice baker or a seasoned pro, this guide will help you extend the lifespan of your homemade bread.
Key Takeaways:
- Properly storing homemade bread is crucial for maintaining its freshness and flavor. Choose the right container, employ proper cooling and wrapping techniques, and consider freezing options to extend the lifespan of your delicious homemade loaves.
- Implement practical tips such as slicing when needed, storing in small portions, and avoiding moisture to maximize the lifespan of your homemade bread. Experiment with different storage methods to find what works best for you and enjoy fresh, homemade goodness whenever you desire.
Read more: How To Store Bread Machine Bread
Choosing the Right Container
When it comes to storing homemade bread, choosing the right container is crucial. The goal is to create an environment that protects the bread from air, moisture, and temperature fluctuations, all of which can contribute to premature staleness. Here are some container options to consider:
- Bread Box: A traditional bread box is a great option if you plan to consume the bread within a few days. It provides a dark and cool environment that helps maintain freshness. Look for a bread box with ventilation holes to prevent moisture buildup.
- Airtight Container: If you want to extend the shelf life of your bread, storing it in an airtight container is a perfect choice. Opt for a container that is large enough to accommodate the bread without squishing it. Make sure the container has a tight seal to keep air out.
- Plastic Bag: If you don’t have specialized bread storage containers, a simple plastic bag will do the job. Choose a bag that is food-safe and thick enough to provide some protection. Squeeze out excess air before sealing it to create a snug environment.
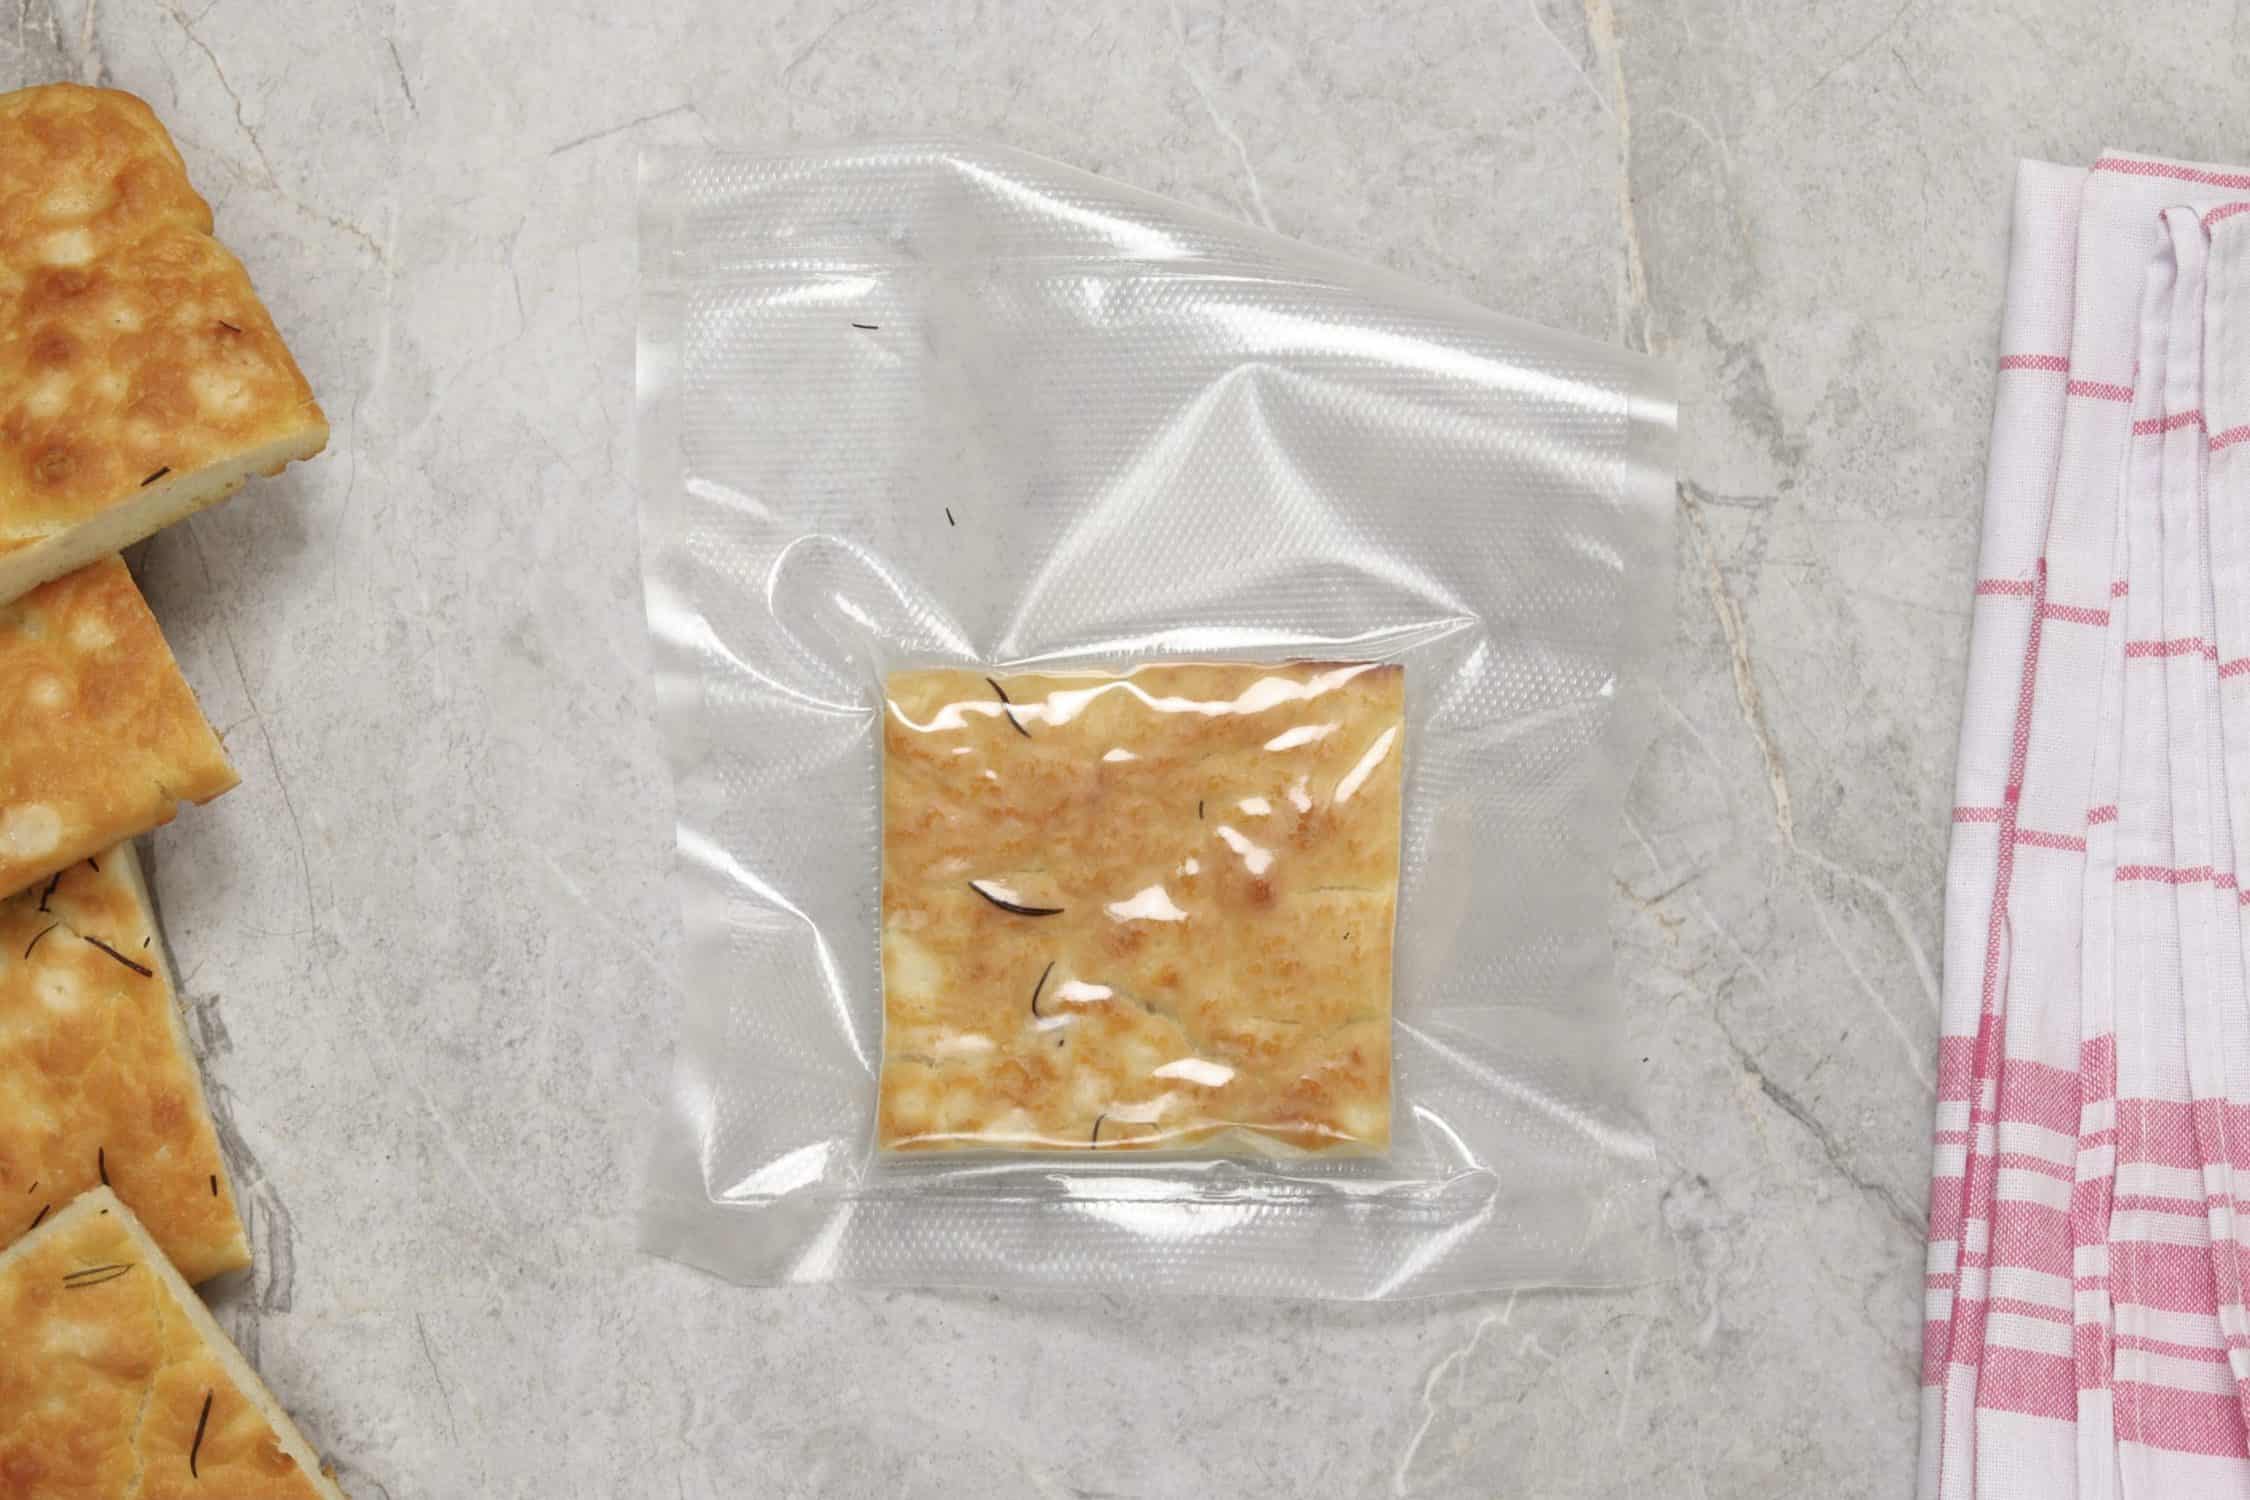
- Freezer Bag: If you plan to freeze your homemade bread, a freezer bag is essential. Freezer bags are thicker and more durable than regular plastic bags, providing an extra layer of protection against freezer burn.
Regardless of the container you choose, it’s essential to ensure that it’s clean and dry before storing your bread. Any residual moisture or contaminants can affect the bread’s quality and shelf life.
Cooling and Wrapping
Properly cooling and wrapping your homemade bread is a critical step in preserving its freshness and preventing moisture loss. Here’s how to do it:
- Cooling: Once your bread is done baking, remove it from the oven and allow it to cool completely on a wire rack. This helps prevent condensation from forming inside the container, which can make the bread soggy. Avoid placing the bread on a solid surface while it’s still warm, as this can trap steam and create a moist environment.
- Wrapping: Once your bread has cooled, it’s time to wrap it for storage. If you’re using a bread box, simply place the loaf inside and close the lid. For airtight containers, plastic bags, or freezer bags, follow these steps:
- Loose Wrap: Start by wrapping the bread loosely in a clean, dry kitchen towel or wax paper. This helps absorb any residual moisture without creating airtight conditions. Be sure to cover all sides of the loaf.
- Securing with Plastic Wrap: Once the bread is wrapped in the kitchen towel or wax paper, you can further protect it by wrapping it snugly with plastic wrap. Make sure to seal the ends tightly to prevent air from entering.
- Optional Foil Wrap: If you prefer a softer crust, you can also wrap the bread in aluminum foil after the plastic wrap. Keep in mind that this can cause the crust to become slightly damp, so it may not be suitable for all bread types.
By cooling your bread properly and wrapping it with care, you can help maintain its moisture and prevent it from drying out too quickly.
Storing at Room Temperature
If you plan to consume your homemade bread within a few days, storing it at room temperature is the way to go. Follow these guidelines for optimal freshness:
- Choose the Right Spot: Find a cool, dry place away from direct sunlight for storing your bread. Excessive heat and sunlight can accelerate the staling process. Avoid storing bread near appliances that generate heat, such as ovens or toasters.
- Use a Bread Box: If you have a bread box, it can be an excellent storage option for keeping your bread at room temperature. The dark and cool environment inside the bread box helps preserve freshness. Make sure to close the lid tightly to maintain optimal conditions.
- Airtight Container or Plastic Bag: If you don’t have a bread box, you can store your bread in an airtight container or a plastic bag. The tight seal prevents air exchange, helping to maintain moisture and prevent staleness. Remember to choose a container or bag that fits the loaf without squishing it.
- Avoid the Fridge: While refrigerating bread can prolong its shelf life, it also accelerates staling. The cool temperature in the fridge causes moisture in the bread to condense, resulting in a dry and stale texture. Reserve refrigeration for bread that you plan to consume within a day or two.
Keep in mind that bread stored at room temperature will lose its freshness faster than when stored in the fridge or freezer. It’s best to consume it within a few days for the best taste and texture.
Store homemade bread in a paper bag or bread box at room temperature for up to 2-3 days. For longer storage, wrap the bread in plastic wrap and freeze for up to 3 months. Thaw at room temperature when ready to eat.
Freezing Homemade Bread
Freezing homemade bread is an excellent way to extend its shelf life and ensure you always have a fresh loaf on hand. Here’s how to freeze your homemade bread:
- Cool the Bread Completely: Before freezing, make sure your bread has cooled completely. Freezing warm bread can cause ice crystals to form, compromising its texture and quality.
- Wrap the Bread: Wrap the cooled bread tightly in plastic wrap or aluminum foil. This double layer of wrapping helps protect the bread from freezer burn and prevents moisture loss.
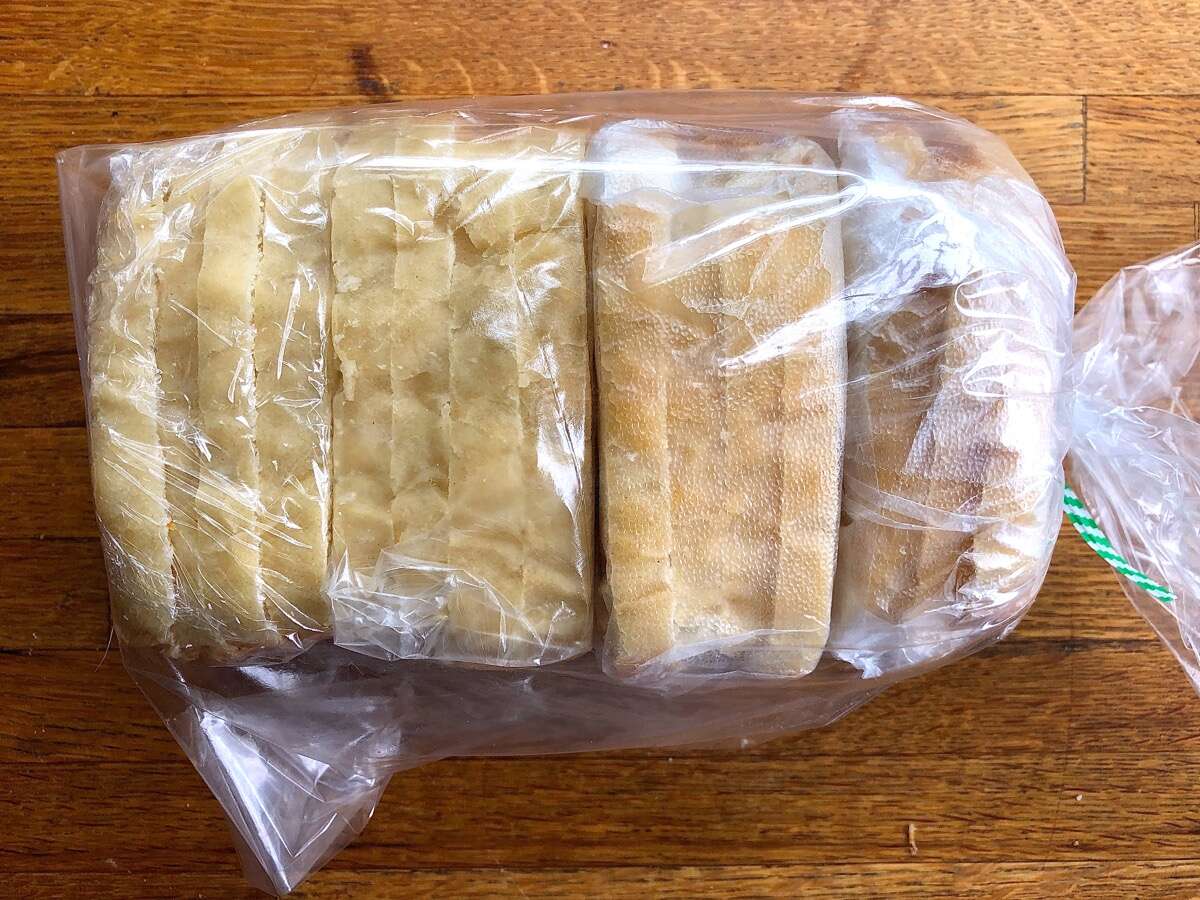
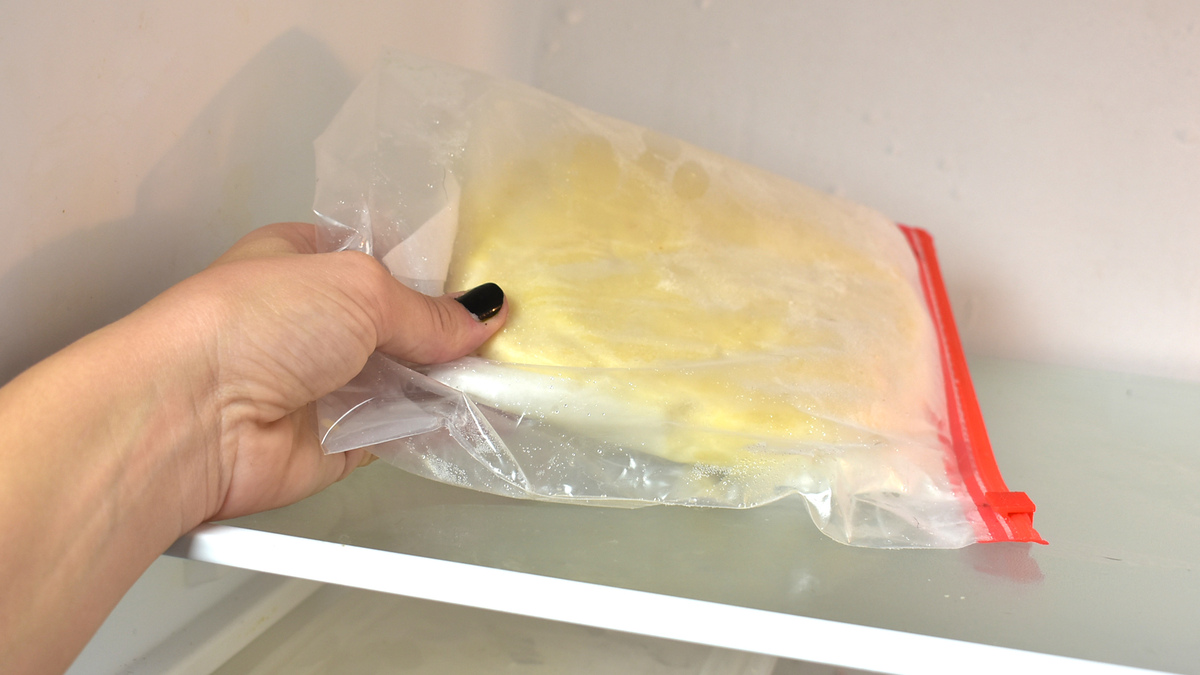
- Place in a Freezer Bag: Once the bread is wrapped, place it in a freezer bag. Squeeze out as much air as possible before sealing the bag tightly. Removing excess air minimizes the risk of freezer burn and maintains the bread’s quality.
- Label and Date: It’s essential to label the freezer bag with the date of freezing. This way, you can keep track of how long the bread has been in the freezer and maintain its freshness.
When properly frozen and stored, homemade bread can last for up to three months in the freezer. However, for the best taste and texture, it’s recommended to consume it within the first month.
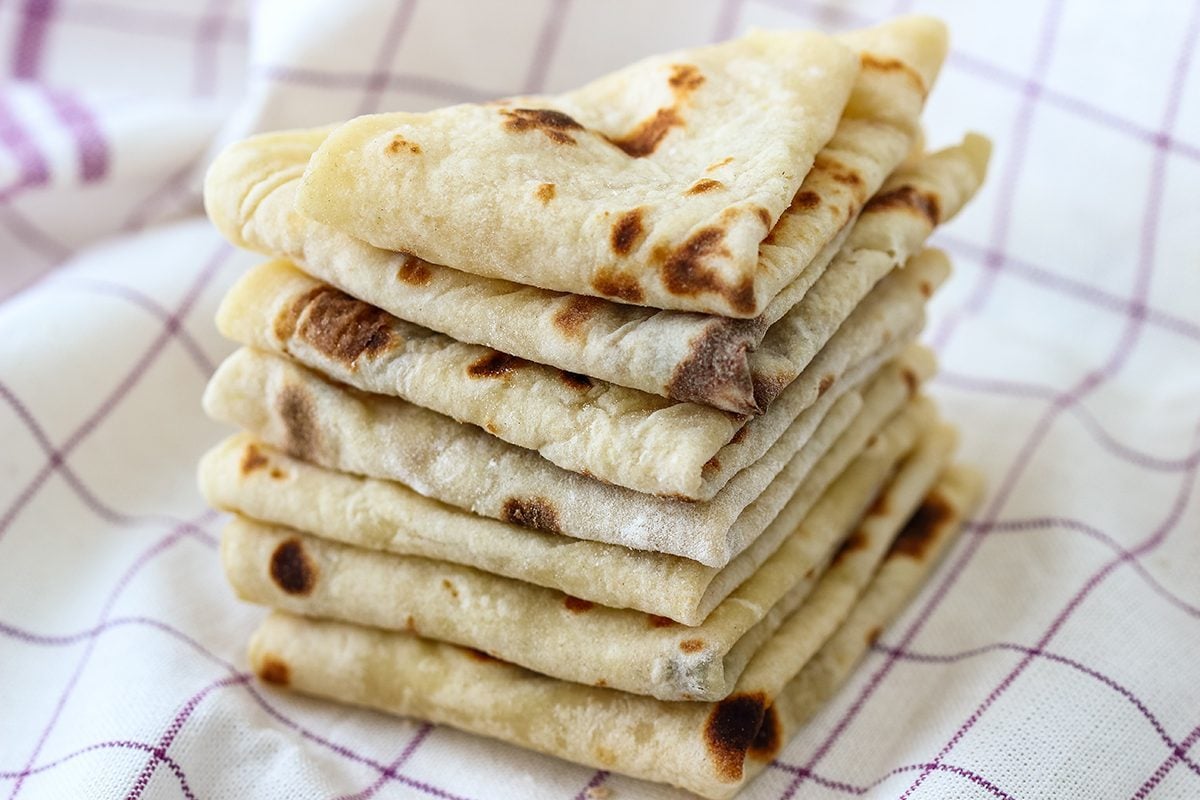
Pro Tip: If you often find yourself needing only a few slices at a time, consider slicing the bread before freezing. This way, you can easily take out individual slices without thawing the entire loaf.
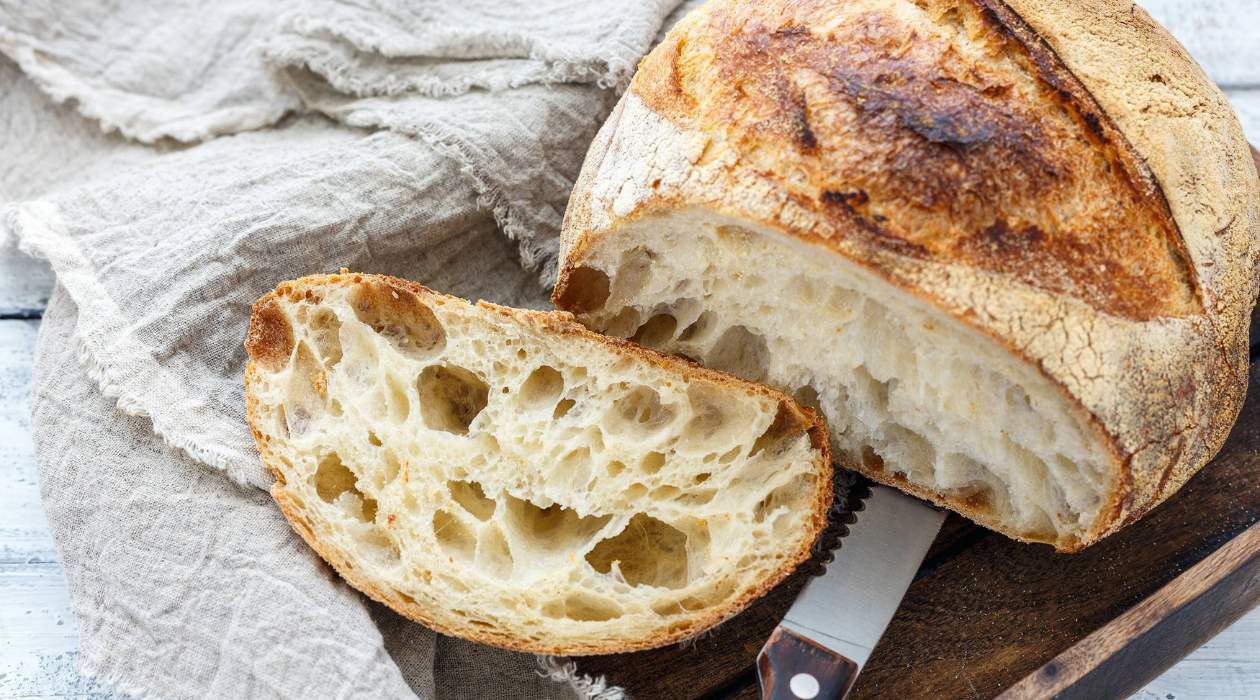
Read more: How To Store A Loaf Of Sourdough
Thawing and Reheating Options
When it’s time to enjoy your frozen homemade bread, proper thawing and reheating techniques will help restore its taste and texture. Here are some options to consider:
- Room Temperature Thawing: The simplest method is to let the bread thaw at room temperature. Remove it from the freezer bag and plastic wrap, then place it on a wire rack or cutting board. Allow it to thaw naturally for a few hours, depending on the size of the loaf. Once fully thawed, the bread will be ready to enjoy. Keep in mind that this method may result in a slightly drier texture compared to freshly baked bread.
- Oven Thawing: If you’re in a hurry and want to thaw your bread more quickly, you can use the oven. Preheat your oven to a low temperature, around 300°F (150°C). Remove the frozen bread from its wrapping and place it directly on the oven rack or a baking sheet. Let it thaw for about 15-20 minutes or until it reaches room temperature. Once thawed, you can lightly toast the bread in the oven for a few minutes to restore its crustiness.
- Toaster or Toaster Oven: For a quick and convenient thawing option, you can slice the frozen bread and pop the slices directly into a toaster or toaster oven. Toasting frozen bread can help bring back some of its original texture and warmth. Adjust the toasting time to achieve your desired level of crispiness.
- Microwave: If you’re looking for the fastest way to thaw frozen bread, you can use the microwave. However, be aware that this method may result in a softer, slightly chewier texture. Place the frozen bread on a microwave-safe plate and microwave on the defrost setting for 30-second intervals until the bread is fully thawed. Be cautious not to overheat or overdo it, as the bread can become rubbery.
Remember that once bread has been thawed, it’s best to consume it within a day or two for optimal taste and freshness. Avoid refreezing thawed bread, as it can affect the texture and quality.
Tips for Preserving Freshness
To keep your homemade bread fresh and delicious for as long as possible, here are some additional tips and tricks:
- Slice When Needed: To prolong the freshness of your bread, it’s best to slice it when you’re ready to eat rather than pre-slicing the entire loaf. This helps prevent moisture loss and maintains the bread’s texture.
- Store in Small Portions: If you’re not planning to consume the entire loaf at once, consider dividing it into smaller portions before storing. This way, you can take out only what you need, reducing exposure to air and helping preserve the overall freshness.
- Keep Away from Moisture: Moisture can lead to mold growth and spoilage. Make sure your bread is stored in a dry environment and avoid storing it near damp surfaces or in areas with high humidity, such as the refrigerator or near a sink.
- Avoid Bread Bags: While it may seem logical to store bread in the bag it came in, those bags are not designed for long-term storage. They don’t provide airtight or moisture-resistant properties, which can accelerate staleness. Transfer your bread to a proper container or wrap it according to the methods mentioned earlier.
- Use Bread Slicers or Bread Knives: When slicing your bread, it’s important to use proper tools to avoid squishing or tearing the loaf. Consider investing in a bread slicer or using a sharp bread knife to achieve clean and even slices.
- Reheat Before Eating: If your bread has become slightly stale, you can revive its freshness by warming it up in the oven or toaster. The gentle heat can help restore some of the moisture and crispness, making it taste more like freshly baked bread.
- Consider Bread Storage Bags: If you frequently bake bread or find yourself with surplus loaves, consider investing in specialized bread storage bags. These bags are designed to provide the optimal environment for storing bread, with features like moisture control and ventilation to extend freshness.
By implementing these tips, you can maximize the lifespan of your homemade bread and enjoy it at its best for an extended period.
Conclusion
Properly storing homemade bread is essential to maintain its freshness and flavor. By choosing the right container, cooling and wrapping the bread correctly, and adopting the right storage methods, you can enjoy your homemade bread for an extended period. Whether you opt to store it at room temperature, freeze it for future use, or follow specific thawing and reheating techniques, these practices will help preserve the integrity of your bread.
Remember, always let your homemade bread cool completely before storing and use proper wrapping techniques to prevent moisture loss and protect against staleness. Consider the available storage options like bread boxes, airtight containers, plastic bags, and freezer bags, depending on your needs and preferred storage method.
Additionally, employ practical tips such as slicing the bread when needed, storing in small portions, avoiding moisture, and utilizing proper tools for slicing. If your bread does become slightly stale, reheating it can breathe new life into it and restore its original texture and flavor.
Ultimately, the key is to find a storage method and routine that works for you and your baking habits. Experiment with different techniques and containers to determine the best way to preserve the freshness and quality of your homemade bread for as long as possible.
So, the next time you indulge in the delight of baking your own bread, rest assured that you have the knowledge to store it properly and enjoy delicious, homemade goodness whenever you desire.
Frequently Asked Questions about How To Store Homeade Bread
Was this page helpful?
At Storables.com, we guarantee accurate and reliable information. Our content, validated by Expert Board Contributors, is crafted following stringent Editorial Policies. We're committed to providing you with well-researched, expert-backed insights for all your informational needs.


0 thoughts on “How To Store Homeade Bread”