
Articles
How To Store Homemade Apple Pie
Modified: August 19, 2024
Learn the best methods for storing your delicious homemade apple pie to ensure it stays fresh and flavorful. Find helpful articles and tips here.
(Many of the links in this article redirect to a specific reviewed product. Your purchase of these products through affiliate links helps to generate commission for Storables.com, at no extra cost. Learn more)
Introduction
There’s nothing quite like the delicious aroma of a homemade apple pie wafting through your kitchen. Whether it’s a special occasion or just a craving for something sweet and comforting, baking an apple pie from scratch is a rewarding experience. From preparing the buttery crust to slicing the juicy apples and creating a warm cinnamon filling, every step contributes to the creation of a mouthwatering masterpiece.
But what if you find yourself with more pie than you can devour in one sitting? Don’t worry – storing your homemade apple pie is easier than you think. With proper storage techniques, you can enjoy the same level of freshness and flavor even days after baking.
In this article, we will guide you through the process of storing a homemade apple pie, ensuring that it remains just as delicious as when it first came out of the oven. So, let’s roll up our sleeves and get ready to indulge in some perfectly stored pie goodness!
Key Takeaways:
- Store homemade apple pie in an airtight container or tightly wrapped with plastic to maintain freshness. Refrigerate for a few days or freeze for longer enjoyment.
- Allow the pie to cool completely before storing to preserve its shape and texture. When ready to enjoy, let it come to room temperature for about 1 hour.
Read more: How To Store Homemade Pies
Ingredients
Before we dive into the process of storing a homemade apple pie, let’s quickly go over the basic ingredients you’ll need to bake it:
- 2 ½ cups all-purpose flour
- 1 teaspoon salt
- 1 cup unsalted butter, cold and cubed
- ¼ to ½ cup ice water
- 6 to 7 cups peeled, cored, and sliced apples (such as Granny Smith or Honeycrisp)
- 1 cup granulated sugar
- 2 tablespoons all-purpose flour
- 1 teaspoon cinnamon
- ¼ teaspoon nutmeg
- 1 tablespoon lemon juice
- 2 tablespoons unsalted butter, melted
- Egg wash (1 egg beaten with 1 tablespoon water)
- Granulated sugar, for sprinkling
These ingredients will help you create a perfect apple pie that is both flaky and flavorful. Feel free to adjust the sugar and spice quantities according to your preference.
Step 1: Preparing the Pie Crust
The first step in making a homemade apple pie is preparing the crust. The crust acts as the foundation for your pie and plays a crucial role in achieving that perfect balance of flakiness and tenderness.
To prepare the pie crust, follow these simple steps:
- In a large mixing bowl, combine the all-purpose flour and salt.
- Add the cold, cubed unsalted butter to the bowl.
- Using a pastry cutter or your fingertips, cut the butter into the flour until the mixture resembles coarse crumbs.
- Gradually add the ice water, a few tablespoons at a time, tossing the mixture with a fork to distribute the moisture.
- Continue adding water until the dough comes together and can be formed into a ball. Be careful not to overwork the dough.
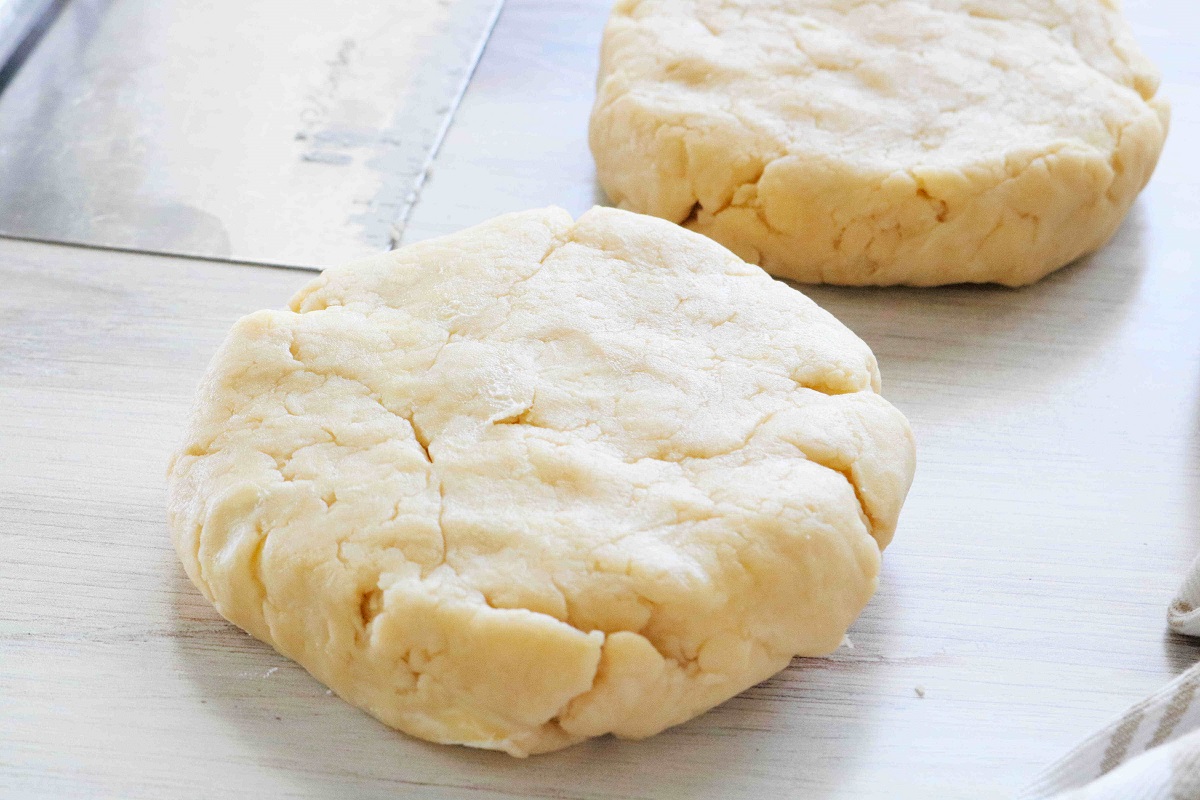
- Divide the dough into two equal portions and shape them into disks.
- Wrap each disk tightly in plastic wrap and refrigerate for at least 1 hour, or overnight if possible. This chilling time allows the dough to rest and the gluten to relax, resulting in a tender crust.
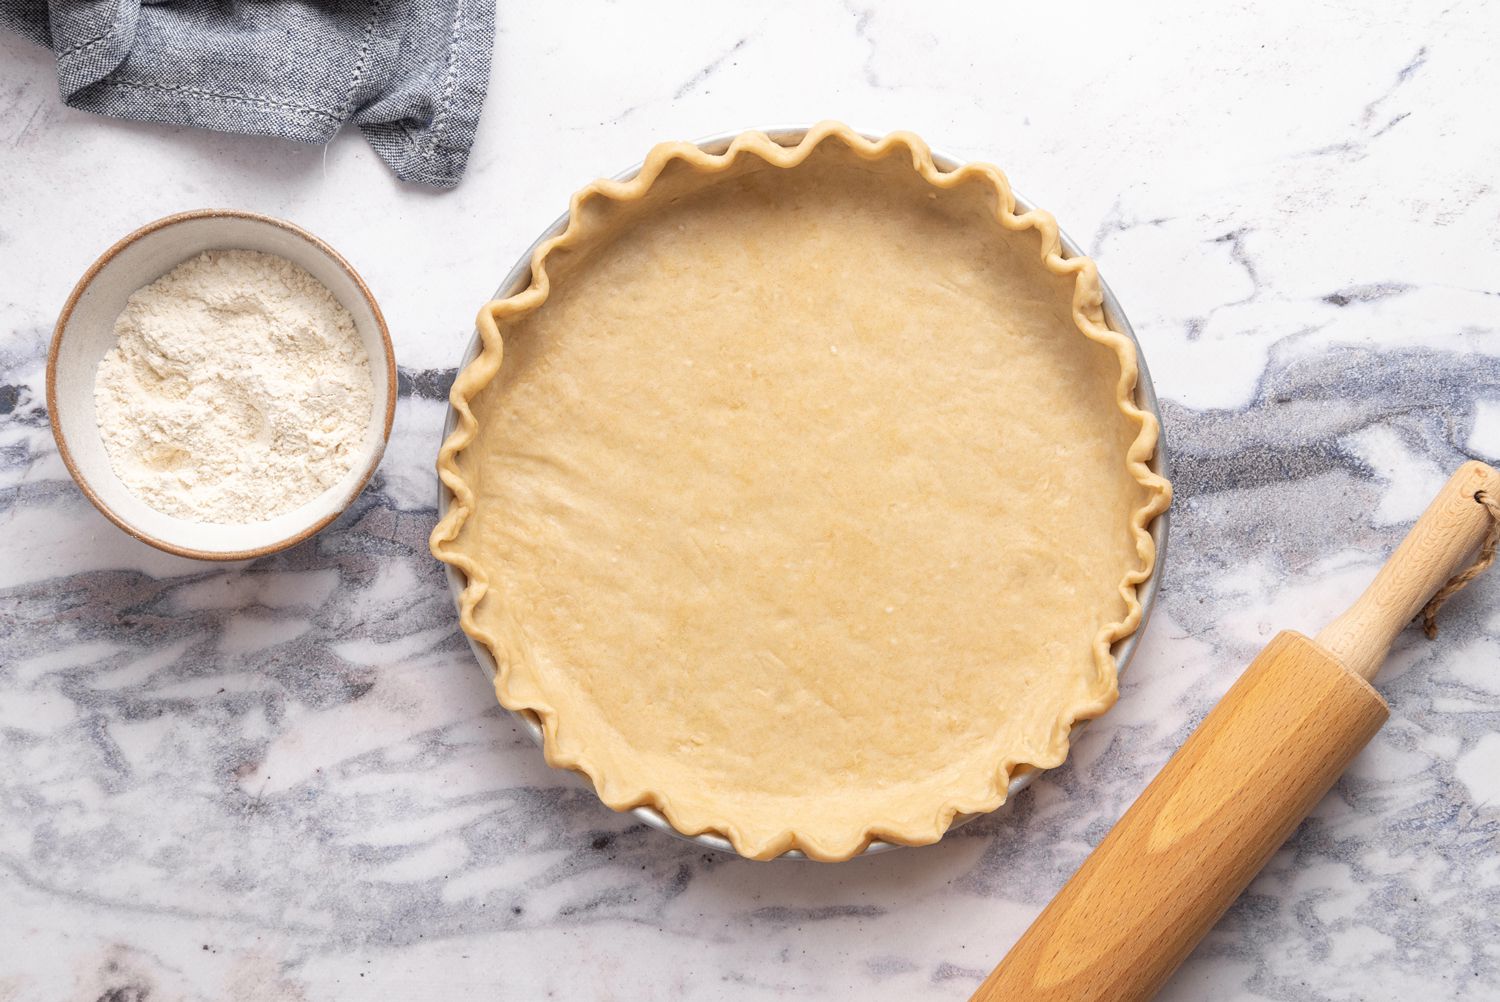
Once the pie crust has chilled, it’s ready to be rolled out and used for your apple pie. Remember to lightly flour your work surface and rolling pin to prevent sticking. Roll out one disk of dough to fit the bottom of your pie dish. Trim any excess overhang.
Now that the pie crust is prepped, let’s move on to creating the delicious apple filling!
Step 2: Making the Apple Filling
The apple filling is the heart and soul of any apple pie. It’s where all the juicy, sweet, and fragrant flavors come together. To create a delicious apple filling for your homemade pie, follow these steps:
- In a large mixing bowl, combine the peeled, cored, and sliced apples.
- Add the granulated sugar, all-purpose flour, cinnamon, nutmeg, and lemon juice to the bowl.
- Gently toss the apple slices with the sugar and spice mixture until they are evenly coated.
The sugar will sweeten the apples while the flour helps to thicken the filling as it bakes. The cinnamon and nutmeg add warmth and depth of flavor, while the lemon juice adds a touch of brightness and helps prevent the apples from browning.
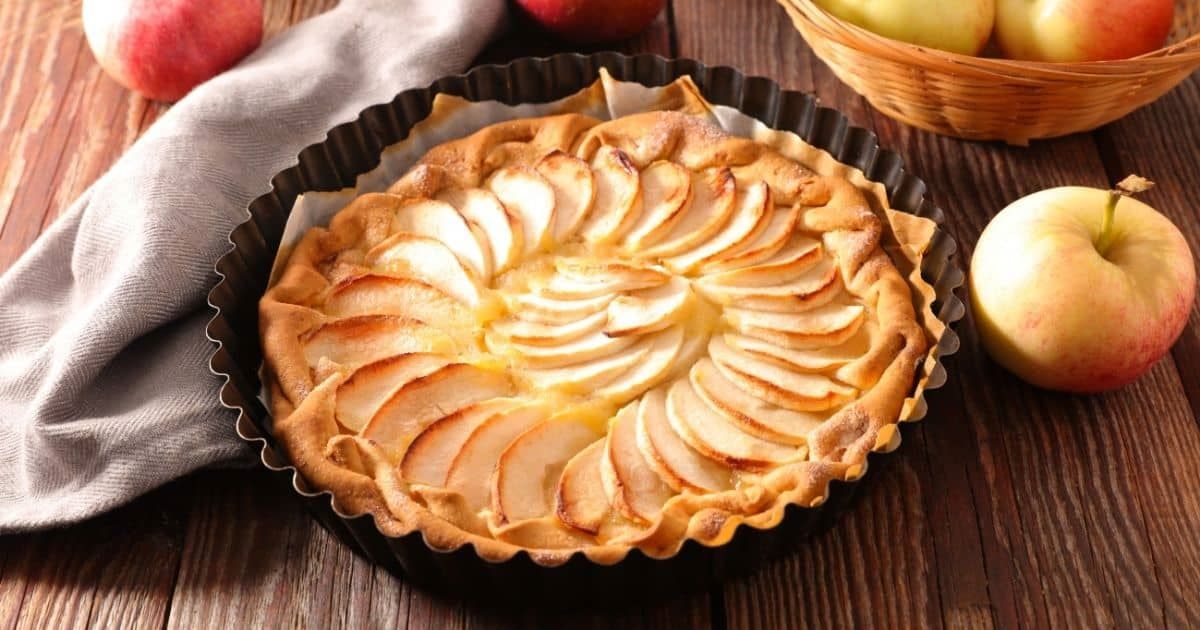
Your apple filling is now ready to be added to the prepared pie crust. Pour the filling into the crust, spreading it evenly. For a more decorative touch, you can arrange the apple slices in a spiral pattern or any design you prefer.
Now that the pie crust is filled with the delicious apple mixture, it’s time to move on to the next step – assembling and baking the pie!
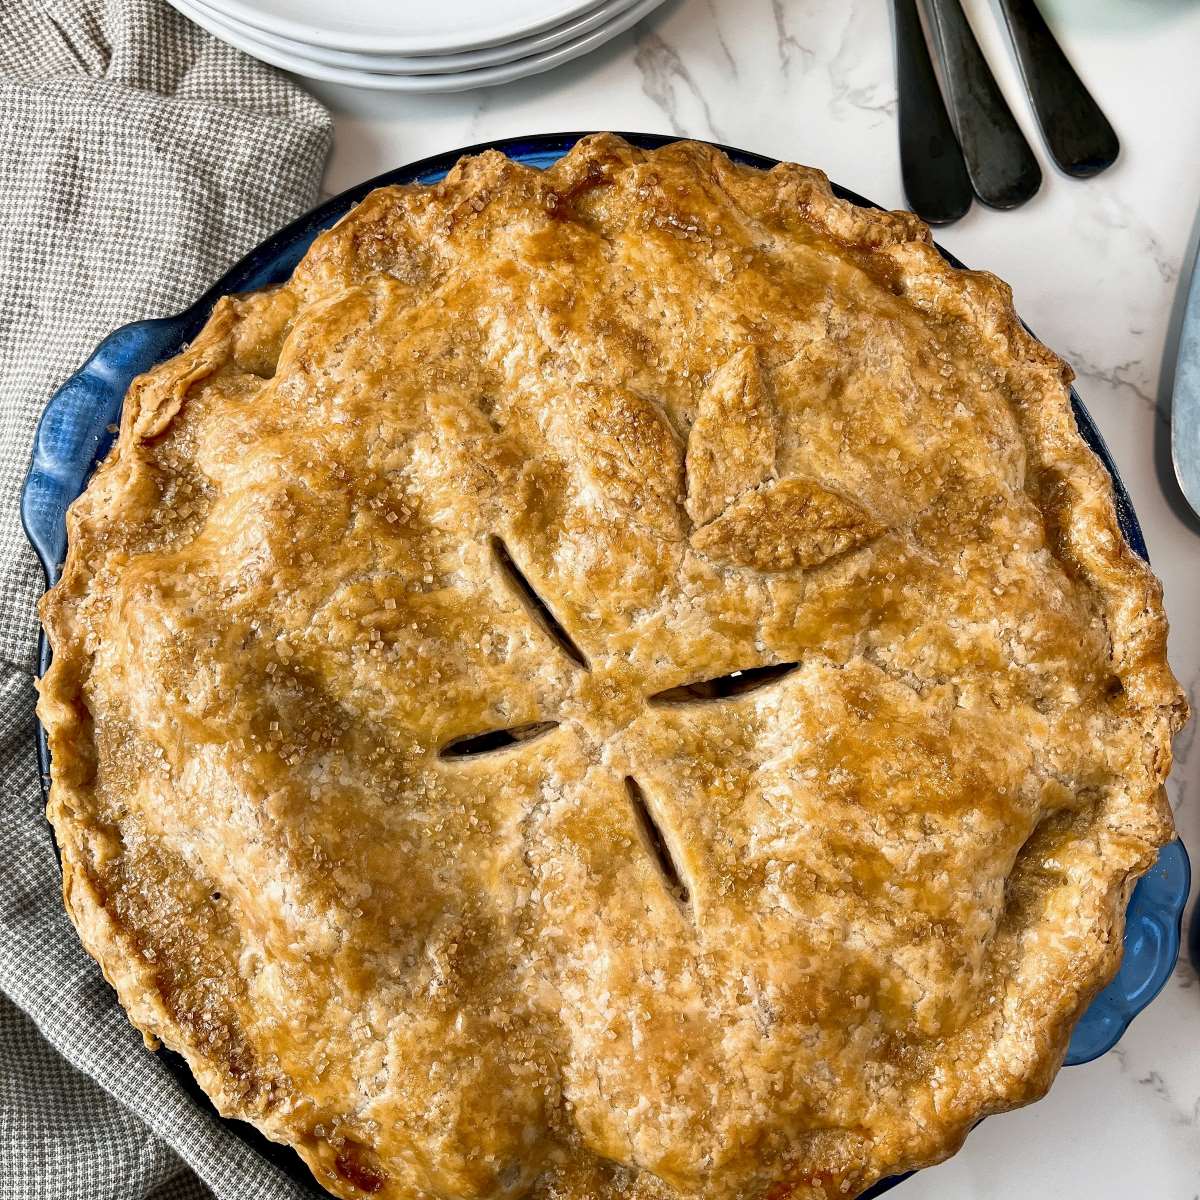
After baking, let the homemade apple pie cool completely at room temperature. Once cooled, cover the pie with plastic wrap or aluminum foil and store it in the refrigerator for up to 4 days.
Step 3: Assembling and Baking the Pie
With the crust prepared and the apple filling ready, it’s time to assemble your homemade apple pie and bake it to perfection. Here’s how:
- Preheat your oven to 375°F (190°C).
- Place the filled pie crust on a baking sheet lined with parchment paper or a silicone mat to catch any drips.
- Brush the edges of the pie crust with the melted butter. This will give the crust a beautiful golden color and enhance its flavor.
- If desired, place a second rolled-out pie crust on top of the apple filling to create a double-crusted pie. Make sure to cut slits or create decorative vents on the top crust to allow steam to escape during baking.
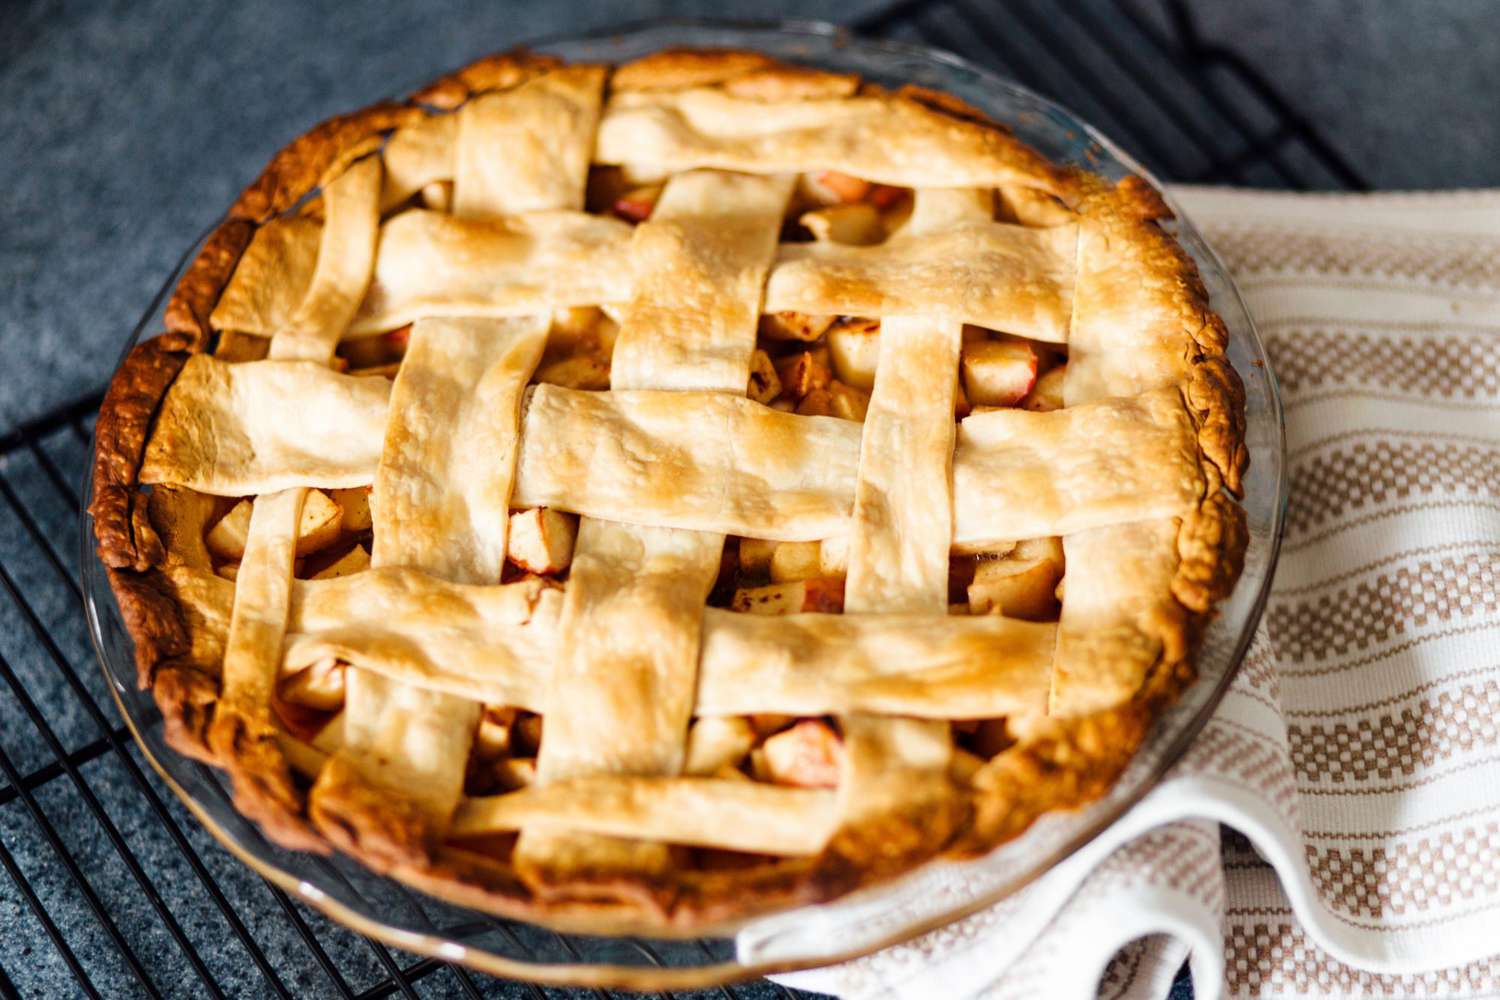
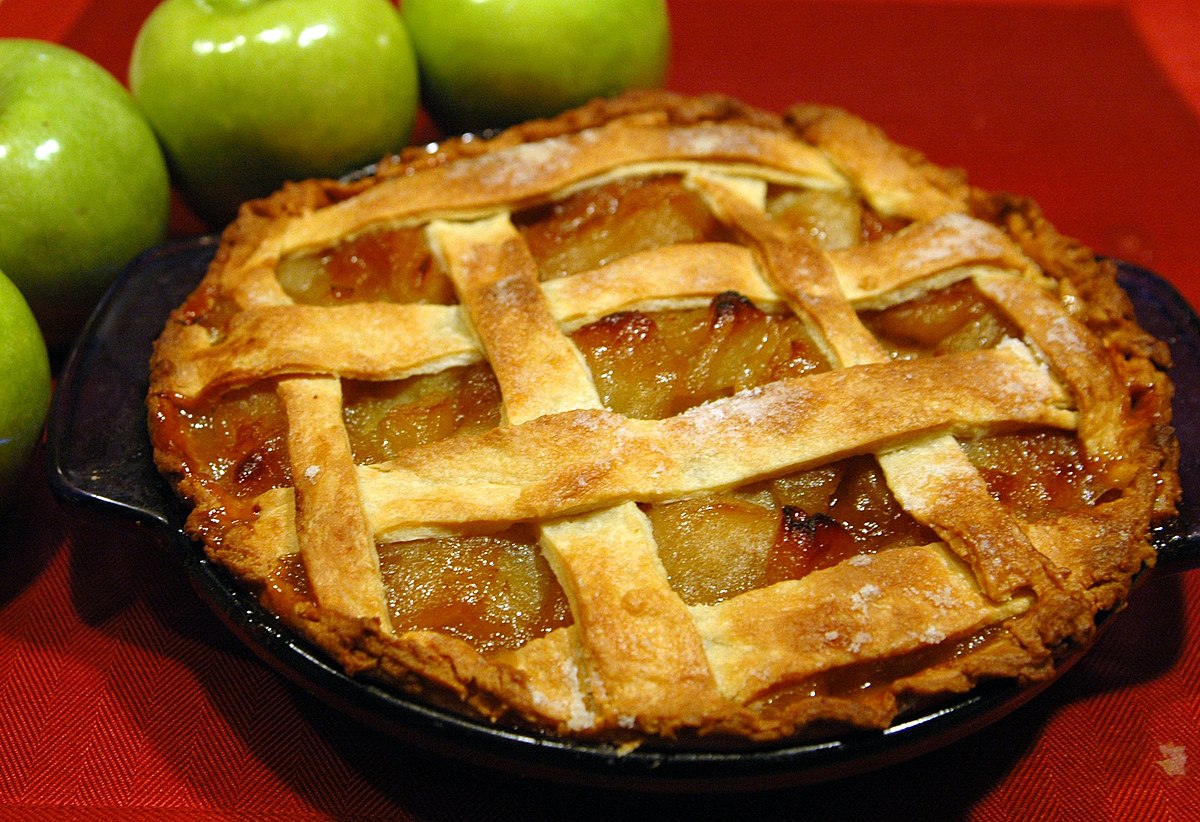
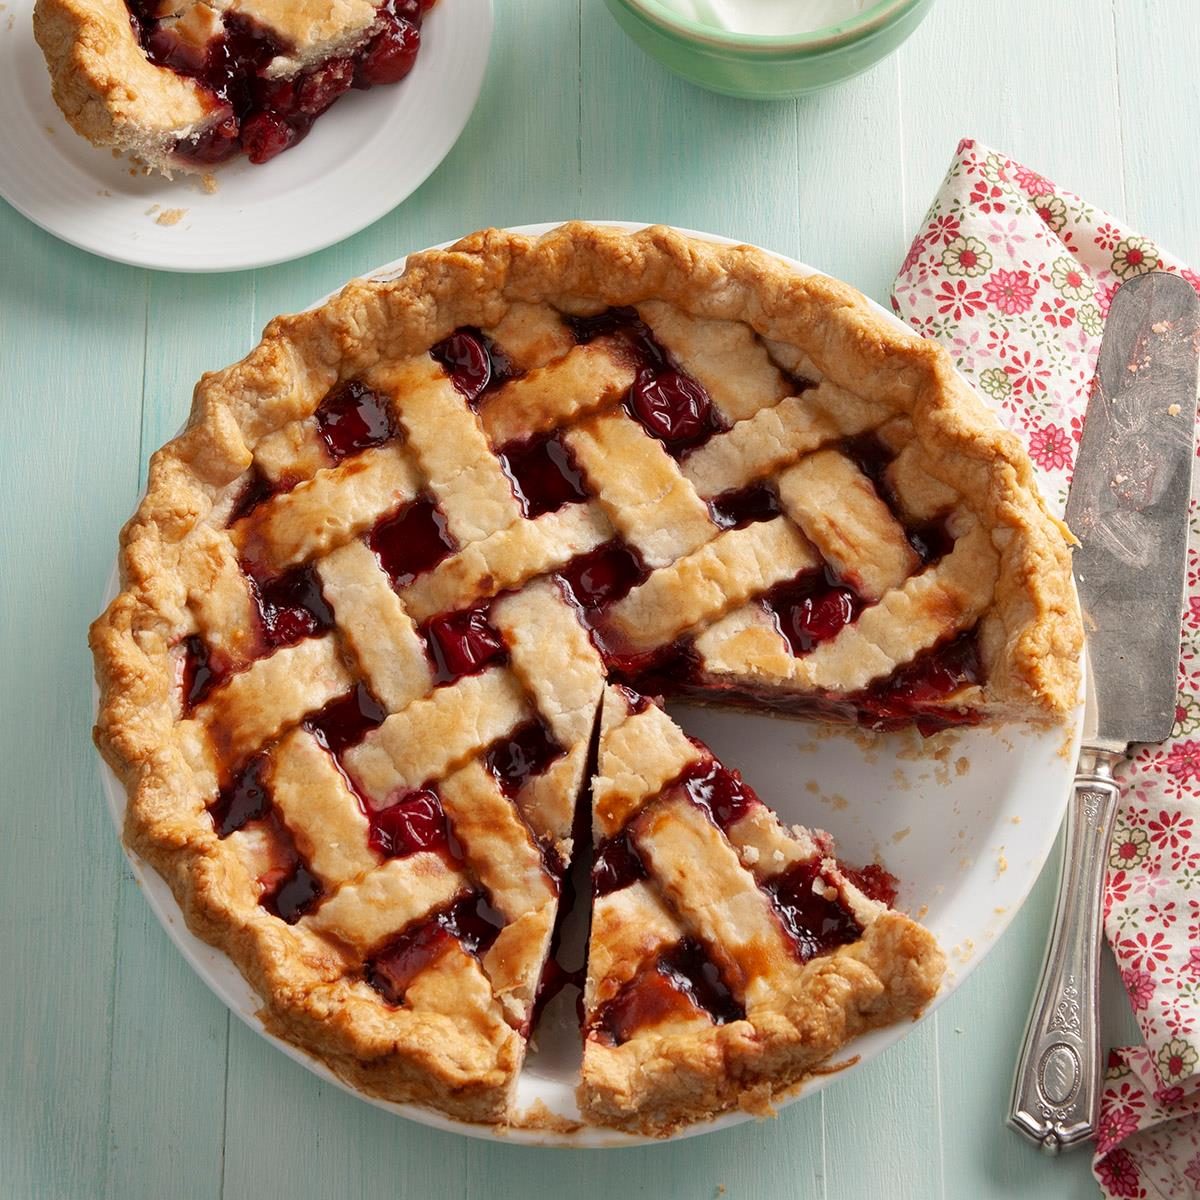
- Alternatively, you can create a lattice crust by weaving strips of pie dough over the filling.
- Brush the top crust with the egg wash and sprinkle it with granulated sugar for a sweet and crispy finish.
- Bake the pie in the preheated oven for 45 to 55 minutes or until the crust is golden brown and the filling is bubbling.
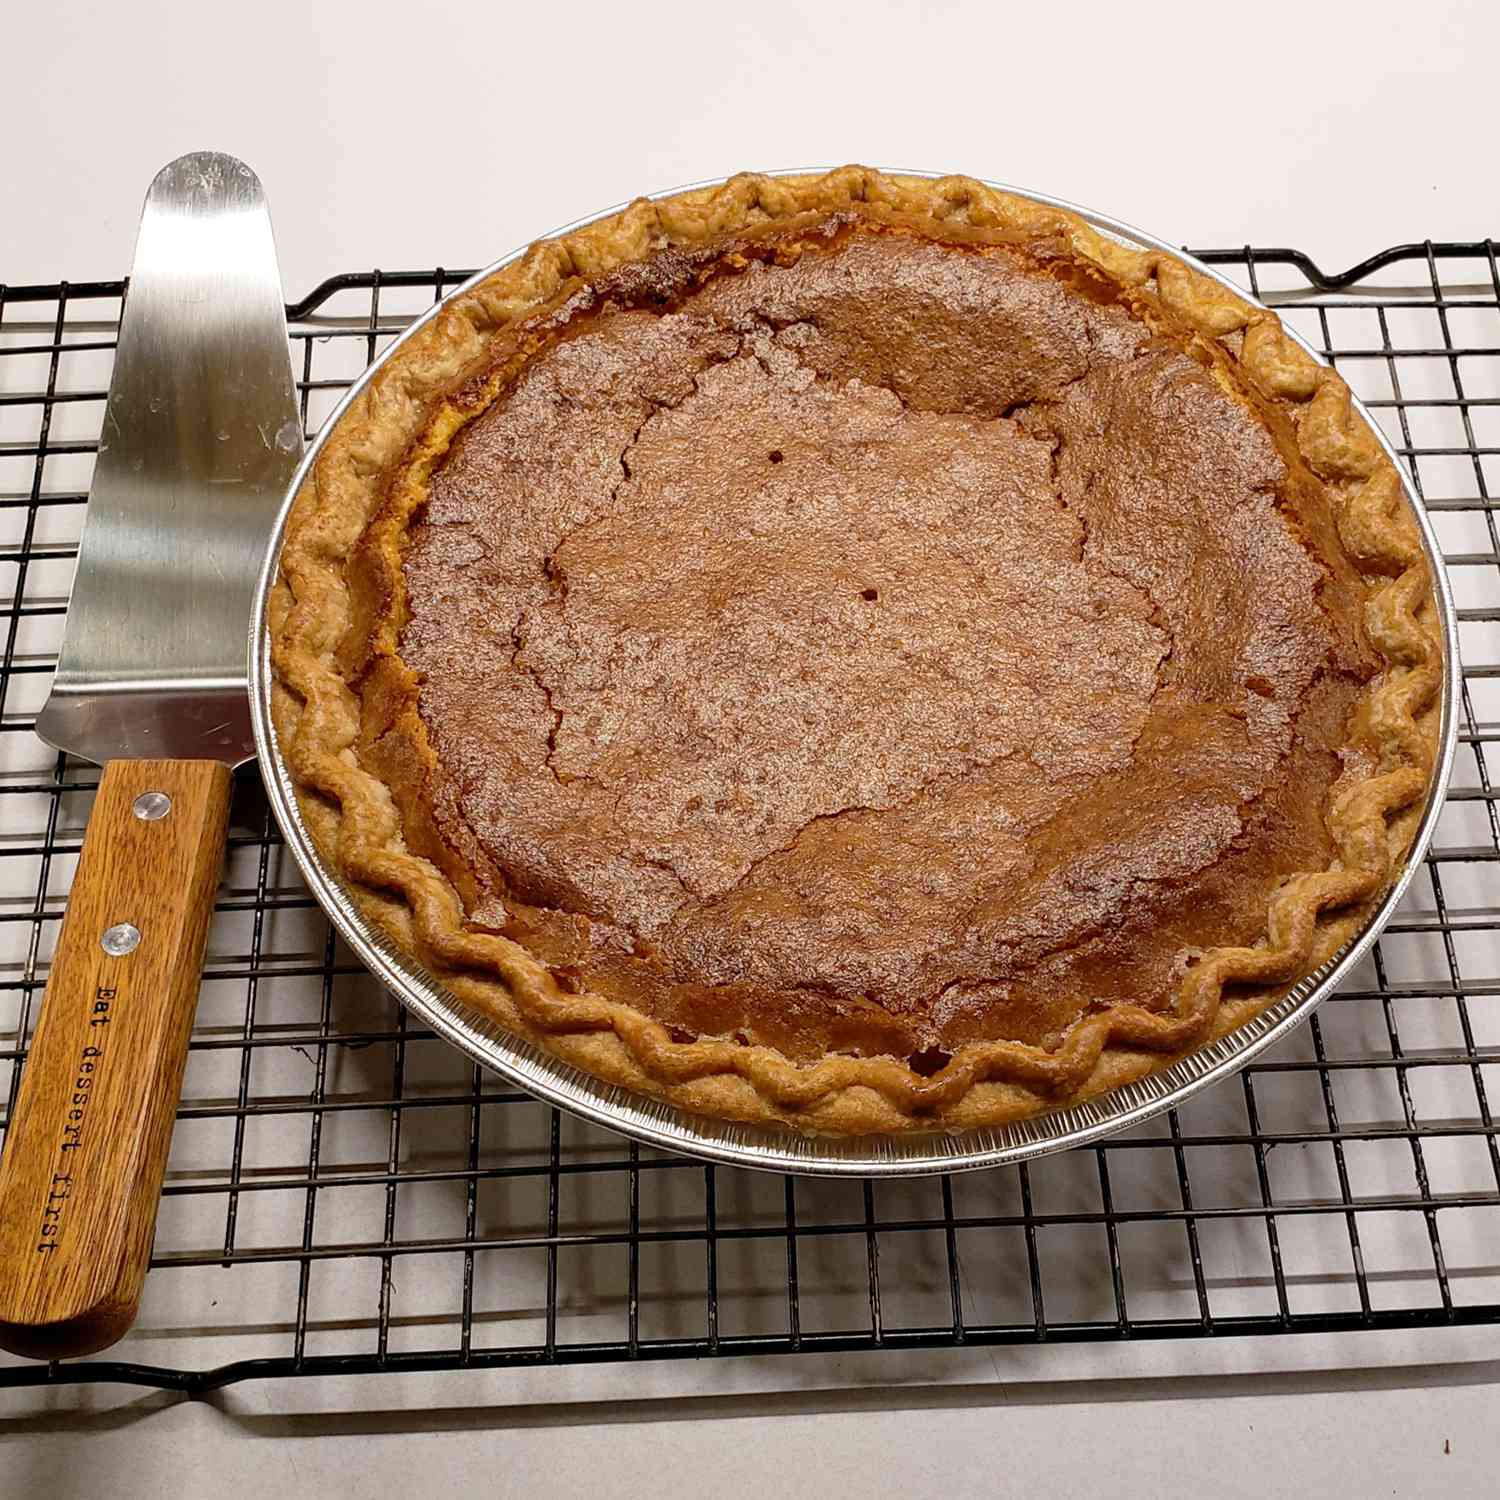
- Remove the pie from the oven and allow it to cool on a wire rack for at least 2 hours.
Resist the temptation to cut into the pie immediately as it needs time to set. The cooling period will help the filling thicken and make for clean slices when serving.
Now that your apple pie is baked to perfection, it’s time to move on to the crucial step of storing it to maintain its freshness and deliciousness.
Read more: How To Store Apple Pie
Step 4: Allow the Pie to Cool
After baking your homemade apple pie, it’s important to allow it to cool before storing it. This step is essential to ensure that the pie retains its shape and texture while being stored.
Follow these guidelines to properly cool your apple pie:
- Once the pie is removed from the oven, place it on a wire rack.
- Allow the pie to cool at room temperature for at least 2 hours. During this time, the pie will continue to set and the filling will thicken.
- Avoid placing the hot pie on a cold surface or in the refrigerator immediately, as this can result in a soggy crust.
While waiting for the pie to cool, your kitchen will be filled with the delightful aroma of freshly baked apples and warm spices, making it even more challenging to resist taking a bite!
Once the pie has cooled completely, it’s time to move on to the final step of storing your homemade apple pie.
Step 5: Storing the Homemade Apple Pie
Properly storing your homemade apple pie is key to preserving its freshness and flavor. Follow these steps to ensure your pie stays delicious for as long as possible:
- Place the cooled apple pie in an airtight container or cover it tightly with plastic wrap. This will help prevent the pie from drying out and absorbing any odors from the refrigerator.
- Refrigerate the pie to keep it fresh. The cold temperature will slow down the spoilage process and maintain the pie’s texture.
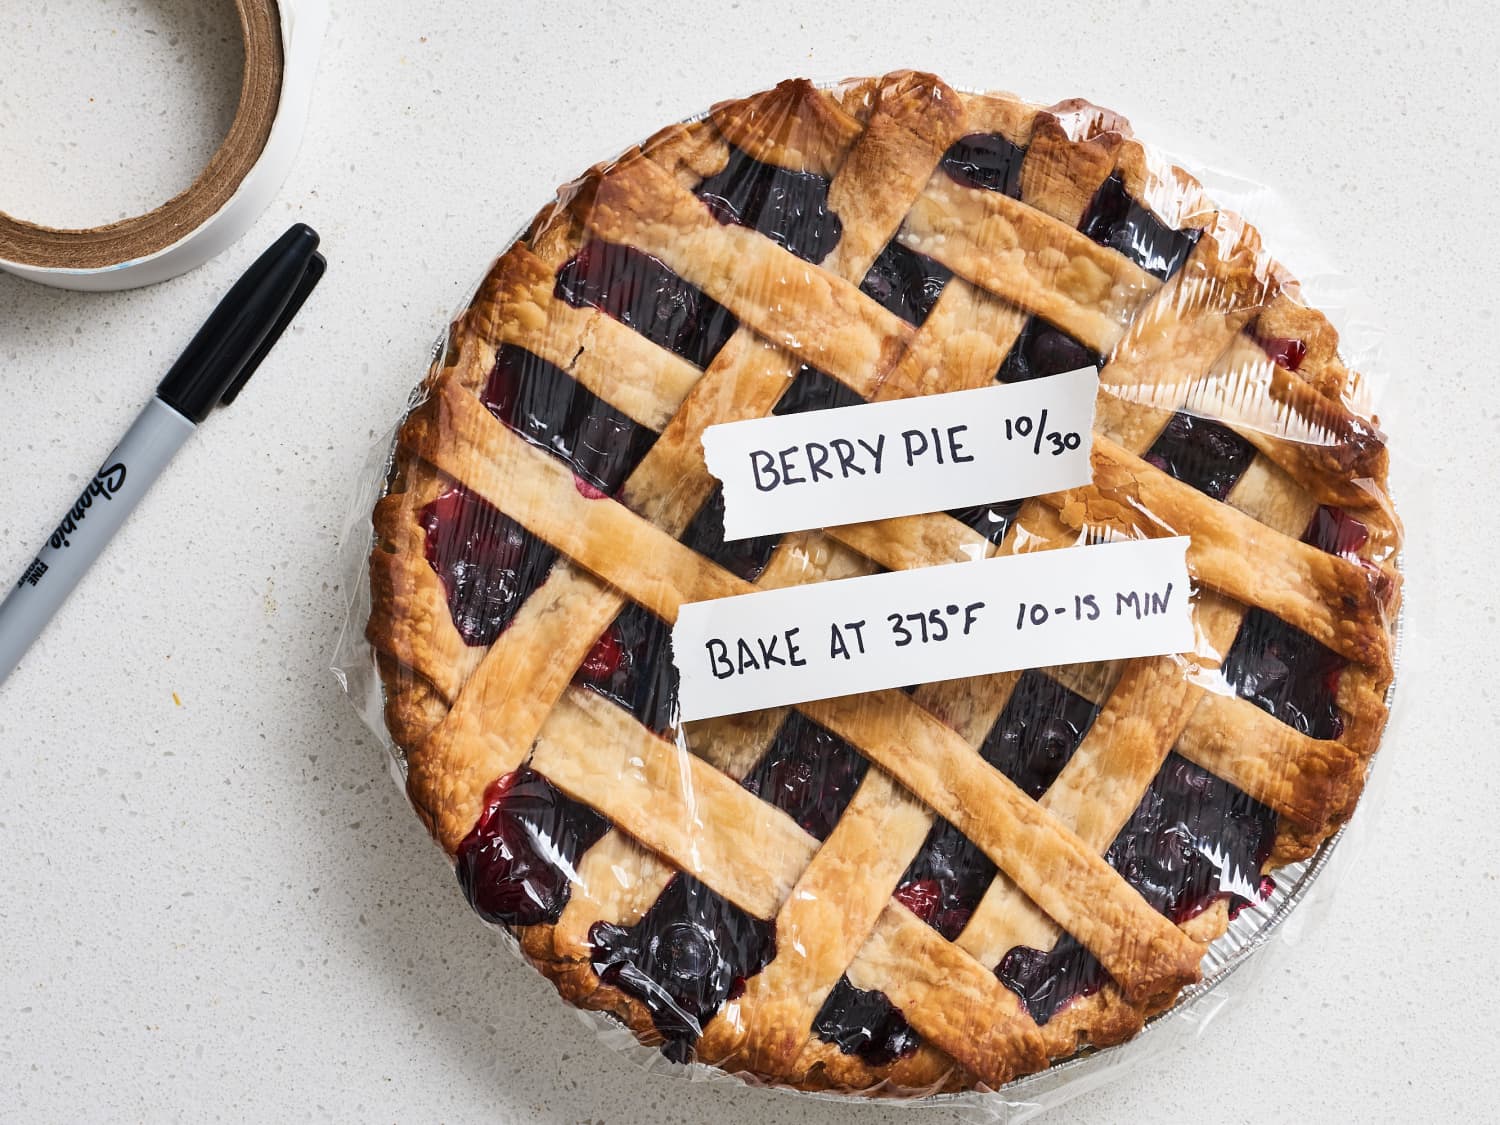
- If you plan on storing the pie for more than a couple of days, consider placing it in the freezer. Wrap the pie tightly with several layers of plastic wrap and aluminum foil to prevent freezer burn.
- Label the container or wrap with the date to easily keep track of its freshness.
- When ready to enjoy the pie, remove it from the refrigerator or freezer and allow it to come to room temperature for about 1 hour before serving.
- If desired, you can reheat individual slices of pie in the microwave or warm the whole pie in the oven at a low temperature for a few minutes.
It’s worth noting that while a homemade apple pie can be stored for several days in the refrigerator and even longer in the freezer, its texture and taste may slightly change over time. It’s best to consume the pie within a week for the best experience.
Now that you know how to store your homemade apple pie, you can confidently bake one whenever the craving strikes and enjoy it for days to come!
Conclusion
Congratulations! You’ve successfully baked a homemade apple pie and learned how to store it to maintain its freshness and deliciousness. By following the step-by-step instructions provided, you can savor the flavors of your apple pie for days after it’s baked.
The process of making a homemade apple pie from scratch is a labor of love. From preparing the buttery crust to creating a flavorful apple filling, each step contributes to the final result – a mouthwatering pie that is sure to impress your friends and family.
Remember to allow the pie to cool completely before storing it. Properly wrap or place it in an airtight container to prevent the pie from drying out or absorbing unwanted odors. Refrigerating or freezing the pie is a great way to extend its shelf life, keeping it fresh and ready to enjoy whenever you desire a slice of homemade goodness.
When you’re ready to indulge in your stored apple pie, give it some time to come to room temperature. Reheat individual slices if desired, or warm the whole pie in the oven for a few minutes to restore its irresistible warmth.
Now that you have the knowledge and skills to store your homemade apple pie, you can confidently bake one anytime you want to treat yourself or wow your guests. So roll up your sleeves, gather your ingredients, and let the aroma of freshly baked apple pie fill your kitchen once again!
Frequently Asked Questions about How To Store Homemade Apple Pie
Was this page helpful?
At Storables.com, we guarantee accurate and reliable information. Our content, validated by Expert Board Contributors, is crafted following stringent Editorial Policies. We're committed to providing you with well-researched, expert-backed insights for all your informational needs.


0 thoughts on “How To Store Homemade Apple Pie”