Articles
How To Store Einstein Bagels
Modified: February 26, 2024
Learn how to store Einstein Bagels and keep them fresh with these helpful articles. Discover tips and tricks for proper storage techniques.
(Many of the links in this article redirect to a specific reviewed product. Your purchase of these products through affiliate links helps to generate commission for Storables.com, at no extra cost. Learn more)
Introduction
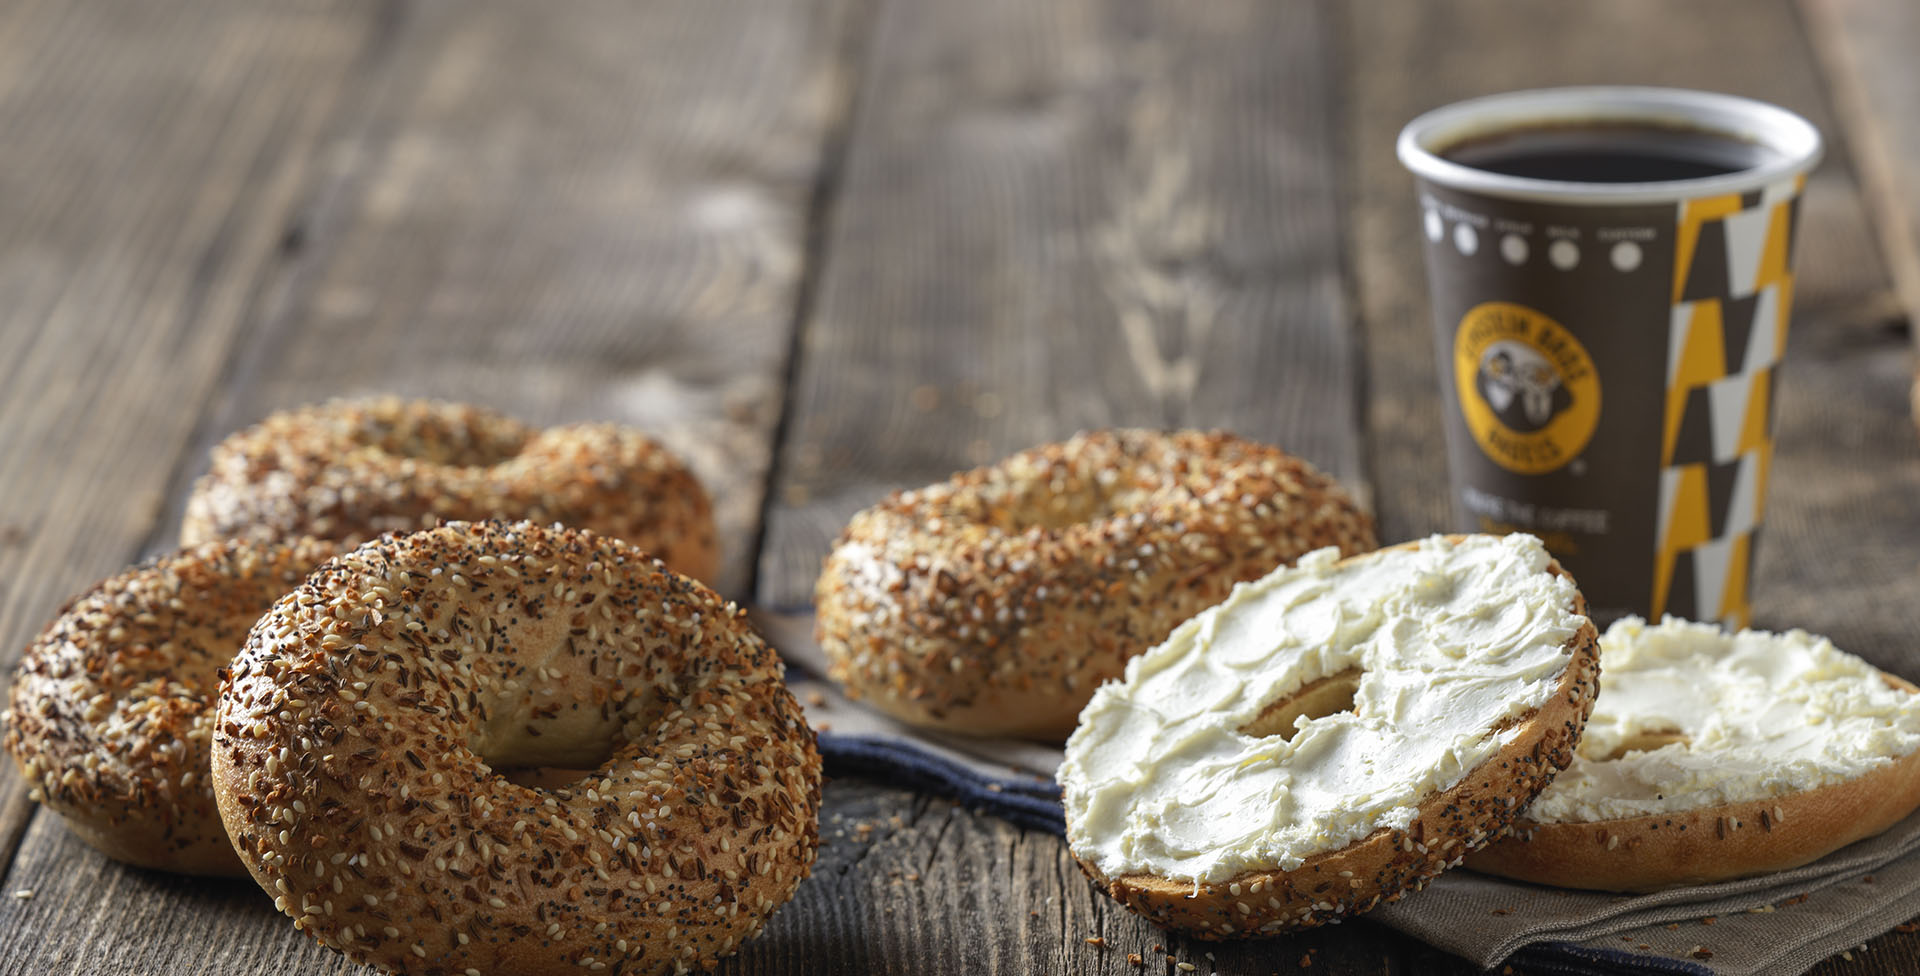
Welcome to the wonderful world of bagels! There’s nothing quite like biting into a fresh, chewy bagel topped with cream cheese or your favorite spread. But what happens when you have more bagels than you can eat in one sitting? How do you store them to keep them fresh and delicious for as long as possible?
In this article, we’ll unravel the secrets of proper bagel storage and share valuable tips on how to extend their shelf life. Whether you’re a bagel lover who likes to stock up or a cafe owner looking to keep your inventory fresh, we’ve got you covered.
One of the key factors in preserving the quality of your bagels is choosing the right storage container. Let’s dive in and explore the various options.
Key Takeaways:
- Keep your bagels fresh by choosing the right storage container, properly sealing them, and deciding between refrigeration, freezing, or room temperature storage. Enjoy delicious, chewy bagels anytime with these expert tips!
- Maximize the shelf life of your bagels with helpful tips like buying fresh, using airtight containers, and refreshing stale bagels. Indulge in the delightful world of bagels without worrying about them going stale!
Read more: How To Store Bagels In Freezer
Choosing the Right Storage Container
When it comes to storing bagels, selecting the appropriate container is crucial. The ideal container should provide airtight seals to prevent moisture loss and keep the bagels fresh.
One popular option is a food storage bag that is specifically designed for bread products. These bags are typically made of thick, durable plastic that helps preserve the texture and flavor of the bagels. Look for bags that have a resealable closure or a zipper to ensure a tight seal.
If you prefer a more eco-friendly option, consider using a reusable silicone bag that is both airtight and easy to clean. These bags not only keep the bagels fresh but also reduce plastic waste.
Another alternative is a plastic or glass storage container with a secure lid. Make sure the container is large enough to accommodate the size of your bagels without squishing them. Look for containers with a tight-fitting lid that creates a seal when closed.
Remember to avoid storage containers that are too flimsy or do not provide a proper seal. This can lead to moisture loss or bagels becoming stale more quickly.
Once you have chosen the right storage container, the next step is to properly seal the bagels to maintain their freshness. Let’s explore how to achieve this in the next section.
Properly Sealing the Bagels
To keep your bagels fresh and prevent them from drying out, it’s important to properly seal them before storing.
If you are using a food storage bag or a reusable silicone bag, simply place the bagels inside and close the seal tightly. Press out any excess air to maximize the freshness of the bagels. This airtight seal will help maintain the bagels’ moisture content and prevent them from becoming stale.
If you prefer using a plastic or glass container, wrap each bagel individually in plastic wrap or aluminum foil before placing them in the container. This added layer of protection helps maintain their freshness and prevents air from reaching the bagels.
Remember to label and date your bagels before sealing them, especially if you store different varieties or flavors. This will help you keep track of their freshness and ensure you use the oldest ones first.
Ensuring proper sealing is essential whether you choose to refrigerate or freeze your bagels. Let’s explore the differences between these two storage methods in the next section.
Refrigeration vs. Freezing
When it comes to storing bagels, you have the option to either refrigerate or freeze them. Both methods have their advantages and it’s important to understand the differences to make the best choice for your bagels.
Refrigeration is a suitable option if you plan on consuming your bagels within a few days. To refrigerate bagels, place them in an airtight container or seal them in a bag and store them in the refrigerator. The cool temperature of the fridge helps slow down the staling process, keeping your bagels fresh and chewy for a short period of time.
On the other hand, freezing bagels allows you to store them for a much longer duration, extending their shelf life for up to several months. Freezing is ideal if you have a surplus of bagels or want to stock up for future consumption.
To freeze bagels, make sure they are properly sealed to prevent freezer burn and moisture loss. Place the bagels in an airtight container or wrap them tightly in plastic wrap or aluminum foil. Then, transfer them to the freezer.
When you’re ready to enjoy your frozen bagels, simply remove the desired quantity and thaw them at room temperature or in the microwave. Thawing in the refrigerator overnight is the recommended method as it helps preserve their texture and flavor.
Keep in mind that once you thaw and consume a bagel, it is not recommended to refreeze it as the texture and taste may be affected.
Now that you understand the options of refrigeration and freezing, let’s explore a third alternative – storing bagels at room temperature.
Store Einstein Bagels in an airtight container at room temperature for up to 2 days. For longer storage, freeze the bagels in a resealable plastic bag for up to 3 months. Thaw at room temperature or in the microwave before enjoying.
Storing Bagels at Room Temperature
While refrigeration and freezing are common methods for storing bagels, another option is to keep them at room temperature. This method is ideal if you plan to consume the bagels within a day or two.
When storing bagels at room temperature, it’s important to ensure they are properly sealed to maintain their freshness. Use airtight containers, food storage bags, or wrap them tightly in plastic wrap or aluminum foil.
Find a cool and dry spot in your kitchen or pantry to store the bagels. Avoid exposing them to direct sunlight or areas with high humidity, as these conditions can lead to quicker staleness and mold growth.
It’s worth noting that bagels stored at room temperature may become stale faster compared to those refrigerated or frozen. However, if you plan to enjoy them within a short period of time, this method allows for easy accessibility and immediate consumption.
Now that we’ve covered various storage methods, let’s move on to the next important topic – reheating and refreshing bagels.
Read more: How To Store Panera Bagels
Reheating and Refreshing Bagels
There’s nothing quite like the warm, fresh-out-of-the-oven taste of a bagel. If you find yourself with a leftover or slightly stale bagel, fear not, as there are ways to rejuvenate its texture and flavor.
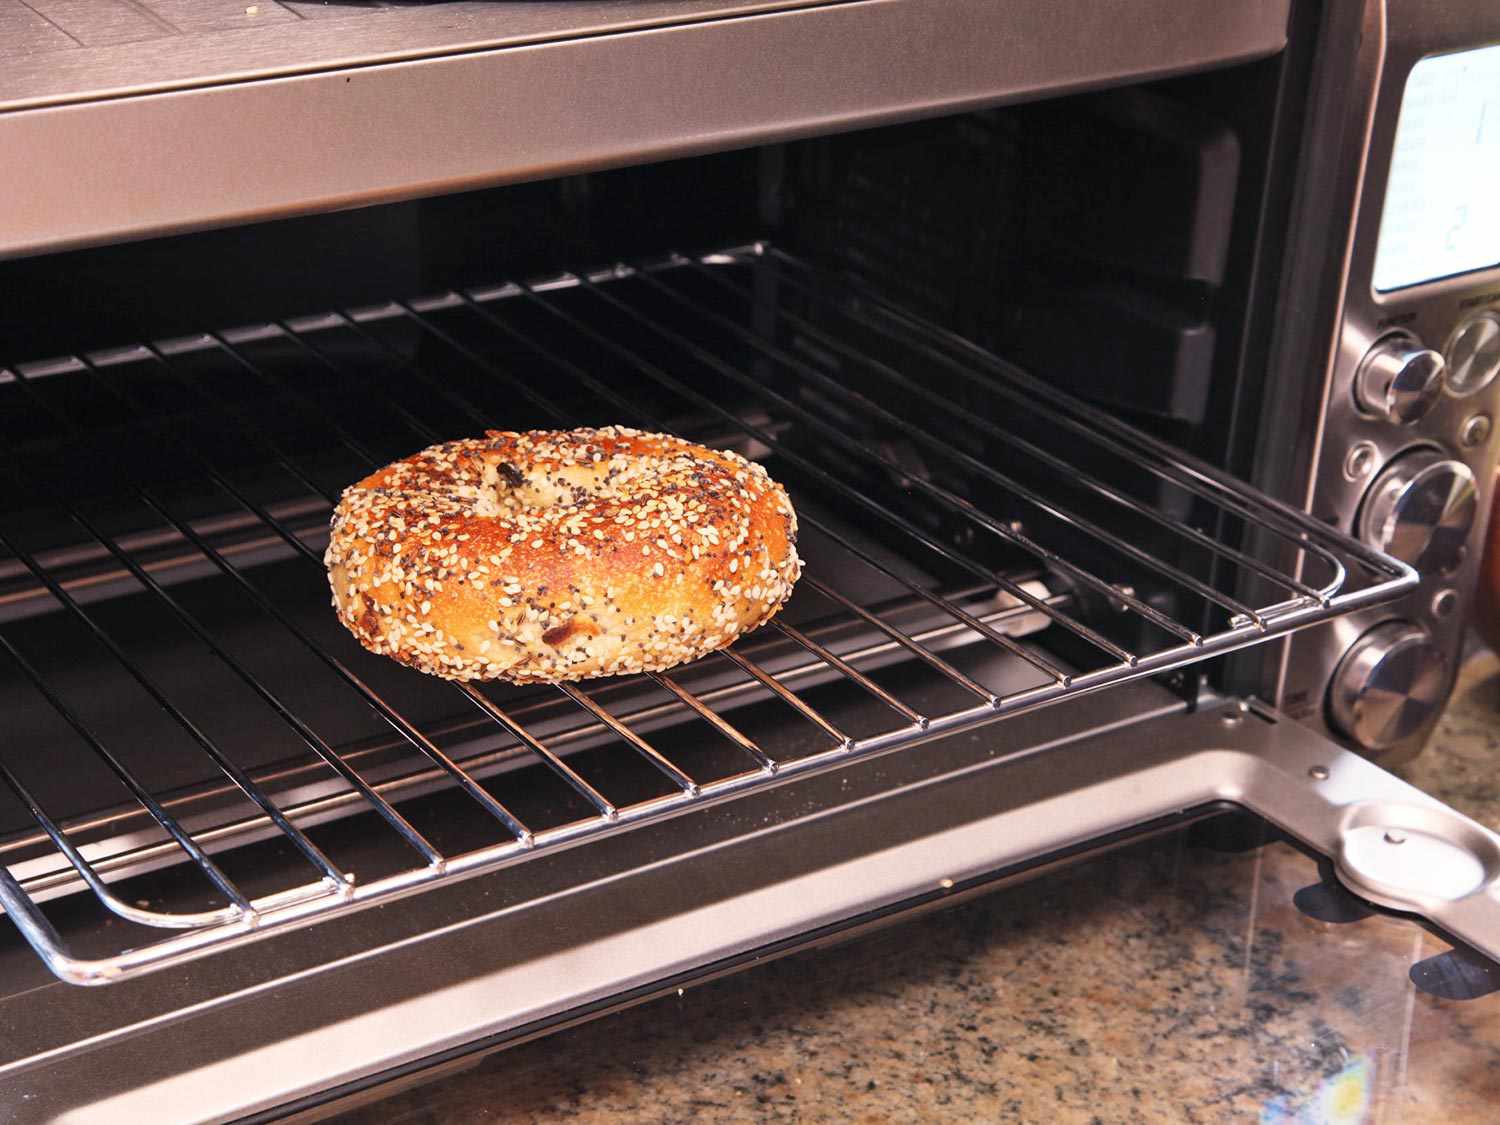
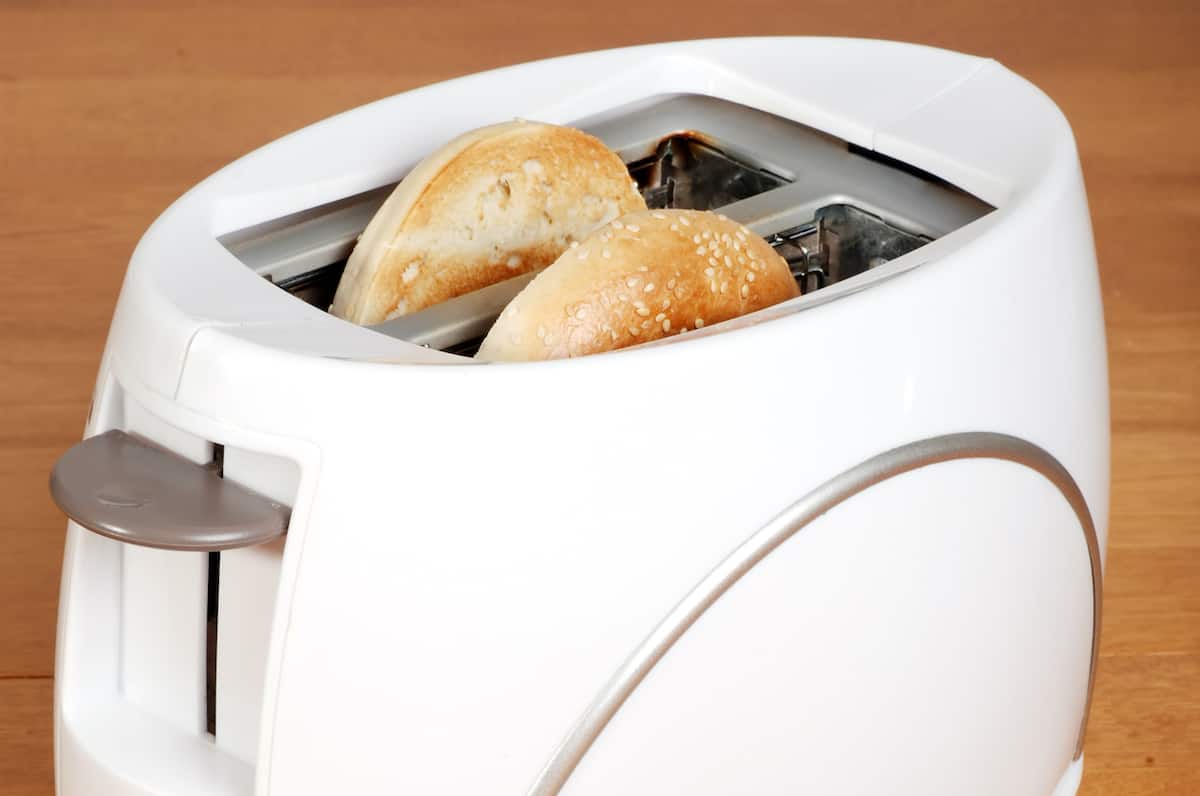
One common method for reheating bagels is using a toaster or toaster oven. Simply slice the bagel in half and place it in the toaster until it reaches your desired level of crispiness. This reheating method helps revive the chewiness of the bagel and provides a satisfying crunch.
For a softer texture, you can also try reheating the bagel in a microwave. Wrap the bagel in a damp paper towel to prevent it from drying out and heat it in short intervals until it reaches the desired warmth.
If you prefer a toasted exterior and a soft interior, a popular technique is to split the bagel in half, lightly butter the cut sides, and then toast it in a hot skillet or griddle. This method gives the bagel a slightly crispy crust while maintaining a soft and fluffy center.
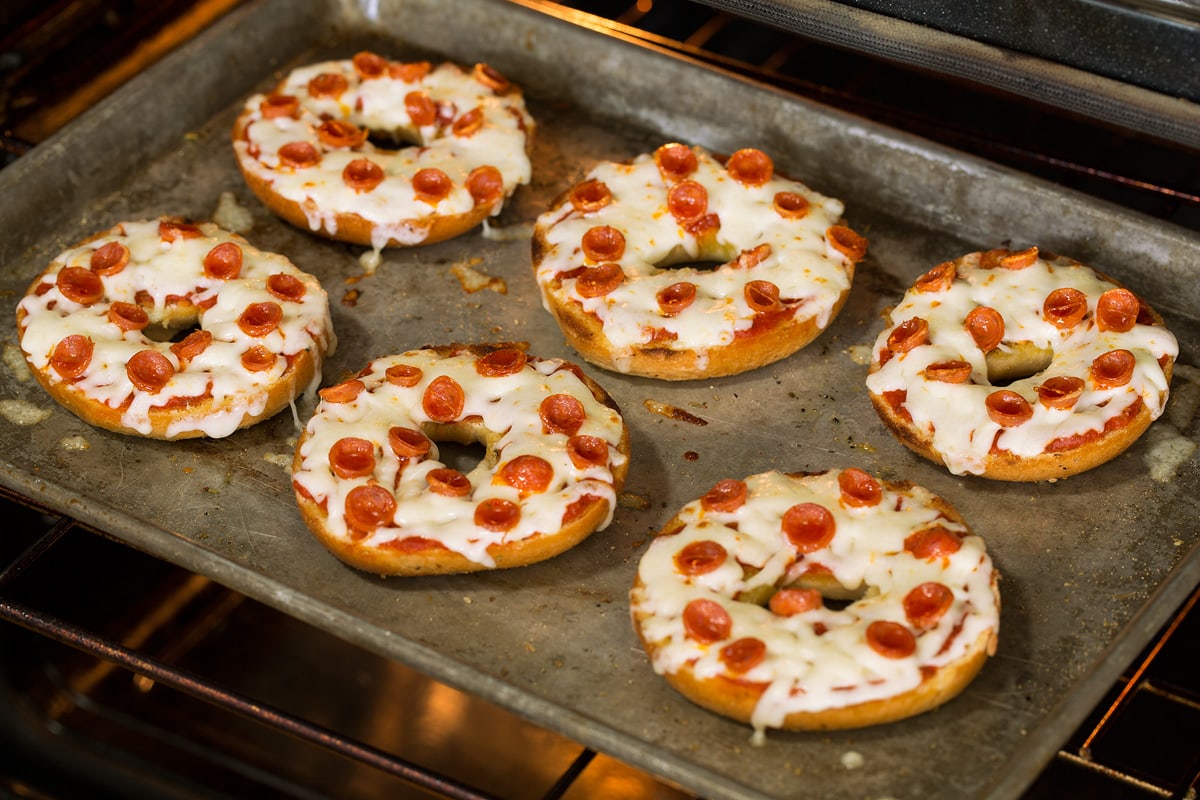
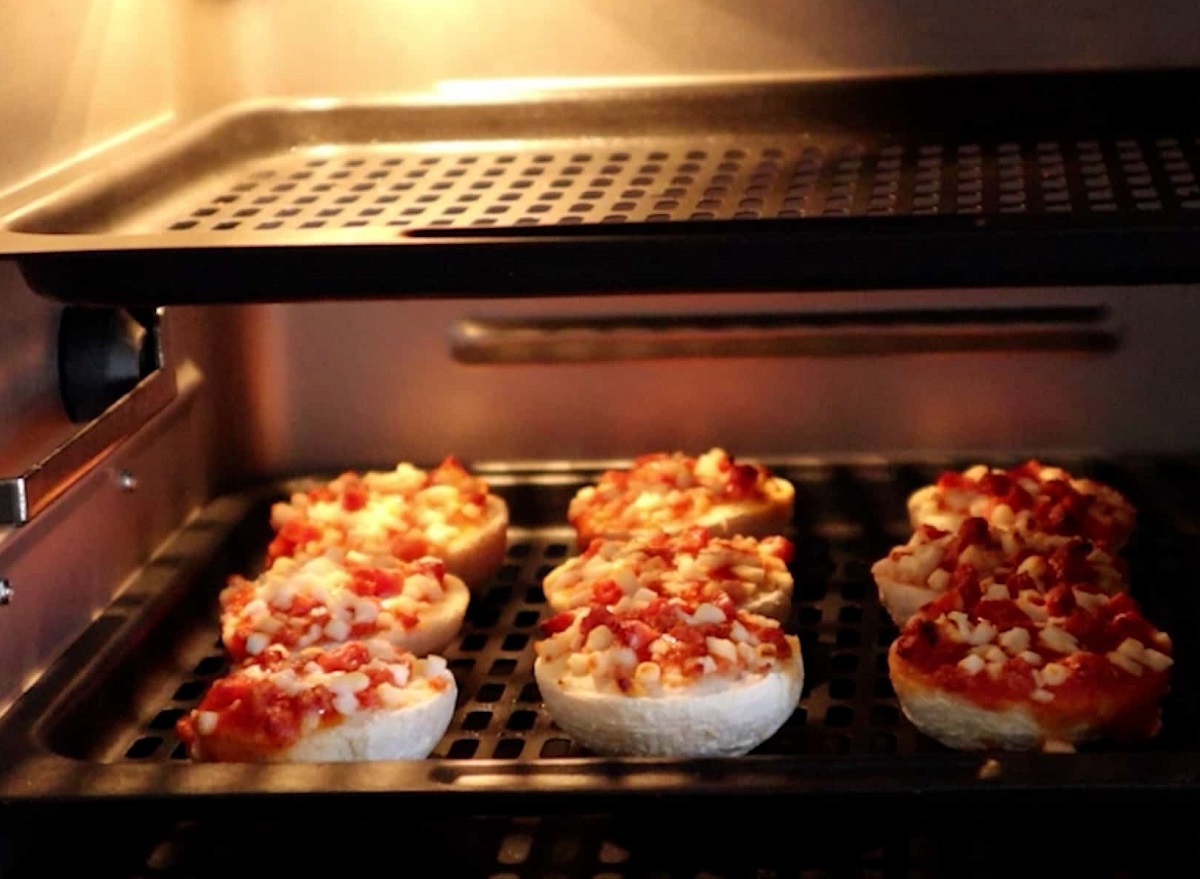
In addition to reheating, there are also methods to refresh stale bagels. One way is to lightly wet the surface of the bagel with water, then place it in a preheated oven at a low temperature (around 250°F or 120°C) for a few minutes. This helps rejuvenate the moisture in the bagel and make it soft again.
If your bagel is just slightly stale, toasting it can also help bring back its freshness. The toasting process helps remove excess moisture and restore some of the original texture and flavor.
Remember, these methods are most effective for bagels that are still edible but have lost their freshness. If the bagel is moldy or smells off, it’s best to discard it and opt for a fresh one.
Now that you know how to reheat and refresh bagels, let’s explore some tips to help extend the shelf life of your bagels.
Tips for Extending Bagel Shelf Life
To maximize the shelf life of your bagels and keep them fresh for as long as possible, here are some helpful tips to follow:
- Buy fresh bagels: Start with fresh bagels from a reputable bakery or make them at home for the best quality and longest shelf life.
- Store uncut bagels: It’s best to store the bagels in their whole form until ready to be consumed. Slicing them exposes more surface area to air, increasing the rate of staling.
- Use airtight containers: Seal your bagels in airtight containers or bags to prevent moisture loss and protect them from air exposure.
- Avoid storing with strong odors: Bagels can absorb strong odors from other foods, so keep them away from pungent items like onions or garlic.
- Refrigerate or freeze: If you don’t plan to consume the bagels within a few days, refrigerate or freeze them to maintain their freshness and extend their shelf life.
- Thaw bagels properly: When thawing frozen bagels, do so in the refrigerator overnight or at room temperature to avoid moisture loss and ensure even thawing.
- Refresh stale bagels: If your bagels become slightly stale, use reheating methods like toasting or lightly wetting the surface and placing them in the oven to bring back moisture and freshness.
- Label and rotate: When storing multiple batches of bagels, label and date them to ensure you use the oldest ones first.
- Consider smaller quantities: If you tend to have leftovers or don’t consume bagels frequently, consider buying or baking smaller quantities to avoid waste.
- Monitor for signs of spoilage: Regularly check your stored bagels for mold, off smells, or signs of spoilage. If any issues arise, discard the affected bagels.
By following these tips, you can have fresh and delicious bagels for an extended period, minimizing waste and maximizing enjoyment.
With these storage and preservation techniques, you can savor the delight of bagels even beyond their initial freshness. Whether you choose to refrigerate, freeze, or store at room temperature, proper sealing and careful storage can help preserve the iconic chewy texture and scrumptious taste of bagels. So, go ahead and stock up on your favorite bagels without worrying about them going stale. Enjoy your bagels whenever your cravings strike!
Remember, the key is to find the storage method that best suits your preferences and convenience. With a little effort, you can ensure that your bagels are always fresh and ready to be enjoyed.
Now that you’re armed with these bagel storage tips, it’s time to put them into practice and indulge in the delightful world of bagels!
Conclusion
Bagels, with their chewy texture and versatile flavors, are a beloved treat for many. To ensure that these delightful creations stay fresh and tasty, proper storage is key. By following the tips and techniques outlined in this article, you can extend the shelf life of your bagels and always have a delicious option on hand.
Choosing the right storage containers, properly sealing the bagels, and deciding between refrigeration, freezing, or room temperature storage are all important factors in maintaining bagel freshness. Additionally, reheating and refreshing techniques can elevate slightly stale bagels, bringing them back to life.
Remember to label and monitor your bagels for signs of spoilage, and consider buying or baking smaller quantities to avoid wastage. With proper storage, you can enjoy bagels at their best, even if you can’t devour them all in one sitting.
So, whether you’re a bagel enthusiast stocking up on your favorite flavors or a cafe owner seeking to keep your inventory fresh, these storage tips will help you make the most of your bagel experience. From toasting and reviving stale bagels to carefully packaging and sealing them, these practices will ensure that every bite is as delicious as the first.
Now that you’re equipped with a comprehensive understanding of bagel storage, it’s time to put it into practice and savor the pleasure of fresh and satisfying bagels any time you desire. So go ahead, enjoy your bagels, and never let a stale bite ruin your breakfast or snack craving! With the right storage techniques, you can prolong the enjoyment and savor every bite of these beloved bakery treats.
So, no more worries about what to do with leftover bagels or how to keep your stock fresh. Apply these storage tips and savour the deliciousness of bagels whenever you please. With the right approach, you can ensure that every bagel you enjoy is as fresh and delicious as the first one.
Now, armed with the knowledge of proper bagel storage, it’s time to embark on a flavorful journey. Enjoy the delectable taste of bagels without any worries about freshness. Bon appétit!
Frequently Asked Questions about How To Store Einstein Bagels
Was this page helpful?
At Storables.com, we guarantee accurate and reliable information. Our content, validated by Expert Board Contributors, is crafted following stringent Editorial Policies. We're committed to providing you with well-researched, expert-backed insights for all your informational needs.


0 thoughts on “How To Store Einstein Bagels”