
Articles
How To Store Homemade Cheese Crisps
Modified: December 7, 2023
Learn the best methods for storing your homemade cheese crisps with these articles. Keep your snacks fresh and crispy for longer!
(Many of the links in this article redirect to a specific reviewed product. Your purchase of these products through affiliate links helps to generate commission for Storables.com, at no extra cost. Learn more)
Introduction
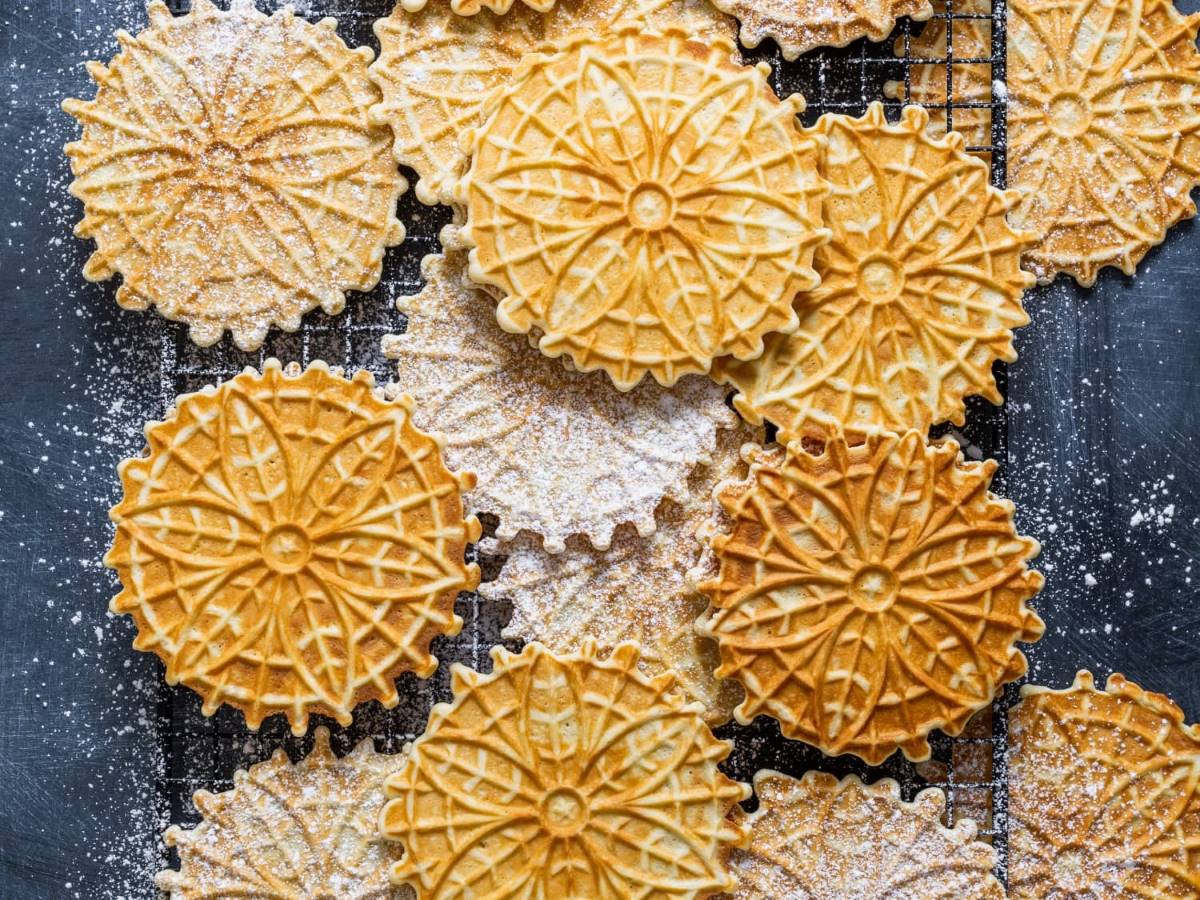
Welcome to the world of homemade cheese crisps! If you’re a cheese lover like me, you’re in for a treat. Cheese crisps are a delicious and nutritious snack that can easily be made at home. With just a few simple steps, you’ll have crispy, cheesy goodness that can be enjoyed on its own or paired with dips and toppings.
Cheese crisps are a versatile snack that can be customized to suit your taste buds. Whether you prefer mild cheddar, tangy Parmesan, or smoky Gouda, the options are endless. By making your own cheese crisps, you have full control over the ingredients, ensuring a healthier and more flavorful snack option compared to store-bought alternatives.
In this article, we will take you through the step-by-step process of making homemade cheese crisps. From creating the cheese mixture to shaping, baking, and storing the crisps, we’ll cover everything you need to know.
Before we dive in, let’s take a look at some of the benefits of making your own cheese crisps:
- You can choose your favorite type of cheese and experiment with different flavors.
- You can control the amount of salt and other seasonings to meet your dietary preferences.
- Homemade cheese crisps are free from preservatives and artificial ingredients.
- They can be a healthier alternative to traditional crispy snacks like chips and crackers.
Now that we have gotten your taste buds intrigued, let’s jump right into the exciting world of making homemade cheese crisps!
Key Takeaways:
- Create your own flavorful and healthier cheese crisps at home by experimenting with different cheese types, seasonings, and mix-ins. Enjoy a satisfying and nutritious snack that can be stored for up to a week when properly sealed.
- Say goodbye to store-bought cheese crisps and embrace the fun of shaping, baking, and storing your homemade crispy, cheesy delights. With a few simple steps, you’ll never look back!
Read more: How To Store Parmesan Crisps
Step 1: Making the cheese mixture
The foundation of any great cheese crisp is the cheese mixture. This is where you can get creative and experiment with different types and combinations of cheese to suit your taste.
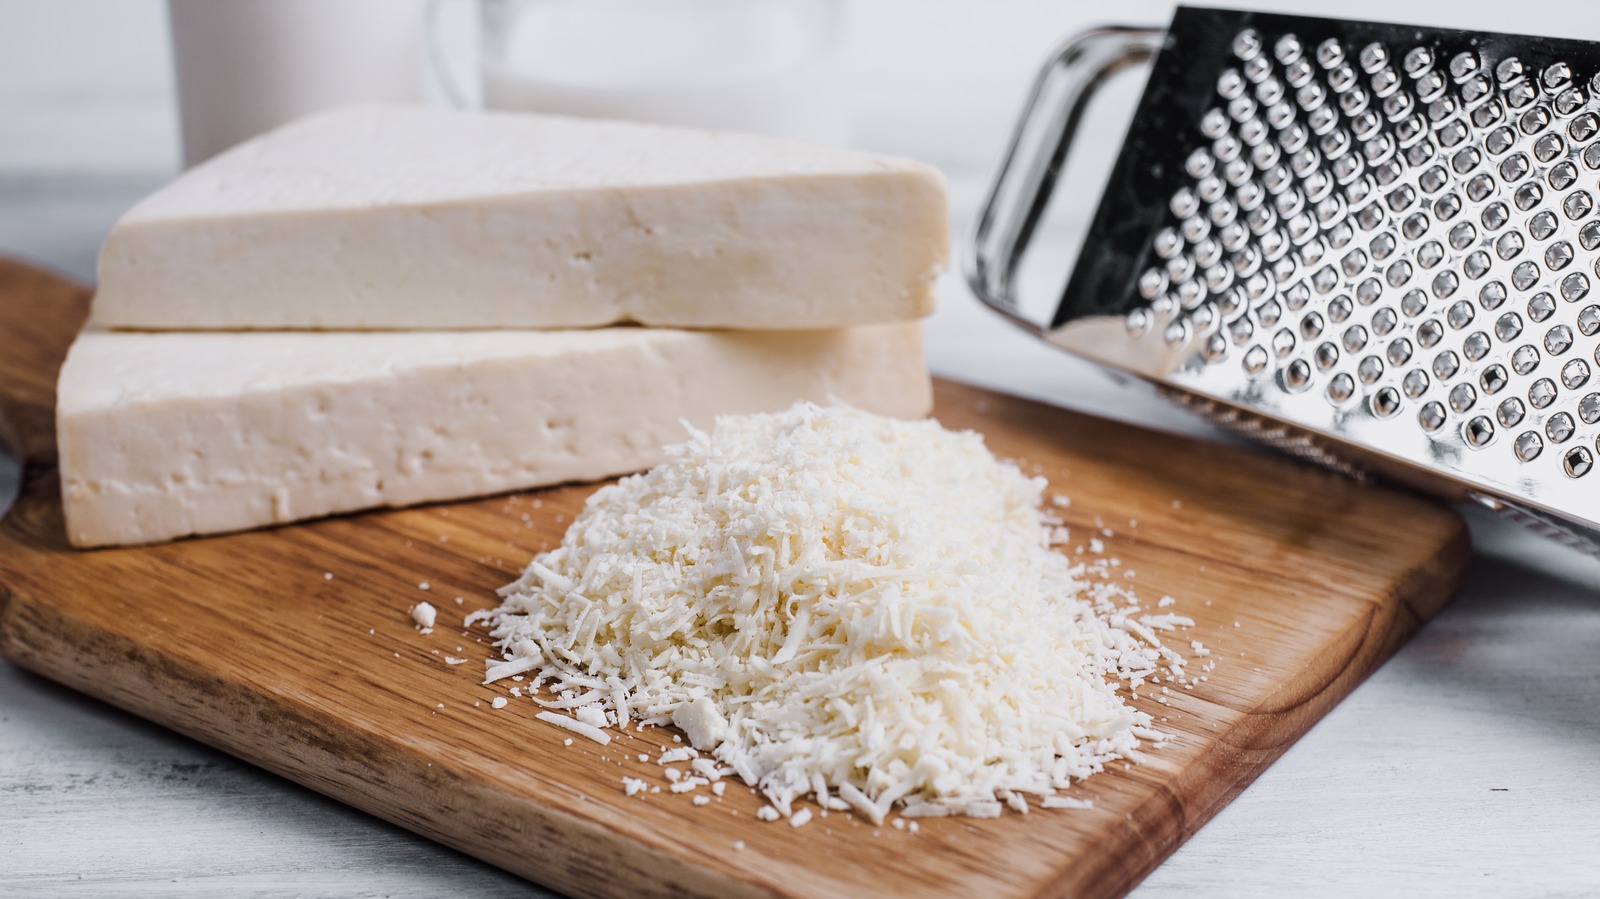
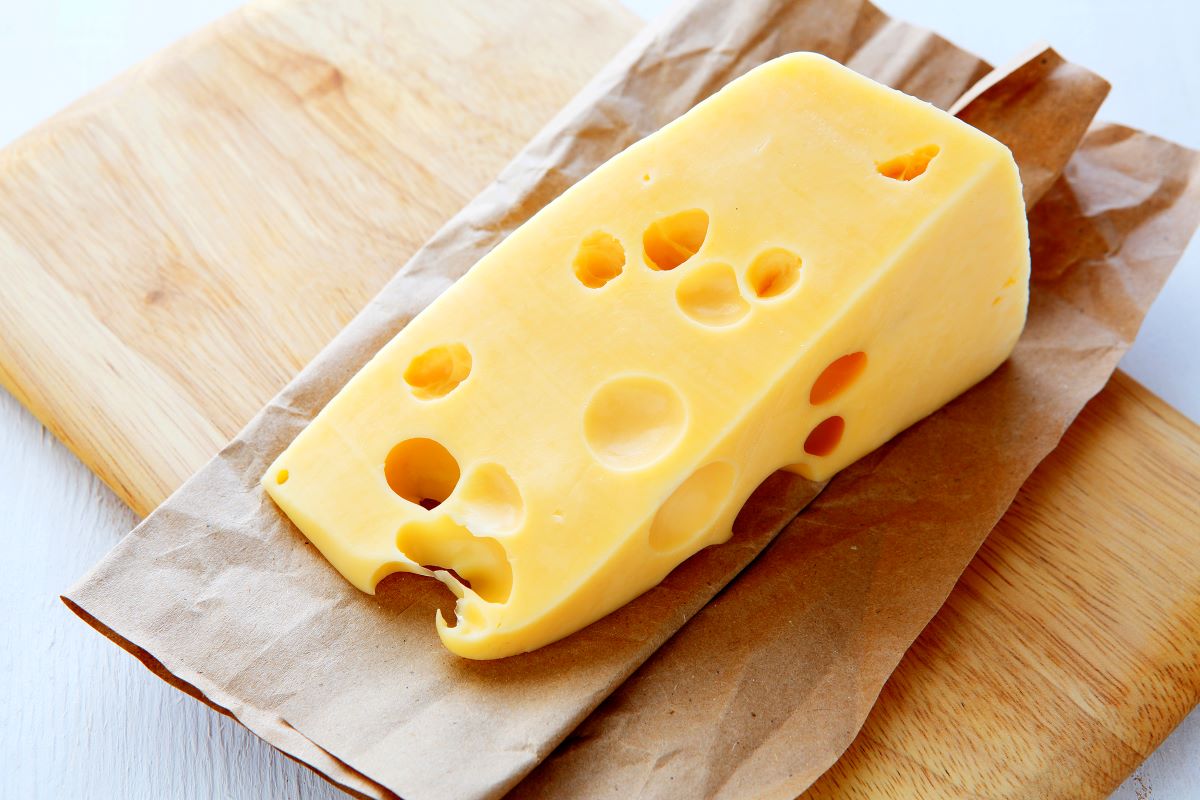
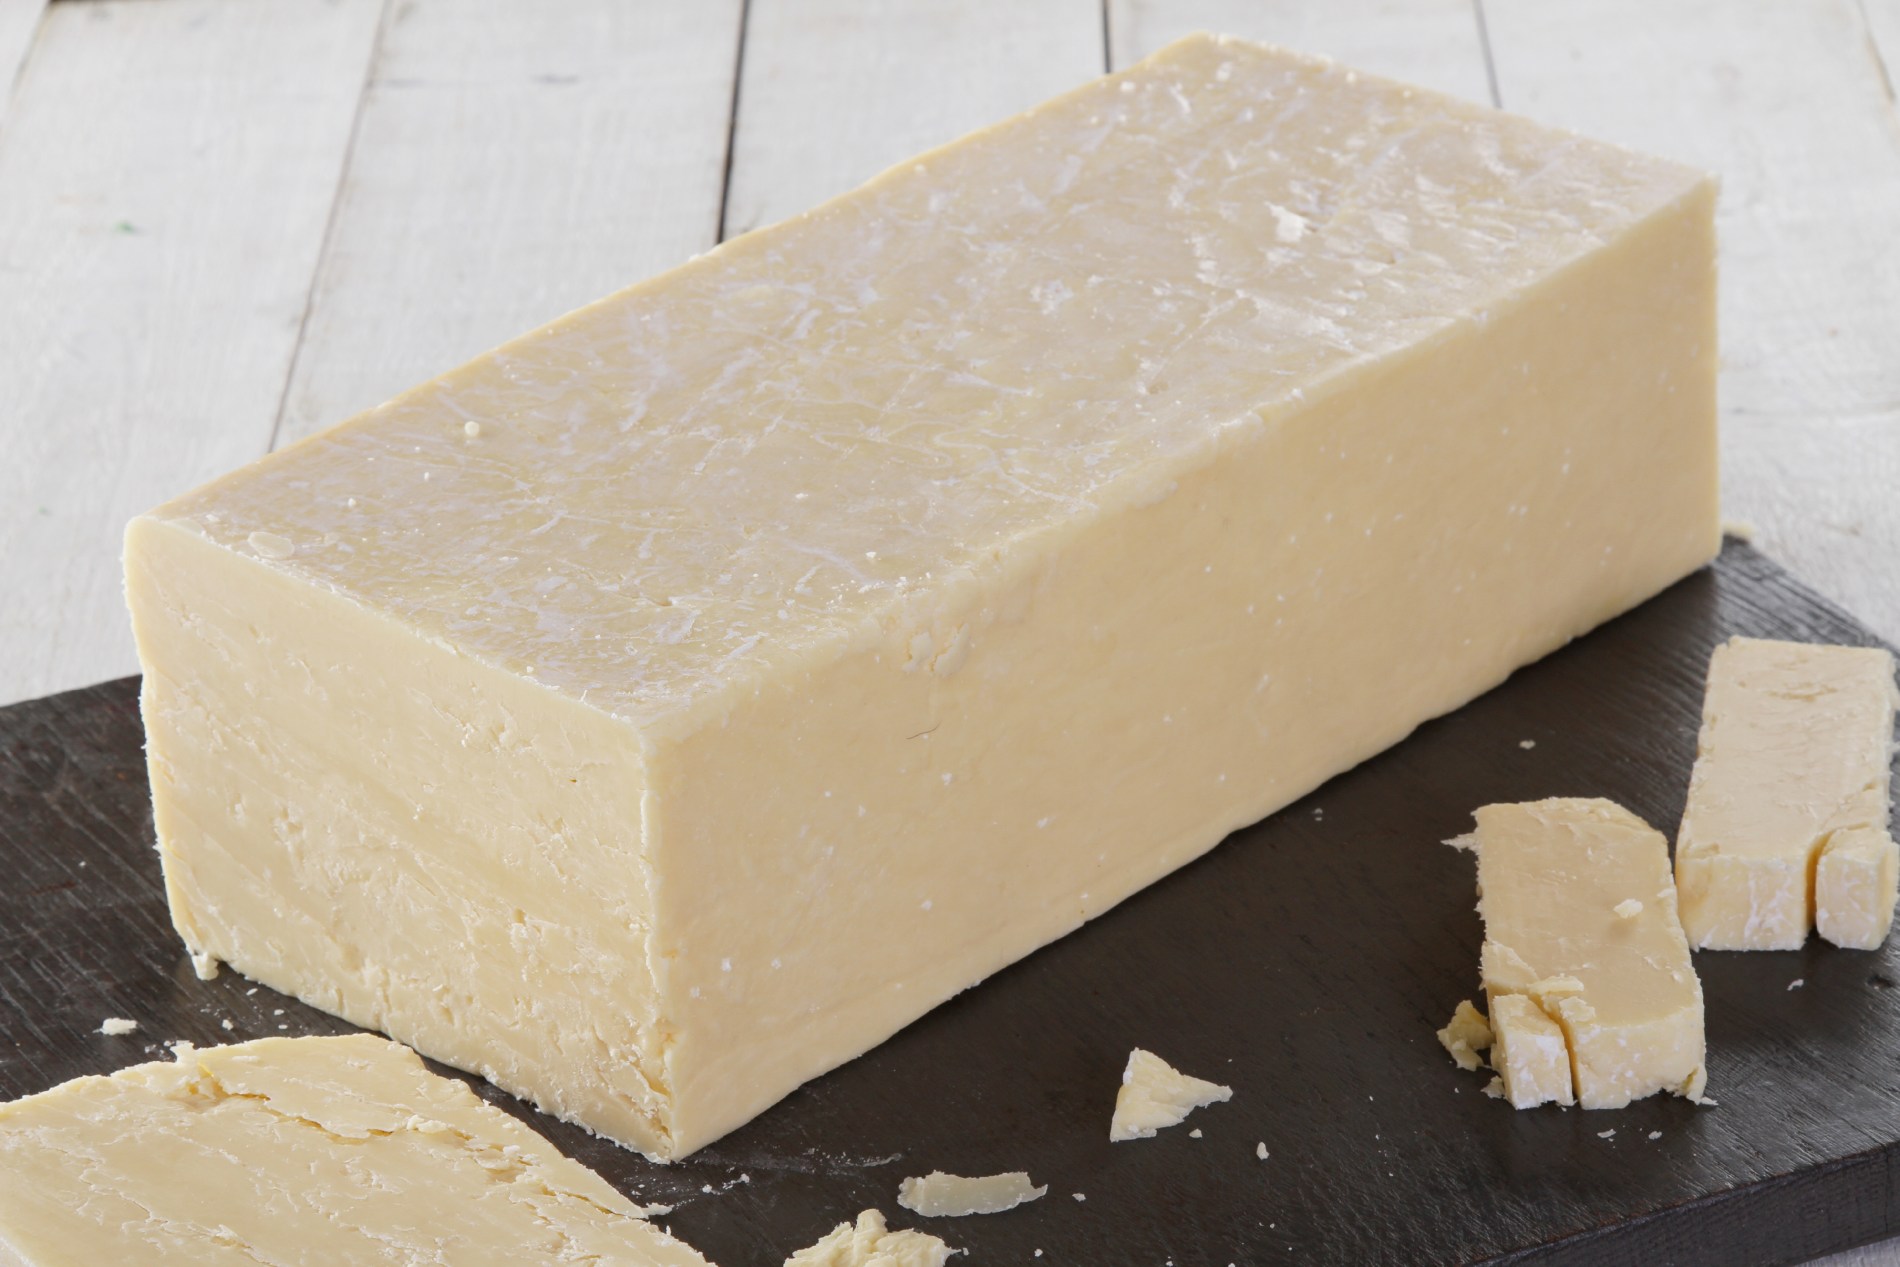
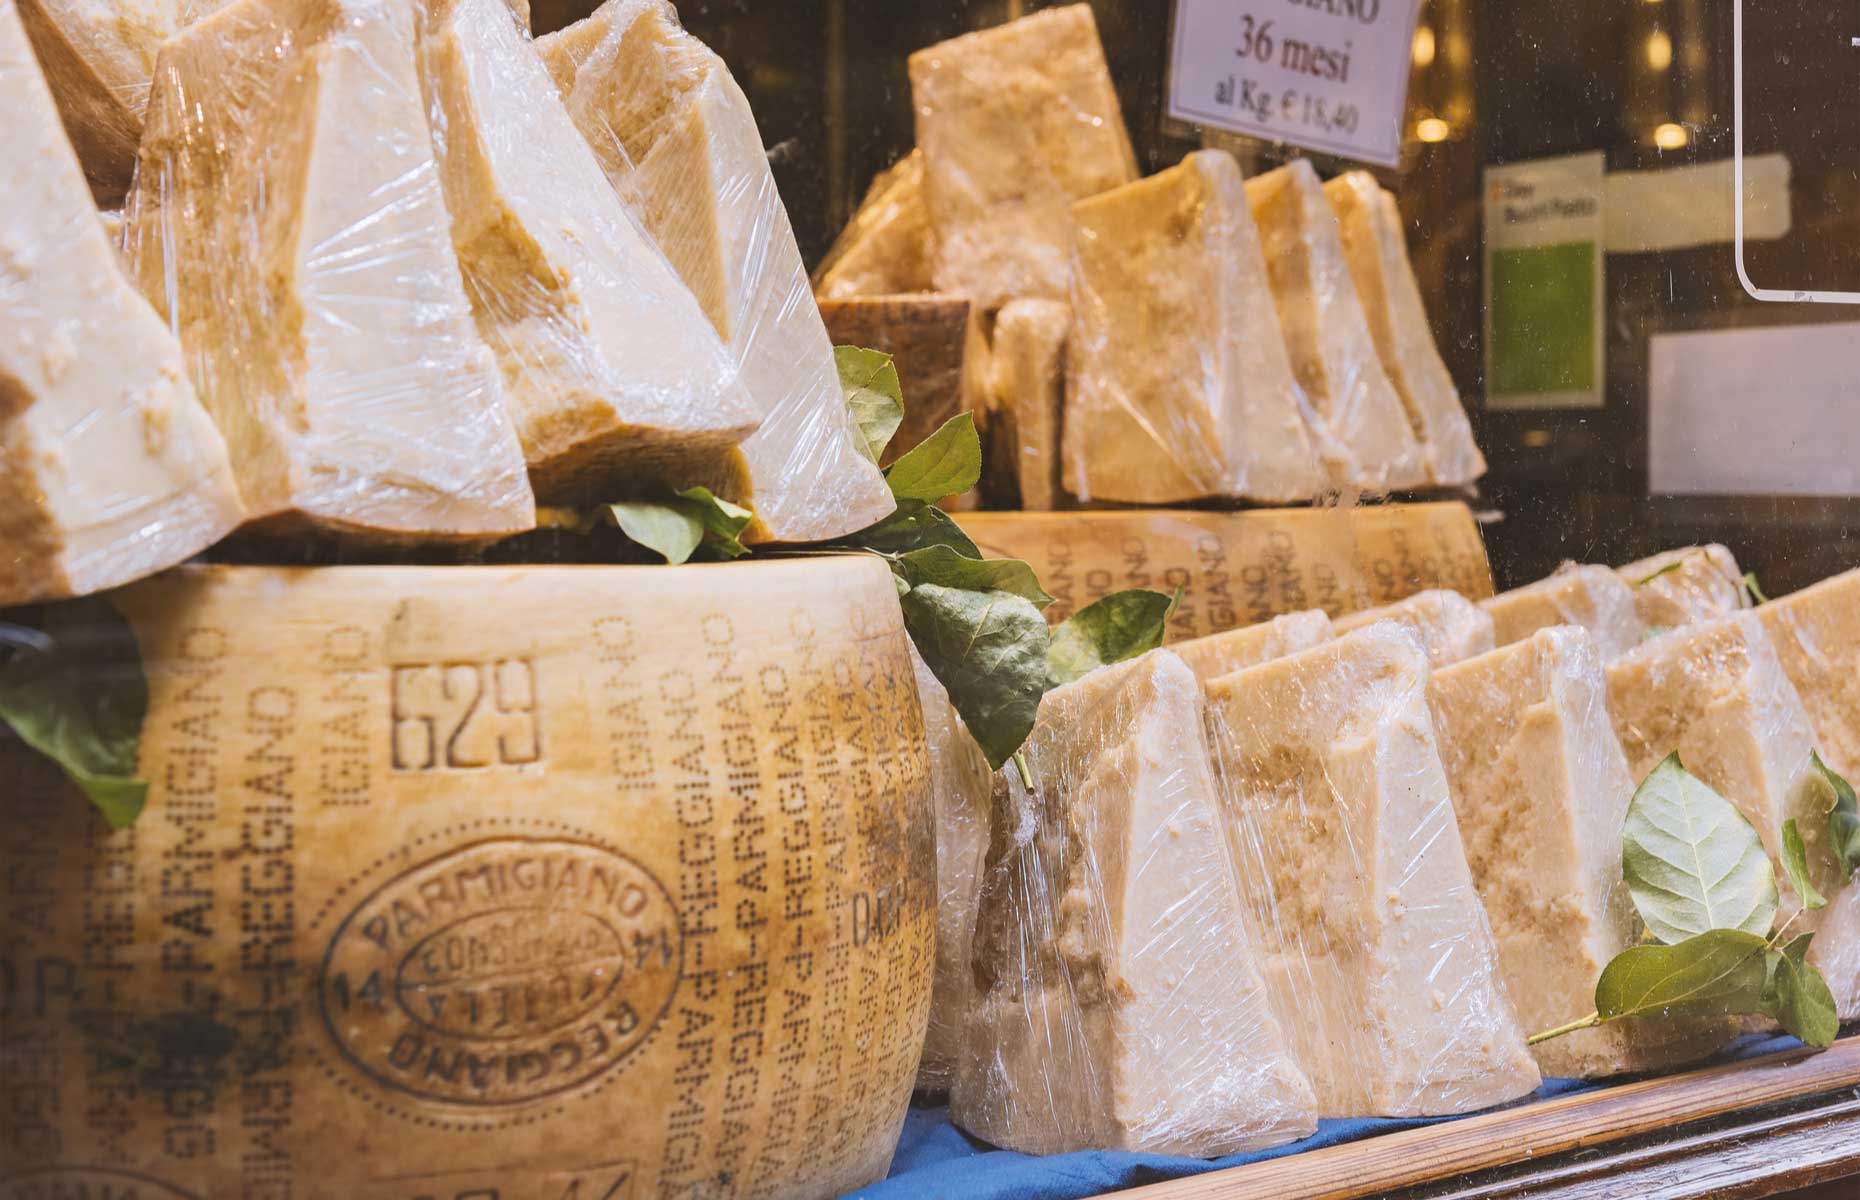
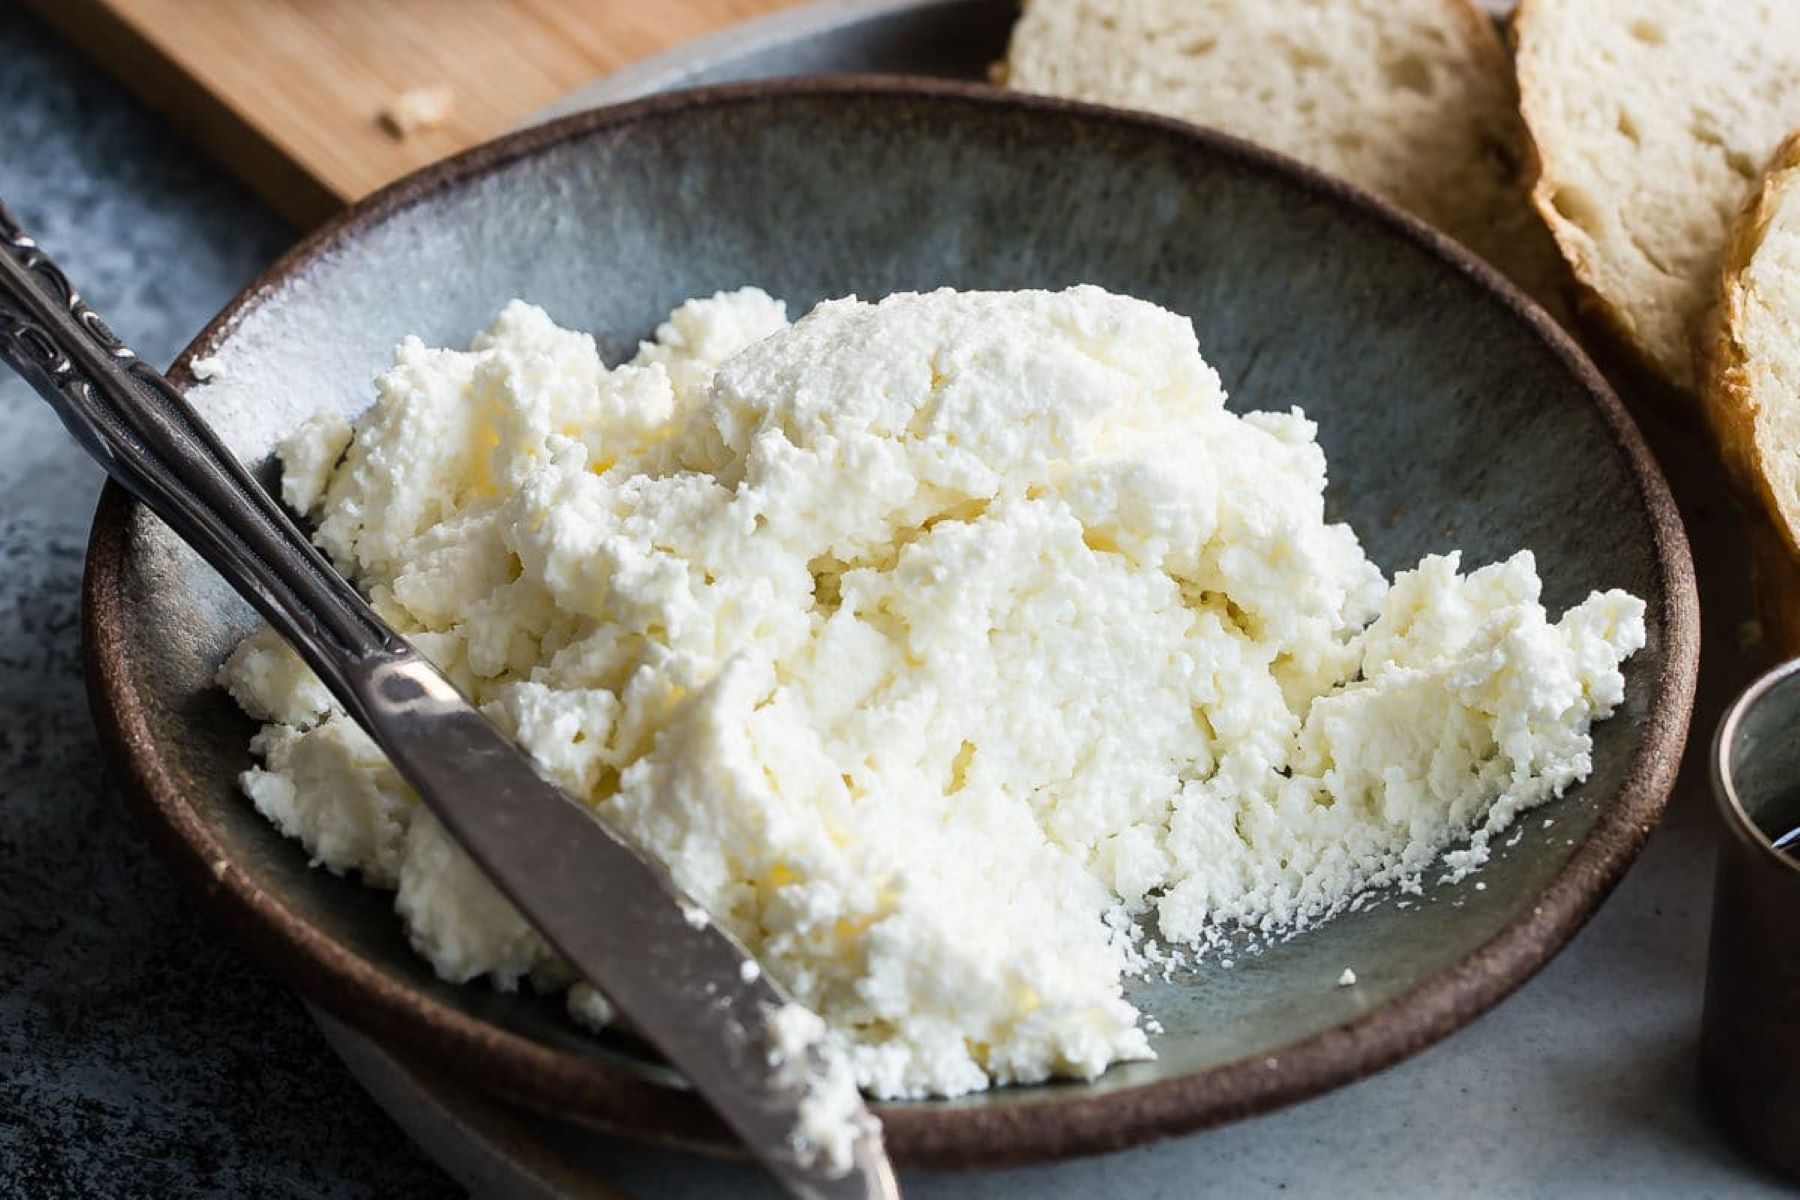
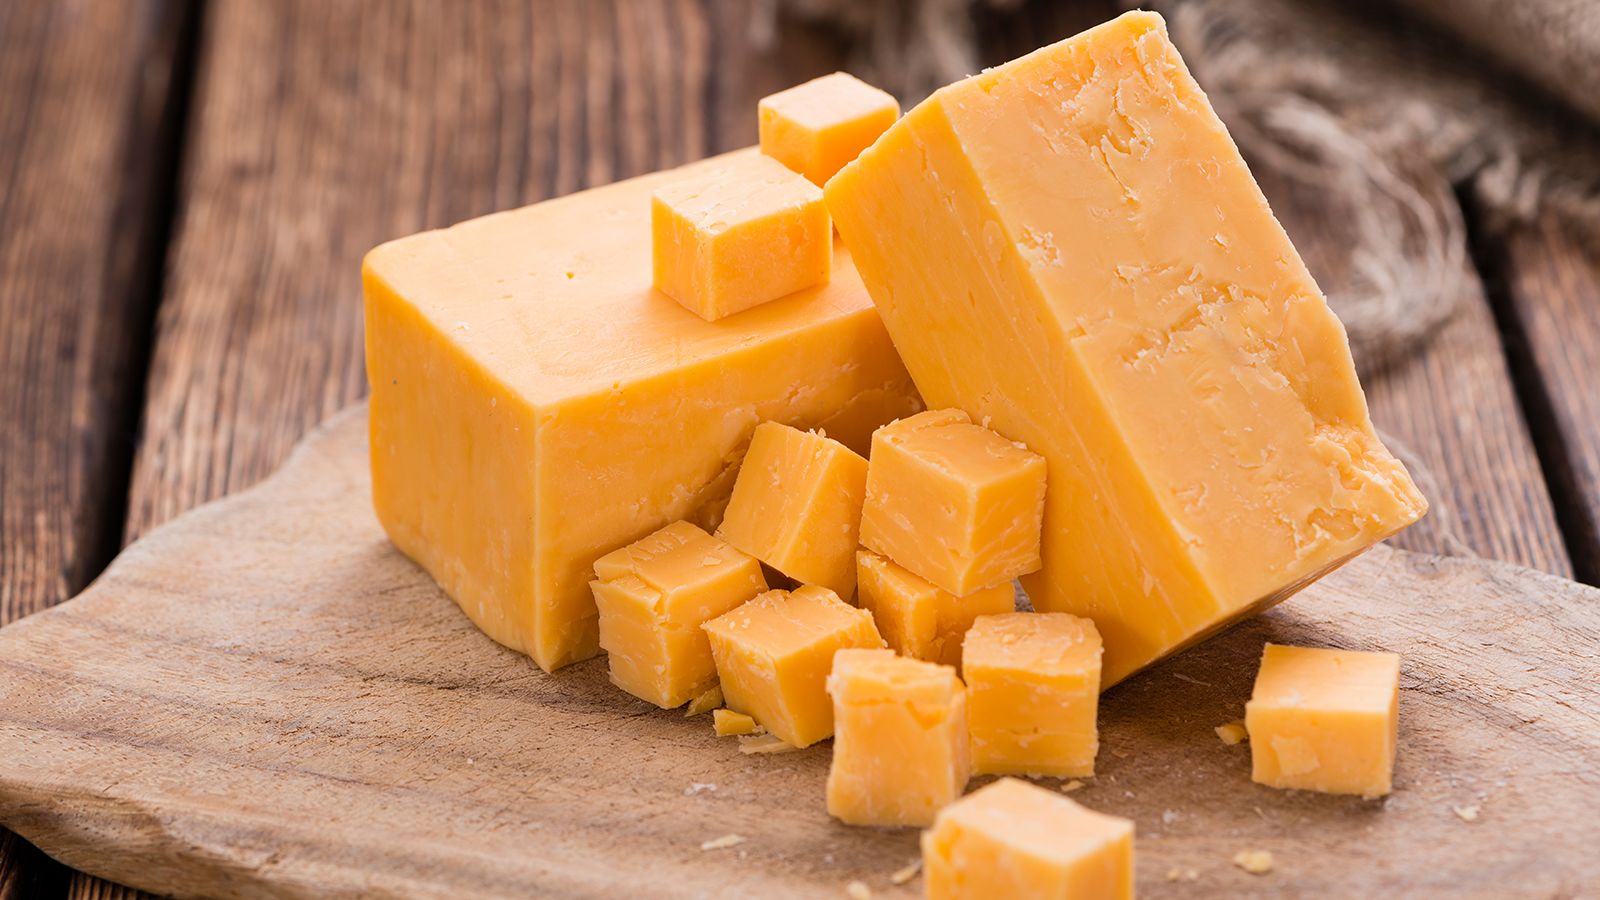
To make the cheese mixture, start by grating your desired cheese(s) using a box grater or a food processor. Hard cheeses like cheddar, Parmesan, and Gouda work best for cheese crisps as they melt and crisp up nicely.
In a mixing bowl, combine the grated cheese with any additional seasonings or flavorings you’d like to add. This could include spices like paprika, garlic powder, or onion powder, or even herbs like rosemary or thyme. Play around with different combinations until you find your perfect flavor profile.
Mix the cheese and seasonings together until well combined. The cheese should be evenly coated with the seasonings.
At this stage, you can also add some texture to your crisps by mixing in other ingredients like chopped nuts, seeds, or even crispy bacon bits. These additions will not only enhance the flavor but also give your cheese crisps an extra crunch.
Once your cheese mixture is ready, you’re all set to move on to the next step – shaping the cheese crisps!
Step 2: Shaping the cheese crisps
Now that you have your flavorful cheese mixture, it’s time to shape them into crispy morsels. There are a few different methods you can use to shape your cheese crisps:
- Dolloping method: This method involves spooning small dollops of the cheese mixture onto a parchment-lined baking sheet. Make sure to leave some space between each dollop to allow for spreading. Use the back of the spoon to flatten and spread the dollops slightly.
- Cookie cutter method: If you prefer more uniform and defined shapes, you can use cookie cutters to shape your cheese crisps. Place the cookie cutter on a parchment-lined baking sheet and fill it with the cheese mixture, pressing it down gently to make sure it’s compact. Carefully remove the cookie cutter and repeat with the remaining mixture.
- Freeform method: For a more rustic and organic look, simply drop spoonfuls of the cheese mixture onto the parchment-lined baking sheet. Spread them out slightly with the back of the spoon, allowing them to take on a natural shape as they melt and crisp up.
Regardless of the shaping method you choose, make sure to leave some space between the cheese crisps. As they bake, the cheese will spread and flatten, so giving them room to expand will ensure that they don’t stick together.
Once you have shaped all your cheese crisps, it’s time to move on to the next step – baking!
Store homemade cheese crisps in an airtight container at room temperature to maintain their crispiness. Adding a small piece of bread can help absorb any excess moisture and keep the crisps from becoming soggy.
Step 3: Baking the cheese crisps
With your cheese crisps shaped and ready to go, it’s time to bake them to crispy perfection. Baking is a crucial step in the process as it allows the cheese to melt, spread, and transform into crispy, flavorful crisps.
Preheat your oven to a moderate temperature, around 350°F (175°C). This temperature allows the cheese to melt without browning too quickly.
Place your baking sheet with the shaped cheese crisps in the preheated oven. The baking time can vary depending on the thickness of your crisps and the desired level of crispiness. Generally, it takes around 10-15 minutes for the cheese crisps to fully melt and develop a golden-brown color.
Keep a close eye on the crisps as they bake to prevent them from burning. Depending on the oven and cheese you are using, the crisps can go from perfectly crisp to burnt in a matter of seconds.
Once the cheese crisps have achieved the desired level of crispness and golden color, remove them from the oven and let them cool for a few minutes on the baking sheet. This will allow them to firm up and become even crispier.
Now that your cheese crisps have been baked to perfection, it’s time to move on to the final step – cooling and storing.
Step 4: Cooling and storing the cheese crisps
After baking your cheese crisps, it’s important to give them some time to cool down and become fully crispy. As they cool, they will harden and develop that satisfying crunch.
Remove the baked cheese crisps from the baking sheet and transfer them to a wire rack or a plate lined with a paper towel. This will help absorb any excess oil or moisture from the crisps, ensuring they stay crispy and flavorful.
Allow the cheese crisps to cool completely. This usually takes about 10-15 minutes, but it’s worth the wait to achieve the perfect texture.
Once the cheese crisps are completely cooled, it’s time to store them to maintain their crispiness. The best way to store homemade cheese crisps is in an airtight container or a resealable plastic bag.
Avoid storing them in open containers or bags as exposure to air can cause them to become soft and lose their crunch. Properly sealed containers will help keep the crisps fresh and crispy for longer.
Store the cheese crisps in a cool and dry place, away from direct sunlight or sources of heat, as this can also cause them to lose their crispness.
With proper storage, homemade cheese crisps can last up to a week, although they are usually so delicious that they get devoured much quicker!
Remember to label your storage container with the date you made the cheese crisps to keep track of their freshness. If stored properly, you can enjoy your homemade cheese crisps at any time for a satisfying and nutritious snack.
Now that you know how to cool and store your cheese crisps, you’re ready to enjoy them whenever the cravings strike!
Read more: How To Store Apple Crisp
Conclusion
Congratulations! You’ve learned how to make delicious homemade cheese crisps from scratch. By following the steps outlined in this article, you can create crispy, flavorful snacks that are sure to satisfy your cheese cravings.
Homemade cheese crisps offer a world of possibilities. With different cheese varieties, seasonings, and mix-in options, you can tailor the crisps to suit your taste preferences. They make for a healthier alternative to traditional crispy snacks and can be enjoyed on their own or accompanied by dips, spreads, or toppings.
Remember to have fun and experiment with different flavors and shapes when making your cheese crisps. Whether you go for the dolloping method, use cookie cutters, or opt for a more rustic freeform shape, the end result will be equally delicious.
When storing your homemade cheese crisps, ensure they are kept in an airtight container or resealable plastic bag to maintain their crispness. Proper storage will keep them fresh for up to a week, although they are often enjoyed much sooner.
So why settle for store-bought cheese crisps when you can create your own at home? With a few simple steps, you can indulge in a crunchy and cheesy snack that is free from preservatives and full of flavor.
Now it’s time to gather your ingredients, preheat that oven, and get ready to enjoy some homemade cheese crisps. Once you try them, you’ll never want to go back to the store-bought versions again!
Happy snacking!
Frequently Asked Questions about How To Store Homemade Cheese Crisps
Was this page helpful?
At Storables.com, we guarantee accurate and reliable information. Our content, validated by Expert Board Contributors, is crafted following stringent Editorial Policies. We're committed to providing you with well-researched, expert-backed insights for all your informational needs.

0 thoughts on “How To Store Homemade Cheese Crisps”