Articles
How To Store Cheese Crisps
Modified: December 7, 2023
Discover the best way to store cheese crisps with our informative articles. Keep your cheese snacks fresh and crunchy for longer with these simple tips.
(Many of the links in this article redirect to a specific reviewed product. Your purchase of these products through affiliate links helps to generate commission for Storables.com, at no extra cost. Learn more)
Introduction
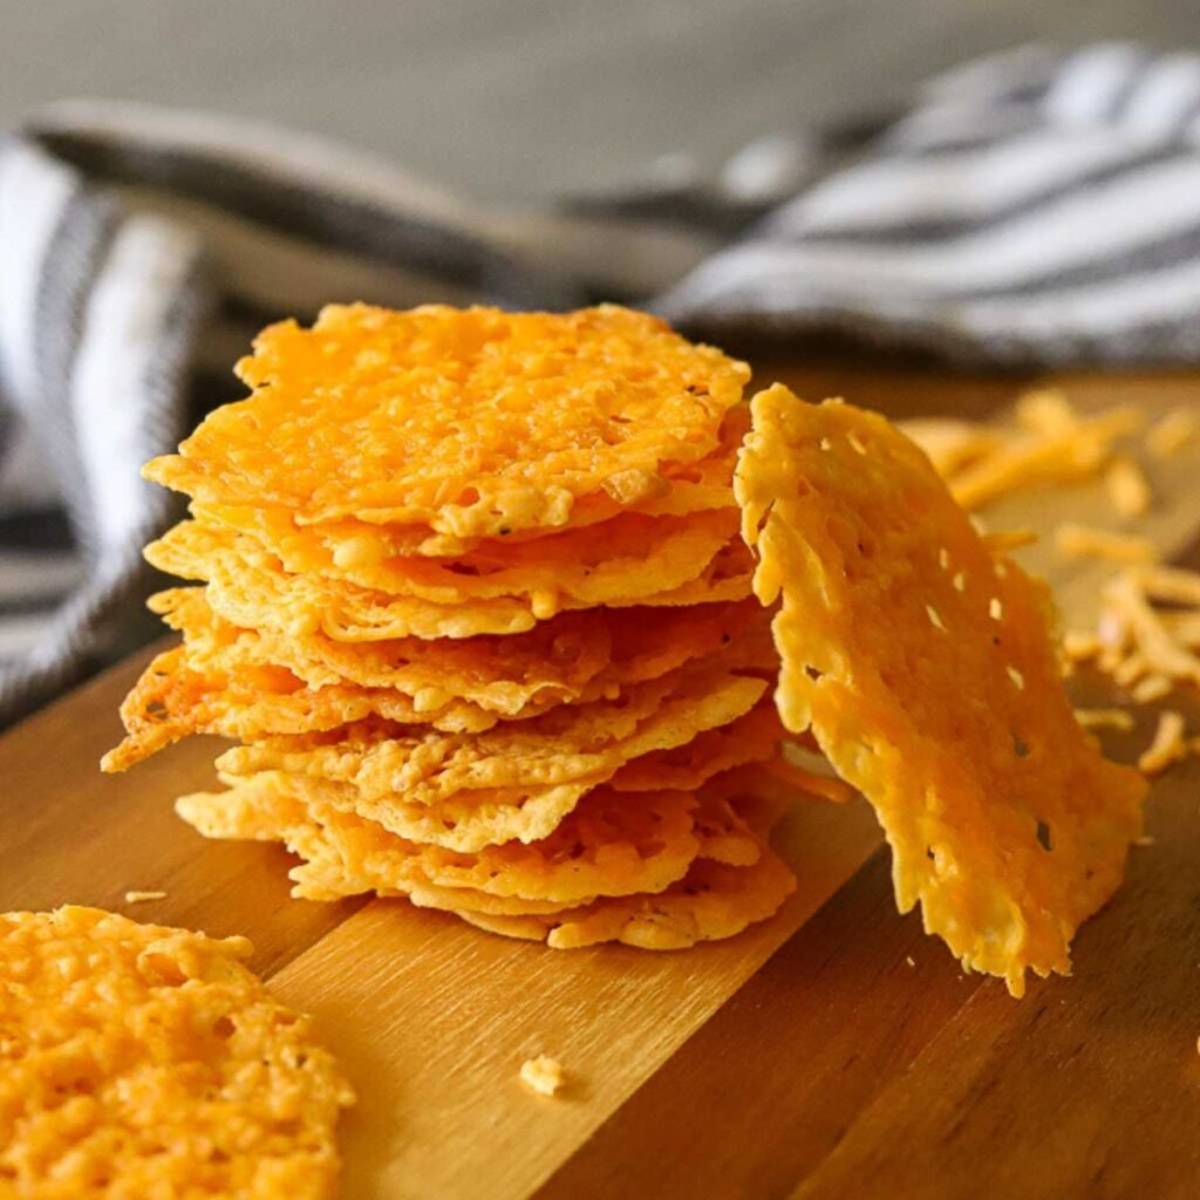
Welcome to the wonderful world of cheese crisps! These irresistibly delicious snacks are a perfect combination of crispy and cheesy goodness. Whether you enjoy them as a standalone treat or as a crunchy topping for salads, soups, or dips, cheese crisps are a versatile and mouthwatering option. But what if you want to make a big batch of cheese crisps and store them for later? In this article, we’ll explore the best methods for storing cheese crisps and keeping them fresh for longer periods of time.
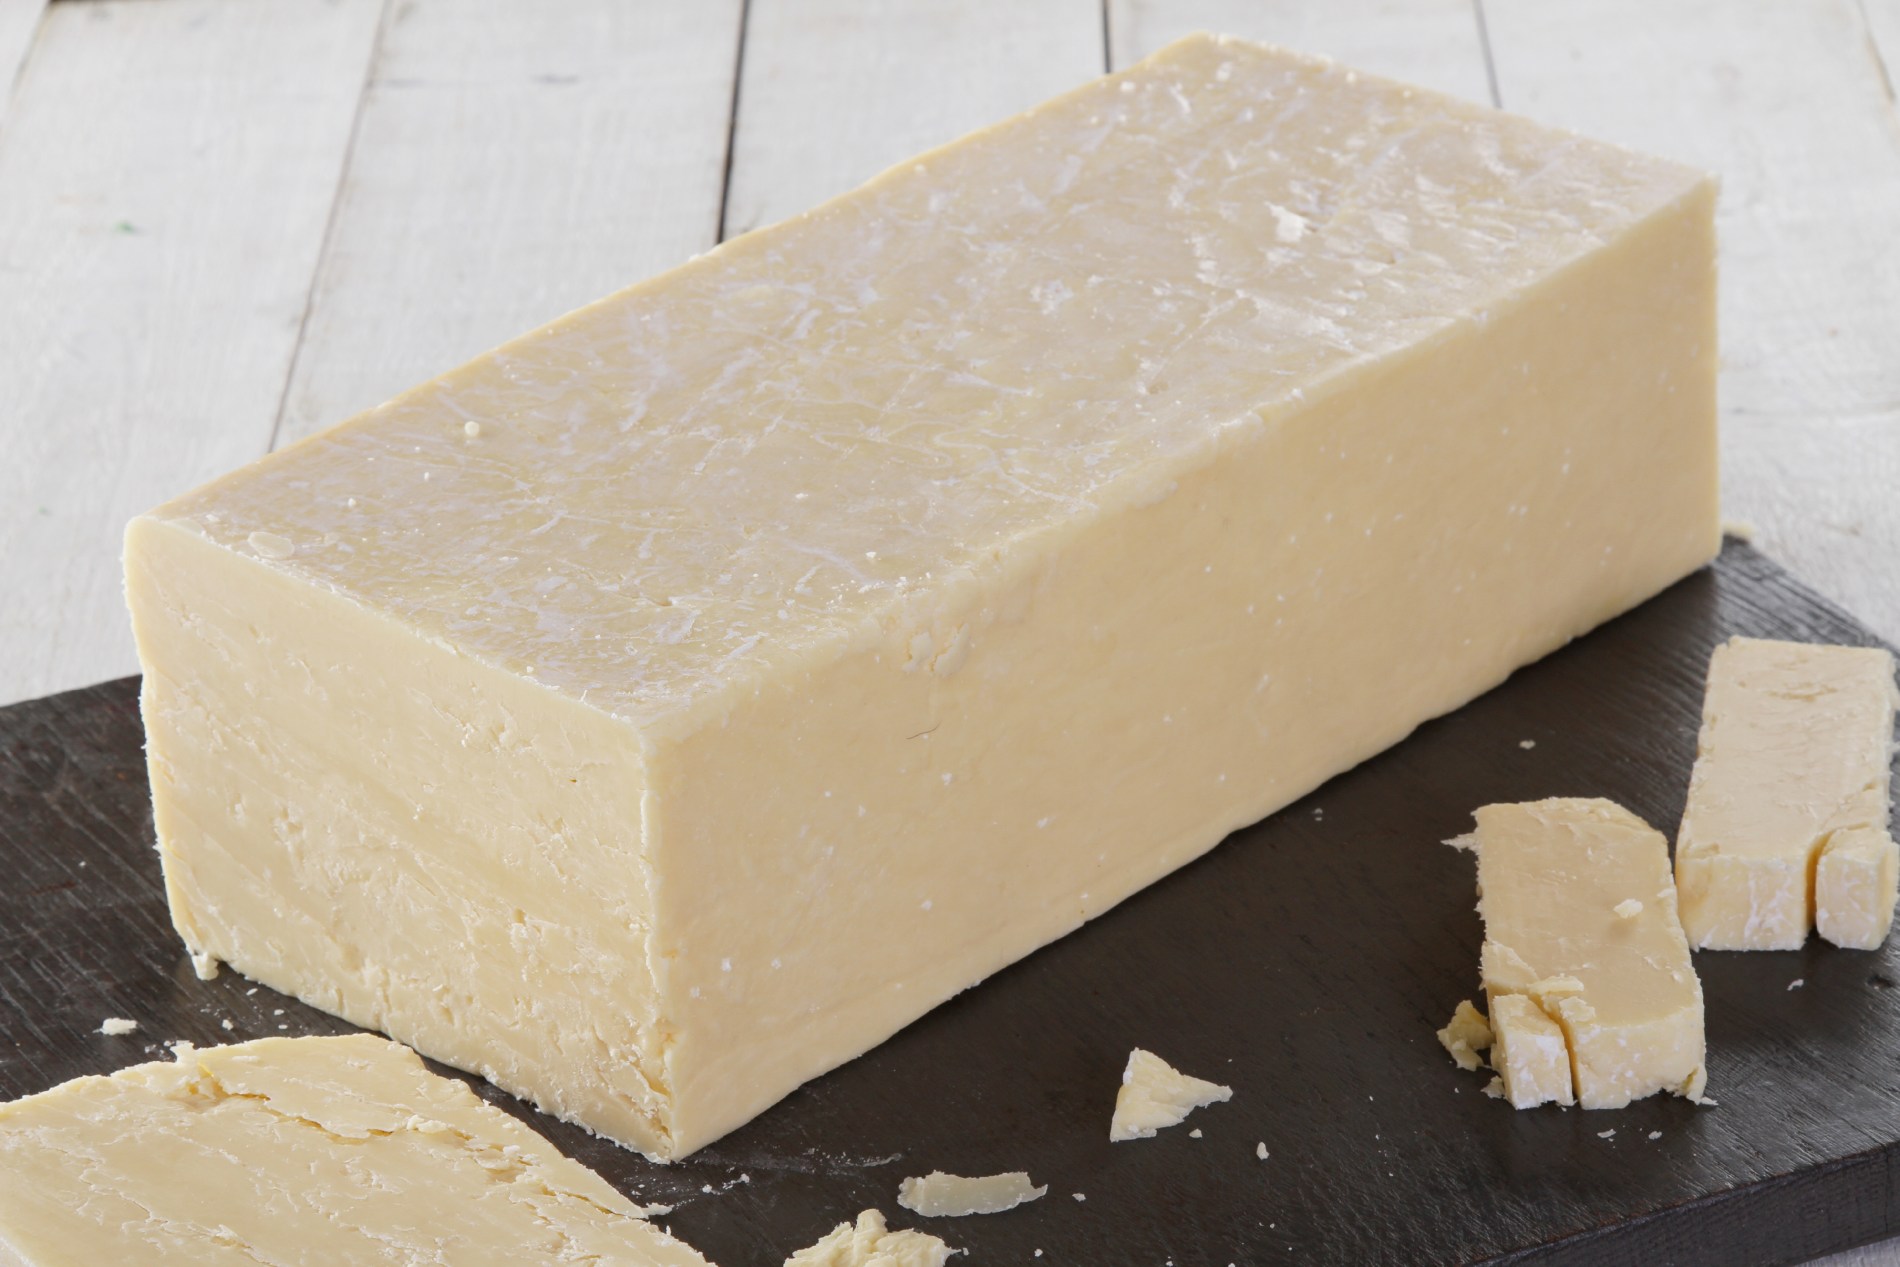
Before we delve into the storage techniques, let’s quickly touch upon the importance of choosing the right cheese for making these crispy delights. The type of cheese you use can greatly impact the texture, flavor, and crispiness of the final product. Hard cheeses like Parmesan, Pecorino Romano, or Cheddar are ideal choices as they have low moisture content, which helps in achieving the desired crispness.
Now that we have the cheese sorted, let’s move on to the preparation process. Making cheese crisps is incredibly simple. Begin by preheating your oven to the recommended temperature (typically around 400°F or 200°C). Line a baking sheet with parchment paper to prevent the cheese from sticking. Next, grate or thinly slice the cheese into small portions. Arrange the cheese portions on the baking sheet, leaving sufficient space between them to allow for spreading. It’s at this stage that you can add some extra flavors to your cheese crisps, such as sprinkling herbs, spices, or even a touch of garlic powder.
Once the cheese is prepared, it’s time to bake! Place the baking sheet in the preheated oven and keep a close eye on the cheese crisps as they cook. The baking time will vary depending on the thickness of the cheese and your desired level of crispness. Generally, it takes about 5-7 minutes, but it’s best to start checking for doneness after the first few minutes. The cheese crisps are ready when they turn golden brown and have a crispy texture.
Now that we know how to prepare the perfect cheese crisps, let’s explore the different storage methods to keep them fresh and crispy for longer periods of time.
Key Takeaways:
- Choose hard or aged cheeses with low moisture content for crispy cheese crisps. Experiment with flavors and store in airtight containers to maintain their delightful crunchiness.
- Enjoy cheese crisps as a standalone snack, topping, or garnish. Get creative with serving ideas and make smaller batches for fresh, crispy indulgence.
Read more: How To Store Homemade Cheese Crisps
Choosing the Right Cheese
When it comes to making cheese crisps, choosing the right type of cheese is crucial. Certain cheeses work better than others in terms of achieving a crispy texture and enhancing the overall flavor. Here are a few options to consider:
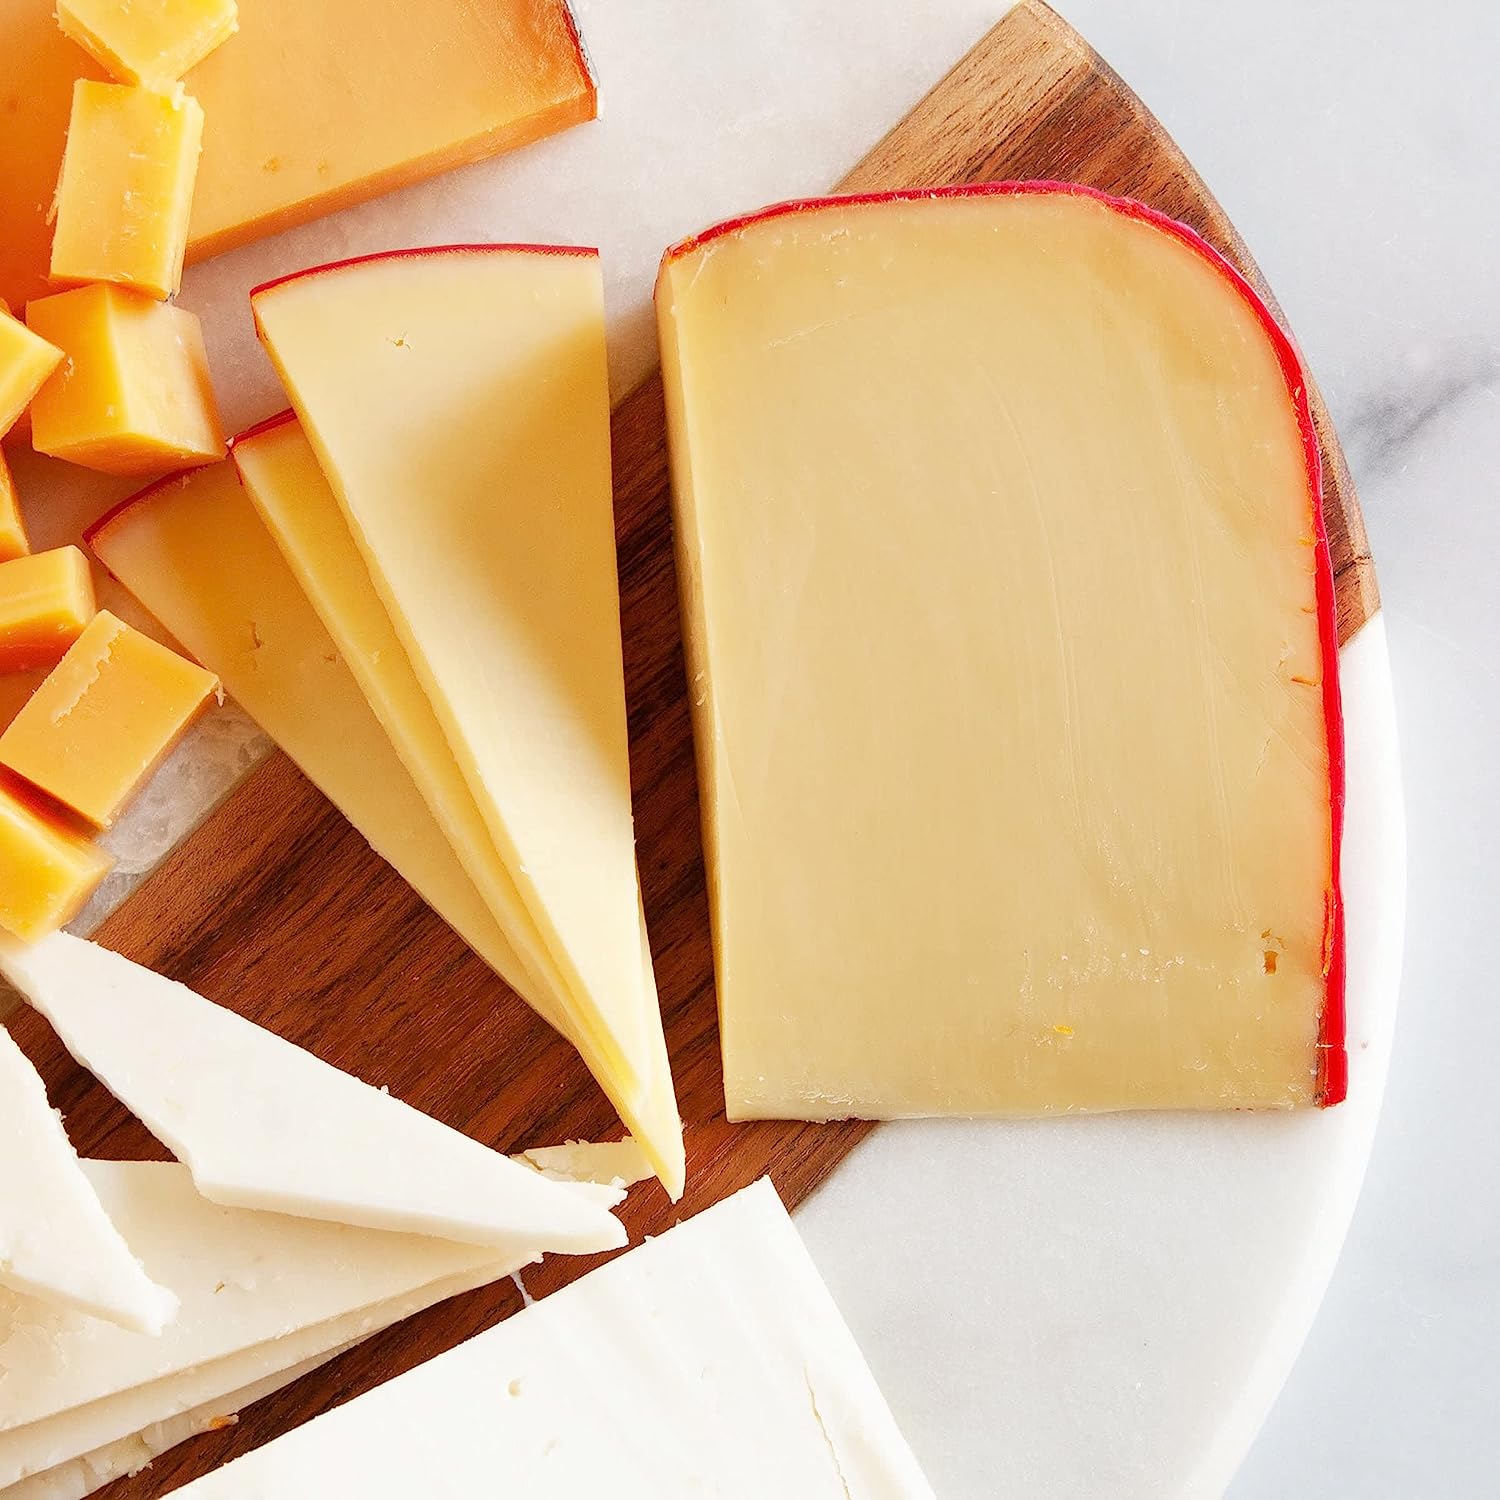
- Hard Cheeses: Hard cheeses like Parmesan, Pecorino Romano, and Cheddar are excellent choices for cheese crisps. These cheeses have a low moisture content, which allows them to melt and crisp up beautifully in the oven. Their intense flavors also add a wonderful depth to the crisps.
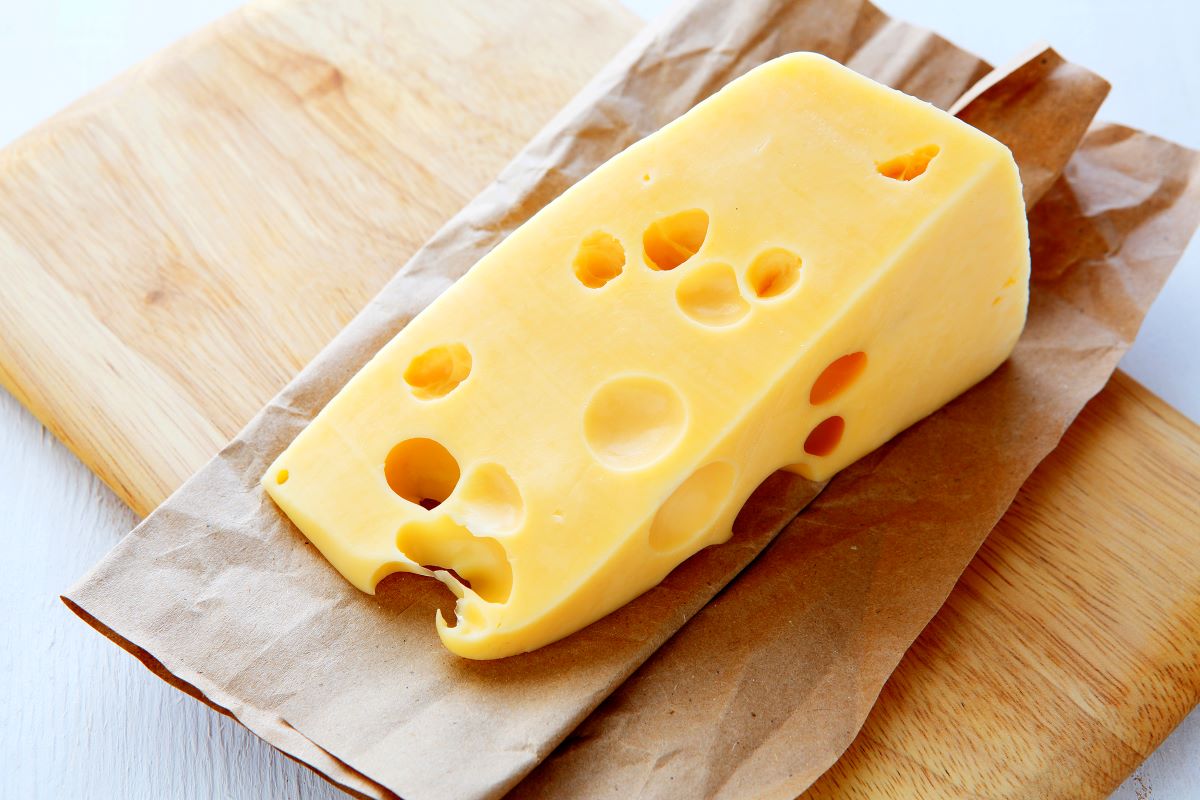
- Aged Cheeses: Aged cheeses like Gouda, Gruyere, or aged Cheddar can also be used to make cheese crisps. The aging process helps reduce the moisture content, resulting in a crispy texture. These cheeses often have complex flavors that can elevate the taste profile of the crisps.
- Specialty Cheeses: Don’t be afraid to explore different types of specialty cheeses for your crisps. Smoked cheese, blue cheese, or even spicy pepper jack can add a unique twist to your crispy snacks, offering a delicious blend of flavors and textures.
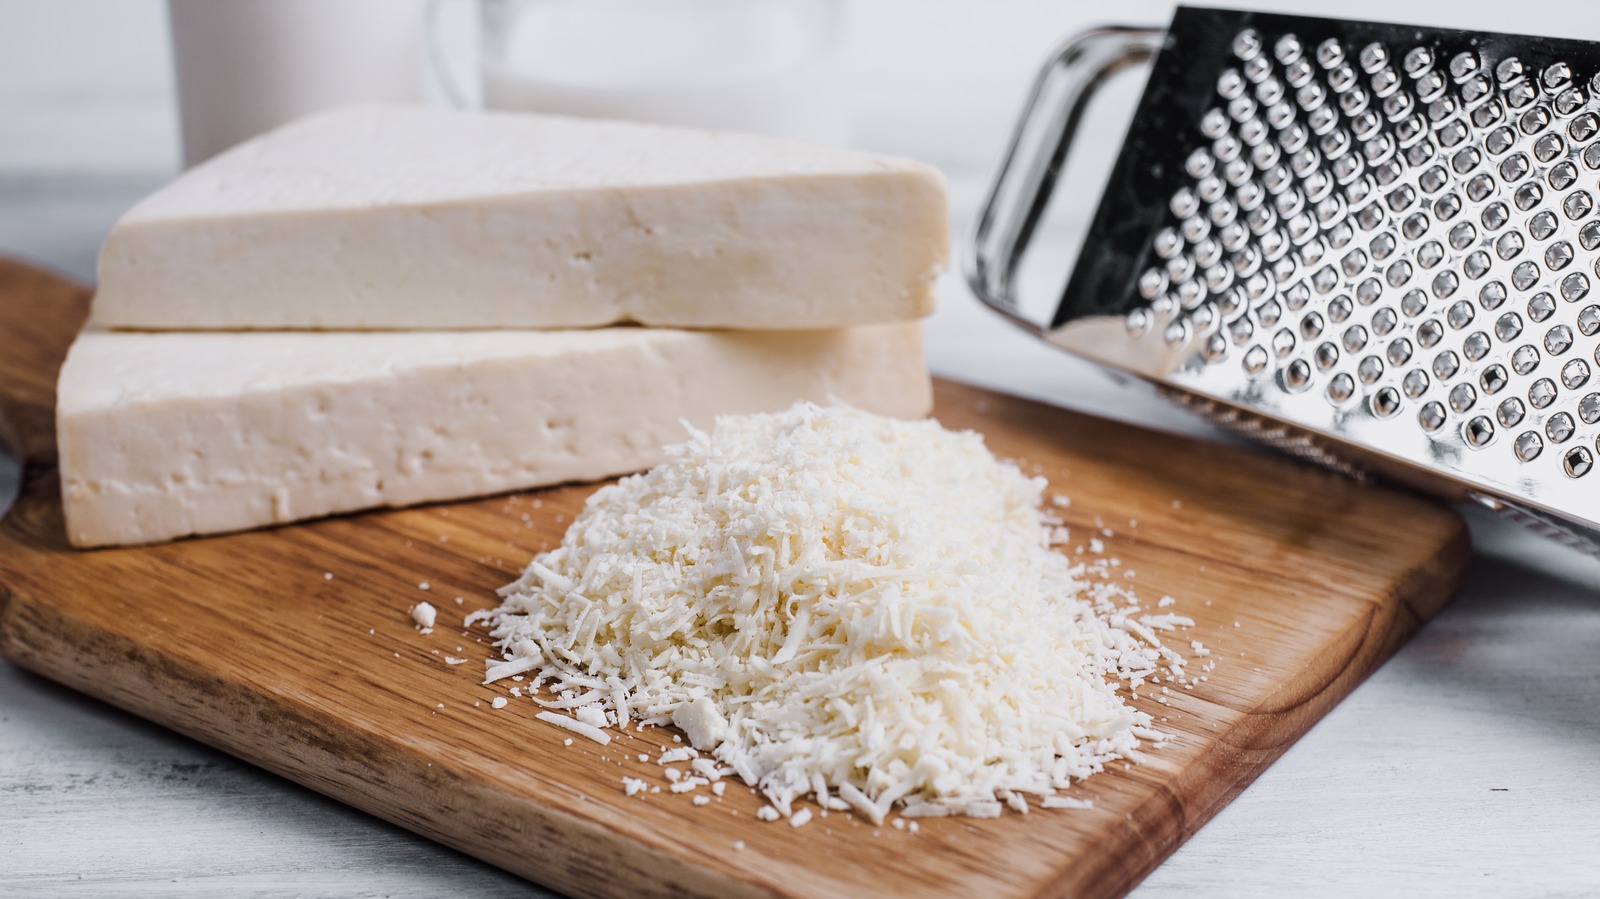
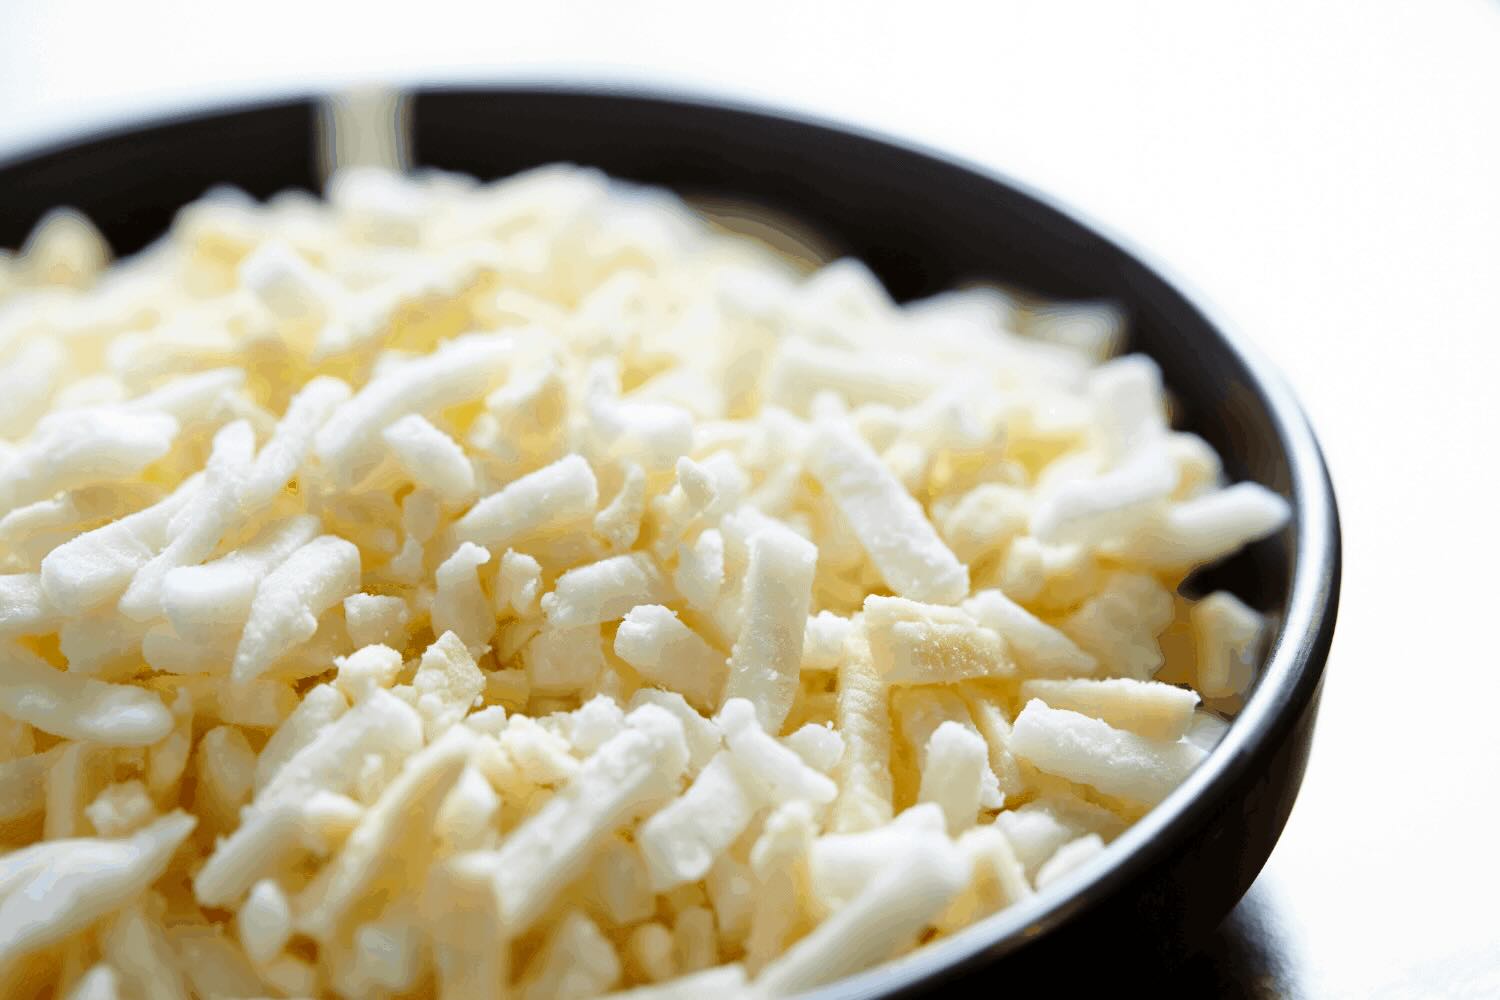
When selecting the cheese for your crisps, make sure to choose high-quality cheese that is free from any additives or preservatives. Opt for whole pieces of cheese and avoid pre-shredded varieties, as they often contain additives like anti-caking agents that can affect the texture of your final product. Grating or thinly slicing the cheese yourself allows for better control over the thickness and ensures a more consistent outcome.
Experimentation is key when it comes to choosing the right cheese. Don’t be afraid to try different combinations and flavors to find your favorite. Remember, the cheese is the star of the show, so choose wisely and let your taste buds guide you!
Preparing the Cheese
Now that you’ve chosen the perfect cheese for your cheese crisps, it’s time to prepare it for baking. Proper preparation ensures that the cheese crisps turn out crispy, flavorful, and visually appealing. Follow these simple steps to get your cheese ready for the oven:
- Grate or Slice: Start by grating the cheese using a box grater or thinly slicing it with a sharp knife. The thickness of the cheese will determine the crispiness of the final product. Thinly sliced cheese will result in delicate and crispy crisps, while coarsely grated cheese will yield thicker and crunchier crisps. The choice is yours, depending on your preference.
- Spacing: Line a baking sheet with parchment paper to prevent the cheese from sticking. Make sure to leave enough space between the cheese portions for spreading. As the cheese melts in the oven, it will spread out, so it’s important to give each portion enough room to expand without merging into one another.
- Flavor Variation: This is where you can get creative and add some extra flavors to your cheese crisps. Sprinkle some herbs like rosemary, thyme, or oregano over the cheese for a fragrant twist. You can also experiment with spices like paprika, garlic powder, or chili flakes to add a kick of heat. These additional flavors will infuse into the melted cheese, enhancing the taste of your crisps.
- Baking Temperature and Time: Preheat your oven to the recommended temperature, usually around 400°F or 200°C. Once the oven is preheated, place the baking sheet with the cheese portions inside. Keep a watchful eye on them as they bake. The baking time will depend on the thickness of the cheese and the desired level of crispness, typically taking around 5-7 minutes. Be sure to check on them frequently to prevent over-browning.
Remember, the key to achieving perfectly crispy and golden cheese crisps lies in the preparation process. Take your time to grate or slice the cheese evenly and arrange it with sufficient spacing on the baking sheet. You can also play around with flavors and seasonings to create unique variations of cheese crisps that suit your preferences.
Now that your cheese is prepared, let’s move on to the important part – storing the cheese crisps to maintain their delightful crispness.
Storing Cheese Crisps
Once your cheese crisps are baked to perfection, you may find yourself with a surplus of these delicious treats. So, how do you store them to maintain their crispy texture? Follow these storage tips to keep your cheese crisps fresh and crunchy:
- Cooling Time: Allow the cheese crisps to cool completely on the baking sheet before handling or storing them. This will ensure that they retain their crispiness.
- Airtight Container: Transfer the cooled cheese crisps to an airtight container or a resealable plastic bag. Make sure that the container or bag is completely sealed to prevent moisture from getting in. Excess moisture can cause the crisps to become soft and lose their crunch.
- Absorbent Material: To further protect the crispiness of the cheese crisps, you can add an absorbent material, such as a piece of paper towel or a desiccant packet, to the container or bag. The absorbent material will help absorb any excess moisture, keeping the crisps dry and crunchy.
- Layer Separation: If you’re storing a large batch of cheese crisps, it’s important to prevent them from sticking together. Place a layer of parchment paper or wax paper between each layer of crisps to keep them separate and maintain their individual crispness.
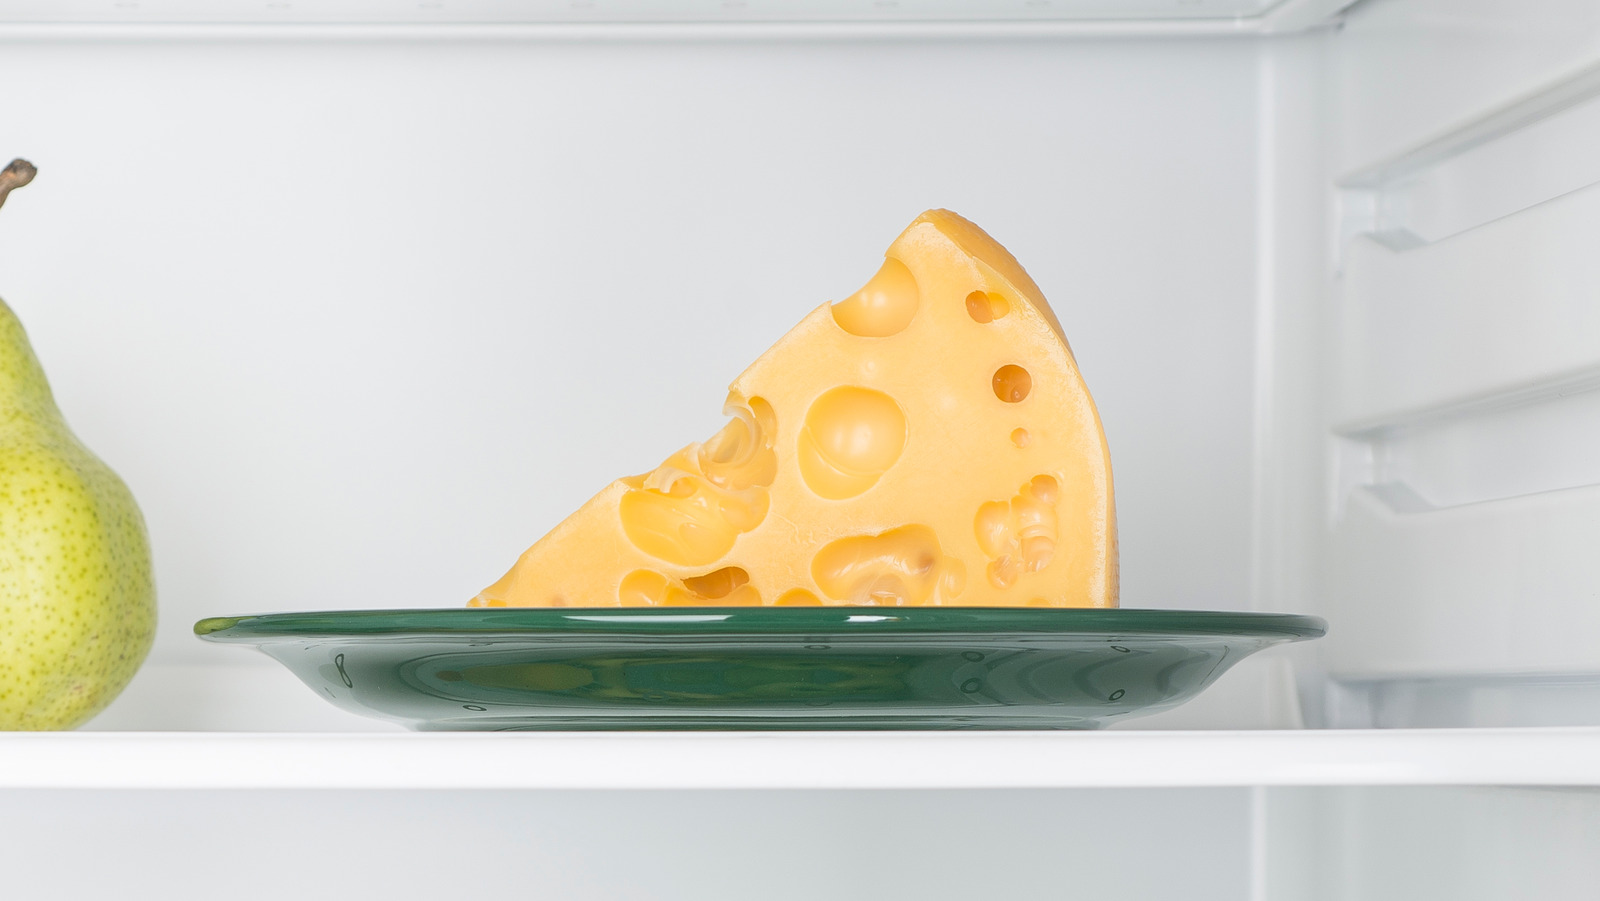
Store the container or bag of cheese crisps in a cool, dry place away from direct sunlight and heat sources. The pantry or a kitchen cabinet is an ideal storage location. Avoid storing them in the refrigerator, as the moisture from the fridge can make the crisps lose their crispiness and become soggy.
With these storage tips in mind, you can enjoy your homemade cheese crisps for days to come without sacrificing their delicious texture.
Store cheese crisps in an airtight container at room temperature to maintain their crispiness. Avoid storing them in the refrigerator, as the moisture can cause them to become soggy.
Tips for Long-Term Storage
If you want to extend the shelf life of your cheese crisps even further, here are some tips for long-term storage:
- Vacuum Sealing: Consider investing in a vacuum sealer to remove all the air from the storage bags. Vacuum-sealed bags help in preventing moisture from reaching the cheese crisps, keeping them crispy for longer periods of time.
- Freezing: Yes, you can freeze cheese crisps! Place the cooled cheese crisps in a freezer-safe container or bag. Make sure to label and date the container for easy reference. When you’re ready to enjoy them, simply thaw the crisps at room temperature for a few minutes before serving. Freezing can slightly affect the texture, but they should still maintain their delicious taste.
- Re-crisping: If your cheese crisps have lost some of their crunchiness over time, you can re-crisp them in the oven. Preheat the oven to a low temperature (around 250°F or 120°C), spread the crisps on a baking sheet, and heat them for a few minutes until they regain their crispiness. Be careful not to overheat them, as it can cause them to burn.
- Small Batches: Instead of storing a large batch of cheese crisps, consider making smaller batches more frequently. By making smaller portions, you can enjoy fresh and crispy cheese crisps every time without worrying about long-term storage.
These tips will help you maximize the shelf life of your cheese crisps and ensure that they remain crispy and flavorful for as long as possible.
Read more: How To Store Parmesan Crisps
Serving and Enjoying Cheese Crisps
Now that you have stored your cheese crisps and preserved their crispiness, it’s time to serve them and enjoy their irresistible crunch and flavor. Here are some ideas for serving and savoring your cheese crisps:
- As a Snack: Cheese crisps make an excellent standalone snack. Serve them in a bowl or a platter for guests to enjoy during gatherings or as a quick and tasty treat for yourself. Pair them with a glass of wine or your favorite beverage for a delightful combination.
- Toppings: Use cheese crisps as a crunchy topping for various dishes. Crumble or crush them over salads, soups, or pasta dishes to add an extra texture and a burst of cheesy goodness. They can also be used as a unique garnish for creamy dips and spreads.
- Charcuterie Boards: Include a stack of cheese crisps on your charcuterie board. Their crispy texture and cheesy flavor complement the array of cured meats, cheeses, and other accompaniments perfectly. Your guests will love the added crunch and unique twist.
- Sandwiches and Wraps: Add a layer of cheese crisps to your sandwiches or wraps for an extra crunch. They can replace traditional chips or provide a tasty surprise element in each bite. Their cheesy flavor pairs well with a variety of fillings, from deli meats to grilled vegetables.
- Dipping: Serve cheese crisps with your favorite dips, such as hummus, salsa, or guacamole. The combination of the crispy texture and the creamy dip creates a delightful contrast that will leave your taste buds craving for more.
Remember to store any leftover cheese crisps properly to maintain their texture and flavor. If you have made multiple flavors or types of cheese crisps, you can also create a grazing board or a sampler platter, allowing your guests to try different variations and find their favorites.
Let your creativity shine when it comes to serving and enjoying your cheese crisps. Experiment with different flavor combinations, pairings, and presentations to make each serving a unique and memorable experience.
Conclusion
Cheese crisps are a delightful treat that combines the irresistible crunch of a chip with the rich, cheesy flavor that we all love. Whether you enjoy them as a snack, a topping, or a garnish, cheese crisps are a versatile and delicious option. By following the right techniques for preparation and storage, you can ensure that your cheese crisps remain crispy and flavorful for an extended period of time.
Choosing the right type of cheese, such as hard or aged varieties, is crucial in achieving the desired crispiness. Properly preparing the cheese by grating or slicing it into thin portions and adding extra flavors like herbs or spices enhances the taste profile of the crisps. When it comes to storing cheese crisps, using airtight containers, adding absorbent materials, and providing layer separation are key to maintaining their crunchiness.
For long-term storage, vacuum sealing or freezing cheese crisps is an effective method to preserve their texture. If your crisps have lost their crispness over time, re-crisping them in the oven is a simple solution. Remember, making smaller batches of cheese crisps can ensure that you always have a fresh supply without worrying about long-term storage.
Serving and enjoying cheese crisps is a delight in itself. Whether you’re enjoying them as a standalone snack, using them as a topping for various dishes, incorporating them into a charcuterie spread, or pairing them with dips, the crispy texture and cheesy flavor are sure to satisfy your taste buds.
In conclusion, with the right cheese, preparation techniques, storage methods, and serving ideas, you can enjoy the delectable crunch of cheese crisps anytime, anywhere. So go ahead, indulge in this cheesy delight and savor the crispy goodness!
Frequently Asked Questions about How To Store Cheese Crisps
Was this page helpful?
At Storables.com, we guarantee accurate and reliable information. Our content, validated by Expert Board Contributors, is crafted following stringent Editorial Policies. We're committed to providing you with well-researched, expert-backed insights for all your informational needs.


0 thoughts on “How To Store Cheese Crisps”