Articles
How To Store Apple Crisp
Modified: January 5, 2024
Learn how to store apple crisp properly and keep it fresh for longer with these helpful articles and tips.
(Many of the links in this article redirect to a specific reviewed product. Your purchase of these products through affiliate links helps to generate commission for Storables.com, at no extra cost. Learn more)
Introduction
Welcome to the delightful world of apple crisp! This classic autumn dessert is a perfect way to enjoy the bountiful harvest of apples during the fall season. Imagine the sweet aroma of cinnamon and baked apples wafting through your kitchen, enticing your taste buds with every bite. Whether you’re a seasoned baker or just starting out, learning how to make and store apple crisp is a skill worth mastering.
Apple crisp is a warm and comforting dessert that consists of a luscious apple filling topped with a crunchy and buttery oat-based crust. The combination of tender apples, warm spices, and the crisp topping creates a harmony of flavors and textures that is simply irresistible.
Not only is apple crisp delicious, but it is also a versatile dessert. You can serve it on its own, warm from the oven, or pair it with a scoop of vanilla ice cream or a dollop of freshly whipped cream. It is equally delightful as a dessert after dinner or as a special treat for brunch.
In this article, we will guide you through the process of making apple crisp from scratch and share tips on how to store it properly to ensure its freshness and flavor. So, put on your apron, gather the ingredients, and get ready to embark on a culinary adventure filled with the delectable flavors of apple crisp!
Key Takeaways:
- Master the art of making and storing apple crisp with flavorful apple filling and crunchy oat-based topping. Experiment with serving suggestions for a delightful fall dessert experience.
- Choose crisp and tart apples, adjust spices and sweetness, and explore creative serving options to personalize your apple crisp. Store it in the fridge for 2-3 days or freeze for up to 3 months for future enjoyment.
Read more: How To Store Parmesan Crisps
Ingredients
To make a delicious apple crisp, you will need the following ingredients:
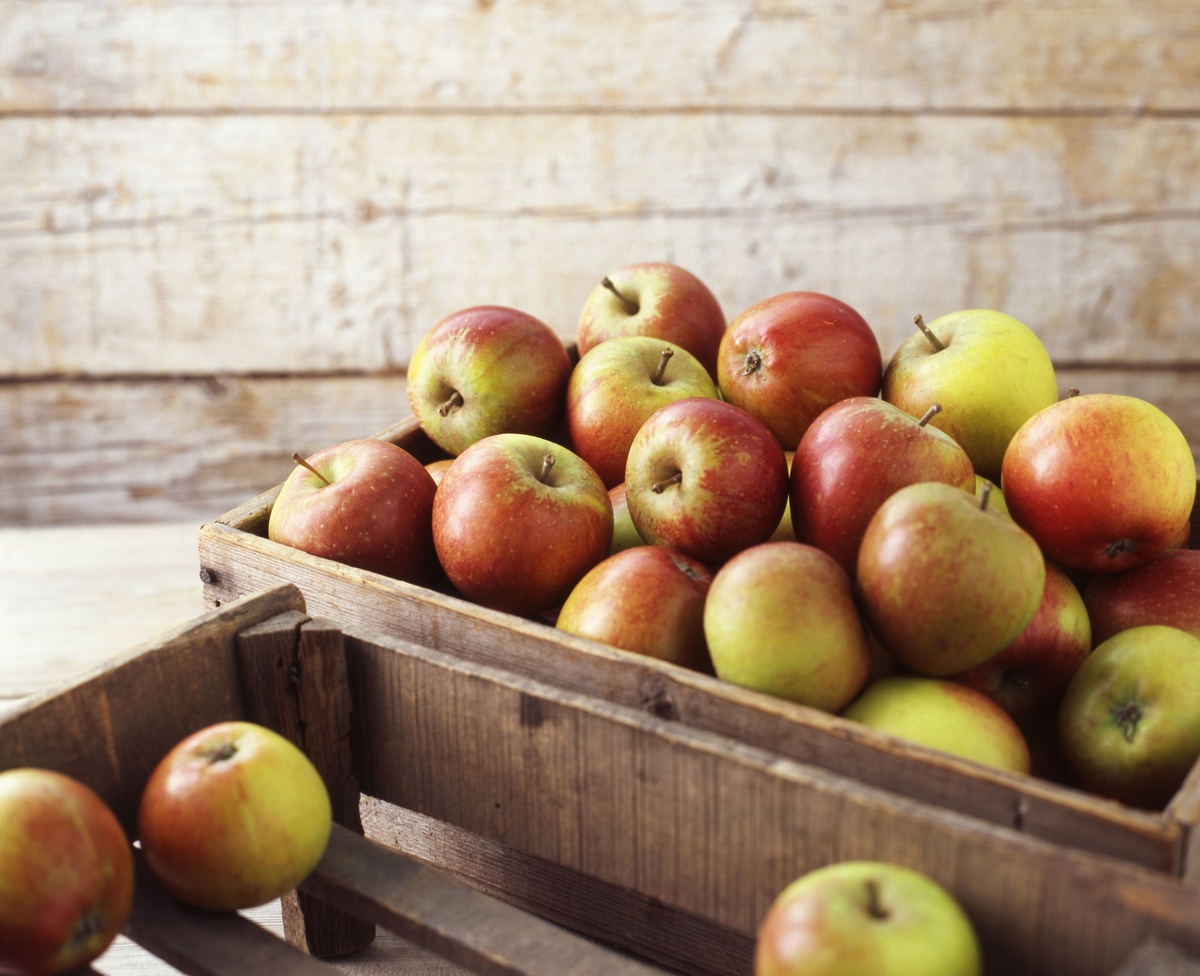
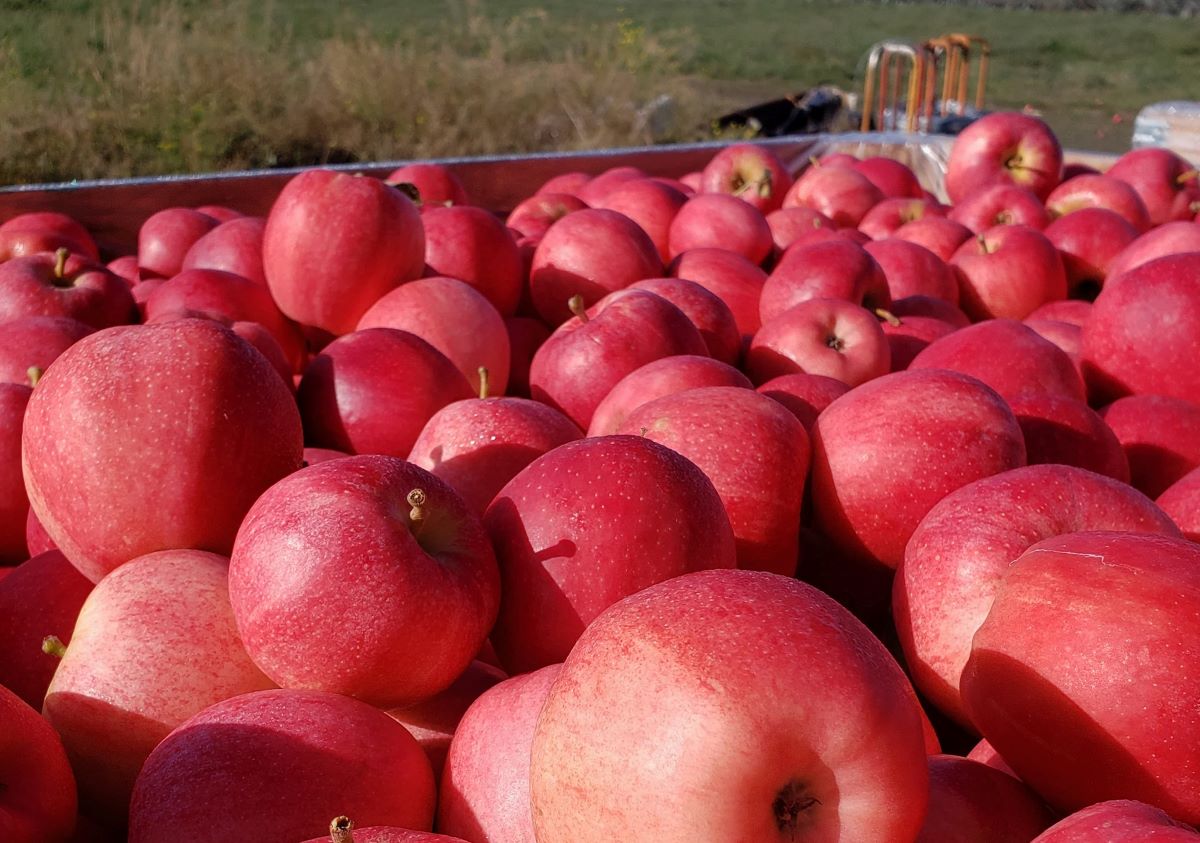
- 6-8 medium-sized apples (such as Granny Smith or Honeycrisp), peeled, cored, and thinly sliced
- 1/2 cup granulated sugar
- 2 tablespoons all-purpose flour
- 1 teaspoon ground cinnamon
- 1/4 teaspoon ground nutmeg
- 1 cup old-fashioned oats
- 1/2 cup all-purpose flour
- 1/2 cup brown sugar
- 1/2 teaspoon ground cinnamon
- 1/4 teaspoon salt
- 1/2 cup cold unsalted butter, cut into small cubes
You can customize the spices and adjust the amount of sugar based on your preferences. Feel free to add a pinch of ground cloves or ginger for a more complex flavor profile. Additionally, you can add a handful of chopped nuts or raisins to the crisp topping to add a delightful crunch.
Make sure to use apples that are firm and slightly tart for the best results. The tartness of the apples will balance the sweetness of the sugar and create a harmonious blend of flavors.
Now that we have all the necessary ingredients, let’s move on to the next section to learn about the equipment needed to make apple crisp.
Equipment
To make apple crisp, you will need the following equipment:
- 9×9-inch baking dish or a similar size
- Mixing bowls
- Peeler and corer (if not using pre-sliced apples)
- Measuring cups and spoons
- Whisk or fork
- Knife
- Cutting board
- Pastry blender or two forks
- Oven mitts
A 9×9-inch baking dish is an ideal size for making apple crisp. It provides enough space for the apple filling and crisp topping to come together beautifully. However, if you don’t have a 9×9-inch dish, you can use a similar size baking dish, such as an 8×8-inch or 9×13-inch dish. Just keep in mind that the baking time might vary slightly depending on the size of the dish you use.
When it comes to peeling and coring the apples, you can use a peeler and corer tool if you have one. This will make the process quicker and easier. However, if you don’t have a peeler and corer, a sharp knife will do the job just fine. Simply peel the apples using a knife and then carefully remove the cores.
Having a few mixing bowls on hand is essential for combining the ingredients and ensuring they are evenly distributed throughout the apple crisp. Use separate bowls for the apple filling and the crisp topping to keep everything organized.
Lastly, don’t forget to have oven mitts ready to handle the hot baking dish when taking the apple crisp out of the oven. Safety is always a priority!
Now that we’re equipped with the necessary tools, let’s move on to the next section and start making the apple filling.
Making the Apple Filling
The apple filling is the heart of the apple crisp, providing a sweet and tender base for the dessert. Here’s how you can make the delicious apple filling:
- Preheat your oven to 375°F (190°C). This will ensure that your apple crisp bakes evenly and to perfection.
- In a large mixing bowl, combine the thinly sliced apples, granulated sugar, all-purpose flour, ground cinnamon, and ground nutmeg. Toss the apples gently until they are evenly coated with the sugar and spices.
- Let the apple mixture sit for about 10 minutes. This will allow the apples to release some of their juices and create a delicious syrup while baking.
- While the apple mixture is resting, lightly grease your baking dish to prevent sticking.
- Transfer the apple mixture into the prepared baking dish, spreading it out evenly.
That’s it! Your apple filling is now ready to be topped with the crisp layer. The combination of sugar, cinnamon, and nutmeg will infuse the apples with warmth and sweetness as they bake in the oven. The natural juices from the apples will create a luscious syrup that perfectly balances the flavors of the crisp topping.
In the next section, we will dive into the process of making the crisp topping, which will add a delightful crunch to the apple crisp.
Making the Crisp Topping
The crisp topping is what gives apple crisp its signature crunch and texture. Follow these simple steps to create the perfect topping for your apple crisp:
- In a separate mixing bowl, combine the old-fashioned oats, all-purpose flour, brown sugar, ground cinnamon, and salt. Stir these dry ingredients together until well blended.
- Add the cold unsalted butter cubes to the bowl. Using a pastry blender or two forks, cut the butter into the dry ingredients until the mixture resembles coarse crumbs. This process helps distribute the butter evenly and creates a crumbly texture for the topping.
- Continue cutting the butter into the mixture until no large chunks of butter remain. The mixture should resemble pea-sized crumbs.
That’s it! Your crisp topping is now ready to be sprinkled over the apple filling. The combination of oats, flour, brown sugar, and spices along with the butter creates a buttery and crunchy layer that complements the sweet and tender apple filling.
In the next section, we will bring the apple filling and crisp topping together to assemble the apple crisp before baking it to perfection.
Store apple crisp in an airtight container or tightly covered with plastic wrap in the refrigerator for up to 3-4 days. Reheat in the oven at 350°F for 10-15 minutes to restore crispness.
Read more: How To Store Homemade Cheese Crisps
Assembling the Apple Crisp
Now that you have prepared both the apple filling and the crisp topping, it’s time to bring them together and assemble the apple crisp. Follow these steps to create a beautiful and delicious dessert:
- Preheat your oven to 375°F (190°C) if you haven’t done so already.
- Take the prepared apple filling and pour it into a greased 9×9-inch baking dish. Spread the filling evenly so that it covers the entire bottom of the dish.
- Next, take the crisp topping mixture and sprinkle it evenly over the apple filling. Make sure to cover the entire surface with the topping to create a deliciously crunchy layer.
- Gently pat down the topping to ensure it sticks to the apples and forms an even layer.
And that’s it! Your apple crisp is now ready to be baked to golden perfection.
As the apple crisp bakes in the oven, the apples will soften and release their juices, creating a bubbling and aromatic filling. The crisp topping will brown and become crisp, providing the perfect contrast to the tender apples beneath.
In the next section, we will explore the baking process and essential tips to ensure your apple crisp turns out beautifully.
Baking the Apple Crisp
Now that you have assembled your apple crisp, it’s time to bake it to perfection. Follow these steps to ensure a beautifully baked dessert:
- Place the assembled apple crisp in the preheated oven.
- Bake for approximately 35-40 minutes, or until the top is golden brown and the apple filling is bubbling around the edges.
- Keep a close eye on the apple crisp as it bakes. You want the topping to be nicely browned but not burnt. If you notice the topping getting too dark, tent the dish with aluminum foil to prevent further browning.
- Once baked, remove the apple crisp from the oven and let it cool for a few minutes before serving. The filling will be extremely hot, so exercise caution when handling the dish.
Baking times may vary depending on your oven, so it’s always best to keep an eye on the crisp during the final minutes of baking. The aroma of the warm spices and the anticipation of digging into a delicious apple crisp will fill your kitchen.
Now that we have baked the apple crisp, let’s move on to the next section and learn how to properly cool and store it for future enjoyment.
Cooling and Storing the Apple Crisp
Once your apple crisp is out of the oven, it’s important to allow it to cool properly before storing. Follow these steps to cool and store your apple crisp:
- Place the pan on a wire rack and allow the apple crisp to cool for at least 20-30 minutes. This allows the juices to thicken and the crisp topping to set.
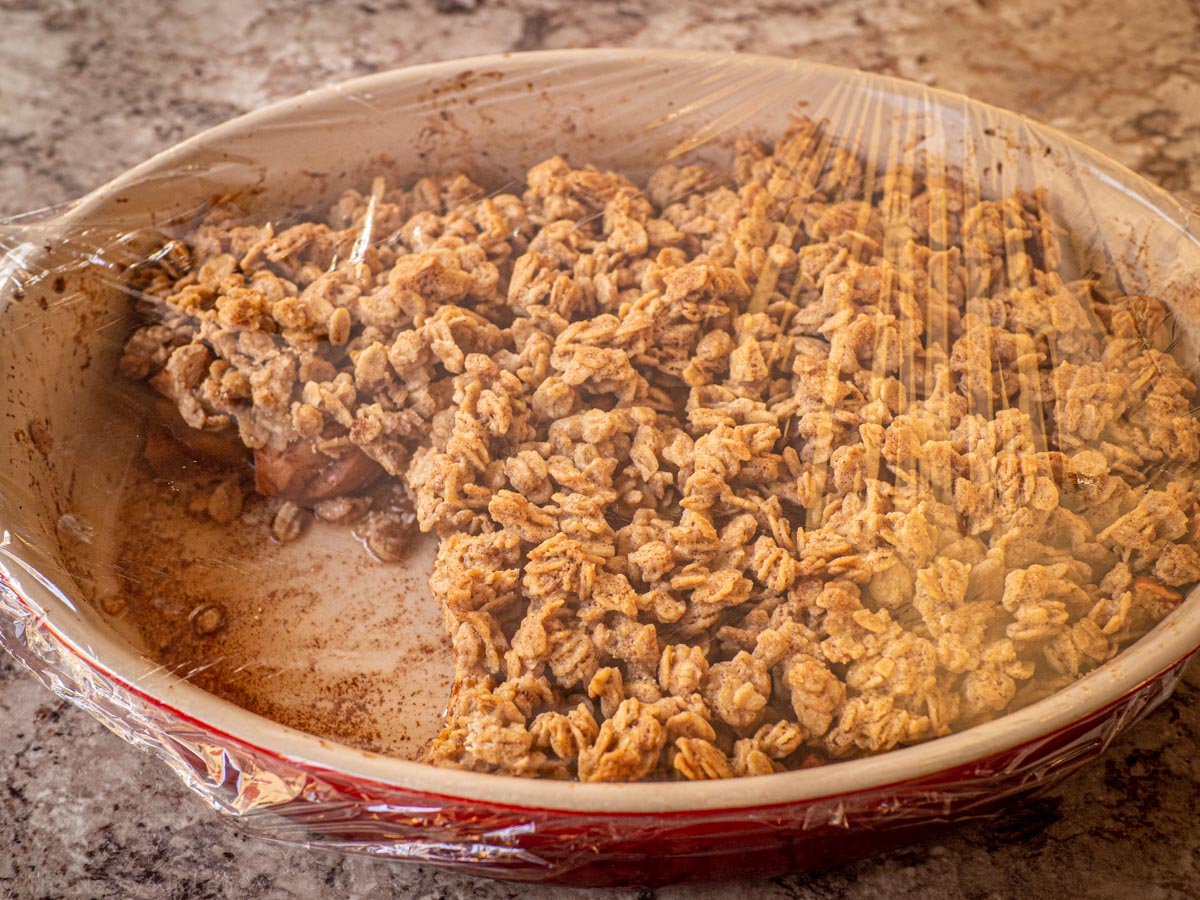
- Once the apple crisp has cooled to room temperature, cover it loosely with aluminum foil or plastic wrap. This will prevent it from drying out and keep it fresh.
- Store the apple crisp in the refrigerator if you plan to consume it within 2-3 days. The cool environment will help maintain its flavor and texture.
- If you want to store the apple crisp for a longer period, you can freeze it. Wrap it tightly with foil or place it in an airtight container and store it in the freezer for up to 3 months.
When you’re ready to enjoy the apple crisp, you can reheat it in the oven at 350°F (175°C) for about 15-20 minutes or until warmed through. Alternatively, you can microwave individual portions for a quick and easy dessert.
Remember to discard the apple crisp if it shows any signs of spoilage, such as an off smell or mold growth.
In the next section, we will explore some creative serving suggestions to elevate your apple crisp experience.
Serving Suggestions
Apple crisp is a delightful dessert on its own, but you can take it to the next level by serving it with some delicious accompaniments. Get ready to indulge in these serving suggestions for a truly delightful treat:
- Serve the apple crisp warm, straight out of the oven. The contrast between the warm, tender apple filling and the crispy topping is simply irresistible.
- Add a scoop of vanilla ice cream on top of the warm apple crisp. The creamy ice cream will melt into the dessert, creating a heavenly combination of hot and cold.
- Drizzle some caramel sauce over the apple crisp for an extra touch of sweetness. The caramel will add a luscious and buttery flavor to every bite.
- Top it with a dollop of freshly whipped cream. The light and fluffy cream are the perfect complement to the rich flavors of the apple crisp.
- For a crunchy texture, sprinkle some chopped nuts, such as walnuts or pecans, over the apple crisp. This adds an extra layer of nutty goodness to the dessert.
- Serve it alongside a cup of warm apple cider or a freshly brewed cup of coffee for a cozy and comforting fall pairing.
Feel free to get creative with your serving suggestions and experiment with different toppings and accompaniments. The options are endless, and you can tailor them to your own preferences and taste.
Now that you know how to serve your apple crisp, it’s time to conclude this delicious adventure.
Read more: How To Store Pizzelles To Keep Them Crisp
Conclusion
Congratulations! You have successfully learned how to make a delicious apple crisp from scratch and discovered the art of storing it for future enjoyment. With its flavorful apple filling and crunchy oat-based topping, apple crisp is a delightful dessert that celebrates the fall harvest and brings warmth to your kitchen.
By following the step-by-step instructions in this article, you now have the knowledge and confidence to create your own apple crisp masterpiece. Remember to choose crisp and tart apples, and adjust the spices and sweetness to your taste. Experiment with different serving suggestions and toppings to personalize your dessert and make it even more enjoyable.
Whether you’re serving apple crisp for a family gathering, a cozy night in, or a special occasion, it is sure to delight your loved ones and leave them craving for more. The combination of flavors, from the sweet apples to the warm spices, will make every bite a memorable experience.
So, don your apron, gather your ingredients, and embark on the delightful journey of making and storing apple crisp. Enjoy the sweet aromas, the crisp textures, and the moments of joy shared around the table. Fall is here, and apple crisp is calling!
Frequently Asked Questions about How To Store Apple Crisp
Was this page helpful?
At Storables.com, we guarantee accurate and reliable information. Our content, validated by Expert Board Contributors, is crafted following stringent Editorial Policies. We're committed to providing you with well-researched, expert-backed insights for all your informational needs.


0 thoughts on “How To Store Apple Crisp”