Articles
How To Store Calla Lily Seeds
Modified: September 1, 2024
Learn the best techniques for storing calla lily seeds in this informative article. Read now to ensure a successful propagation process.
(Many of the links in this article redirect to a specific reviewed product. Your purchase of these products through affiliate links helps to generate commission for Storables.com, at no extra cost. Learn more)
Introduction
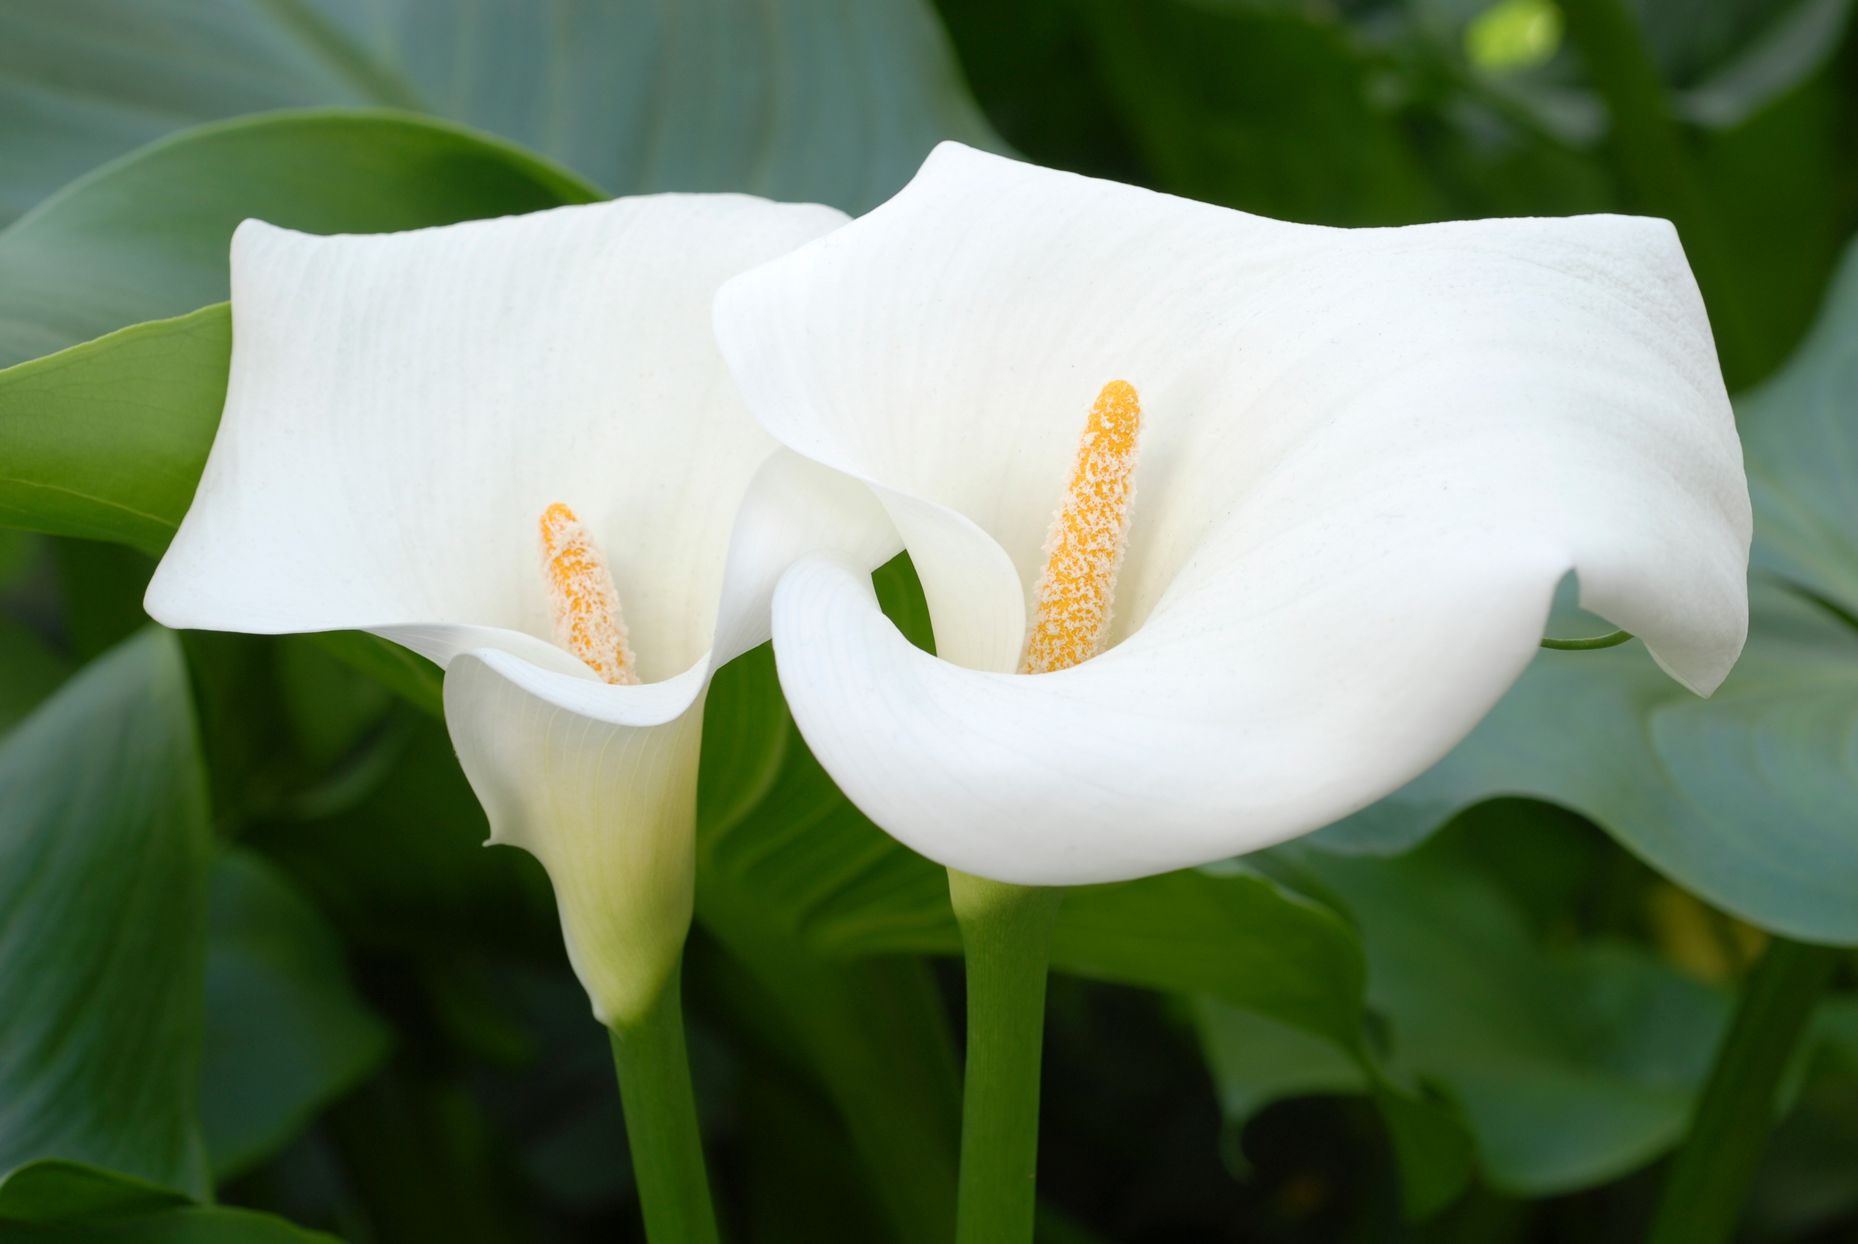
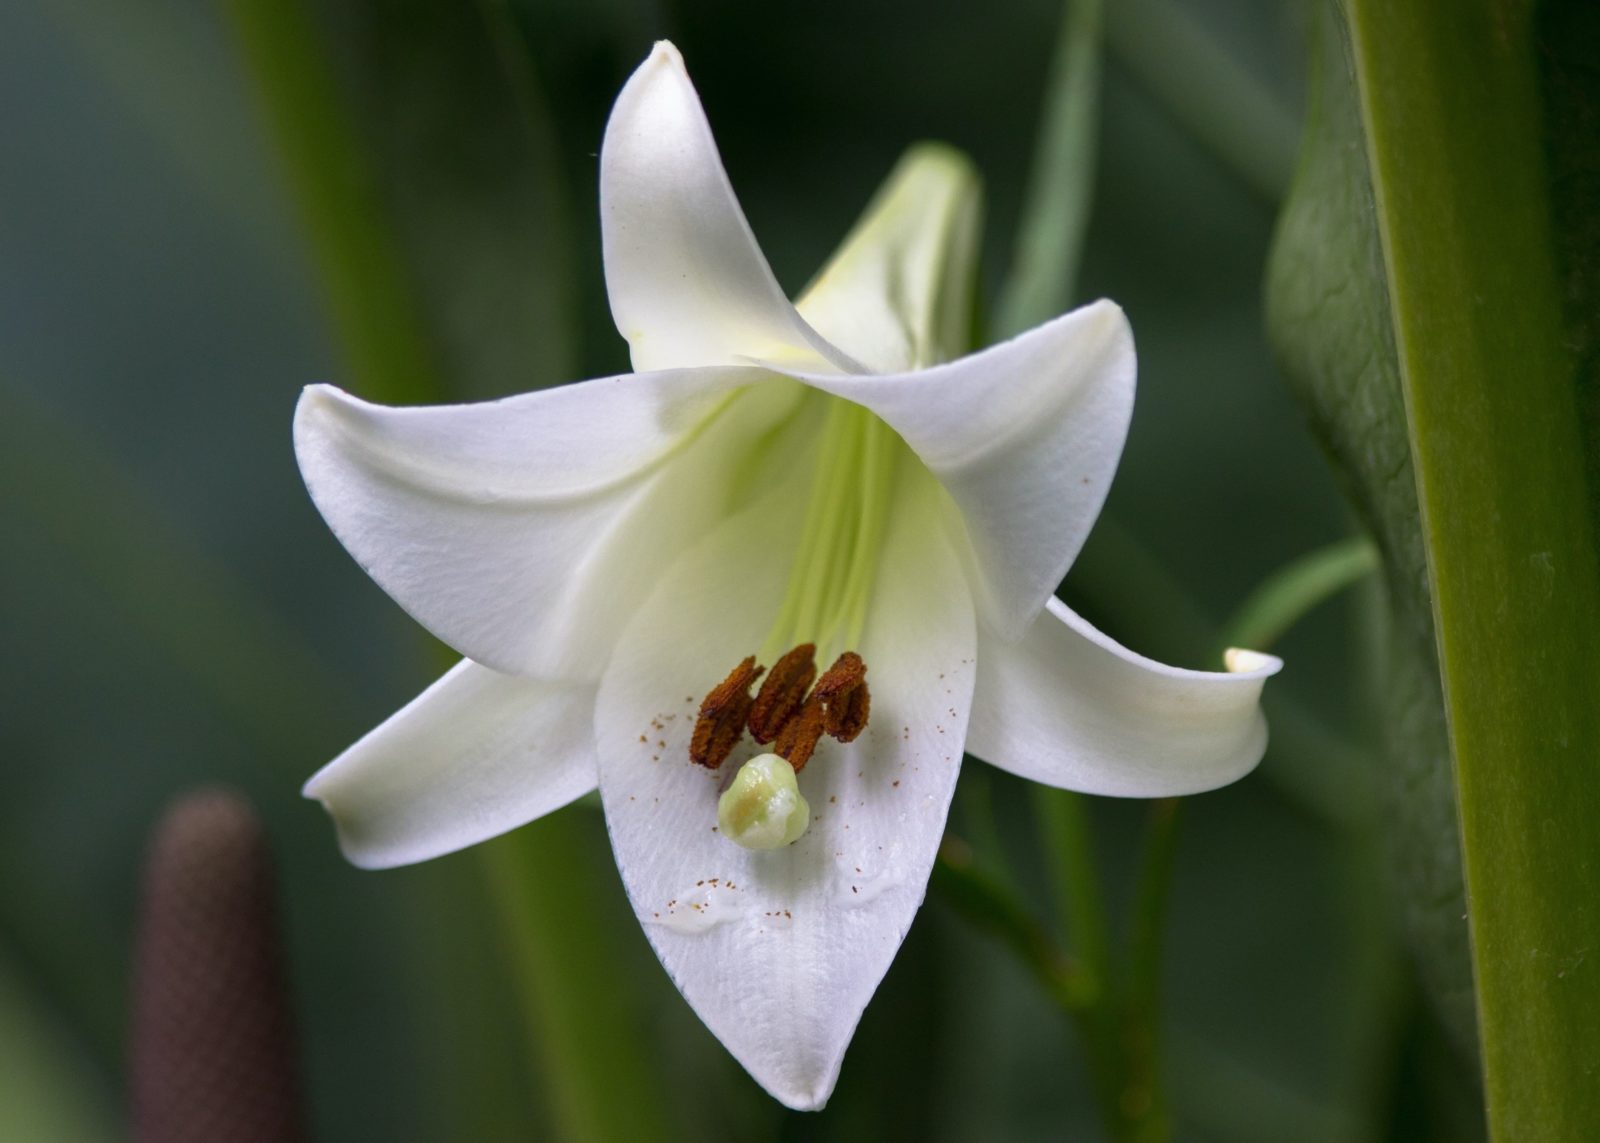
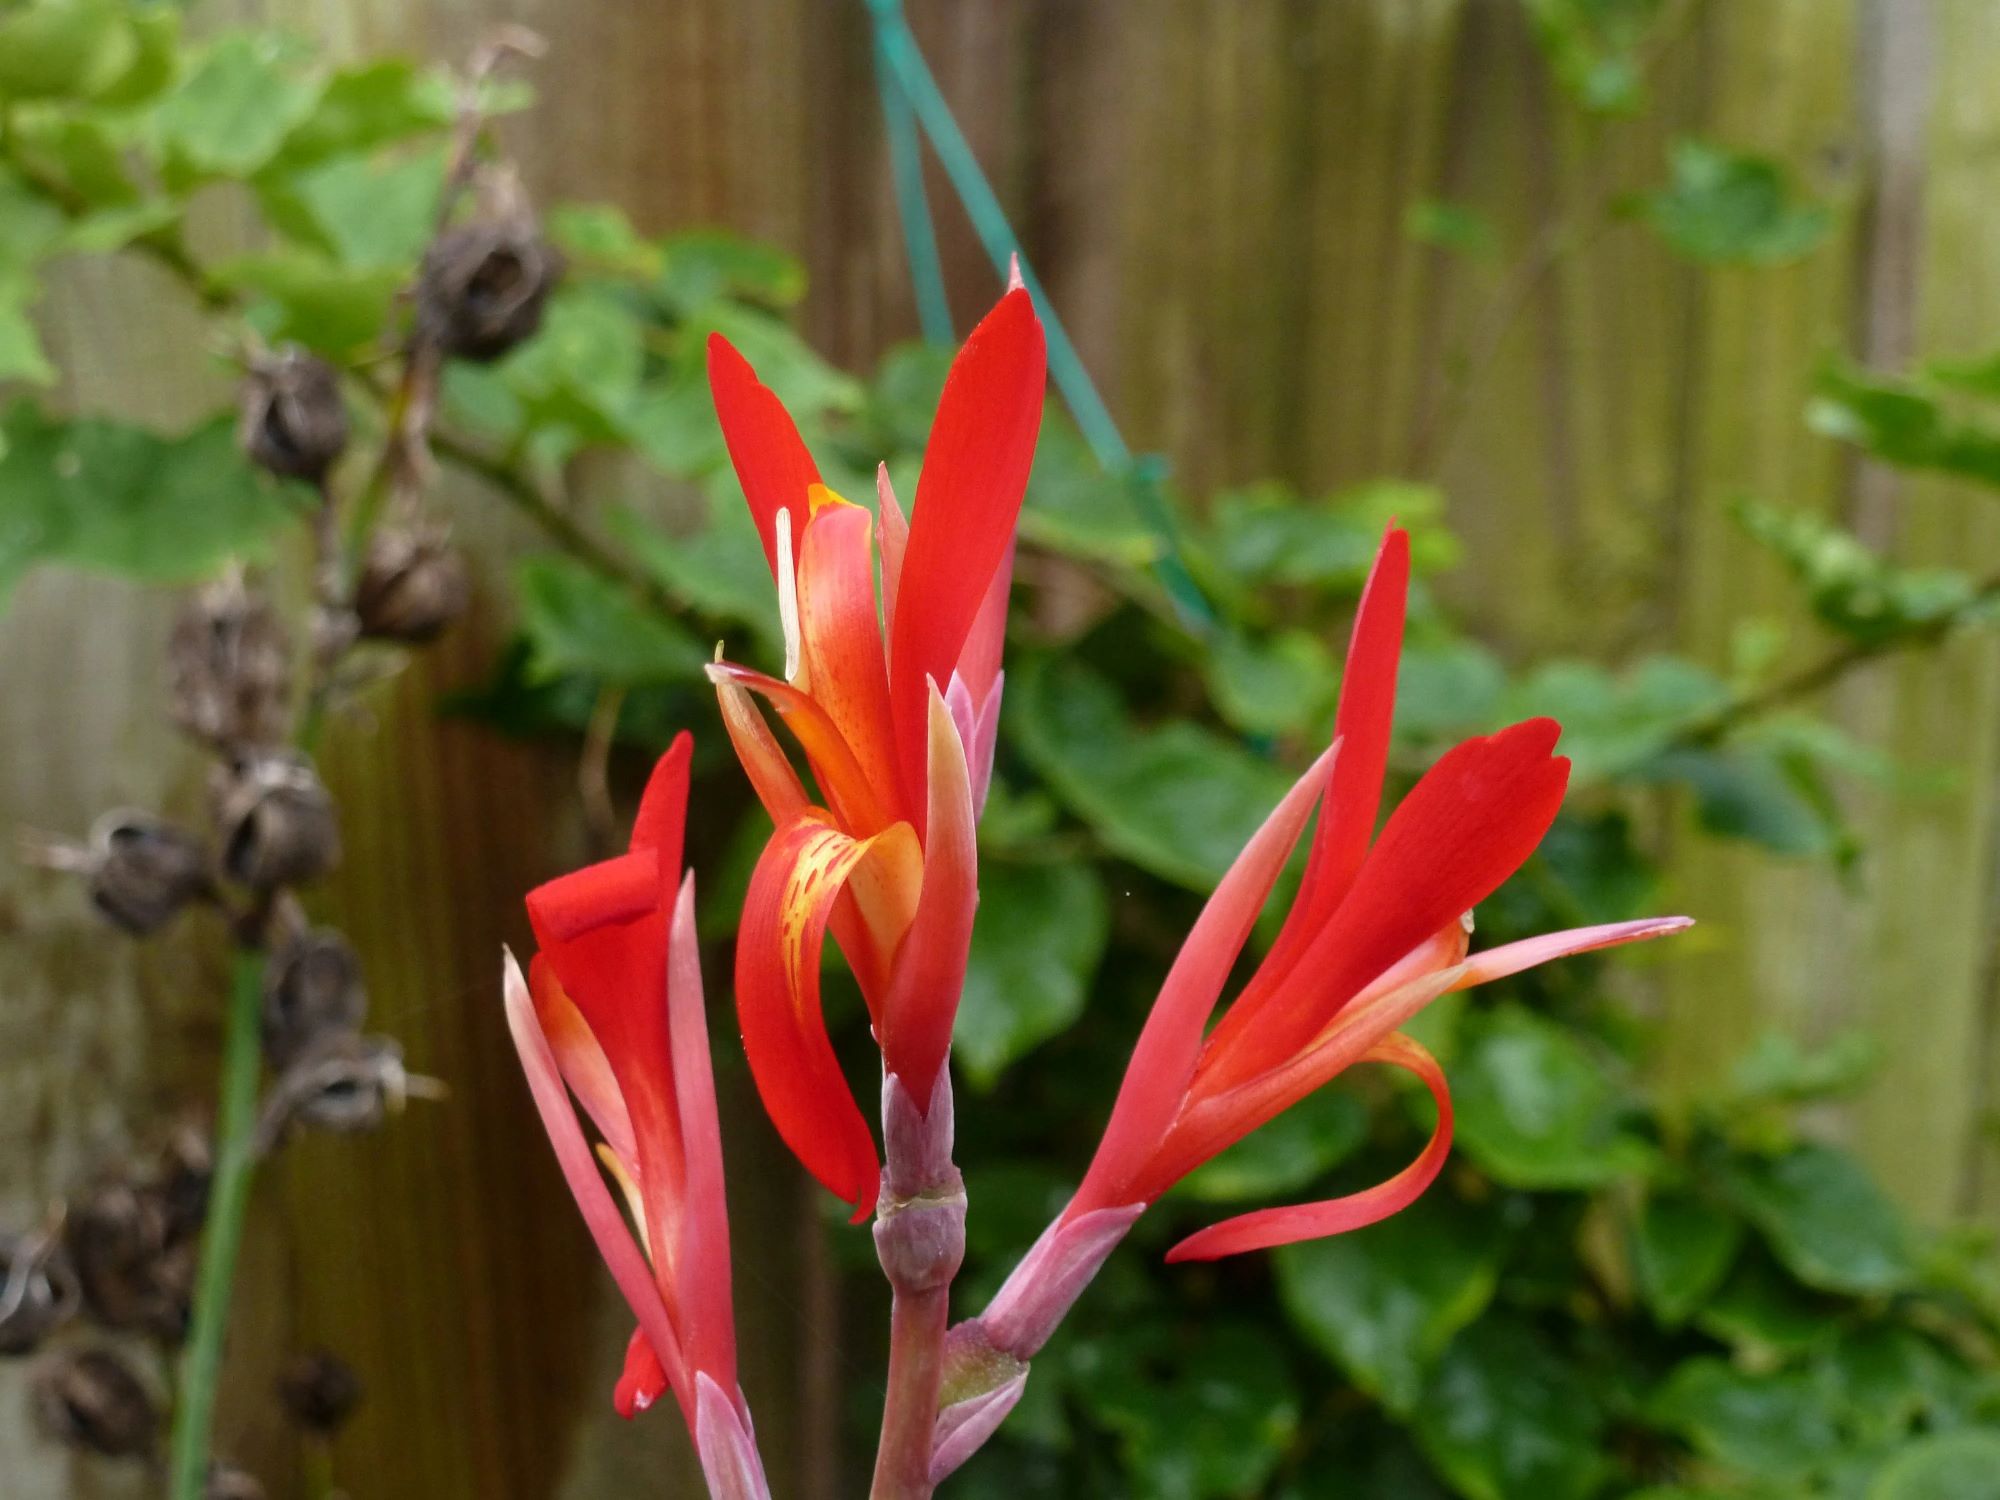
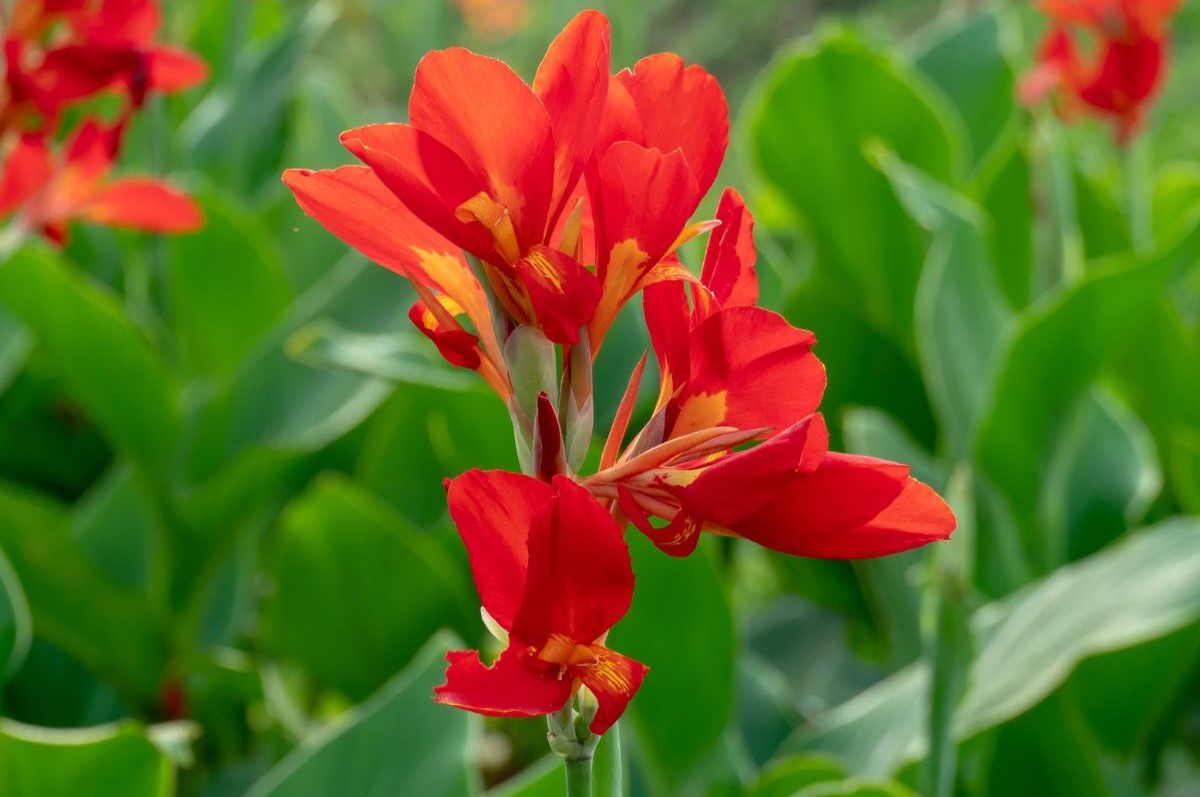
Calla lilies are stunning flowers that are popular for weddings, special occasions, and home gardens. These graceful flowers not only add elegance to any space but also produce seeds that can be used to grow new plants. Harvesting and storing calla lily seeds is a great way to expand your garden and share this beautiful flower with others. In this article, we will guide you through the process of storing calla lily seeds to ensure their viability for future growth.
Before we dive into the steps, it’s important to understand that calla lilies produce seeds within their seed pods after the flowers have completed their blooming cycle. Each seed pod contains multiple seeds, ready to be collected and stored for future use. By following a few simple steps, you can successfully harvest, clean, and store calla lily seeds.
So, if you’re ready to expand your garden or share the beauty of calla lilies with others, let’s get started with the process of storing calla lily seeds!
Key Takeaways:
- Harvest, clean, and store calla lily seeds to expand your garden and share their beauty. Follow the steps to ensure successful germination and enjoy the elegant flowers in your space.
- Patience, care, and attention are key to successfully storing and germinating calla lily seeds. Enjoy the rewarding process of watching them grow and bloom into stunning plants.
Read more: How To Grow Calla Lily Seeds
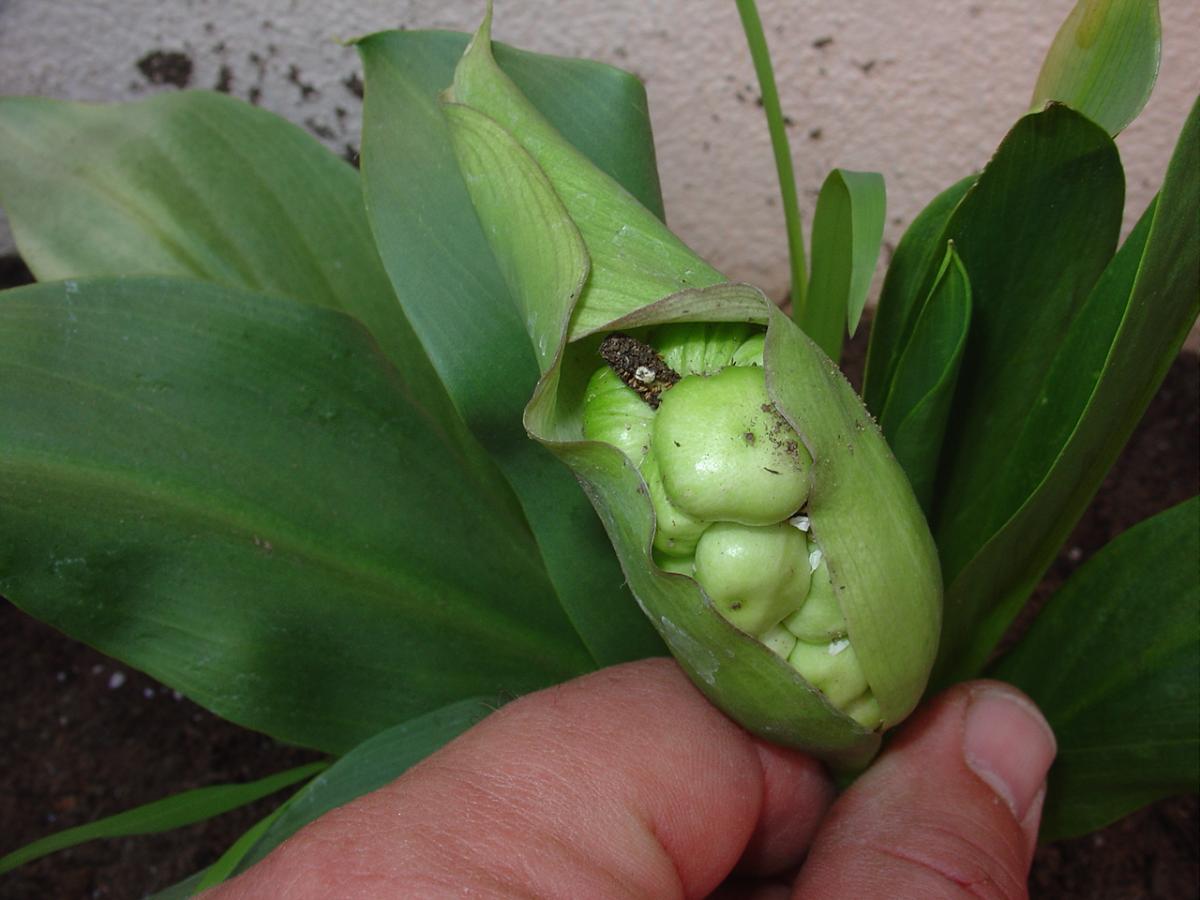
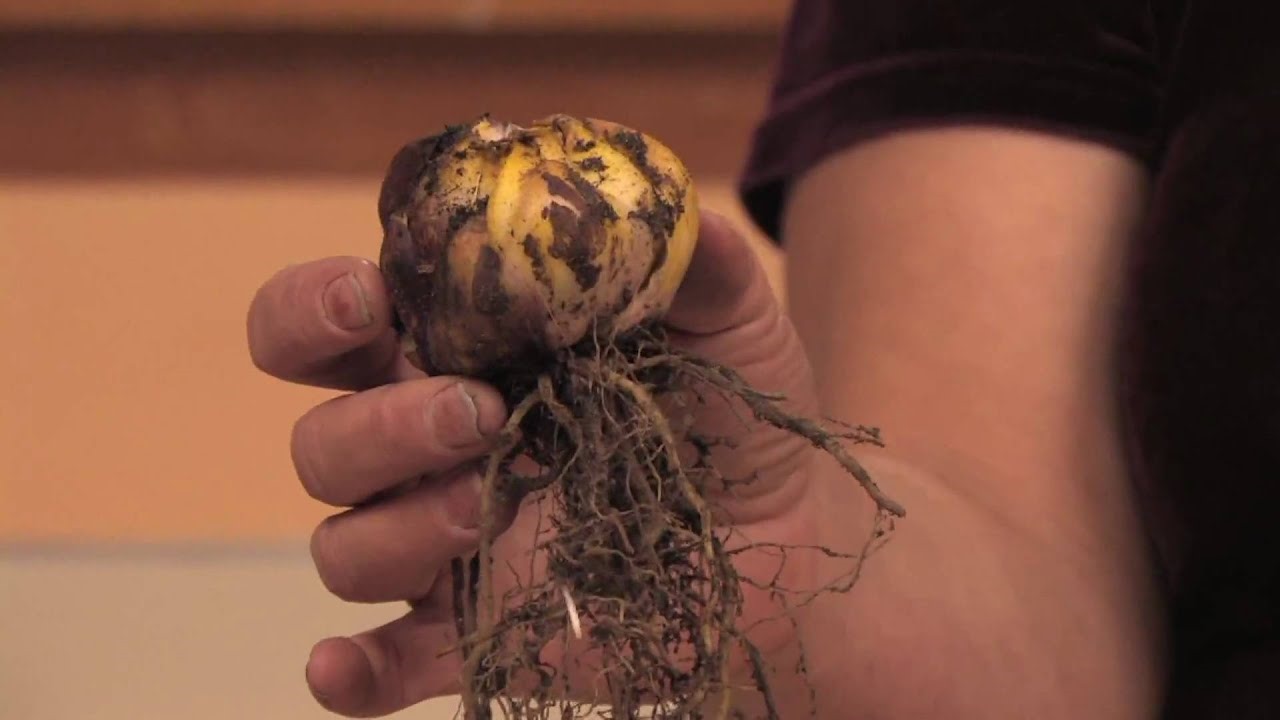
Step 1: Harvesting Calla Lily Seeds
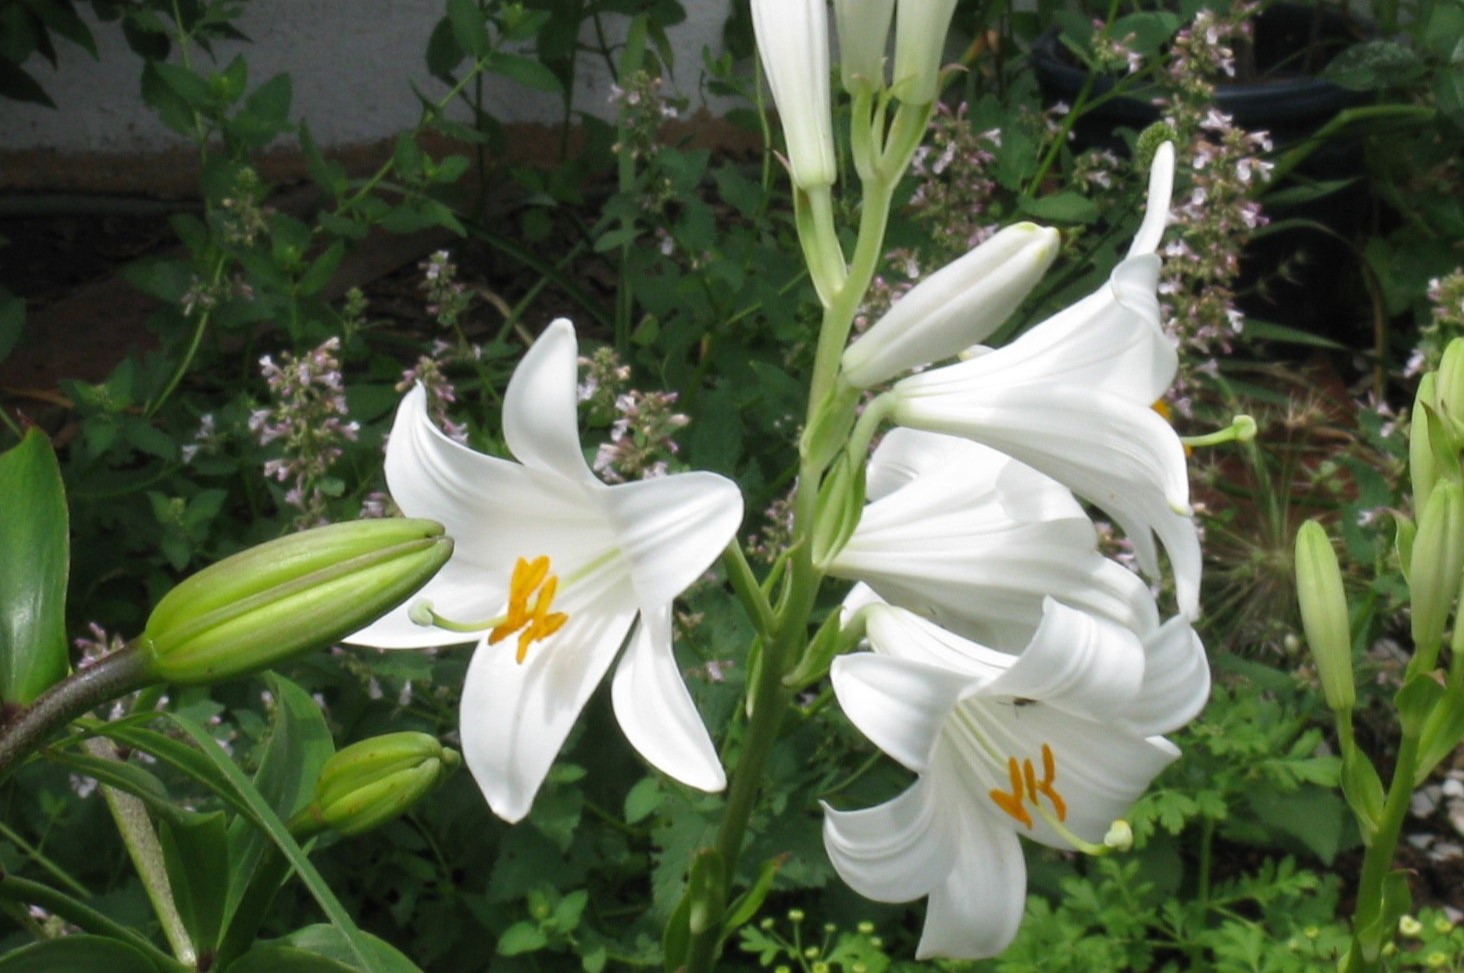
Harvesting calla lily seeds is an exciting process that marks the beginning of your journey towards growing new plants. To ensure that you collect viable and healthy seeds, it’s important to wait until the seeds are fully developed within the seed pods.
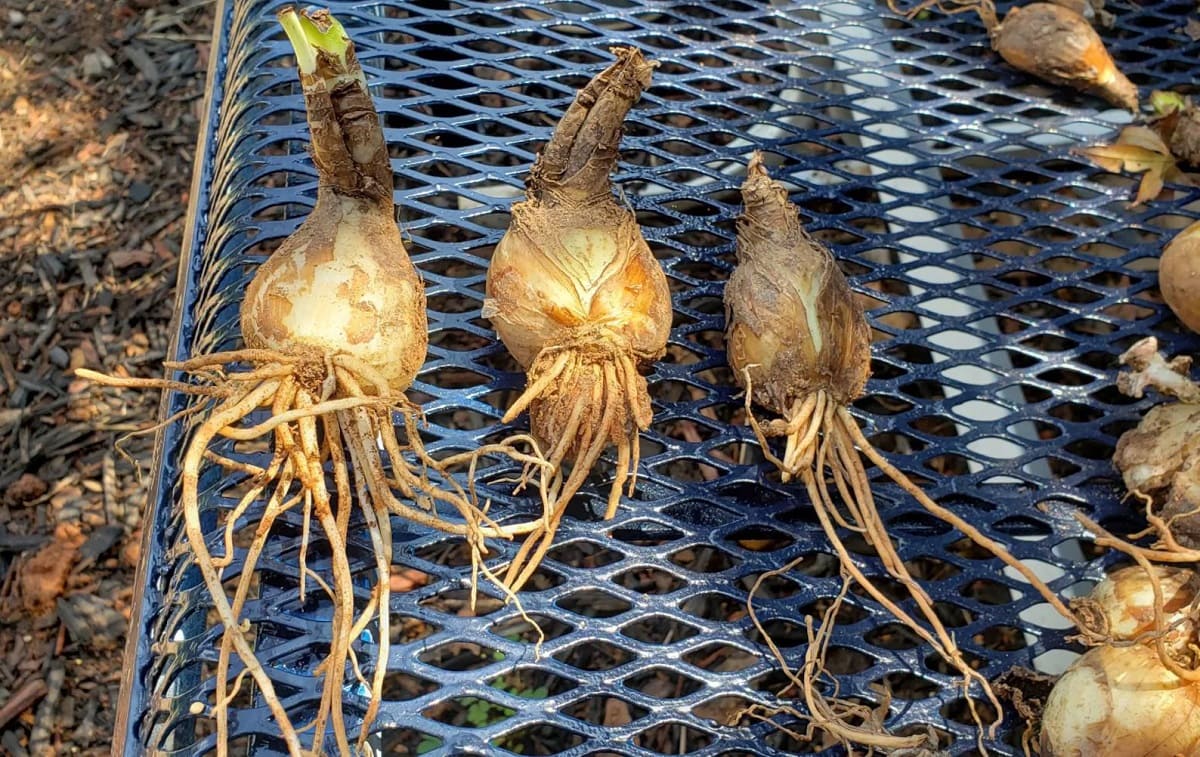
The best time to harvest calla lily seeds is when the seed pods turn brown and start to dry out. At this stage, the seeds are typically mature and ready for collection. To harvest the seeds, carefully cut the seed pods from the plant using sharp, clean gardening shears. Make sure to leave a small section of the stem attached to each seed pod for easier handling.
Once you have collected the seed pods, place them in a clean and dry container. It’s important to handle the seed pods gently to avoid damaging them or dislodging the seeds prematurely. Avoid applying excessive pressure when storing the seed pods, as this can lead to seed damage or loss.
After harvesting the calla lily seed pods, it’s time to move on to the next step: cleaning and preparing the seeds for storage.
Step 2: Cleaning and Preparing the Seeds
Before storing calla lily seeds, it’s important to clean and prepare them to ensure optimal storage conditions. Cleaning the seeds helps remove any debris or potential pathogens, while preparing them promotes better germination rates when the time comes to plant them.
Start by gently removing the dried seed pods from the container. Place them on a clean surface and carefully open the seed pods to access the seeds inside. You may notice that some seed pods have already split open, revealing the seeds. In this case, simply collect the loose seeds.
Once you have collected the seeds, transfer them to a fine-mesh sieve or strainer. Rinse the seeds under cool running water, gently rubbing them together with your fingers to remove any remaining debris or pulp. Be careful not to apply too much pressure, as you don’t want to damage the delicate seeds.
After rinsing, spread the seeds out on a paper towel or clean cloth to dry. Make sure to evenly distribute the seeds and avoid overcrowding them, as this can impede the drying process. Allow the seeds to air dry completely, which typically takes about one to two weeks.
While the seeds are drying, periodically check on them to ensure they are not developing mold or showing signs of deterioration. If you notice any mold forming, discard those seeds to prevent it from spreading to other seeds.
Once the calla lily seeds are fully dry, it’s time to move on to the next step: storing them properly for long-term viability.
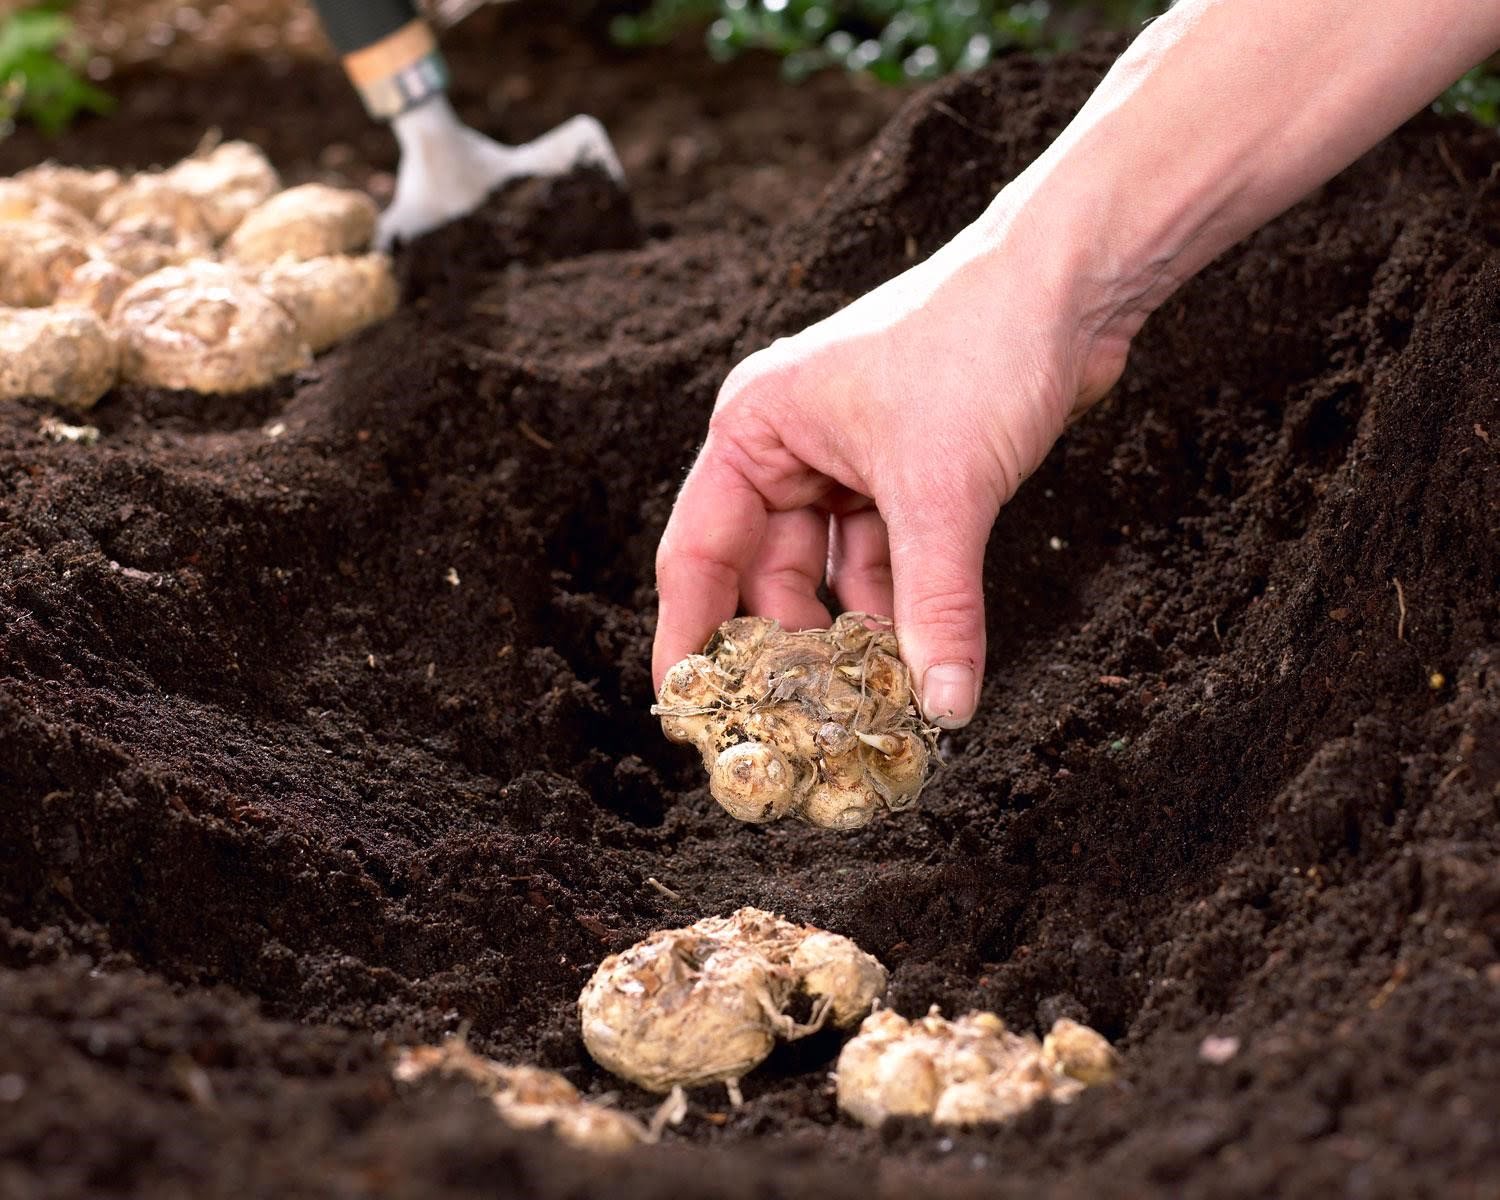
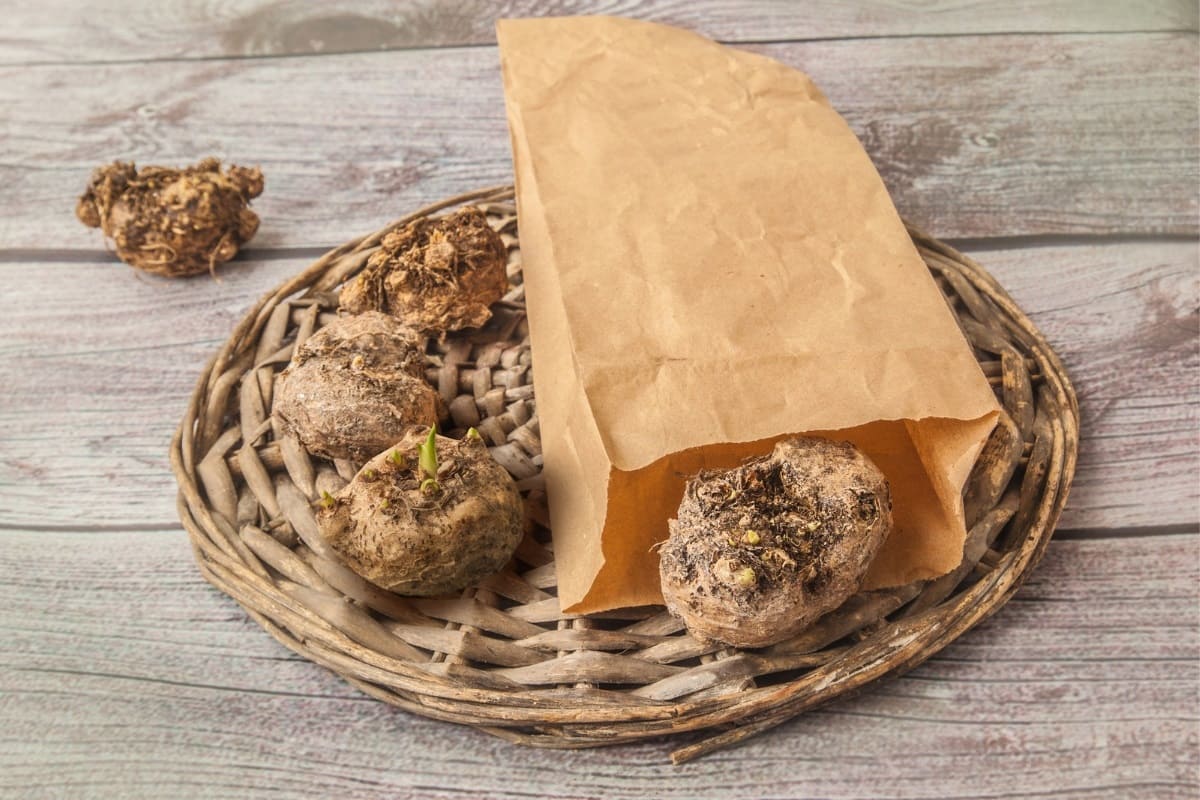
Step 3: Storing Calla Lily Seeds
Proper storage is essential to maintain the viability of calla lily seeds for future use. By creating the right conditions, you can ensure that the seeds remain dormant and healthy until you’re ready to germinate them. Follow these steps to store calla lily seeds effectively:
- Use airtight containers: Transfer the completely dry calla lily seeds to small, airtight containers such as seed envelopes, small glass jars, or plastic bags. Ensure the containers are clean, dry, and free from any moisture or contaminants.
- Label the containers: It’s important to label the containers with the plant variety and the date of harvest. This will help you keep track of the seeds and their viability over time.
- Store in a cool, dark place: Find a suitable location to store the containers, such as a cool, dark cupboard or a refrigerator. The ideal temperature for calla lily seed storage is around 40°F (4°C), which helps maintain their dormancy and prolong their shelf life.
- Avoid exposure to moisture and light: Make sure the storage area is dry and free from any moisture or condensation. Moisture can cause the seeds to mold or rot. Additionally, avoid exposing the seeds to direct sunlight as it may impact their viability.
Remember to check on the stored calla lily seeds periodically to ensure they are still in good condition. If you notice any signs of mold, discoloration, or decay, it’s best to discard those seeds to prevent them from affecting the others.
Now that you have successfully stored the calla lily seeds, it’s crucial to monitor and maintain their quality until you’re ready to germinate them. Let’s explore the next step in the process: monitoring and maintaining the stored seeds.
After the calla lily blooms fade, allow the seed pods to dry on the plant. Once dry, collect the seeds and store them in a cool, dry place in a paper envelope for planting in the spring.
Step 4: Monitoring and Maintaining the Seeds
Once you have stored the calla lily seeds, it’s important to regularly check on them and maintain optimal conditions to ensure their viability. Here are some key steps to monitor and maintain the stored seeds:
- Inspect periodically: Check on the stored seeds every few weeks to ensure they are still in good condition. Look for any signs of mold, fungus, or insect infestation. If you notice any issues, remove the affected seeds promptly to prevent further damage.
- Adjust temperature and humidity: If you’re storing the seeds in a refrigerator, ensure that the temperature remains stable around 40°F (4°C) and the humidity levels are low. Fluctuations in temperature or high humidity can compromise the viability of the seeds.
- Proper ventilation: Air circulation is crucial for preventing mold and maintaining seed quality. If you’re using airtight containers, consider opening them for a short period every few months to allow fresh air to circulate.
- Rotate seeds: Periodically rotate the containers to ensure even air exposure and minimize any potential condensation that may occur. This helps maintain optimal seed conditions.
- Record observations: Keep a record of your observations, including the date of inspection, any changes noticed, and the overall condition of the seeds. This can help you track the longevity and viability of the stored calla lily seeds over time.
By regularly monitoring and maintaining the stored calla lily seeds, you can increase the chances of successful germination when you decide to plant them. Remember to handle the seeds with care and take necessary precautions to prevent any damage or contamination during the monitoring process.
Now that you’ve mastered the steps to monitor and maintain the calla lily seeds, it’s time to prepare for the final step: germinating the stored seeds when the time is right.
Read more: When To Harvest Calla Lily Seeds
Step 5: Germinating the Stored Seeds
After successfully storing and monitoring the calla lily seeds, the time will come to germinate them and bring new life to your garden. Germination is the process in which seeds grow and develop into seedlings. Here are the steps to germinate the stored calla lily seeds:
- Prepare a suitable growing medium: Fill a small pot or seed tray with a well-draining potting mix. Make sure the soil is moist, but not overly wet.
- Sow the calla lily seeds: Gently press the stored calla lily seeds into the soil, leaving some space between each seed. Cover them lightly with a thin layer of soil.
- Maintain the right conditions: Place the pot or seed tray in a warm location, preferably with indirect sunlight. Maintain a temperature between 65°F (18°C) and 75°F (24°C) to promote germination.
- Keep the soil moist: Water the seeds lightly to keep the soil consistently moist. Avoid overwatering, as it can lead to rotting of the seeds or seedlings.
- Be patient and wait for germination: It may take anywhere from two to six weeks for the calla lily seeds to germinate. Be patient and regularly check for signs of sprouting.
- Transplant seedlings: Once the seedlings have developed their first true leaves, they can be transplanted into individual pots or the desired garden location. Plant them in well-drained soil and provide them with proper care, including regular watering and adequate sunlight.
As the calla lily seedlings grow, continue to provide them with the necessary care, including regular water and nutrient-rich soil. Be mindful of any pests or diseases that may affect the seedlings and take appropriate measures to address them.
With proper care and attention, your calla lily seedlings will develop into beautiful plants, adorning your garden with their elegant flowers.
Congratulations! You’ve successfully completed the steps to harvest, store, and germinate calla lily seeds. Now, sit back, relax, and enjoy watching your new calla lily plants grow and bloom.
Remember that each type of calla lily may have its own specific requirements, so it’s always beneficial to research and consult additional resources for particular varieties you are interested in growing.
Conclusion
Storing calla lily seeds is a rewarding process that allows you to grow new plants and share the beauty of these elegant flowers. By following the steps outlined in this article, you can successfully harvest, clean, store, and germinate calla lily seeds.
Remember to wait until the seed pods are fully mature before harvesting the seeds. Clean and prepare the seeds carefully to remove any debris, and ensure they are completely dry before storing them in airtight containers. Store the seeds in a cool, dark place with low humidity to maintain their viability.
Regularly monitor and maintain the stored seeds to check for any signs of damage or deterioration. When the time is right, germinate the stored seeds by sowing them in a suitable growing medium and providing the necessary conditions for germination.
With patience, care, and attention, your calla lily seeds will sprout into beautiful seedlings and eventually grow into stunning plants. Enjoy the process of watching them bloom and add a touch of elegance to your garden or indoor space.
Remember that the journey of growing calla lilies from seeds may vary depending on the specific variety you are working with. Take the time to research and understand the unique requirements of your chosen calla lily variety to ensure successful growth.
Now, armed with the knowledge and steps outlined in this article, you can confidently embark on the journey of storing calla lily seeds and watching them flourish. Happy gardening!
Now that you're on your way to mastering calla lily seed storage, why not spruce up your garden's appeal? Our comprehensive guide on creative garden fence designs will inspire you with practical and attractive solutions to define and enhance your outdoor space. On another note, if curiosity about the cost of broadening your floral collection is budding, our detailed rundown on flower seed prices will clear up any confusion, helping you plan and budget for your garden effectively. Both resources are just a click away, rich with insights tailored for gardening enthusiasts and novices alike.
Frequently Asked Questions about How To Store Calla Lily Seeds
Was this page helpful?
At Storables.com, we guarantee accurate and reliable information. Our content, validated by Expert Board Contributors, is crafted following stringent Editorial Policies. We're committed to providing you with well-researched, expert-backed insights for all your informational needs.

0 thoughts on “How To Store Calla Lily Seeds”