Articles
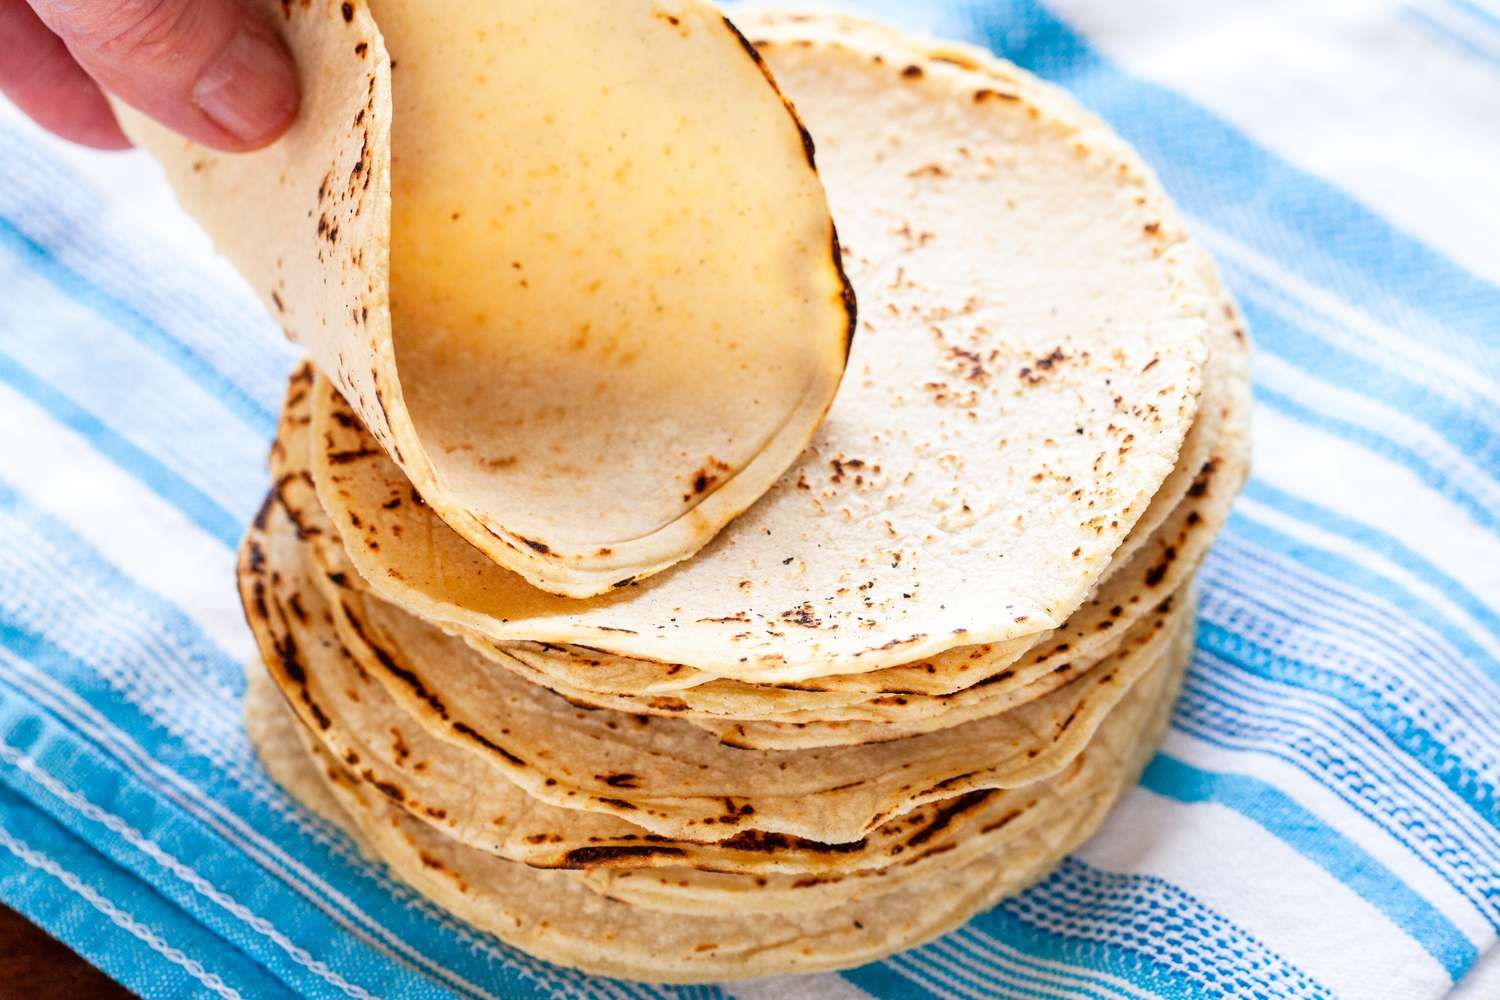
How To Store Tortilla Chips
Modified: December 7, 2023
Learn the best methods for storing tortilla chips in order to keep them fresh and crispy for longer. Read our informative articles now!
(Many of the links in this article redirect to a specific reviewed product. Your purchase of these products through affiliate links helps to generate commission for Storables.com, at no extra cost. Learn more)
Introduction
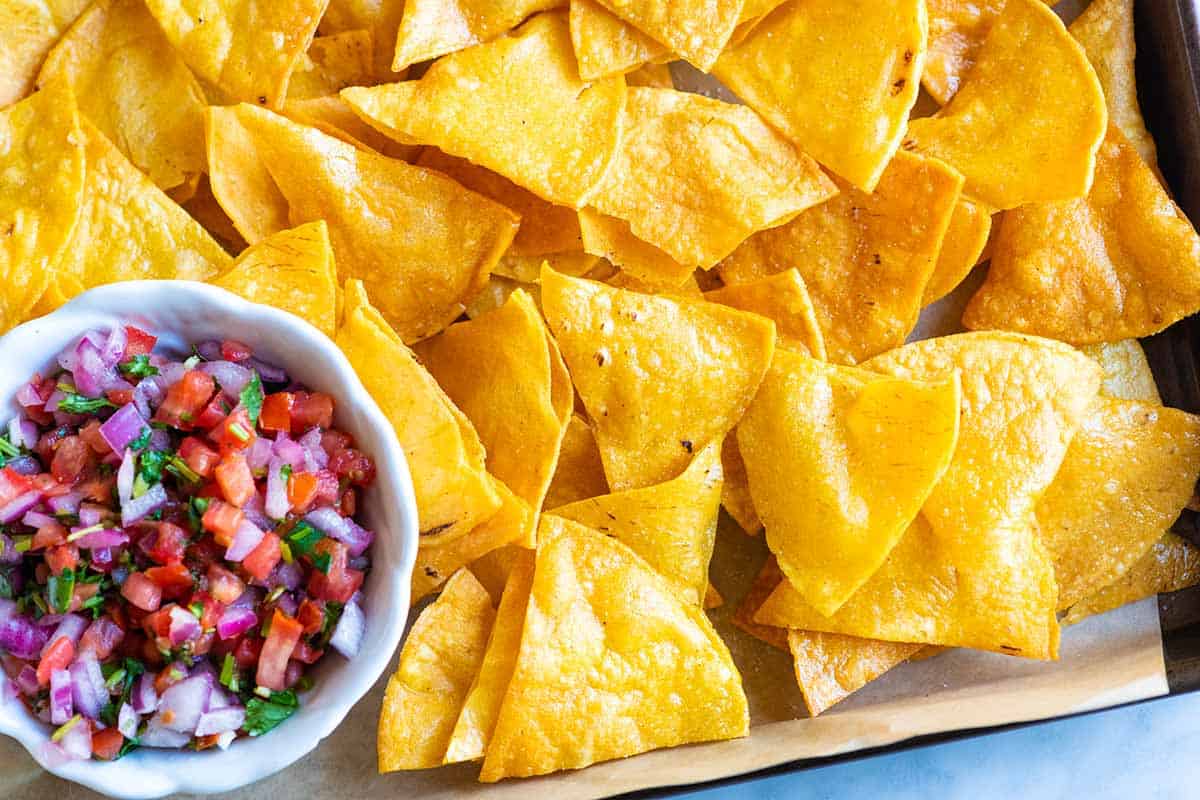
When it comes to enjoying a delicious snack, tortilla chips often top the list. These crispy, golden triangles are perfect for dipping into salsa, guacamole, or even enjoying on their own. However, to fully savor their flavor and maintain their crunchiness, it is essential to store tortilla chips properly. By following some simple tips, you can ensure that your tortilla chips stay fresh and delicious for longer periods.
Proper storage is essential for two main reasons. Firstly, it helps to maintain the overall quality of the chips, preserving their flavor and texture. No one wants to bite into a stale or soggy tortilla chip. Secondly, proper storage prevents the chips from becoming a breeding ground for bacteria or developing mold. This is especially important if you buy tortilla chips in bulk or if you like to have a variety of chips on hand for different occasions.
In this article, we will discuss some general tips for storing tortilla chips to help you get the most out of your snacks. From choosing the right container to keeping the chips away from moisture and strong odors, these tips will ensure that your tortilla chips remain fresh, crispy, and delicious.
Key Takeaways:
- Keep your tortilla chips fresh and crispy by storing them in an airtight container, away from sunlight and strong odors. Proper sealing and a cool, dry environment are key to preserving their deliciousness.
- For long-term storage, consider freezing tortilla chips in airtight, freezer-safe packaging. However, ensure proper labeling and thawing to maintain their quality.
Read more: How To Make Tortilla Chips In An Air Fryer
Importance of Proper Storage
Proper storage plays a crucial role in maintaining the quality and freshness of tortilla chips. By storing them correctly, you can prolong their shelf life, prevent them from going stale or losing their crunchiness, and avoid potential spoilage. Here are some key reasons why proper storage is important:
- Prolong Shelf Life: When tortilla chips are exposed to air, moisture, and heat, they can quickly lose their crispness and become stale. Proper storage helps to prolong the shelf life of tortilla chips, allowing you to enjoy their fresh taste and texture for a longer period.
- Preserve Flavor: By storing tortilla chips properly, you can preserve their original flavor. Air exposure and humidity can cause the chips to absorb unwanted odors from the environment, compromising their taste. Proper storage prevents the chips from taking on any undesirable flavors and maintains their deliciousness.
- Maintain Crunchiness: Nothing ruins the enjoyment of tortilla chips like a lack of crunch. When exposed to air, the chips can become soft and lose their crisp texture. Proper storage helps to retain the chips’ crunchiness, ensuring a satisfying bite every time.
- Avoid Spoilage: Tortilla chips are vulnerable to spoilage if not stored properly. Exposure to moisture can make them soggy and susceptible to mold growth. Bacteria can also thrive in a damp and unsealed environment. By storing tortilla chips correctly, you can prevent spoilage and maintain your snacking safety.
Overall, proper storage not only enhances the taste and quality of tortilla chips, but it also helps to prevent waste and save money. By following the tips outlined in this article, you can extend the lifespan of your tortilla chips and continue to enjoy their deliciousness whenever the craving strikes.
General Tips for Storing Tortilla Chips
Follow these general tips to ensure that your tortilla chips remain fresh, crispy, and ready for snacking:
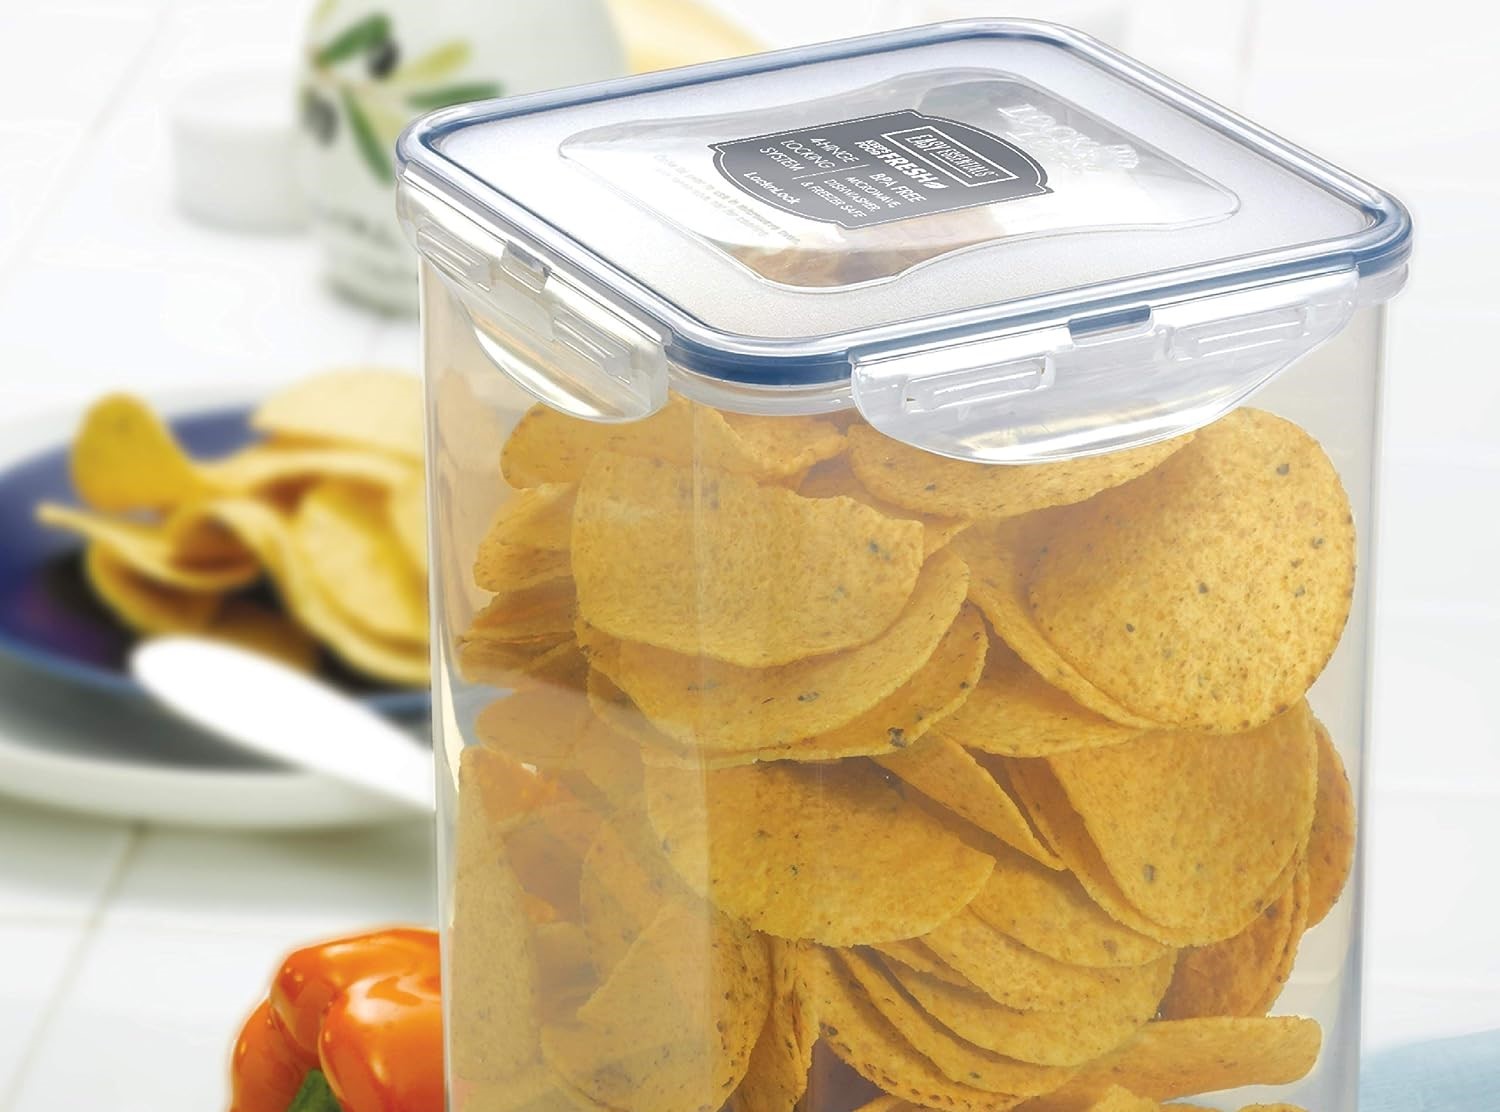
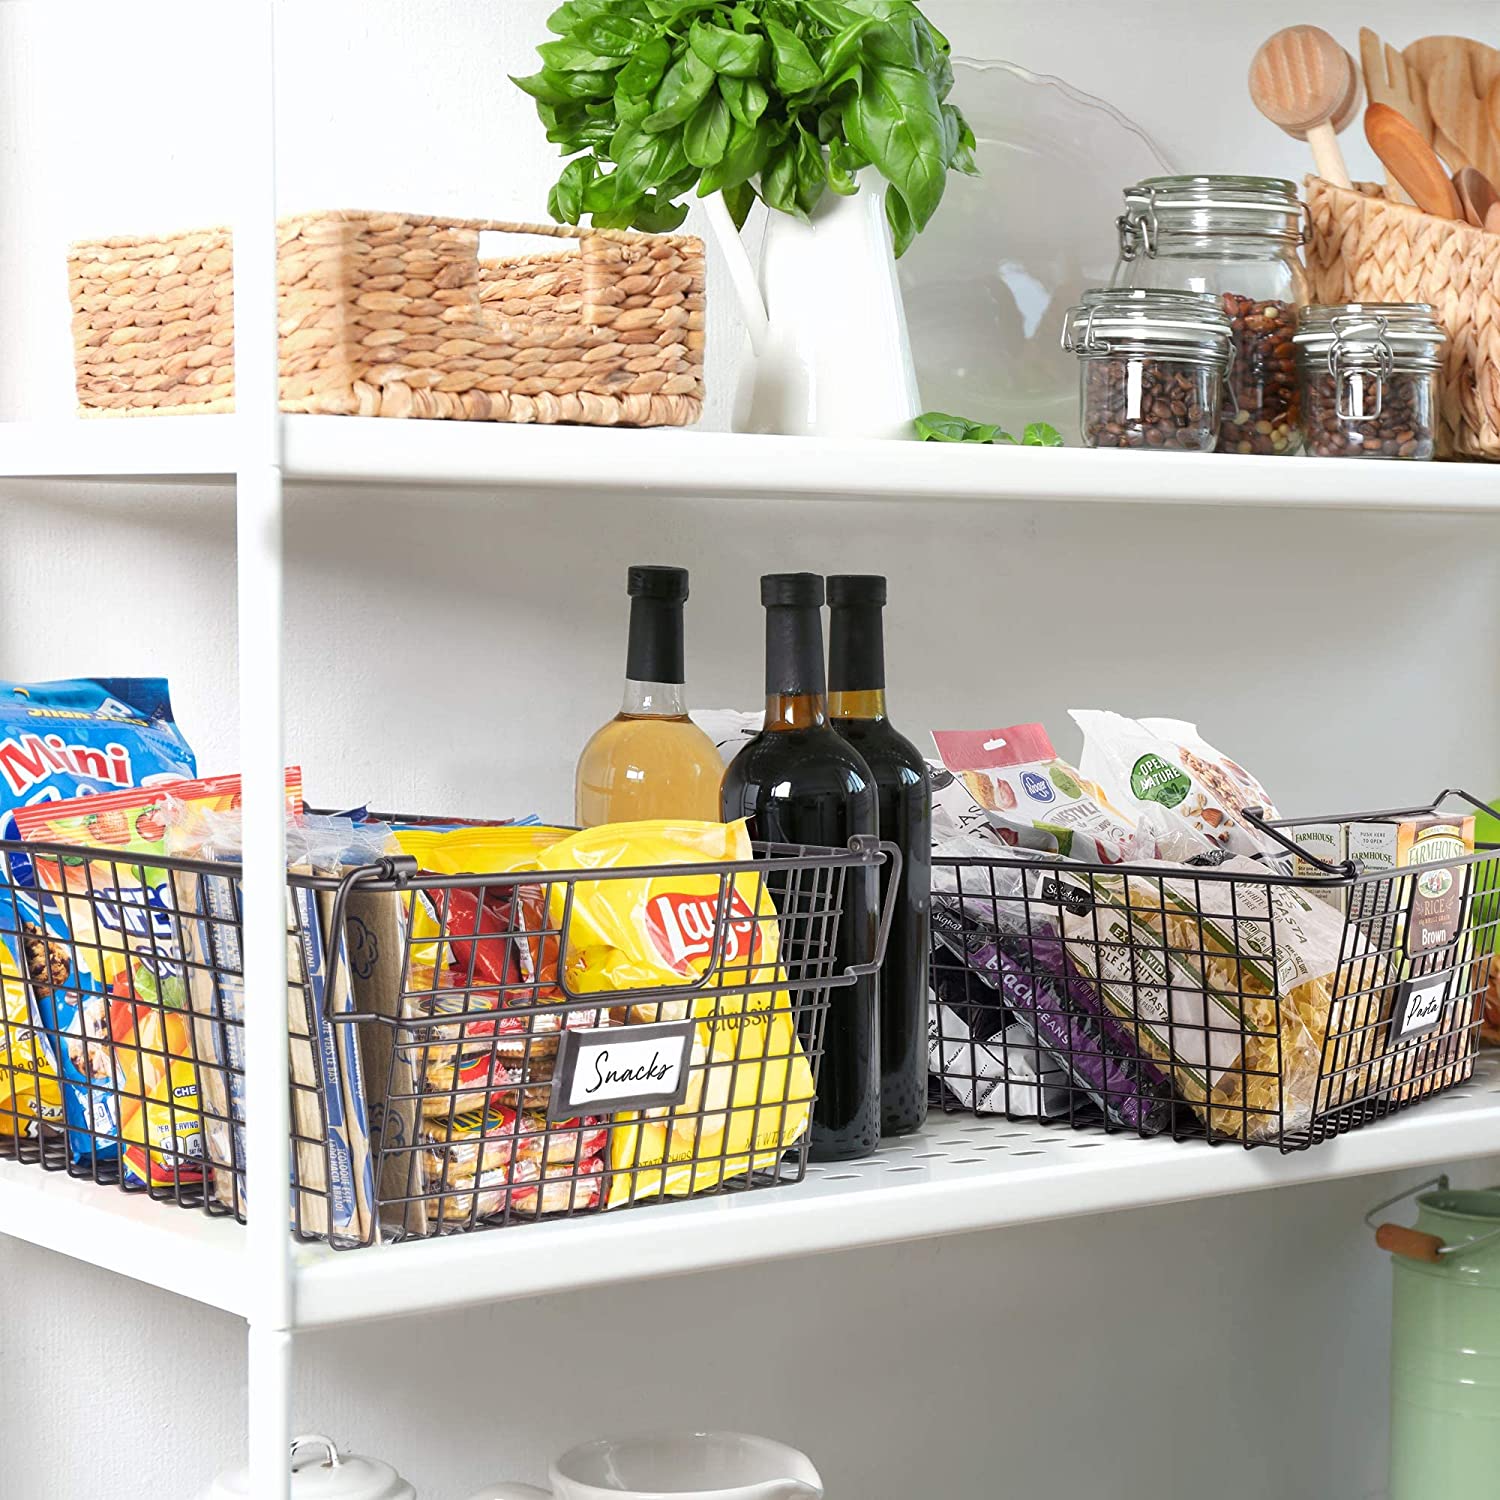
- Choose the Right Container: Opt for a container that provides airtight seal such as a resealable bag, airtight plastic container, or glass jar with a tight-fitting lid. This will prevent air and moisture from reaching the chips, helping to maintain their crispness and flavor.
- Keep Chips in a Cool and Dry Place: Tortilla chips should be stored in a cool and dry location, away from direct heat sources such as sunlight, stoves, or ovens. Excessive heat can cause the chips to become stale and lose their crunchiness.
- Seal the Bag Properly: If you choose to keep tortilla chips in their original packaging, make sure to seal the bag tightly after each use. Squeezing out any excess air before sealing will help to maintain the chips’ freshness.
- Avoid Exposure to Sunlight: Sunlight can accelerate the breakdown of the chips’ fats and oils, leading to rancidity and loss of flavor. Store tortilla chips in a dark area, such as a pantry or cupboard, to protect them from sunlight exposure.
- Avoid Moisture and Humidity: Moisture and humidity are the enemies of crisp tortilla chips. Keep the chips away from areas with high humidity, such as near sinks, dishwashers, or open windows. Moisture can cause the chips to become soft and lose their crunch.
- Store Chips Away from Strong Odors: Tortilla chips can easily absorb odors from their surroundings. Keep them away from strong-smelling foods or spices to prevent their flavor from being affected. Consider storing them separately or using odorless containers.
- Consider Using an Airtight Container: If you frequently enjoy tortilla chips and want to keep them fresh for a longer period, consider transferring them to an airtight container. This provides an extra layer of protection against air and moisture, keeping the chips crisp and flavorful.
- Optional: Store in the Freezer for Long-Term Storage: If you have a large quantity of tortilla chips or want to store them for an extended period, you can freeze them. Place the sealed bag or container in the freezer, and they will retain their quality for several months. Just make sure to thaw them completely before opening to avoid condensation.
By following these general tips, you can ensure that your tortilla chips stay fresh, crunchy, and enjoyable for an extended period. Say goodbye to soggy or stale chips and hello to a satisfying snacking experience every time!
Choose the Right Container
Choosing the right container is essential for storing tortilla chips and maintaining their freshness. Here are some factors to consider when selecting a container:
- Airtightness: Look for a container that provides an airtight seal. This prevents air and moisture from getting inside, keeping the chips crispy and flavorful.
- Size: Choose a size that accommodates the amount of tortilla chips you typically store. It’s better to have a container that is slightly larger than the amount of chips to avoid overcrowding or crushing.
- Material: Select a container made of a material that is sturdy and can withstand any potential impact or crushing. Options include plastic, glass, or metal containers.
- Transparency: Opt for a container that allows you to see the contents easily. Transparent containers help you monitor the quantity and condition of the tortilla chips without needing to open the container.
- Easy to Clean: Consider a container that is easy to clean and dishwasher-safe. Regular cleaning ensures that no residue or odors accumulate inside the container, which can affect the flavor of the chips.
Resealable bags, airtight plastic containers, or glass jars with tight-fitting lids are popular choices for storing tortilla chips. These containers provide the necessary protection against air, moisture, and unwanted odors. If you choose to store your tortilla chips in their original packaging, ensure that the bag has a secure resealable strip to maintain freshness.
Remember to choose a container that suits your storage needs and preferences. When in doubt, opt for an airtight container that is convenient to use and fits well in your pantry or cupboard.
Keep Chips in a Cool and Dry Place
Properly storing tortilla chips in a cool and dry place is crucial for maintaining their freshness and crispness. Here’s why it’s important and how to do it:
Why: Exposure to heat and humidity can quickly degrade the quality of tortilla chips. Heat can cause the chips to become stale, while humidity can make them soft and lose their crunch. Keeping them in a cool and dry place helps to preserve their texture, taste, and overall quality.
How: Follow these tips to store tortilla chips in a cool and dry place:
- Select an Ideal Location: Choose a storage location that is away from sources of heat, such as stoves, ovens, or direct sunlight. Heat can accelerate the breakdown of the chips’ fats and oils, leading to rancidity and loss of flavor.
- Avoid Damp Areas: Moisture is the enemy of crispy tortilla chips. Keep them away from areas prone to moisture, such as near sinks or dishwashers. Moisture can make the chips go stale or become soggy, ruining their texture and taste.
- Consider Climate Control: If you live in an area with high humidity or extreme temperature fluctuations, you might want to consider storing your tortilla chips in a climate-controlled space. This could be a pantry or cupboard away from external walls or in a temperature-regulated pantry.
- Use Clear Plastic Bins: Clear plastic storage bins or containers can help protect your chips from both moisture and heat. These bins are typically stackable, allowing for efficient use of space while still keeping the chips visible and easily accessible.
- Monitor Storage Conditions: Regularly check the storage area for any signs of temperature or humidity changes. If you notice any issues, such as increased moisture or heat, take steps to rectify the situation or consider relocating your tortilla chips to a more suitable environment.
By following these tips, you can ensure that your tortilla chips stay crisp and delicious. A cool and dry storage location is essential for maintaining the quality and taste of your favorite snacks.
Read more: How To Store Cooked Tortillas
Seal the Bag Properly
Sealing the bag properly is a crucial step in storing tortilla chips. A well-sealed bag helps to maintain the chips’ freshness by preventing air and moisture from reaching them. Here are some guidelines on how to seal the bag properly:
- Squeeze Out Excess Air: Before sealing the bag, squeeze out any excess air inside. This step helps to minimize the amount of air trapped in the bag, reducing the risk of the chips becoming stale.
- Seal Resealable Bags: If your tortilla chips come in a resealable bag, ensure that the bag is properly sealed after each use. Gently press the top of the bag, starting from one end and moving towards the other, to create a tight seal. Check to make sure there are no gaps or air pockets in the seal.
- Utilize Bag Clips or Rubber Bands: If the original packaging of your tortilla chips does not have a resealable feature, you can use bag clips or rubber bands to secure the opening. Fold the top of the bag tightly and secure it with a clip or band to keep the chips fresh.
- Transfer to Sealing Containers: If you prefer to store your tortilla chips in a separate container, such as an airtight plastic container or a glass jar, make sure to seal the lid tightly. Check for any gaps or loose seals that may allow air or moisture to enter.
- Recheck the Seal: Whenever you access the bag or container, be sure to recheck the seal afterward. Verify that it is still tight and secure. If necessary, re-seal the bag or container to maintain optimal freshness.
Properly sealing the bag or container is essential for prolonging the shelf life of your tortilla chips and preserving their taste and texture. By following these sealing tips, you can ensure that your tortilla chips stay fresh, crispy, and ready for snacking whenever you desire!
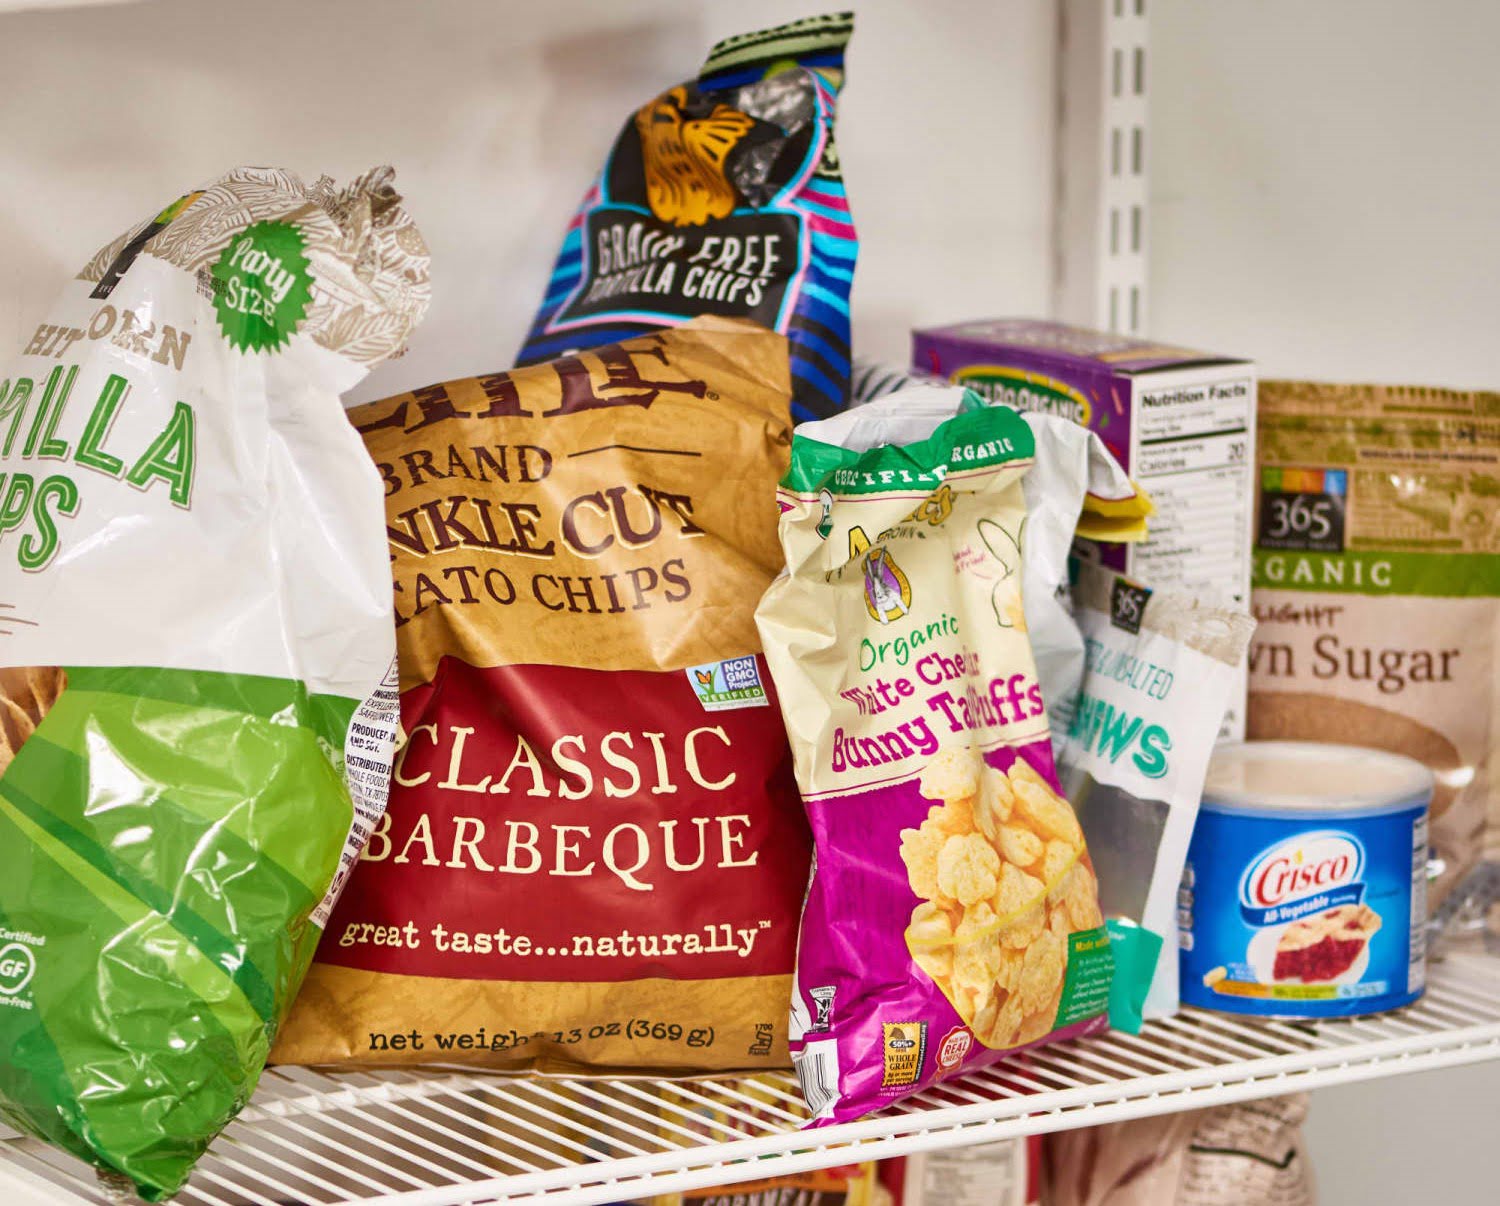
Store tortilla chips in an airtight container to keep them fresh and prevent them from becoming stale. You can also add a small piece of bread to absorb any excess moisture.
Avoid Exposure to Sunlight
Exposure to sunlight can have a detrimental effect on the quality and freshness of tortilla chips. The combination of heat and UV radiation can cause the chips to become stale, lose their crunchiness, and even develop off-flavors. To protect your tortilla chips from sunlight, follow these guidelines:
- Select a Suitable Storage Location: Choose a storage area that is away from direct sunlight. Sunlight can accelerate the breakdown of the chips’ fats and oils, leading to rancidity and a decrease in flavor quality.
- Keep Away from Windows: If you store your tortilla chips near a window, consider relocating them to a darker area. Even if the window is not directly exposed to sunlight, ambient light can still affect the chips’ quality over time.
- Use Opaque Containers: If you prefer to transfer your tortilla chips to a separate container, select an opaque or tinted container that blocks out sunlight. This added layer of protection helps to further shield the chips from UV radiation.
- Cover Windows or Use Shades: If your storage area has windows that receive direct sunlight, consider installing blinds, curtains, or shades to block out the sunlight during the day. This will create a darker environment and prevent harmful rays from reaching your tortilla chips.
- Monitor Storage Conditions: Regularly check the storage area to ensure that the tortilla chips are not exposed to any indirect sunlight. If you notice any changes in the lighting conditions, adjust the placement of your chips accordingly to maintain their quality.
By protecting your tortilla chips from sunlight, you can maintain their freshness, crispness, and overall flavor. Proper storage in a dark and shaded space is essential for preserving the quality of your favorite snack. Remember, keeping your chips away from sunlight will ensure that they remain tasty and enjoyable for a longer period.
Avoid Moisture and Humidity
Moisture and humidity can quickly ruin the texture and taste of tortilla chips, causing them to become soft, stale, or even develop mold. To protect your chips from moisture and humidity, follow these guidelines:
- Select a Dry Storage Area: Choose a storage location that is dry and away from areas prone to moisture, such as the kitchen sink or dishwasher. Avoid storing tortilla chips in areas with high humidity, such as basements or near vents.
- Avoid Storing in the Fridge: While it might seem logical to store tortilla chips in the fridge to maintain their freshness, it is not recommended. The cold temperature and moisture in the fridge can cause the chips to become damp and lose their crispness.
- Use a Moisture Absorber: Consider placing a moisture absorber, such as a silica gel packet or a piece of dry rice, inside the container or bag with the tortilla chips. These absorbents help to combat excess moisture and keep the chips crispy.
- Do Not Freeze Tortilla Chips: Freezing tortilla chips is not recommended as it can cause them to become soft and lose their texture. Additionally, condensation can occur when the chips are thawed, further compromising their crispness.
- Avoid Opening in Humid Conditions: When opening a bag or container of tortilla chips, try to do so in a dry environment. Opening them in a high humidity area, such as a steamy kitchen, can introduce moisture into the packaging and affect the quality of the chips.
- Monitor for Condensation: Regularly check the bag or container for any signs of moisture or condensation. If you notice condensation inside, pat the chips dry or transfer them to a new, dry container to prevent further moisture absorption.
By keeping tortilla chips away from moisture and humidity, you can preserve their crispness and flavor. Following these tips will help ensure that your tortilla chips remain fresh and enjoyable for snacking, even in humid environments.
Store Chips Away from Strong Odors
Tortilla chips have a delicate flavor that can easily be influenced by strong odors. Storing them away from pungent foods and spices will help preserve their original taste and prevent them from absorbing unwanted smells. Here are some tips for keeping tortilla chips away from strong odors:
- Separate Storage: If possible, store tortilla chips separately from strongly scented foods. A dedicated storage space for chips will help prevent cross-contamination and preserve their natural flavor.
- Airtight Containers: Use airtight containers or resealable bags to store tortilla chips. These containers will help create a barrier against outside odors, keeping the chips fresh and free from unwanted smells.
- Choose Fragrance-Free Containers: When selecting storage containers, opt for ones that are fragrance-free. Some containers may have lingering scents that can transfer to the chips, altering their taste.
- Avoid Proximity to Strong Odors: Store tortilla chips away from strong-smelling foods such as onions, garlic, spices, and pungent cheeses. This will minimize the chances of the chips absorbing these odors, preserving their original taste.
- Use Odorless Materials: If you are using reusable containers to store tortilla chips, make sure they are made of odorless materials. Avoid containers made of materials that could potentially transfer odors to the chips.
- Monitor Surrounding Odors: Regularly inspect the area where you store your tortilla chips for any potential sources of strong odors. If you notice any, consider relocating the chips to a different spot to prevent them from being affected.
By taking these precautions, you can enjoy tortilla chips at their full flavor potential. Storing them away from strong odors will ensure that the chips remain tasty and free from any unwanted scents. So, grab your favorite container and keep those tortilla chips fresh!
Read more: How To Store Tortillas In The Pantry
Consider Using an Airtight Container
Storing tortilla chips in an airtight container is an excellent option for preserving their freshness and extending their shelf life. Airtight containers create a protective barrier that prevents air, moisture, and contaminants from reaching the chips. Here’s why you should consider using an airtight container and how to choose the right one:
Benefits of Using an Airtight Container:
- Optimal Freshness: Airtight containers seal in the freshness, helping to maintain the crispness and flavor of the tortilla chips.
- Protection from Moisture: Moisture is a common enemy of tortilla chips, as it can make them go stale or soggy. Airtight containers keep the chips dry, preserving their texture.
- Safe from Contaminants: By sealing tortilla chips in an airtight container, you protect them from exposure to bacteria, insects, and other contaminants that might be present in your storage area.
- Easy to Stack and Store: Airtight containers are typically designed to be stackable, making them space-efficient and convenient for organizing your snacks.
- Visibility of Contents: Transparent airtight containers allow you to see the contents at a glance, making it easy to assess the quantity and condition of your tortilla chips.
Choosing the Right Airtight Container:
- Size and Capacity: Choose a container that can accommodate the amount of tortilla chips you typically store, while leaving a little extra space to avoid overcrowding.
- Quality and Seal: Look for a container with a reliable and durable sealing mechanism. It should provide a tight seal to ensure that no air or moisture can penetrate the container.
- Material: Airtight containers can be made of plastic, glass, or metal. Consider the advantages and disadvantages of each material, such as durability, transparency, and ease of cleaning.
- Shape and Design: Choose a container that suits your storage needs and fits well in your pantry or cupboard. Consider whether you prefer a square, rectangular, or round shape.
- Easy to Clean: Select a container that is easy to clean and dishwasher-safe. This will make it convenient to maintain the container’s hygiene and ensure no residue or odors remain.
By storing your tortilla chips in an airtight container, you can enjoy them at their best for a longer time. The container will protect the chips from air, moisture, and contaminants, preserving their freshness and flavor. So, find the perfect airtight container and savor your crispy tortilla chips whenever the craving strikes!
Optional: Store in the Freezer for Long-Term Storage
If you have a large quantity of tortilla chips or want to store them for an extended period, freezing can be an effective option. Freezing tortilla chips helps to preserve their freshness and extends their shelf life. Here’s how you can store tortilla chips in the freezer for long-term storage:
- Check Shelf Life: Before freezing, check the expiration date or the “best by” date on the tortilla chip package. Freezing does not reverse the aging process, so it’s essential to freeze the chips before they go bad.
- Choose Freezer-safe Packaging: Transfer the tortilla chips to a freezer-safe container or resealable bag. Make sure the packaging is airtight and can withstand freezer temperatures without becoming brittle or cracking.
- Remove Excess Air: Squeeze out as much air as possible from the packaging before sealing. Excess air can cause freezer burn and affect the quality of the chips.
- Label and Date: Label the packaging with the contents and date of freezing. This helps you keep track of the duration of storage and ensures that you use the oldest chips first.
- Place in Freezer: Put the properly packaged tortilla chips in the freezer as soon as possible. Find a suitable spot where the chips won’t be crushed or damaged by other items in the freezer.
- Thawing Process: When you’re ready to enjoy the tortilla chips, remove them from the freezer and thaw them at room temperature. Avoid using heat or high temperatures for thawing, as this may cause the chips to become soggy.
- Consume Promptly: Once thawed, it’s best to consume the tortilla chips within a reasonable time frame to enjoy their optimal flavor and texture. Avoid re-freezing the chips, as this can affect their quality.
While freezing tortilla chips can help maintain their quality, it’s important to note that freezing may change the texture slightly. The chips may become slightly softer upon thawing but should still be enjoyable for snacking or dipping.
Keep in mind that freezing is optional and best suited for situations where you have excess chips or need to store them for an extended period. For shorter storage durations, using airtight containers in a cool and dry place can be sufficient to maintain the freshness of your tortilla chips.
So, if you want to have tortilla chips on hand for an extended time, freeze them properly and enjoy crispy snacks whenever the craving strikes!
Conclusion
Properly storing tortilla chips is essential for maintaining their freshness, crunchiness, and flavor. By following a few simple tips, you can ensure that your tortilla chips stay delicious and enjoyable for a longer period. Here’s a recap of the key points we discussed:
- Choose the right container that provides an airtight seal to protect the chips from air and moisture.
- Store tortilla chips in a cool and dry place away from direct heat sources and high humidity areas.
- Seal the bag properly or use resealable containers to maintain the freshness of the chips.
- Avoid exposure to sunlight, as it can degrade the quality and flavor of the tortilla chips.
- Keep the chips away from moisture and humidity to prevent them from becoming stale or soggy.
- Store tortilla chips away from strong odors that can affect their taste and aroma.
- Consider using an airtight container to create a protective barrier against air, moisture, and contaminants.
- Freeze tortilla chips for long-term storage if needed, but ensure proper packaging and labeling.
By applying these tips, you can enjoy your tortilla chips at their best for a longer period. Whether you’re hosting a gathering, enjoying a movie night, or satisfying a snack craving, properly stored tortilla chips will always be ready to delight your taste buds.
Remember, the key to maintaining the freshness and quality of tortilla chips is to store them in a cool, dry, and airtight environment. So, follow these guidelines and savor every crunchy bite of your favorite tortilla chips!
Frequently Asked Questions about How To Store Tortilla Chips
Was this page helpful?
At Storables.com, we guarantee accurate and reliable information. Our content, validated by Expert Board Contributors, is crafted following stringent Editorial Policies. We're committed to providing you with well-researched, expert-backed insights for all your informational needs.

0 thoughts on “How To Store Tortilla Chips”