Articles
How To Store Homemade Chips
Modified: February 28, 2024
Learn how to store homemade chips with these helpful articles. Keep your chips fresh and crispy for longer with these storage tips.
(Many of the links in this article redirect to a specific reviewed product. Your purchase of these products through affiliate links helps to generate commission for Storables.com, at no extra cost. Learn more)
Introduction
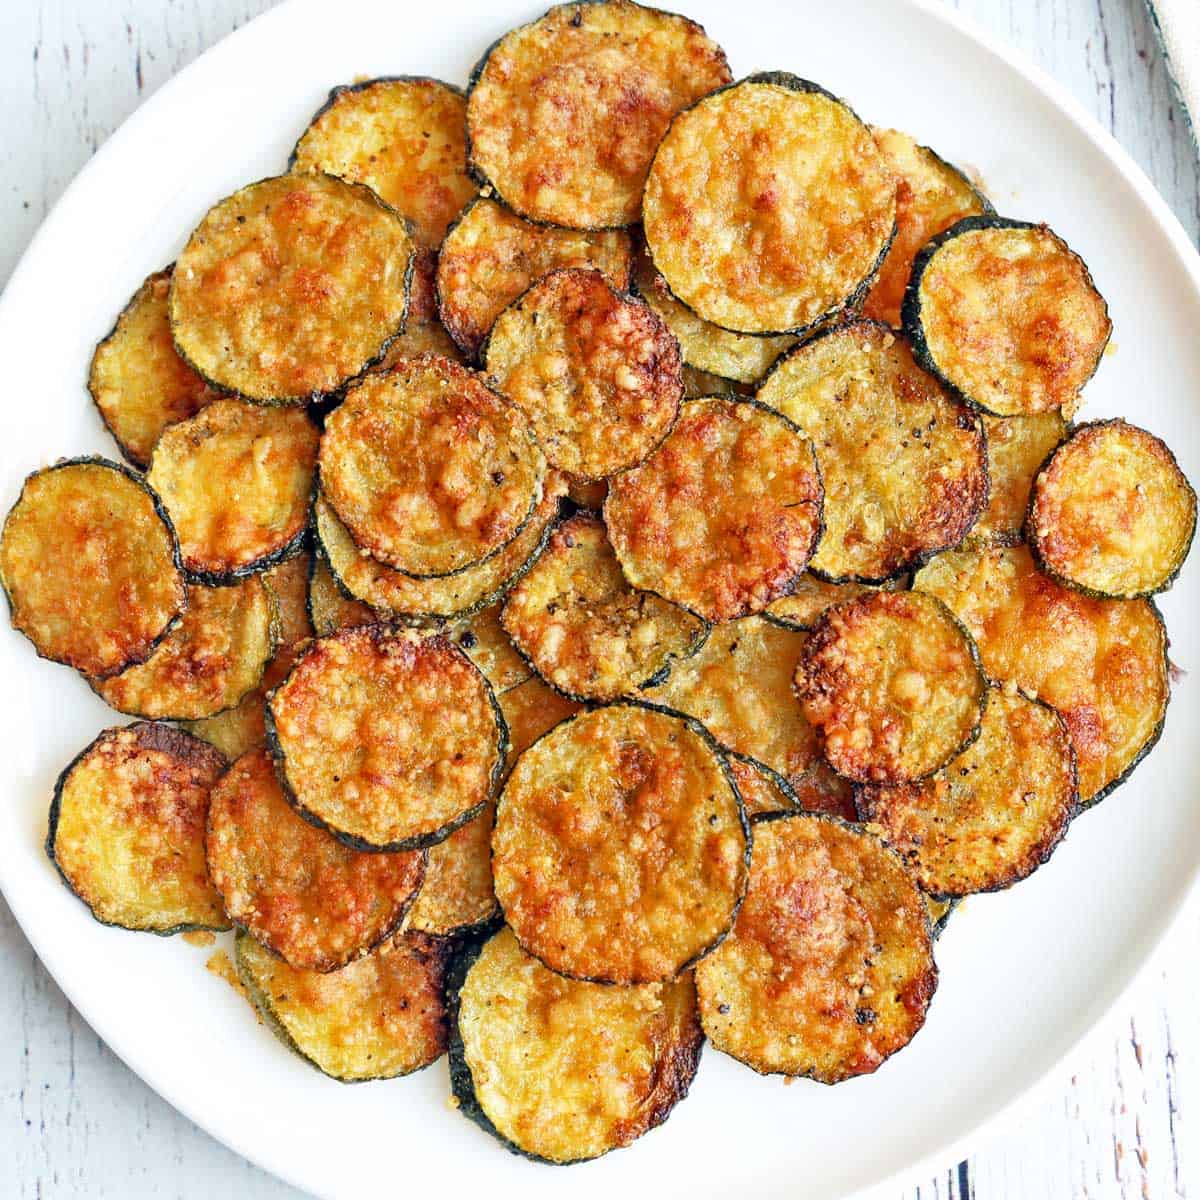
Have you ever made a batch of homemade chips and wondered how to store them properly to maintain their freshness and crunch? Well, look no further! In this article, we will guide you through the process of storing homemade chips so that you can enjoy them for days to come.
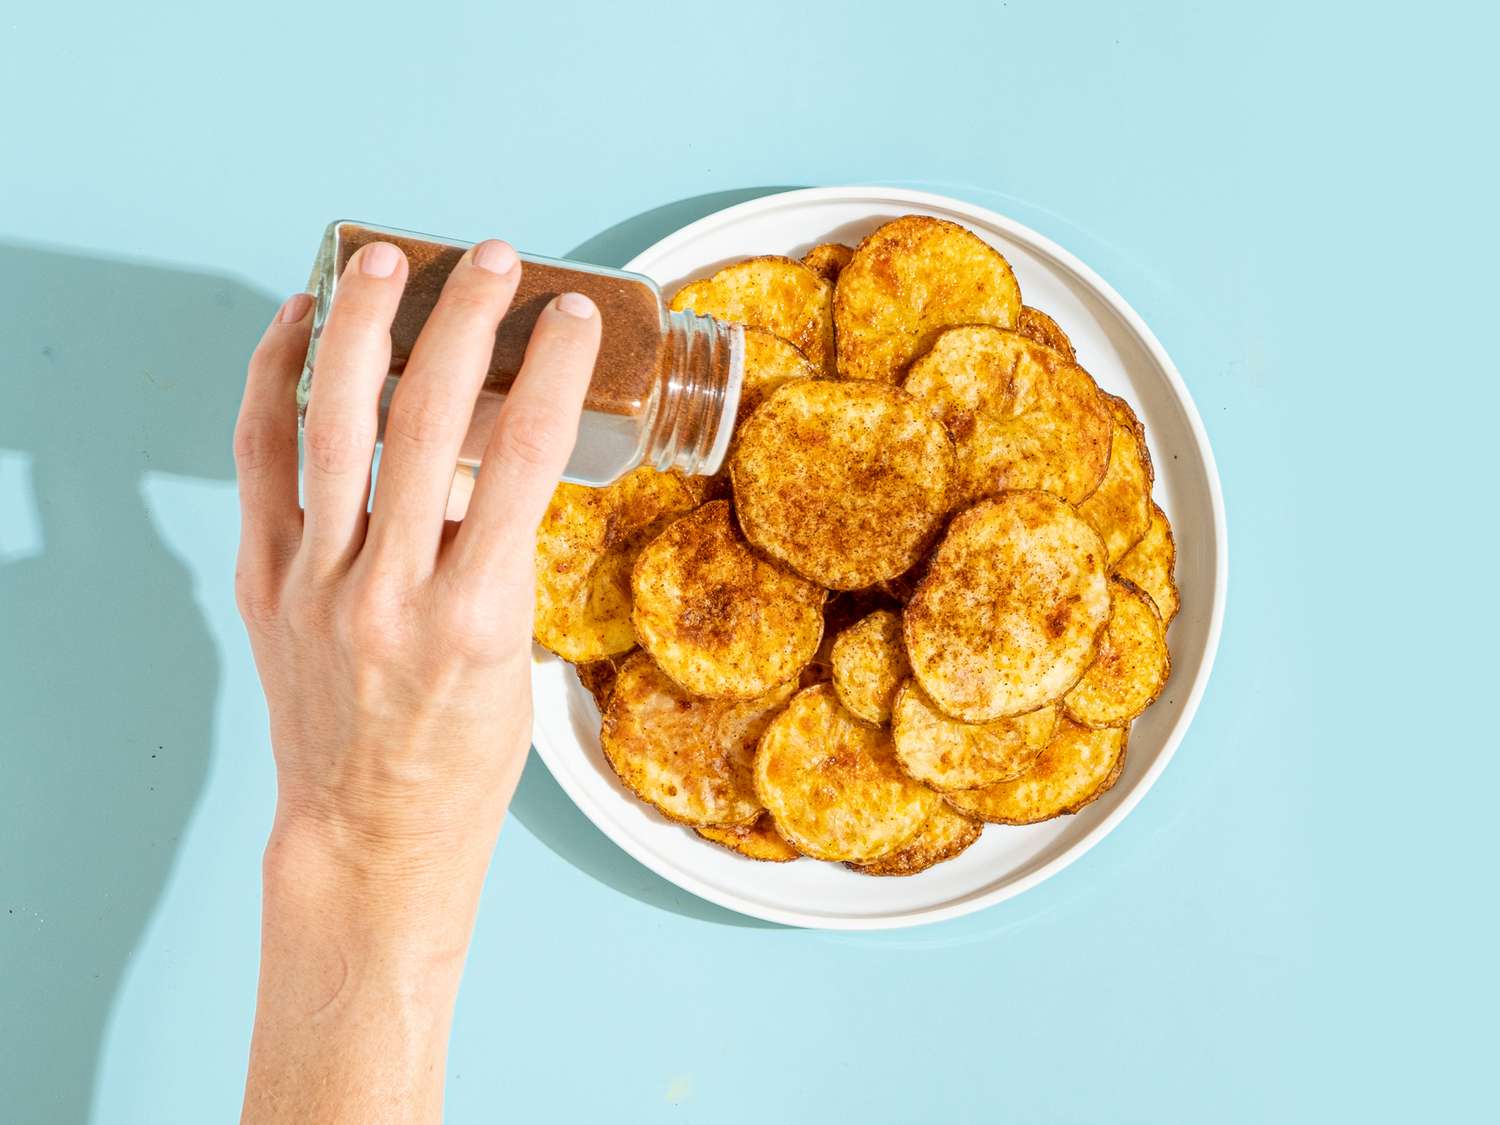
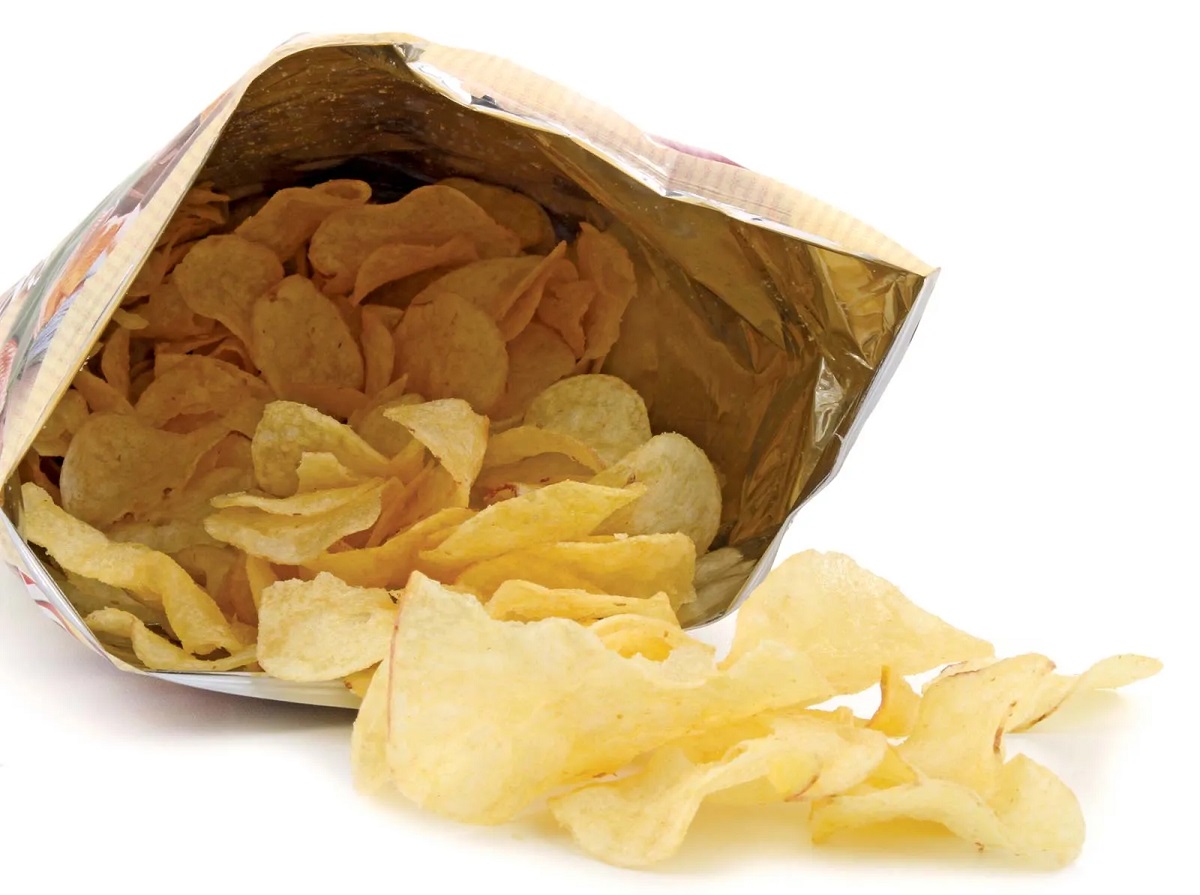
Homemade chips, also known as potato chips, are a delicious and popular snack that can be enjoyed on their own or paired with various dips and sauces. Making your own chips allows you to control the ingredients and customize the flavors to your liking. However, ensuring that they stay crispy and flavorful after they are made is crucial.
Properly storing homemade chips is essential to maintain their texture and taste. When exposed to air and moisture, chips can quickly lose their crunch and become stale. To prevent this from happening, follow these simple steps to store your homemade chips and enjoy them at their best.
Key Takeaways:
- Choosing the right potatoes, thorough drying, and airtight storage are key to maintaining the crunch and flavor of homemade chips. Follow these steps to savor your crispy creations for days to come!
- Proper storage in a cool, dry place away from heat and odors is crucial for preserving the freshness of homemade chips. With the right techniques, you can enjoy your flavorful chips anytime you desire!
Read more: How To Store Homemade Potato Chips
Step 1: Choose the Right Potato
When it comes to making homemade chips, the first step is to select the right type of potato. Different varieties of potatoes have different starch contents, which can affect the texture of the chips. For crispy chips, opt for russet or white potatoes, as they have a high starch content and low moisture content.
Potatoes that are too waxy or high in moisture, such as red or new potatoes, may result in chips that are less crispy and more prone to becoming soggy. It’s best to choose firm, fresh potatoes without any signs of sprouting or damage.
Before you start slicing the potatoes, make sure to wash and scrub them thoroughly to remove any dirt or debris. Removing the skin is optional, but keeping it on can add extra flavor and texture to the chips.
Once you have chosen your potatoes and cleaned them, you are ready to move on to the next step of preparing the potatoes for slicing.
Step 2: Prepare the Potatoes
Now that you have selected the right potatoes, it’s time to prepare them before slicing. Start by removing any blemishes or green spots on the skin of the potatoes. These imperfections can affect the taste and texture of the chips.
Next, you have the option to peel the potatoes or leave the skin on. The skin adds a rustic and earthy flavor to the chips, so if you prefer that, simply give the potatoes a thorough wash to remove any dirt. However, if you prefer a more classic and uniform chip, use a vegetable peeler to carefully remove the skin from each potato.
Once the potatoes are cleaned and peeled (if desired), it’s important to dry them thoroughly. Excess moisture in the potatoes can lead to soggy chips. Use a kitchen towel or paper towels to pat the potatoes dry, ensuring that there is no remaining moisture.
Now that your potatoes are clean and dry, it’s time to move on to the next step of slicing them into thin, even slices.
Step 3: Slice the Potatoes
Now that your potatoes are prepared, it’s time to slice them into thin, uniform slices. You can do this by hand using a sharp knife or, for more precision, you can use a mandoline slicer or a food processor fitted with a slicing attachment.
For best results, aim for slices that are about 1/8 inch thick. This thickness allows for even cooking and ensures that the chips will crisp up nicely. It’s important to try to keep the slices as consistent in thickness as possible to ensure even cooking.
If you’re slicing the potatoes by hand, be mindful of keeping your fingers safe. Take your time and use a steady motion to slice the potatoes. If you’re using a mandoline slicer or food processor, follow the manufacturer’s instructions for safe and efficient slicing.
As you slice the potatoes, transfer the slices onto a clean, dry surface. Avoid stacking the slices on top of each other, as this can lead to uneven cooking and potentially soggy chips. Instead, lay them out in a single layer to maximize airflow.
Once all the potatoes are sliced, it’s time to move on to the next step of soaking the potato slices to remove excess starch.
Step 4: Soak the Potato Slices
Soaking the potato slices is an important step in the process of making homemade chips. This step helps to remove excess starch from the potatoes, which can result in crispier chips.
First, prepare a large bowl of cold water. Place the sliced potatoes into the bowl and gently swish them around to ensure that all the slices are submerged. Soaking the potatoes for about 15-30 minutes will be sufficient to remove the excess starch.
During the soaking process, you may notice that the water becomes cloudy. This is a sign that the starch is being released from the potato slices. You can change the water halfway through the soaking time if desired, especially if the water becomes too cloudy.
After the soaking time is complete, drain the potato slices in a colander or sieve. Rinse them under cold water to wash away any remaining starch. This step will help prevent the chips from sticking together during the cooking process.
Once the potato slices are drained and rinsed, it’s time to move on to the next step of draining and drying them thoroughly to remove any excess moisture.
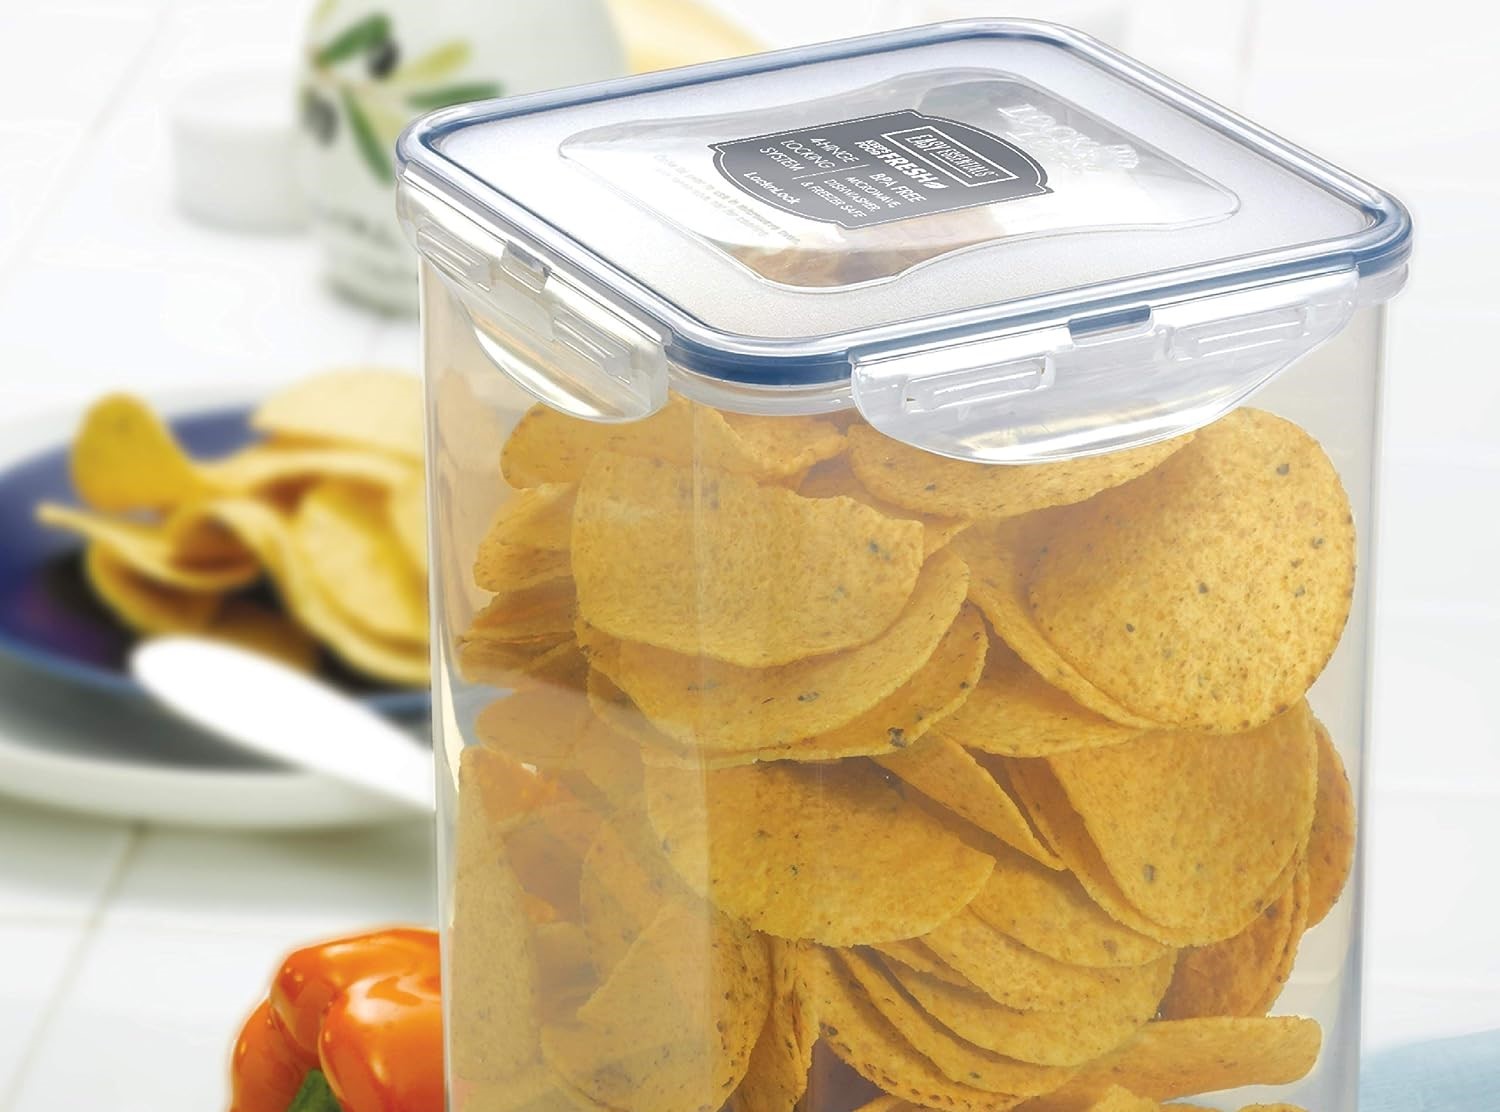
Store homemade chips in an airtight container at room temperature to maintain crispness. Add a paper towel to absorb any excess moisture and keep them fresh for longer.
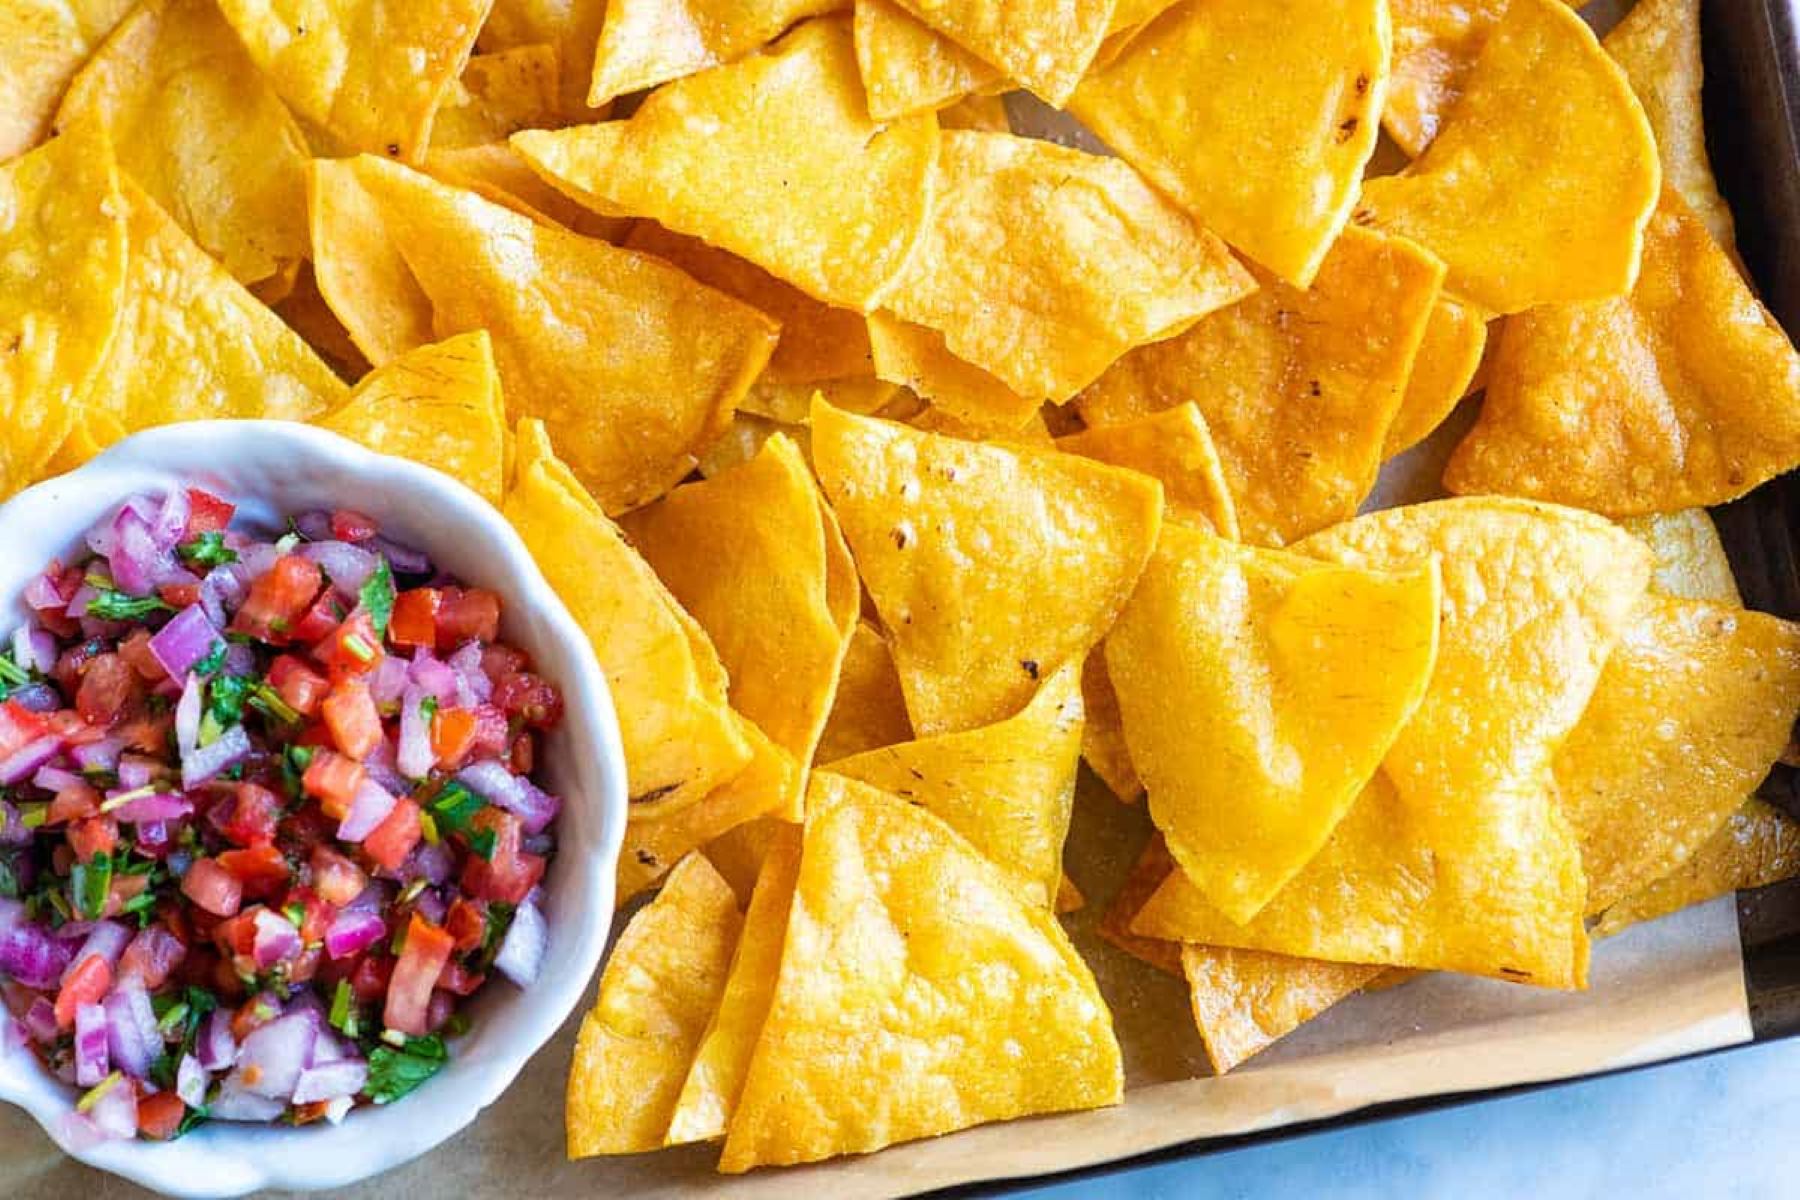
Read more: How To Store Homemade Tortilla Chips
Step 5: Drain and Dry the Potato Slices
After soaking the potato slices, it’s important to drain and dry them thoroughly. Removing excess moisture is crucial to achieving crispy homemade chips.
To drain the potato slices, gently shake the colander or sieve to remove any excess water. You can also pat them dry with a clean kitchen towel or paper towels to absorb any remaining moisture.
Once drained, transfer the potato slices to a dry surface, such as a clean kitchen towel or a baking sheet lined with paper towels. Spread the slices out in a single layer to allow for maximum airflow.
Allow the potato slices to air dry for about 15-30 minutes. This will help remove any residual moisture and ensure that the chips crisp up nicely during the cooking process.
While the potato slices are drying, it’s important to preheat the oven to the desired temperature for baking the chips. This will ensure that the oven is ready when it’s time to cook the chips.
Once the potato slices are thoroughly drained and dried, it’s time to move on to the next step of storing them in airtight containers.
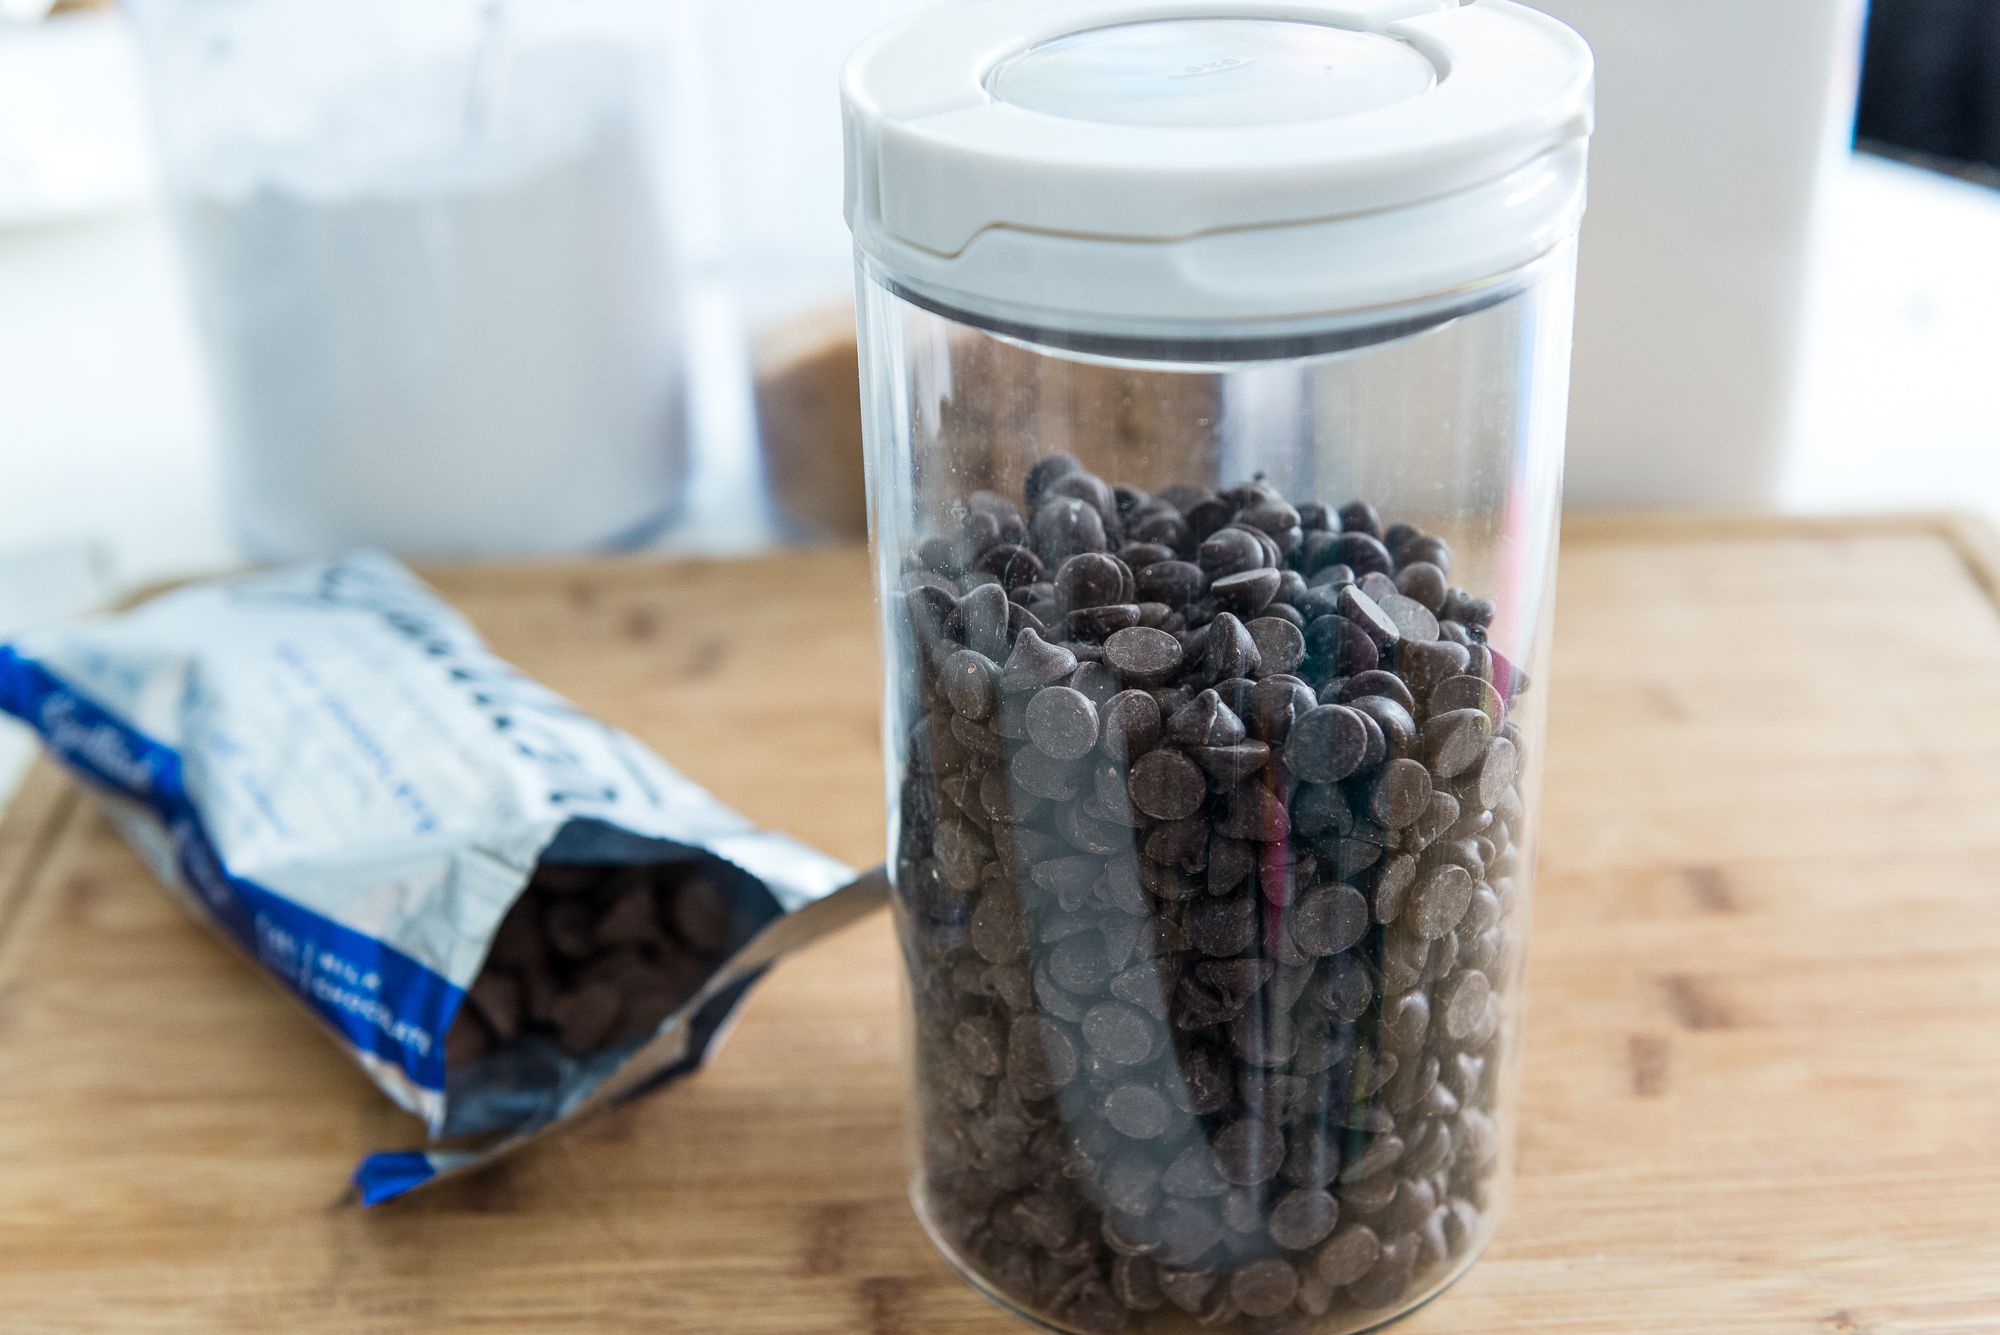
Step 6: Store in Airtight Containers
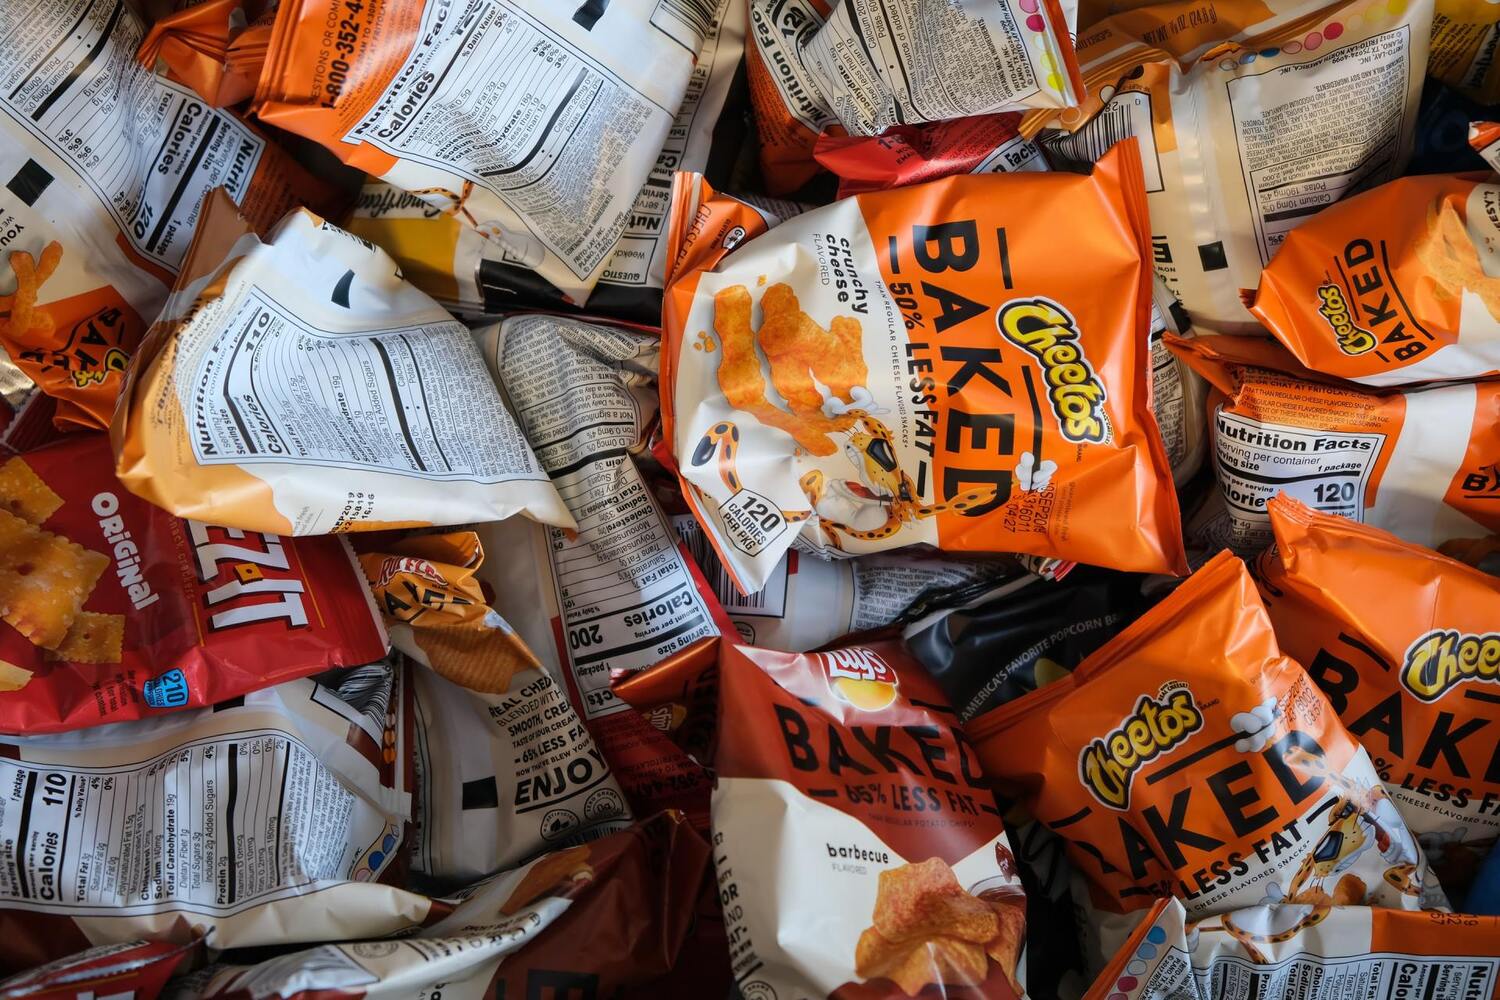
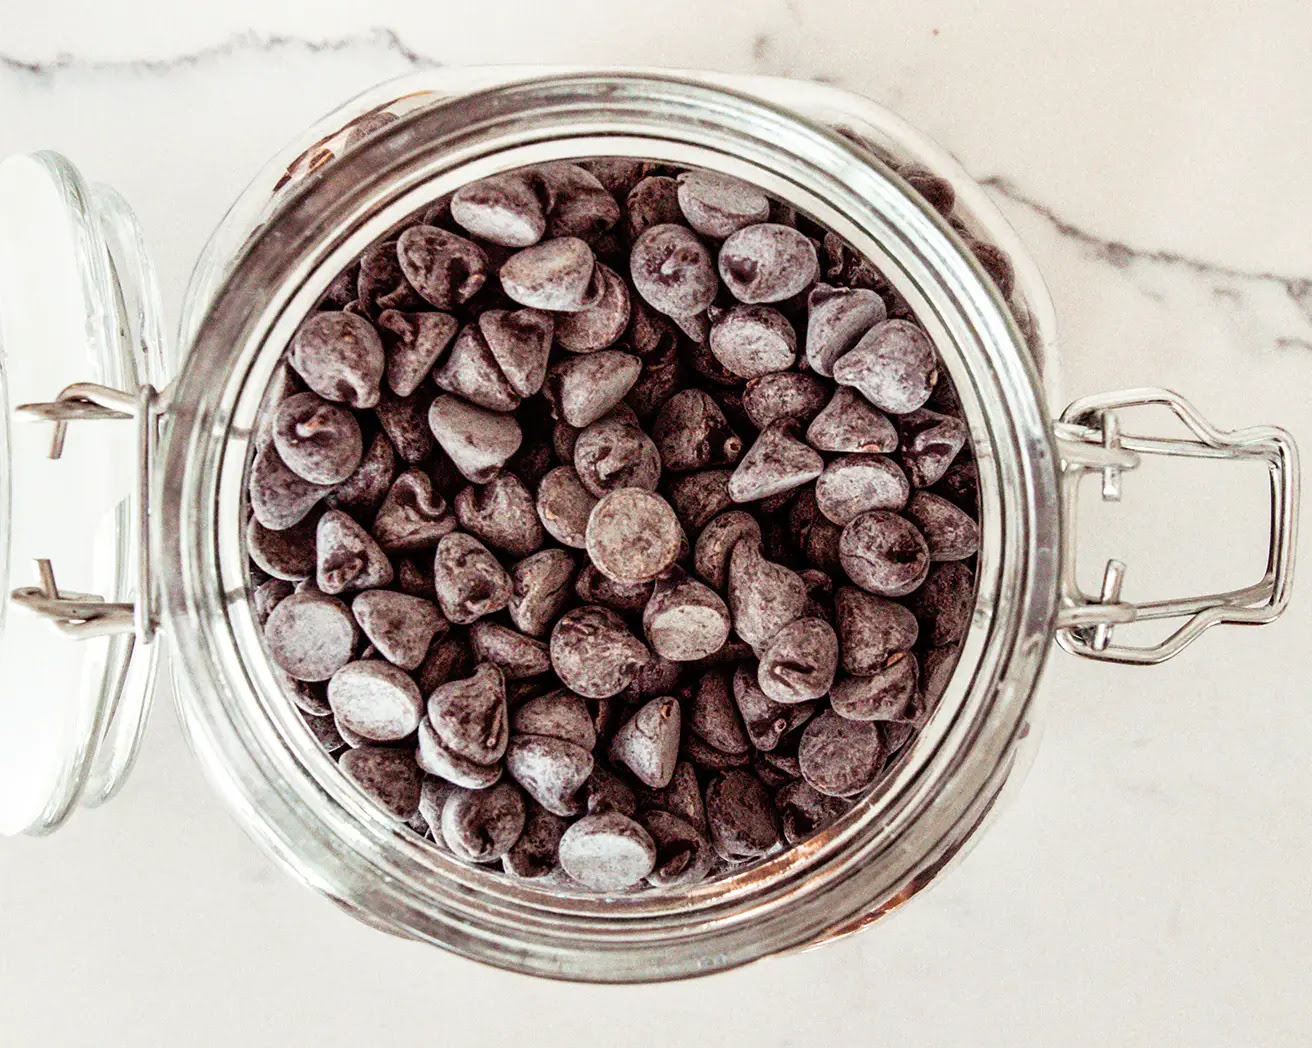
Now that your homemade potato chips are ready to be stored, it’s important to choose the right containers to preserve their freshness and crunch. Airtight containers are the best option for storing chips, as they help to keep out moisture and prevent the chips from becoming stale.
You can use plastic or glass containers with tight-sealing lids to store the chips. Make sure that the containers are clean and dry before adding the chips to minimize the risk of moisture build-up.
Transfer the dried potato slices into the airtight containers, making sure to layer them in a single, even layer. Avoid overcrowding the chips to maintain their crispiness.
If you have different flavors of chips, it’s a good idea to store them in separate containers to prevent the flavors from mingling.
When sealing the containers, be sure to press down firmly to remove any excess air. This will help to maintain the crunch and prevent the chips from going stale quickly.
Once the chips are stored in airtight containers, it’s important to label them with the date of storage. This will help you keep track of their freshness and ensure that you consume them before they lose their optimal flavor and texture.
Now that your homemade chips are stored properly in airtight containers, it’s time to choose the right location for storing them to maintain their quality.
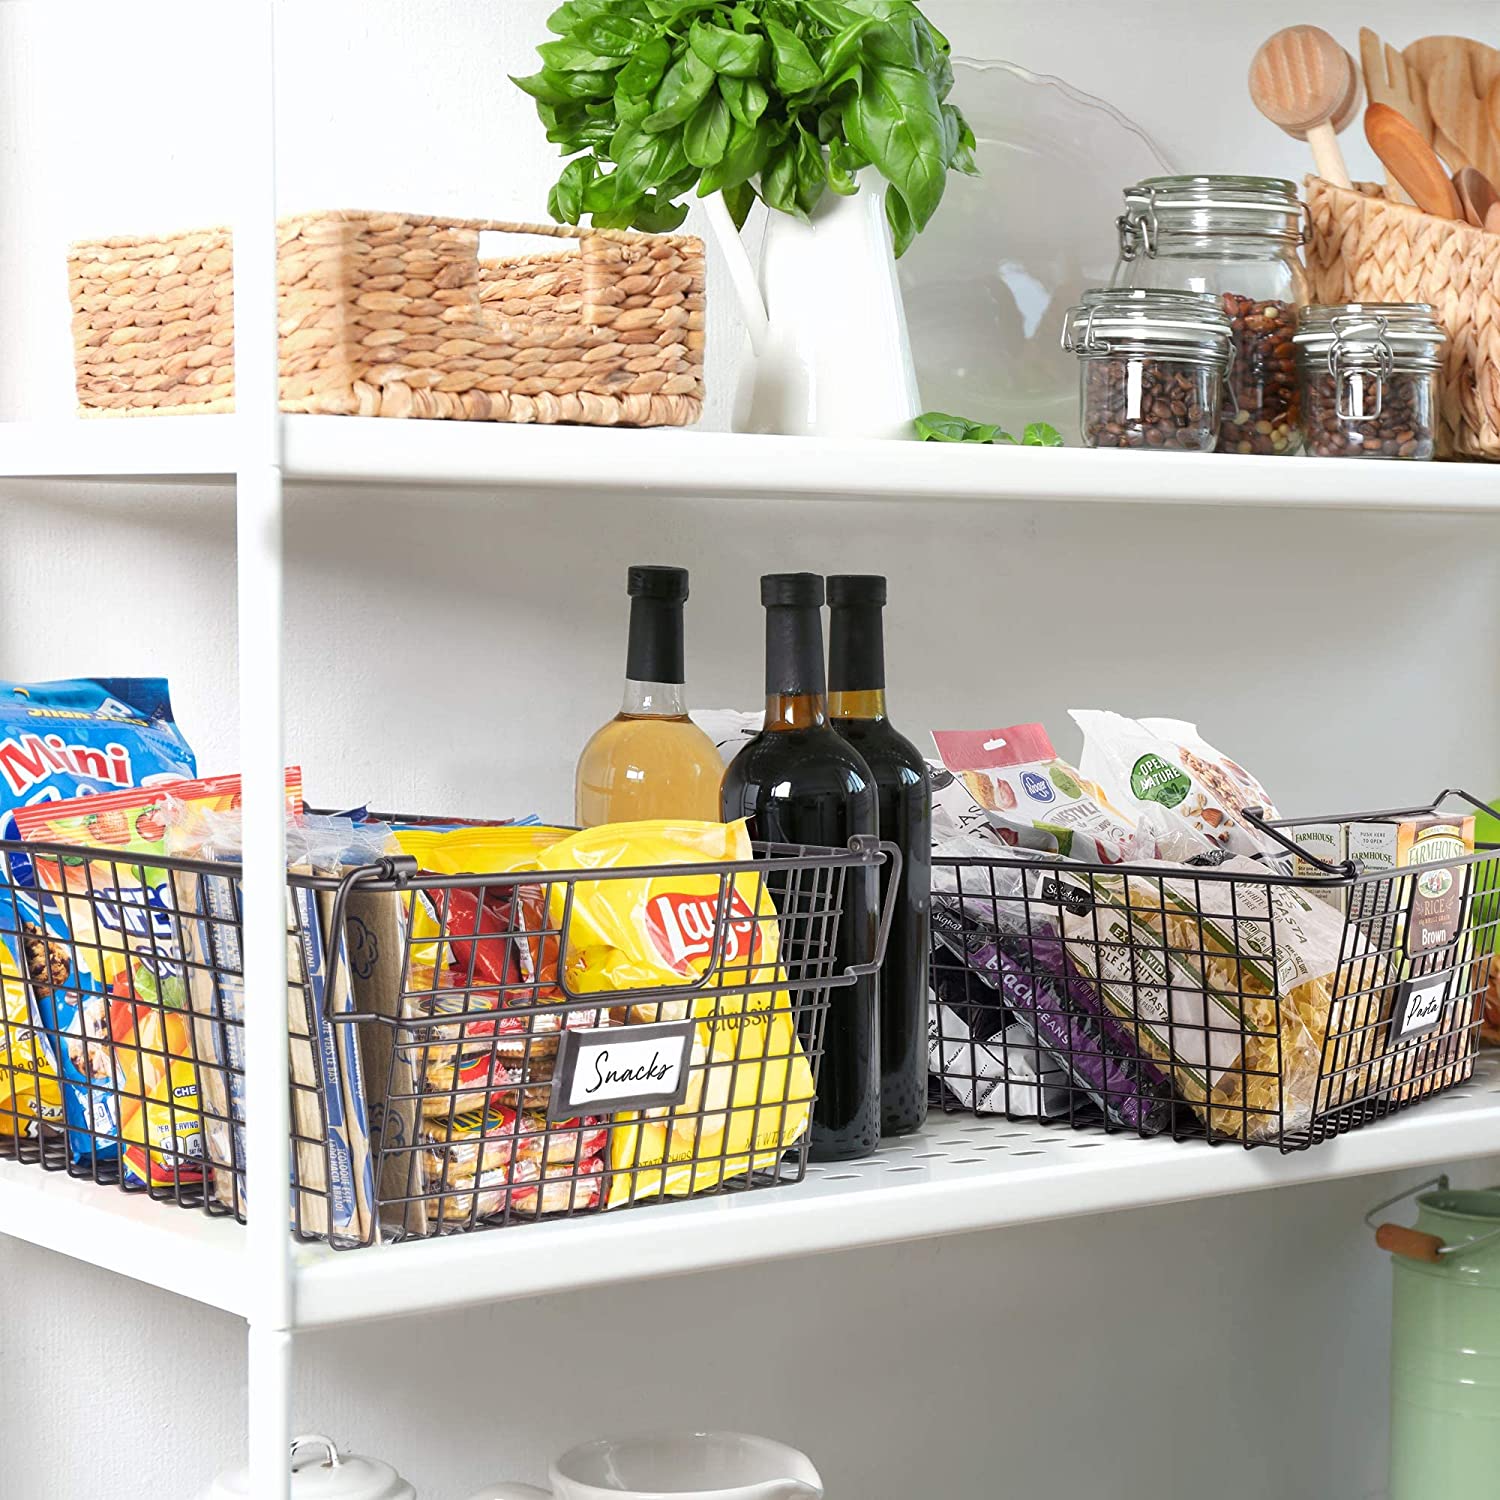
Step 7: Choose the Storage Location
After you have stored your homemade chips in airtight containers, it’s important to select an appropriate storage location to prolong their freshness and preserve their taste.
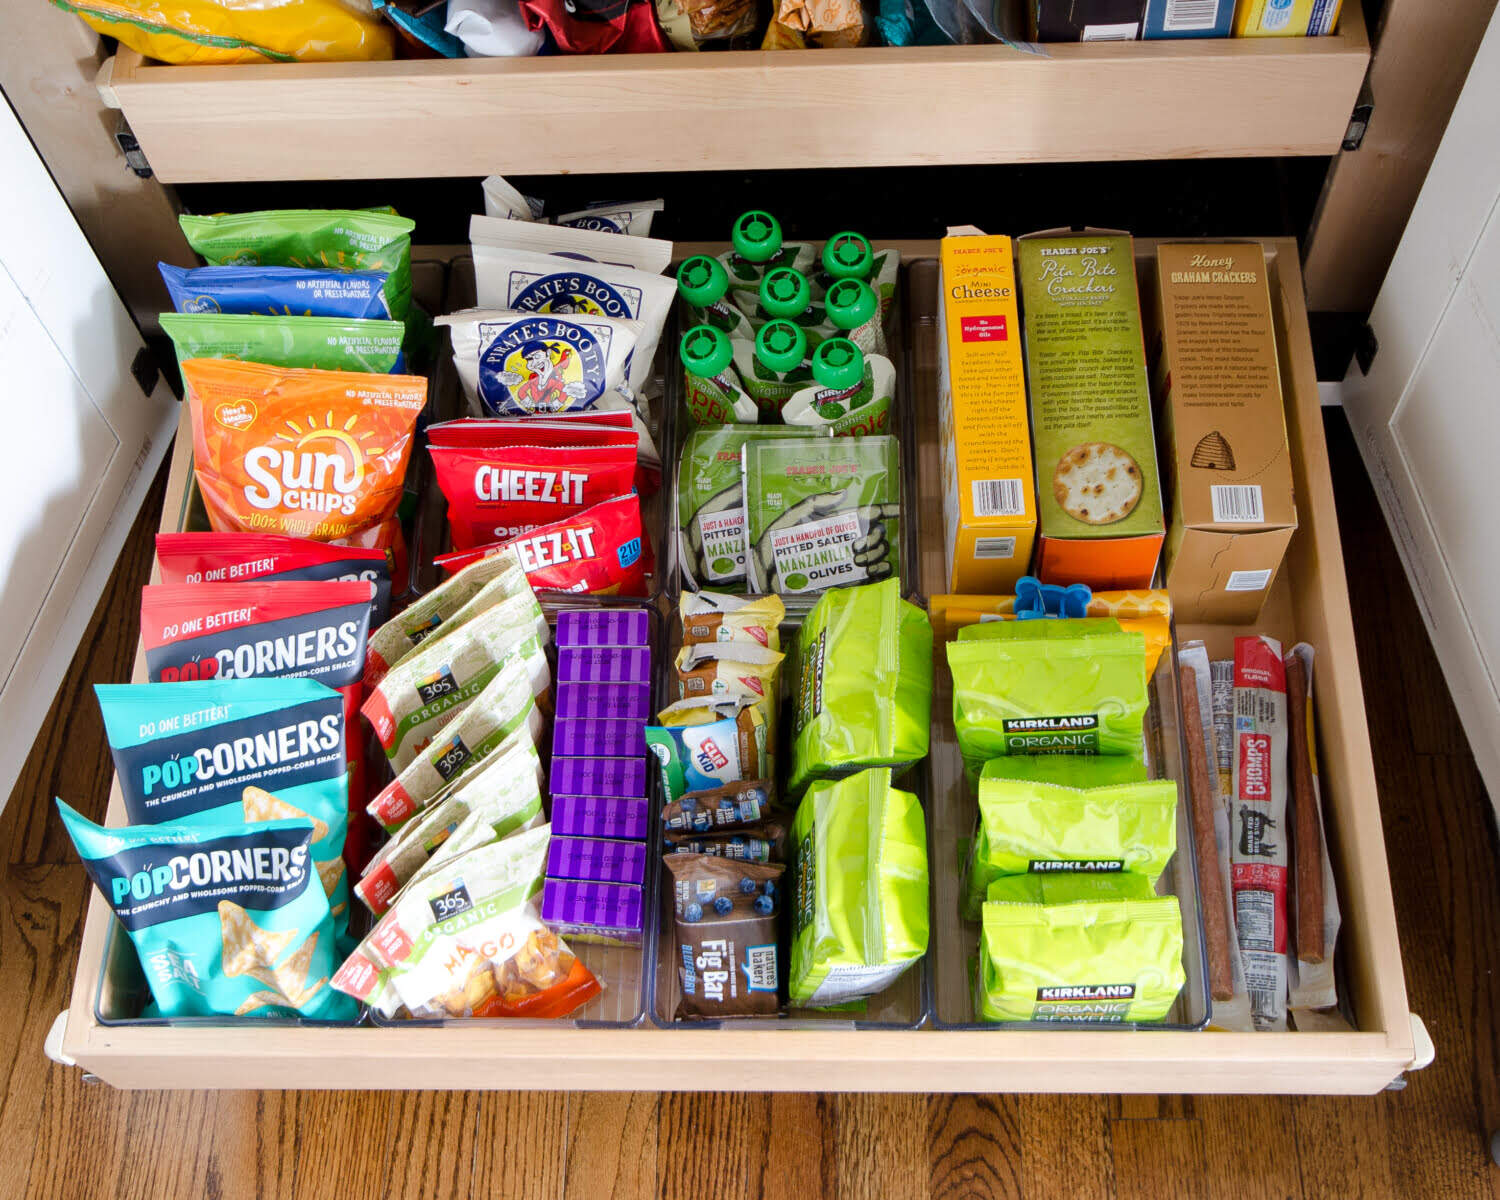
First and foremost, make sure to store the chips in a cool and dry place. Excessive heat and humidity can lead to the chips becoming limp and lose their crunchiness.
A pantry or cupboard away from direct sunlight is an ideal spot for storing chips. Sunlight can not only affect the taste and texture of the chips but also cause them to spoil faster.
Avoid storing the chips near sources of heat such as the stove, oven, or microwave. Heat can speed up the process of staleness and make the chips less appetizing.
Additionally, try to keep the chips away from areas with strong odors. They can absorb smells easily, which may alter their flavor and make them less enjoyable to eat.
Remember to keep the chips out of reach from children or pets, as tempting as they may be. An elevated shelf or cupboard can ensure that they remain intact until you’re ready to enjoy them.
Finally, periodically check on the stored chips to ensure they are still fresh. If you notice any signs of spoilage, such as a rancid smell, mold, or a change in color, it’s best to discard them.
By following these storage tips and choosing the right location, you can enjoy your homemade chips for days to come without compromising their taste and texture.
Congratulations! You have successfully learned how to store homemade chips to maintain their freshness and crunchiness.
Now, grab your favorite dip or sauce and indulge in the deliciousness of your homemade chips anytime you want!
Conclusion
Storing homemade chips properly is essential to maintain their freshness and ensure they stay crispy and delicious. By following these steps, you can keep your homemade chips at their best for an extended period.
First, start by choosing the right variety of potatoes, such as russet or white potatoes, to ensure the desired crispiness. Then, prepare and slice the potatoes uniformly to guarantee even cooking.
Soaking the potato slices helps remove excess starch for crunchier chips. After soaking, it’s crucial to drain and dry the slices thoroughly to prevent any sogginess.
Store the dried potato slices in airtight containers to keep them fresh. Be sure to seal the containers tightly to avoid air exposure and potential staleness. Label the containers with the storage date for easy tracking.
Lastly, choose a cool, dry location away from heat, sunlight, and strong odors to store your chips. Regularly check on them to ensure they remain fresh, and discard any spoilt or stale chips.
Now that you’ve mastered the art of storing homemade chips, you can enjoy your crispy and flavorful creations anytime you desire. Whether you’re snacking solo or entertaining guests, your homemade chips will be a hit!
So, go ahead and whip up a batch of homemade chips, store them following these steps, and savor the satisfying crunch with every bite. You have the knowledge and the techniques to make your homemade chips last, ensuring a delightful snack experience.
Happy chip-making and happy snacking!
Frequently Asked Questions about How To Store Homemade Chips
Was this page helpful?
At Storables.com, we guarantee accurate and reliable information. Our content, validated by Expert Board Contributors, is crafted following stringent Editorial Policies. We're committed to providing you with well-researched, expert-backed insights for all your informational needs.


0 thoughts on “How To Store Homemade Chips”