Articles
How To Store Homemade Kale Chips
Modified: December 7, 2023
Learn the best way to store homemade kale chips for long-lasting freshness. Read our informative articles for helpful tips and tricks.
(Many of the links in this article redirect to a specific reviewed product. Your purchase of these products through affiliate links helps to generate commission for Storables.com, at no extra cost. Learn more)
Introduction
Welcome to this guide on how to store homemade kale chips! Kale chips are a delicious and nutritious snack that can be easily made at home. They are a great alternative to traditional potato chips and are packed with vitamins, minerals, and antioxidants. One of the benefits of making your own kale chips is that you can control the ingredients used, making them a healthier choice. Whether you’ve just made a fresh batch of kale chips or have leftovers that you want to store properly, this article will provide you with a step-by-step guide on how to store homemade kale chips to ensure their freshness and crunchiness.
When it comes to storing homemade kale chips, there are a few key factors to consider. First, you’ll want to make sure they are properly cooled before storing them to prevent moisture build-up. Second, it’s important to store them in an airtight container to maintain their crispness. Lastly, finding the right storage location will help preserve their freshness.
In the following sections, we’ll walk you through each step of the process, from preparing the kale to storing the chips. So, let’s jump right in and learn how to store homemade kale chips!
Key Takeaways:
- Enjoy homemade kale chips by following these steps: prepare, season, bake, cool, and store. Keep them fresh and crispy in an airtight container for up to a week!
- Homemade kale chips are a healthier alternative to traditional snacks. Control the ingredients, customize the flavors, and enjoy a guilt-free, nutritious treat anytime!
Read more: How To Store Baked Kale Chips
Step 1: Ingredients and Equipment
Before you start making homemade kale chips, gather all the necessary ingredients and equipment. Here’s what you’ll need:
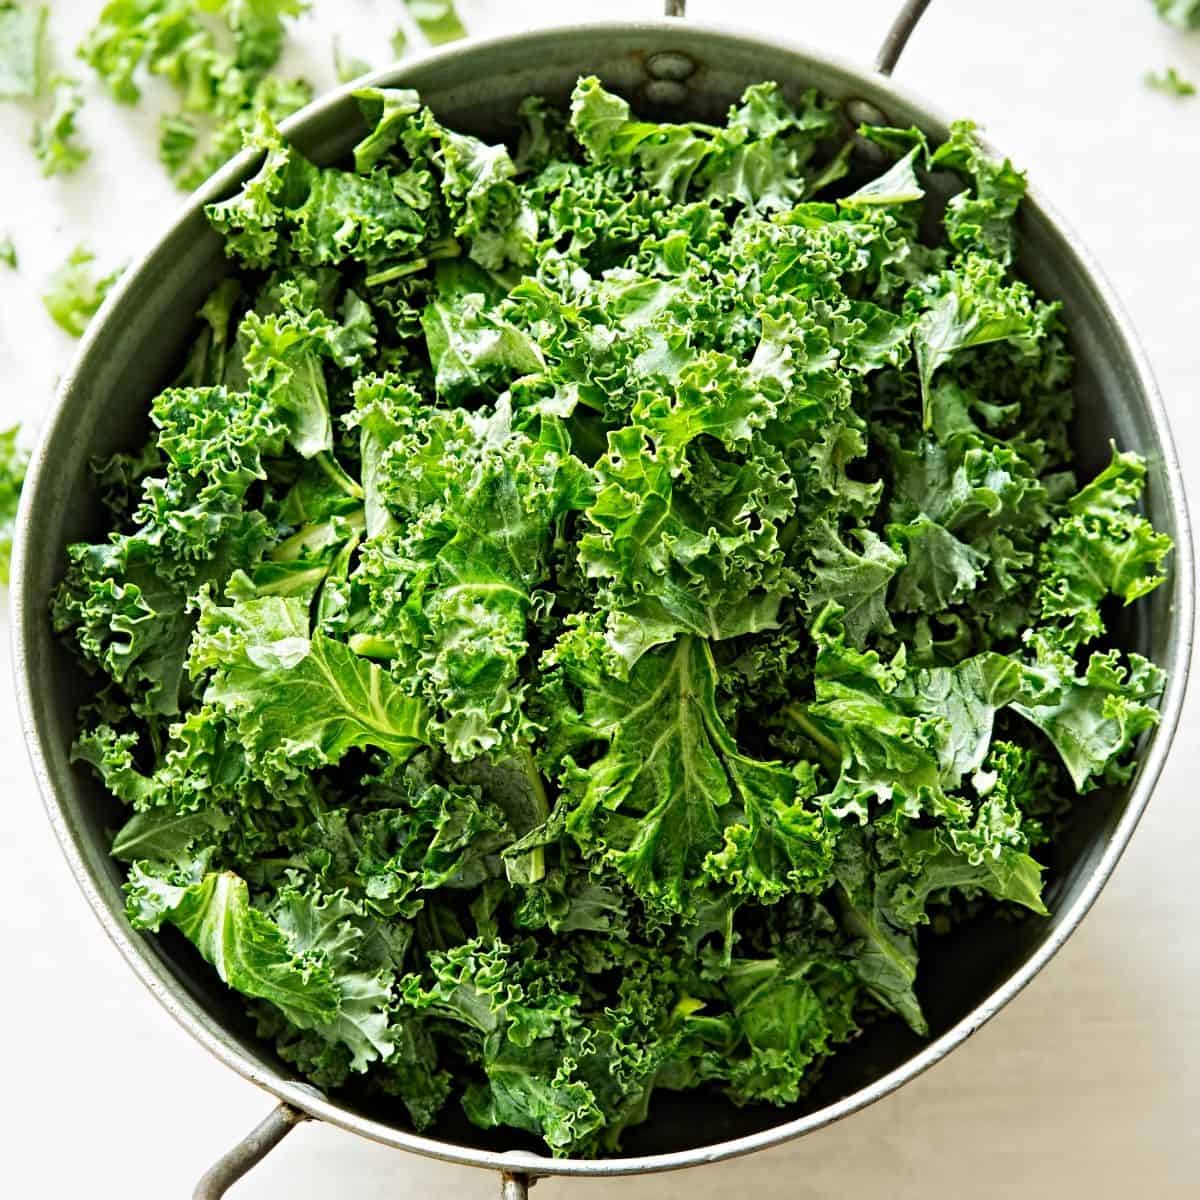
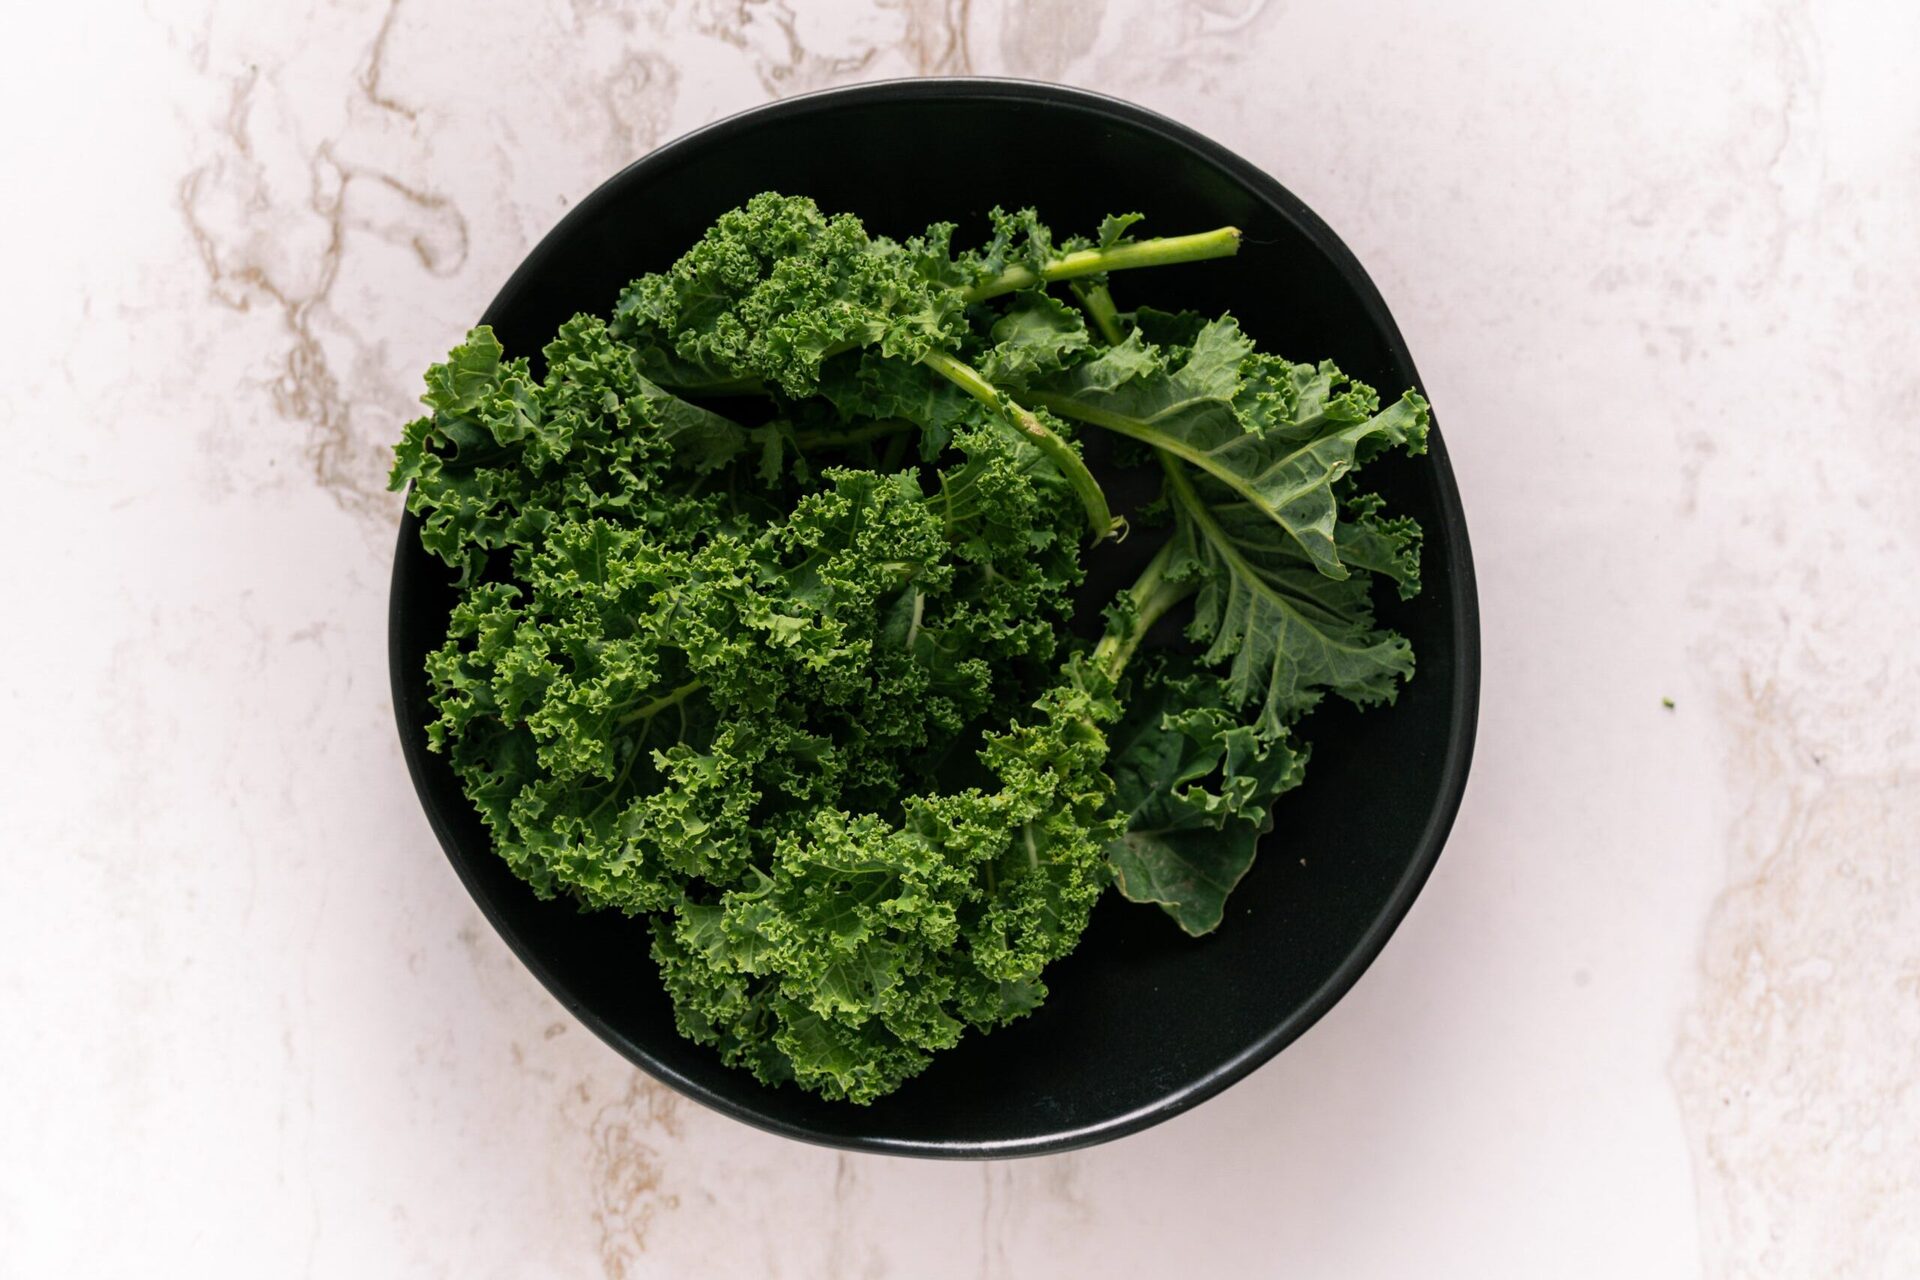
- Kale Leaves: Choose fresh kale leaves with vibrant green color and crisp texture. Remove the tough stems and tear the leaves into bite-sized pieces.
- Olive Oil: A high-quality olive oil will enhance the flavor of your kale chips and help them achieve a crispy texture. You can drizzle the oil or use a brush to evenly coat the kale leaves.
- Salt: Season the kale chips with a sprinkle of salt to add a savory taste. Adjust the amount of salt according to your preference.
- Baking Sheet: Use a baking sheet to place the kale chips in a single layer. This ensures even baking and promotes crunchiness.
- Parchment Paper: Line the baking sheet with parchment paper to prevent the kale chips from sticking and to make cleanup easier.
Once you have gathered all the ingredients and equipment, you’re ready to move on to the next step: preparing the kale leaves.
Step 2: Preparing the Kale
Now that you have your ingredients and equipment ready, it’s time to prepare the kale leaves for baking. Follow these steps:
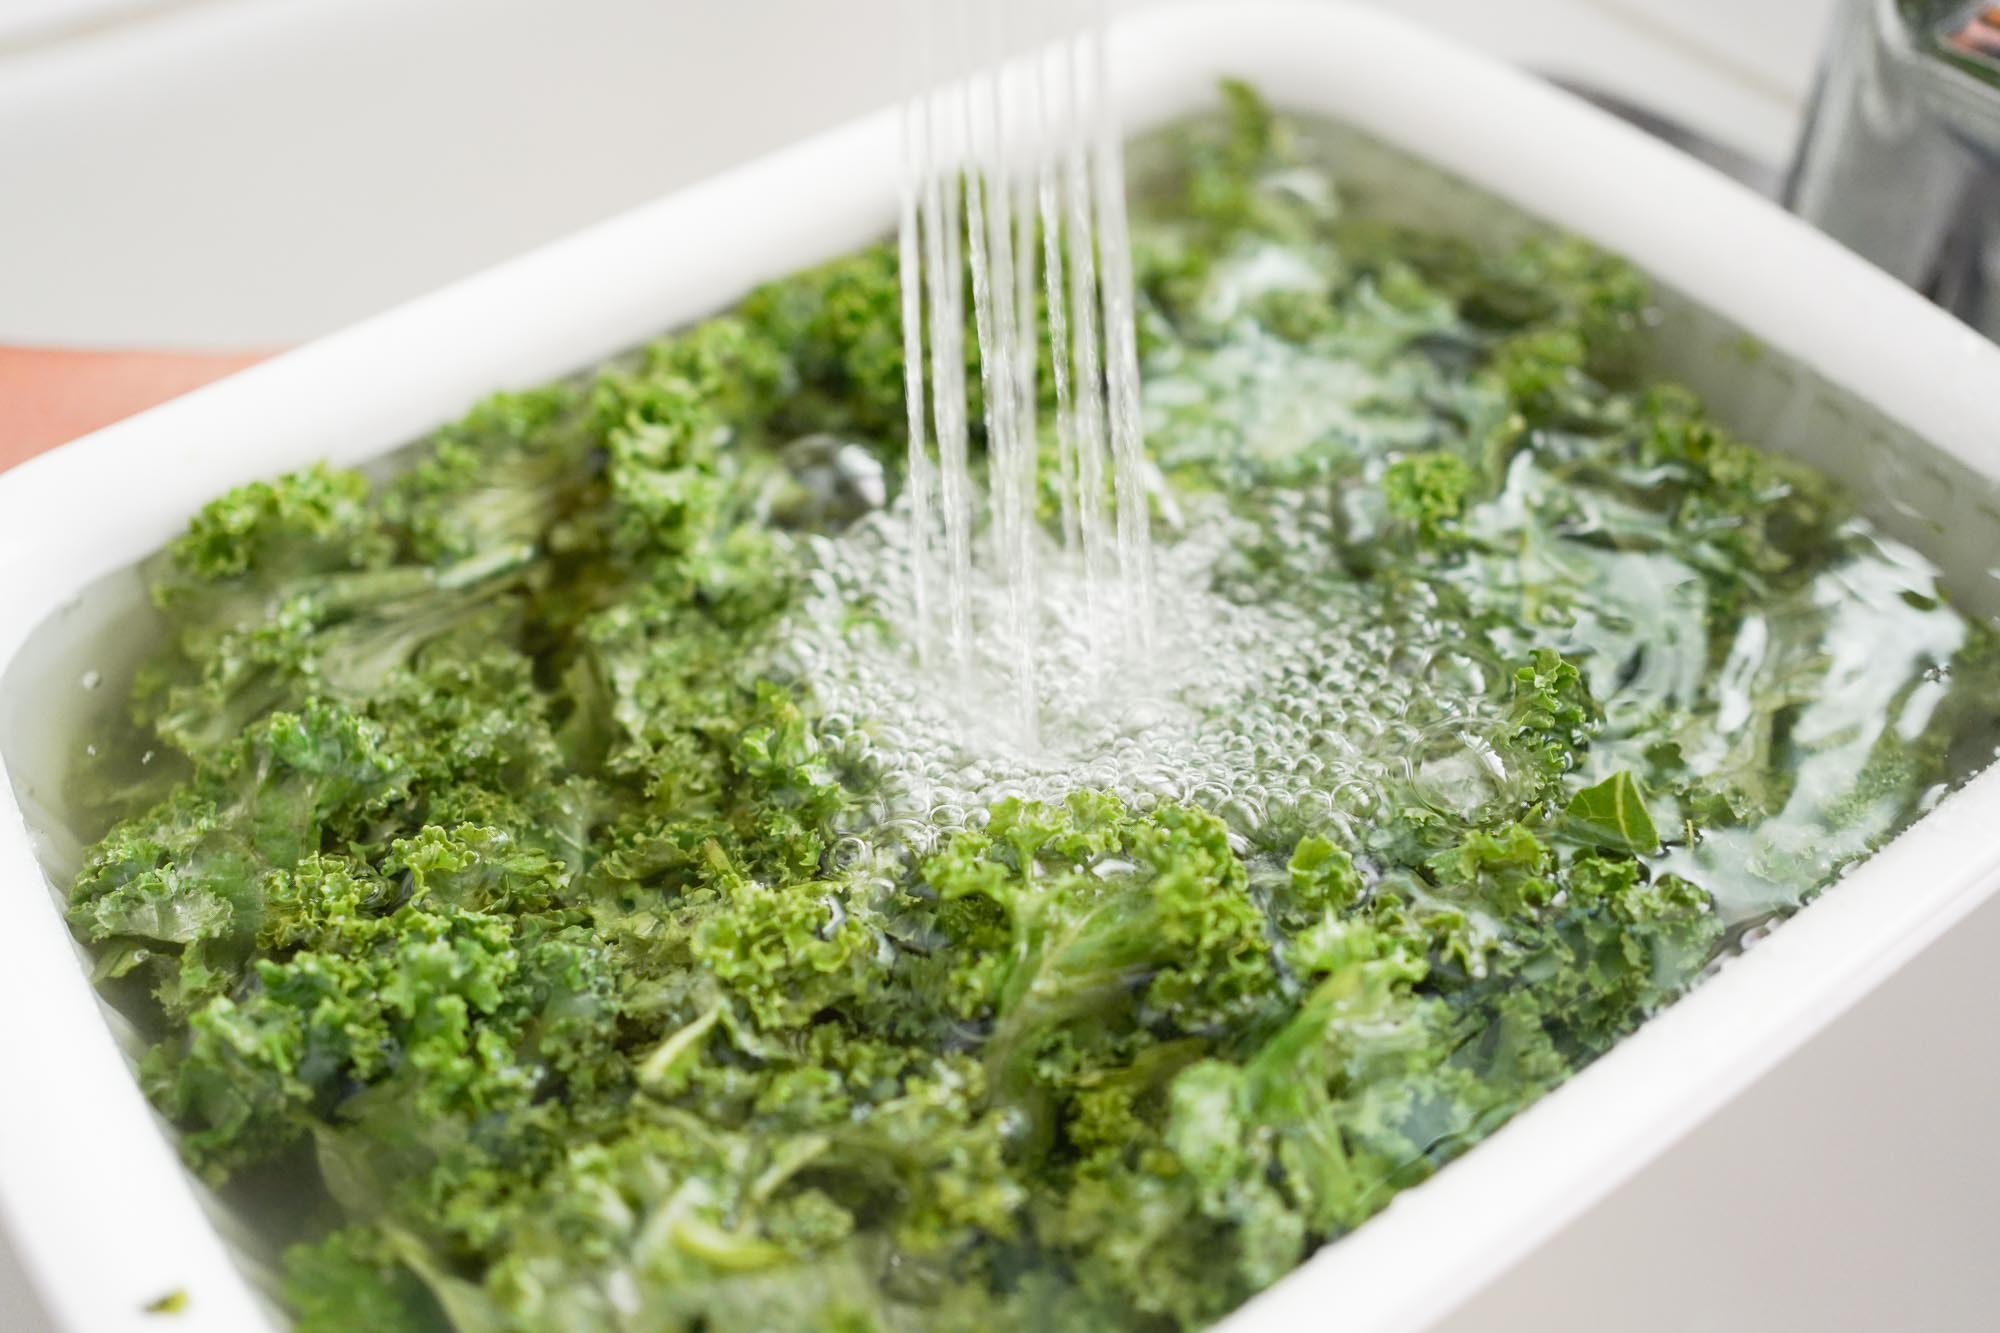
- Wash the Kale: Thoroughly rinse the kale leaves under cold water to remove any dirt or debris. Pat them dry with a clean kitchen towel or use a salad spinner to remove excess moisture.
- Remove the Stems: Hold the stem of each kale leaf with one hand and use the other hand to gently pull the leaf away from the stem. Discard the stems as they can be tough and detract from the chip’s texture.
- Tear into Bite-Sized Pieces: Tear the kale leaves into bite-sized pieces, ensuring they are all relatively uniform in size. This will help with even cooking and make it easier to eat the kale chips once they’re baked.
By removing the stems and tearing the leaves into smaller pieces, you’ll be left with the perfect base for creating crispy and flavorful kale chips. With the kale leaves prepared, it’s time to move on to the next step: seasoning the kale chips.
Step 3: Seasoning the Kale Chips
After preparing the kale leaves, it’s time to add flavor to your homemade kale chips. Seasoning is the key to transforming these nutritious greens into a delicious and addictive snack. Here’s how to season your kale chips:
- Drizzle with Olive Oil: Place the prepared kale leaves in a large bowl and drizzle them with olive oil. Use your hands or a brush to evenly coat the leaves with oil. Be careful not to use too much oil, as it can make the chips greasy.
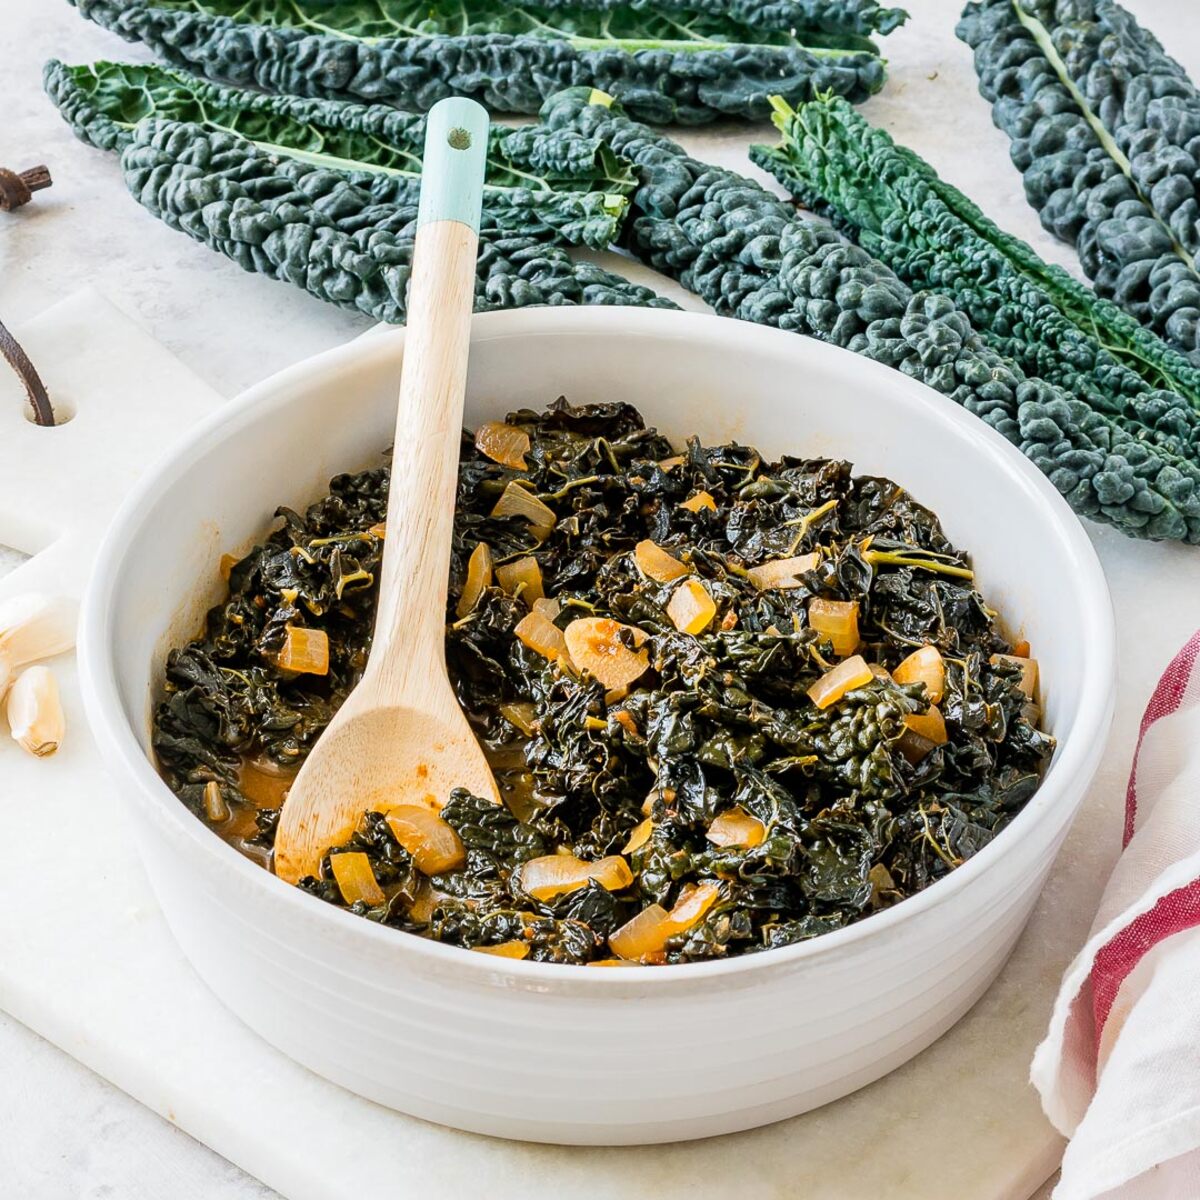
- Sprinkle Salt: Sprinkle a generous amount of salt over the kale leaves. You can also add additional seasonings like garlic powder, paprika, or nutritional yeast to enhance the flavor even further. Toss the leaves gently to ensure that they are evenly coated with the seasoning.
Remember to season the kale chips to your taste preference. If you prefer a milder flavor, use less salt or adjust the seasonings accordingly. The seasoning process allows the kale leaves to absorb the flavors, creating a satisfying and flavorful snack once they’re baked.
With the kale chips seasoned to perfection, let’s move on to the next step: baking them in the oven.
Store homemade kale chips in an airtight container at room temperature to maintain their crispness. Adding a small packet of silica gel can help absorb any excess moisture and prolong their shelf life.
Step 4: Baking the Kale Chips
Now that your kale chips are seasoned, it’s time to bake them to crispy perfection. Follow these steps to ensure they turn out delicious:
- Preheat the Oven: Preheat your oven to 300°F (150°C) to allow it to reach the desired temperature.
- Prepare the Baking Sheet: Line a baking sheet with parchment paper. This will prevent the kale chips from sticking and make cleanup easier.
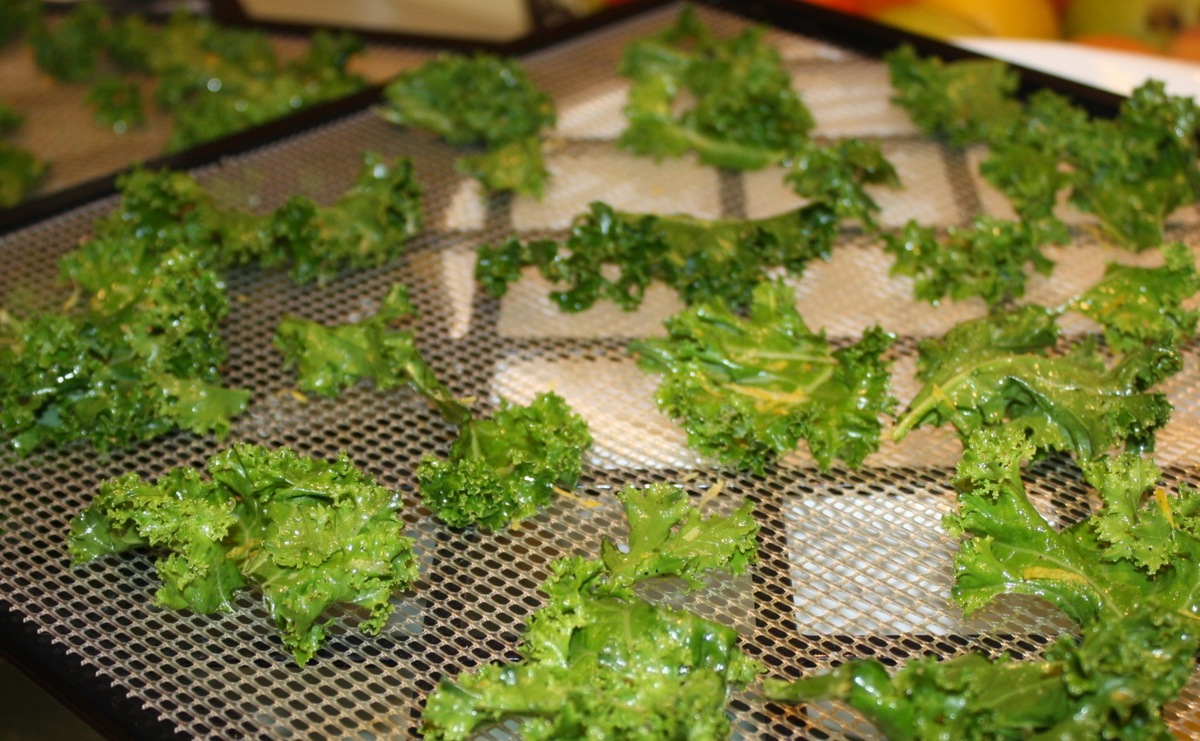
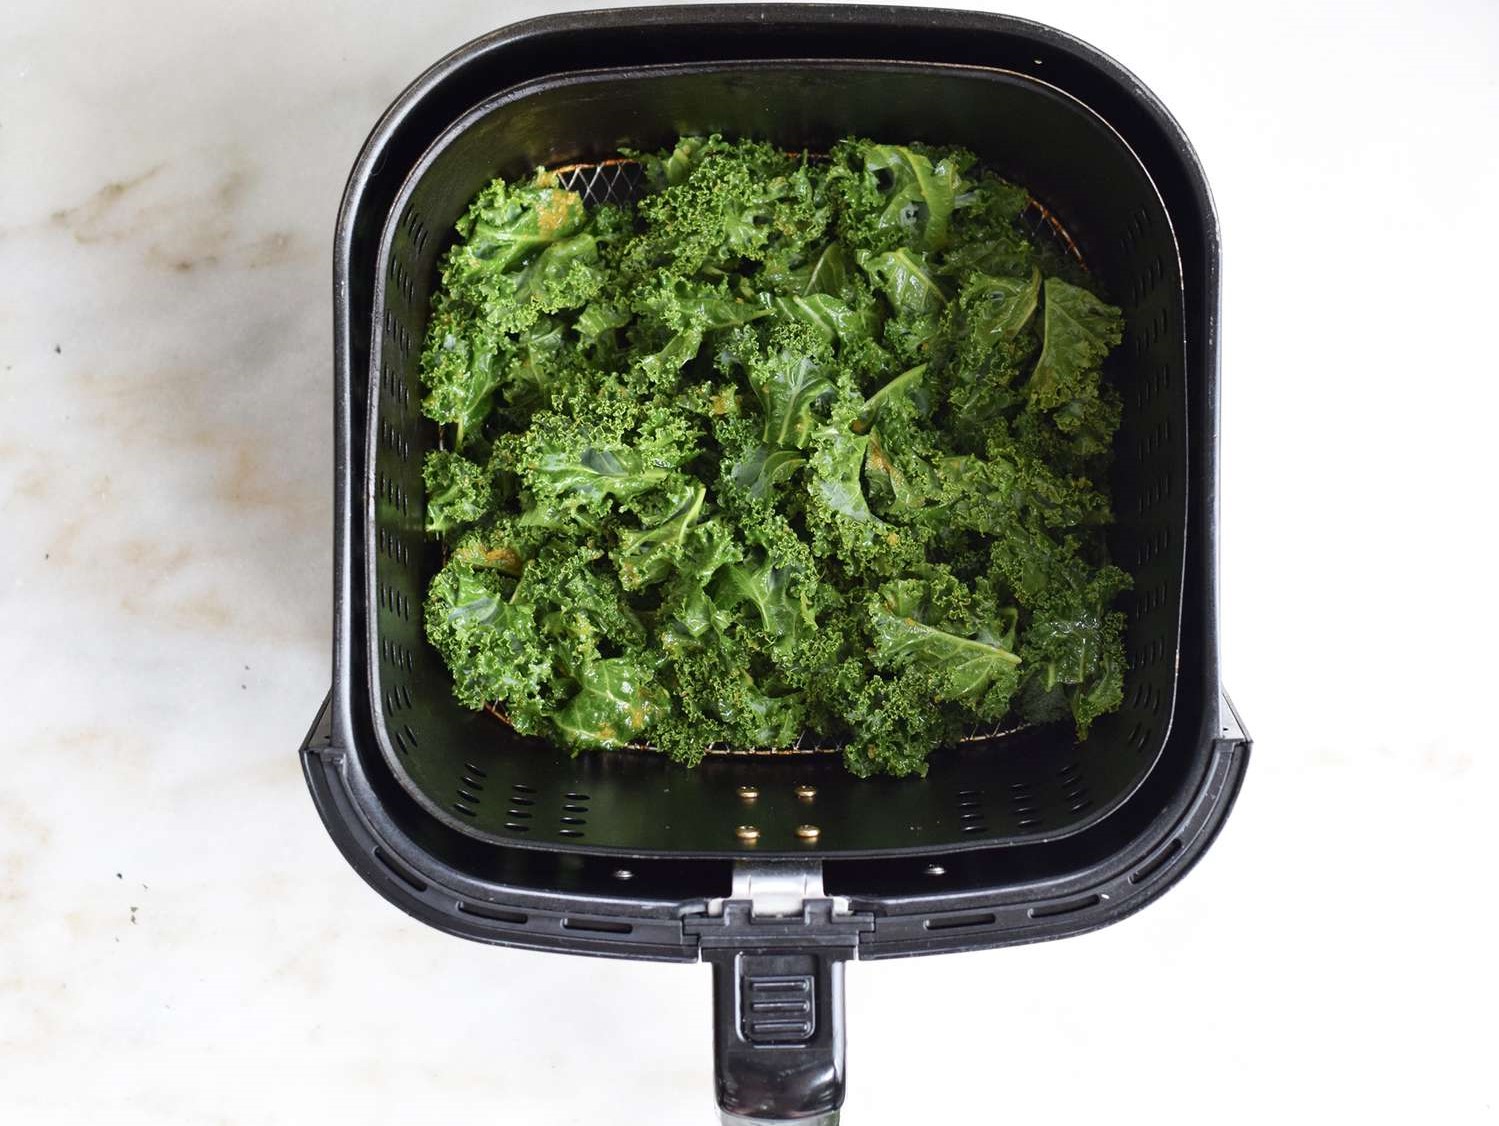
- Arrange the Kale Chips: Spread the seasoned kale chips in a single layer on the prepared baking sheet. Avoid overcrowding the chips, as this can lead to uneven baking.
- Bake in the Oven: Place the baking sheet with the kale chips in the preheated oven and bake for 10-15 minutes. Keep a close eye on the kale chips as they can quickly go from crispy to burnt. The chips are ready when they turn golden brown and are crispy to the touch.
It is important to note that baking time may vary depending on your oven and the thickness of your kale chips. It’s a good idea to check on them frequently to ensure they don’t overcook.
Once your kale chips are baked to perfection, remove them from the oven and let them cool for a few minutes. As they cool, they will become even crispier. At this point, you can enjoy your homemade kale chips or move on to the next step: cooling and storing them for later consumption.
Read more: How To Store Homemade Potato Chips
Step 5: Cooling and Storing
After baking the kale chips to crispy perfection, it’s important to properly cool and store them to maintain their freshness and crunchiness. Follow these steps to ensure your homemade kale chips stay delicious:
- Cooling the Kale Chips: Allow the baked kale chips to cool completely on the baking sheet. This will help them retain their crispiness. Avoid transferring them to a container while still warm, as the residual heat can create moisture and lead to soggy chips.
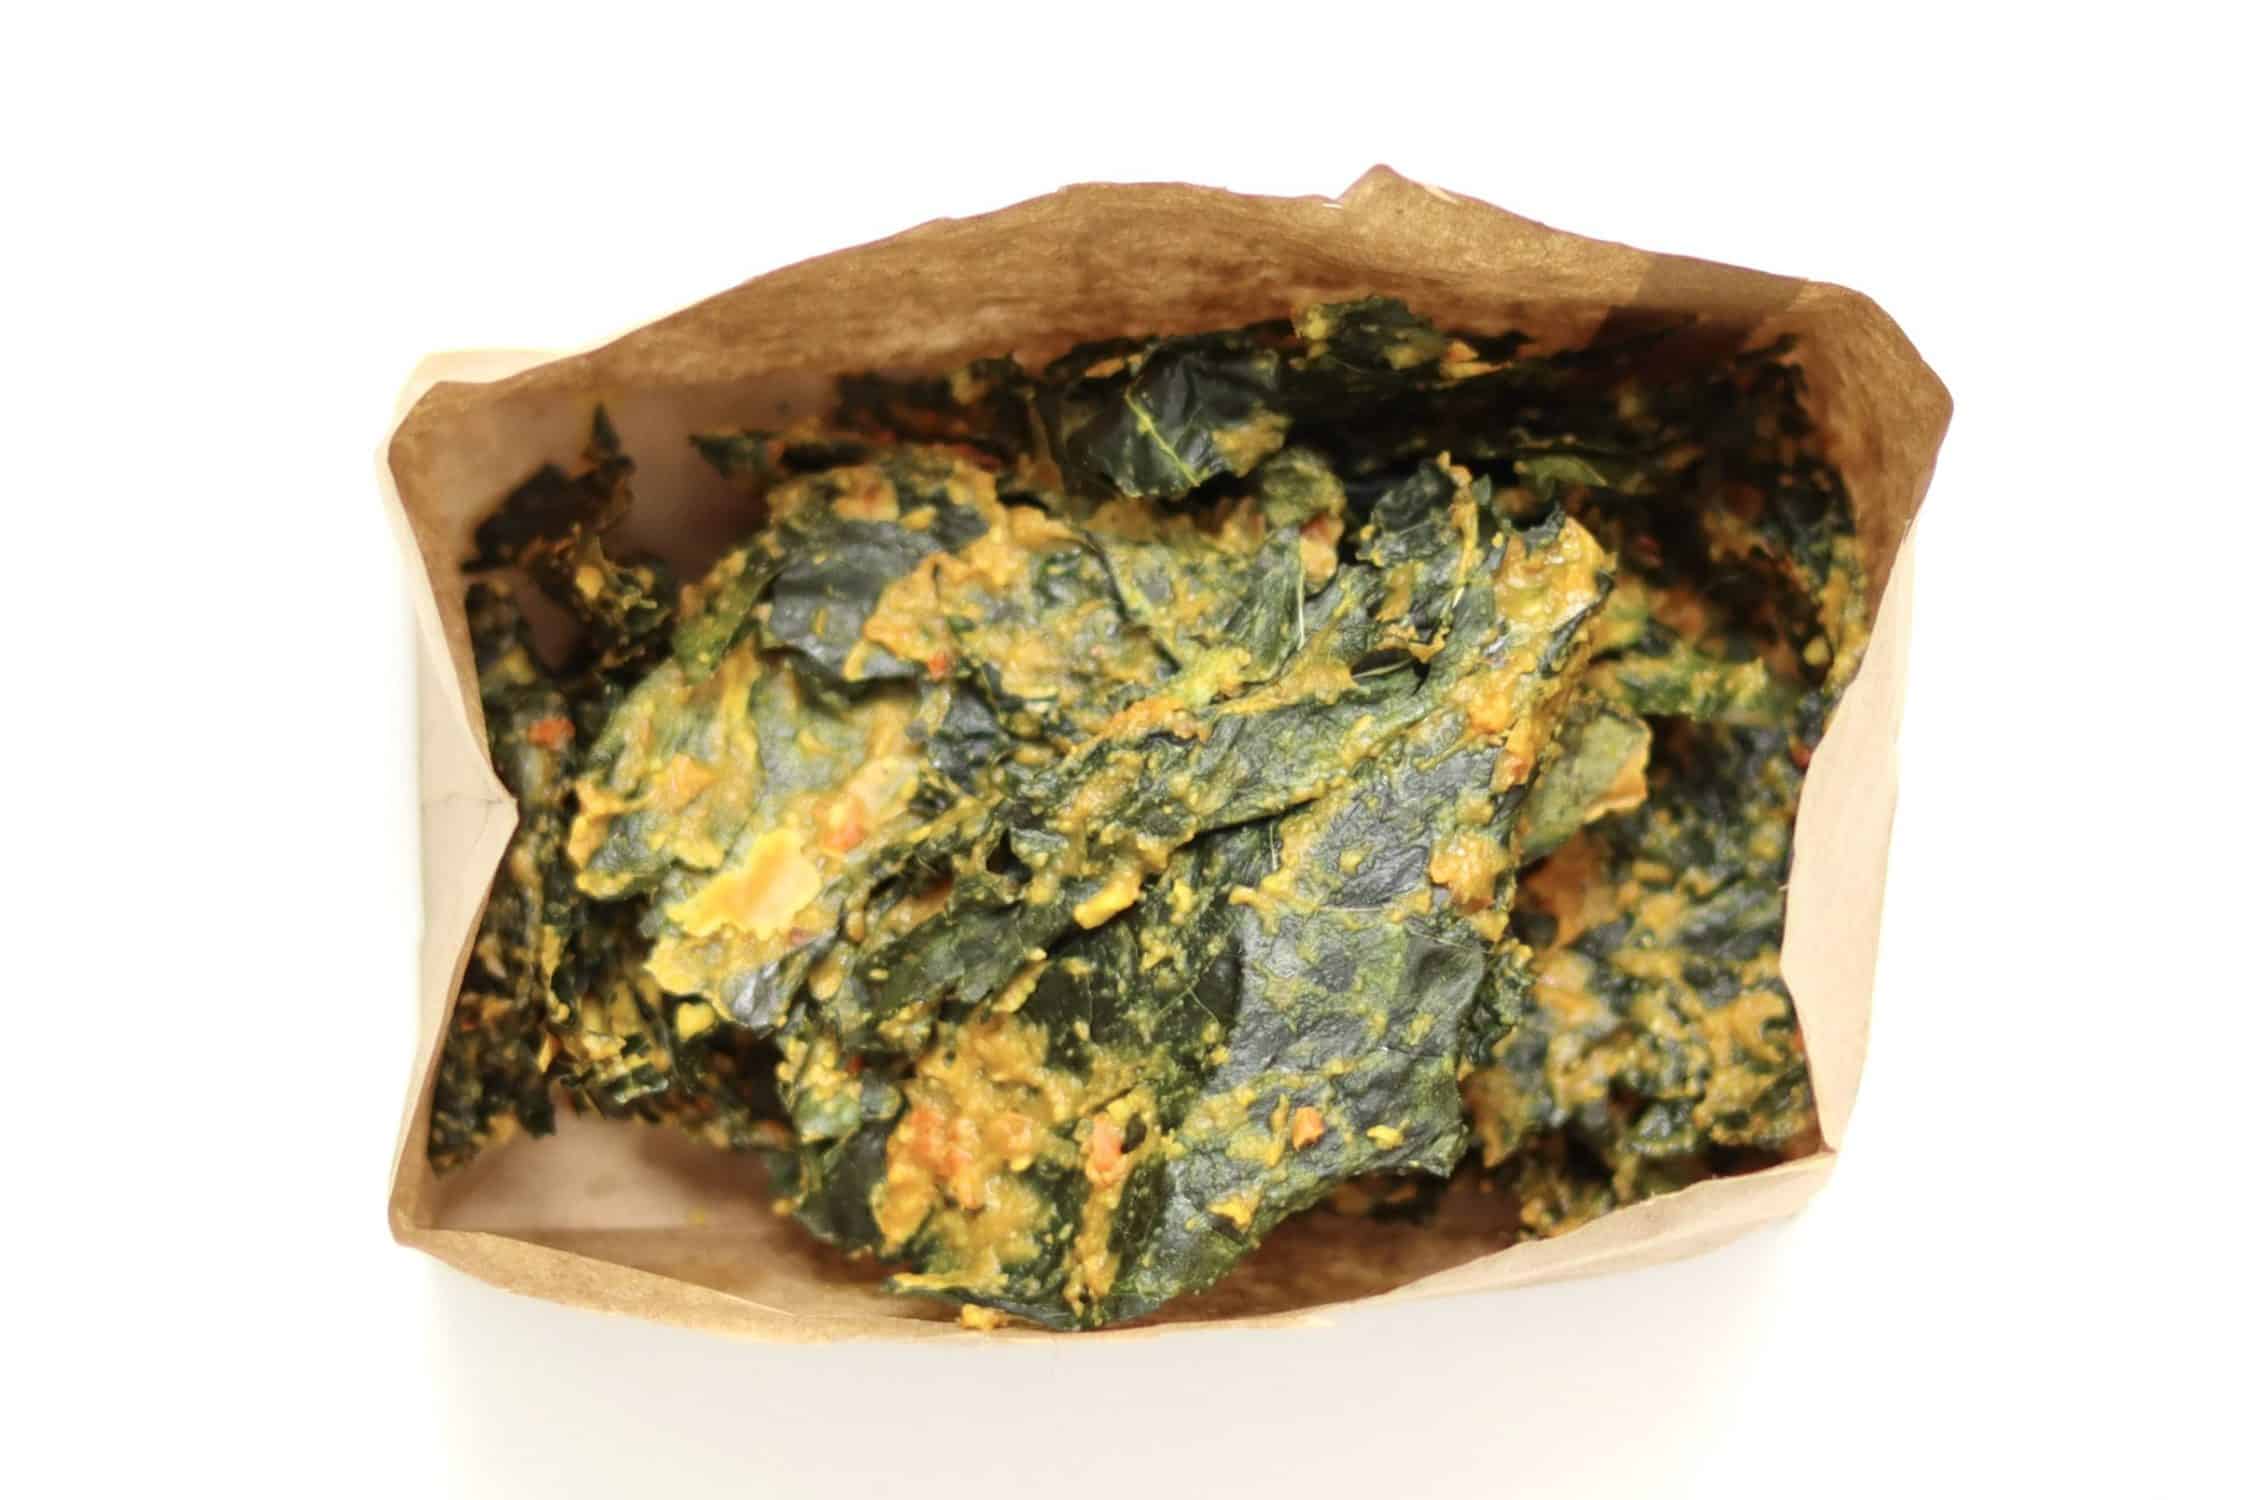
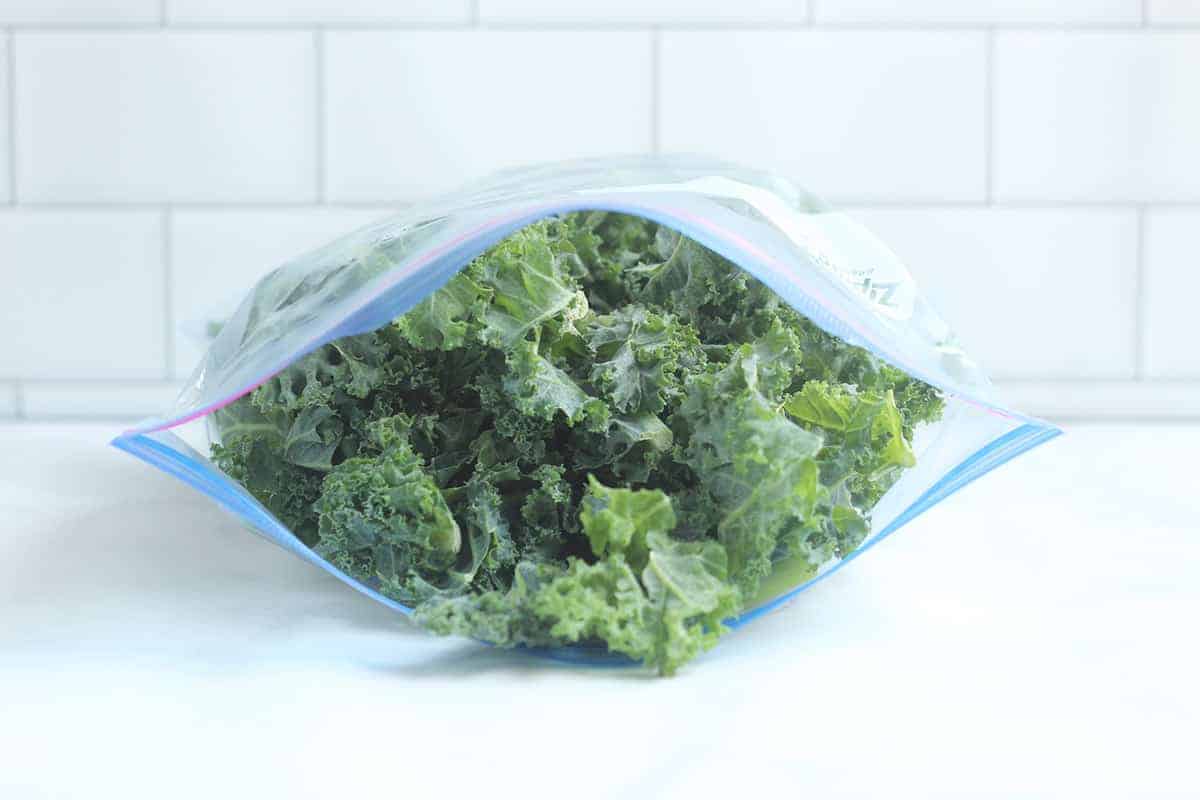
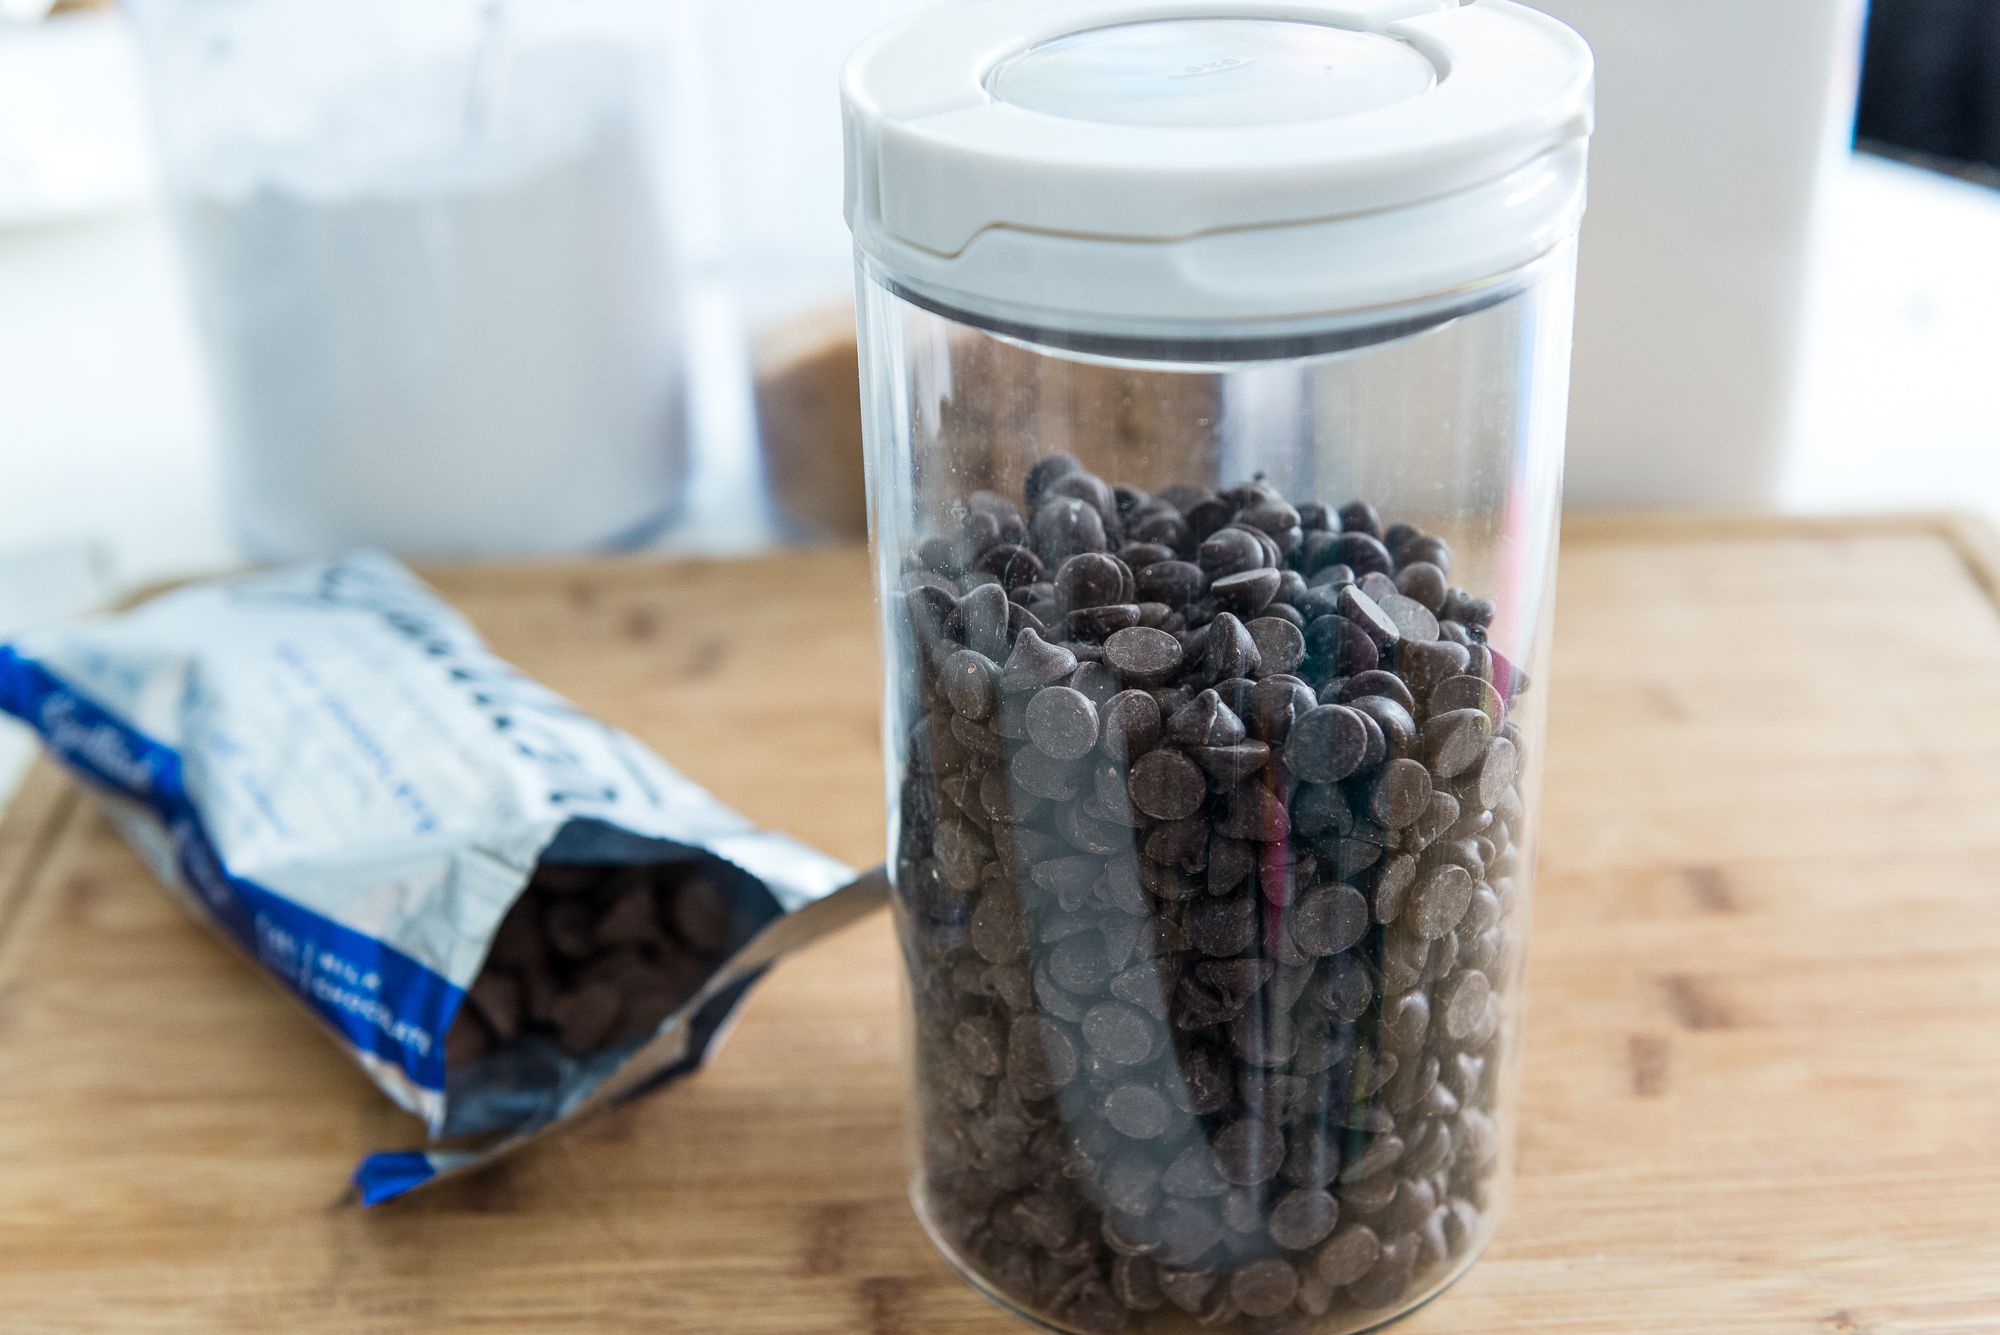
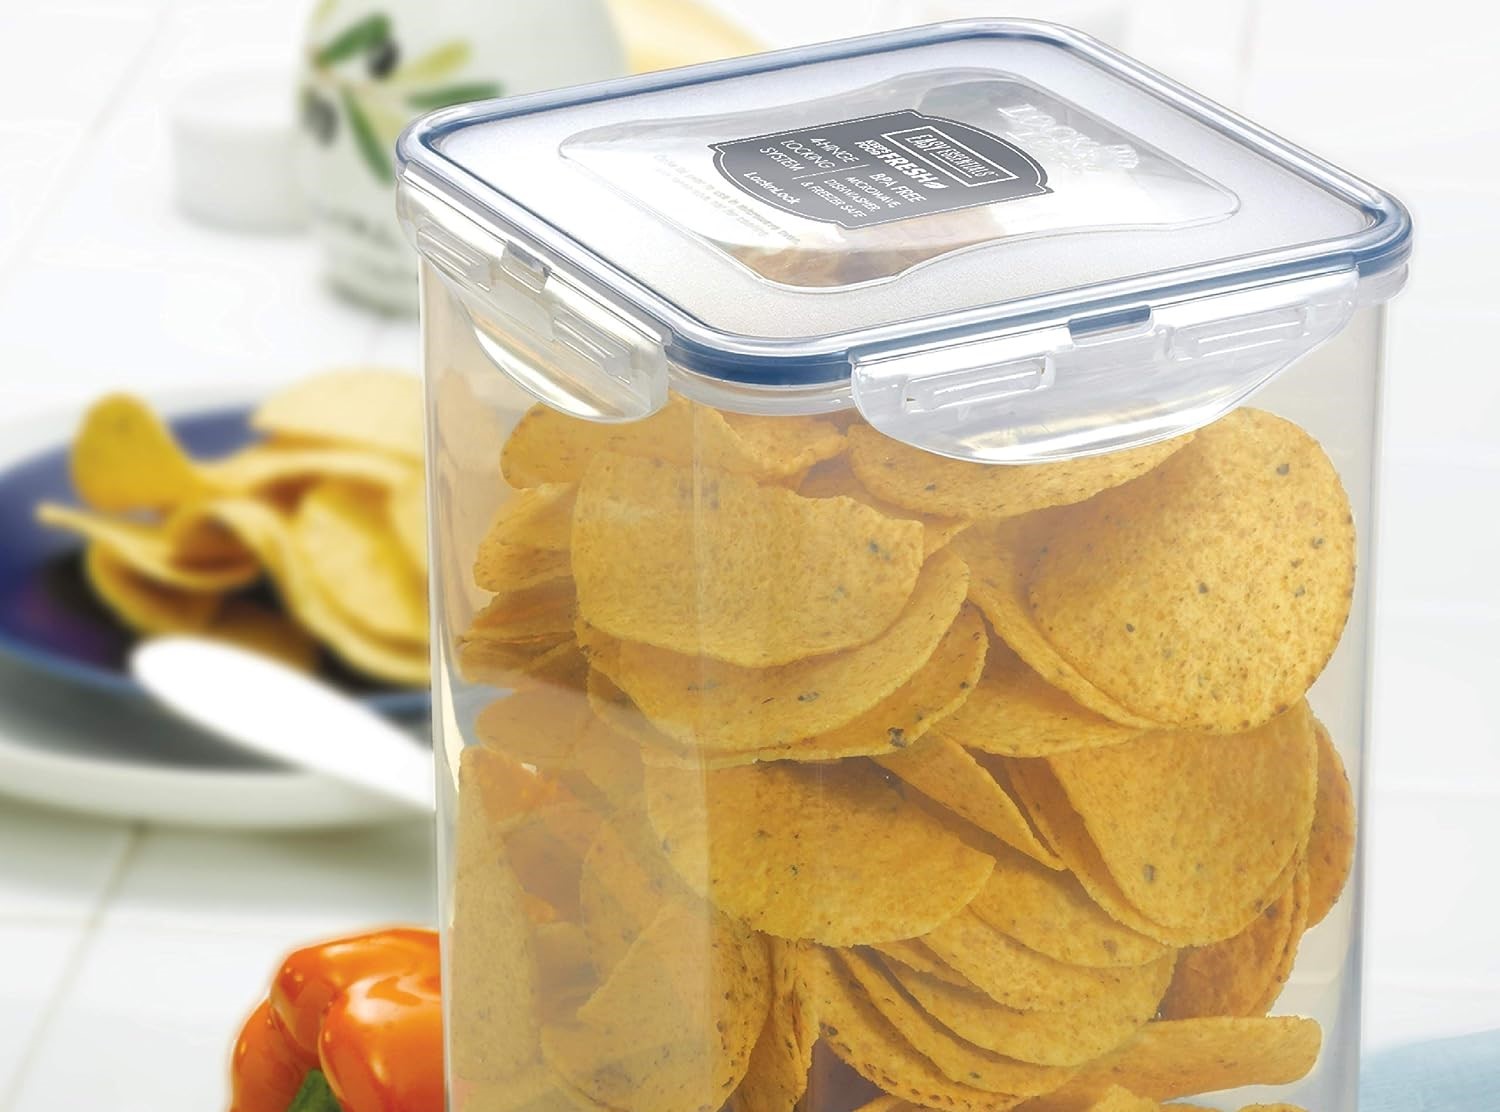
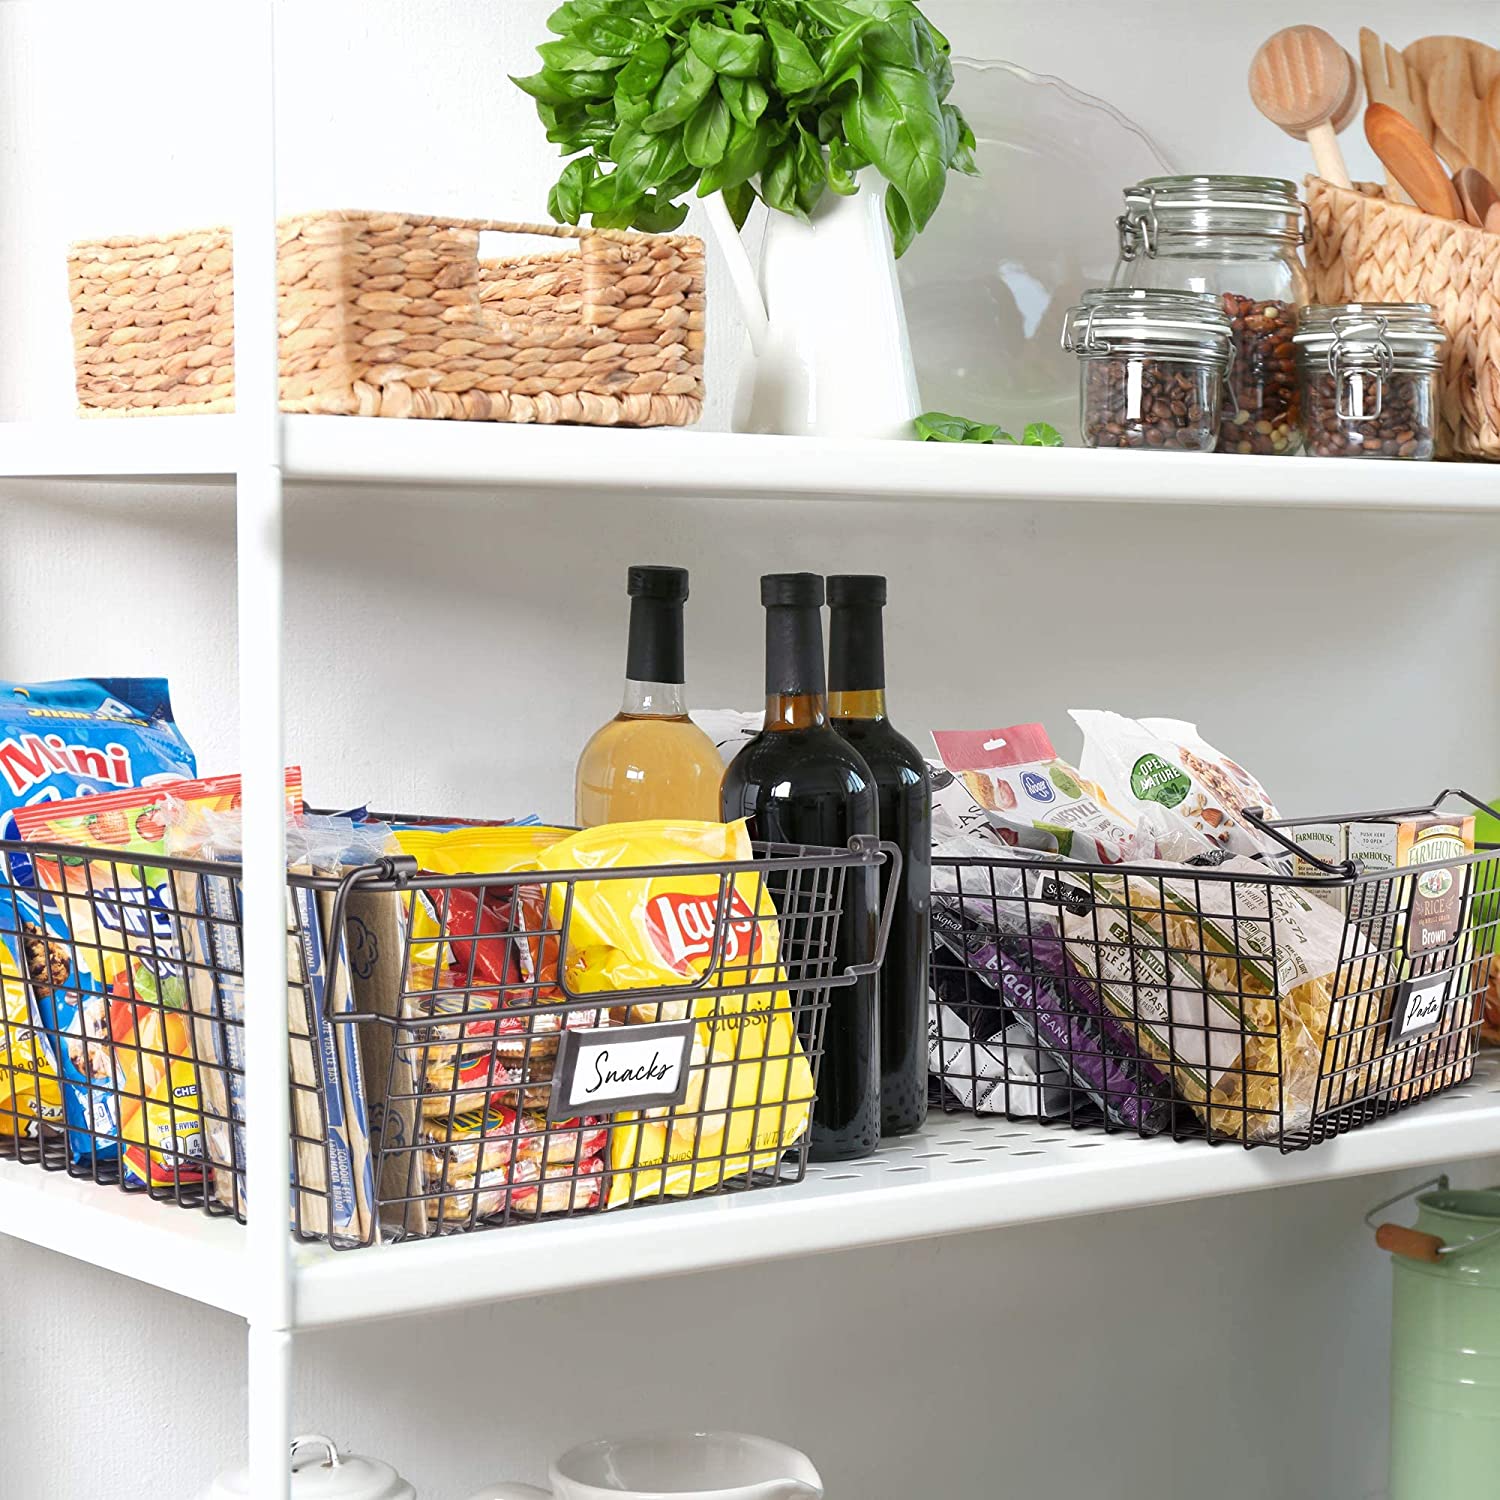
- Choosing an Airtight Container: Once the kale chips have cooled, transfer them to an airtight container. A glass jar or a resealable plastic bag works well for storing kale chips. Make sure the container is clean and dry before adding the chips.
- Removing Excess Air: Squeeze out any excess air from the container or bag before sealing it. This will help prevent moisture buildup and maintain the crispy texture of the chips.
- Storing in a Cool, Dry Place: Store the container of kale chips in a cool, dry place away from direct sunlight and moisture. This will help prolong their shelf life and prevent them from becoming stale.
- Enjoying the Kale Chips: Homemade kale chips are best enjoyed within a few days of making them when they are at their freshest and crunchiest. However, when stored properly, they can last up to a week.
Remember to check the kale chips periodically for any signs of moisture or loss of crispness. If you notice any, it’s best to consume them sooner rather than later.
Now that you know how to properly cool and store your homemade kale chips, you can enjoy this delightful and healthy snack whenever the cravings strike!
Conclusion
Congratulations! You have learned the step-by-step process of storing homemade kale chips to ensure their freshness and crunchiness. By following these guidelines, you can enjoy this nutritious and flavorful snack whenever you desire.
Remember to start with fresh kale leaves, remove the stems, and tear them into bite-sized pieces before seasoning with olive oil and salt. Bake the kale chips at a low temperature until they turn golden brown and crispy. After they cool down completely, store them in an airtight container in a cool, dry place to maintain their quality and crunchiness.
Homemade kale chips are a fantastic alternative to traditional potato chips, as they provide a wealth of vitamins, minerals, and antioxidants without the unhealthy additives. Plus, making your own allows you to control the ingredients and customize the flavors to your liking.
Whether you’re looking for a guilt-free snack, a party appetizer, or an addition to your lunchbox, homemade kale chips are a delicious and nutritious option. They are not only easy to make, but they can also be stored for several days, allowing you to enjoy them throughout the week.
So, why not give it a try? Grab some fresh kale leaves, follow the steps outlined in this article, and savor the satisfaction of biting into a crispy, flavorful kale chip that you made yourself!
Frequently Asked Questions about How To Store Homemade Kale Chips
Was this page helpful?
At Storables.com, we guarantee accurate and reliable information. Our content, validated by Expert Board Contributors, is crafted following stringent Editorial Policies. We're committed to providing you with well-researched, expert-backed insights for all your informational needs.

0 thoughts on “How To Store Homemade Kale Chips”