Articles
How To Store Nugget Ice In Freezer
Modified: August 24, 2024
Learn the best way to store nugget ice in your freezer with these helpful articles. Keep your ice fresh and ready to enjoy whenever you need it!
(Many of the links in this article redirect to a specific reviewed product. Your purchase of these products through affiliate links helps to generate commission for Storables.com, at no extra cost. Learn more)
Introduction
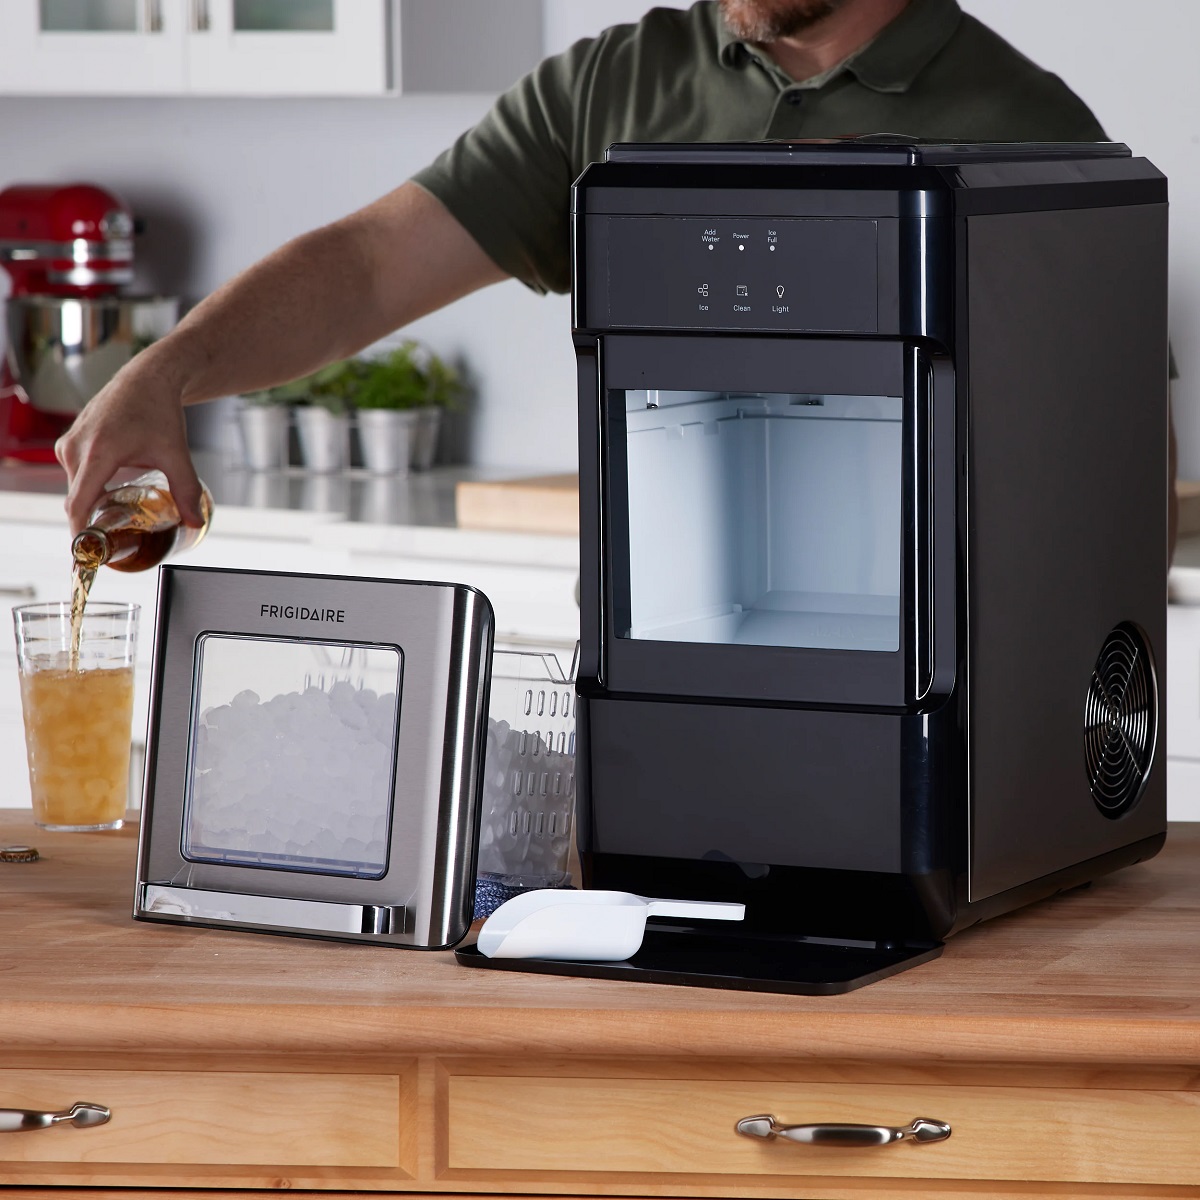
When it comes to ice, not all types are created equal. While regular ice cubes are a staple for cooling down beverages, there’s something truly special about nugget ice. Also known as Sonic ice or chewable ice, nugget ice is soft, chewable, and has a unique texture that makes it a favorite among ice aficionados.
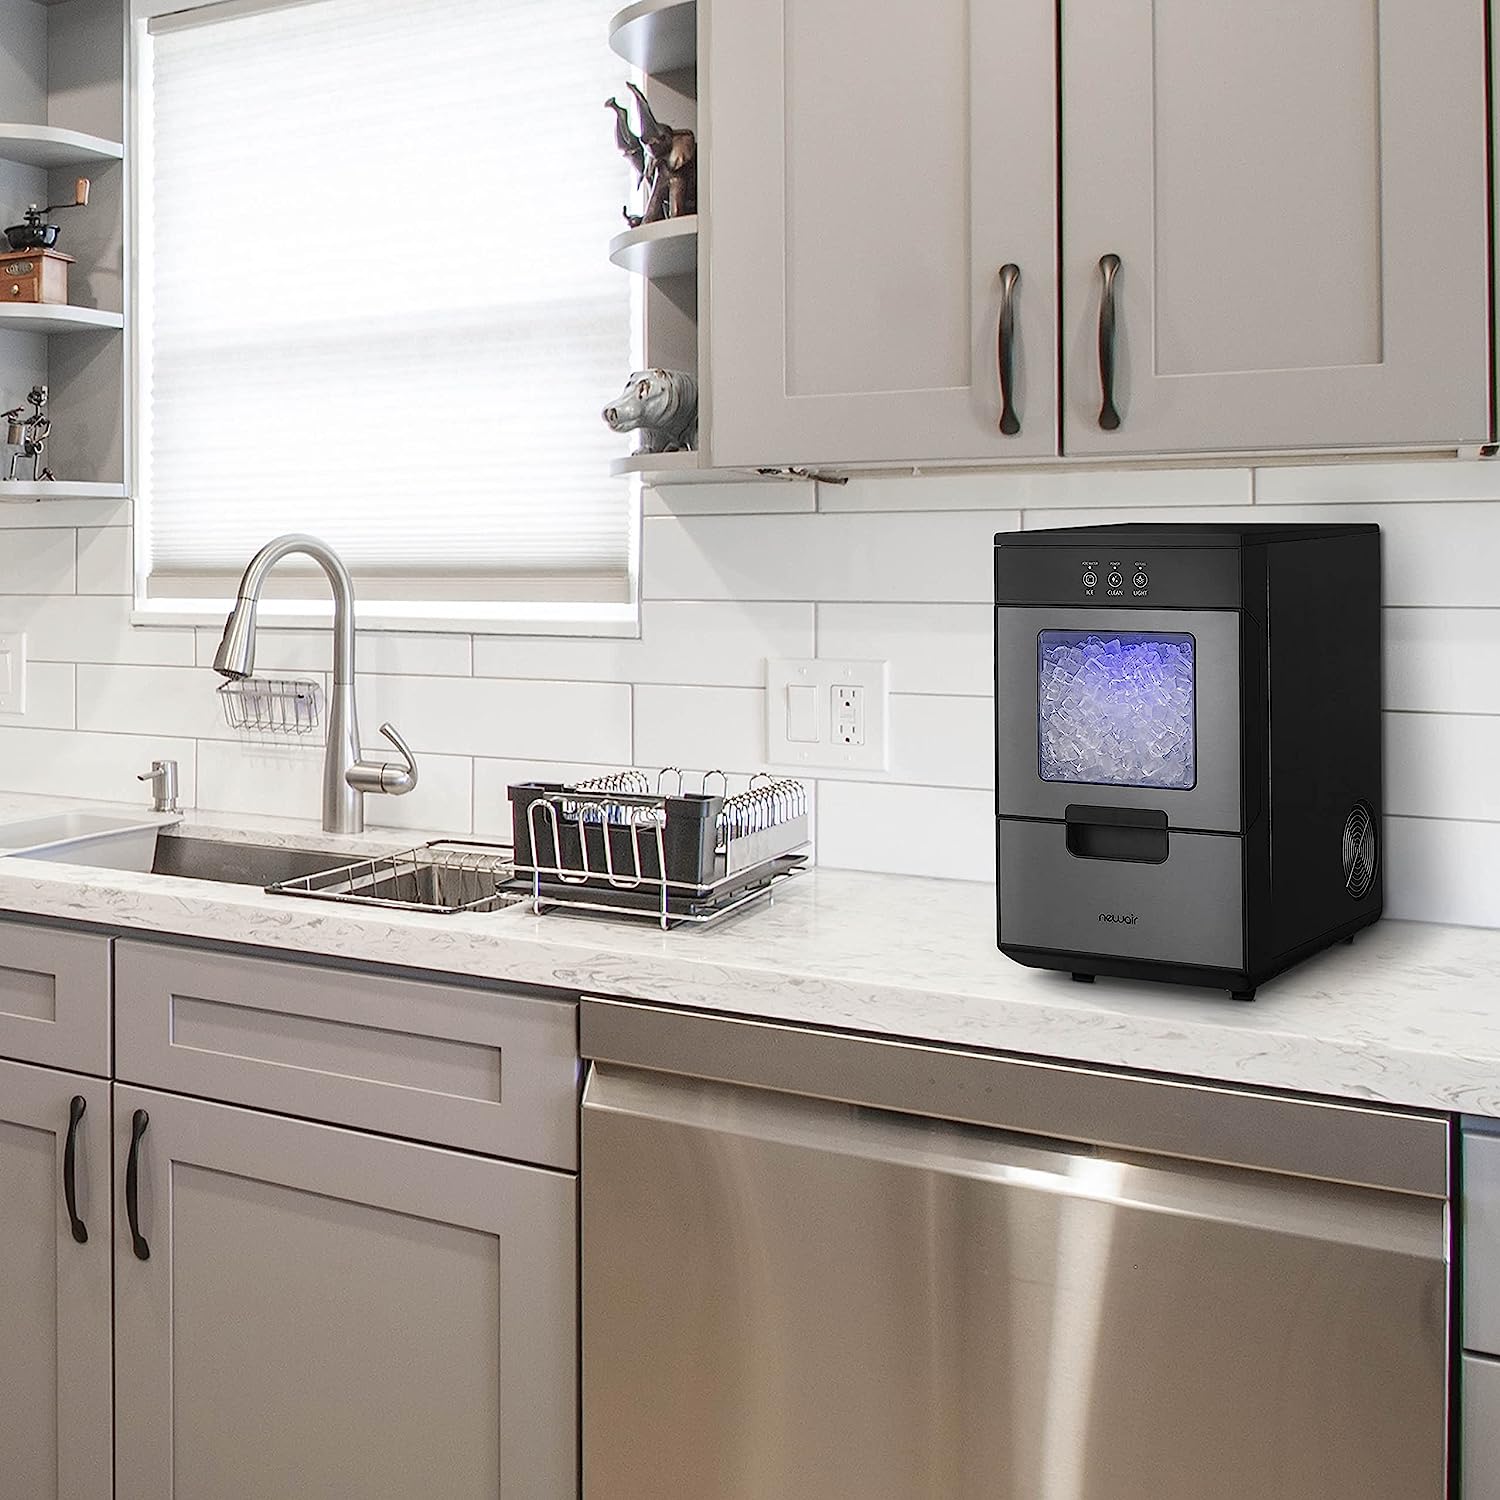
Whether you’ve recently invested in a nugget ice machine or you’ve stocked up on nugget ice from your local store, you may be wondering how to best store it in your freezer. While it may not be as straightforward as storing regular ice cubes, with the right techniques, you can keep your nugget ice fresh, delicious, and ready to enjoy at any time.
In this article, we will delve into the wonderful world of nugget ice and provide you with some valuable tips and step-by-step guidance on how to store nugget ice in your freezer. We’ll also cover common mistakes to avoid to ensure your nugget ice remains in perfect condition.
So, let’s dive in and discover the secrets to properly storing nugget ice!
Key Takeaways:
- Elevate your ice game by properly storing nugget ice in an airtight container, divided into smaller portions, and wrapped in plastic to preserve its unique chewable texture and flavor-absorbing capabilities.
- Avoid common mistakes like overcrowded freezers and neglecting to label containers to ensure your nugget ice remains fresh, flavorful, and ready to enhance your favorite beverages.
Read more: How To Store Nugget Ice
Understanding Nugget Ice
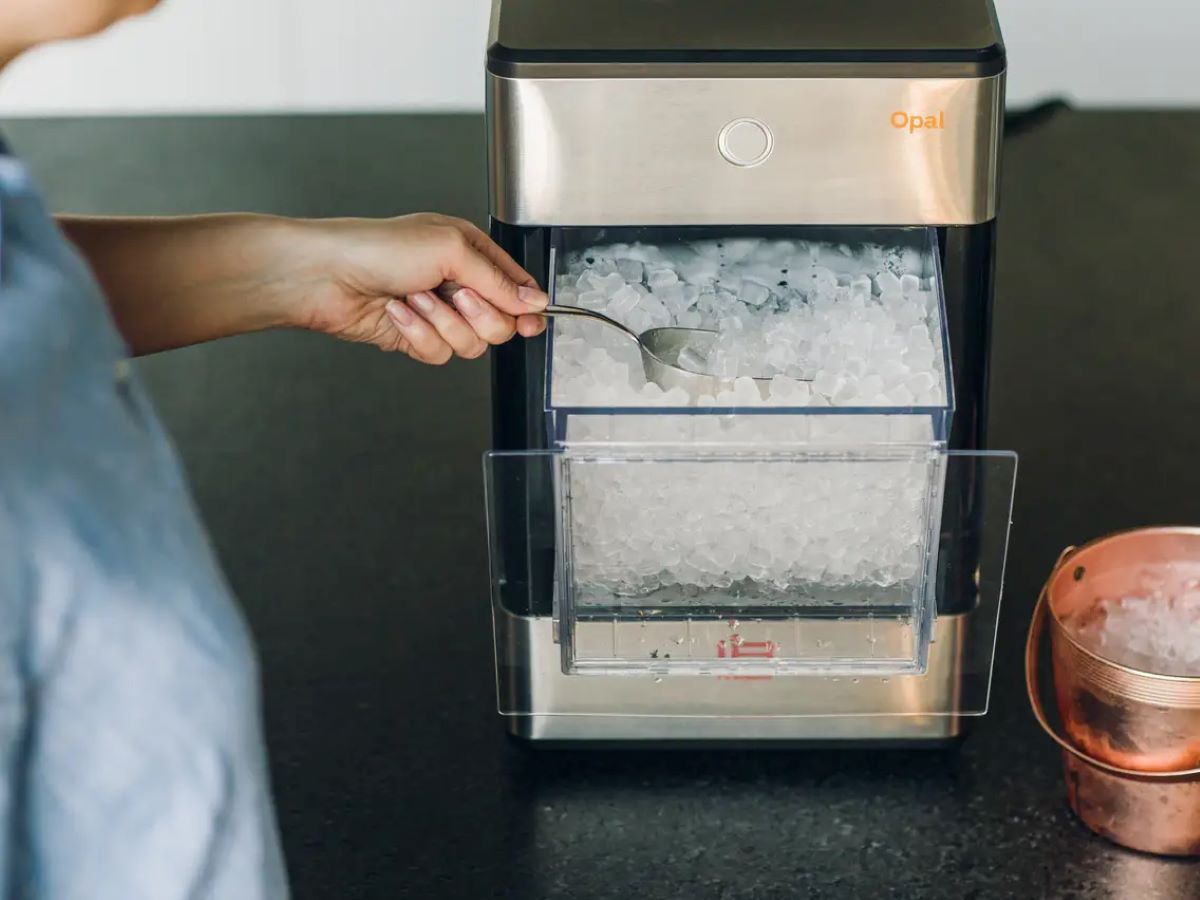
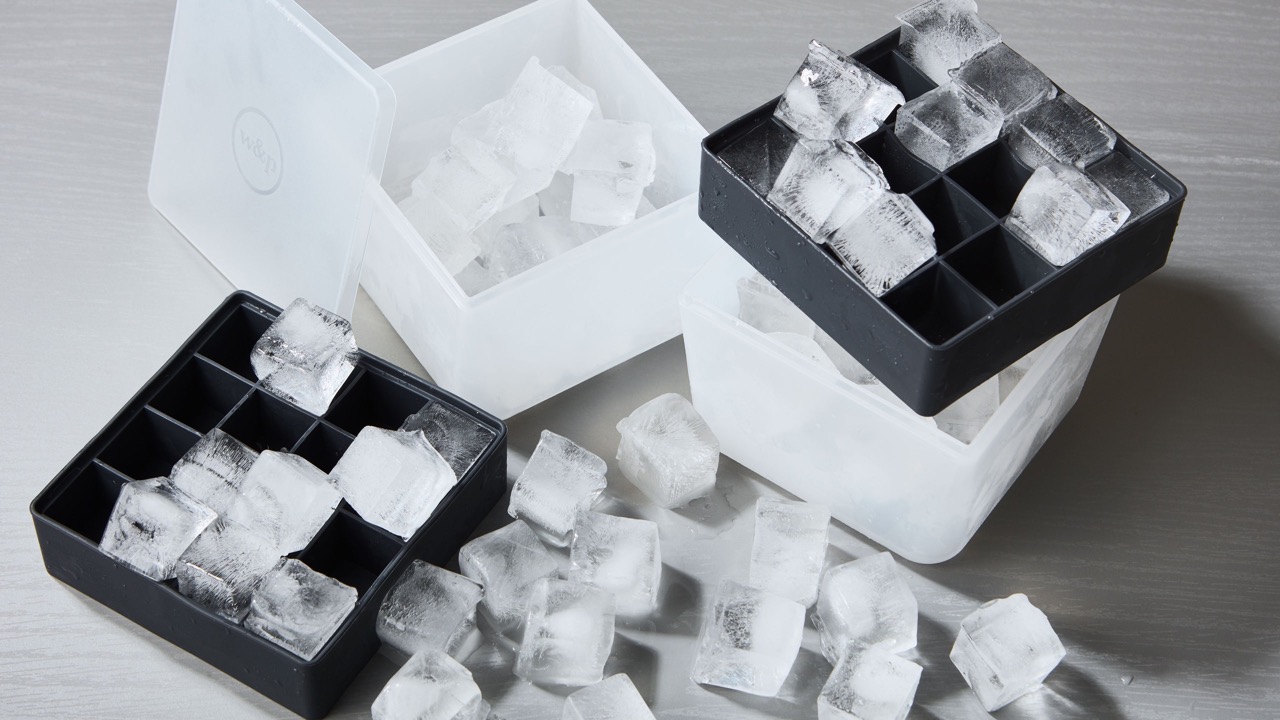
Before we dive into the intricacies of storing nugget ice, let’s take a moment to understand what sets it apart from other types of ice. Nugget ice is characterized by its small, cylindrical shape and soft, chewable texture. It is made by compressing small ice flakes together to form nugget-shaped ice pieces.
One of the key advantages of nugget ice is its ability to absorb the flavors of the beverages it is placed in. This makes it a popular choice for those who enjoy sipping on flavored drinks or cocktails. The chewable texture of nugget ice also adds a delightful sensory experience to your drinks, making it an ideal choice for those who appreciate a more interactive drinking experience.
It’s worth noting that nugget ice is typically softer and more porous compared to regular ice cubes. This means it can quickly absorb odors from the freezer if not stored properly, which can compromise the taste and quality of the ice. However, with the right storage techniques, you can maintain the freshness and integrity of your nugget ice for an extended period.
Now that we have a better understanding of what nugget ice is, let’s move on to exploring tips for storing nugget ice in the freezer.
Tips for Storing Nugget Ice in Freezer
Storing nugget ice in the freezer requires a bit of extra care to ensure its quality and taste are preserved. Here are some tips to help you store your nugget ice effectively:
- Use an airtight container: To prevent the absorption of odors from the freezer, it’s essential to store your nugget ice in an airtight container. This will help to maintain its freshness and keep it free from any unwanted flavors.
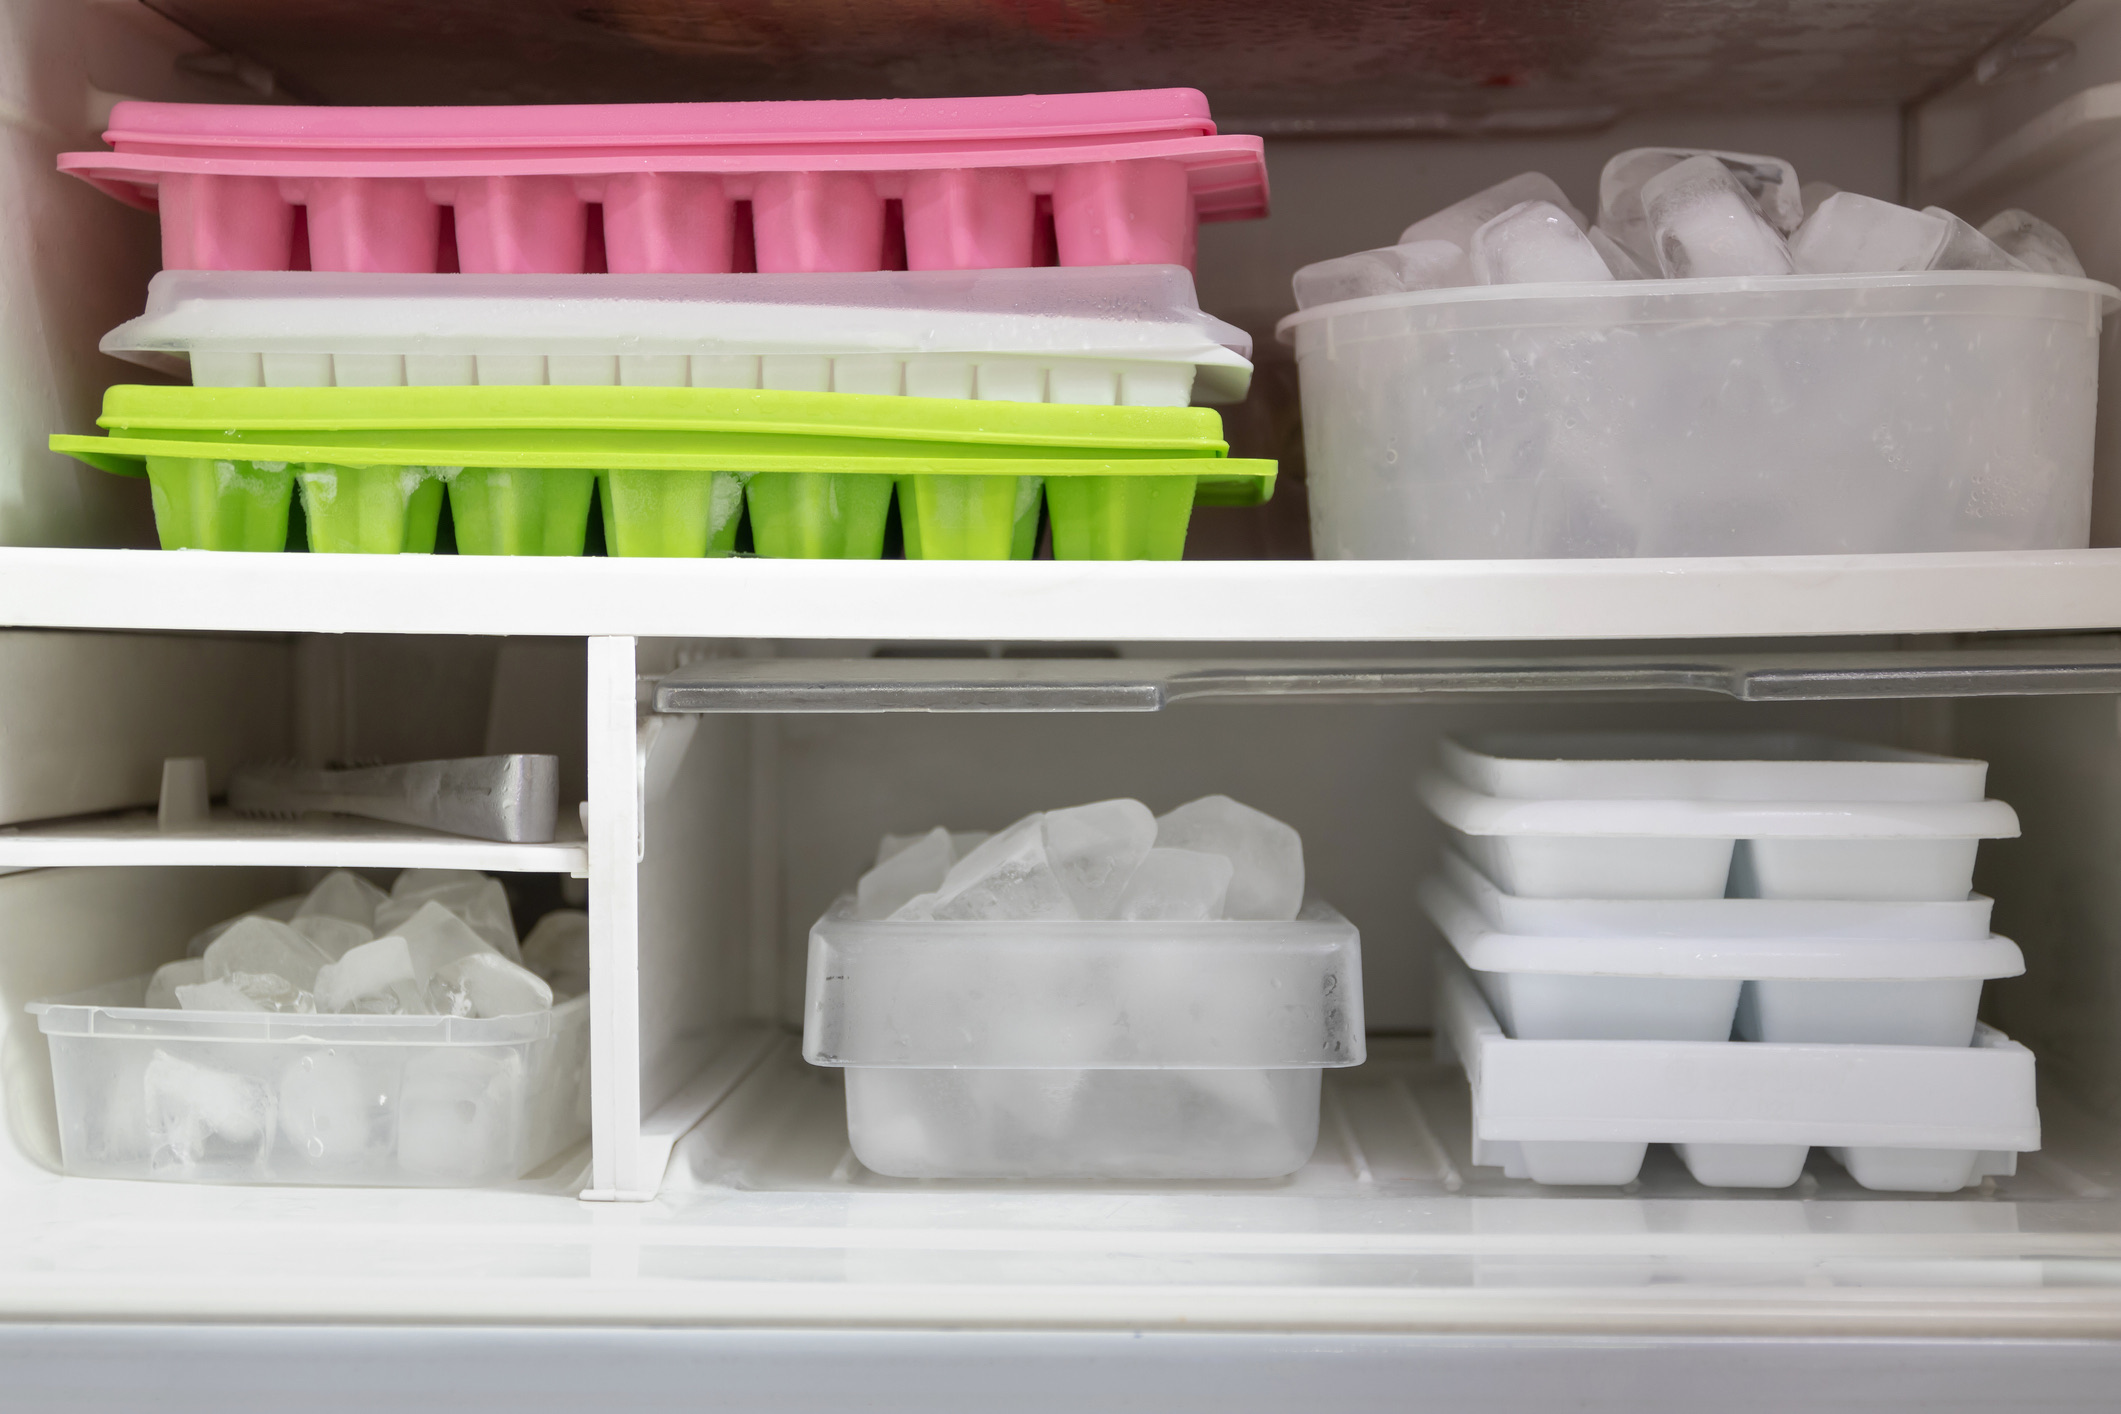
- Divide ice into smaller portions: Instead of storing all of your nugget ice in one large container, consider dividing it into smaller portions. This will make it easier to remove and use only the amount you need, without exposing the rest to potential odor absorption.
- Wrap ice in plastic wrap: For added protection, you can individually wrap small portions of nugget ice in plastic wrap before placing them in the container. This will provide an extra layer of defense against any unwanted freezer odors.
- Label and date the container: To easily identify and keep track of the freshness of your nugget ice, label and date the container. This will help you know when it’s time to use the ice and ensure you always have a supply of fresh nugget ice on hand.
- Store ice away from pungent foods: Avoid placing your nugget ice container near strong-smelling foods such as onions or garlic. These ingredients can release odors that can be absorbed by the ice, impacting its taste and quality.
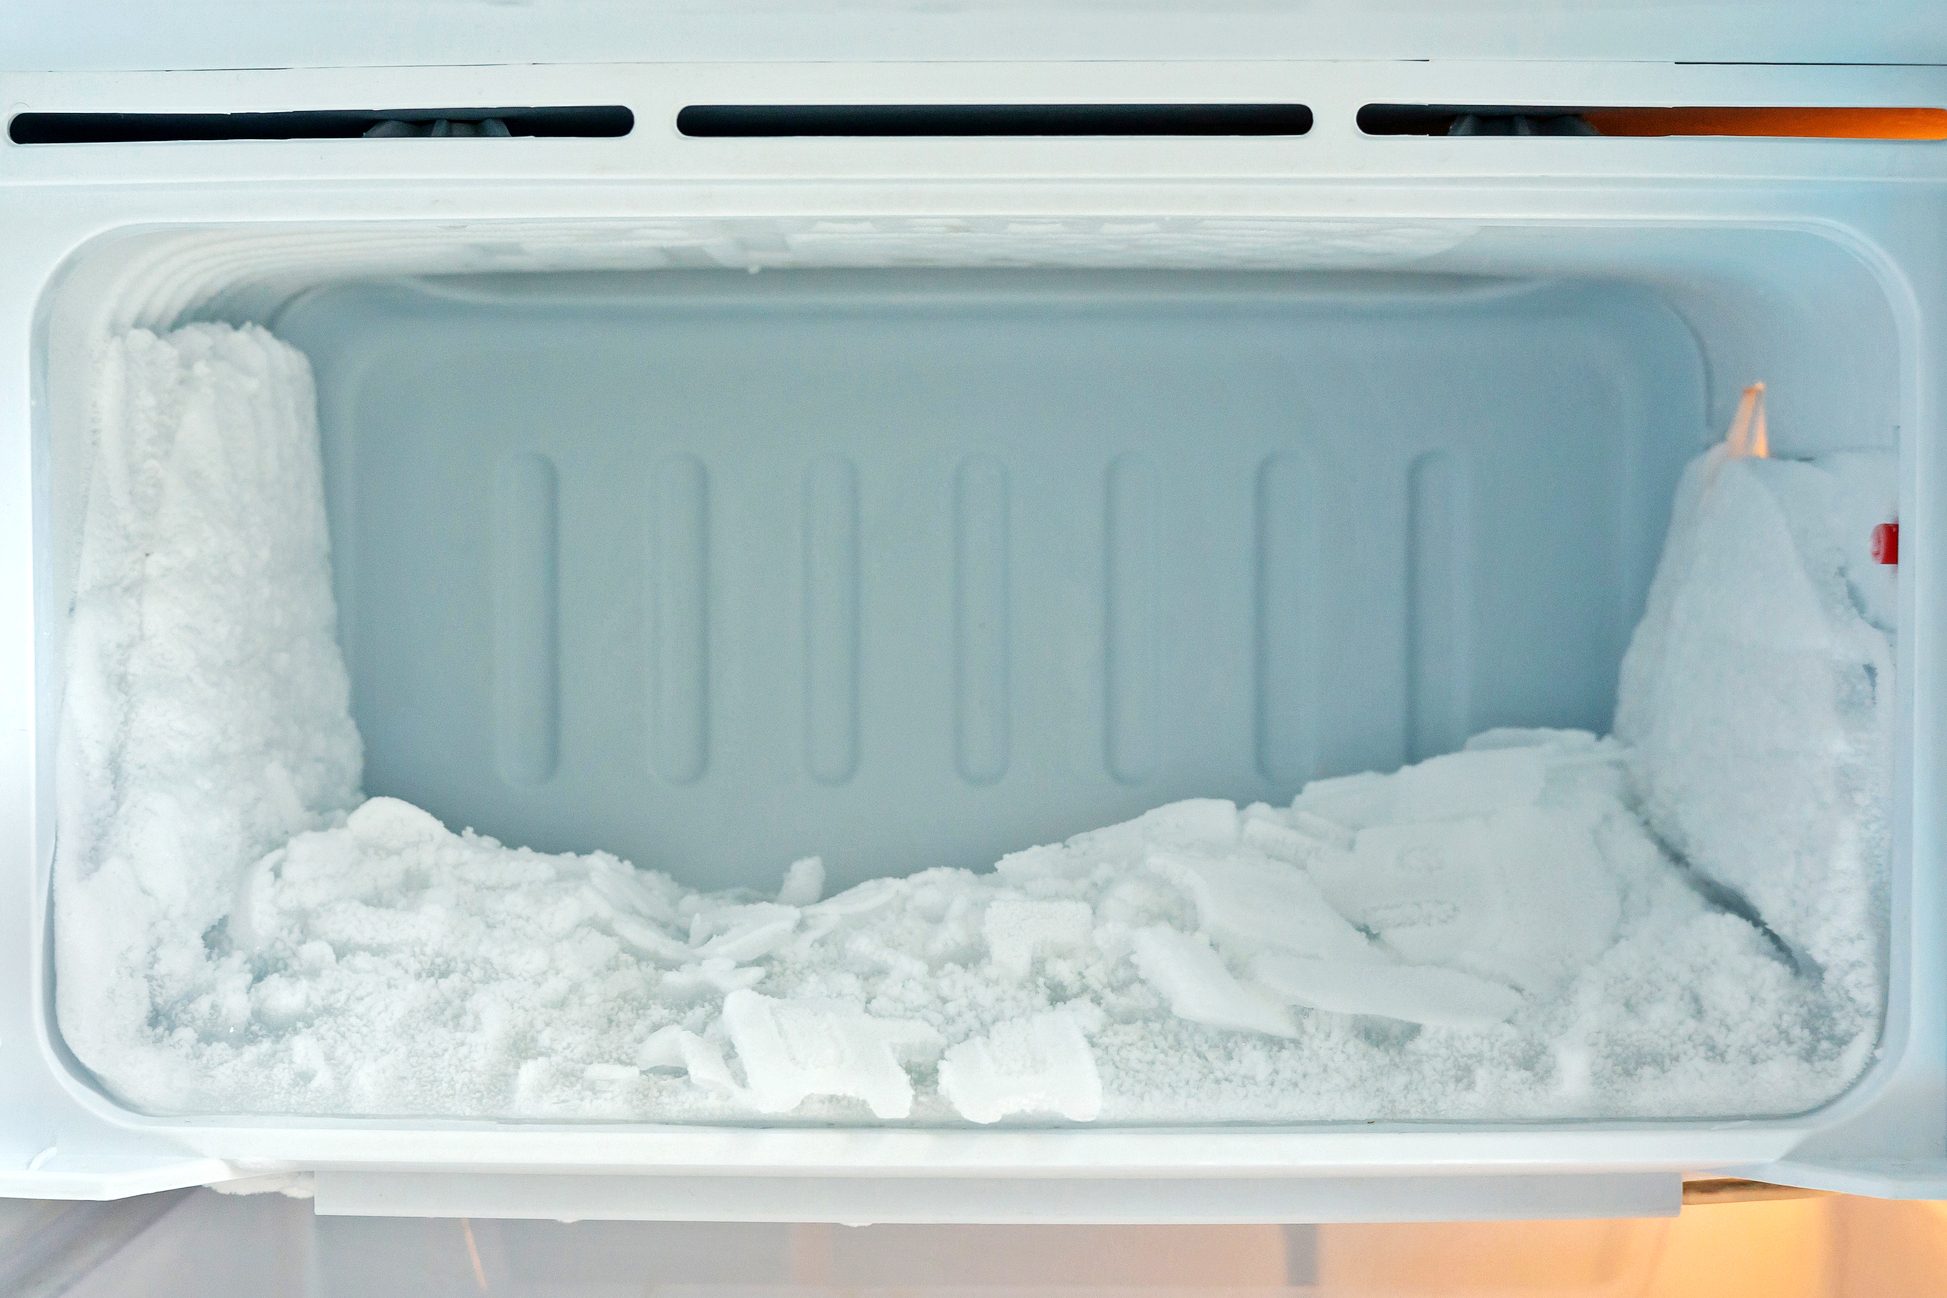
- Keep the freezer clean: Regularly clean your freezer to eliminate any potential sources of odors. Wipe down the shelves and drawers with a mild cleaning solution, and ensure there are no spills or leaks that could contaminate the nugget ice.
- Monitor freezer temperature: It’s crucial to maintain the correct temperature in your freezer to keep the nugget ice in optimal condition. Ensure that your freezer is set to the recommended temperature of 0°F (-18°C) to prevent the nugget ice from melting or forming ice crystals.
By following these tips, you can ensure that your nugget ice stays fresh, flavorful, and ready for whenever you need it. Now, let’s proceed to the next section, where we will provide you with a step-by-step guide on how to store nugget ice in your freezer.
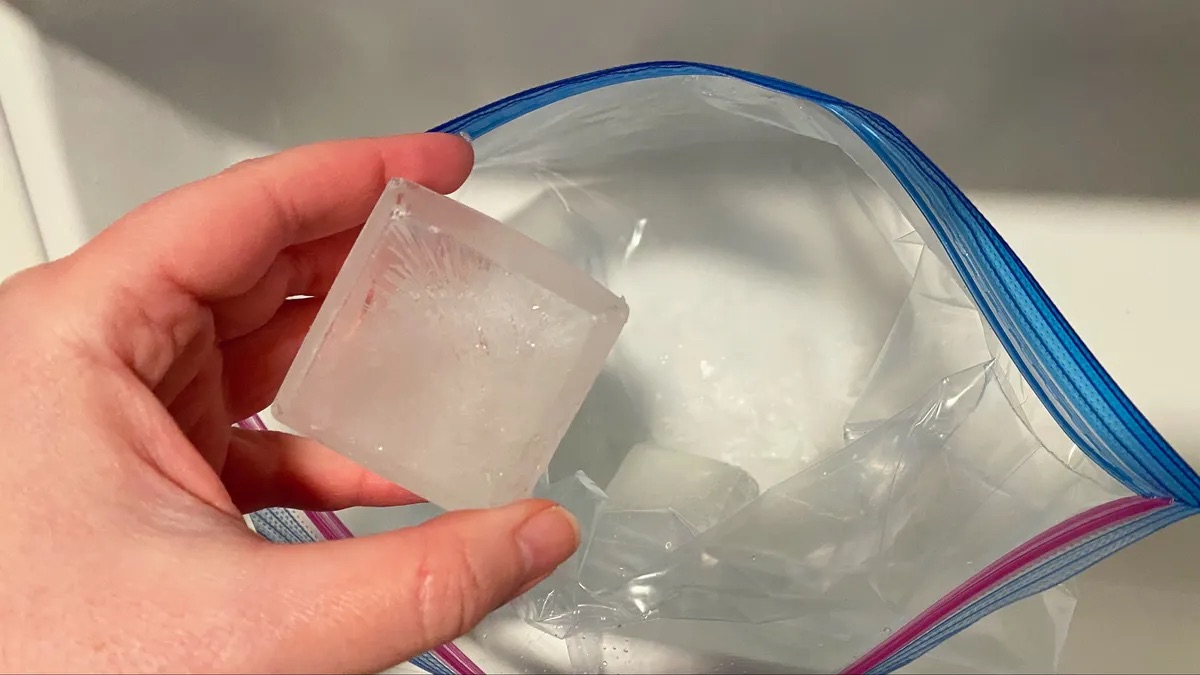
To store nugget ice in the freezer, place it in an airtight container or resealable plastic bag to prevent it from absorbing odors. This will help maintain its fresh taste and texture.
Step-by-Step Guide for Storing Nugget Ice
Storing nugget ice in your freezer requires a systematic approach to maintain its quality and prevent it from absorbing unwanted odors. Follow these step-by-step instructions to ensure your nugget ice stays fresh and delicious:
- Gather the necessary supplies: Before you start, make sure you have an airtight container, plastic wrap, and a permanent marker for labeling.
- Clean and prepare the container: Ensure your container is clean and free from any lingering odors. Wash it with mild soap and warm water, then dry it thoroughly.
- Divide the nugget ice: If you have a large amount of nugget ice, divide it into smaller portions using a clean scoop or ice tongs.
- Wrap individual portions: Take each portion of nugget ice and wrap it tightly in plastic wrap. This will provide an additional layer of protection against freezer odors.
- Place wrapped nugget ice in the container: Once you have wrapped all the individual portions of nugget ice, place them inside the airtight container. Make sure they fit snugly, without leaving excess space.
- Seal the container: Securely seal the container to create an airtight seal. This will help prevent the absorption of any unwanted odors.
- Label and date the container: Use a permanent marker to label the container with the contents and the date of storage. This will help you keep track of the freshness of the nugget ice.
- Store in the freezer: Find a spot in your freezer where the container can be stored undisturbed. Keep it away from pungent foods or strong-smelling items.
- Monitor the freezer temperature: Regularly check the temperature of your freezer to ensure it is set at the optimal level of 0°F (-18°C) to prevent the ice from melting or crystallizing.
- Enjoy as needed: When you’re ready to use the nugget ice, simply remove the desired amount from the container, reseal it, and place it back in the freezer.
Following these step-by-step instructions will help you store your nugget ice correctly and ensure its freshness and quality are maintained over time. Now, let’s move on to the next section, where we will discuss common mistakes to avoid when storing nugget ice in the freezer.
Common Mistakes to Avoid
When it comes to storing nugget ice in the freezer, there are a few common mistakes that can affect its quality and taste. By being aware of these mistakes, you can ensure that your nugget ice remains in perfect condition. Here are some common mistakes to avoid:
- Not using an airtight container: Storing nugget ice in a container that is not airtight can lead to the absorption of freezer odors, resulting in a change in taste and quality. Always opt for an airtight container to maintain the freshness of the ice.
- Storing in an overcrowded freezer: If your freezer is overcrowded, the air circulation may not be adequate, leading to temperature fluctuations. Make sure there is enough space around the container to allow for proper airflow and consistent freezing.
- Keeping ice near pungent foods: Placing your nugget ice container near strong-smelling foods like onions, garlic, or fish can result in the ice absorbing these odors. Keep your nugget ice away from such ingredients to prevent any flavor contamination.
- Not wrapping individual portions: Failing to wrap individual portions of nugget ice in plastic wrap can increase the risk of odor absorption. Wrapping ice tightly in plastic wrap provides an extra layer of protection against unwanted odors.
- Not labeling and dating the container: Forgetting to label and date the container can make it difficult to keep track of the freshness of the nugget ice. Labeling and dating will help you use the ice in a timely manner and ensure that it stays fresh for an extended period.
- Using a dirty freezer: A dirty freezer can introduce unwanted odors and contaminants to your nugget ice. Regularly clean your freezer, wipe down the shelves and drawers, and remove any spills or leaks to maintain a clean and odor-free environment.
- Not monitoring freezer temperature: Failing to monitor and maintain the correct freezer temperature can result in the nugget ice melting or forming ice crystals. Check the temperature regularly and adjust if necessary to ensure optimal storage conditions.
- Keeping ice for too long: Nugget ice is best enjoyed when it is fresh. As time passes, the quality and taste may deteriorate. Avoid keeping the ice for an excessively long time and use it within a reasonable period for the best experience.
By avoiding these common mistakes, you can ensure that your nugget ice remains in top-notch condition, ready to enhance your favorite drinks and beverages whenever you need it.
Now that we’ve explored tips for storing nugget ice, provided a step-by-step guide, and discussed common mistakes to avoid, you’re equipped with the knowledge to store your nugget ice properly. So go ahead, enjoy the delightful chewable texture and refreshing taste of nugget ice in the comfort of your own home!
Read more: How To Store Ice In Freezer
Conclusion
Nugget ice, with its unique chewable texture and ability to absorb flavors, has become a favorite among ice enthusiasts around the world. Properly storing nugget ice in your freezer is crucial to maintain its quality and taste over time. By following the tips, step-by-step guide, and avoiding common mistakes outlined in this article, you can ensure that your nugget ice stays fresh, delicious, and ready for use whenever you need it.
Remember to use an airtight container, divide the ice into smaller portions, and wrap them individually in plastic wrap for added protection. Label and date the container to keep track of its freshness, and store it away from pungent foods and contaminants. Regularly monitor the freezer temperature and keep the freezer clean to maintain optimal storage conditions.
By taking these simple steps, you can enjoy the delightful experience of chewing on nugget ice in your favorite beverages, knowing that its quality has been preserved. So whether you’re hosting a gathering, enjoying a refreshing drink on a hot day, or simply treating yourself to a special beverage, having a supply of properly stored nugget ice will elevate the experience.
Now that you’re armed with the knowledge to store your nugget ice effectively, go ahead and enjoy the full potential of this amazing ice variety. Embrace the chewable texture, savor the enhanced flavors, and make every drink a memorable experience with perfectly stored nugget ice in your freezer.
Now that you've mastered storing nugget ice, why stop there? Dive deeper into efficient cold storage with our guide on how to keep all types of ice pristine, where you'll uncover seamless ways to manage your freezer's inventory. If you're feeling ambitious, our article on clever hacks to maximize freezer space offers smart strategies to organize and optimize storage. Both pieces are packed with practical advice, ensuring your frozen goods are always in tip-top shape and easy to access. Don't miss out on these essential reads for any home enthusiast!
Frequently Asked Questions about How To Store Nugget Ice In Freezer
Was this page helpful?
At Storables.com, we guarantee accurate and reliable information. Our content, validated by Expert Board Contributors, is crafted following stringent Editorial Policies. We're committed to providing you with well-researched, expert-backed insights for all your informational needs.


0 thoughts on “How To Store Nugget Ice In Freezer”