Articles
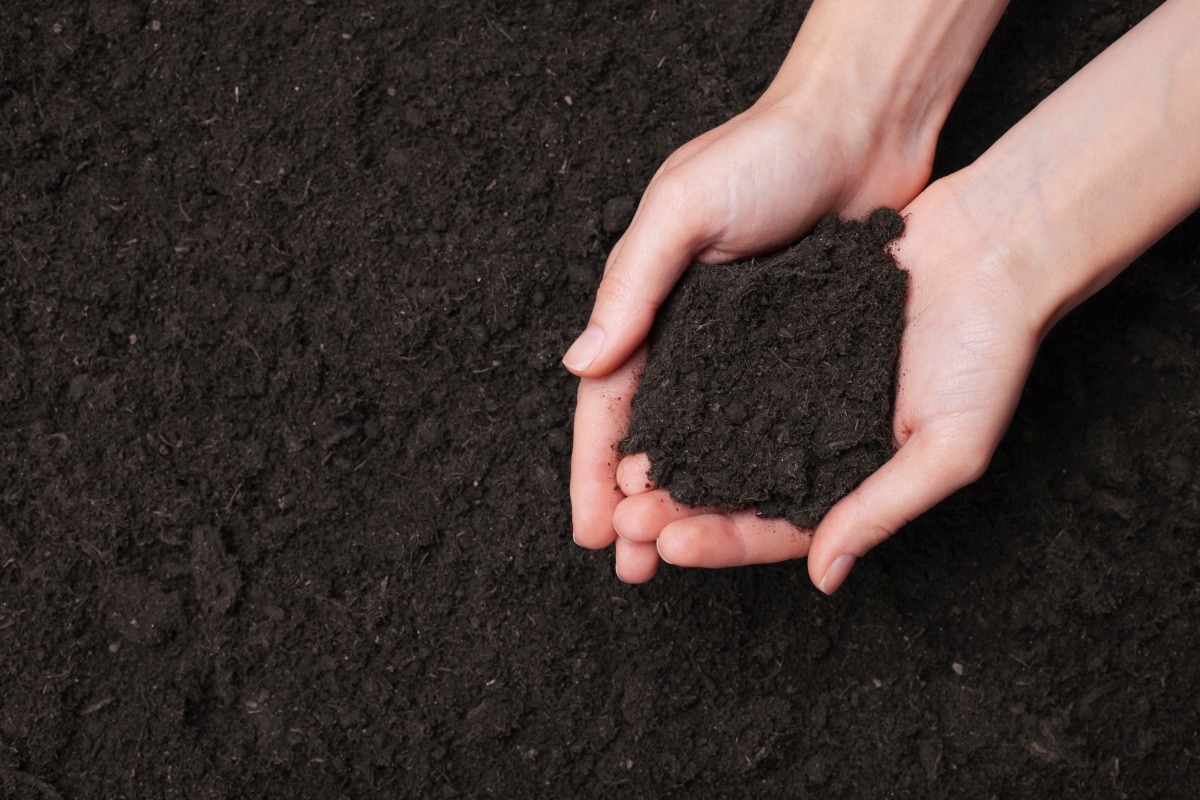
How To Store Large Amounts Of Soil
Modified: October 28, 2024
Learn effective techniques for storing large amounts of soil in this comprehensive article. Discover tips and tricks for maximizing space and maintaining soil quality.
(Many of the links in this article redirect to a specific reviewed product. Your purchase of these products through affiliate links helps to generate commission for Storables.com, at no extra cost. Learn more)
Introduction
When it comes to gardening or landscaping projects, having access to a large amount of soil is often necessary. Whether you’re planning to start a new garden bed, amend existing soil, or fill raised beds or containers, storing a significant quantity of soil can be a challenge. However, with proper planning and organization, it’s entirely possible to store large amounts of soil effectively.
In this article, we’ll explore various methods for storing soil and provide practical tips to ensure that your stored soil remains in optimal condition. From determining the amount of soil you’ll need to preparing the storage area and utilizing containers or piles, we’ll cover everything you need to know to keep your soil ready for future gardening endeavors.
By following the steps and guidelines outlined in this article, you’ll be able to store soil efficiently, ensuring that you have easy access to high-quality soil whenever you need it. So let’s dive in and discover how to store large amounts of soil successfully.
Key Takeaways:
- Properly planning and organizing the storage of large amounts of soil is essential for gardening and landscaping projects. Determining the required quantity, preparing the storage area, and using containers or piles are key steps to ensure soil remains in optimal condition.
- Regular monitoring and maintenance are crucial for preserving the quality of stored soil. Checking moisture levels, inspecting for pests and weed growth, and turning or aerating the soil help maintain its fertility and usability for future gardening and landscaping projects.
Read more: How To Store Large Amounts Of Water
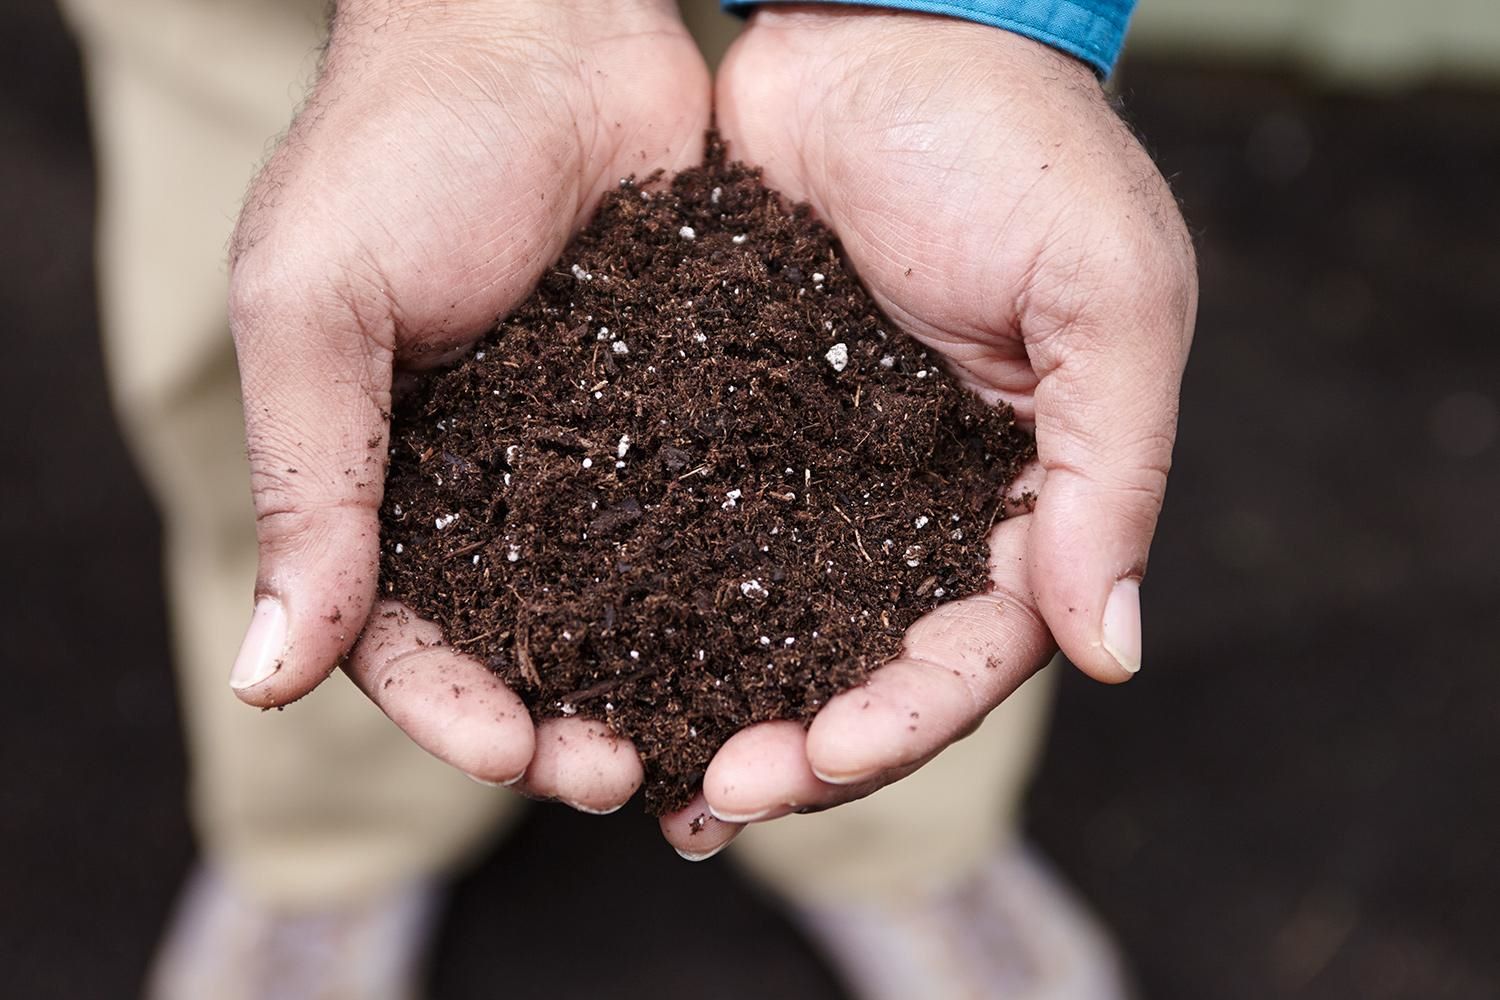
Determine the Amount of Soil
Before you start storing soil, it’s essential to determine the quantity you’ll need for your gardening or landscaping projects. The amount of soil required will depend on factors such as the size of your garden beds or containers, the depth of soil needed, and the type of plants you’re planning to grow.
One way to calculate the amount of soil is to measure the length, width, and depth of the area you plan to fill with soil. Multiply these measurements together to find the volume in cubic feet or cubic meters. For example, a garden bed that is 10 feet long, 5 feet wide, and 1 foot deep will require 50 cubic feet of soil.
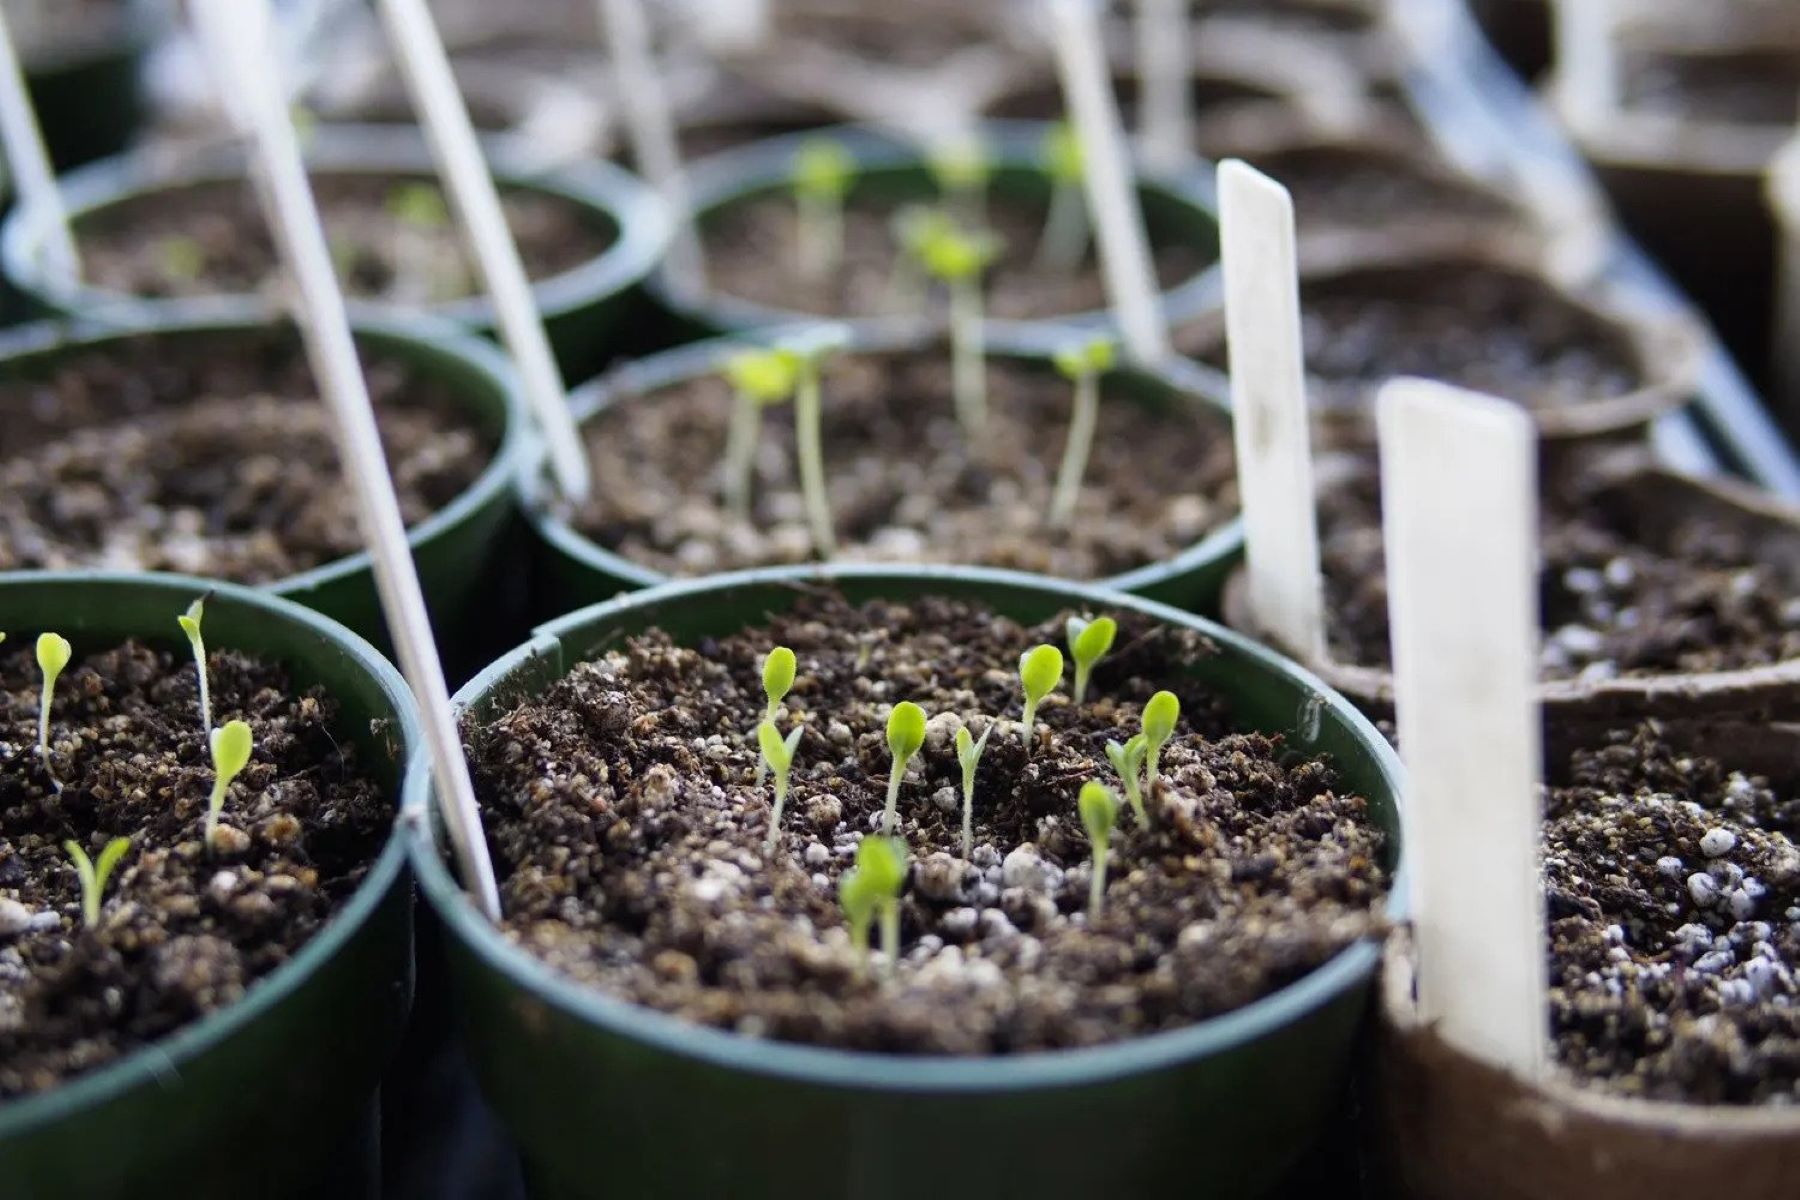
Keep in mind that it’s always better to have a bit more soil than you think you’ll need. This way, you’ll have some extra soil on hand in case you need to top up garden beds or containers in the future. Additionally, consider if there are any specific soil requirements for the plants you’ll be growing, as certain plants may need specific soil types or amendments.
Once you have determined the quantity of soil you’ll require, you can move on to creating a plan for storing it properly. Assess the available space and resources you have to ensure that you have enough room to store the soil. This could be an area in your yard, a designated storage shed, or even empty containers or bins that can hold the soil.
By accurately determining the amount of soil you need and planning for its storage, you can proceed with confidence knowing that you’ll have enough soil to meet your gardening needs.
Prepare the Storage Area
Once you’ve determined the amount of soil you need, it’s important to prepare a suitable storage area to ensure that the soil remains in optimal condition. Here are some steps to follow when preparing the storage area:
- Clean and Clear the Space: Before storing the soil, make sure the storage area is clean and free from any debris or weeds. Clear out any existing vegetation or objects that may interfere with the storage process.
- Level the Ground: Ensure that the ground is level and even. This will prevent any soil from shifting or settling unevenly, making it easier to access and manage the stored soil.
- Consider Drainage: If the storage area is located outdoors, it’s crucial to ensure adequate drainage. Excess moisture can cause the soil to become compacted or waterlogged, leading to poor quality soil. If needed, create drainage channels or use raised platforms to prevent water accumulation.
- Protect from Pests: Take measures to protect the stored soil from pests such as rodents or insects. Consider using wire mesh or screens to cover any openings or using pest-repellent treatments if necessary.
Keep in mind that the storage area should be easily accessible for when you need to retrieve the soil. If possible, locate the storage area near your garden or close to where you’ll be using the soil. This will save you time and effort in the long run.
By properly preparing the storage area, you’ll create an environment that promotes the longevity and quality of the stored soil. Taking these steps will ensure that the soil remains in optimal condition and ready for use whenever you need it.
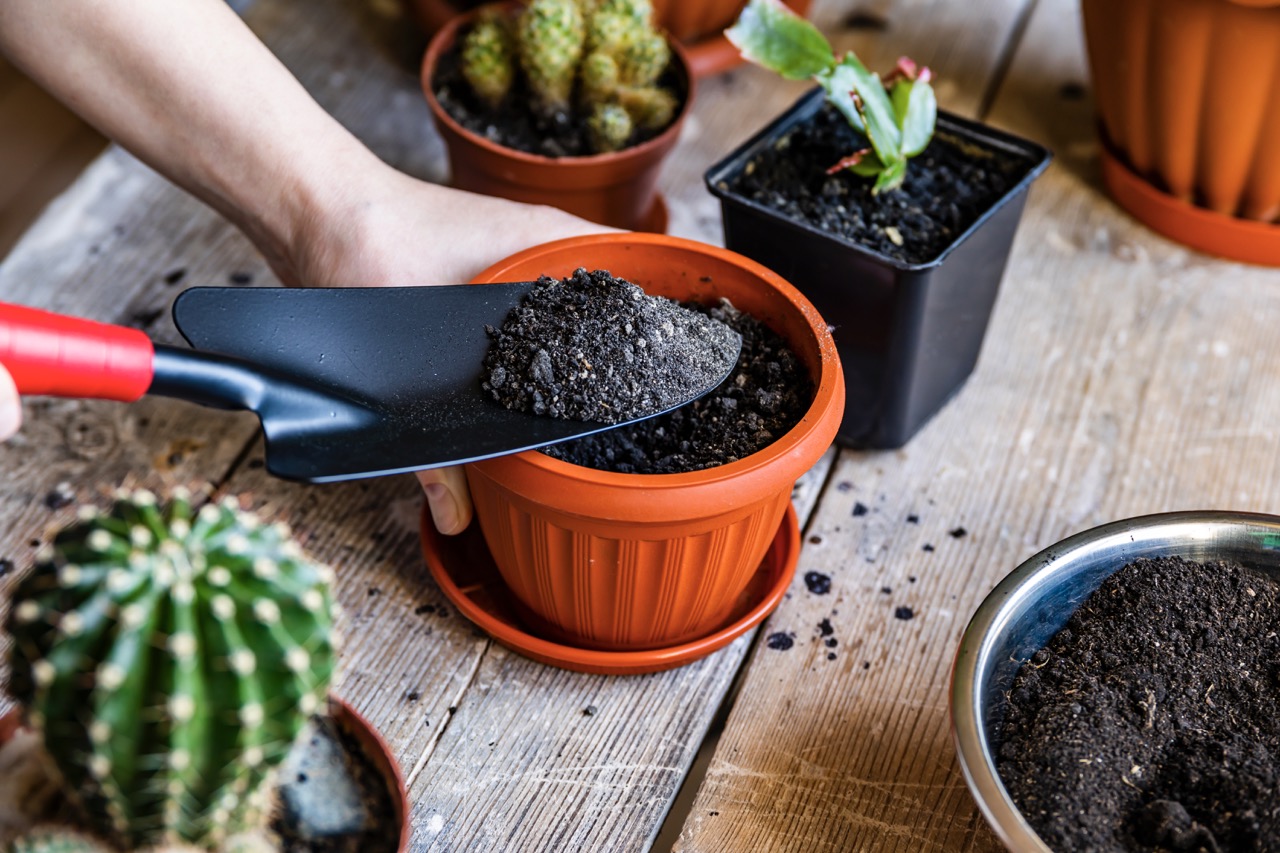
Use Containers for Soil Storage
Using containers is a practical and efficient way to store soil, especially if you have limited space or want to keep the soil neatly organized. Here are some tips to consider when using containers for soil storage:
- Select Suitable Containers: Choose containers that are durable, weather-resistant, and large enough to hold a significant amount of soil. Plastic bins, wooden crates, or even metal drums can work well for soil storage.
- Label Containers: To stay organized, label each container with the type of soil, date of storage, and any amendments or treatments applied. This will help you easily identify and retrieve the specific soil you need for different gardening projects.
- Optimize Space: Make the most of the available space by stacking containers if they are sturdy enough to support the weight. Ensure that you can safely access the soil in each container without causing any damage.
- Provide Drainage: It’s crucial to provide proper drainage for the stored soil, even when using containers. Consider drilling small holes in the bottom of the containers to allow excess water to drain out, preventing waterlogged soil.
- Cover the Containers: Use lids or covers to protect the stored soil from rain, pests, and debris. This will help maintain the quality of the soil and prevent contamination.
- Consider Air Circulation: If storing the containers indoors, ensure that there is sufficient air circulation to prevent the soil from becoming damp or moldy. Avoid storing containers in areas with excessive humidity or poor ventilation.
By utilizing containers for soil storage, you can maximize your available space while keeping the soil organized and protected. This method allows for easy access and retrieval of specific soil types, making it convenient for any gardening project you undertake.
When storing large amounts of soil, make sure to keep it in a dry and well-ventilated area to prevent mold and mildew growth. Consider covering the soil with a tarp to protect it from the elements.
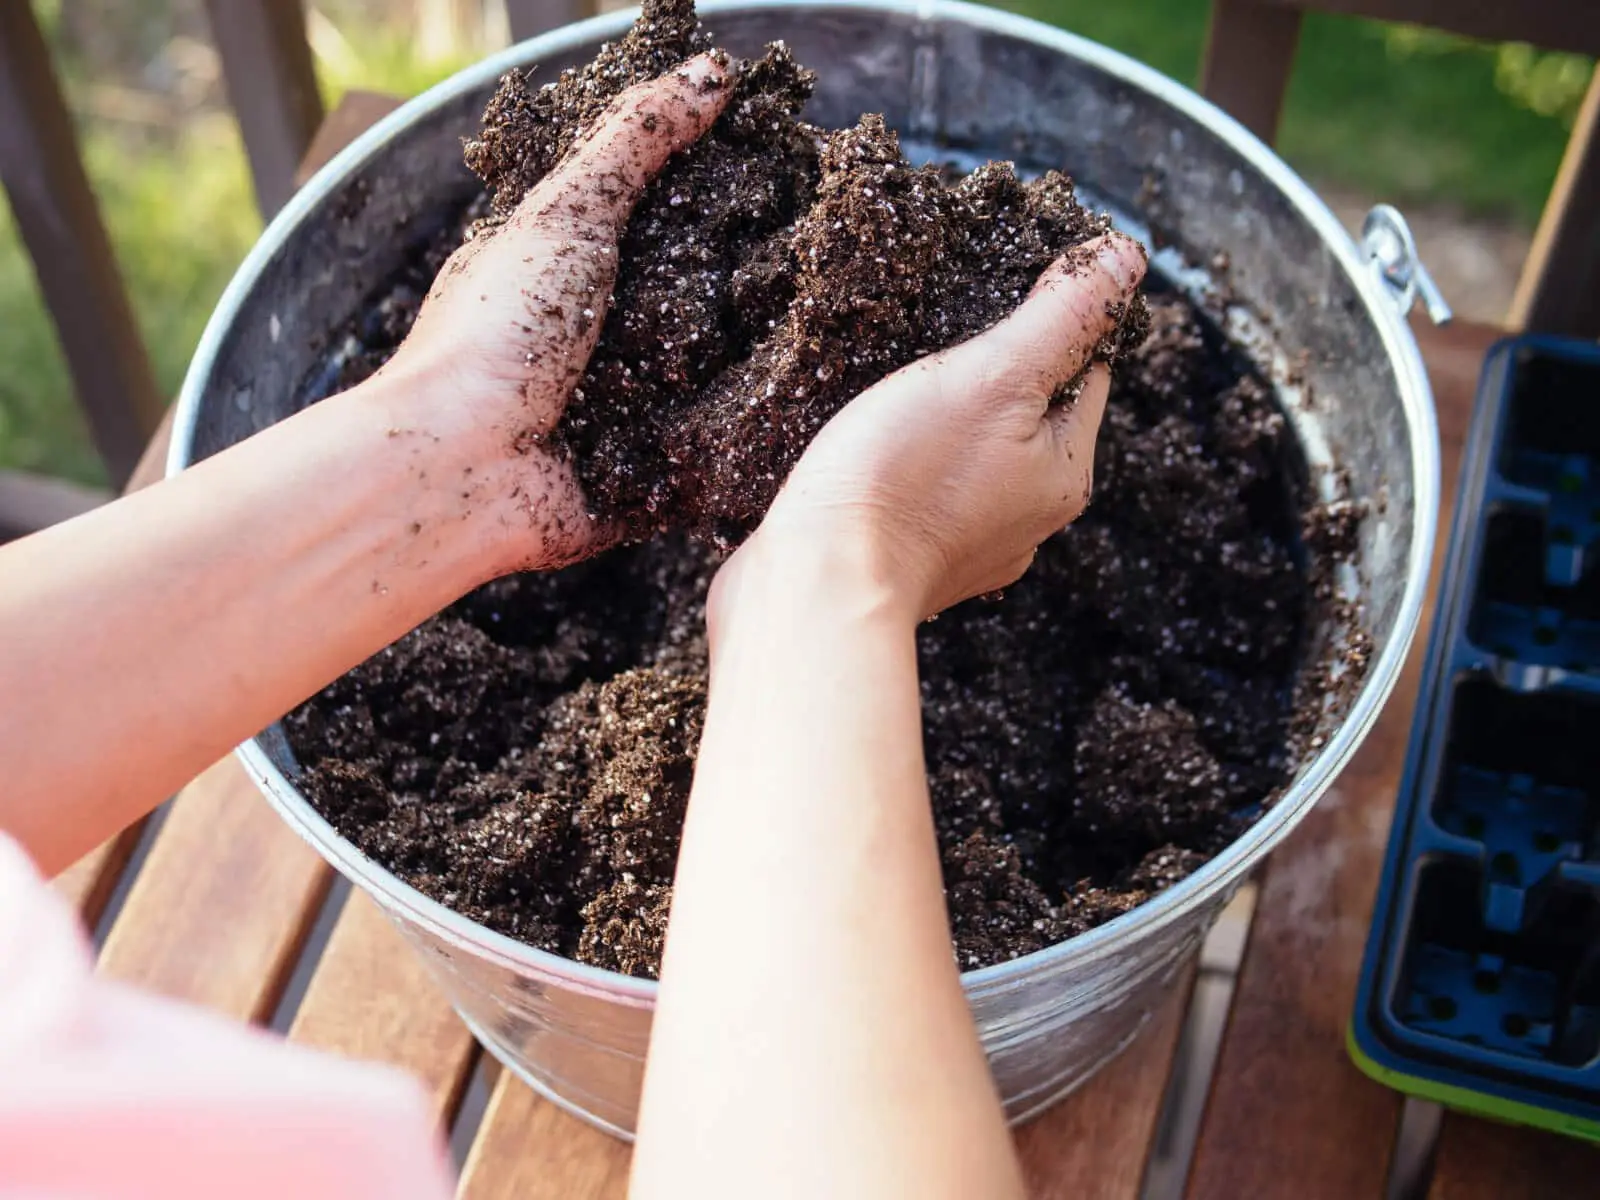
Store Soil in Piles or Mounds
Another option for storing large amounts of soil is to create piles or mounds directly on the ground. This method is ideal for open spaces and can be particularly useful if you have a large quantity of soil to store. Here are some tips for storing soil in piles or mounds:
- Select an Appropriate Location: Choose a flat, well-drained area for creating the soil piles or mounds. Avoid areas prone to flooding or water accumulation.
- Clear the Area: Remove any vegetation, rocks, or debris from the chosen location before creating the soil piles. This will ensure that the stored soil remains clean and free from contaminants.
- Shape the Piles or Mounds: Use a shovel or other appropriate tools to shape the soil into evenly-sized piles or mounds. This will help with proper organization and make it easier to access the soil when needed.
- Compact the Soil: Gently compact the soil in each pile or mound to prevent excessive settling or erosion. Compact the soil in layers, using a tamper or the back of a shovel, to ensure stability.
- Consider Covering: If storing the soil piles or mounds for an extended period or during inclement weather, consider covering them with a tarp or plastic sheet. This will protect the soil from erosion, waterlogging, and unwanted weed growth.
- Monitor Moisture Levels: Regularly check the moisture levels in the stored soil. Ensure that the soil remains slightly moist but not overly saturated or dry. Adjust the watering or coverings as needed to maintain the optimal moisture balance.
Storing soil in piles or mounds offers the advantage of easy accessibility and requires minimal resources. It is particularly suitable for larger gardening projects or when you need a significant amount of soil readily available. By following these tips, you can store soil in piles or mounds effectively while maintaining its quality for future use.
Read more: How To Store Soil Outside
Cover the Stored Soil
One essential step in storing large amounts of soil is to properly cover the stored soil. Covering the soil helps protect it from various elements, such as extreme weather conditions, pests, and weed growth, ensuring that it remains in optimal condition for future use. Here are some tips on how to cover the stored soil effectively:
- Use a Tarp or Plastic Sheet: One of the simplest and most effective ways to cover the stored soil is by using a tarp or plastic sheet. Choose a durable and waterproof material that can withstand outdoor conditions.
- Secure the Covering: Ensure that the tarp or plastic sheet is securely fastened to prevent it from being blown away by wind or displaced by heavy rains. Use weights, bricks, or stakes to anchor the covering in place.
- Seal the Edges: Pay attention to the edges of the covering and sealing them tightly. This prevents moisture, pests, or weed seeds from infiltrating the stored soil.
- Consider Ventilation: If storing the soil in a covered area, such as a shed or garage, ensure that there is proper ventilation to prevent the accumulation of moisture. This helps maintain a balanced humidity level and prevents mold or mildew growth.
- Regularly Inspect and Maintain: Periodically check the covering to ensure that it remains intact and in good condition. Repair or replace any damaged parts promptly to maintain the effectiveness of the cover.
Covering the stored soil is crucial for preserving its quality and preventing any unwanted contamination. It helps maintain the proper moisture level, prevents soil erosion, and keeps pests, weeds, and other elements at bay.
Remember to remove the covering when you’re ready to use the stored soil. By taking this extra step to cover the soil, you can have confidence that your stored soil will remain in excellent condition and ready for use whenever you need it.
Regularly Monitor and Maintain the Soil
Storing large amounts of soil requires regular monitoring and maintenance to ensure that the soil remains in optimum condition. Proper monitoring helps detect and address any issues promptly, preserving the quality of the stored soil. Here are some essential steps for monitoring and maintaining the soil:
- Check Moisture Levels: Regularly monitor the moisture levels in the stored soil. The soil should be slightly moist but not saturated. Adjust watering or coverings as needed to maintain the right moisture balance.
- Inspect for Pests: Routinely inspect the stored soil for any signs of pests, such as insects or rodents. If infestations are present, take appropriate measures to eliminate or control the pests to prevent damage to the soil.
- Prevent Weed Growth: Keep an eye out for any weed growth in the stored soil. Remove weeds as soon as they appear to prevent them from taking over and competing with the stored soil for nutrients.
- Turn and Aerate the Soil: Periodically turn or aerate the stored soil to promote proper air circulation and prevent compaction. Use a shovel or garden fork to gently loosen the soil, allowing oxygen to reach the deeper layers.
- Inspect Covered Soil: If the stored soil is covered, regularly inspect the covering to ensure that it remains intact and in good condition. Repair or replace any damaged coverings promptly to maintain the effectiveness of the cover.
- Store Soil Amendments Separately: Keep any soil amendments or fertilizers separate from the stored soil. This prevents nutrient imbalances or potential adverse reactions that could affect the quality of the stored soil.
- Rotate Stored Soil: If you store soil for an extended period, consider rotating it with fresh soil periodically. This ensures that the stored soil remains of high quality and doesn’t degrade over time.
Regular monitoring and maintenance of the stored soil help prevent potential issues and maintain its fertility and quality. By staying vigilant and addressing any concerns promptly, you can have confidence in the usability and effectiveness of the stored soil for your gardening or landscaping projects.
By following these guidelines and regularly tending to the stored soil, you can ensure that it remains in the best possible condition for future use.
Conclusion
Storing large amounts of soil requires careful planning and proper execution to maintain its quality and usability. By following the steps outlined in this article, you can effectively store soil for your gardening or landscaping projects. From determining the required amount of soil to preparing the storage area, using containers or creating piles, and covering and maintaining the soil, each step plays a crucial role in ensuring the soil remains in optimal condition.
Remember to accurately calculate the amount of soil needed, taking into account the size of your garden beds or containers and the specific requirements of the plants you’ll be growing. Prepare a suitable storage area, whether using containers or creating piles, ensuring proper drainage, and protecting the soil from pests and contaminants.
Regular monitoring and maintenance are essential for preserving the quality of the stored soil. Keep an eye on moisture levels, inspect for pests and weed growth, and periodically turn or aerate the soil to promote proper air circulation. Don’t forget to check the condition of the covering if the soil is stored with one.
Storing soil properly allows you to have a readily available supply of high-quality soil for all your gardening needs. Whether you’re starting a new garden bed, filling containers, or amending existing soil, having stored soil on hand saves time and effort.
By implementing the strategies discussed in this article, you can confidently store large amounts of soil and ensure its longevity and usability. So go ahead, prepare your storage area, choose the appropriate method for storing the soil, cover it diligently, and regularly monitor and maintain its condition. With these practices in place, you’ll have a reliable supply of soil at your fingertips whenever you need it for your gardening and landscaping endeavors.
Frequently Asked Questions about How To Store Large Amounts Of Soil
Was this page helpful?
At Storables.com, we guarantee accurate and reliable information. Our content, validated by Expert Board Contributors, is crafted following stringent Editorial Policies. We're committed to providing you with well-researched, expert-backed insights for all your informational needs.


0 thoughts on “How To Store Large Amounts Of Soil”