Articles
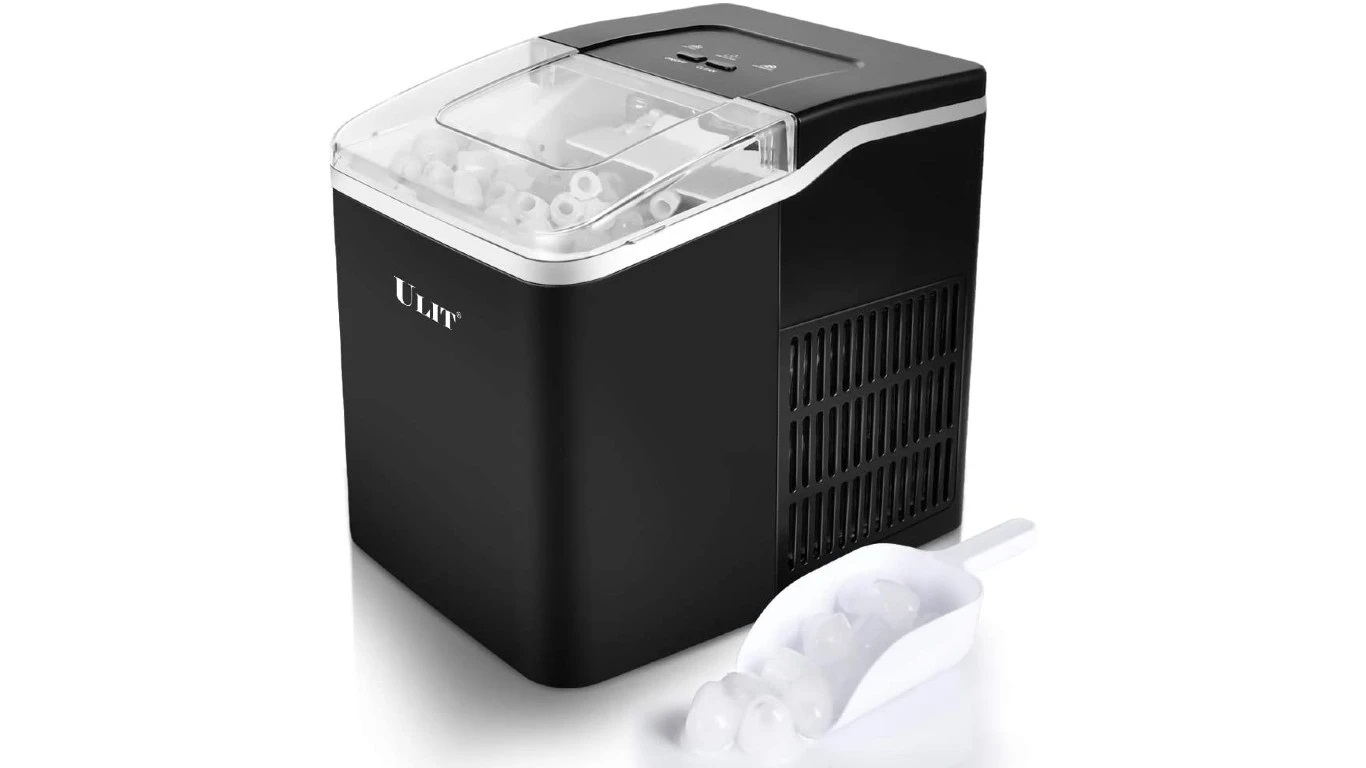
How To Clean An Ice Maker In The Freezer?
Modified: February 20, 2024
Learn how to clean an ice maker in the freezer with these informative articles. Keep your ice maker running smoothly and efficiently.
(Many of the links in this article redirect to a specific reviewed product. Your purchase of these products through affiliate links helps to generate commission for Storables.com, at no extra cost. Learn more)
Introduction
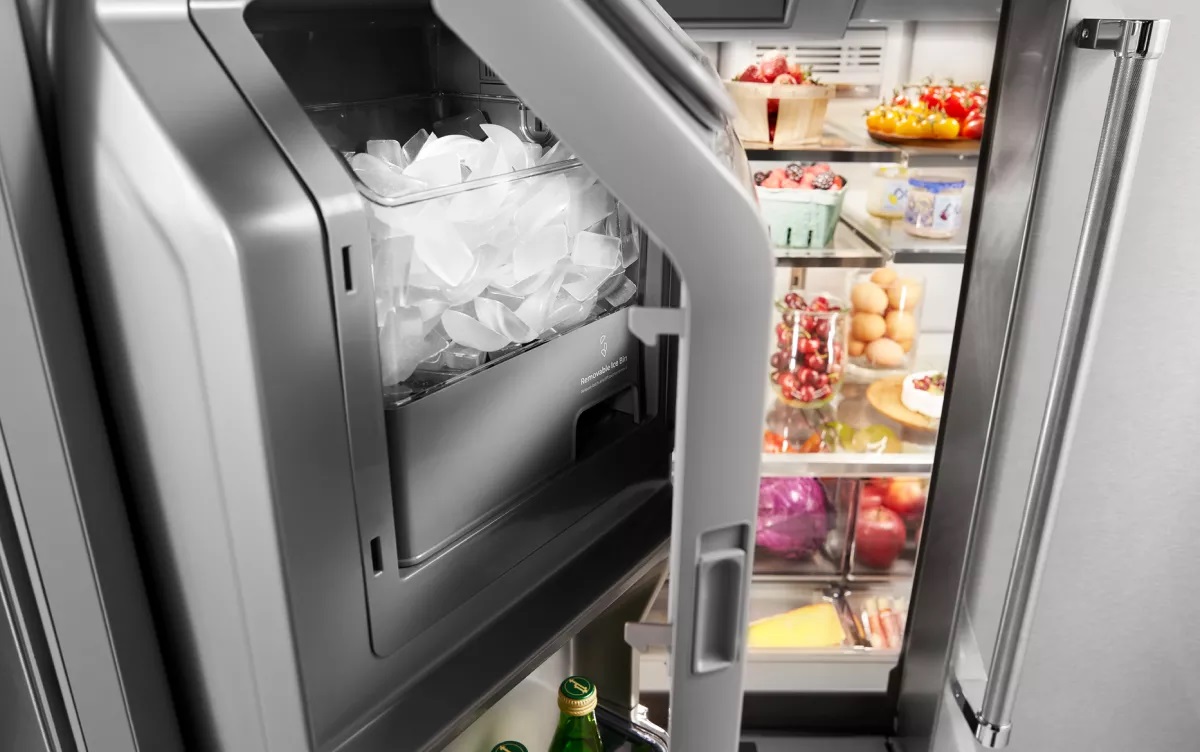
Cleaning an ice maker in the freezer is an essential maintenance task that often gets overlooked. Over time, ice makers can accumulate mineral deposits, mold, and bacteria, which can affect the quality and taste of the ice it produces. Regularly cleaning your ice maker not only ensures that you have clean and hygienic ice cubes but also helps prolong the lifespan of the appliance.
While cleaning an ice maker may seem like a daunting task, it can be done easily with the right tools and materials. In this article, we will guide you through the step-by-step process of cleaning an ice maker in the freezer, ensuring it is sparkling clean and functioning optimally.
Before we dive into the cleaning process, let’s explore why it is crucial to clean your ice maker regularly.
Key Takeaways:
- Regularly cleaning your ice maker is crucial for maintaining hygiene, preventing odors, improving ice quality, extending appliance lifespan, and saving energy. Enjoy clean, refreshing ice cubes by following the step-by-step cleaning process.
- Gather the necessary tools and materials, unplug the ice maker, empty and defrost the freezer, clean the ice maker tray and unit, reassemble, and test the ice maker to ensure optimal performance and cleanliness. Regular maintenance ensures fresh, clean ice cubes and prolongs the life of your ice maker.
Read more: How To Use The Ice Maker In The Freezer
Why Clean Your Ice Maker?
Cleaning your ice maker regularly is essential for several reasons. Let’s take a closer look at why it is crucial to keep your ice maker clean:
- Maintain Hygiene: Over time, mineral deposits, mold, and bacteria can build up in the ice maker. These contaminants can transfer to the ice, affecting its quality and posing health risks for consumers. Regular cleaning helps remove these unwanted substances, ensuring that the ice produced is safe and hygienic to consume.
- Prevent Odors: A dirty ice maker can develop foul odors due to the buildup of bacteria and food particles. These odors can transfer to the ice, affecting its taste and causing unpleasant experiences for anyone who consumes it. Cleaning the ice maker helps eliminate these odors, ensuring that your ice remains fresh and odor-free.
- Improve Ice Quality: Buildup and residue in the ice maker can affect the quality of the ice cubes it produces. It can cause cloudiness, off-flavors, and a strange texture. By regularly cleaning your ice maker, you can ensure that you get clear, clean, and high-quality ice cubes that enhance the taste of your beverages.
- Extend Appliance Lifespan: Neglecting to clean your ice maker can lead to performance issues and eventually damage the appliance. The accumulation of debris and mineral deposits can strain the motor, valves, and other components, reducing the efficiency and lifespan of the ice maker. Regular cleaning helps maintain the appliance in good condition, preventing premature breakdowns and extending its lifespan.
- Save Energy: A clean ice maker operates more efficiently than a dirty one. When mineral deposits build up, the ice maker has to work harder to produce ice, leading to increased energy consumption. By keeping your ice maker clean, you can help optimize its performance and save on energy costs.
Now that we understand the importance of cleaning your ice maker, let’s move on to the tools and materials you will need for the cleaning process.
Tools and Materials Needed
Before you begin cleaning your ice maker in the freezer, gather the following tools and materials:
- Warm water: You will need warm water to dissolve and clean the mineral deposits and other residue in the ice maker.
- Mild dish soap or vinegar: Both mild dish soap and vinegar are effective for removing mineral deposits and disinfecting the ice maker.
- Soft cloth or sponge: Use a soft cloth or sponge to clean the various components of the ice maker, such as the ice tray and bucket.
- Toothbrush: A toothbrush can be handy for cleaning hard-to-reach areas and removing stubborn residue.
- Bucket or sink: Use a bucket or sink to collect and dispose of the water and ice during the cleaning process.
- Towels: Have a few towels on hand to dry the ice maker and the freezer after cleaning.
- Gloves: Wearing gloves will protect your hands from any cleaning agents or debris.
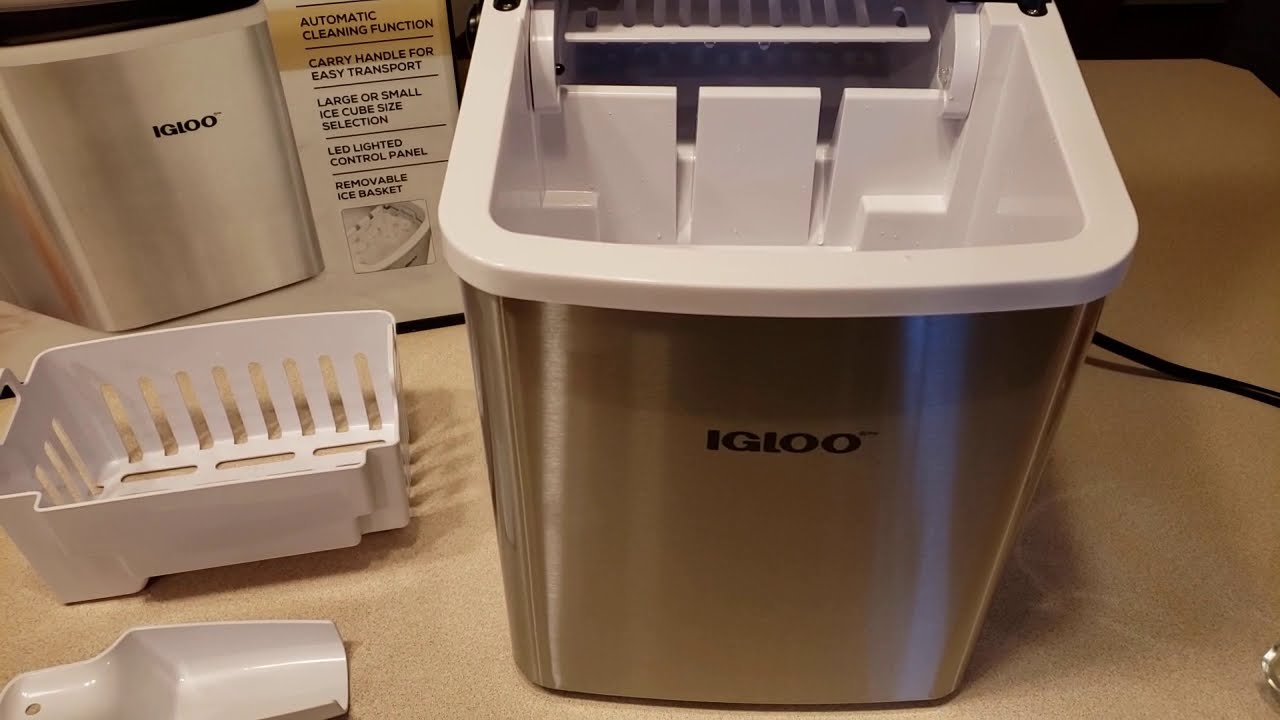
- Optional: Ice maker cleaner: If you prefer, you can use a specialized ice maker cleaner for a more thorough and targeted clean. These cleaners are available at most home improvement stores.
Once you have gathered all the necessary tools and materials, you are ready to start cleaning your ice maker. Follow the step-by-step instructions in the next sections to ensure a thorough and effective cleaning process.
Step 1: Unplug the Ice Maker
The first step in cleaning your ice maker in the freezer is to unplug the appliance. This is important for your safety and to avoid any water or electricity-related accidents during the cleaning process.
Locate the power cord of the ice maker and unplug it from the electrical outlet. If the ice maker is connected to a water supply, also turn off the water valve to prevent any water leakage.
By unplugging the ice maker, you ensure that there is no power running to the appliance, minimizing the risk of electrical shock or damage.
Once you have unplugged the ice maker and turned off the water valve, you can move on to the next step: emptying and defrosting the freezer.
Step 2: Empty and Defrost the Freezer
After unplugging the ice maker, the next step is to empty and defrost the freezer. This is necessary to provide access to the ice maker and ensure a thorough cleaning.
Start by removing all items from the freezer. Transfer any perishable items to a cooler or another freezer to keep them chilled during the cleaning process.
Once the freezer is empty, it’s time to defrost it. Turn off the freezer and leave the door open. This allows the ice to melt and any frost to dissipate naturally. You can place towels or absorbent cloths around the freezer to collect any water that may leak during the defrosting process.
Do not use sharp objects or tools to speed up the defrosting process, as they can damage the freezer’s interior. Patience is key here, as it may take several hours for the freezer to completely defrost.
While the freezer is defrosting, you can move on to the next step: removing the ice maker tray and bucket.
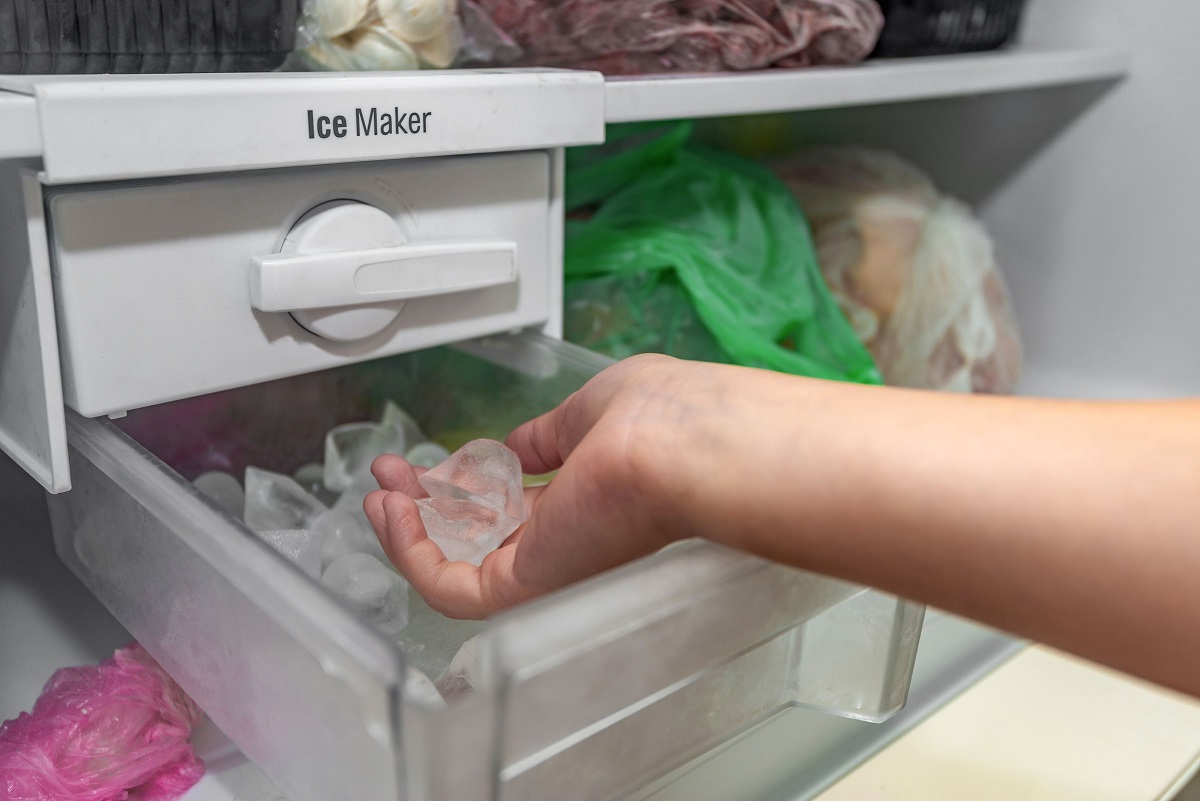
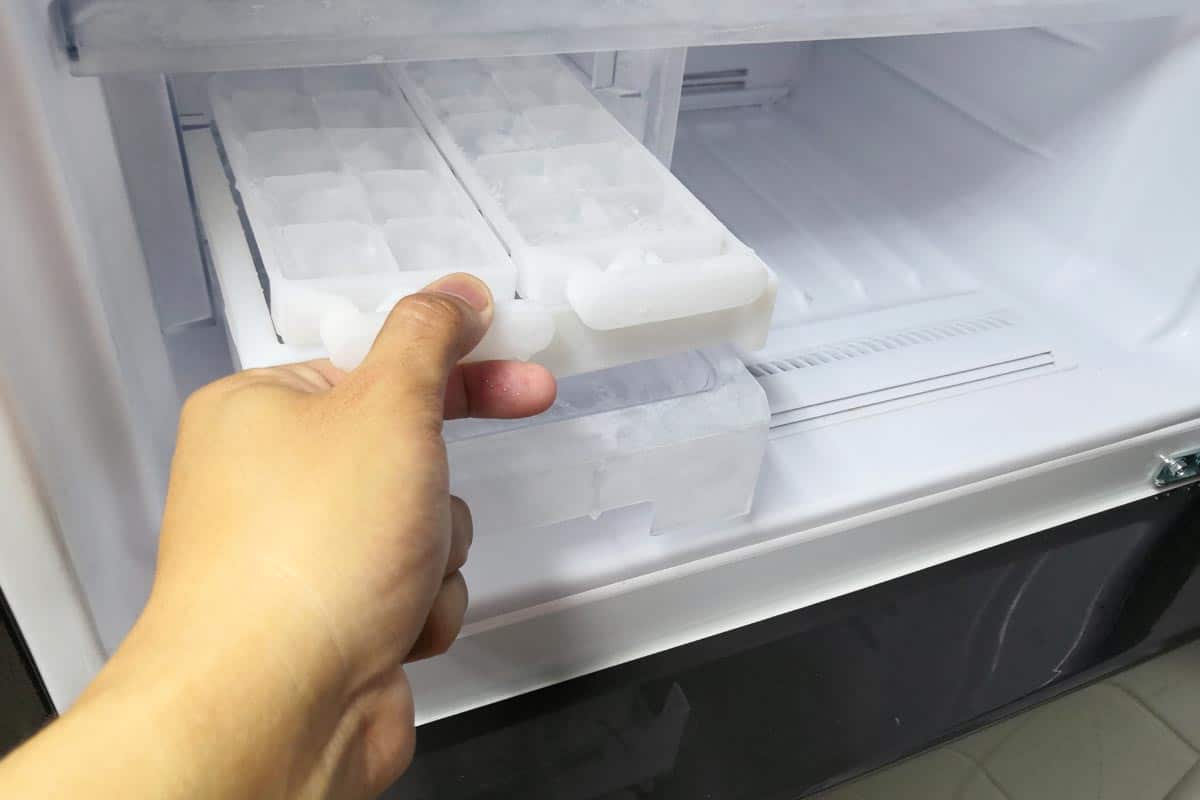
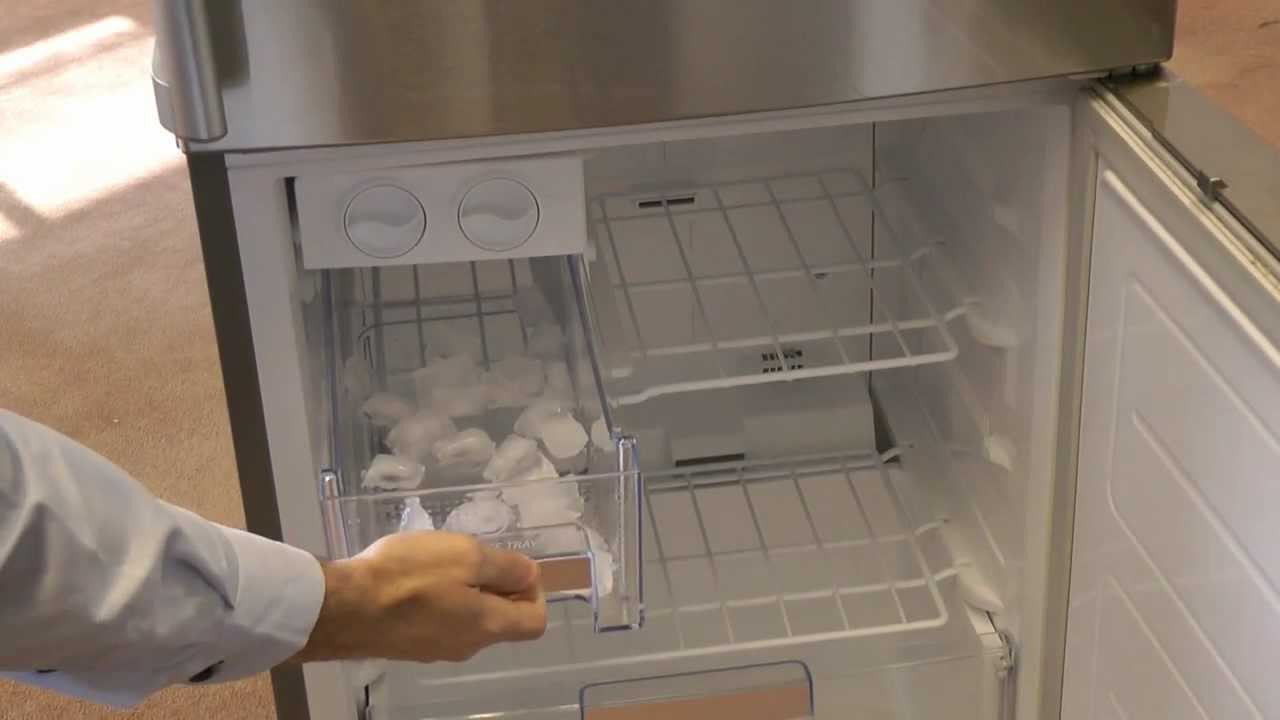
Step 3: Remove the Ice Maker Tray and Bucket
With the freezer defrosting, it’s time to remove the ice maker tray and bucket. These components need to be cleaned separately to ensure a thorough cleaning of the ice maker.
Start by locating the ice maker tray. Depending on the model of your freezer, you may need to lift a lever or press a button to release the tray. Once released, carefully pull out the tray from the freezer. Pay attention to any connections or mechanisms that may need to be disengaged before removing the tray.
Set the ice maker tray aside and proceed to remove the ice bucket. The ice bucket is usually located at the front of the freezer, below the ice maker tray. Again, check for any mechanisms or levers that need to be disengaged before removing the bucket.
Once you have removed both the ice maker tray and bucket, place them in a sink or a bucket filled with warm soapy water. This will allow them to soak and soften any residue or buildup.
While the tray and bucket are soaking, you can move on to cleaning the ice maker unit itself in the next step.
To clean an ice maker in the freezer, start by unplugging the unit and removing any ice. Use a mixture of warm water and mild detergent to clean the ice maker and its components, then rinse and dry thoroughly before plugging it back in.
Step 4: Clean the Ice Maker Tray and Bucket
Now that you have removed the ice maker tray and bucket, it’s time to clean them thoroughly. This step is essential to remove any accumulated residue, mold, or bacteria.
Start by using a soft cloth or sponge to scrub the tray and bucket. Dip the cloth or sponge in warm soapy water and gently scrub the surfaces, ensuring that you reach all the nooks and crannies. Pay extra attention to any areas with stubborn residue or staining.
If there are mineral deposits or hard-to-remove residue, you can use a toothbrush to gently scrub those areas. The bristles of the toothbrush can help dislodge the buildup without causing any damage to the surfaces.
Rinse both the tray and bucket thoroughly with clean water to remove any soap residue. Inspect them closely to ensure they are clean and free from any debris.
For an extra level of disinfection, you can use a solution of equal parts water and vinegar. Soak the tray and bucket in this solution for a few minutes before rinsing them again with clean water.
Once cleaned and rinsed, set the tray and bucket aside to air dry completely. Ensure that there is no moisture remaining before reassembling the ice maker.
With the tray and bucket cleaned, you can move on to the next step: cleaning the ice maker unit itself.
Step 5: Clean the Ice Maker Unit
After cleaning the ice maker tray and bucket, it’s time to clean the ice maker unit itself. This step is crucial for removing any buildup or residue that may have accumulated inside the ice maker.
Start by inspecting the ice maker unit for any visible debris or buildup. Use a soft cloth or sponge to wipe away any loose particles or residue.
Next, prepare a solution of warm water and mild dish soap or vinegar. Dip a soft cloth or sponge into the solution and gently wipe down the interior of the ice maker. Pay close attention to areas such as the ice mold, the water supply line, and any other surfaces that come into contact with water or ice.
If there are any particularly stubborn stains or mineral deposits, you can use a toothbrush or a cotton swab dipped in the cleaning solution to scrub those areas gently.
Once you have thoroughly cleaned the ice maker unit, rinse it with clean water to remove any soap or vinegar residue. Wipe it dry with a clean cloth or allow it to air dry completely.
It’s worth noting that some ice makers may have a removable water filter. If your ice maker has one, check the manufacturer’s instructions on how to properly clean or replace the filter.
With the ice maker unit clean and dry, you are ready to move on to reassembling and plugging in the ice maker in the next step.
Step 6: Reassemble and Plug In the Ice Maker
After cleaning the ice maker tray, bucket, and unit, it’s time to reassemble and plug in the ice maker. This step is crucial to getting your ice maker up and running again.
Start by placing the clean and dry ice maker tray back into the freezer. Ensure that it is properly aligned and securely in place. If there are any mechanisms or levers that need to be engaged, follow the manufacturer’s instructions to reattach them.
Next, insert the clean ice bucket back into the freezer, below the ice maker tray. Ensure that it is properly lined up and locked into place.
Once the ice maker tray and bucket are reassembled, plug the ice maker back into the electrical outlet. If your ice maker is connected to a water supply, turn on the water valve. This will allow water to flow into the ice maker to start the ice-making process.
Double-check that all connections are secure and that the ice maker is properly plugged in. This ensures that it will function correctly and produce clean, fresh ice cubes.
With the ice maker reassembled and plugged in, you are ready to move on to the final step: testing the ice maker.
Read more: How To Clean A Silonn Ice Maker
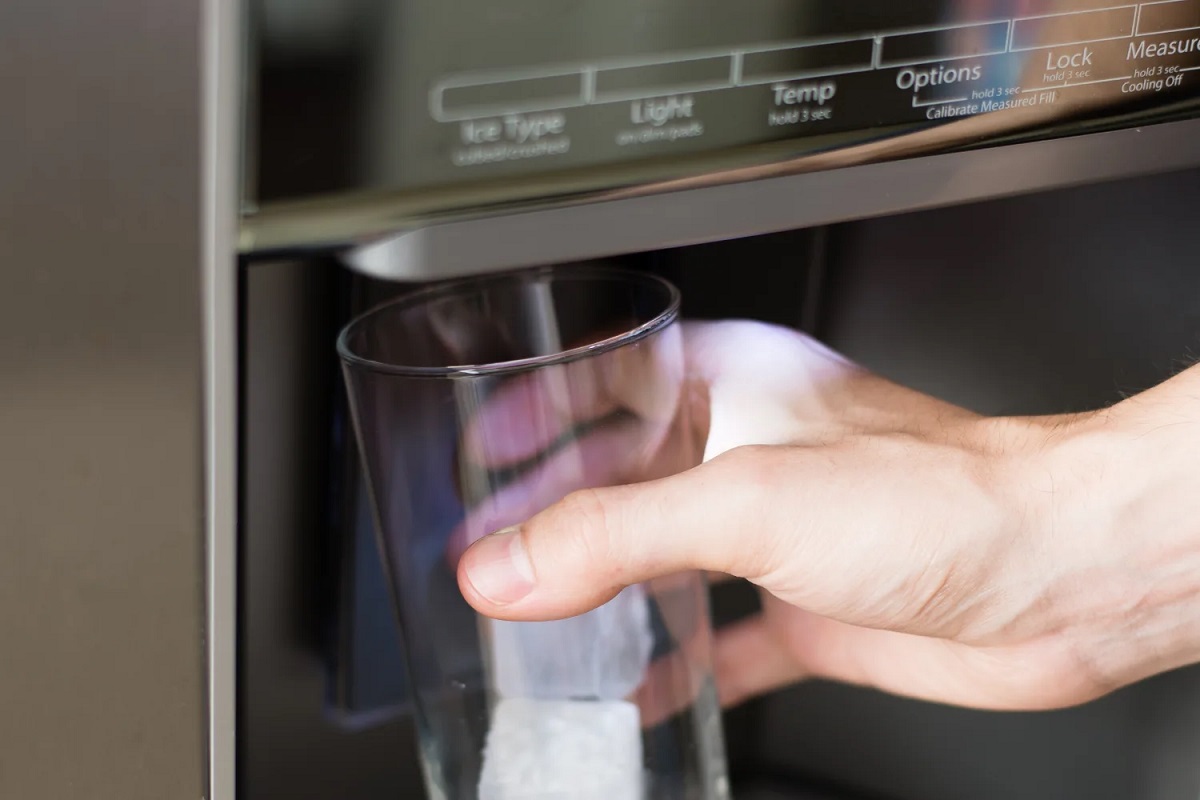
Step 7: Test the Ice Maker
After reassembling and plugging in the ice maker, it’s important to test it to ensure that it is functioning properly and producing clean ice cubes.
To test the ice maker, follow these steps:
- Allow the ice maker to run for a few hours to ensure that it has enough time to start producing ice.
- Check if the ice maker tray is filling up with water. This indicates that the ice maker is receiving water and is functioning correctly.
- Wait for the ice cubes to form. This may take a few hours or longer, depending on the ice maker’s make and model.
- Inspect the ice cubes for any signs of debris, cloudiness, or off-odors. If the ice cubes appear clean and clear, with no strange taste or odor, then your cleaning process has been successful.
If you notice any issues with the ice maker’s performance or the quality of the ice cubes after testing it, you may need to repeat the cleaning process or consult the manufacturer’s instructions for troubleshooting tips.
Additionally, it is recommended to periodically clean your ice maker to maintain its optimal performance and ensure the production of clean, high-quality ice cubes.
Congratulations! You have successfully cleaned your ice maker in the freezer, and it is now ready to provide you with fresh ice for your beverages.
Finally, remember to regularly clean and maintain your ice maker to prevent the buildup of mineral deposits, mold, and bacteria. This will ensure that you always have clean and hygienic ice cubes for your enjoyment.
Happy ice making!
Conclusion
Cleaning your ice maker in the freezer is an important maintenance task that ensures you have clean and hygienic ice cubes for your beverages. By following the step-by-step process outlined in this article, you can effectively clean your ice maker and prolong its lifespan.
We discussed the importance of cleaning your ice maker, including maintaining hygiene, preventing odors, improving ice quality, extending the appliance lifespan, and saving energy. Regularly cleaning your ice maker will help you avoid the risks of consuming contaminated ice and ensure that your ice is clear, clean, and tasty.
To clean your ice maker, gather the tools and materials needed, including warm water, mild dish soap or vinegar, soft cloths or sponges, a toothbrush, a bucket or sink, towels, gloves, and optionally, ice maker cleaner. Unplug the ice maker, empty and defrost the freezer, and then remove the ice maker tray and bucket. Clean them using warm soapy water or vinegar solution, rinse, and allow them to air dry.
Next, clean the ice maker unit using a soft cloth or sponge with a mild dish soap or vinegar solution. Rinse the unit thoroughly and ensure it is dry before reassembling and plugging in the ice maker. Finally, test the ice maker by allowing it to run for a few hours and checking the quality of the ice cubes produced.
Remember to periodically clean your ice maker to maintain its performance and cleanliness. Regular maintenance will help you enjoy fresh, clean ice cubes and prolong the life of your ice maker.
By following these steps and taking the time to clean your ice maker regularly, you can have peace of mind knowing that you are serving clean and refreshing ice cubes in your favorite beverages.
So go ahead, take care of your ice maker, and enjoy a refreshing drink with crystal clear ice cubes!
Frequently Asked Questions about How To Clean An Ice Maker In The Freezer?
Was this page helpful?
At Storables.com, we guarantee accurate and reliable information. Our content, validated by Expert Board Contributors, is crafted following stringent Editorial Policies. We're committed to providing you with well-researched, expert-backed insights for all your informational needs.

0 thoughts on “How To Clean An Ice Maker In The Freezer?”