Articles
How To Store Immersion Blender
Modified: August 16, 2024
Learn how to properly store your immersion blender with these helpful articles. Keep your blender in great condition and extend its lifespan.
(Many of the links in this article redirect to a specific reviewed product. Your purchase of these products through affiliate links helps to generate commission for Storables.com, at no extra cost. Learn more)
Introduction
Storing your immersion blender properly is crucial to maintain its performance and prolong its lifespan. Whether you use it frequently or only on occasion, taking the time to store it correctly will ensure that it remains in excellent condition and ready for use whenever you need it.
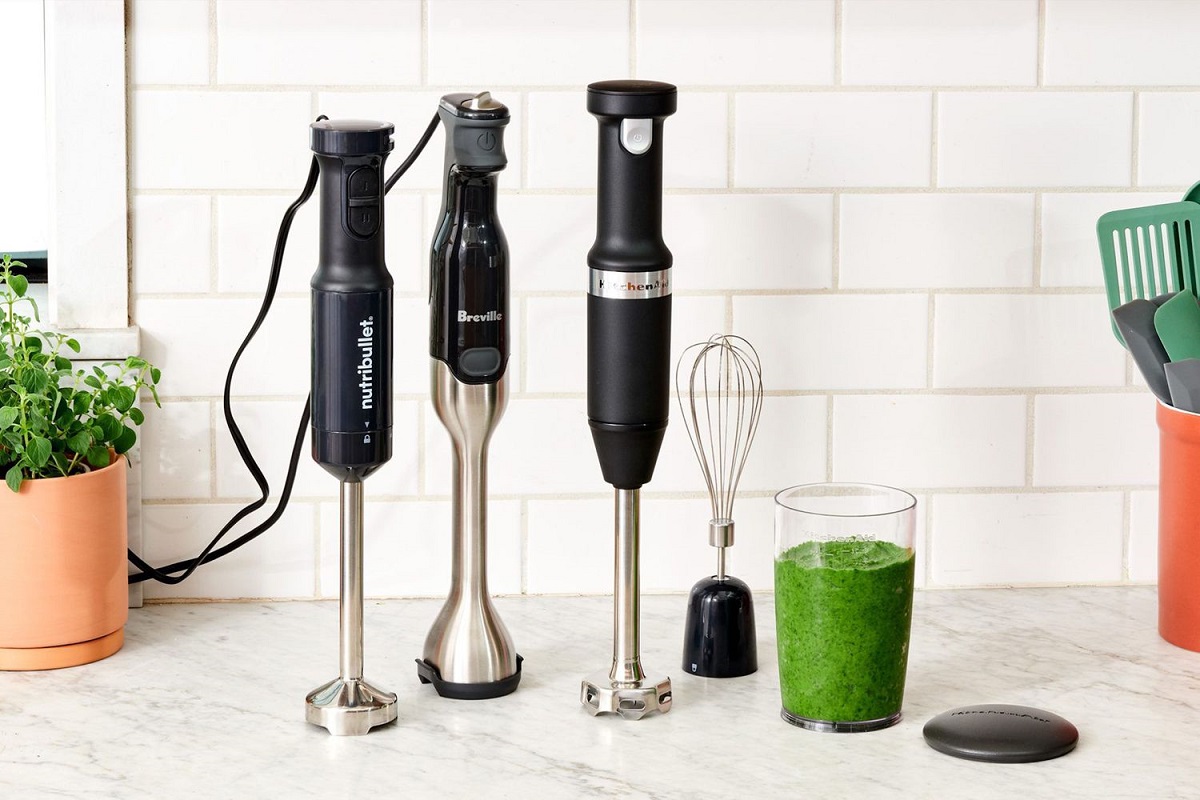
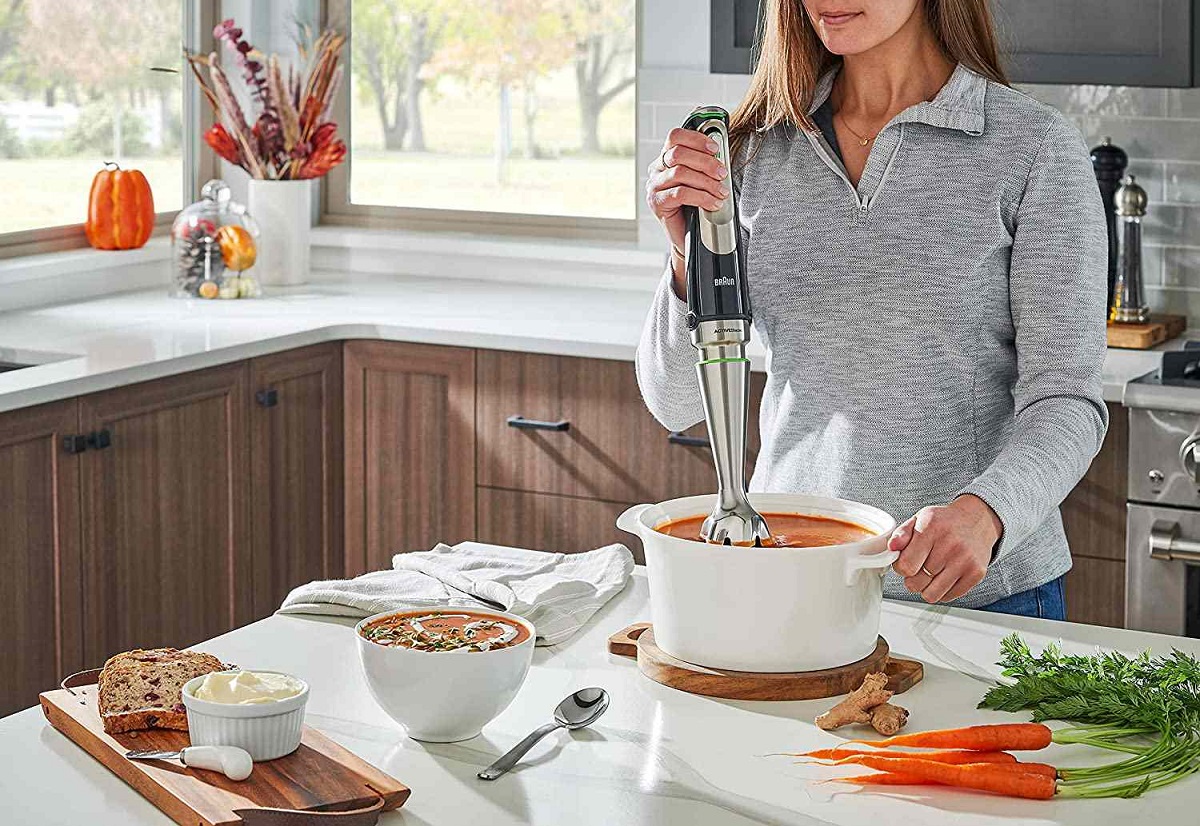
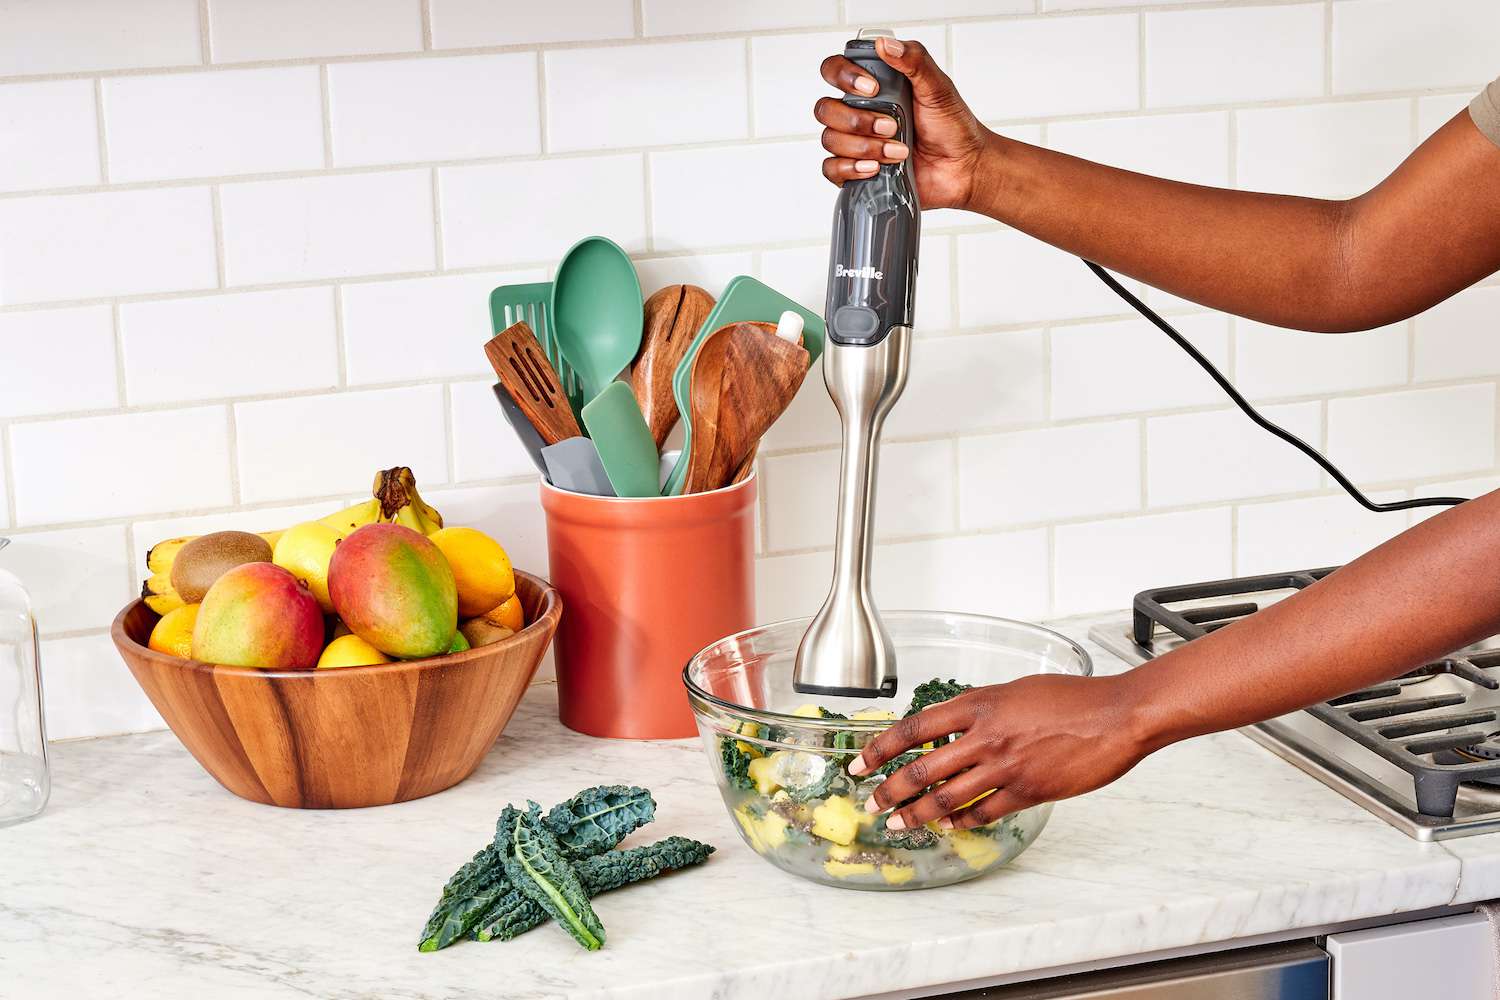
An immersion blender, also known as a hand blender or stick blender, is a versatile kitchen tool that allows you to blend, whip, and puree ingredients directly in a container or pot. Its compact size and easy handling make it a popular choice among home cooks and professional chefs alike.
To ensure that your immersion blender remains in optimal condition, it is important to clean it thoroughly after each use, dry it properly, and store it in a safe and suitable location. In this article, we will guide you through the step-by-step process of storing your immersion blender to keep it in top-notch shape.
So, let’s get started with the first step: cleaning the immersion blender.
Key Takeaways:
- Properly storing your immersion blender involves thorough cleaning, drying, disassembling, and choosing the right storage container to protect its parts from damage and ensure easy accessibility for future use.
- Regular maintenance, such as blade sharpening and lubrication, is crucial to prolong the lifespan of your immersion blender and maintain its optimal performance for delicious meals and beverages.
Read more: How To Froth Milk With Immersion Blender
Step 1: Cleaning the Immersion Blender
Before storing your immersion blender, it is essential to clean it thoroughly. This will help remove any food particles, residue, or liquids that may be stuck to the blades or housing. Follow these steps for a proper cleaning:
- Unplug the immersion blender from the power source.
- If the immersion blender has detachable parts, such as a blending shaft or attachments, remove them according to the manufacturer’s instructions.
- Rinse the detachable parts and the main body of the immersion blender under warm running water to remove any loose debris.
- Fill a bowl with warm water and a few drops of dish soap.
- Immerse the blending shaft, attachments, and any other removable parts in the soapy water.
- Use a sponge or cloth to gently scrub the parts, paying close attention to the blades and any crevices.
- Rinse the parts thoroughly with clean water to remove any soap residue.
- Wipe the motor housing of the immersion blender with a damp cloth, being careful not to get water inside the electrical components.
- If there are stubborn stains or residue, you can use a mild kitchen cleaner or a mixture of baking soda and water to scrub them away.
- Allow all the parts to air dry completely before proceeding to the next step.
Cleaning your immersion blender regularly not only keeps it hygienic but also prevents any cross-contamination between different ingredients. Once the immersion blender is clean and dry, you are ready to move on to the next step: drying the immersion blender.
Step 2: Drying the Immersion Blender
After cleaning your immersion blender, it’s essential to ensure that it is thoroughly dried before storing it. Moisture left on the blades or housing can lead to the growth of bacteria or cause damage over time. Follow these steps to properly dry your immersion blender:
- Use a clean kitchen towel or paper towel to carefully pat dry the detachable parts and the main body of the immersion blender.
- Pay special attention to the blades and any other crevices where water might accumulate.
- Allow the parts to air dry for at least 15-30 minutes to ensure that no moisture remains.
- If you’re in a hurry, you can use a hairdryer on a low heat setting to speed up the drying process. However, be cautious and avoid applying too much heat to prevent any damage to the plastic or electrical components.
- Make sure all the parts are completely dry before proceeding to the next step.
Properly drying your immersion blender ensures that no moisture is trapped inside, reducing the risk of rust or damage. Once the immersion blender is dry, you can move on to the next step: disassembling the immersion blender.
Step 3: Disassembling the Immersion Blender
Before storing your immersion blender, it is important to disassemble it, especially if it has detachable parts. Disassembling the immersion blender makes it easier to clean, ensures thorough drying, and reduces the risk of any residue or moisture being trapped. Follow these steps to disassemble your immersion blender:
- If your immersion blender has attachments or a blending shaft, make sure it is detached from the motor housing.
- Check if there are any additional removable parts, such as a blade guard or whisk attachment, and remove them as well.
- Refer to the manufacturer’s instructions if you are unsure about the disassembly process for your specific immersion blender model.
- Place the detachable parts in a safe and clean area, ready for storage.
- Inspect each part to ensure there are no signs of damage or wear that may affect the performance of your immersion blender.
- Keep all the parts together or store them separately, depending on your preference and available storage space.
Disassembling your immersion blender not only allows for easier cleaning and drying but also helps to prevent any potential damage during storage. Once the immersion blender is disassembled, you can proceed to the next step: storing the disassembled parts.
Step 4: Storing the Disassembled Parts
After disassembling your immersion blender, it is important to store the parts properly to keep them organized and protected. Storing the disassembled parts separately prevents them from banging against each other and reduces the risk of any damage. Here are some tips for storing the disassembled parts of your immersion blender:
- Use a clean and dry container or a plastic bag to store the detachable parts. Make sure the container or bag is large enough to comfortably accommodate the parts without squeezing or bending them.
- If there are small components, such as blades or attachments, consider putting them in a smaller container or bag within the main storage container. This helps prevent them from getting lost or misplaced.
- You can also use small zip-top bags or food storage bags to store the parts individually to further protect them.
- Label the storage container or bags with the name of the immersion blender or any other relevant information to easily identify them in the future.
- Keep the storage container or bags in a cool, dry place away from direct sunlight and extreme temperature fluctuations. Excessive heat or humidity can potentially damage the parts.
- Ensure that the storage area is also free from any potential contaminants, such as dust, dirt, or chemicals, which can affect the integrity of the immersion blender parts.
Storing the disassembled parts of your immersion blender separately helps to keep them in good condition and readily accessible. By following these storage tips, you can ensure that your immersion blender is well-preserved and ready for use whenever you need it.
Read more: Cuisinart Immersion Blender How To Use
Step 5: Choosing a Storage Container
When it comes to storing your disassembled immersion blender, choosing the right storage container is essential. The container should provide adequate protection, keep the parts organized, and prevent any potential damage. Here are some factors to consider when selecting a storage container for your immersion blender:
- Size: Choose a storage container that is large enough to comfortably accommodate all the disassembled parts without squeezing or bending them. It should have enough space to keep the parts separate and prevent them from coming into contact with each other.
- Material: Opt for a container made of a durable material, such as plastic or glass, that is resistant to impact and moisture. This will help protect the immersion blender parts from potential damage or humidity-related issues.
- Sealability: Look for a storage container with a secure lid or airtight seal. This will prevent dust, dirt, or moisture from getting inside and potentially damaging the parts.
- Transparency: Consider using a transparent or semi-transparent storage container. This allows you to easily identify the immersion blender parts without having to open the container, saving you time and effort.
- Stackability: If you have limited storage space, choose a container that is stackable. This will help optimize the available space and keep your kitchen or storage area neat and organized.
- Labeling: If you have multiple storage containers or frequently switch between different immersion blender models, consider labeling the containers. This will allow you to quickly identify the parts for specific immersion blenders without confusion.
By considering these factors, you can choose the most suitable storage container for your disassembled immersion blender. Remember, the goal is to keep the parts protected, organized, and easily accessible for future use.
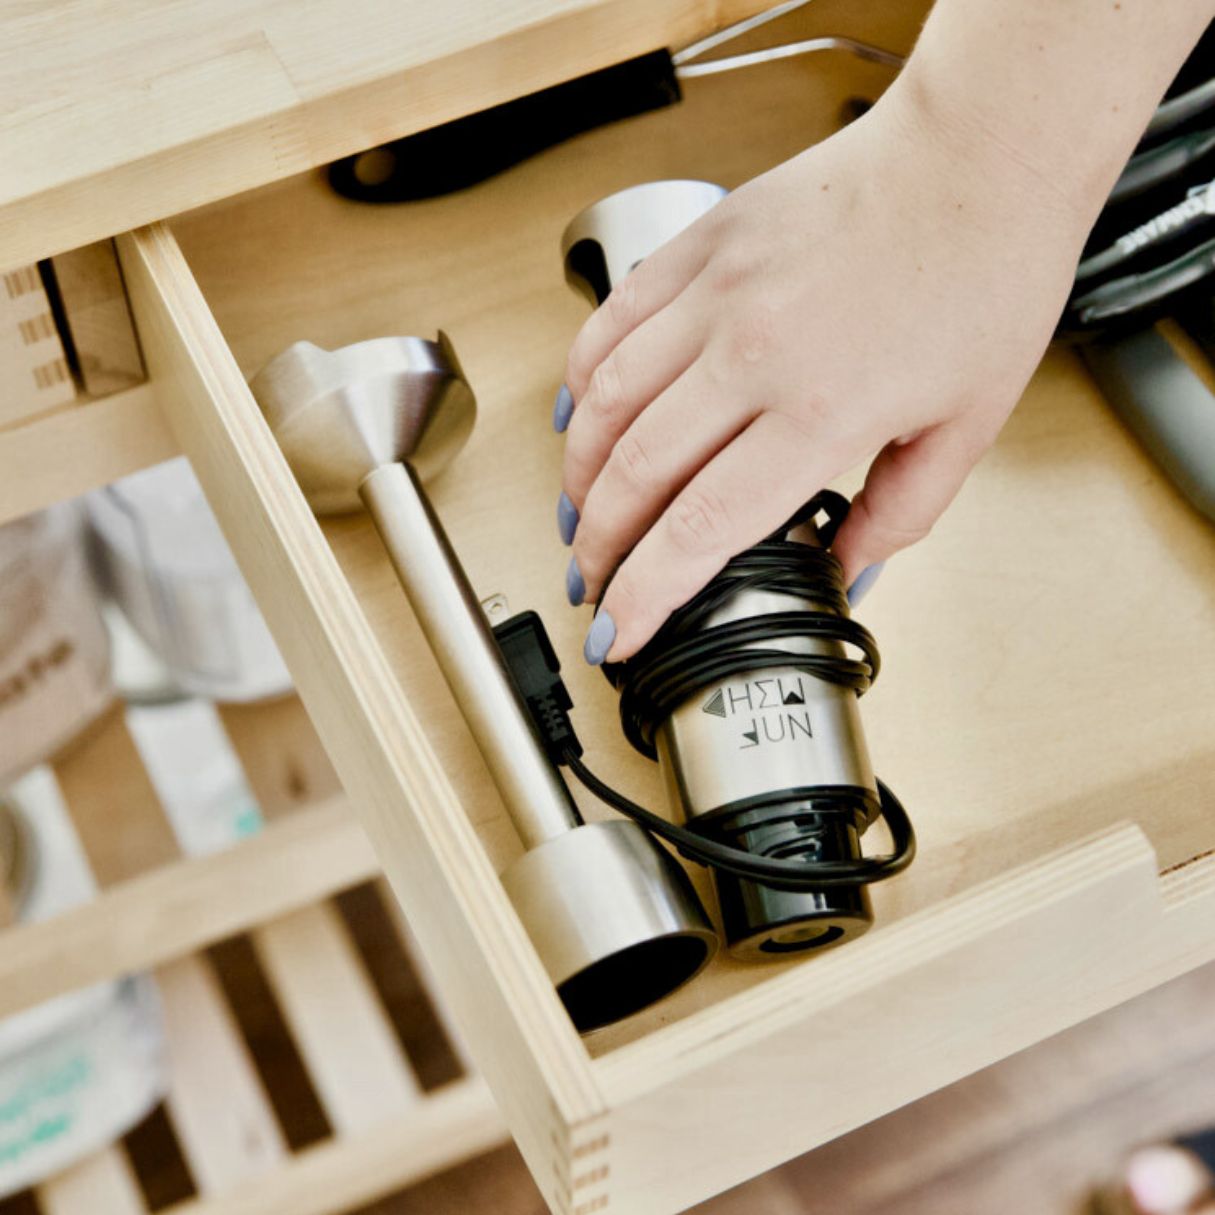
After using your immersion blender, make sure to detach the blending attachment and clean it thoroughly. Store the immersion blender in a dry and easily accessible place, such as a kitchen drawer or cabinet, to keep it in good condition and ready for use.
Step 6: Placement in the Storage Container
Once you have selected the appropriate storage container for your disassembled immersion blender parts, it’s time to carefully place them inside. Proper placement ensures that the parts are secure, organized, and protected from any potential damage. Follow these steps for the correct placement of your immersion blender parts in the storage container:
- Make sure the storage container is clean and dry before placing the parts inside. Wipe the container with a damp cloth if needed to remove any dust or debris.
- Start by placing the larger components, such as the blending shaft or attachment, at the bottom of the container. Lay them flat and ensure they are not overlapping or pressing against each other.
- If there are any small detachable parts, such as blades or whisk attachments, position them next. You can place them in separate compartments or sections of the container if available, or keep them together in a smaller zip-top bag within the main container.
- Ensure that the parts are arranged in a manner that minimizes the risk of them moving or shifting during storage. This helps prevent any potential damage or misalignment.
- If there are any additional accessories or components, such as a blade guard or power cord, find a suitable space for them in the container. Keep them separate from the immersion blender parts to avoid tangling or potential damage.
- Double-check that all the parts are securely placed in the container and there is sufficient space to close the container or seal it with a lid.
By following these placement guidelines, you can ensure that your immersion blender parts are properly organized and stored within the container, reducing the risk of any damage or loss during storage. Keeping the parts securely positioned in the container will also make it easier for you to retrieve them when needed.
Step 7: Adding a Protective Cover or Wrapping
To provide an extra layer of protection for your disassembled immersion blender parts, consider adding a protective cover or wrapping. This added measure helps safeguard the parts from potential scratches, dust, and other external elements. Here are a few options for adding a protective cover or wrapping:
- Silicone Covers: Look for silicone covers specifically designed for immersion blender parts. These covers provide a snug fit and offer excellent protection against scratches and minor impacts. They are easy to clean and reusable.
- Fabric Wraps: Use soft fabric, like microfiber or cotton, to wrap each individual part of the immersion blender. This helps prevent scratches and keeps them free from dust. Secure the fabric with a rubber band or a piece of string.
- Plastic Wrap: Wrap the disassembled immersion blender parts in a layer of plastic wrap or cling film. This provides a barrier against dust and moisture. Ensure that the parts are wrapped securely but not too tightly.
- Zip-Top Bags: Place each immersion blender part in a separate zip-top bag or food storage bag. This helps keep them protected and prevents any contact with dust or contaminants. Seal the bags securely.
Choose the option that best suits your preferences and the available resources. The key is to ensure that the protective cover or wrapping adequately shields the immersion blender parts from potential damage during storage.
Note: Whichever method you choose, make sure that the immersion blender parts are completely dry before adding the protective cover or wrapping. Moisture trapped inside can lead to mold or damage over time.+
Step 8: Finding the Right Storage Location
Once your disassembled immersion blender parts are properly protected and wrapped, the next step is to find the right storage location. It’s important to choose a place that is convenient, safe, and suitable for long-term storage. Here are some factors to consider when selecting the ideal storage location:
- Avoid Exposure to Heat or Direct Sunlight: Choose a storage location away from sources of extreme heat or direct sunlight. Prolonged exposure to heat or sunlight can damage the plastic components and affect the performance of the immersion blender.
- Keep Away from Moisture and Humidity: Ensure that the storage area is dry and free from excessive humidity. Moisture can lead to the growth of mold, rust, or damage to the electrical components of the immersion blender.
- Minimize Contact with Airborne Contaminants: Select a storage location where the immersion blender parts won’t be exposed to excessive dust, dirt, or other airborne contaminants. Keeping them in a closed cupboard or cabinet can help minimize contact with such particles.
- Consider Accessibility: Store the immersion blender parts in a location that is easily accessible when you need to use them. This saves time and effort in retrieving and assembling the parts for your blending tasks.
- Organize with Other Kitchen Appliances: If you have a designated area for kitchen appliances, you can store the immersion blender parts alongside other similar items. This allows for better organization and makes it convenient to find all the necessary tools in one place.
- Secure Storage: If you have concerns about the safety of the immersion blender parts, especially if you have curious children or pets at home, consider storing them in a locked cupboard or a higher shelf out of reach.
By considering the above factors, you can find an ideal storage location that ensures the immersion blender parts are protected, accessible, and in optimal condition for future use.
Read more: What Is A Good Immersion Blender
Step 9: Check for Any Maintenance Requirements
Before finalizing the storage of your immersion blender, it is important to check for any maintenance requirements specific to your model. Regular maintenance ensures that the immersion blender continues to function properly and extends its lifespan. Here are a few maintenance tasks you should consider:
- Refer to the manufacturer’s instructions: Read the user manual or check the manufacturer’s website for any specific maintenance guidelines or recommendations for your immersion blender model.
- Blade Sharpness: Check the sharpness of the blades. If they are dull or damaged, consider sharpening or replacing them according to the manufacturer’s instructions.
- Lubrication: Some immersion blender models may require lubrication of the motor shaft or other internal components. Check if your model requires any lubrication and follow the recommended procedures provided by the manufacturer.
- Seals and Gaskets: Inspect the seals and gaskets for wear or damage. If necessary, replace them to ensure proper sealing and prevent any leaks during blending.
- Motor Housing Cleaning: Regularly clean the motor housing of the immersion blender using a damp cloth. This helps remove any dust or residue that may have accumulated over time. Avoid using harsh abrasives or submerging the housing in water.
- Regular Use: If you use your immersion blender frequently, it is a good practice to run it for a few seconds every couple of months, even when not in use. This helps keep the motor in good condition and prevents any stiffness or seizing.
By performing these maintenance tasks periodically, you can ensure that your immersion blender remains in optimal condition and ready for use whenever you need it. Following the manufacturer’s guidelines and addressing any maintenance requirements will help prolong the lifespan of your immersion blender.
Conclusion
Storing your immersion blender properly is essential for maintaining its performance, prolonging its lifespan, and ensuring it is ready for use whenever you need it in the kitchen. By following the step-by-step process outlined in this guide, you can ensure that your immersion blender is stored correctly and protected from potential damage.
The process begins with thoroughly cleaning the immersion blender after each use, ensuring that all food particles and residue are removed. Then, allowing the blender to dry completely before disassembling it. Disassembling the immersion blender allows for easier cleaning and drying of the individual parts.
Once the immersion blender is disassembled, choosing the right storage container is crucial. The container should be the appropriate size, made of a durable material, and have a secure lid or seal to prevent dust and moisture from entering.
Add an extra layer of protection by using a protective cover or wrapping for the immersion blender parts. Silicone covers, fabric wraps, plastic wrap, or zip-top bags can all help keep the parts safe from scratches and dust.
When it comes to storing the parts in the container, ensure that they are placed in an organized manner and that they are not squeezing or pressing against each other. Additionally, consider the location where you store the immersion blender parts. Keep them away from sources of heat, direct sunlight, moisture, and airborne contaminants.
Lastly, don’t forget to check for any maintenance requirements specific to your immersion blender model. This may include blade sharpening, lubrication, seal and gasket checks, and regular cleaning of the motor housing.
By following these steps, you can rest assured that your immersion blender will be safely stored, well-maintained, and ready for your blending needs. Proper storage and maintenance will help ensure that the immersion blender continues to perform at its best, allowing you to create delicious meals and beverages with ease.
Frequently Asked Questions about How To Store Immersion Blender
Was this page helpful?
At Storables.com, we guarantee accurate and reliable information. Our content, validated by Expert Board Contributors, is crafted following stringent Editorial Policies. We're committed to providing you with well-researched, expert-backed insights for all your informational needs.


0 thoughts on “How To Store Immersion Blender”