Articles
How To Froth Milk With Immersion Blender
Modified: October 20, 2024
Learn how to froth milk like a pro with an immersion blender. Our expert articles will guide you step-by-step for the perfect foamy texture.
(Many of the links in this article redirect to a specific reviewed product. Your purchase of these products through affiliate links helps to generate commission for Storables.com, at no extra cost. Learn more)
Introduction
Frothed milk adds a creamy and luxurious touch to your favorite hot beverages, whether it’s a frothy cappuccino, a velvety latte, or a comforting cup of hot chocolate. While there are various methods to froth milk, using an immersion blender is a quick and easy way to achieve that perfect froth without the need for a bulky espresso machine or frother.
In this article, we will guide you through the steps on how to froth milk with an immersion blender, allowing you to elevate your home barista skills and enjoy café-quality drinks from the comfort of your own kitchen.
But before we dive into the process, let’s gather the necessary materials.
Key Takeaways:
- Elevate your home barista skills with an immersion blender to froth milk for café-quality drinks at home. Experiment with different milk types and frothing techniques to achieve the perfect velvety texture.
- Enjoy the indulgence of frothed milk in your favorite hot beverages using an immersion blender. Practice makes perfect, so embrace the process and savor the delightful results of your homemade frothy creations.
Read more: How To Froth Milk With A Hand Mixer
Materials Needed
To froth milk with an immersion blender, you will need the following materials:
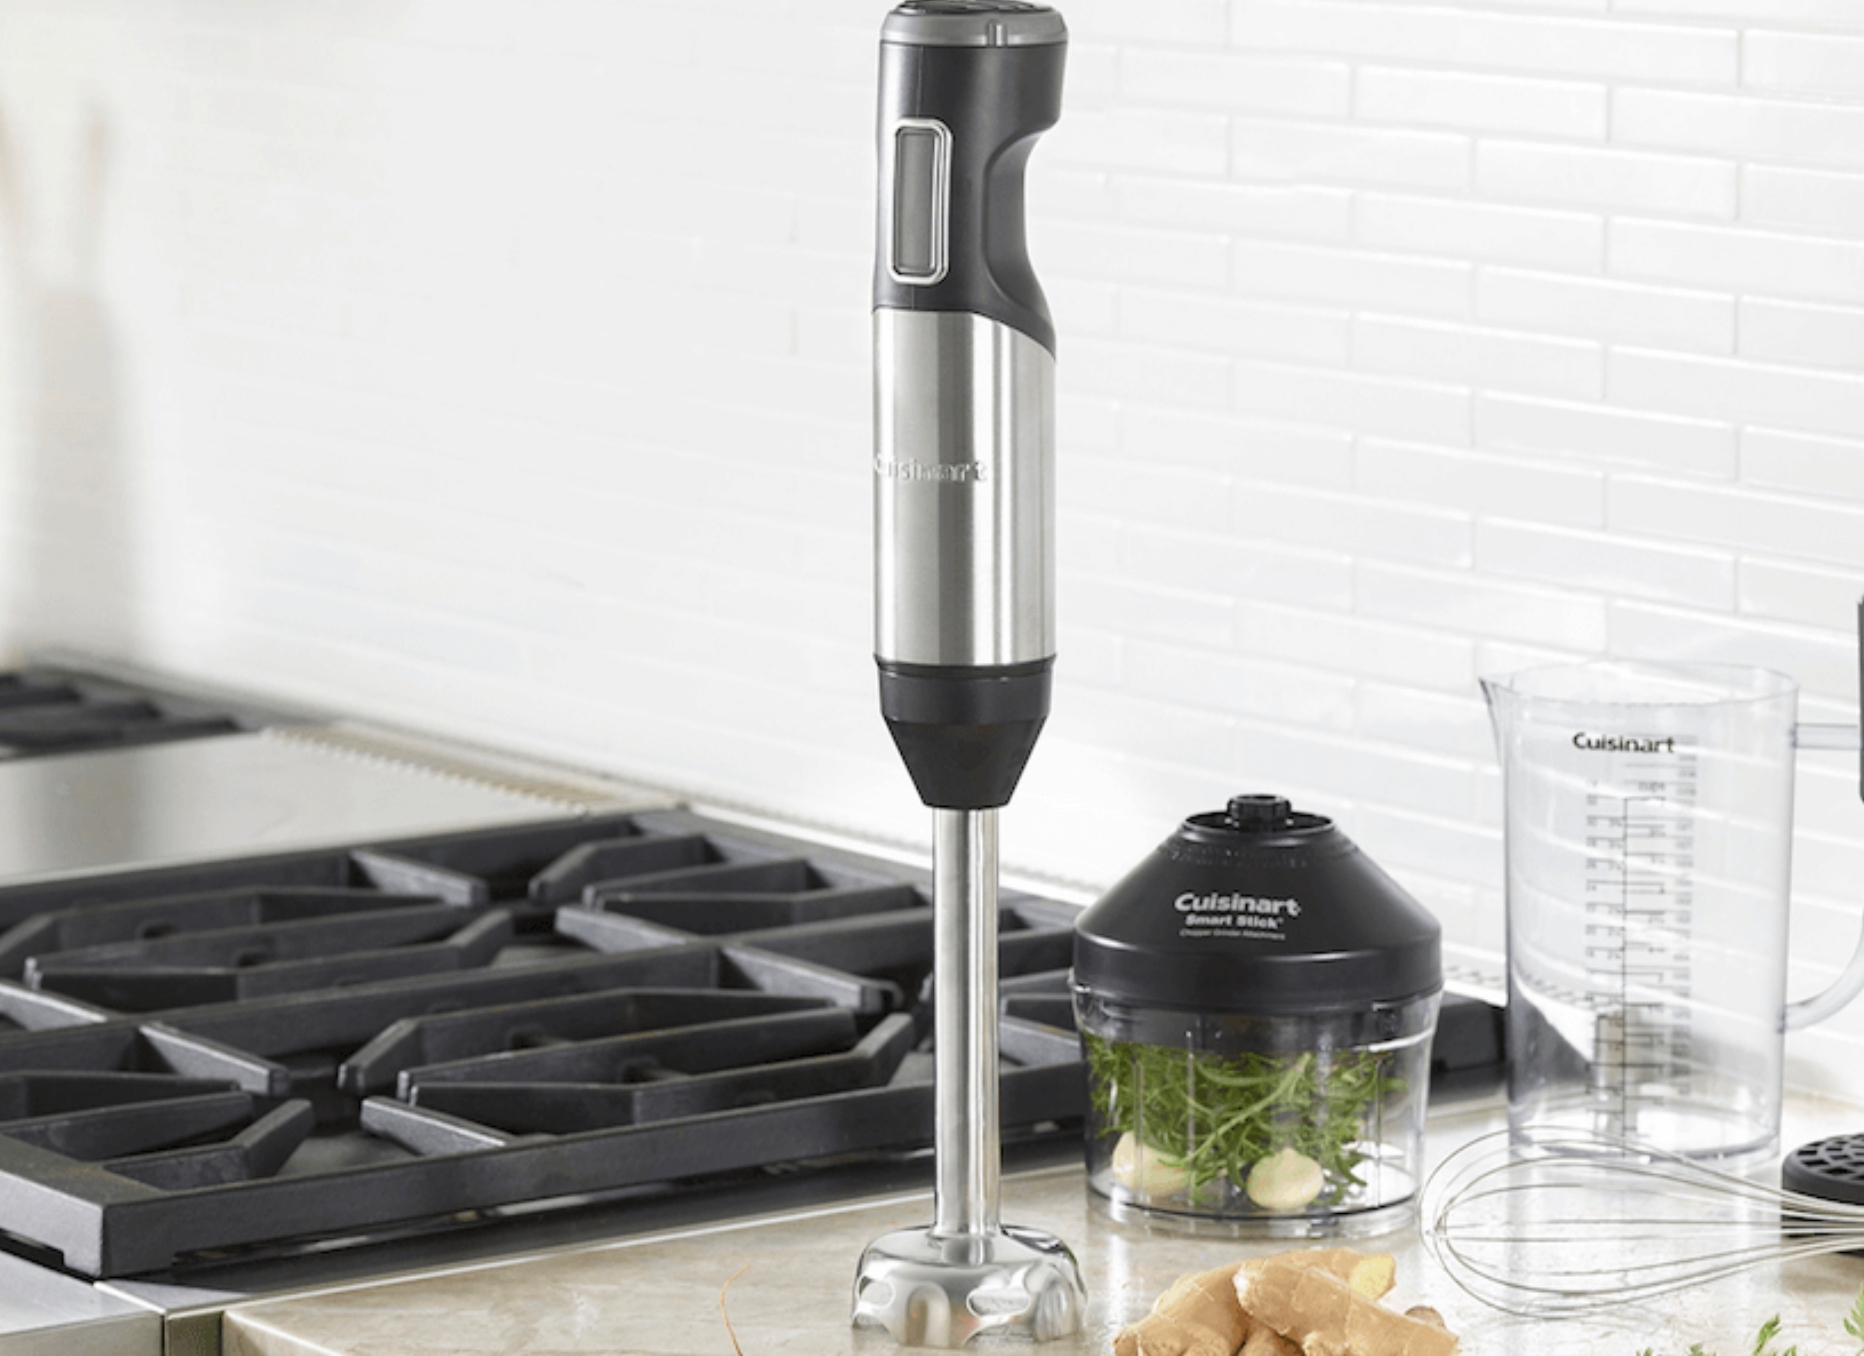
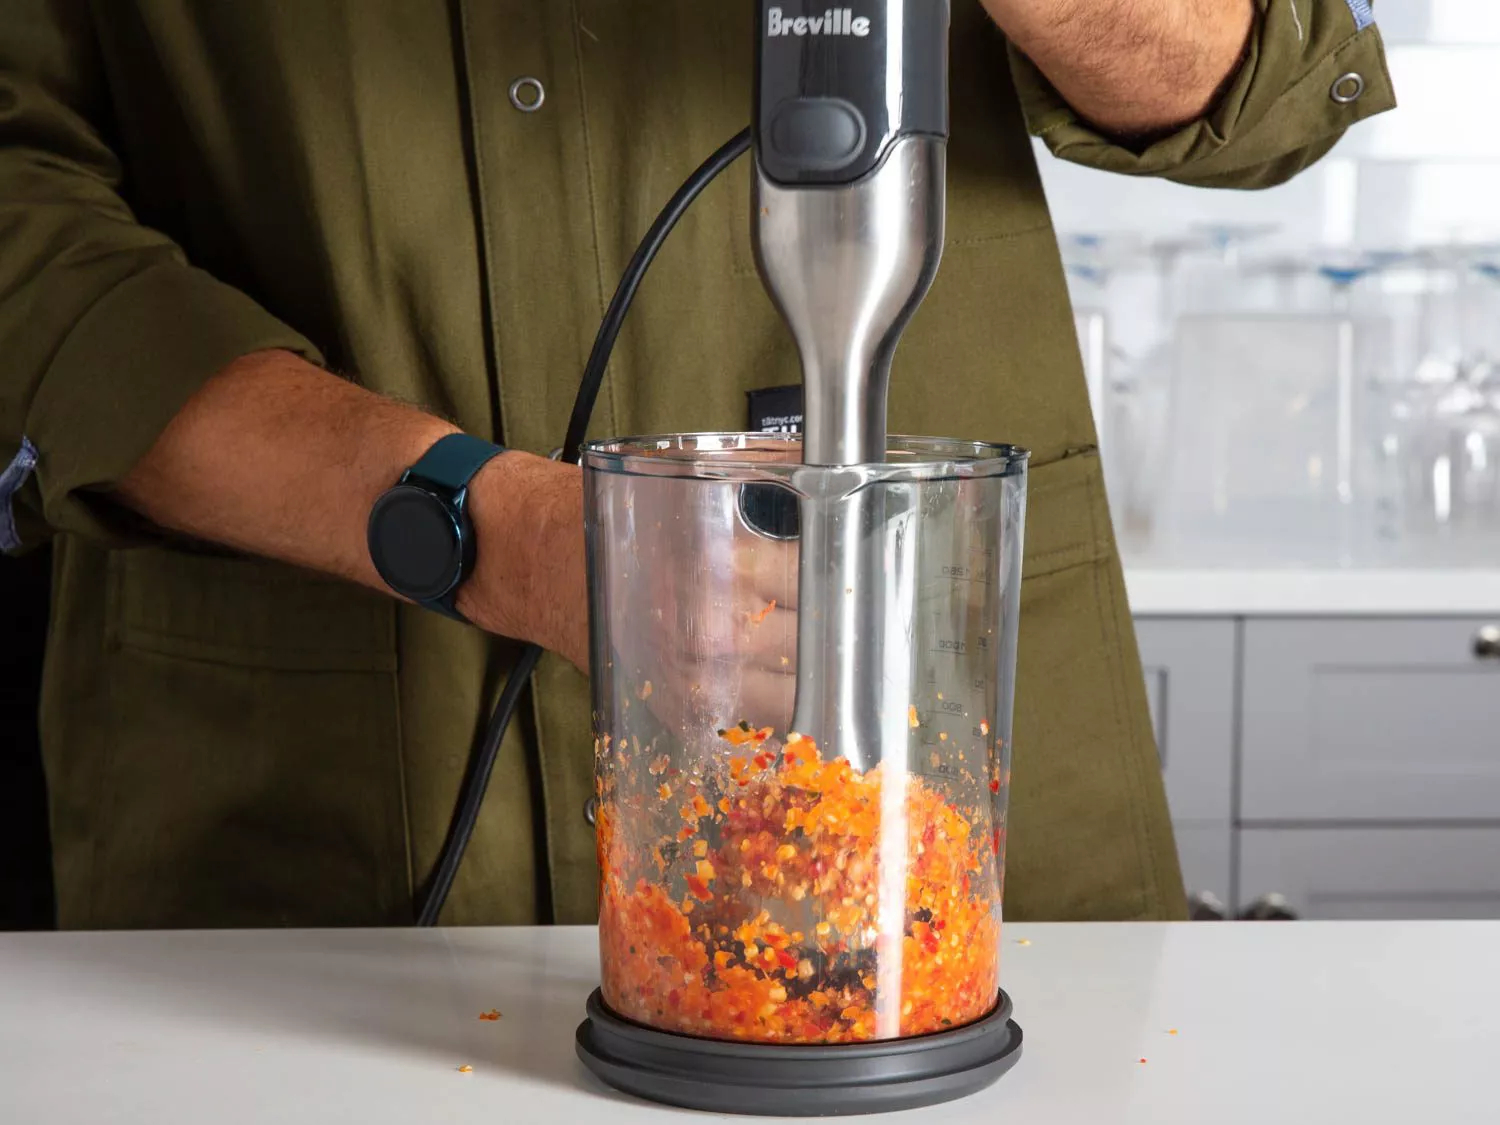
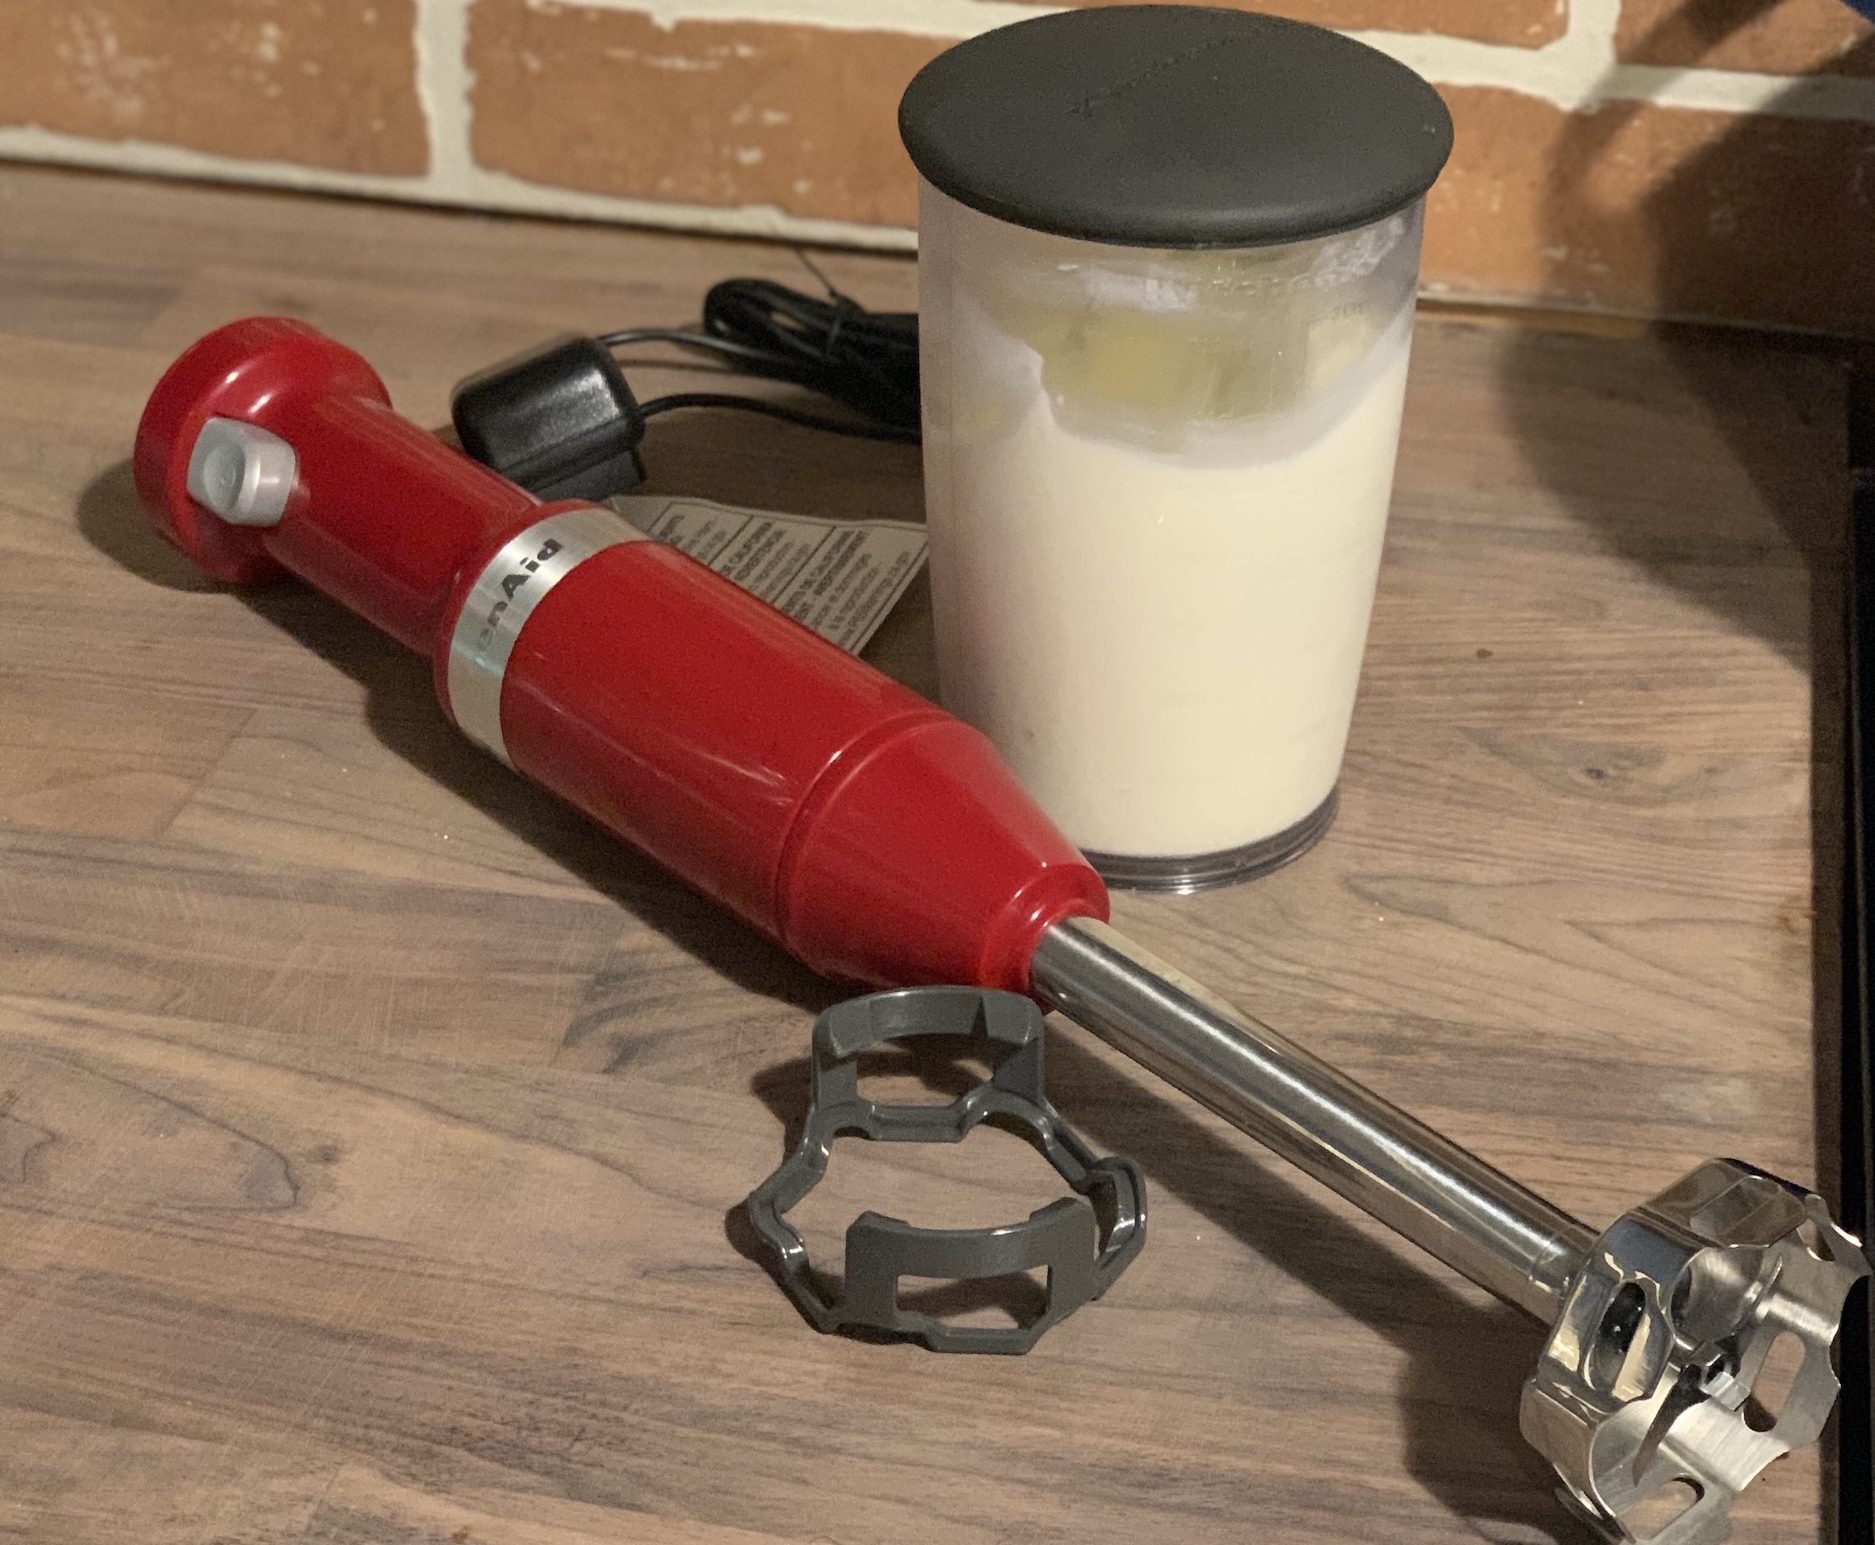
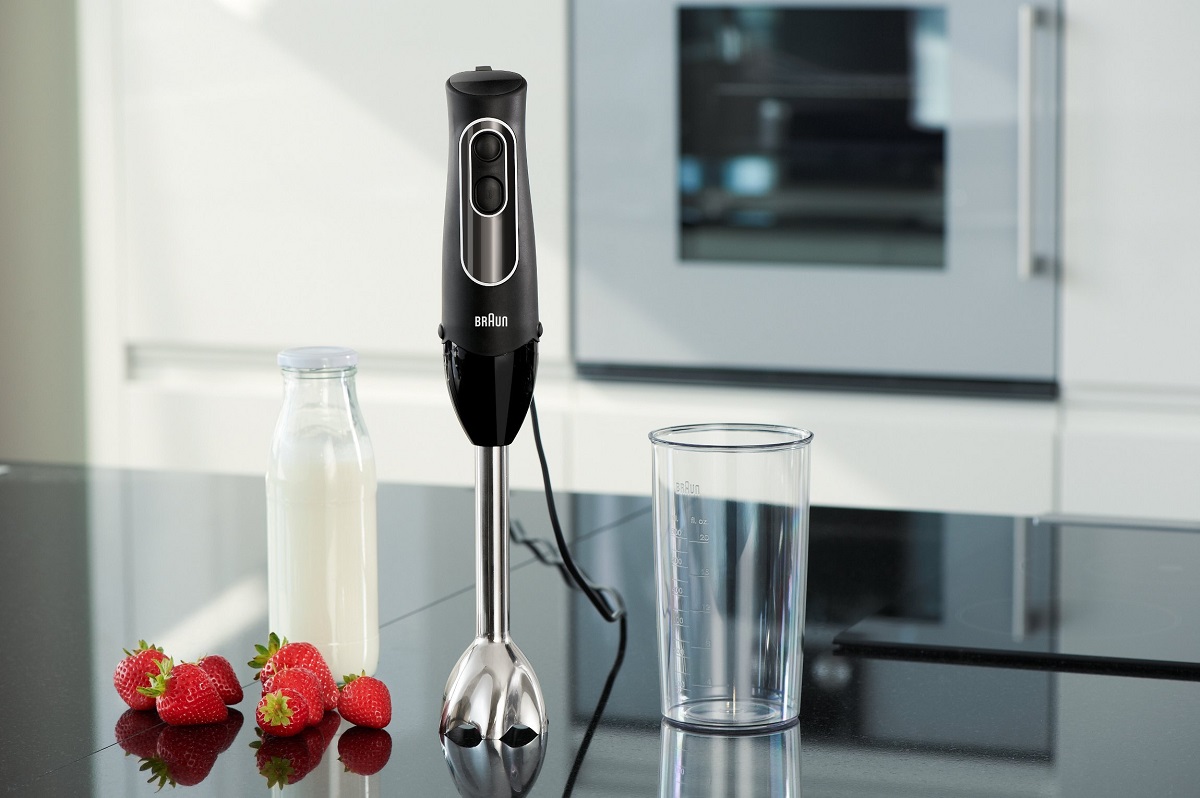
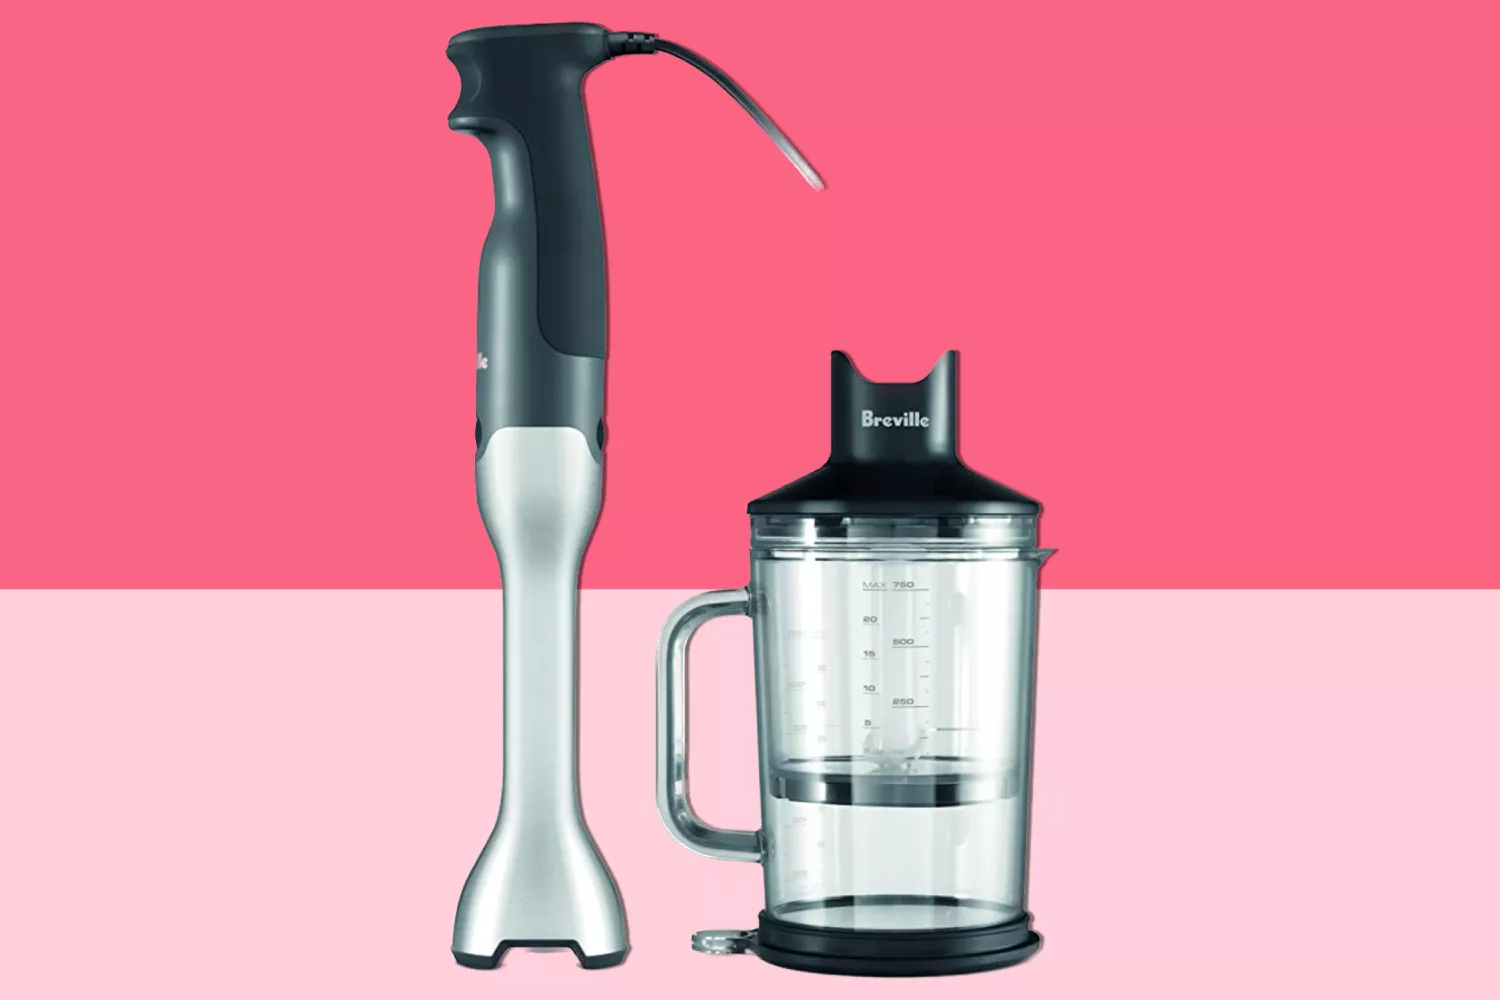
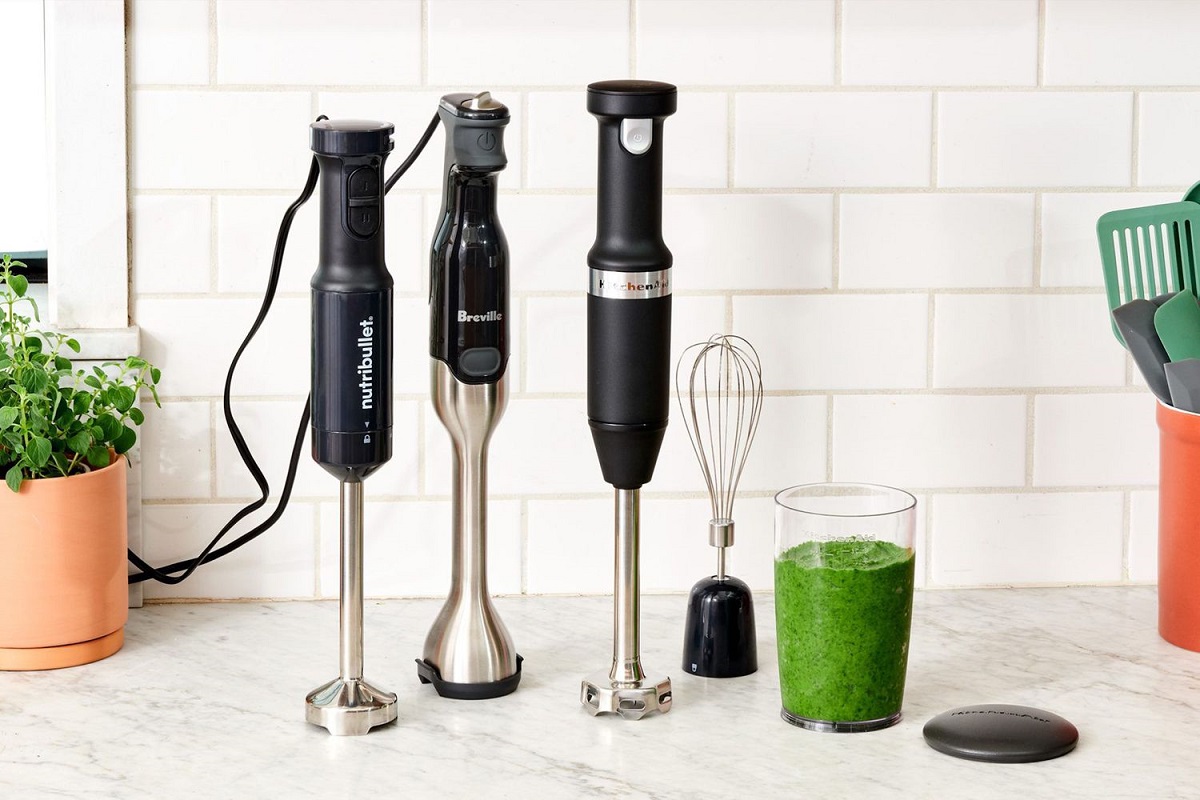
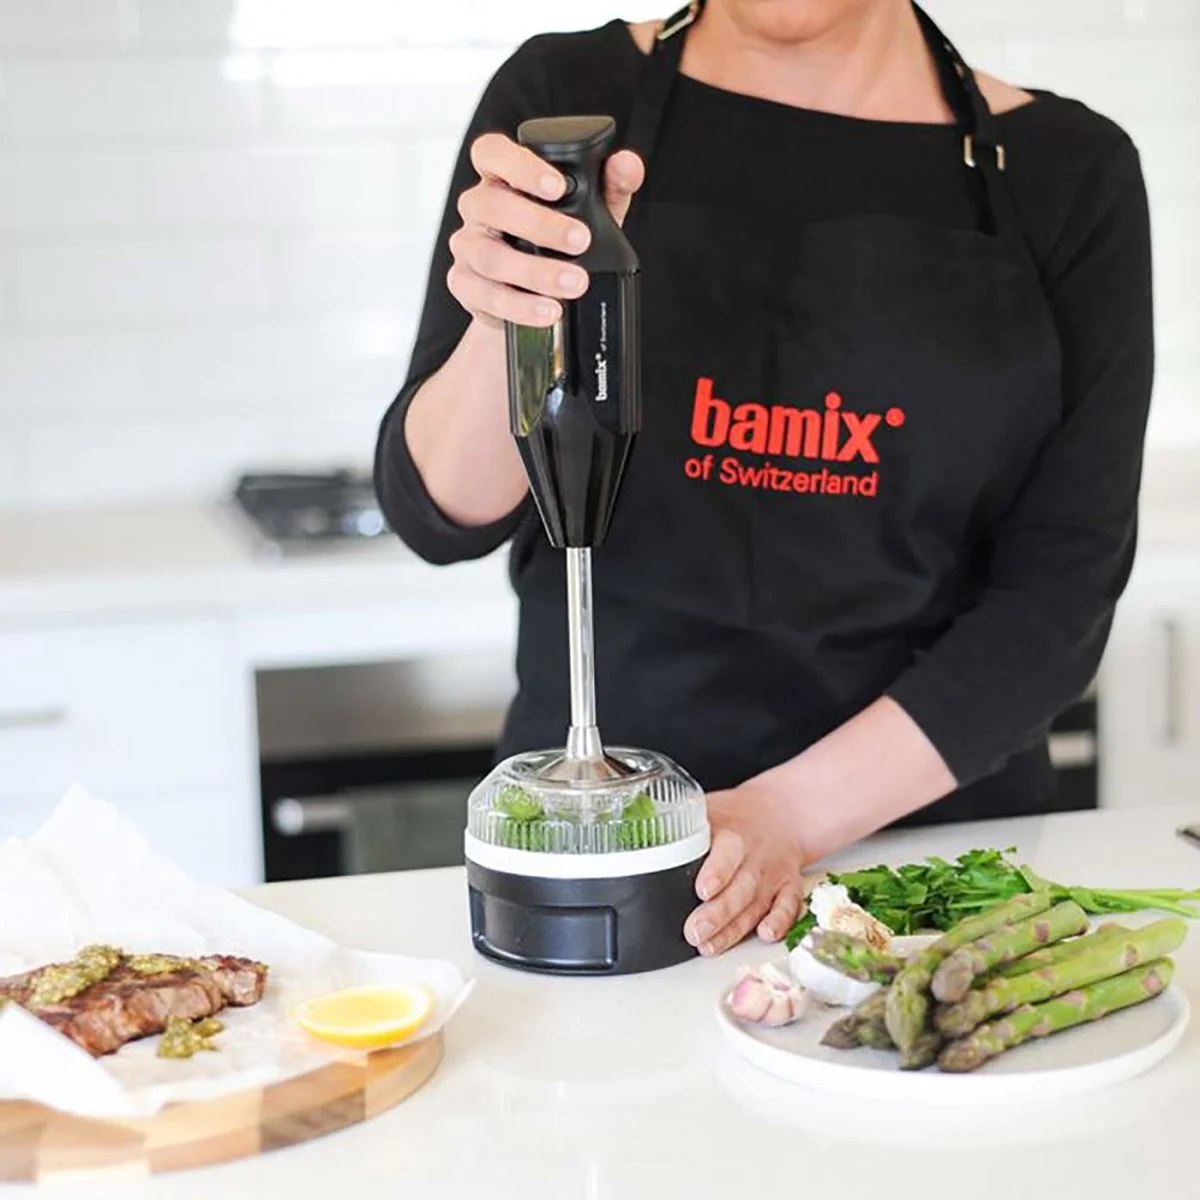
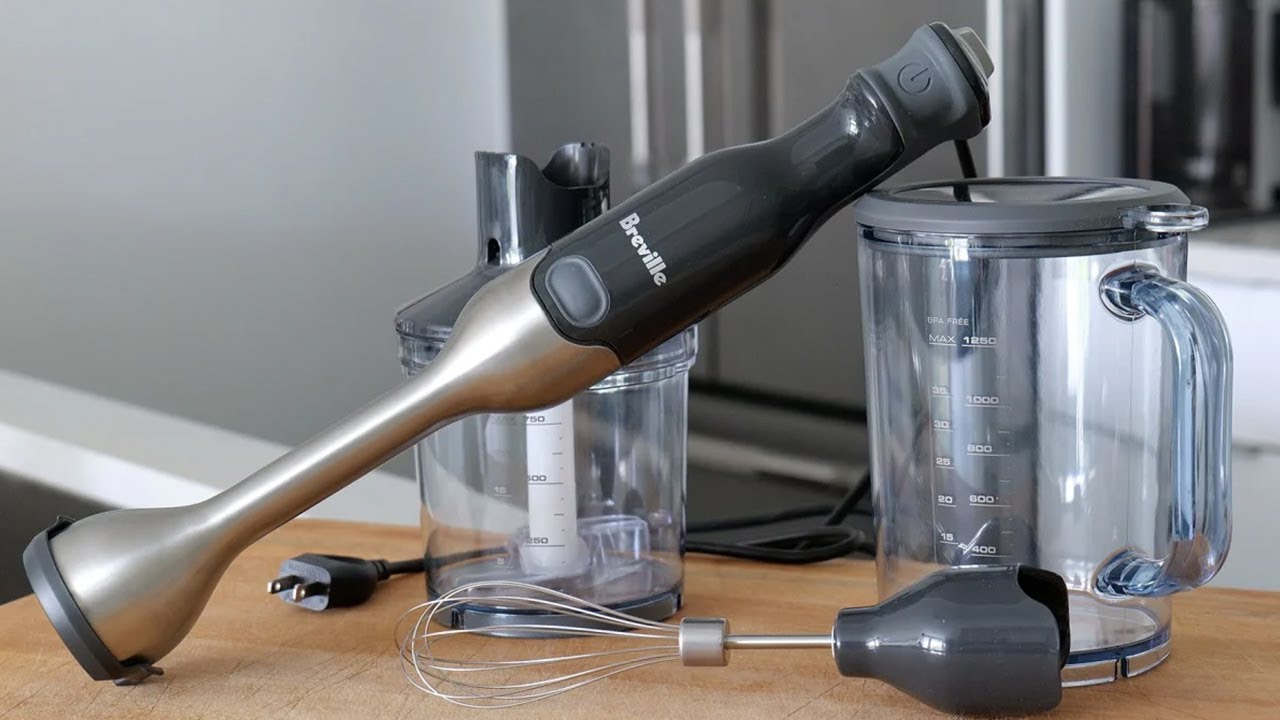
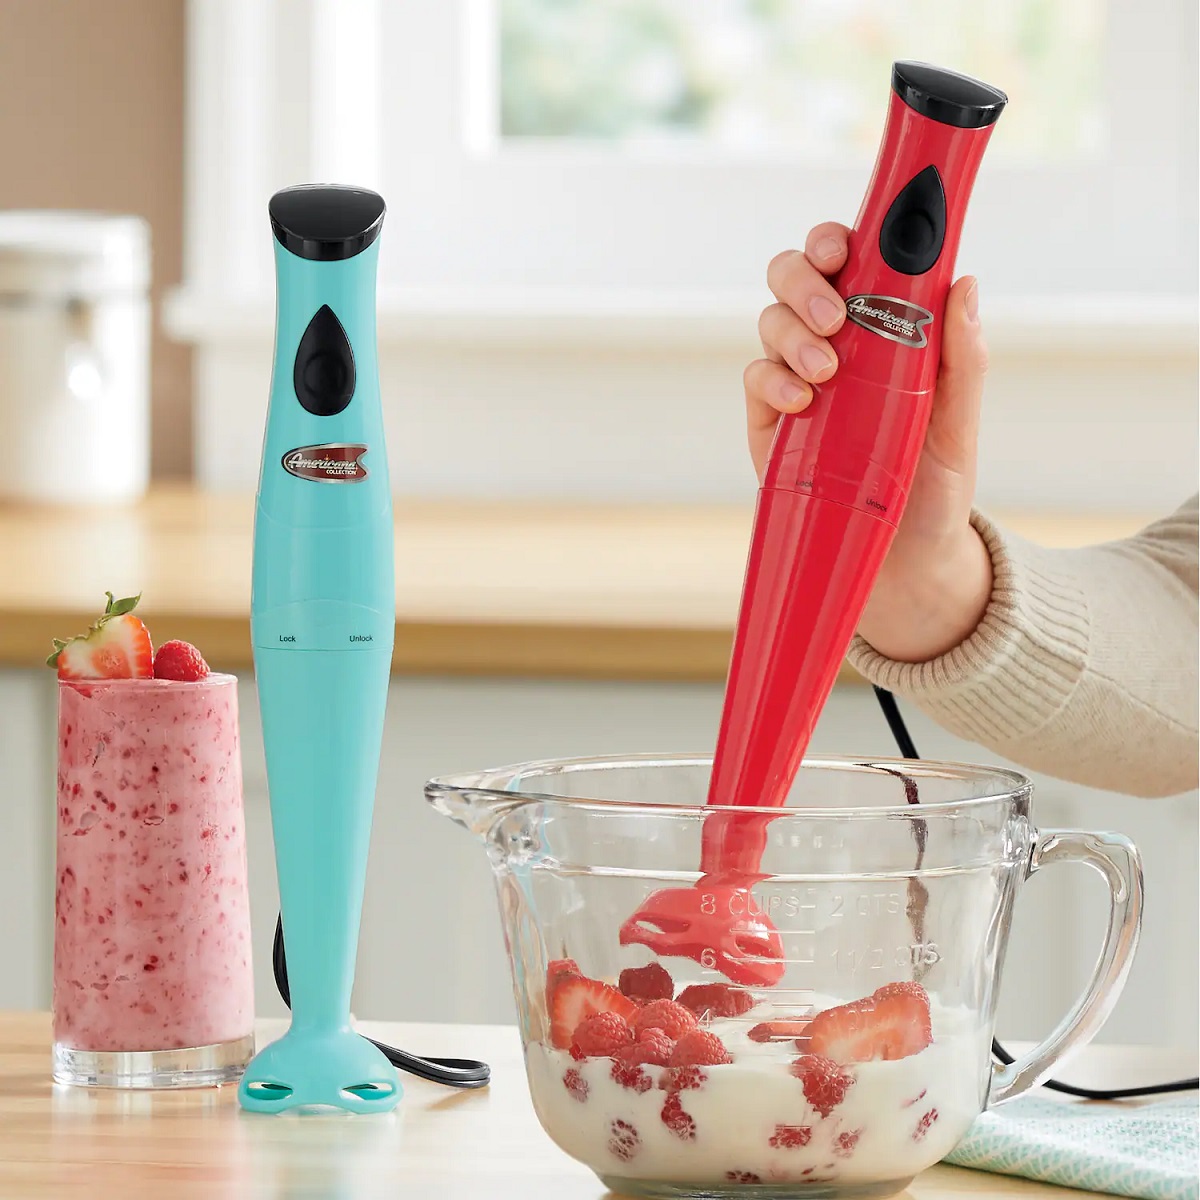
1. Immersion blender: This handheld kitchen tool, also known as a stick blender or hand blender, is essential for frothing the milk. Make sure it is in good working condition and has a whisk attachment.
2. Milk: Any type of milk can be frothed, including cow’s milk, almond milk, oat milk, soy milk, or any other milk alternative. Choose your preferred milk based on taste and dietary preferences.
3. Milk pitcher or tall narrow container: This will help contain the milk and provide enough space for the frothing process.
4. Microwave-safe container (optional): If you prefer to heat your milk before frothing, you will need a microwave-safe container to warm the milk. This step is not necessary if you prefer to froth cold milk.
5. Thermometer (optional): If you like to ensure the milk reaches the desired temperature for your beverage, a thermometer can be handy to monitor the milk’s temperature.
6. Mug or cup: Finally, have your favorite mug or cup ready to pour your frothed milk into and serve your delightful beverage.
With these materials readily available, you are now ready to start frothing your milk with an immersion blender. Let’s dive into the step-by-step process!
Step 1: Prepare the Milk
Before you begin frothing, it’s important to prepare the milk properly. Here’s how:
1. Choose the right milk: Select the type of milk that suits your taste preferences and dietary needs. Keep in mind that different milks may froth differently, so it’s worth experimenting to find your favorite.
2. Measure the desired amount of milk: Determine the quantity of milk you need for your beverage. It’s recommended to leave some extra room in the milk pitcher or container to accommodate the frothing process.
3. Optional: Heat the milk: If you prefer your beverage warm, you may want to heat the milk before frothing. Pour the milk into a microwave-safe container and heat it in short intervals, stirring in between, until it reaches your desired temperature. Be cautious not to overheat the milk, as it may affect the frothing process.
4. Prepare cold milk (if desired): If you prefer a cold frothy beverage, skip the heating step and use cold milk straight from the refrigerator.
Now that your milk is ready, it’s time to prepare the immersion blender for frothing. Let’s move on to the next step!
Step 2: Prepare the Immersion Blender
Before you begin frothing the milk, it’s important to prepare the immersion blender for the task at hand. Follow these steps to ensure your blender is ready to go:
1. Attach the whisk attachment: Most immersion blenders come with a detachable whisk attachment specifically designed for frothing and whisking ingredients. Make sure you have this attachment handy and securely attach it to the immersion blender.
2. Check the cleanliness of the blender: Before using the immersion blender, ensure that it is clean and free of any food residue or leftover ingredients from previous use. Clean the attachments thoroughly to prevent any unwanted flavors or odors from transferring to your milk.
3. Plug in the immersion blender: Ensure that the immersion blender is properly plugged into a functioning electrical outlet. Double-check that the power cord is not tangled or obstructed in any way.
4. Position the blender in the milk pitcher or container: Place the immersion blender down into the milk pitcher or tall narrow container you prepared earlier. Make sure the whisk attachment is submerged in the milk, but not touching the bottom.
Once you have completed these steps, you are ready to move on to the exciting part – frothing the milk with your immersion blender. Let’s proceed to the next step!
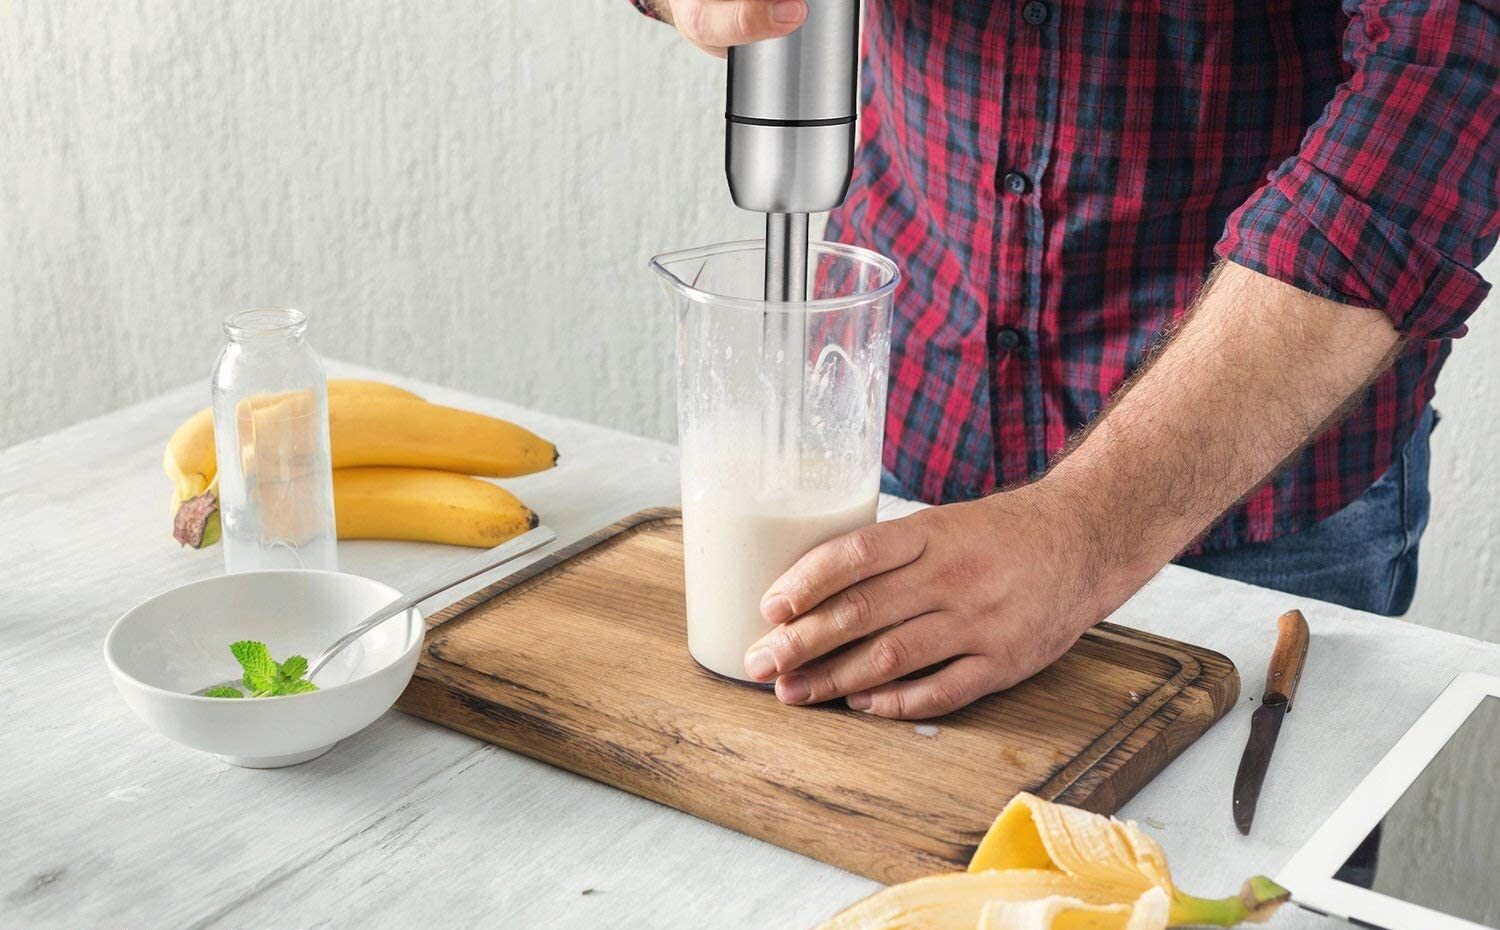
Step 3: Froth the Milk
Now comes the fun part – it’s time to froth the milk using your immersion blender. Follow these steps to achieve a rich and frothy texture:
1. Submerge the whisk attachment: Ensure that the whisk attachment is completely immersed in the milk, but not touching the bottom of the container. This will allow the blender to create a vortex and froth the milk effectively.
2. Turn on the immersion blender: Switch on the immersion blender to its lowest speed setting. Slowly start moving the blender up and down in a gentle, circular motion to create a whirlpool effect in the milk. This motion helps incorporate air into the milk and create froth.
3. Continue blending: Keep blending the milk until you achieve the desired level of frothiness. The process usually takes about 30 seconds to a minute, depending on the type of milk and the amount of froth you prefer.
Note: Avoid blending for too long, as over-blending may result in large bubbles or a separated consistency.
4. Lift the blender gradually: As you near the desired frothiness, gradually lift the immersion blender out of the milk, still blending gently. This technique helps create a smooth transition from frothed milk to milk without froth.
That’s it! You have successfully frothed your milk with an immersion blender. However, if you want to adjust the frothiness or consistency, we have some tips for you in the next step. Let’s move on!
To froth milk with an immersion blender, heat the milk in a saucepan until it’s warm but not boiling. Place the immersion blender in the milk and blend for 20-30 seconds until frothy. Pour into your coffee or other beverage and enjoy!
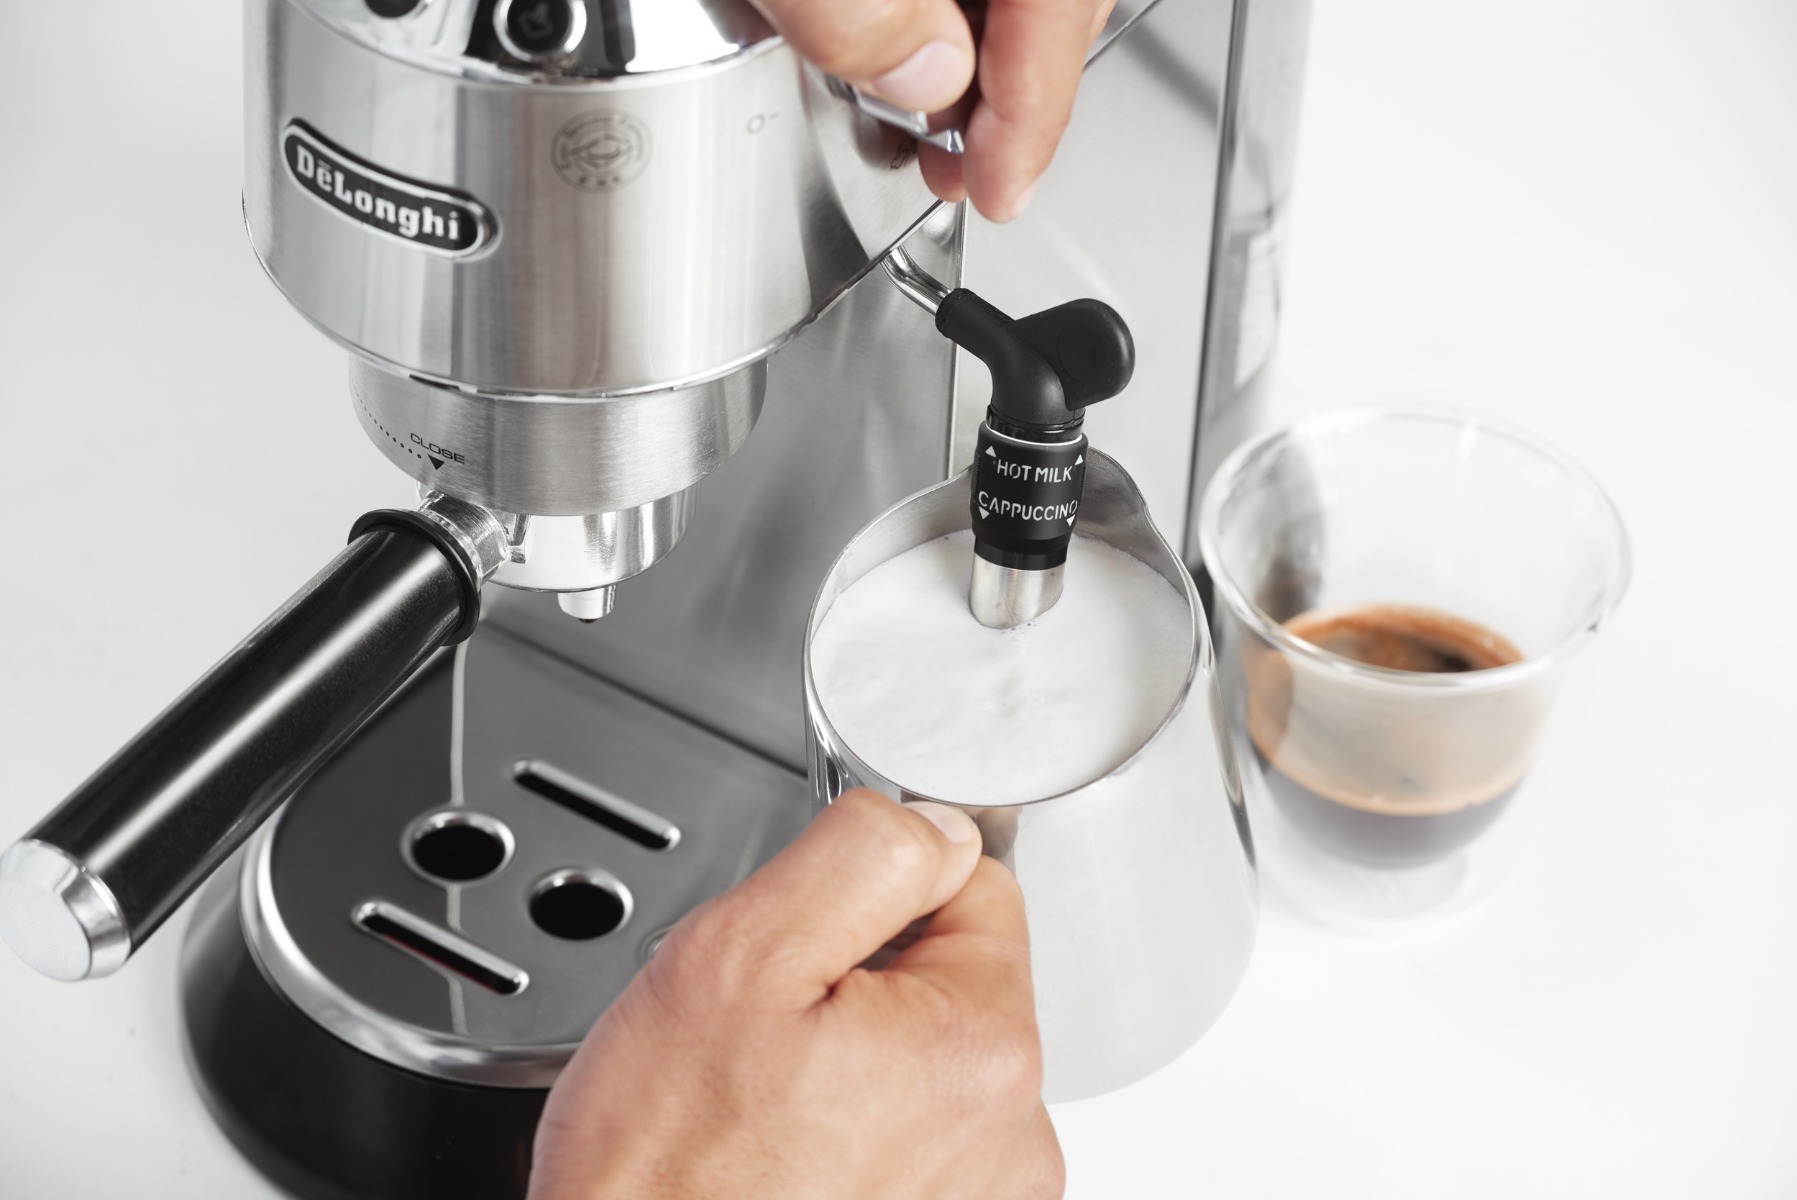
Read more: How To Froth Milk With Coffee Machine
Step 4: Adjust the Frothiness
After frothing the milk with your immersion blender, you may find that the frothiness is not exactly how you desire it. Don’t worry – you can easily adjust the frothiness to your liking by following these steps:
1. Increase or decrease blending time: If you want more froth, return the immersion blender to the milk and continue blending for a few seconds. For a less frothy texture, you can simply stop blending and remove the blender from the milk.
2. Adjust blending speed: Most immersion blenders come with multiple speed settings. If you want more froth, increase the blending speed gradually. Conversely, if you prefer less froth, decrease the blending speed or switch to a lower setting.
3. Experiment with blending techniques: Besides adjusting the blending time and speed, you can also experiment with different blending techniques. For a lighter and creamier froth, try holding the blender slightly tilted to the side or create a swirling motion in the milk. This can result in varying levels of frothiness and texture.
Remember, everyone has their personal preference when it comes to frothiness. Take some time to explore different techniques and find the perfect froth consistency that suits your taste.
Once you have achieved the desired frothiness, it’s time to serve your frothed milk and enjoy it in your favorite beverage. Let’s see how to do it in the next step!
Step 5: Serve and Enjoy
Now that you have successfully frothed your milk with an immersion blender, it’s time to pour it into your favorite mug or cup and savor the delightful results. Here’s how to serve and enjoy your frothy creation:
1. Carefully pour the frothed milk: Slowly pour the frothed milk into your mug or cup, using a spoon if necessary to hold back the foam while pouring. Be gentle to maintain the froth on top of your drink.
2. Add your desired beverage: Depending on your preference, you can now add a shot of espresso, brewed coffee, or hot chocolate to your frothed milk. Stir gently to combine the ingredients, allowing the flavors to meld together.
3. Optional: Add flavorings or sweeteners: If you enjoy flavored beverages, you can add syrups or spices like vanilla, caramel, cinnamon, or nutmeg to enhance the taste. Additionally, you can sweeten your drink with sugar, honey, or a sweetener alternative to your liking.
4. Garnish (optional): For an extra touch of elegance, you can garnish your frothy creation with a sprinkle of cocoa powder, cinnamon, or chocolate shavings. This adds visual appeal and adds an extra layer of flavor.
5. Sip and savor: Finally, take a moment to appreciate your masterpiece. Enjoy the velvety texture, the creamy foam, and the delicious combination of flavors. Take a sip and let the warmth and richness of your beverage envelop your senses.
Remember, the art of frothing milk takes practice, so don’t be discouraged if your first attempts are not perfect. With time and experience, you will master the technique and create cafe-worthy drinks in no time.
Now that you know how to froth milk with an immersion blender, get creative and experiment with different milk types, flavors, and variations. Elevate your at-home coffee experience and indulge in the luxurious frothy goodness whenever you desire.
Enjoy your frothy creations and happy frothing!
Tips and Tricks
Frothing milk with an immersion blender is a straightforward process, but here are some additional tips and tricks to help you achieve the best results:
- Choose the right milk temperature: For hot beverages, it’s recommended to heat the milk to around 140°F (60°C) before frothing. This will help maintain the desired temperature of your drink. For cold beverages, use cold milk straight from the refrigerator.
- Use a tall and narrow container: Using a tall and narrow container will prevent splashing and make it easier to create a whirlpool effect with the immersion blender.
- Start with a clean and dry immersion blender: Ensure that the immersion blender is clean and dry before using it to prevent any unwanted flavors or textures in your frothed milk.
- Be cautious with immersion blender speed: Start with a low speed setting and gradually increase as needed. Too high of a speed may create excessive foam or splattering.
- Froth small quantities at a time: For the best results, it’s recommended to froth smaller quantities of milk at a time. This allows for better control and ensures a consistent froth throughout.
- Experiment with different milk types: Different types of milk will produce varying froth consistency and flavors. Have fun experimenting with cow’s milk, almond milk, soy milk, or other milk alternatives.
- Practice makes perfect: Frothing milk with an immersion blender takes practice. Don’t get discouraged if your first attempts are not perfect. Keep trying and adjusting until you find the technique that works best for you.
- Clean the blender immediately after use: After frothing the milk, clean the immersion blender and whisk attachment promptly. This will prevent the milk from drying and becoming difficult to clean later on.
By keeping these tips and tricks in mind, you’ll be able to elevate your frothing skills and create barista-quality frothed milk for your favorite hot beverages.
Conclusion
Frothing milk with an immersion blender is a simple yet effective way to achieve that creamy and frothy texture that adds an extra touch of indulgence to your favorite hot beverages. With just a few steps and some practice, you can become your own home barista and enjoy café-quality drinks right in the comfort of your kitchen.
Throughout this article, we have covered the materials needed, the step-by-step process, and some helpful tips to ensure successful milk frothing with an immersion blender. Remember to prepare your milk, attach the whisk attachment, froth the milk to your desired texture, and then serve and enjoy your frothy creation.
Don’t be afraid to experiment with different milk types, flavors, and techniques to find your perfect froth consistency. Whether you prefer a light and airy foam or a dense and velvety texture, your immersion blender can help you achieve the frothiness you desire.
So, grab your immersion blender, your favorite milk, and get ready to savor the luxury of frothed milk in your daily coffee, latte, or hot chocolate. Impress your family and friends with your newfound skills and enjoy the delightful experience of homemade frothy beverages.
Remember, practice makes perfect, so keep trying and refining your frothing technique until you achieve the ideal froth that suits your taste. Armed with this knowledge, you can confidently embark on your frothing journey and elevate your at-home coffee experience.
Now, go ahead and start frothing! Embrace the creativity and enjoyment in the process, and relish in the delicious results. Cheers to frothy goodness and happy sipping!
Frequently Asked Questions about How To Froth Milk With Immersion Blender
Was this page helpful?
At Storables.com, we guarantee accurate and reliable information. Our content, validated by Expert Board Contributors, is crafted following stringent Editorial Policies. We're committed to providing you with well-researched, expert-backed insights for all your informational needs.


0 thoughts on “How To Froth Milk With Immersion Blender”