Articles
How To Clean An Immersion Blender
Modified: August 25, 2024
Discover effective techniques and articles on how to clean an immersion blender. Keep your blender spotless for optimal performance and longevity.
(Many of the links in this article redirect to a specific reviewed product. Your purchase of these products through affiliate links helps to generate commission for Storables.com, at no extra cost. Learn more)
Introduction
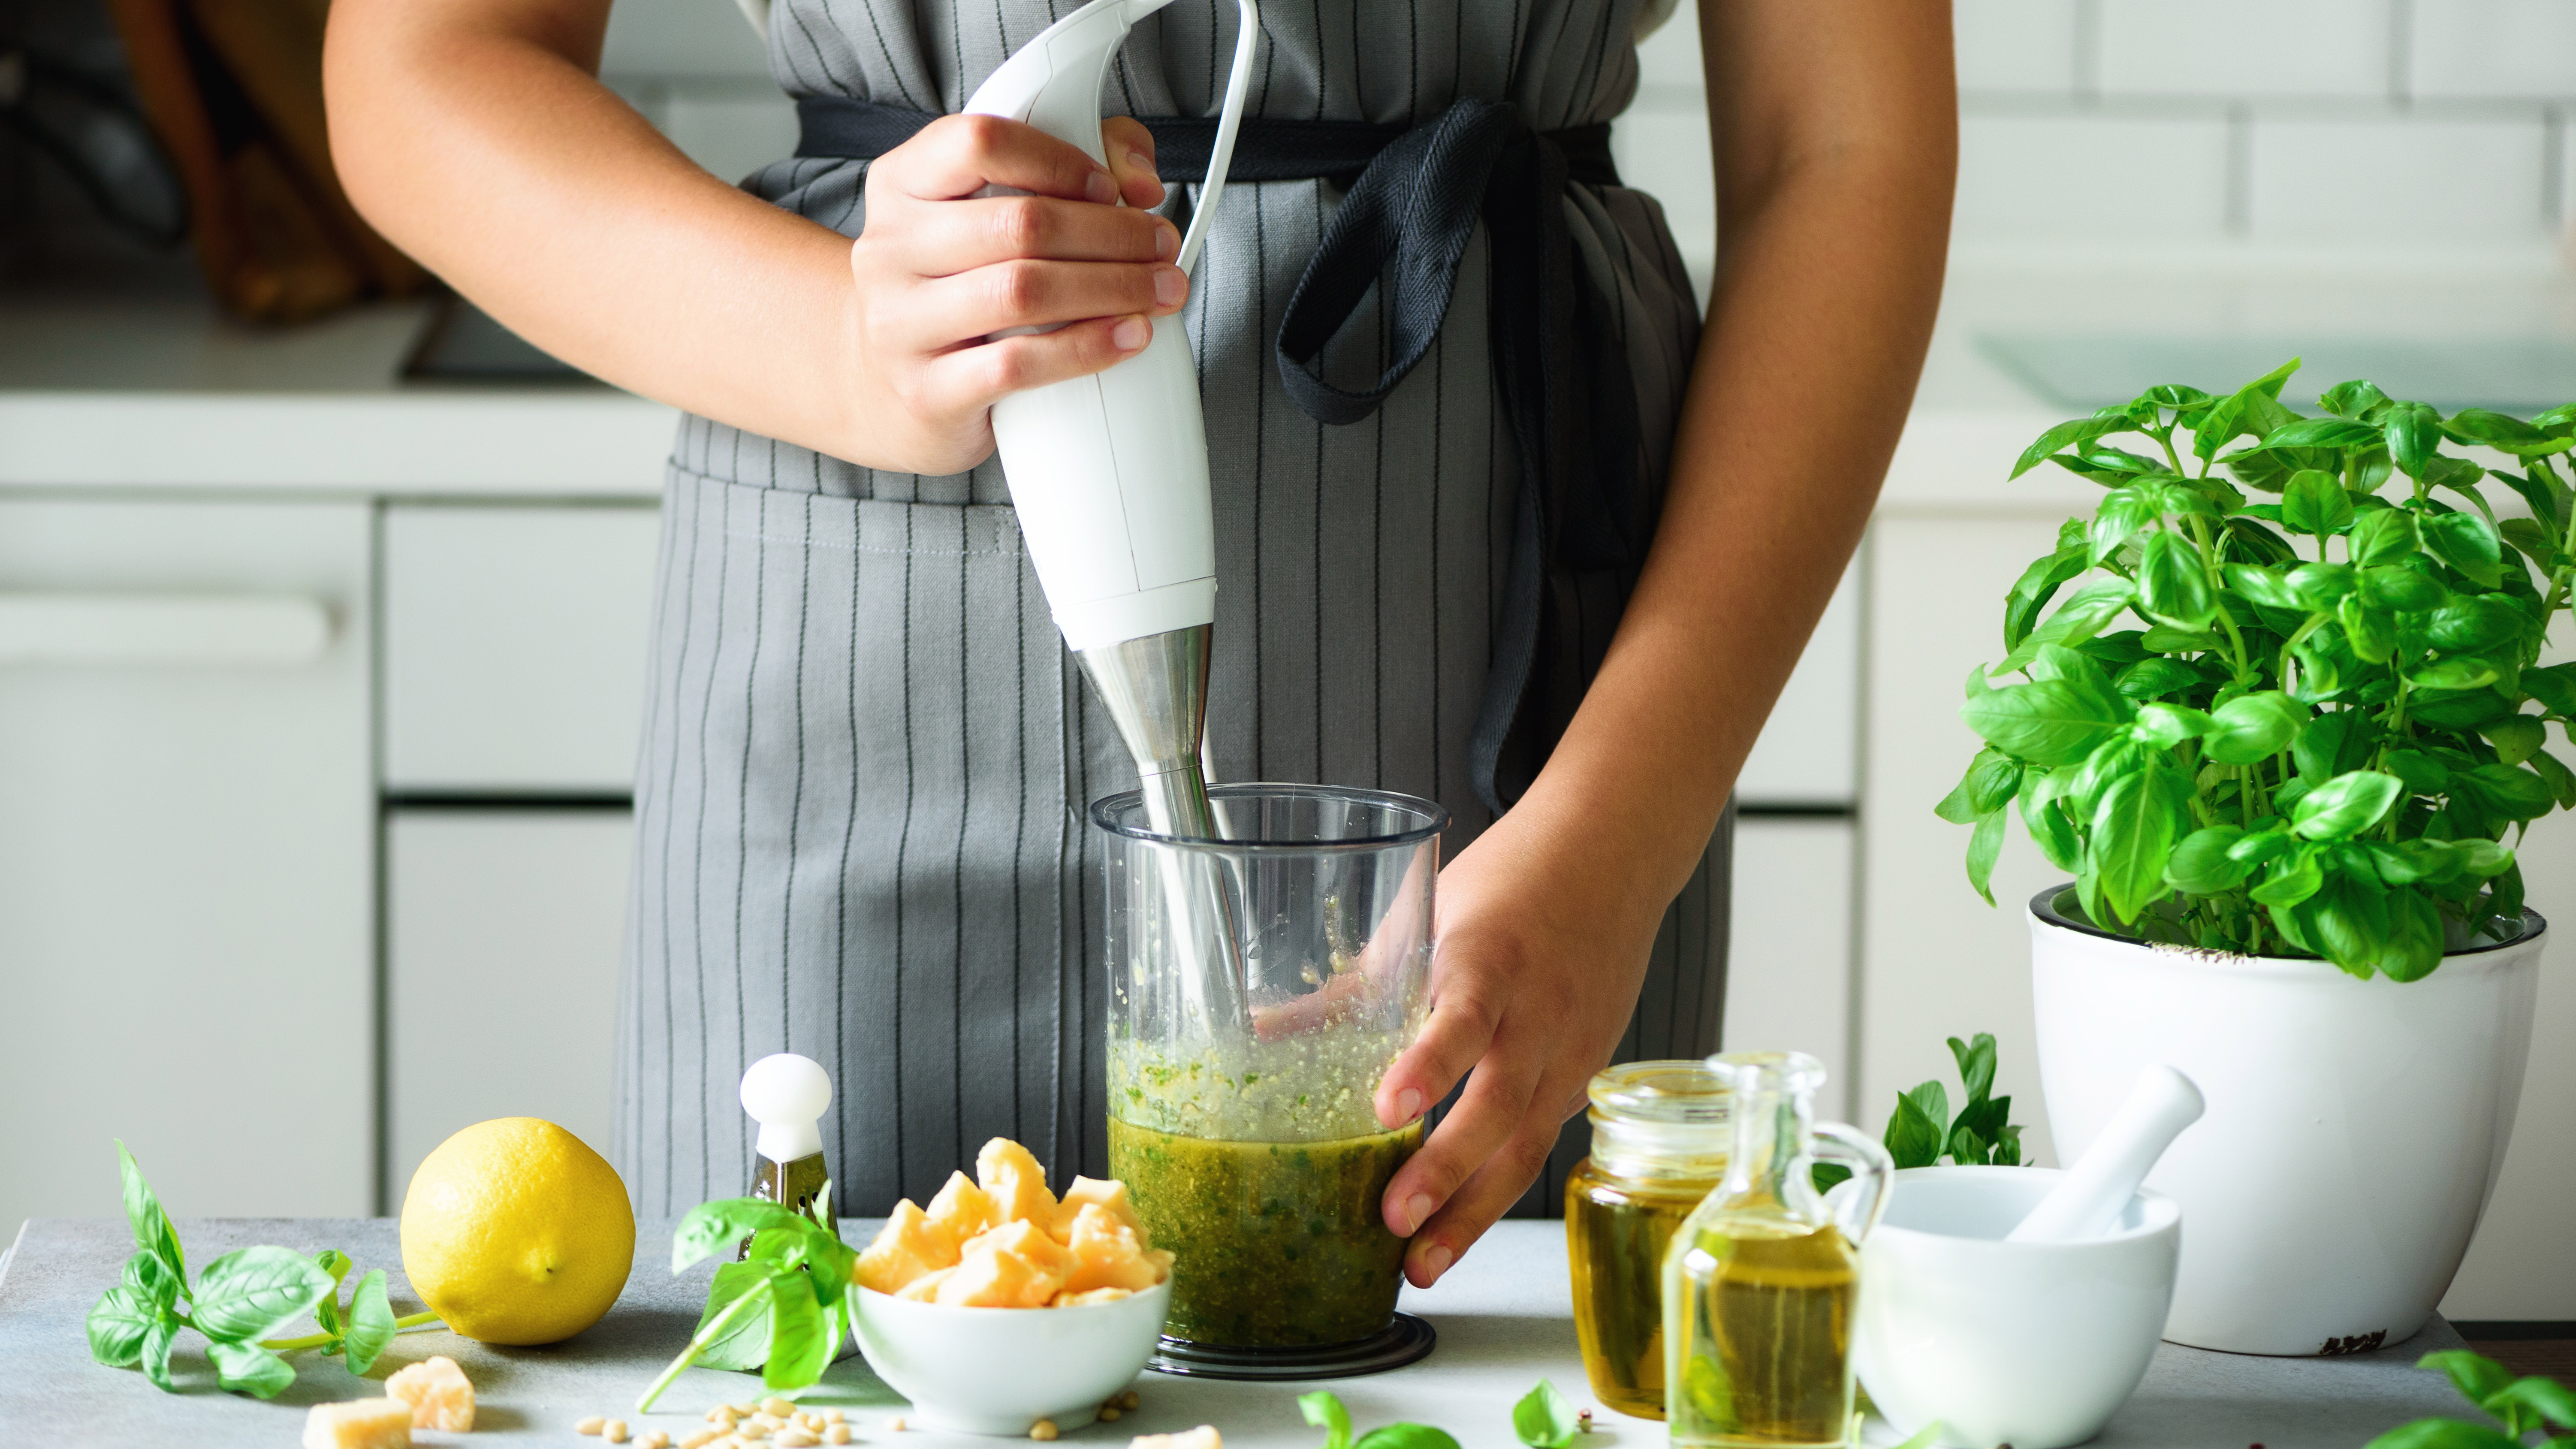
Cleaning kitchen appliances can often be a daunting task, especially when it comes to those hard-to-reach nooks and crannies. One such appliance that can pose a challenge is the immersion blender. Used for blending soups, sauces, and other mixtures, the immersion blender can quickly become covered in food residue and stains. However, with the right techniques and a little bit of effort, cleaning an immersion blender can be a breeze.
In this article, we will guide you through a step-by-step process on how to clean an immersion blender effectively. From disassembling the blender to scrubbing the components, and finally drying and reassembling, we will cover all the necessary steps to restore your immersion blender to a sparkling clean condition.
But first, let’s gather the necessary materials to ensure a thorough cleaning process. You will need warm soapy water, a soft sponge or brush, a clean towel or dishcloth, and if needed, a toothpick or small brush to remove any stubborn residue from the blades.
Cleaning your immersion blender on a regular basis not only improves its hygiene but also extends its lifespan. Neglecting to clean the blender properly can lead to the buildup of bacteria, affecting the quality and taste of the food you prepare. It’s important to remember that food residue left on the blender can harden over time, making it even more difficult to remove.
By following the steps outlined in this article, you will be able to maintain a clean and functional immersion blender, ensuring that your favorite recipes are prepared with ease and confidence. Now, let’s get started with the first step: disassembling the blender.
Key Takeaways:
- Regularly cleaning your immersion blender with warm soapy water and gentle scrubbing ensures optimal hygiene and extends its lifespan, keeping your blended recipes free from unwanted residue and flavors.
- Disassembling, soaking, scrubbing, and thorough drying are the key steps to effectively clean and maintain your immersion blender, ensuring a clean and functional appliance for effortless blending.
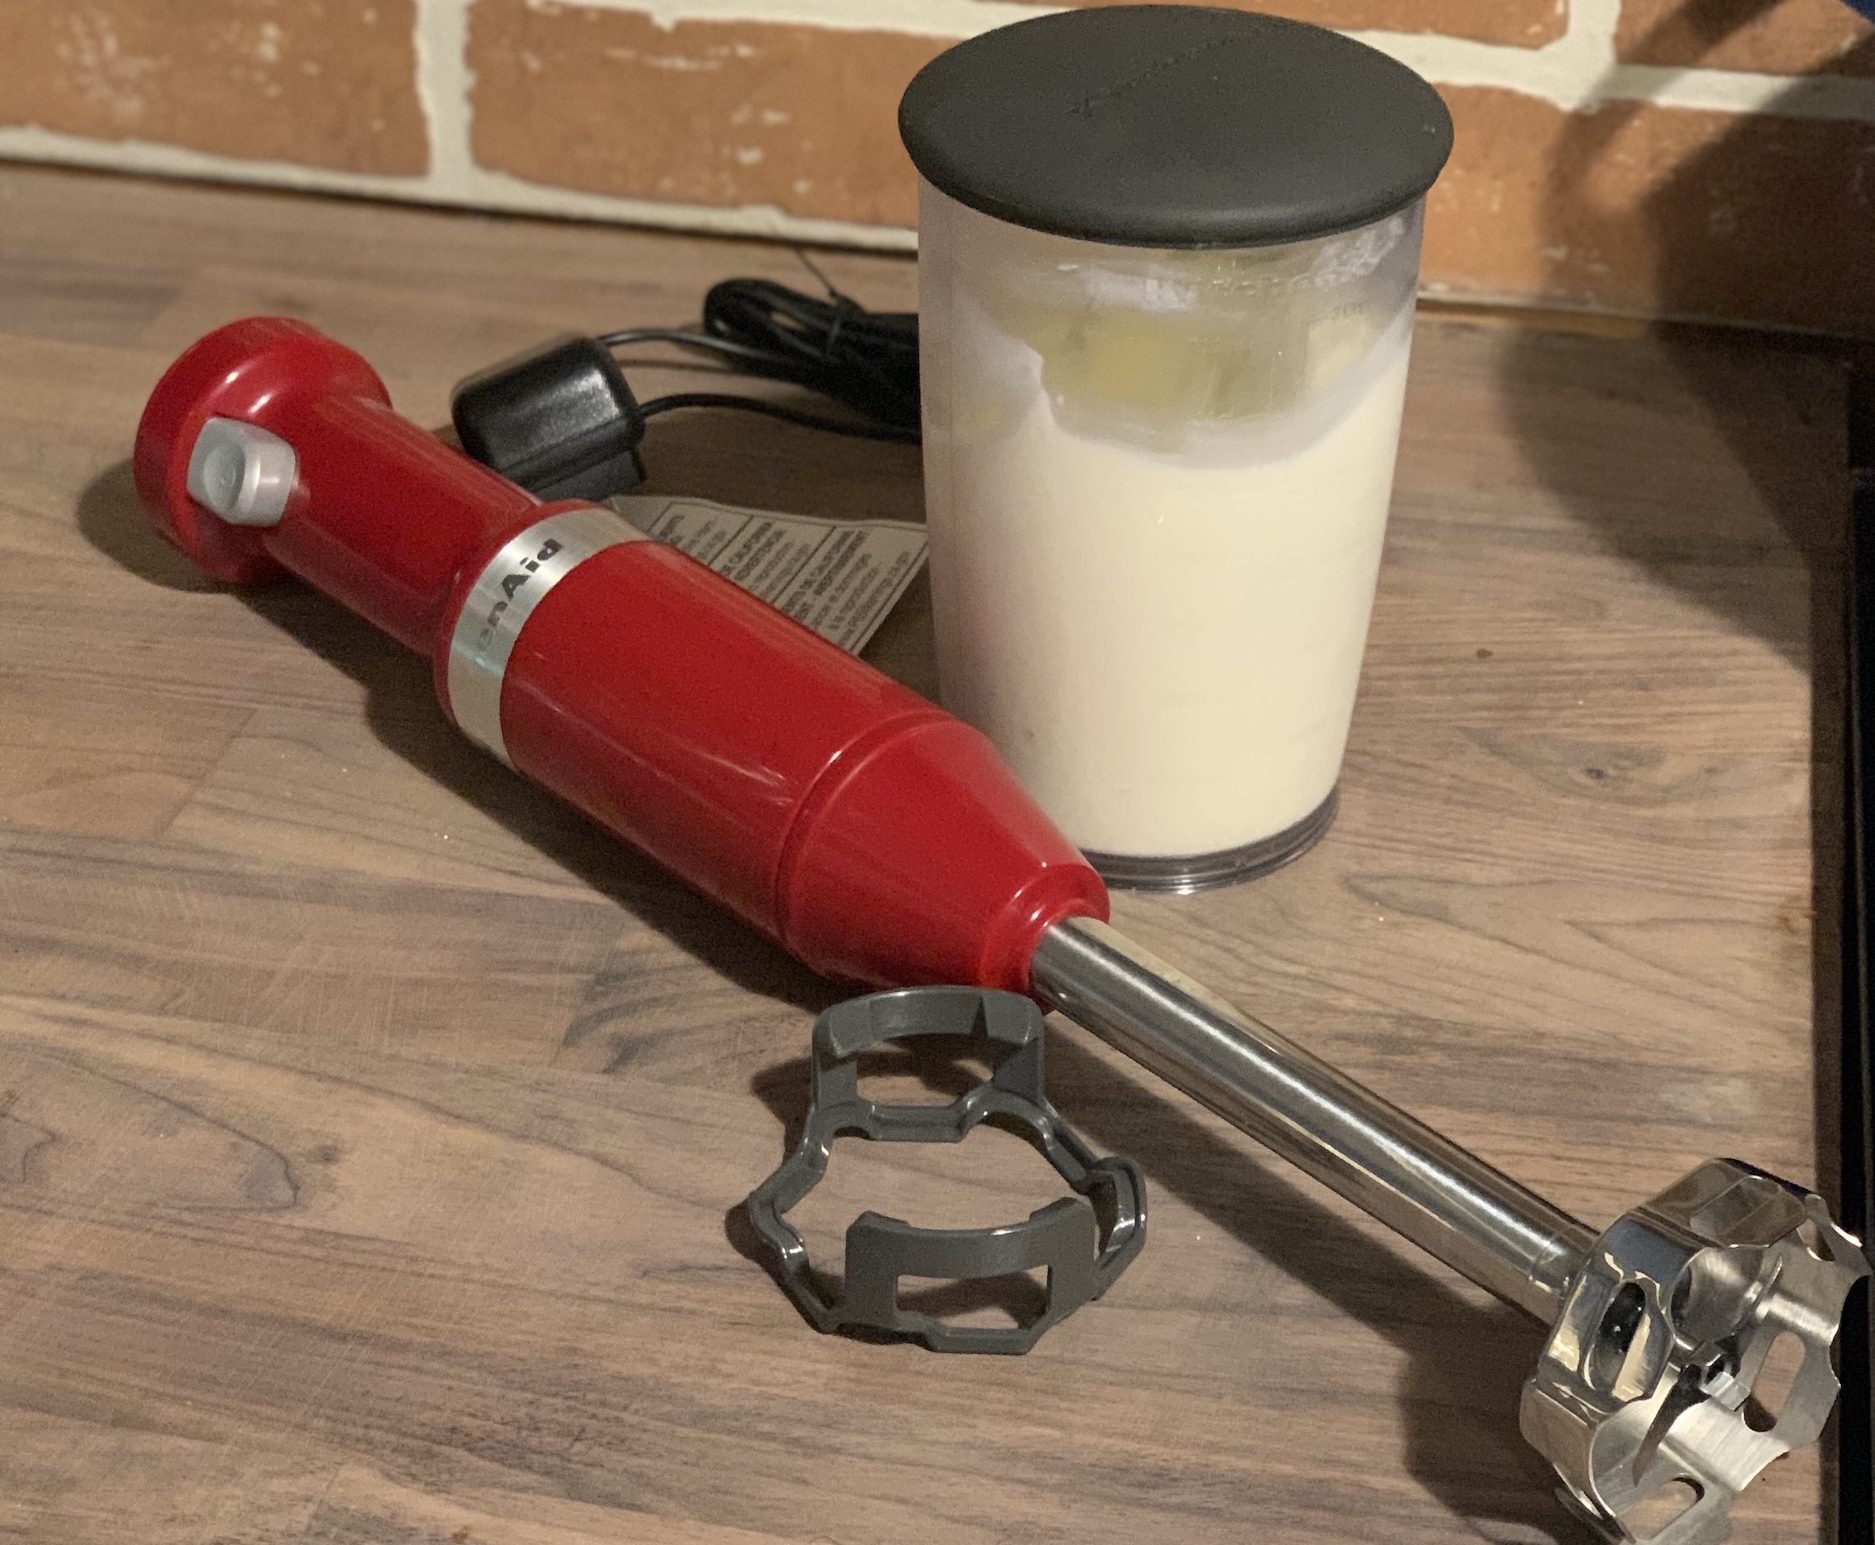
Read more: How To Froth Milk With Immersion Blender
Step 1: Preparation – Gathering the necessary materials
Before we begin the cleaning process, it is essential to gather all the necessary materials to ensure a smooth and effective cleaning experience. Here’s a list of items you will need:
1. Warm soapy water: Fill a sink or a large bowl with warm water and add a few drops of mild dish soap. The warm water will help to loosen any stuck-on food residue, while the soap will help to break down grease and oil.
2. Soft sponge or brush: Choose a sponge or brush that is gentle enough to not scratch the blender components but sturdy enough to remove any stubborn stains or debris. Avoid using abrasive scouring pads or brushes that can damage the surfaces.
3. Clean towel or dishcloth: You will need a clean, absorbent cloth to dry off the blender parts after cleaning. Make sure the towel is lint-free to avoid leaving any fibers behind.
4. Toothpick or small brush: If you notice any stubborn residue or debris stuck in the blades or other hard-to-reach areas, a toothpick or small brush can be helpful in dislodging them.
Now that you have gathered all the necessary materials, you are ready to begin the cleaning process. It is important to note that safety should always be a top priority when cleaning any kitchen appliance. Before starting, make sure the blender is unplugged and completely turned off.
In the next step, we will guide you through the process of disassembling the immersion blender to ensure a thorough cleaning.
Step 2: Disassembling the Blender – Removing the blending arm – Detaching the blade
Now that you have gathered all the necessary materials, it’s time to disassemble the immersion blender for a thorough cleaning. Disassembling the blender will allow you to reach all the hidden areas that may have accumulated food residue or debris. Follow these steps to disassemble the blender:
1. Removing the blending arm: The blending arm is the part of the immersion blender that houses the motor and controls. Firmly grasp the blending arm near the motor base and twist it counterclockwise to detach it from the body of the blender. Once it is removed, set it aside for cleaning.
2. Detaching the blade: The blade is located at the end of the blending arm and is responsible for blending and chopping the ingredients. Look for a release button or latch near the bottom of the blending arm. Press or slide the button to release the blade assembly. Carefully remove the blade assembly from the blending arm, taking note of its orientation for reassembly later.
Once you have removed the blending arm and detached the blade, you are ready to move on to the next step: cleaning the immersion blender thoroughly.
Step 3: Cleaning the Blender – Rinsing off any food debris – Soaking the blender parts in warm soapy water
Now that the immersion blender is disassembled, it’s time to deep clean each component to ensure the removal of any food debris or stains. This step involves rinsing off any visible food residue and soaking the blender parts in warm soapy water. Follow these steps to effectively clean the blender:
1. Rinsing off any food debris: Start by rinsing the blending arm and blade under warm running water. Use your fingers or a soft sponge to gently remove any visible food debris. Pay close attention to the area around the blade as this is where most of the residue accumulates. Make sure to rinse the parts thoroughly to remove all loose particles.
2. Soaking the blender parts in warm soapy water: Fill a sink or a large bowl with warm water and add a few drops of mild dish soap. Submerge the blending arm and blade in the soapy water, ensuring that all parts are fully covered. Allow them to soak for about 10-15 minutes. The warm soapy water will help to loosen any stubborn residue and make it easier to clean.
During the soaking process, you can also clean other detachable parts such as the plastic or metal shaft guard, if applicable. Simply remove these parts and place them in the warm soapy water along with the blending arm and blade.
While the parts are soaking, take this opportunity to clean the exterior of the immersion blender. Dampen a soft sponge or cloth with a mixture of warm water and dish soap. Gently wipe down the body of the blender to remove any dirt or grime. Avoid submerging the motor base in water or getting it excessively wet.
After the blender parts have soaked for the recommended time, it’s time to move on to the next step: scrubbing the blender parts to ensure a thorough cleaning.
After using your immersion blender, immediately rinse the detachable parts under running water to prevent food from drying and sticking. Then, fill a container with warm, soapy water and blend for a few seconds to clean the blades. Finally, rinse and dry thoroughly before storing.
Step 4: Scrubbing the Blender Parts – Cleaning the blending arm – Scrubbing the blade
With the immersion blender parts soaked in warm soapy water, it’s time to give them a thorough scrub to remove any remaining food residue or stains. Follow these steps to effectively clean the blending arm and blade:
1. Cleaning the blending arm: Remove the blending arm from the soapy water and inspect it for any remaining residue. Using a soft sponge or brush, gently scrub the blending arm, paying particular attention to the areas around the buttons, seams, and edges. If there are any stubborn stains or residue, you can apply a small amount of dish soap directly to the sponge or brush and scrub the affected areas. Rinse the blending arm under warm running water to remove any soap residue.
2. Scrubbing the blade: Remove the blade assembly from the soapy water and inspect it for any remaining food particles. Use a toothpick or small brush to carefully remove any debris lodged between the blades. Be cautious while cleaning the blades to avoid any accidental cuts. Once the debris is cleared, use a soft sponge or brush to scrub the blade assembly, ensuring that all surfaces are cleaned. Pay attention to the edges and crevices where residue can accumulate. Rinse the blade assembly thoroughly under warm running water to remove any soap residue.
If there are any stubborn stains or discoloration on the blending arm or blade, you can make a paste using baking soda and water. Apply the paste to the affected areas and let it sit for a few minutes before scrubbing with a soft sponge or brush. The baking soda’s gentle abrasive properties can help remove stubborn stains without damaging the blender parts.
Once you are satisfied with the cleanliness of the blending arm and blade, rinse them thoroughly under running water to remove any soap or baking soda residue. Use a clean towel or dishcloth to pat them dry, ensuring they are completely free of moisture.
In the next step, we will focus on drying the blender parts and reassembling the immersion blender for future use.
Read more: How To Store Immersion Blender
Step 5: Drying and Reassembling the Blender – Drying the blender parts – Putting the blender back together
After thoroughly cleaning the immersion blender parts, it is important to ensure they are properly dried before reassembling the blender. Follow these steps to dry the blender parts and put everything back together:
1. Drying the blender parts: Begin by using a clean towel or dishcloth to gently pat dry the blending arm, blade, and any other detachable components. Pay close attention to the areas where water may accumulate, such as the base of the blade and the button area of the blending arm. It is important to ensure that all parts are completely dry before reassembling the blender.
2. Putting the blender back together: Once the blender parts are dry, it’s time to reassemble the immersion blender. Start by aligning the blade assembly with the bottom of the blending arm, making sure it fits securely and locks into place. If there is a release button or latch, ensure that it clicks into position.
Next, align the blending arm with the motor base of the immersion blender. Hold the blending arm firmly and twist it clockwise until it locks into place. You should feel a secure connection between the blending arm and the motor base.
Once the blending arm is securely attached, double-check that all parts are properly aligned and no components are loose. Give the blending arm a gentle tug to ensure it is firmly attached to the motor base.
Now that the blender is fully assembled, it’s ready to be used for your culinary creations. Remember to always follow the manufacturer’s instructions for operating the immersion blender, and ensure it is completely dry before plugging it in or using it.
By following these steps to properly clean and maintain your immersion blender, you can extend its lifespan and ensure optimal performance. Regular cleaning not only improves the hygiene of the blender but also ensures that your blended recipes are free from any unwanted residue or flavors.
So, with a clean and functional immersion blender, you can continue to enjoy effortless blending, creating delicious soups, sauces, smoothies, and more. Happy blending!
Conclusion
Cleaning an immersion blender may seem like a daunting task, but with the right techniques and a little effort, it becomes a simple and manageable process. By following the step-by-step guide outlined in this article, you can effectively clean your immersion blender and ensure that it remains in optimal condition.
We started by gathering the necessary materials, including warm soapy water, a soft sponge or brush, a clean towel or dishcloth, and a toothpick or small brush for stubborn residue. Preparation is key to a successful cleaning session.
Next, we disassembled the blender, removing the blending arm and detaching the blade. Disassembling the blender allows you to access all the hidden areas where food residue can accumulate, ensuring a thorough clean.
Cleaning the blender involved rinsing off any visible food debris and soaking the blender parts in warm soapy water. This step helps to loosen the residue before moving on to the next step.
We then proceeded to scrub the blender parts, paying particular attention to the blending arm and blade. Using a soft sponge or brush, we gently scrubbed away any remaining residue or stains, ensuring that all surfaces were cleaned thoroughly.
After scrubbing, we dried the blender parts using a clean towel or dishcloth, making sure they were completely free of moisture. Finally, we reassembled the blender by attaching the blade assembly to the blending arm and securely connecting everything back to the motor base.
Regularly cleaning your immersion blender not only improves its hygiene but also extends its lifespan. Neglecting proper maintenance can lead to the buildup of bacteria, affecting the quality and taste of your prepared food.
By following these cleaning steps, you can enjoy a clean and functional immersion blender, ready to create delicious soups, sauces, smoothies, and more. Remember to always follow the manufacturer’s instructions and prioritize safety during the cleaning process.
So, with a little time and effort invested in cleaning your immersion blender, you can ensure that it continues to serve you well for years to come. Happy blending!
Frequently Asked Questions about How To Clean An Immersion Blender
Was this page helpful?
At Storables.com, we guarantee accurate and reliable information. Our content, validated by Expert Board Contributors, is crafted following stringent Editorial Policies. We're committed to providing you with well-researched, expert-backed insights for all your informational needs.


0 thoughts on “How To Clean An Immersion Blender”