Articles
How To Store Kids’ Artwork Digitally
Modified: October 20, 2024
Learn how to safely store and organize your kids' artwork digitally with our helpful articles. Preserve their masterpieces for a lifetime!
(Many of the links in this article redirect to a specific reviewed product. Your purchase of these products through affiliate links helps to generate commission for Storables.com, at no extra cost. Learn more)
Introduction
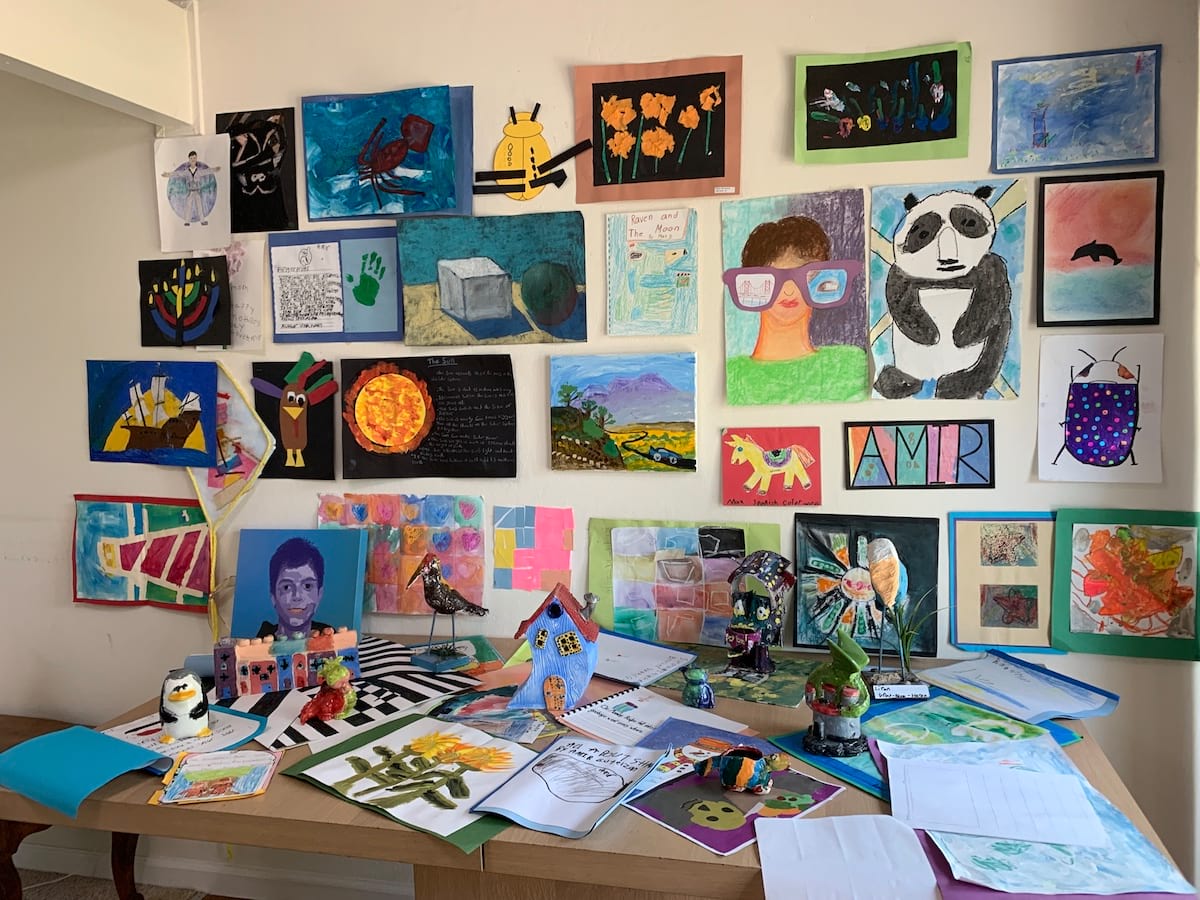
As a parent or guardian, you know how precious and heartwarming it is to see the beautiful artwork your children create. Whether it’s a finger painting, a crayon masterpiece, or a collage of cut-out shapes, each piece holds sentimental value and represents your child’s imagination and creativity. However, as the years go by, the stacks of artwork can quickly accumulate, causing clutter and storage issues in your home. That’s where digital storage comes in.
Storing kids’ artwork digitally has become an increasingly popular solution for parents and families around the world. It offers a convenient and space-saving way to preserve and showcase your children’s artwork while minimizing the physical clutter. Not only does it provide a practical storage solution, but it also allows you to easily share and preserve these memories for years to come.
In this article, we will explore the benefits of storing kids’ artwork digitally, discuss different methods of digital storage, provide tips on organizing and sorting artwork, explain how to scan and digitize artwork, offer suggestions for editing and enhancing the digital copies, explore the concept of creating digital art galleries, and delve into sharing and preserving your children’s artwork for future generations.
So, if you’re ready to declutter your home while still preserving the precious artwork your kids create, let’s dive into the world of digital storage for kids’ artwork.
Key Takeaways:
- Embrace digital storage to preserve and share your children’s artwork, decluttering your home while safeguarding their creative expressions for future generations.
- Create visually captivating digital art galleries to showcase your child’s artwork, celebrate their creativity, and share their artistic journey with family and friends.
Read more: How To Store Artwork
Why Store Kids’ Artwork Digitally
There are numerous reasons why storing kids’ artwork digitally is a smart and practical choice. Here are a few key benefits:
Preservation: Artwork created by children is often fragile and susceptible to damage over time. Paper can fade, colors may smudge, and artwork may get lost or accidentally damaged. By digitizing and storing artwork digitally, you can ensure its preservation for years to come. Digital files are not susceptible to physical wear and tear, and with proper backup measures, you can protect these precious memories from loss or damage.
Space-Saving: Children’s artwork holds sentimental value, but it can also take up a significant amount of physical space. Storing artwork digitally eliminates the need for physical storage such as large boxes or portfolios. Instead, you can store thousands of pieces of artwork on your computer, external hard drive, or cloud storage without taking up any additional space in your home.
Easy Organization: Digital storage allows for easy organization and sorting of artwork. Instead of sifting through piles of paper to find a specific piece, you can simply browse through digital files using file folders or keywords. This makes it convenient to find and view specific pieces whenever you want, creating a more streamlined and efficient system for managing your children’s artwork.
Convenient Sharing: When artwork is stored digitally, it becomes effortless to share with family and friends. Instead of physically handing over individual pieces or taking photos of artwork, you can simply share digital files via email, social media, or even through dedicated art-sharing platforms. This allows for easy sharing and showcasing of your child’s creativity with loved ones, no matter where they are located.
Enhancement Possibilities: Storing artwork digitally opens up opportunities for enhancement. You can edit or enhance the digital copies by adjusting colors, adding filters, or even combining different pieces into collages. This allows you to create unique and visually appealing presentations that highlight your child’s artwork in a new and interesting way.
Long-Term Preservation: Digitally storing your children’s artwork ensures its long-term preservation. Even if the original physical copies are lost or damaged over time, the digital files will remain intact. This means that future generations can also enjoy and appreciate the artwork, as the digital copies can easily be passed down as part of your family’s legacy.
By storing kids’ artwork digitally, you not only save physical space but also ensure the preservation and easy access of these precious memories. Whether it’s for sentimental reasons or practical convenience, digital storage offers a modern solution for managing and preserving your children’s artwork.
Choosing a Digital Storage Method
When it comes to storing kids’ artwork digitally, there are several different methods you can choose from. Each method has its own advantages and considerations. Here are some options to consider:
Local Storage: Local storage refers to storing the digital files directly on a physical device, such as your computer, external hard drive, or USB flash drive. This method allows you to have full control over your files and ensures quick and easy access. However, it is important to regularly back up your files to prevent data loss in case of hardware failure or other unforeseen circumstances.
Cloud Storage: Cloud storage involves storing your digital files on remote servers accessed through the internet. Popular cloud storage services include Dropbox, Google Drive, and iCloud. Cloud storage provides the advantage of accessibility from any device with an internet connection, easy file sharing, and automatic backups. However, keep in mind that some cloud storage services may have limitations on storage capacity, and there may be subscription fees for larger storage plans.
Online Art Platforms: There are dedicated online platforms specifically designed for storing and sharing artwork, such as Artwork Archive and Artsonia. These platforms offer features like online galleries, art cataloging, and the ability to share artwork with a wider community. If you’re looking for a platform with built-in organization and sharing options, these online art platforms can be an excellent choice. However, note that some platforms may require a subscription fee.
Family Network Storage: If you have a home network, you can set up a centralized network storage device, such as a Network Attached Storage (NAS) drive. This allows you to store and access the files from any device connected to the network. Family members can easily upload new artwork to the shared storage and access it from their individual devices. However, setting up and maintaining a network storage device may require technical expertise.
Combination Approach: You can also opt for a combination of storage methods. For example, you may choose to store recent artwork directly on your computer or an external hard drive for quick access, while archiving older artwork on cloud storage or an online platform for long-term preservation and sharing. This way, you can benefit from the advantages offered by different storage methods based on your needs and preferences.
When choosing a digital storage method, consider factors such as accessibility, storage capacity, ease of use, and cost. Think about your long-term goals and how you envision accessing and sharing the artwork in the future. By selecting the right storage method, you can ensure that your children’s artwork is securely stored and easily accessible for years to come.
Organizing and Sorting Artwork
Organizing and sorting your children’s artwork is essential to create a system that allows for easy browsing, retrieval, and showcasing of their creations. Consider the following tips to effectively organize and sort the artwork:
Create Categories: Start by creating categories based on different criteria such as date, theme, medium, or child. This will help you group similar pieces together, making it easier to locate specific artwork in the future. For example, you could have categories like “Paintings,” “Drawings,” “Sculptures,” or “Art from Child 1” and “Art from Child 2.”
Label Artwork: Labeling the artwork with the artist’s name, date, and a brief description can be incredibly helpful for reference purposes. You can use small stickers or write directly on the back of the artwork. This will eliminate any confusion later on and provide context for each piece.
Use Storage Containers: Invest in archival storage containers or acid-free folders to protect the physical artwork from damage. Place the labeled artwork in these containers and arrange them according to your chosen categories. This will help maintain the quality of the artwork and keep it organized in a safe space.
Create a Digital Catalog: Alongside the physical organization, it’s beneficial to create a digital catalog of the artwork. This can be done by taking photos or scanning the artwork and saving them as digital files. Assign each digital file with the same labeling and categorization system used for the physical artwork. This digital catalog serves as a backup and allows for easy access to the artwork without the need to handle the physical copies.
Utilize Artwork Apps or Software: There are various apps and software available that can assist with organizing and cataloging artwork. These tools often come with features like tagging, categorization, and metadata management. Some popular options include Artwork Archive, Artwork Manager, and Artwork Tracker. Explore these apps to find one that best fits your organizational needs.
Involve Your Children: Get your children involved in the organization process. They can help label artwork, choose categories, and participate in the decision-making. This not only makes them feel included but also teaches them valuable organizational skills.
Regularly Review and Refresh: Keep in mind that over time, the amount of artwork can accumulate. Regularly review the collection and determine which pieces you want to keep in both physical and digital formats. Refreshing the collection allows you to prioritize the most meaningful and representative artwork and reduce clutter.
By implementing these organizing tips, you can create a system that allows for easy navigation and retrieval of your children’s artwork. Whether you choose to organize the physical copies, create a digital catalog, or utilize artwork management software, a well-organized collection will make it a breeze to find and appreciate these treasured creations for years to come.
Scanning and Digitizing Artwork
Scanning and digitizing your children’s artwork is an essential step in preserving and creating a digital archive. This process allows you to convert physical artwork into digital files that can be easily stored, accessed, and shared. Here are some tips to help you successfully scan and digitize artwork:
Selecting a Scanner: Invest in a good quality scanner that can produce high-resolution scans. Flatbed scanners are commonly used for artwork as they provide accurate color reproduction and can accommodate different sizes of artwork. Alternatively, you can also use a smartphone or tablet with a high-quality camera to capture images of the artwork.
Prepare the Artwork: Before scanning, make sure the artwork is clean and free of any dust or smudges. If the artwork is too large to fit on the scanner, you may need to scan it in multiple sections and stitch them together using photo editing software later.
Adjust Scanner Settings: Set the scanner settings to achieve the best possible scan quality. Opt for a higher resolution (300-600 dpi) to capture fine details and ensure clear and sharp images. Adjust the color settings if needed to accurately represent the artwork’s colors.
Scan in a Well-lit Area: Scan the artwork in a well-lit area to avoid shadows or uneven lighting. Natural daylight is ideal, but if that’s not possible, use a light source that provides consistent and even lighting across the entire artwork.
Save Files in a High-quality Format: Save the scanned images in a high-quality format such as JPEG or TIFF to maintain the integrity of the artwork. These formats preserve the color and detail of the artwork without significant compression or loss of quality.
Organize and Name Files: As you save the scanned files, organize them into folders based on your chosen categorization system. Use descriptive and consistent file names that include the artist’s name, date, and a brief description of the artwork. This will make it easier to locate specific pieces in the future.
Backup Your Digital Files: Once you have digitized the artwork, it is crucial to create backups to prevent data loss. Consider storing the digital files on multiple devices, such as your computer, an external hard drive, or cloud storage. Regularly backing up your files ensures that your digital archive remains safe and secure.
Edit and Enhance: After scanning, you can use photo editing software to make adjustments or enhancements to the digital files. This can include adjusting brightness and contrast, removing minor imperfections or dust, or cropping and resizing the images for better presentation.
Scanning and digitizing your children’s artwork allows you to preserve their creative expressions in a digital format that can be easily managed and shared. By following these tips, you can ensure that the digital copies accurately represent the original artwork and create a lasting digital archive for future generations to enjoy.
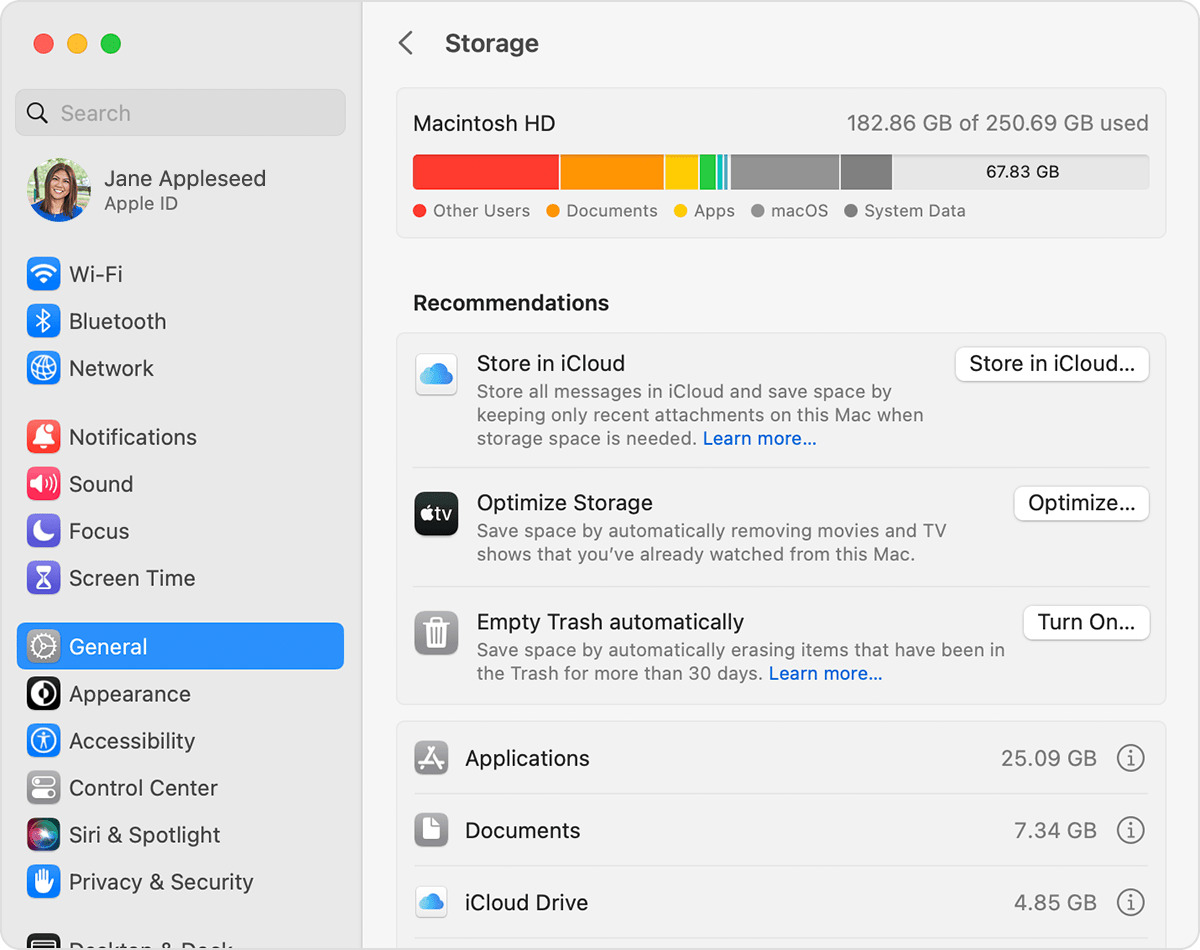
Consider using a scanner or a high-quality camera to digitize your child’s artwork. Save the images in a dedicated folder on your computer or in a cloud storage service for easy access and organization.
Read more: How To Store Framed Artwork
Editing and Enhancing Artwork
Once you have scanned and digitized your children’s artwork, you can take the opportunity to edit and enhance the digital copies. Editing and enhancing the artwork can help improve the overall presentation and highlight the artistic elements. Here are some tips for editing and enhancing artwork:
Adjust Brightness and Contrast: Use photo editing software to adjust the brightness and contrast of the digital image. This can help bring out the details and ensure the artwork is properly represented. Be mindful not to overdo it, as excessive adjustments may alter the original colors and affect the integrity of the artwork.
Remove Minor Imperfections: If there are minor imperfections, such as smudges or dust, you can use the retouching tools in the photo editing software to remove them. Be cautious not to modify the artwork itself, but focus on refining the presentation by eliminating distractions caused by tiny flaws.
Crop and Straighten: Adjust the composition of the artwork by cropping and straightening the digital image. This can help eliminate unnecessary background elements and create a more focused view of the artwork. Make sure to maintain the original proportions and avoid excessive cropping that may alter the intended composition.
Resize for Different Purposes: Resize the digital files to fit various purposes, such as printing, sharing on social media, or displaying on digital frames. Consider the intended use and ensure the resize does not compromise the image quality or resolution.
Apply Filters: Experiment with artistic filters and effects to enhance the overall look of the artwork. These filters can add a touch of creativity and uniqueness to the digital copies. However, exercise restraint and use filters sparingly so as not to overshadow the original artwork.
Create Collages or Montages: If you have multiple pieces of artwork from the same child or on a similar theme, consider creating collages or montages using photo editing software. This allows you to showcase multiple pieces together, creating a visually appealing display of your child’s artistic journey.
Add Text or Captions: If you want to provide additional context or information about the artwork, consider adding text or captions to the digital copies. This can include the title of the artwork, the date it was created, or a brief description. Be mindful of the placement and font choice, ensuring they do not detract from the artwork itself.
Retain Original and Enhanced Versions: When working on editing and enhancing artwork, it is advisable to save both the original scanned file and the edited version. This way, you can always revert to the original if desired or have multiple versions with different editing styles.
Respect the Original Intent: While editing and enhancing can add visual appeal to the artwork, it is crucial to respect the original intent and style of the artist. Avoid making excessive modifications that go against the original artwork or distort its essence. Enhancements should aim to supplement and showcase the artwork, rather than overshadow it.
By following these tips, you can enhance the digital copies of your children’s artwork, elevating their visual impact and ensuring a visually pleasing representation of their creativity. Remember to strike a balance between enhancing the artwork and preserving its authenticity.
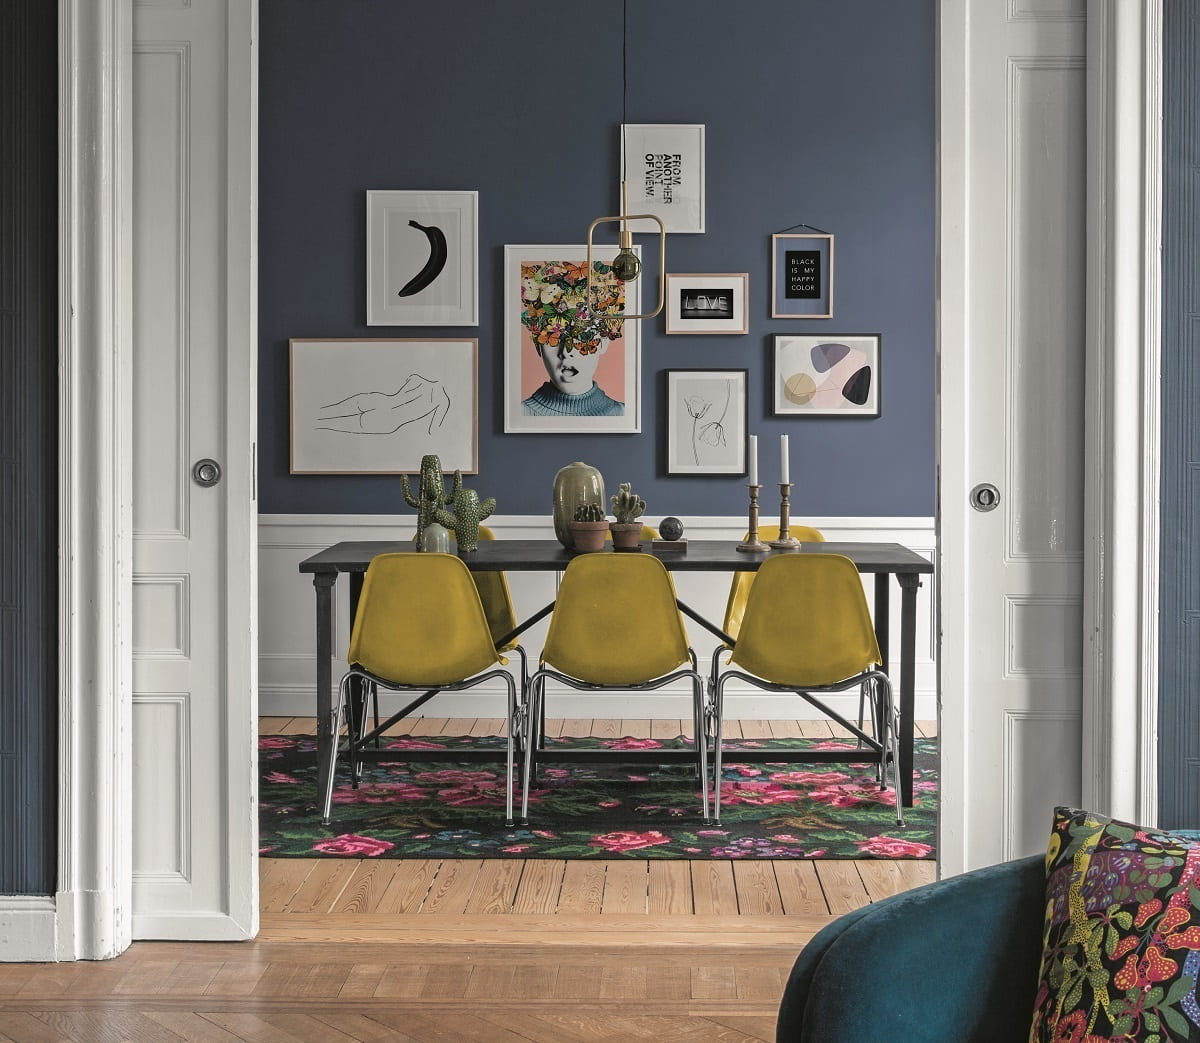
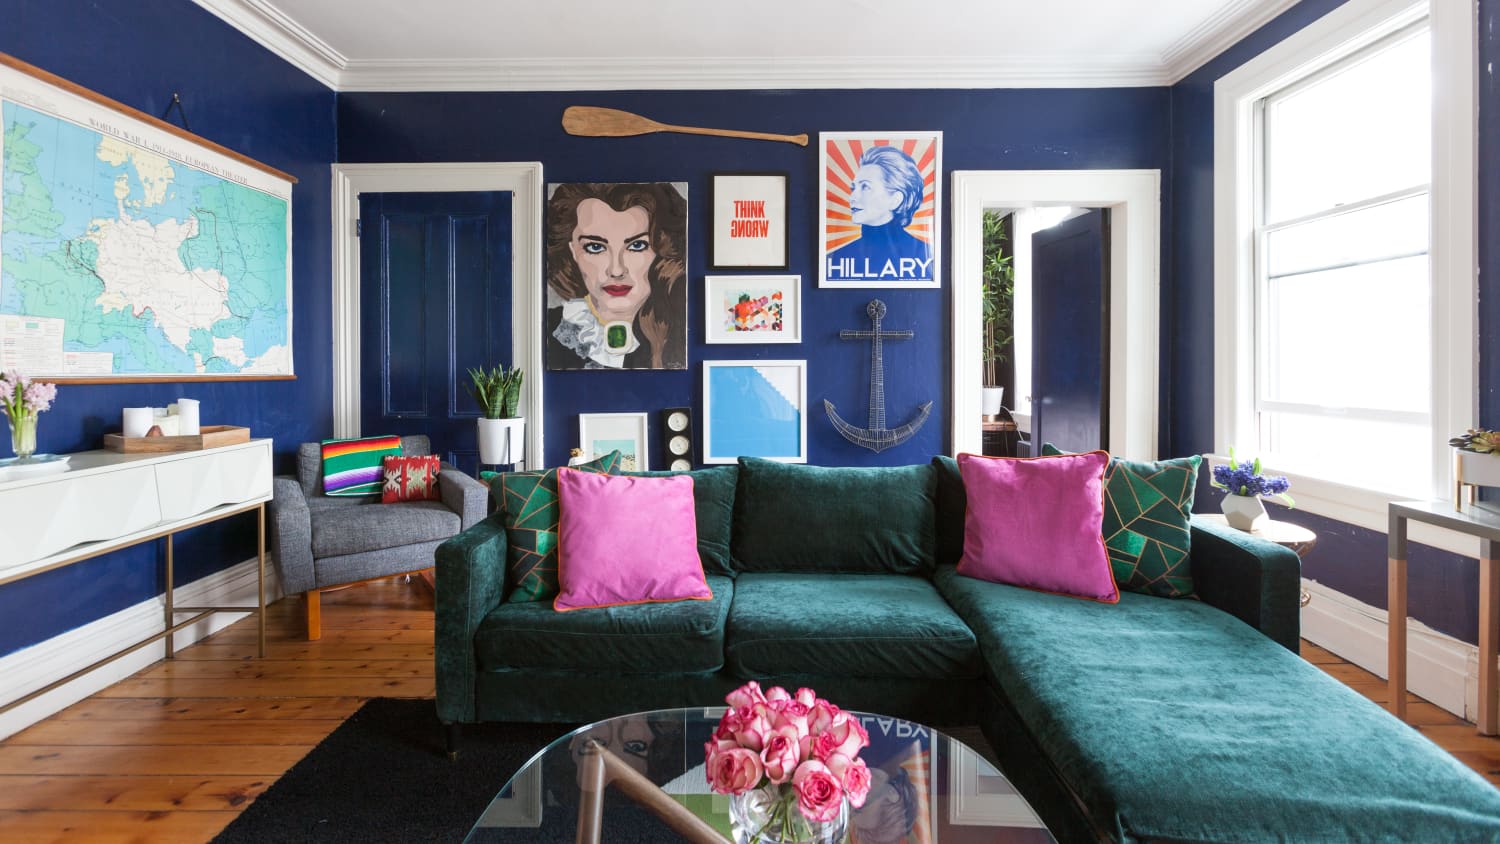
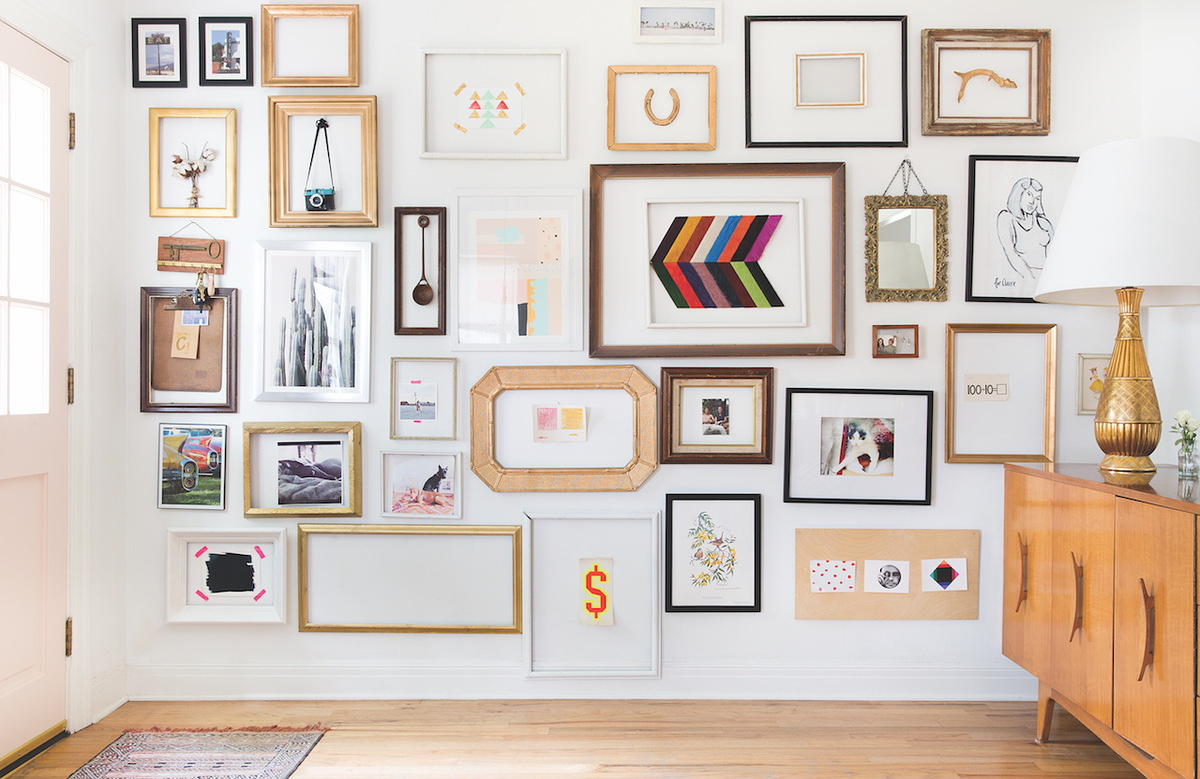
Creating Digital Art Galleries
Creating digital art galleries is an excellent way to showcase and celebrate your children’s artwork. It allows you to curate a collection of their creations in a visually appealing and easily accessible format. Here are some steps to help you create digital art galleries:
Curate the Collection: Start by curating a collection of artwork that you want to include in the digital gallery. Select pieces that represent your child’s artistic journey and showcase their growth and creativity. Consider themes or narratives that can be highlighted through the collection.
Choose a Platform: Select a platform or software that allows you to create and customize digital galleries. There are various options available, including website builders, online art platforms, and portfolio applications. Research different platforms to find one that aligns with your goals and preferences.
Organize Artwork: Organize the artwork into different categories or themes within the digital gallery. This can be done by creating separate sections or pages for each category, making it easier to navigate and browse through the collection. Use clear and descriptive labels to guide viewers through the gallery.
Design the Layout: Design the layout of the digital gallery to create an engaging and visually cohesive experience. Consider the arrangement of the artwork, the use of white space, and the overall aesthetic of the gallery. Keep the focus on the artwork while maintaining an intuitive and user-friendly interface.
Provide Artwork Information: Include information about each piece of artwork in the digital gallery. This can include the title, date, medium, and a brief description or story behind the artwork. Providing context and background information helps viewers to connect with the artwork on a deeper level.
Add Interactivity: Make the digital gallery interactive by incorporating features that enhance the viewing experience. This can include options for zooming in on details, rotating artwork for a 360-degree view, or adding audio narration or commentary to accompany certain pieces. These interactive elements can make the gallery more immersive and engaging.
Consider Multimedia Elements: Integrate multimedia elements into the digital gallery to enrich the experience. This can include embedding videos of your child talking about their artwork or capturing their creative process. Audio recordings of them describing their inspiration or adding background music can also enhance the viewing experience.
Promote and Share: Once your digital art gallery is ready, promote and share it with family, friends, and social networks. Encourage others to visit and engage with the gallery, and provide easy sharing options for them to spread the word. Consider using social media platforms or email newsletters to reach a wider audience.
Update and Evolve: Keep your digital art gallery dynamic by regularly updating it with new artwork as your children continue to create. Consider organizing special exhibitions or highlighting specific themes or artistic milestones. By evolving the gallery over time, it becomes a living testament to your child’s artistic journey.
By creating digital art galleries, you can showcase your children’s artwork in an accessible and visually appealing format. It provides a platform for your child’s creative expressions to be celebrated and shared with others. Enjoy the process of curating and designing the gallery as you create a digital space to honor and exhibit their artistic talents.
Sharing and Preserving Kids’ Artwork
Sharing and preserving your children’s artwork allows you to showcase their creativity and preserve their artistic journey for years to come. Here are some tips for effectively sharing and preserving their artwork:
Digital Sharing: Take advantage of digital platforms to share your children’s artwork with family and friends. Create a dedicated social media account or use platforms like Instagram or Facebook to showcase the artwork. You can also create an online portfolio on dedicated art-sharing platforms. Encourage family members and friends to follow or subscribe to stay updated with the latest creations.
Art Exhibitions: Consider hosting art exhibitions or showcases to share your children’s artwork with a wider audience. This can be done at community centers, local galleries, or even in your own home. Display the artwork in a visually appealing manner and provide information about each piece. Invite family, friends, and community members to attend and appreciate your child’s talent.
Create Printed Keepsakes: Select some of your favorite pieces or themes and create printed keepsakes, such as calendars, photo books, or posters. This allows you to have physical copies of their artwork that can be enjoyed and cherished for years to come. Choose high-quality printing services to ensure the artwork is represented accurately.
Collaborative Art Projects: Collaborate with your child to create joint art projects that can be shared and preserved. This can involve working together on a mural, creating a family art piece, or even collaborating on a digital artwork. This allows you to foster creativity and create meaningful memories while sharing the process and outcome with others.
Artwork Storage: Store physical artwork in acid-free folders, archival boxes, or portfolios to protect them from environmental factors that can cause damage. Avoid storing artwork in areas prone to dampness, extreme heat, or direct sunlight. This helps to preserve the original pieces and ensures they remain in good condition over time.
Digital Backup: Regularly backup the digital copies of your children’s artwork to prevent loss or damage. Use reliable external hard drives or cloud storage services to create redundant copies. This way, even if the original files get lost or damaged, you will have a backup to ensure the preservation of their artwork.
Create a Memory Book: Consider creating a memory book that documents your child’s artistic journey. Include photos of their artwork, along with descriptions, stories, and anecdotes. This book serves as a curated collection of their creations and can be passed down as a cherished family keepsake.
Encourage Artistic Growth: Nurture your child’s artistic growth by providing them with opportunities to explore different mediums, techniques, and styles. Encourage them to participate in art classes, workshops, or summer camps. This not only helps them to develop their skills but also adds to their creative portfolio.
Celebrate Milestones: Take the time to celebrate their artistic milestones and accomplishments. Whether it’s completing a challenging project, winning an art competition, or showcasing their artwork in a public setting, acknowledge and celebrate their achievements. This boosts their confidence and encourages them to continue exploring their artistic passions.
Sharing and preserving your children’s artwork allows you to not only celebrate their creativity but also create lasting memories and legacies. From digital sharing to physical keepsakes, these practices ensure that their artwork is appreciated and preserved for generations to come.
Conclusion
Storing, organizing, and preserving your children’s artwork is a meaningful way to celebrate their creativity and create lasting memories. By digitizing the artwork and utilizing digital storage methods, you can declutter your physical space while ensuring the preservation and accessibility of these cherished creations.
Choosing the right digital storage method and organizing the artwork in a systematic manner allows for easy navigation and retrieval. Creating digital art galleries provides a visually appealing way to showcase your child’s artwork, and sharing it with others through various platforms enables broader recognition and appreciation.
Scanning and digitizing the artwork allows for the creation of high-quality digital copies, while editing and enhancing the files can enhance their visual impact without compromising the original essence. By utilizing technology and multimedia tools, you can create a captivating digital representation of your child’s artistic journey.
Sharing and preserving your children’s artwork is not just about displaying it to others, but also about preserving their artistic growth, milestones, and memories. Whether through digital sharing, physical exhibitions, or printed keepsakes, you are creating tangible mementos that can be cherished for years to come.
Remember the importance of creating backups for digital files and safely storing physical artwork to ensure its long-term preservation. By involving your child in the process and celebrating their artistic milestones, you encourage their continued creativity and passion for the arts.
In conclusion, storing, organizing, sharing, and preserving your children’s artwork digitally allows you to create a lasting legacy of their creative expressions. Embrace the modern solutions available to collaborate, showcase, and curate their artwork, and enjoy the journey of preserving their artistic talents for future generations to appreciate.
Frequently Asked Questions about How To Store Kids' Artwork Digitally
Was this page helpful?
At Storables.com, we guarantee accurate and reliable information. Our content, validated by Expert Board Contributors, is crafted following stringent Editorial Policies. We're committed to providing you with well-researched, expert-backed insights for all your informational needs.


0 thoughts on “How To Store Kids’ Artwork Digitally”