Articles
How To Store Clay
Modified: November 2, 2024
Learn the best way to store clay with these informative articles. Find tips and tricks to keep your clay fresh and ready for your next project.
(Many of the links in this article redirect to a specific reviewed product. Your purchase of these products through affiliate links helps to generate commission for Storables.com, at no extra cost. Learn more)
Introduction
Clay is a versatile and valuable material used in various industries, including ceramics, pottery, and sculpting. It’s crucial to store clay properly to maintain its quality and extend its lifespan. By following the right storage techniques, you can prevent clay from drying out, cracking, or becoming too moist and moldy. In this article, we will explore the best practices for storing clay, including choosing the right storage area, preparing clay for storage, selecting appropriate containers, sealing techniques, avoiding moisture and humidity, protecting clay from heat and sunlight, organizing and labeling, and monitoring and maintaining clay storage.
Key Takeaways:
- Proper storage of clay is crucial to maintain its quality and workability. Choose a cool, dry, and well-ventilated storage area, utilize airtight containers, and protect clay from moisture, heat, and sunlight.
- Organize and label your clay storage area for easy access and efficient workflow. Regularly monitor and maintain the storage to ensure the longevity and usability of your clay.
Read more: How To Store Pottery Clay
Choosing the Right Storage Area
When it comes to storing clay, the first step is to choose the right storage area. Ideally, the storage area should be cool, dry, and well-ventilated. The temperature of the room should be consistent, without significant fluctuations, as extreme temperatures can affect the quality of the clay. Avoid areas that are prone to moisture, such as basements or areas near water sources, as excessive moisture can lead to clay becoming moldy or too soft.
It’s also important to consider the space available in the storage area. Make sure there’s enough room to store your clay containers and allow for easy access. If possible, designate a specific area solely for clay storage to ensure it is separate from other materials and reduces the risk of contamination.
If you don’t have a dedicated storage area, consider using a clay cart or shelving unit that can be easily moved and organized. This allows for flexibility and easy access to your clay supplies.
Lastly, consider the lighting in the storage area. It’s best to keep clay away from direct sunlight as prolonged exposure to ultraviolet (UV) rays can cause the clay to dry out and become brittle. If natural light is unavoidable, consider using UV-blocking curtains or blinds to shield the clay from direct sunlight.
Preparing Clay for Storage
Before storing clay, it’s important to ensure that it is properly prepared. This helps maintain its moisture content and prevents it from drying out or becoming too wet during storage. Here are a few steps to follow:
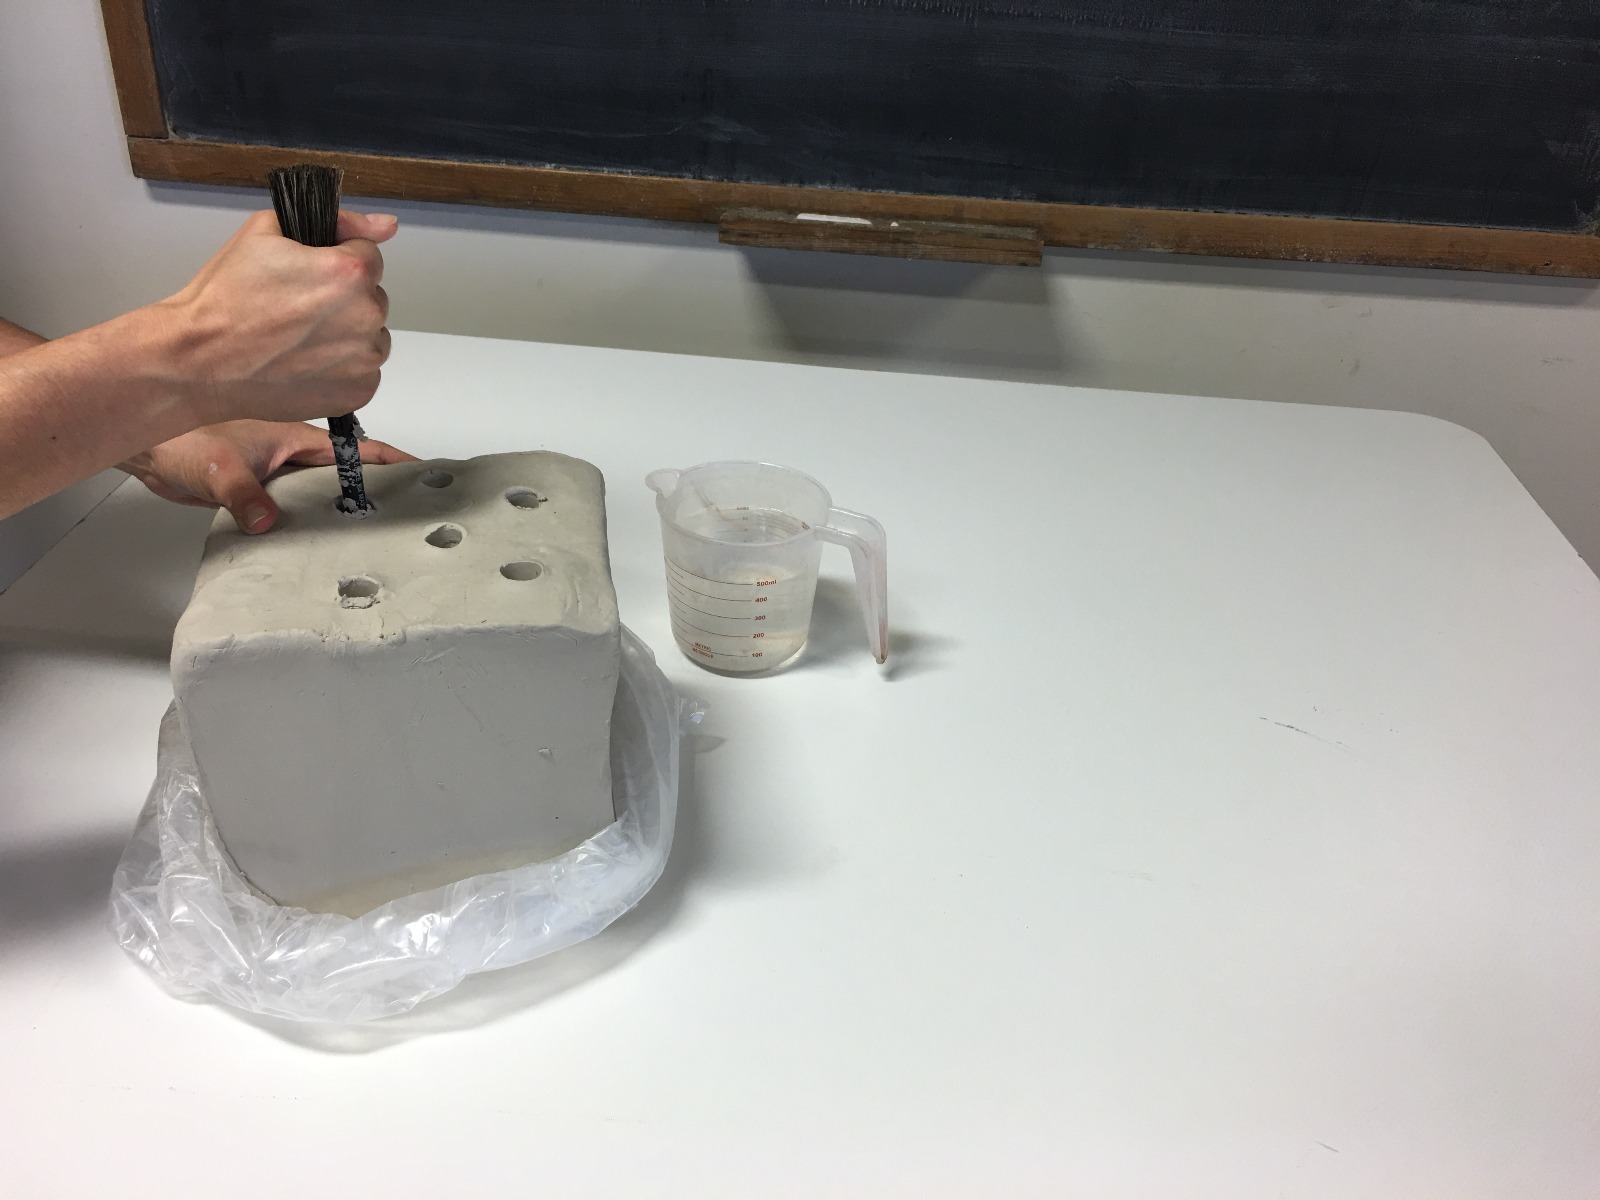
- Check the consistency: Before storing clay, check its consistency. It should be pliable and slightly moist, neither too dry nor too wet. If the clay is too dry, you can add a small amount of water and knead it until it reaches the desired consistency. If it’s too wet, allow it to air dry for some time or add dry clay to absorb the excess moisture.
- Remove any impurities: Inspect the clay for any foreign objects, such as stones, twigs, or debris. Remove any impurities to ensure the clay remains clean and free from contaminants during storage.
- Divide into manageable portions: If you have a large amount of clay, it’s recommended to divide it into smaller, more manageable portions. This makes it easier to handle and prevents unnecessary wastage of clay.
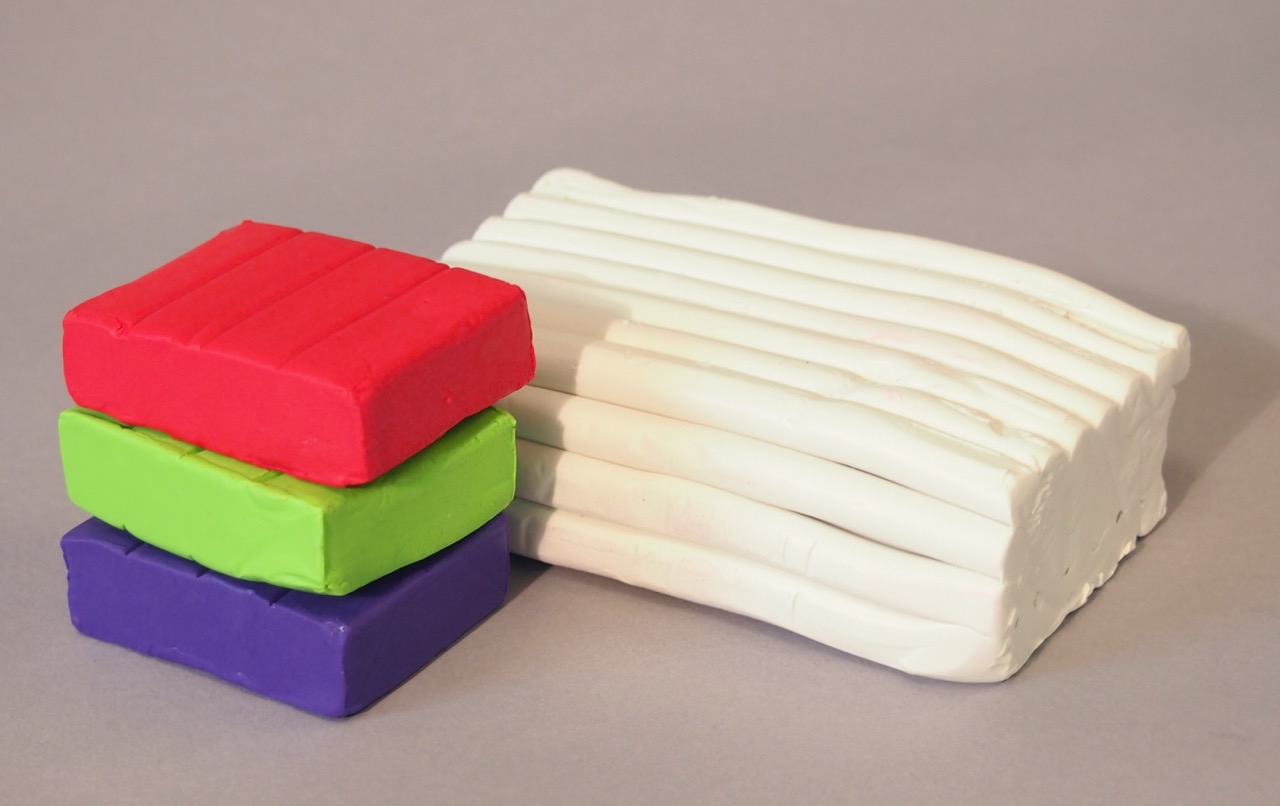
- Shape into uniform forms: To ensure uniformity in storage, shape the clay into consistent forms, such as balls, slabs, or blocks. This helps in organizing and stacking the clay containers more efficiently.
- Wrap in plastic: Once the clay is prepared, wrap each portion tightly in plastic wrap or a plastic bag. This helps seal in the moisture and prevents the clay from drying out. Make sure the plastic wrap is secured with tape or a rubber band to keep it in place.
By following these steps, you can ensure that your clay is properly prepared for storage, maintaining its quality and making it easier to work with when you’re ready to use it.
Container Options
Choosing the right container for storing your clay is crucial for maintaining its quality and preventing damage. Here are a few container options to consider:
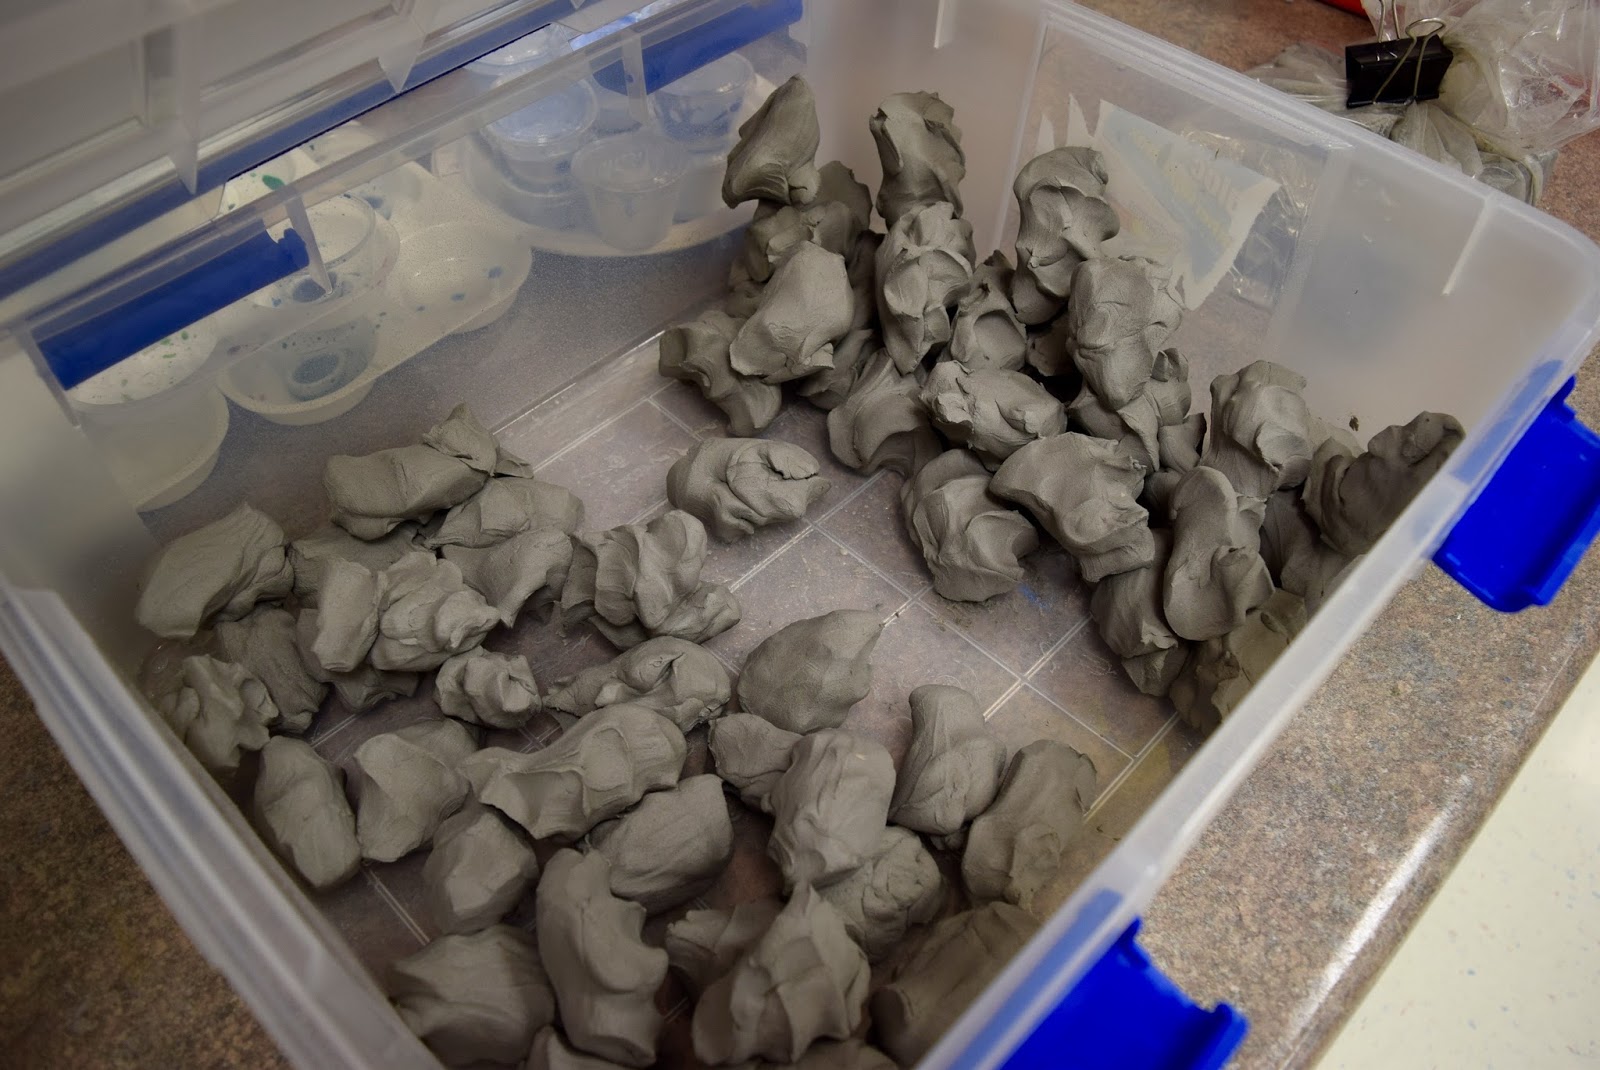
- Plastic containers: Plastic containers are a popular choice for storing clay due to their durability and moisture resistance. Look for containers that are specifically designed for food storage or have airtight seals to prevent air and moisture from entering. Transparent containers can also be useful for easily identifying the clay inside without having to open them.
- Buckets with lids: Another option is to use plastic buckets with secure lids. These are ideal for storing larger quantities of clay and can be stacked for better organization. Make sure the lids fit tightly to prevent air and moisture from entering.
- Ceramic containers: If you prefer a more aesthetically pleasing option, ceramic containers can be a good choice. Look for containers with lids or cork stoppers to keep air and moisture out. However, keep in mind that ceramic containers may be more fragile and susceptible to breakage, so handle them with care.
- Sealed bags: For smaller amounts of clay or if you’re looking for a more cost-effective option, storage bags can be used. Look for thick, resealable plastic bags that are large enough to hold your clay. Squeeze out as much air as possible before sealing the bag to minimize moisture exposure.
Regardless of the container you choose, make sure it is clean and free from any contaminants. Avoid using containers that previously held chemicals or other substances that may react with the clay.
Remember, the key is to select a container that provides an airtight or moisture-resistant seal to keep the clay fresh and prolong its shelf life. This will help prevent the clay from drying out or becoming too moist during storage.
Proper Sealing Techniques
Sealing your clay containers correctly is essential for maintaining the quality and moisture content of the clay throughout its storage period. Here are some proper sealing techniques to consider:
- Tightly seal the lid or cover: Ensure that the lid or cover of your container is securely fastened to create an airtight seal. This prevents air from entering the container, which can cause the clay to dry out.
- Use plastic wrap or foil: If your container does not have a secure lid, or if you want an extra layer of protection, wrap the opening of the container with plastic wrap or aluminum foil. This creates a barrier against air and moisture.
- Secure with rubber bands or tape: To enhance the seal, use rubber bands or tape to secure the plastic wrap or foil around the container. This helps keep the wrap or foil in place and prevents it from coming loose.
- Consider vacuum sealing: For long-term storage or when you want to ensure the tightest seal possible, you can use a vacuum sealer. Place the clay in a bag or container and use the vacuum sealer to remove the air, creating a vacuum seal that prevents moisture and air from getting in.
It’s important to note that different types of clay may require specific sealing techniques. For example, air-dry clay or clay with additives may have different storage requirements. Always refer to the clay manufacturer’s instructions for the best sealing techniques for your specific type of clay.
Remember to inspect the seals periodically to ensure they remain intact. If you notice any signs of air leakage or the seals becoming loose, reseal the container to maintain optimal storage conditions.
Proper sealing techniques help preserve the moisture content and quality of the clay, ensuring that it remains usable and in good condition when you’re ready to use it.
Store clay in a cool, dry place to prevent it from drying out or becoming too hard. Keep it in an airtight container or wrapped in plastic to maintain its moisture.
Read more: How To Store Clay Bar
Avoiding Moisture and Humidity
Moisture and humidity can negatively impact the quality of clay, causing it to become too soft, moldy, or develop a musty odor. To prevent these issues, it’s important to take steps to minimize moisture and humidity in your clay storage area. Here are some strategies to consider:
- Use moisture-absorbing materials: Place moisture-absorbing materials, such as silica gel packets or desiccants, in your clay storage containers. These materials help absorb excess moisture and keep the clay dry. Replace them regularly to maintain their effectiveness.
- Avoid storing clay on the floor: Keep clay containers elevated off the floor to minimize the risk of moisture seeping in from the ground. Use shelves or pallets to raise the containers and create airflow underneath.
- Use dehumidifiers or air conditioners: In areas with high humidity, consider using dehumidifiers or air conditioners to control the moisture levels in your clay storage area. These devices help remove excess moisture from the air, creating a drier environment for your clay.
- Inspect for leaks: Regularly check your storage area for any signs of leaks or water damage. Ensure there are no leaks from pipes, windows, or ceilings that could introduce moisture into the area.
- Keep storage area well-ventilated: Proper ventilation is crucial for reducing humidity and allowing air to circulate. Open windows, use fans, or install vents to promote airflow in your clay storage area.
- Avoid storing clay near water sources: Keep your clay containers away from sinks, showers, or areas where water is used frequently. This helps minimize exposure to excess moisture or accidental water splashes.
By implementing these strategies, you can maintain a dry and moisture-free environment for your clay, reducing the risk of mold and other moisture-related issues.
Regularly monitor the humidity levels in your storage area using a hygrometer. Aim for humidity levels between 40-50% as this range helps preserve the integrity of the clay.
Remember, dry and moisture-free conditions are crucial for ensuring the longevity and usability of your clay.
Protecting Clay From Heat and Sunlight
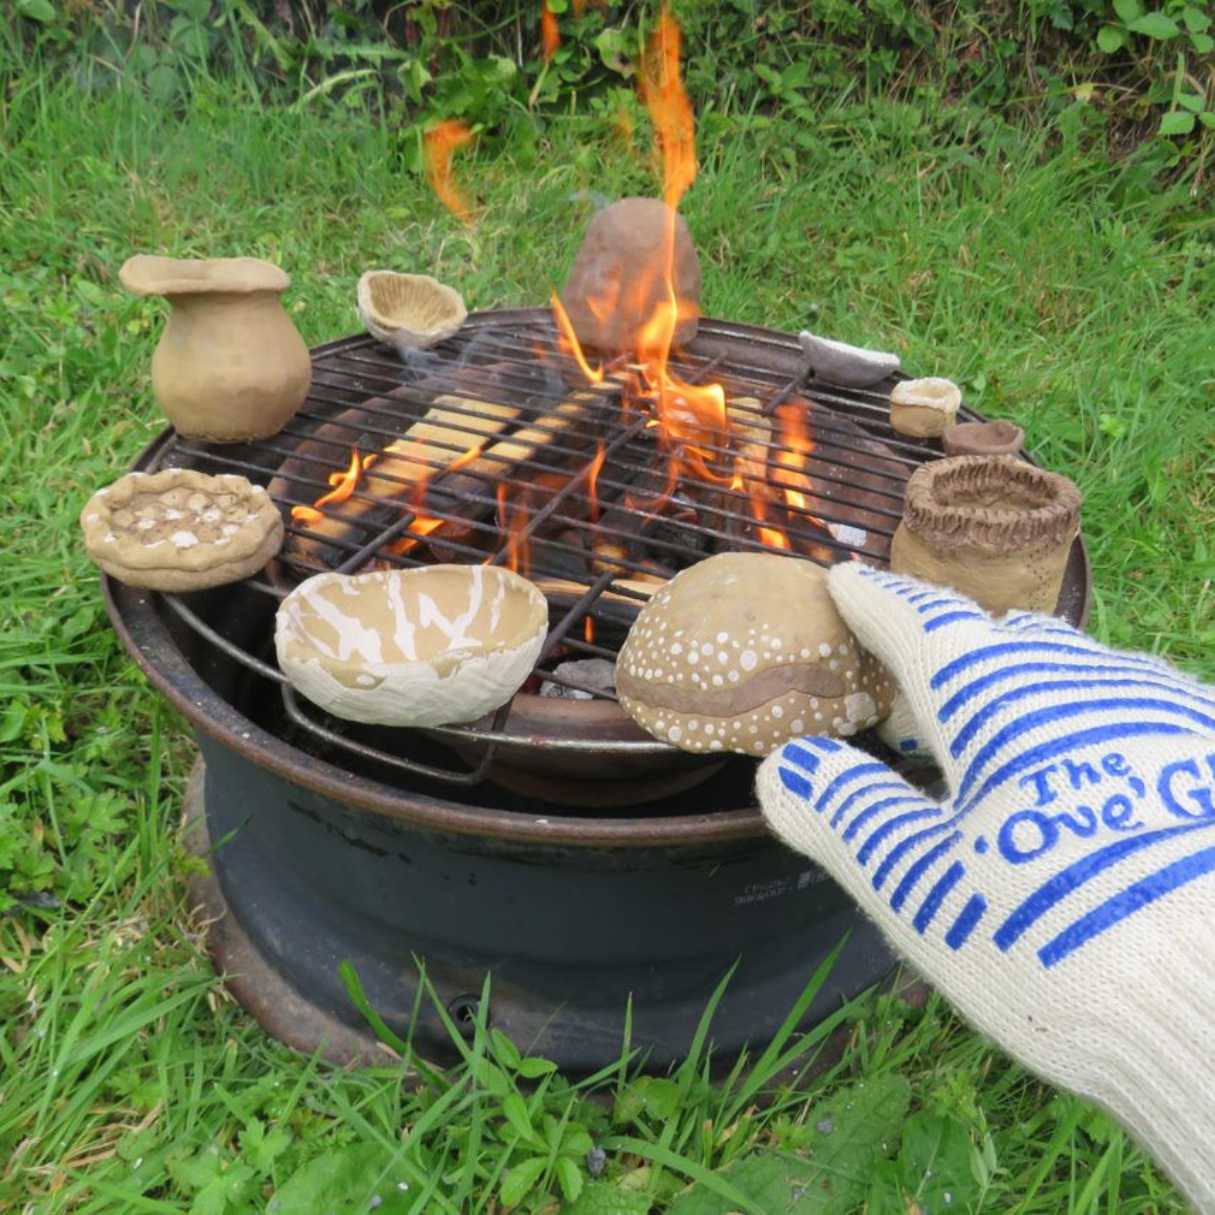
Heat and sunlight can have detrimental effects on clay, causing it to dry out, crack, or become brittle. It’s important to take measures to protect your clay from these elements. Here are some tips to help you protect your clay from heat and sunlight:
- Store clay in a cool area: Find a cool storage area for your clay containers. Avoid areas that are exposed to direct sunlight or heat sources like radiators or heating vents. Keeping the clay in a cool environment helps maintain its moisture content and prevents drying.
- Avoid direct sunlight exposure: Always keep your clay containers away from direct sunlight. Prolonged exposure to sunlight can lead to the clay drying out and becoming more susceptible to cracking. If natural light is unavoidable, consider using UV-blocking curtains or blinds to shield the clay from direct sunlight.
- Use opaque containers: Opt for containers that are opaque or made of materials that block out UV rays. This helps prevent sunlight from penetrating and affecting the clay inside. Transparent containers may allow light to pass through, so it’s best to avoid them for long-term storage.
- Cover windows or use curtains: If your storage area has windows, cover them with curtains or blinds to minimize the amount of sunlight that enters the space. This reduces the heat and UV exposure to your clay.
- Avoid storing clay near heat sources: Keep your clay containers away from heat sources like heaters, ovens, or stoves. The heat can cause the clay to dry out quickly and become more prone to cracking.
- Consider insulating materials: If you are storing your clay in an area that tends to get hot, consider using insulating materials. This can include insulating foam or reflective sheets that help maintain a cooler environment for your clay.
By implementing these measures, you can protect your clay from the damaging effects of heat and sunlight, ensuring that it stays pliable and workable for a longer period.
Remember, maintaining proper storage conditions is key to preserving the integrity of your clay and ensuring its longevity.
Organizing and Labeling
Proper organization and labeling of your clay storage area are essential for easy access, efficient workflow, and maintaining the quality of your clay. Here are some tips to help you organize and label your clay storage:
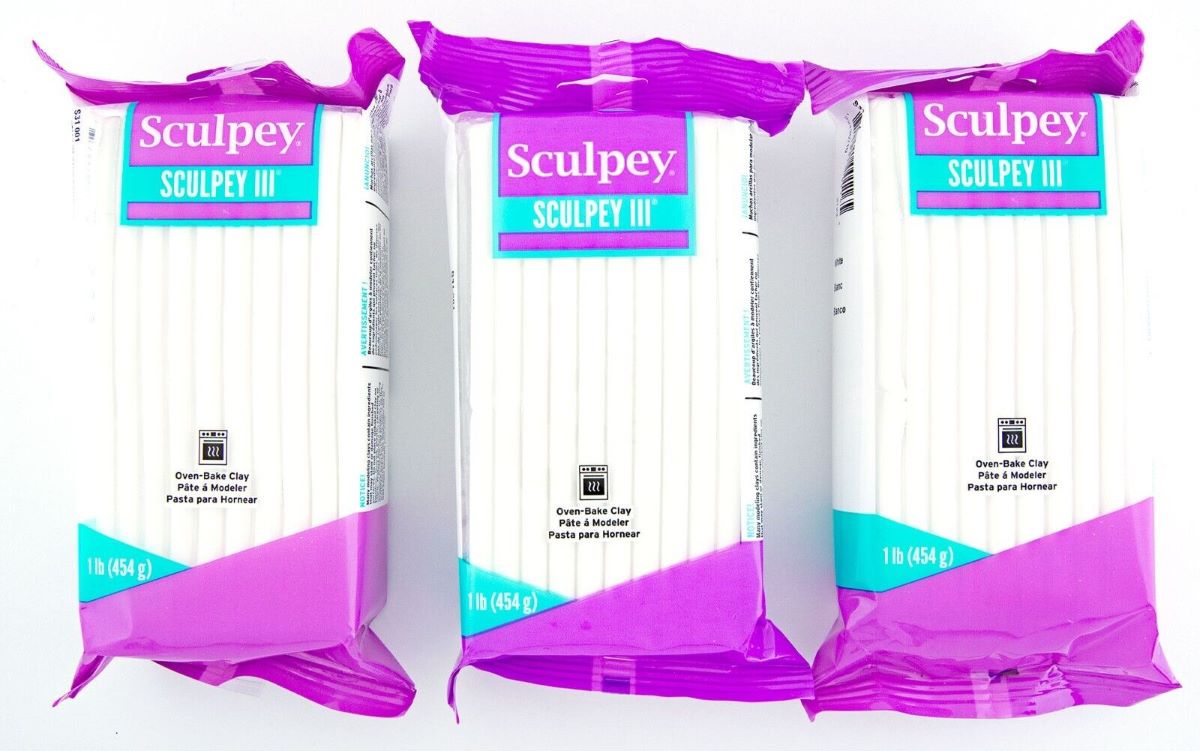
- Categorize by clay type: If you work with different types of clay, consider categorizing them separately. This allows you to easily locate the specific clay you need for your projects. You can use separate containers or shelves for each clay type.
- Arrange by usage frequency: Place the clay that you use most frequently within easy reach. This saves time and effort when starting a project. For clays that you use less often, store them in a designated area that is still accessible but not taking up prime storage real estate.
- Use clear labels: Label each container or shelf with the name of the clay type, its characteristics, and the date of storage. Clear labels make it easy to identify and select the desired clay, especially if you work with various colors or specialized clays.
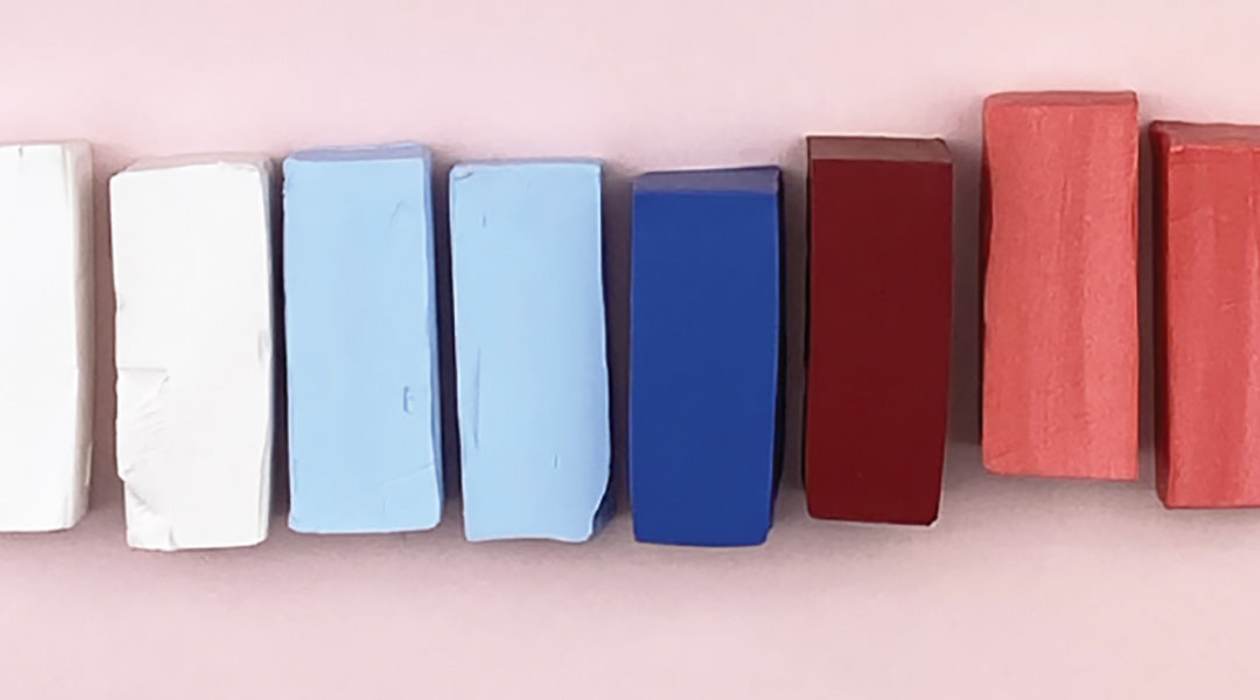
- Consider color-coding: To make identification even quicker, consider color-coding your clay containers or shelves. Assign specific colors to different clay types or clay brands for visual organization.
- Utilize storage bins or drawers: If you have a large collection of clay, consider using storage bins or drawers. These provide easy access to your clay and keep them neatly organized. You can label each bin or drawer for quick identification of the clay inside.
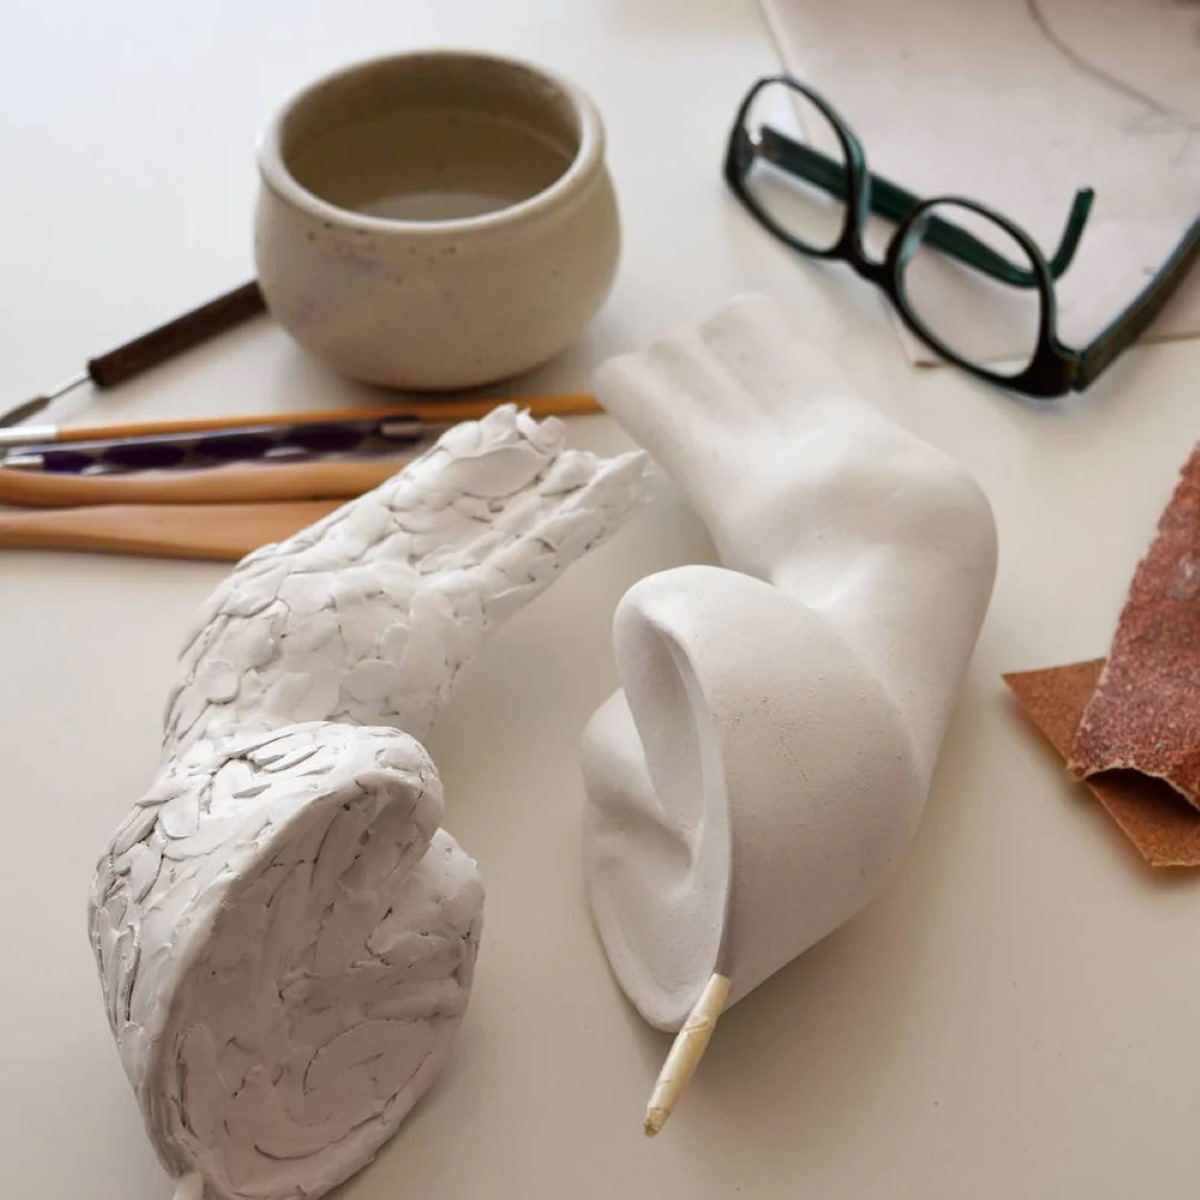
- Group related tools and materials: Alongside your clay, keep related tools and materials in the same area. This could include sculpting tools, carving tools, brushes, and other accessories. By keeping everything together, you’ll have a comprehensive workspace ready to go.
- Regularly declutter and reorganize: Periodically review your clay storage area and declutter any expired or unusable clay. This helps maintain a neat and organized space, ensuring that you have enough room for new supplies and preventing the buildup of unnecessary materials.
By implementing these organization and labeling strategies, you can create an efficient and well-structured clay storage area. This not only saves time but also ensures that your clay is stored and accessed in the best possible way, helping to maintain its quality and usability.
Monitoring and Maintaining Clay Storage
Monitoring and maintaining your clay storage is crucial to ensure the longevity and quality of your clay. Here are some important steps to follow:
- Regularly inspect containers: Periodically check your clay containers for any signs of damage, leaks, or compromised seals. Inspecting the containers helps you catch any issues early on and prevent potential damage to your clay.
- Monitor humidity levels: Use a hygrometer to monitor the humidity levels in your clay storage area. Aim for a humidity range of 40-50%, as excessively high humidity can cause clay to become too soft or moldy, while extremely low humidity can lead to drying out. Adjust the humidity levels using dehumidifiers or humidifiers as necessary.
- Check for mold or mildew: Regularly examine your clay for any signs of mold or mildew growth. Mold can spread quickly in a humid environment, so it’s important to address it promptly. If you notice any mold on the surface of the clay, discard it to prevent contaminating the rest of your clay supply.
- Rotate your inventory: To ensure that your clay remains fresh, rotate your inventory. Use older clay first before using newer batches. This helps prevent clay from sitting in storage for too long, potentially drying out or becoming unusable.
- Consider test samples: Keep a small amount of clay as a test sample. This allows you to periodically test its workability and quality to ensure it is still suitable for your projects. If the test sample shows signs of deterioration, you can take appropriate action, such as adjusting storage conditions or discarding compromised clay.
- Maintain cleanliness: Regularly clean your clay storage area and containers. Sweep or vacuum any dust or debris, and wipe down the containers to remove any residue. Keeping the storage area clean helps minimize the risk of contamination and maintains a conducive environment for storing clay.
- Follow manufacturer’s recommendations: Finally, it’s important to follow any specific storage recommendations provided by the clay manufacturer. Different types of clay may require slightly different storage conditions, so be sure to read and follow the guidelines provided by the manufacturer.
By diligently monitoring and maintaining your clay storage, you can ensure that your clay remains in optimal condition and ready for your creative projects. Regular maintenance helps prevent issues such as mold growth, drying out, or deterioration, allowing you to work with high-quality clay every time.
Read more: How To Store Clay At Home
Conclusion
Proper storage of clay is essential for maintaining its quality, workability, and longevity. By following the right storage techniques, you can prevent clay from drying out, cracking, or becoming too moist and moldy. Choosing the right storage area, preparing clay for storage, selecting appropriate containers, utilizing proper sealing techniques, avoiding moisture and humidity, protecting clay from heat and sunlight, organizing and labeling, and monitoring and maintaining clay storage are all crucial steps in ensuring the optimal condition of your clay.
Remember to choose a storage area that is cool, dry, and well-ventilated, and away from direct sunlight and heat sources. Preparing your clay by checking its consistency, removing impurities, and shaping it into uniform forms helps maintain its moisture content and quality. Utilize appropriate containers that create an airtight or moisture-resistant seal to prevent drying or excessive moisture exposure.
Avoiding moisture and humidity through the use of moisture-absorbing materials, proper ventilation, and keeping the clay elevated off the ground is important to prevent mold growth and maintain a dry environment. Protecting clay from heat and sunlight by storing it in a cool area, shielding it from direct sunlight, and using opaque containers helps prevent drying and cracking.
Organizing and labeling your clay storage area improves accessibility and efficiency, making it easier to find and select the clay you need. Regularly monitoring the containers for damage, humidity levels, mold growth, and performing maintenance tasks such as cleaning and rotating the inventory are crucial to ensure the freshness and usability of your clay.
By following these guidelines and paying attention to the unique characteristics of your specific clay types, you can ensure your clay remains in optimal condition, ready for your creative endeavors.
Remember, the proper storage of clay is not just about preserving the material, but also about empowering you to create your best work and enjoy the process of working with clay.
Frequently Asked Questions about How To Store Clay
Was this page helpful?
At Storables.com, we guarantee accurate and reliable information. Our content, validated by Expert Board Contributors, is crafted following stringent Editorial Policies. We're committed to providing you with well-researched, expert-backed insights for all your informational needs.
0 thoughts on “How To Store Clay”