Articles
How To Arrange Wall Art
Modified: January 19, 2024
Discover the best way to arrange wall art with our informative articles. Achieve balance, visual appeal, and create a stunning focal point in your home.
(Many of the links in this article redirect to a specific reviewed product. Your purchase of these products through affiliate links helps to generate commission for Storables.com, at no extra cost. Learn more)
Introduction
Wall art is an essential element in any interior design. It not only adds personality and character to a space but also enhances the overall aesthetic appeal. However, arranging wall art can be a daunting task, especially if you’re unsure where to begin. If you find yourself staring at a blank wall, wondering how to transform it into a stunning focal point, you’ve come to the right place.
In this article, we will guide you through the step-by-step process of arranging wall art. Whether you’re a newbie or a seasoned decorator, these tips and tricks will help you create a cohesive and visually pleasing display.
So, let’s dive in and explore how to choose the right wall art, determine the placement, create a layout, hang the artwork, and add those finishing touches to complete the look.
Key Takeaways:
- Choose wall art that reflects your personality, complements the room’s function, and aligns with the color scheme to create a cohesive and visually appealing display that enhances the ambiance of your space.
- Experiment with different arrangements, templates, and negative space when creating a layout for your wall art to achieve a visually stunning and balanced composition that reflects your personal style and creativity.
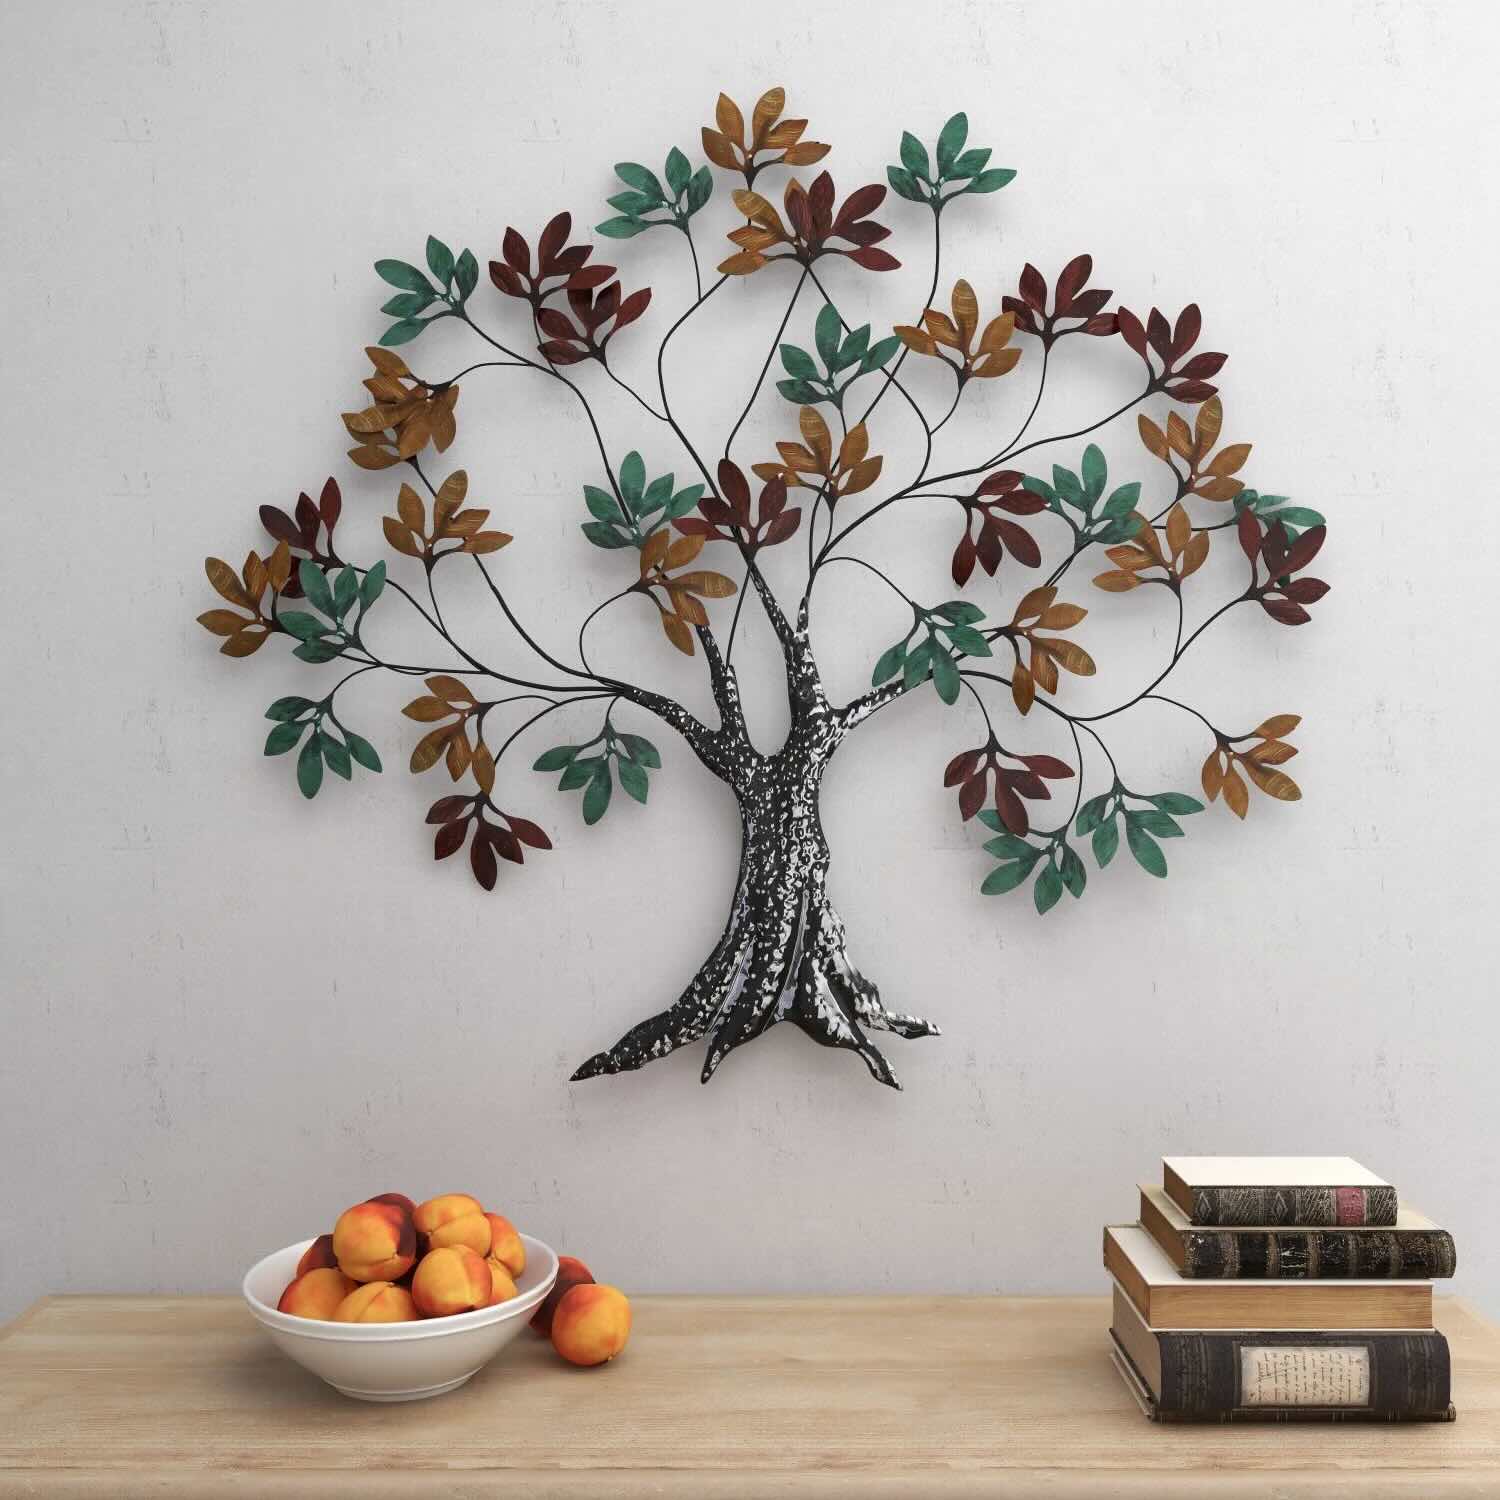
Step 1: Choosing the Right Wall Art
Choosing the right wall art is crucial as it sets the tone and style for the entire space. Here are some key considerations to keep in mind:
- Reflect your personality: Select artwork that reflects your personal taste and style. Look for pieces that resonate with you and evoke positive emotions.
- Consider the room’s function: Think about the purpose of the room where you’ll be hanging the wall art. For example, soothing and serene landscapes work well in bedrooms, while bold and vibrant abstracts can energize a living room.
- Size and scale: Ensure that the size of the artwork is proportionate to the wall and furniture in the room. A general rule of thumb is to choose a piece that fills about two-thirds to three-quarters of the wall space.
- Color coordination: Consider the existing color scheme of the room and choose art that complements or contrasts with the dominant colors. This can help create a harmonious and cohesive look in the space.
- Subject matter: Decide on the subject matter or theme that you want to showcase. It could be abstract, landscapes, portraits, or even a collection of family photographs. Ensure that it aligns with your overall design concept.
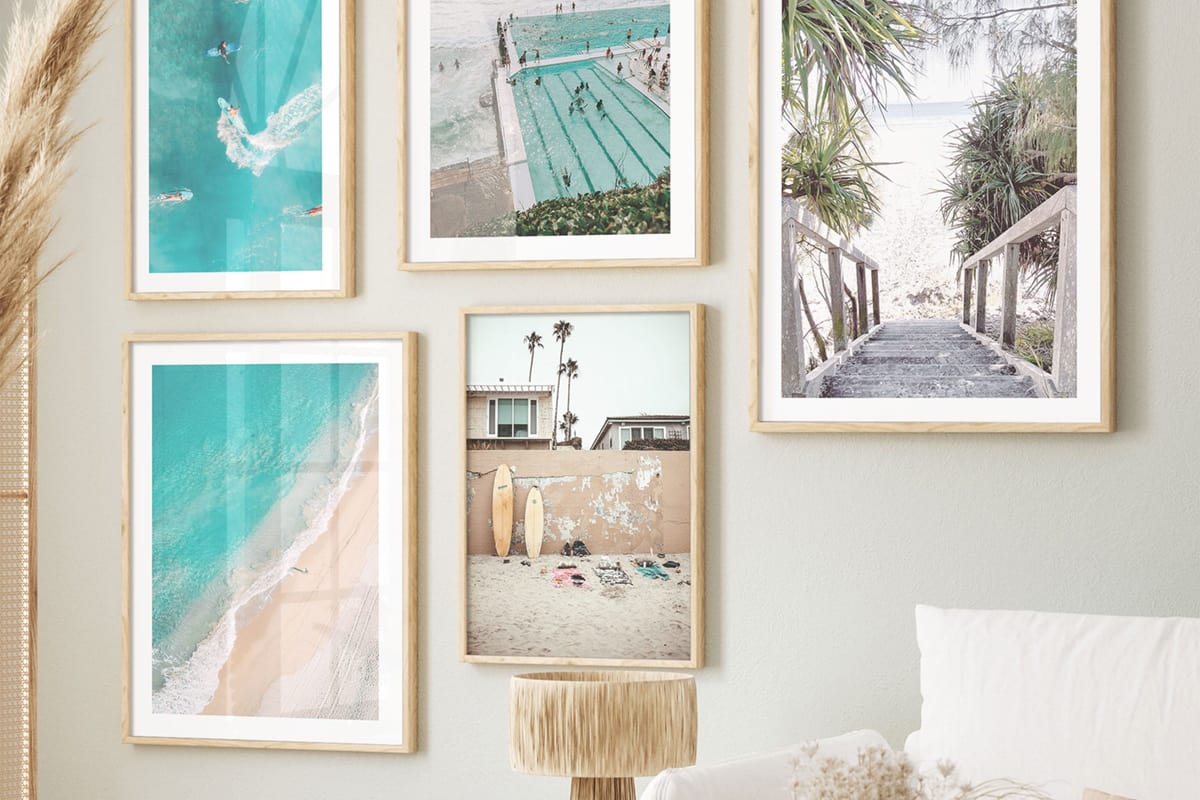
- Mix and match: Don’t be afraid to mix different types of artwork or combine different art styles. This can add visual interest and create a unique and eclectic display.
Remember, choosing the right wall art is a personal decision, and there are no rules set in stone. Trust your instincts and select pieces that speak to you and enhance the ambiance of your space.
Step 2: Determining the Placement
Once you have chosen the perfect wall art, it’s time to figure out where exactly to hang it. Here are some tips to help you determine the placement:
- Focal point: Identify the focal point of the room. It could be a fireplace, a bed, or a statement piece of furniture. Use this as a guide to determine where to hang the artwork for maximum impact.
- Eye level: Hang the artwork at eye level for optimal viewing. The center of the piece should be roughly at eye level, which is about 57 to 60 inches from the floor. If you have a higher ceiling or taller furniture, you may adjust the placement accordingly.
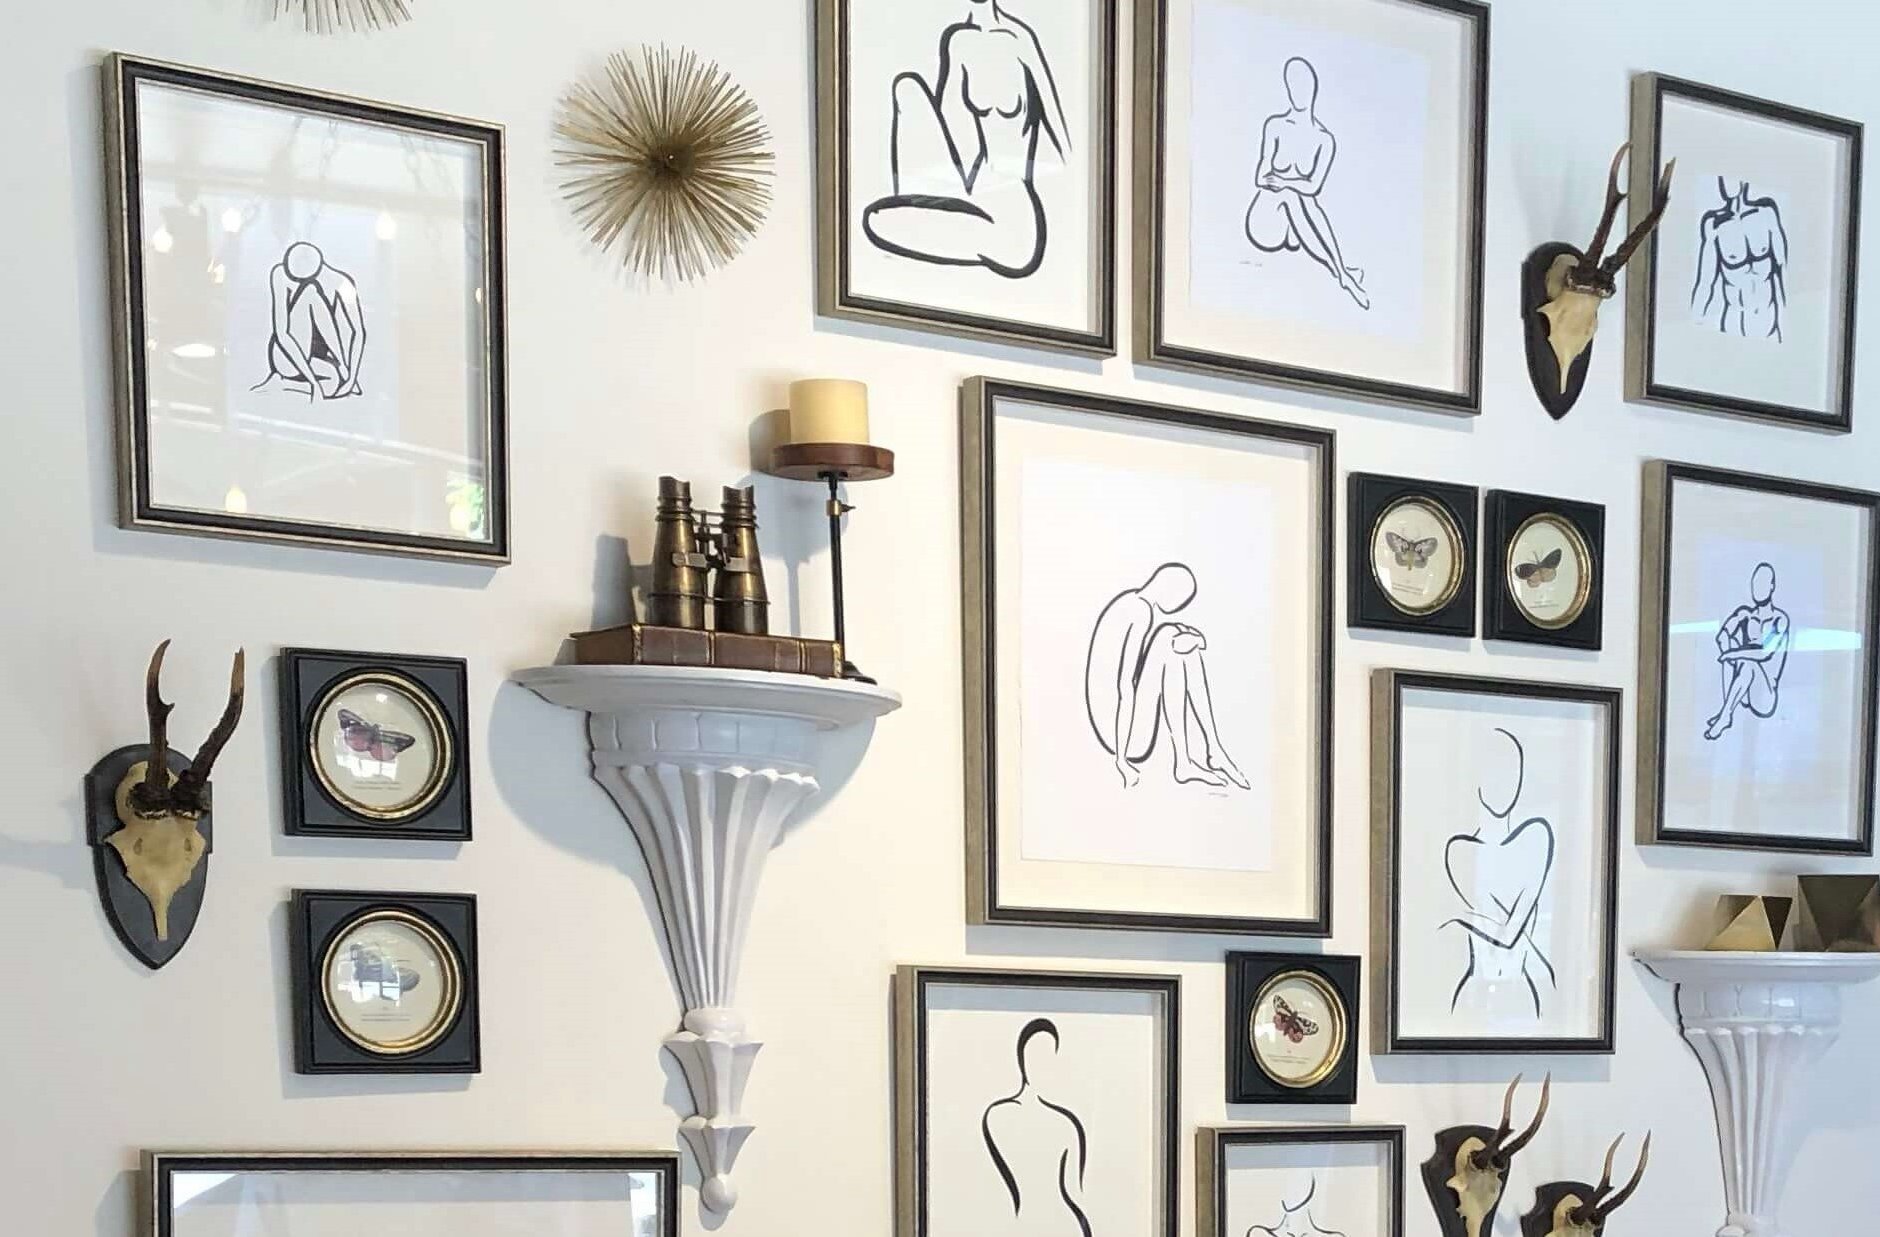
- Size and spacing: Consider the size of the wall art and the available wall space. Larger pieces can be a statement on their own and might require more prominent placement. If you have multiple pieces, pay attention to the spacing between them to create a balanced composition.
- Balance and symmetry: Achieve a sense of balance and symmetry by hanging artwork evenly on either side of a point of reference. This creates a visually pleasing arrangement and adds harmony to the space.
- Consider the furniture: Take into account the furniture that will be placed in proximity to the artwork. Ensure that the piece complements the furniture and doesn’t overwhelm or get lost against it.
- Wall type: Consider the type of wall you have. Some artwork may require specific hanging methods, such as using anchors or wall mounts for heavier pieces or adhesive hooks for lightweight artwork.
Remember, the placement of wall art can greatly impact the overall aesthetic and ambiance of a room. Take the time to experiment with different arrangements and positions before making a final decision.
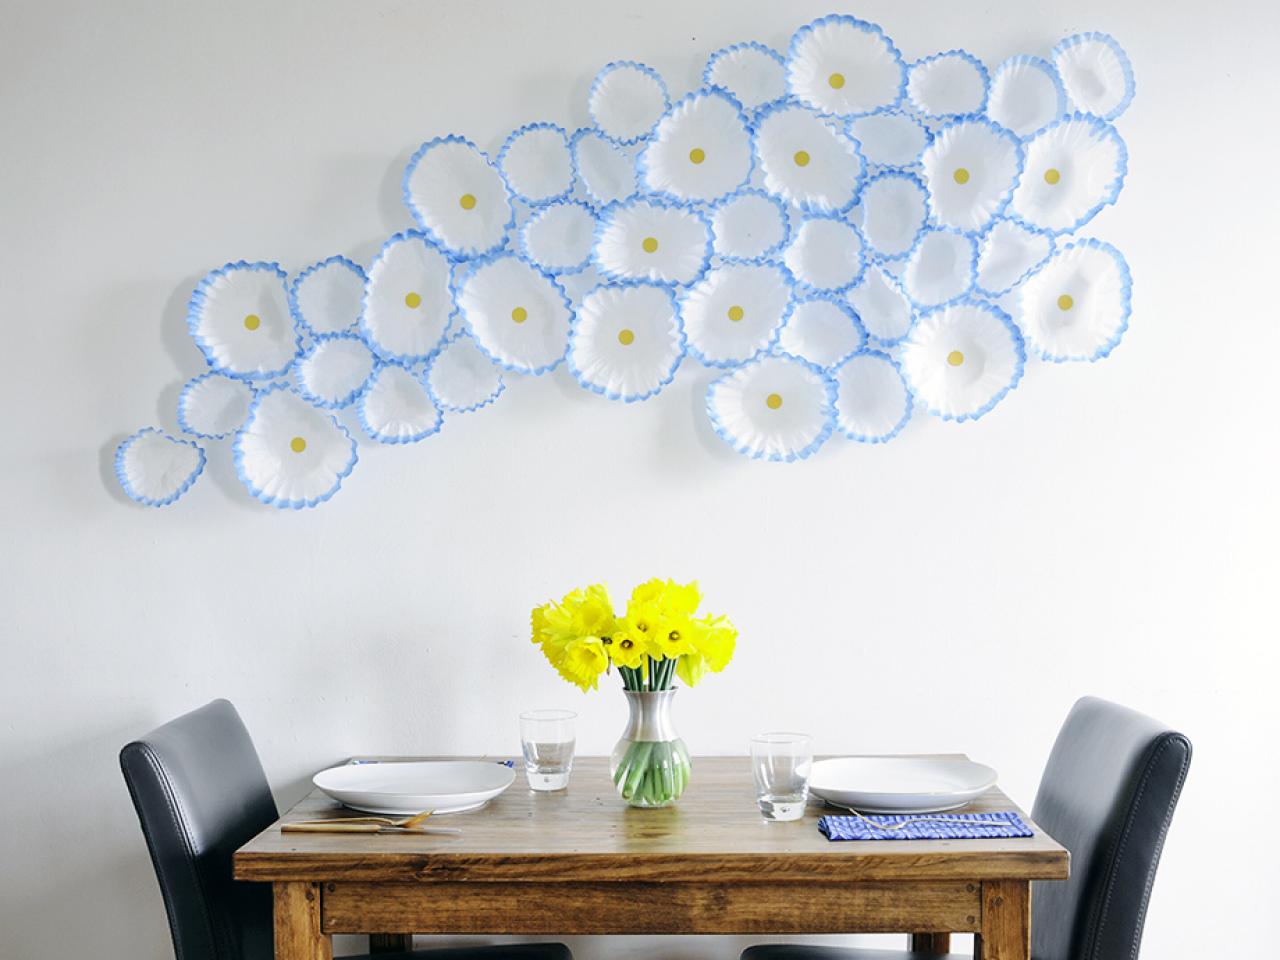
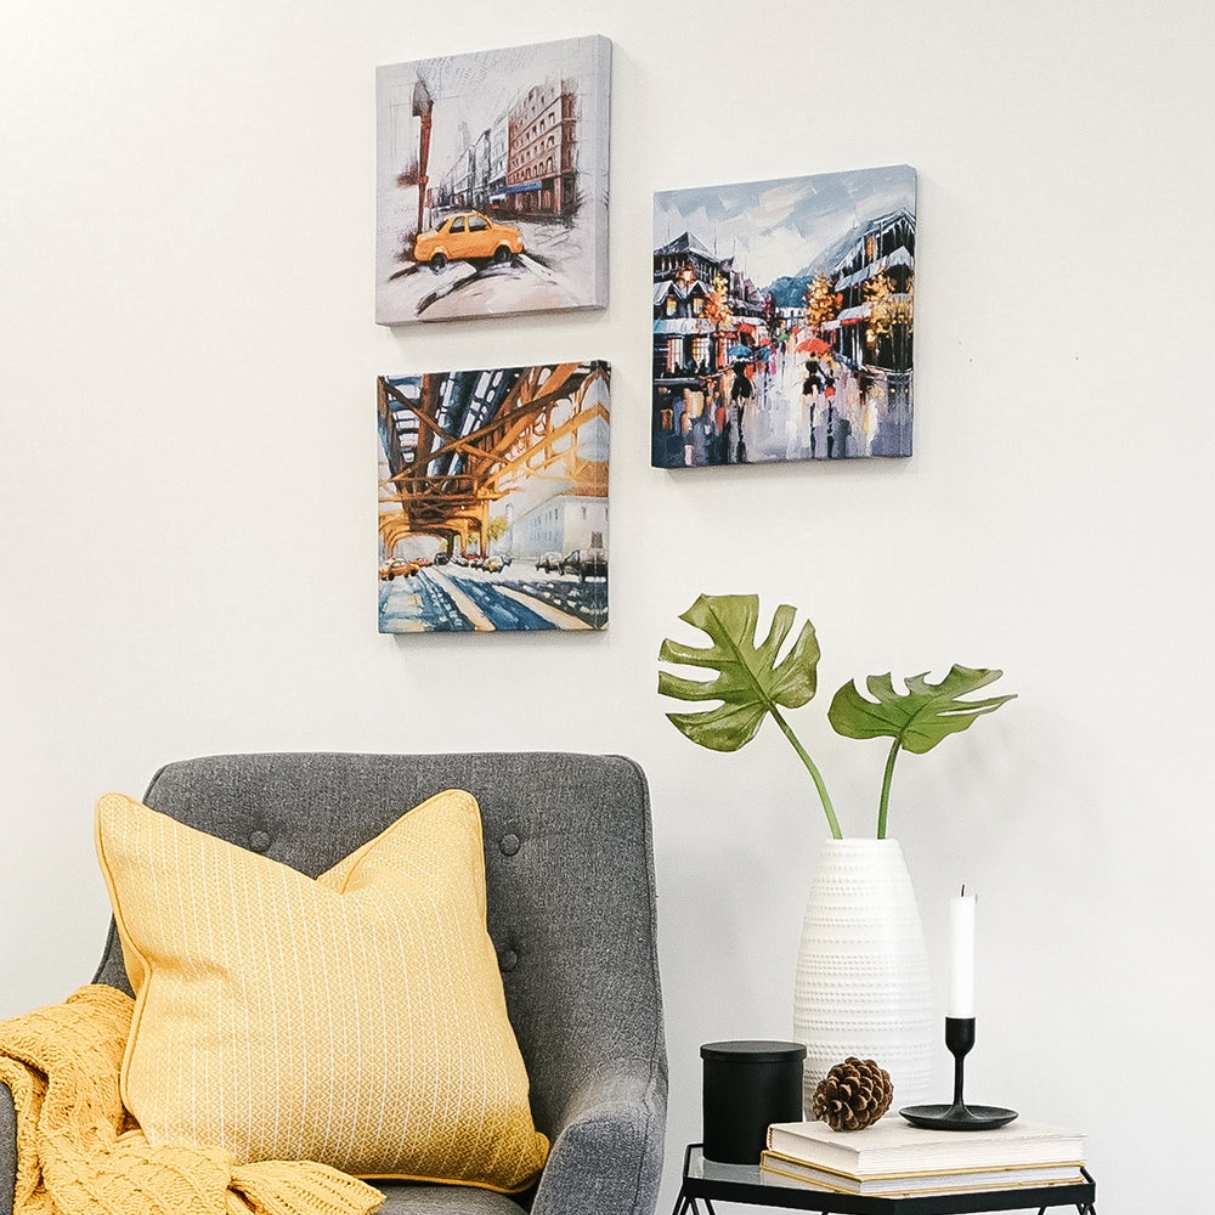
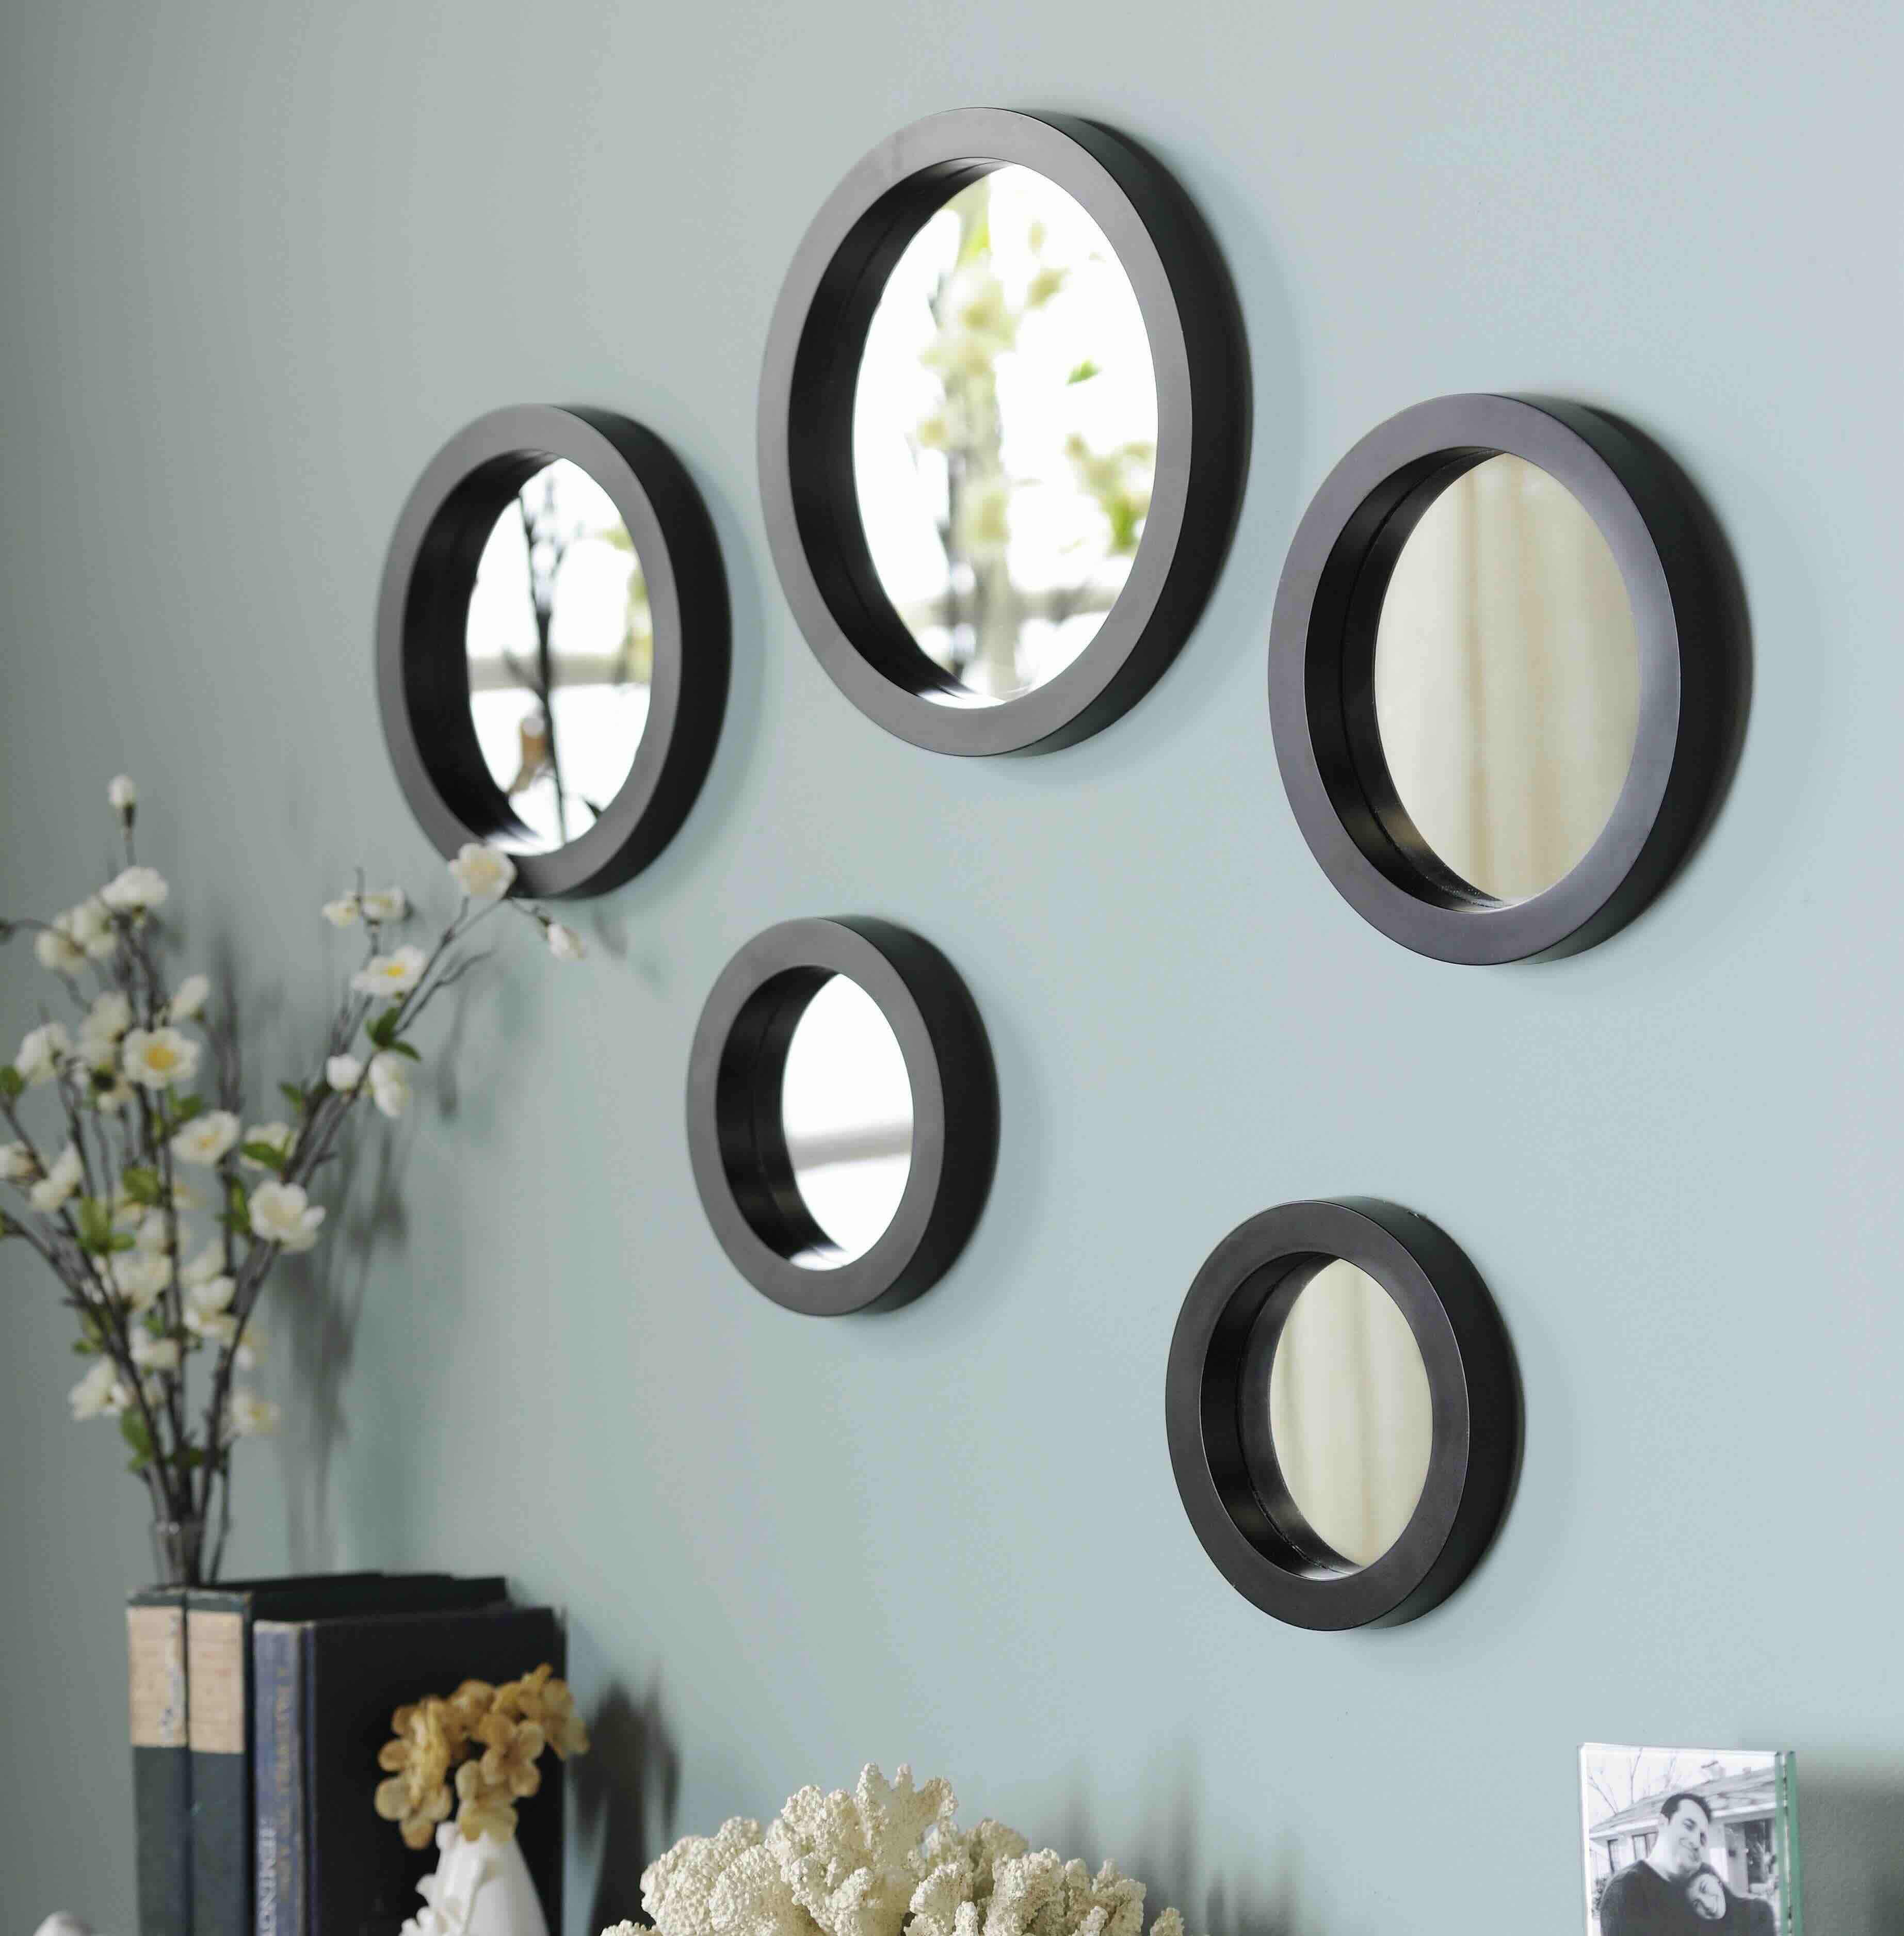
Step 3: Creating a Layout
Creating a layout for your wall art arrangement is essential to ensure a visually pleasing display. Here are some steps to help you create an engaging layout:
- Gather your art pieces: Collect all the artwork that you plan to include in the arrangement. Lay them out on the floor or a large table so that you can easily visualize how they will look together.
- Decide on a focal point: Determine if you want to have a central focal point, such as a large statement piece, or if you prefer a more eclectic arrangement with no specific focal point.
- Experiment with different arrangements: Move the artwork around and try out various configurations. Play with different sizes, orientations, and spacing between pieces to find the most visually appealing arrangement.
- Create balance and symmetry: Aim for a balanced composition by distributing the visual weight of the artwork evenly throughout the arrangement. Ensure that no single area feels overcrowded or empty.
- Use templates: To help visualize the layout on the wall, create paper or cardboard templates in the shape and size of each artwork. Tape them to the wall and experiment with different placements without making any permanent marks.
- Consider the negative space: Pay attention to the negative space around and between the artwork. Sometimes, leaving empty space can enhance the impact and allow the art to breathe.
- Don’t be afraid to make changes: If you’re not satisfied with the initial layout, don’t hesitate to make adjustments. Rearrange the artwork, swap pieces, or even add or remove items until you achieve the desired look.
Remember, the layout of your wall art should be a reflection of your personal style and creativity. Have fun experimenting and trust your instincts to create a visually stunning display.
When arranging wall art, start by laying out the pieces on the floor to experiment with different arrangements. Consider the spacing between each piece and the overall balance of the composition before hanging them on the wall.
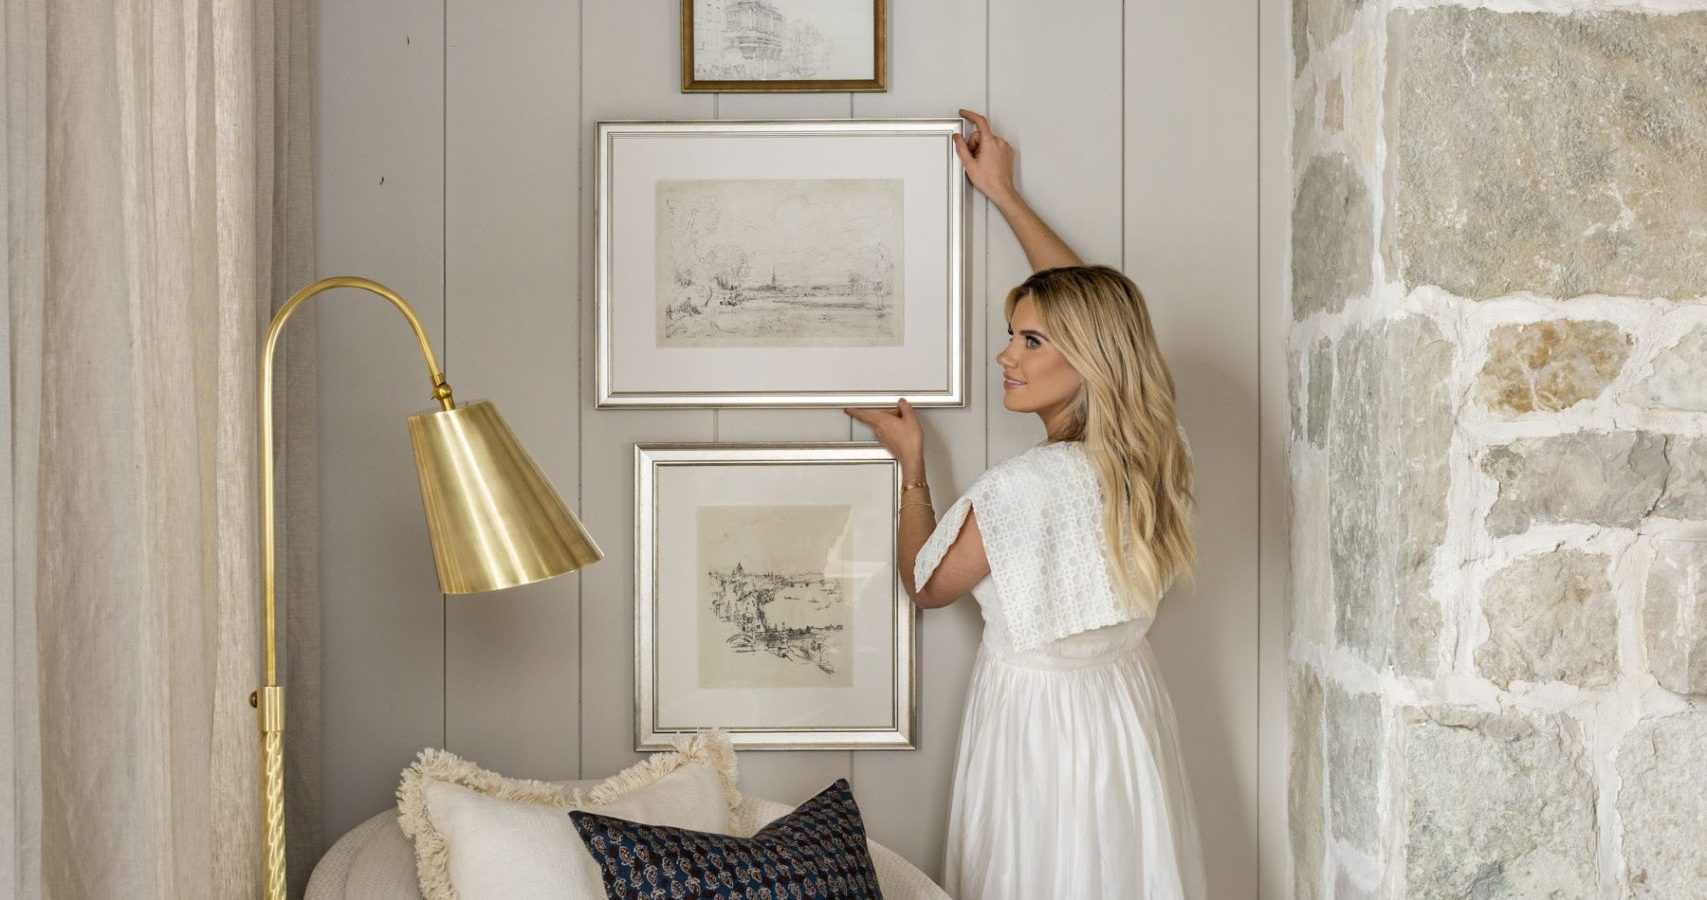
Step 4: Hanging the Artwork
Now that you have finalized the layout for your wall art, it’s time to hang the pieces. Follow these steps to ensure a secure and visually appealing installation:
- Gather the necessary tools: Prepare the tools you will need, such as a tape measure, level, pencil, hammer, nails, picture hooks, and wall anchors (if necessary).
- Mark the wall: Use a pencil to mark the desired placement of each piece on the wall. Take measurements from your layout or templates to ensure accuracy.
- Prepare the hanging hardware: Attach the appropriate hanging hardware to the back of each artwork. This could be D-rings, wire, sawtooth hangers, or other types of hooks, depending on the weight and size of the piece.
- Hang the heavier pieces first: If you have a mix of heavy and lightweight artwork, start by hanging the heavier pieces first. This will help ensure that the weight is distributed evenly and prevent any damage or accidents.
- Use a level: Use a level to make sure the artwork is straight and aligned with the horizon or other reference points. This will create a cohesive and professional look.
- Consider the spacing: Pay attention to the spacing between each piece. Use your layout as a guide, but feel free to make slight adjustments as needed to achieve the desired visual balance.
- Double-check stability: After hanging each artwork, give it a gentle shake to ensure it’s securely attached to the wall. This will help prevent any accidents or damage in the future.
Remember, taking the time to properly hang your artwork will not only ensure its stability but also contribute to the overall visual impact of your display. Measure twice and hang with confidence!
Read more: How To Make Plaster Wall Art
Step 5: Adding Finishing Touches
Once you have successfully hung your wall art, it’s time to add those final touches to complete the look. Consider the following tips to enhance the overall aesthetic and ensure a cohesive display:
- Lighting: Incorporate lighting to highlight your artwork. Use track lighting, picture lights, or even wall sconces to create a focal point and draw attention to your pieces.
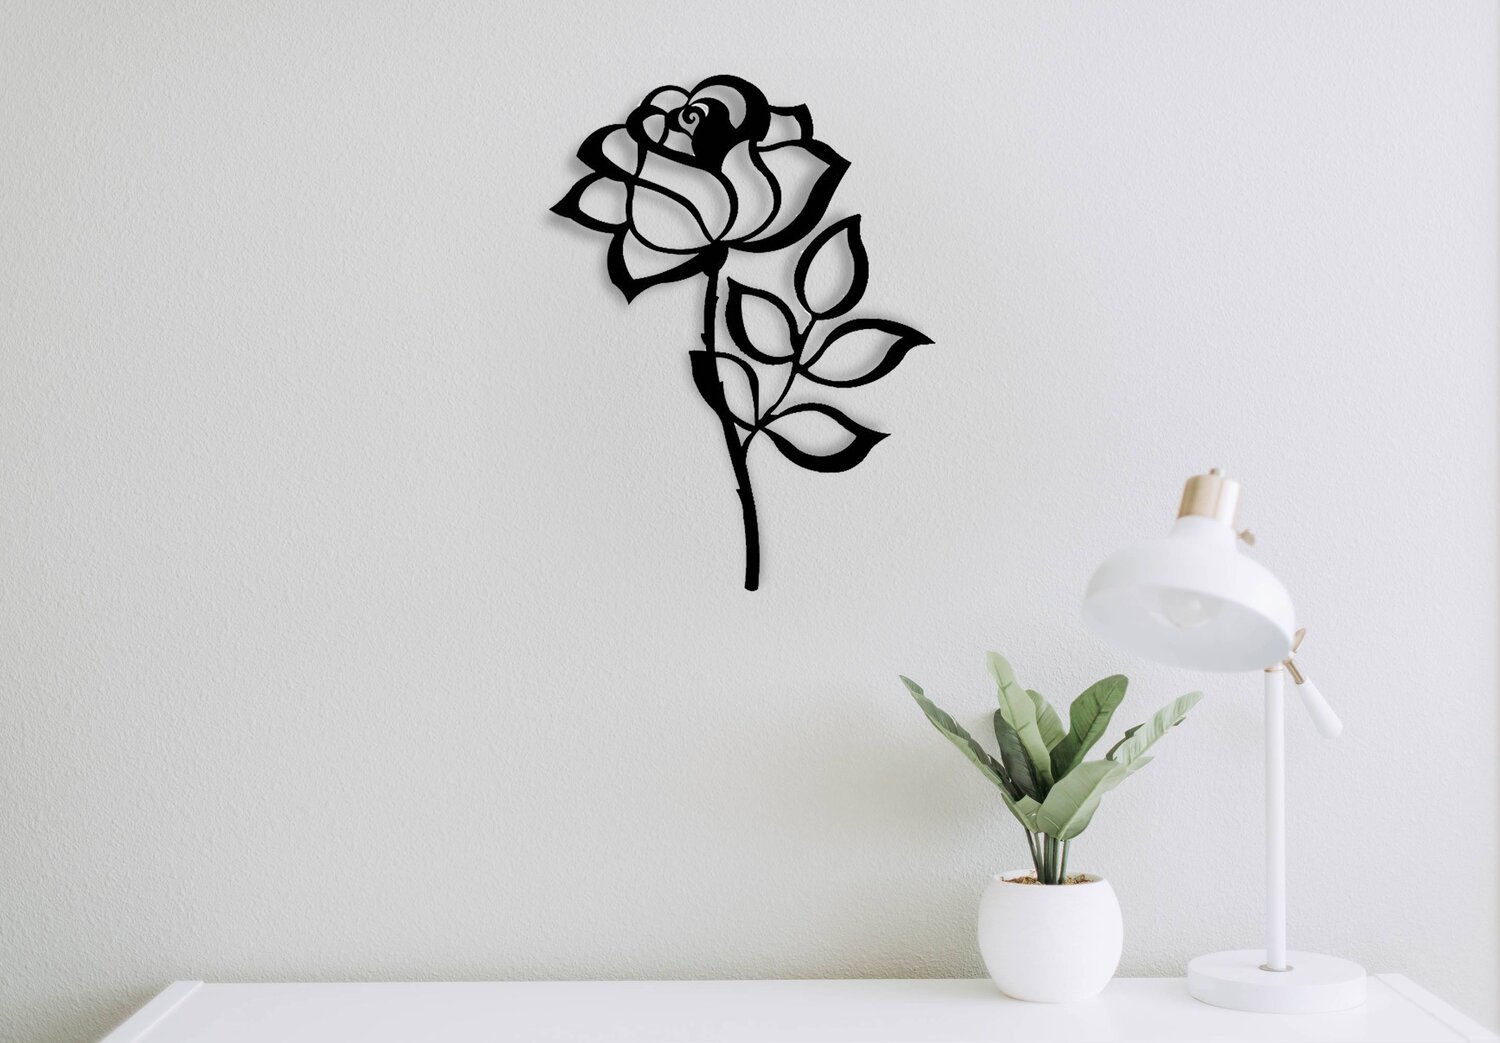
- Accessorize: Add complementary accessories around your wall art to enhance the overall aesthetic. This could include decorative objects, plants, or even small shelves to display additional items.
- Frame selection: Evaluate your framed artwork and decide if any frames need updating or resizing. Consider frames that coordinate with your interior design style and complement the artwork.
- Consider the surrounding decor: Take a step back and evaluate the overall interior design of the room. Ensure that the wall art harmonizes with the surrounding furniture, colors, and decor elements.
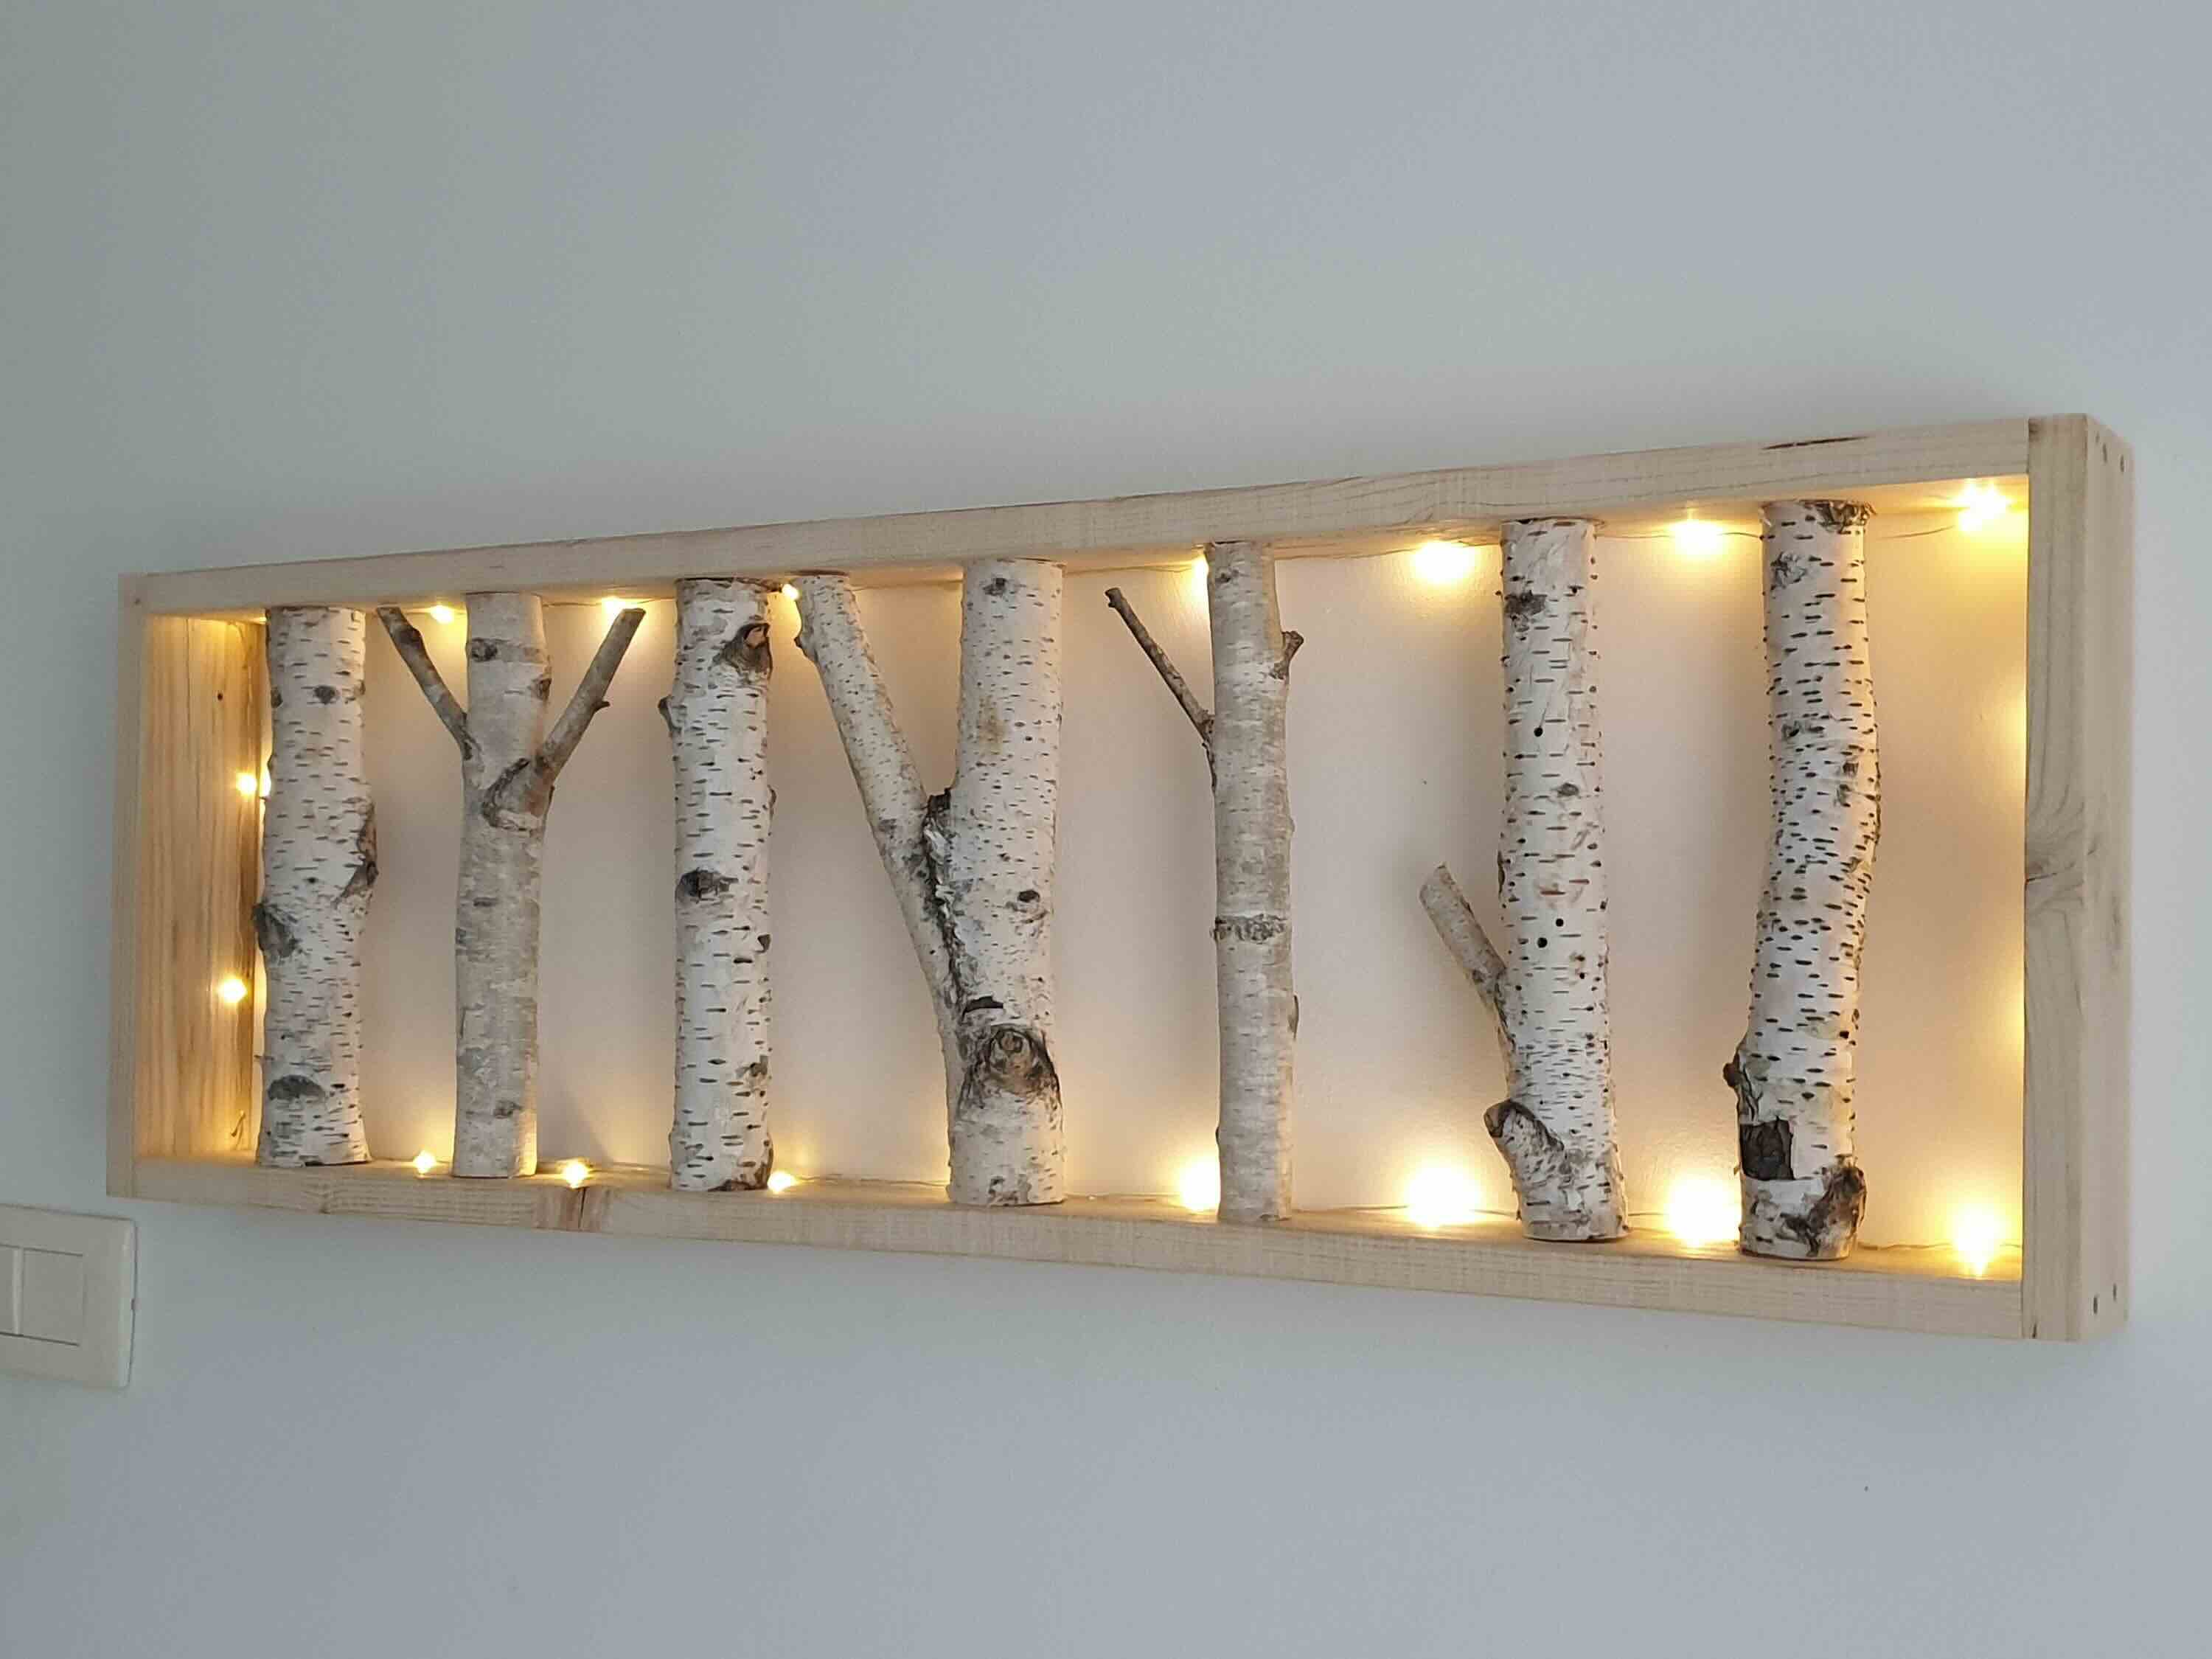
- Experiment with textures and layers: Explore the use of texture and layers to add depth and dimension to your display. Mix and match different materials, such as metal, wood, or fabric, to create an intriguing visual impact.
- Regular upkeep: Keep your wall art clean and dust-free. Gently wipe down the pieces regularly to maintain their beauty and prevent any damage from built-up dust or dirt.
- Showcase personal items: Incorporate personal items, such as photographs, sentimental mementos, or artwork created by loved ones, to add a touch of uniqueness and personalization to your wall display.
Remember, the finishing touches are what truly bring your wall art arrangement to life. Pay attention to the details and infuse your personal style to create a display that reflects your individuality and enhances the overall ambiance of the room.
Conclusion
Arranging wall art can transform any space, infusing it with personality, style, and visual appeal. By following the steps outlined in this article, you can create a cohesive and engaging display that showcases your favorite artwork. Remember that choosing the right wall art, determining the placement, creating a layout, hanging the artwork, and adding those finishing touches are all important elements in achieving a stunning result.
Start by selecting artwork that resonates with you and reflects your personal taste. Consider the size, subject matter, and color coordination to ensure a balanced and harmonious look. Determining the placement of your wall art involves considering the focal point, eye level, and the size and spacing of the pieces. Creating a layout allows you to experiment with different arrangements, templates, and negative space to find the most visually appealing composition. When hanging the artwork, use the right tools, mark the wall accurately, and ensure stability and straightness with the help of a level.
Once your artwork is hung, it’s time to add those finishing touches that elevate the overall aesthetic. Consider lighting, framing, accessories, surrounding decor, textures, and layers to enhance the visual impact. Regular upkeep and the inclusion of personal items contribute to a unique and personalized wall art display that reflects your individuality.
Remember to trust your instincts and have fun with the process. There are no strict rules when it comes to arranging wall art, so feel free to experiment and make adjustments as needed. Let your creativity shine as you curate a captivating and meaningful collection of wall art that transforms your space into a work of art.
Frequently Asked Questions about How To Arrange Wall Art
Was this page helpful?
At Storables.com, we guarantee accurate and reliable information. Our content, validated by Expert Board Contributors, is crafted following stringent Editorial Policies. We're committed to providing you with well-researched, expert-backed insights for all your informational needs.


0 thoughts on “How To Arrange Wall Art”