Articles
How To Store Kids Clothes
Modified: August 27, 2024
Learn the best practices for storing kids clothes in this informative articles and keep their clothing organized and in good condition.
(Many of the links in this article redirect to a specific reviewed product. Your purchase of these products through affiliate links helps to generate commission for Storables.com, at no extra cost. Learn more)
Introduction
As parents, we all know how quickly our children outgrow their clothes. One moment, their tiny onesies fit perfectly, and the next, they’re struggling to squeeze into that adorable little t-shirt.
Properly storing kids’ clothes is essential not only for keeping them organized but also for extending their lifespan. With the right storage techniques, you can ensure that the clothes remain in good condition and can be passed down to younger siblings or even sold or donated.
In this article, we will guide you through the step-by-step process of storing kids’ clothes effectively. From sorting and decluttering to choosing the right storage containers and protecting clothes from pests, we’ve got you covered. Get ready to say goodbye to the days of rummaging through piles of clothes to find that perfect outfit.
So, let’s dive in and discover the best practices for storing kids’ clothes!
Key Takeaways:
- Properly storing kids’ clothes preserves their quality, saves money, teaches responsibility, and creates sentimental value. Follow the step-by-step process to ensure an organized and efficient wardrobe.
- Implement seasonal swaps, use moth repellents, and choose the right storage containers to protect and preserve special occasion and delicate clothes. Enjoy an organized and well-preserved wardrobe for your little ones.
Read more: How To Store Doll Clothes
Importance of Properly Storing Kids Clothes
Properly storing kids’ clothes goes beyond just keeping them organized. It plays a crucial role in preserving the clothes’ quality, ensuring they stay in good condition for future use. Here are some key reasons why investing time in storing kids’ clothes properly is worthwhile:
- Preserve the Clothes: By storing kids’ clothes correctly, you can protect them from damage, such as stains, tears, or discoloration. This is especially important for special occasion garments or expensive pieces that you want to prolong their lifespan.
- Save Money: Kids grow quickly, and their clothing size changes frequently. By storing their clothes properly, you can effectively reuse them for younger siblings or even sell or donate them, saving you money in the long run.
- Organize Efficiently: Storing kids’ clothes in an organized manner saves you time and effort searching for specific items. It allows you to easily find what you need, especially during busy mornings or when packing for trips.
- Teach Kids Responsibility: Involving children in the process of storing their clothes helps them develop important organizational and tidiness skills. It teaches them the value of taking care of their belongings and staying organized.
- Create Sentimental Value: Some kids’ clothing holds sentimental value, reminding us of special moments or milestones. Properly storing these clothes ensures they are well-preserved, allowing you to cherish those memories for years to come.
Now that we understand the importance of properly storing kids’ clothes, let’s explore the step-by-step process to ensure they remain in optimal condition.
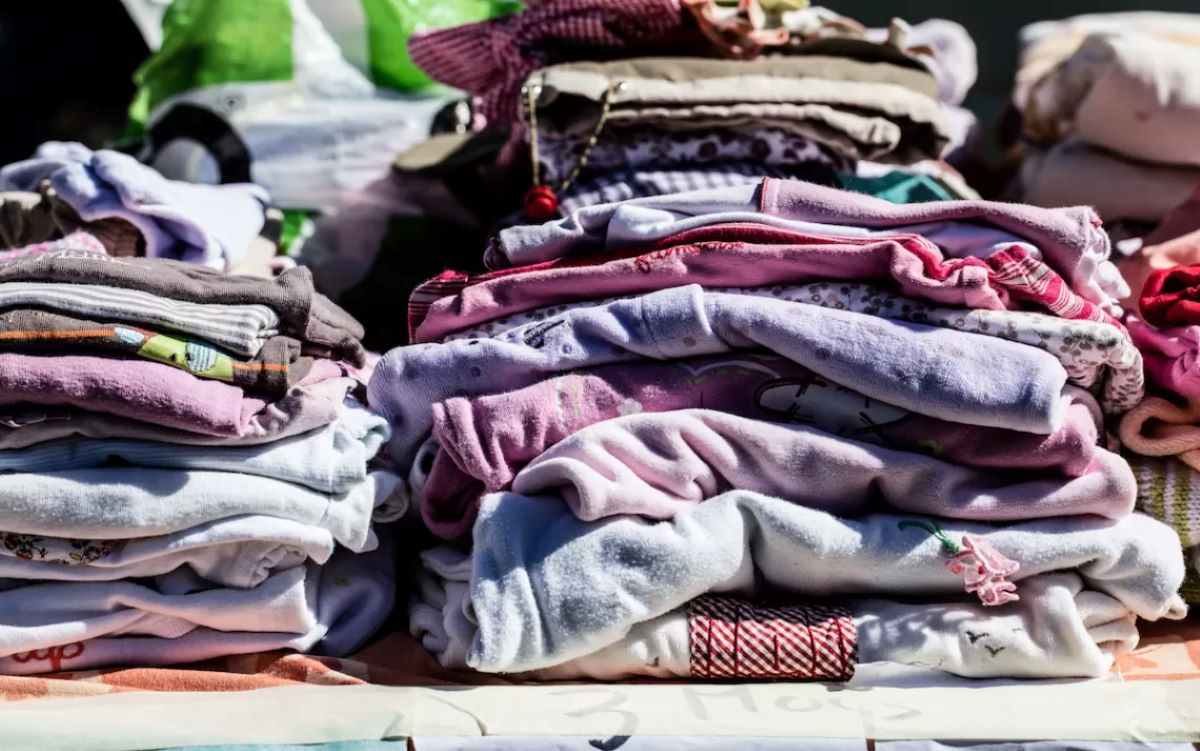
Step 1: Sorting and Decluttering
The first step in properly storing kids’ clothes is to sort through their wardrobe and declutter. This step is vital as it helps you identify which clothes are still suitable for use and which ones need to be donated, sold, or discarded. Here’s how you can effectively sort and declutter:
- Empty the Closet: Take out all the clothes from your child’s closet and place them on a clean surface, such as their bed or the floor. This allows you to have a clear view of all the items you need to sort.
- Separate by Size and Season: Organize the clothes according to size and season. This helps you identify the clothes that your child has outgrown or those that won’t be suitable for the current or upcoming season.
- Inspect for Damage: Carefully examine each item for stains, tears, or any damage. Make a separate pile for clothes that need mending or those that are beyond repair.
- Consider Sentimental Value: Some clothes may hold sentimental value, such as the first outfit your child wore or a special gift. Set aside these sentimental pieces to store separately or pass down to future generations.
- Donate or Sell: Once you have identified the clothes that your child has outgrown or are no longer suitable, consider donating them to charities or selling them online or at consignment stores. This not only helps clear out space but also benefits others in need.
- Discard Irreparable Items: If you come across clothes that are severely damaged and cannot be repaired, it’s best to discard them. This ensures that you only keep clothes that are in good condition.
By thoroughly sorting and decluttering your child’s clothes, you are left with a more manageable and curated collection of items to store. This step also sets the stage for the next steps, where you will organize the clothes by size, fold them properly, and choose suitable storage containers.
Step 2: Organizing by Size
Once you have decluttered your child’s clothes, the next step is to organize them by size. This ensures that you can easily locate the appropriate clothing when your child grows into the next size. Here’s how you can effectively organize the clothes by size:
- Group Similar Sizes Together: Start by grouping the clothes according to their sizes. This can be done by creating separate piles for each size, such as newborn, 0-3 months, 3-6 months, and so on.
- Label the Sections: Use labels or dividers to clearly mark each section. This makes it easier to identify and access the desired size when needed.
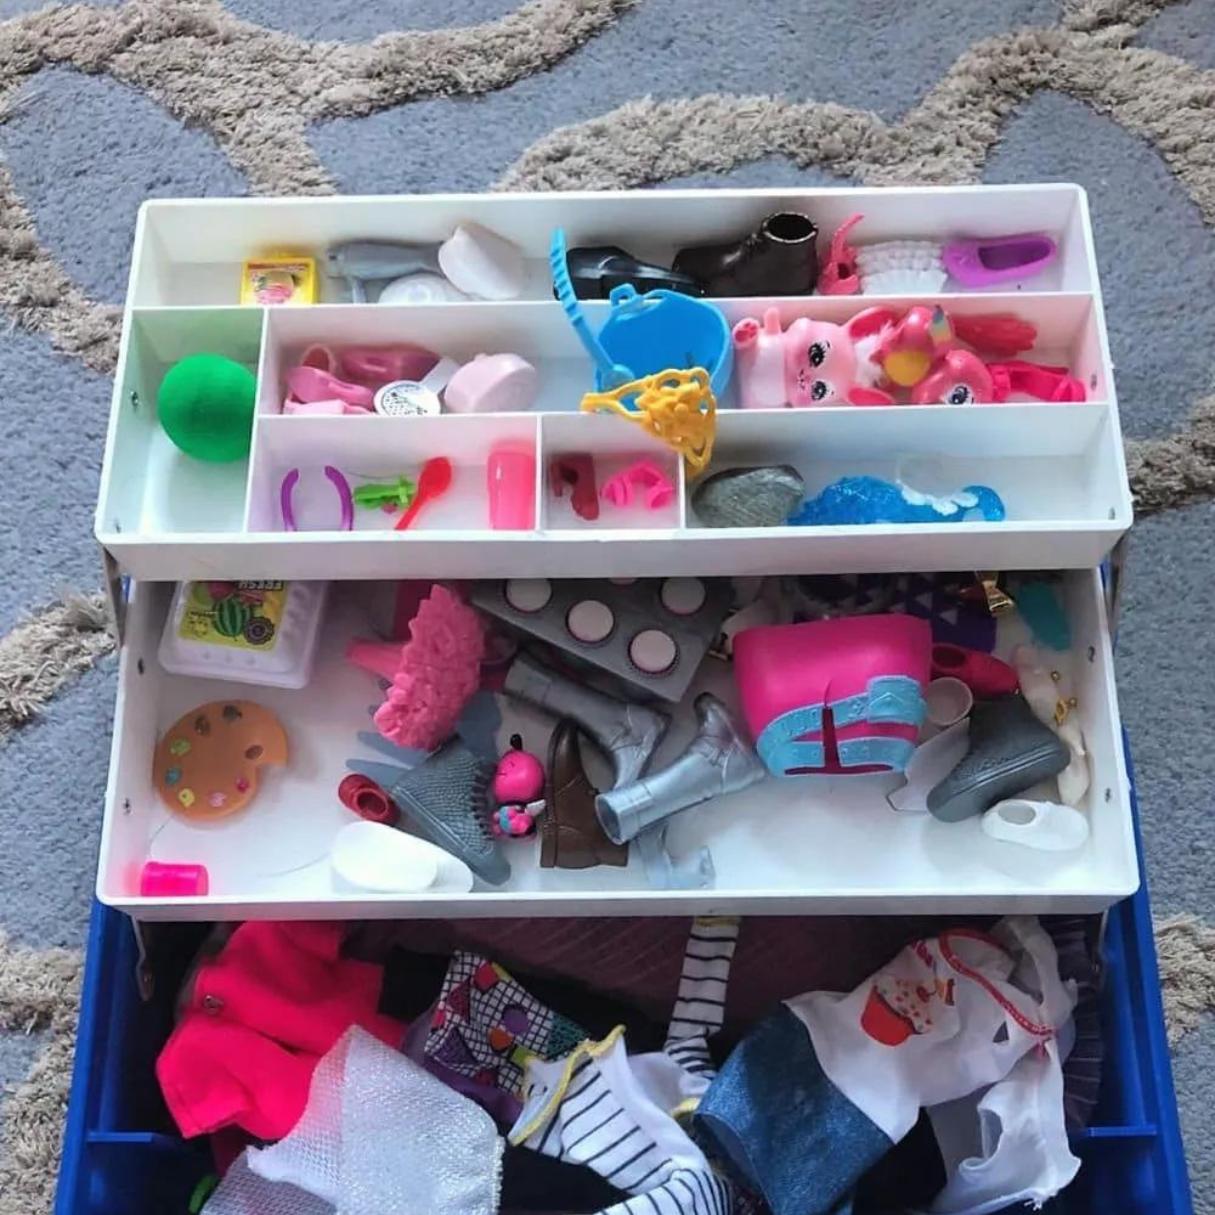
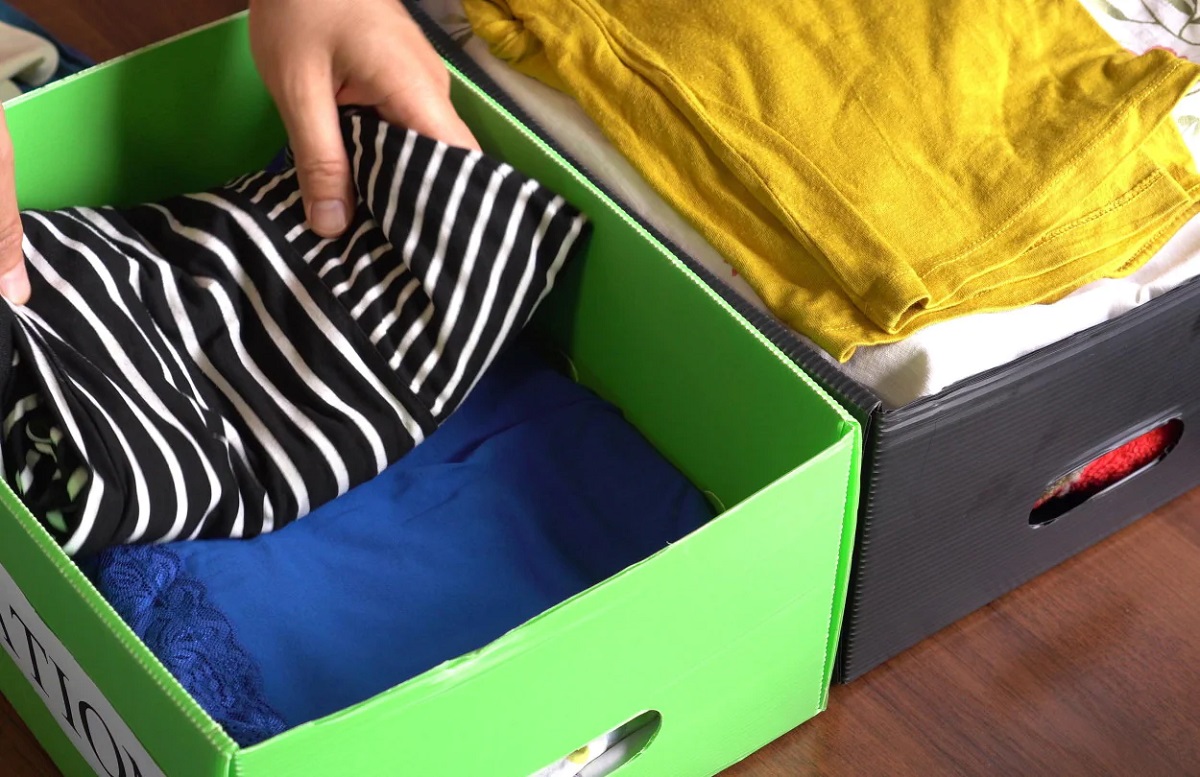
- Utilize Storage Bags: Consider using clear, airtight storage bags to further separate and protect the clothes within each size category. This prevents them from getting mixed up or damaged while in storage.
- Arrange in a Logical Order: Arrange the size categories in a logical order, such as from smallest to largest or vice versa. This allows for easier access and ensures a neat and organized storage space.
- Update and Rotate as Needed: Regularly update the size sections as your child outgrows them, and rotate the clothes from larger sizes to the active section as they grow into them.
By organizing your child’s clothes by size, you create a system that makes it effortless to locate the appropriate clothing as your child grows. This saves you time and prevents the frustration of rummaging through piles of clothes to find the right size.
Now that the clothes are organized by size, let’s move on to the next step of properly folding the clothes to maximize storage space and maintain their condition.
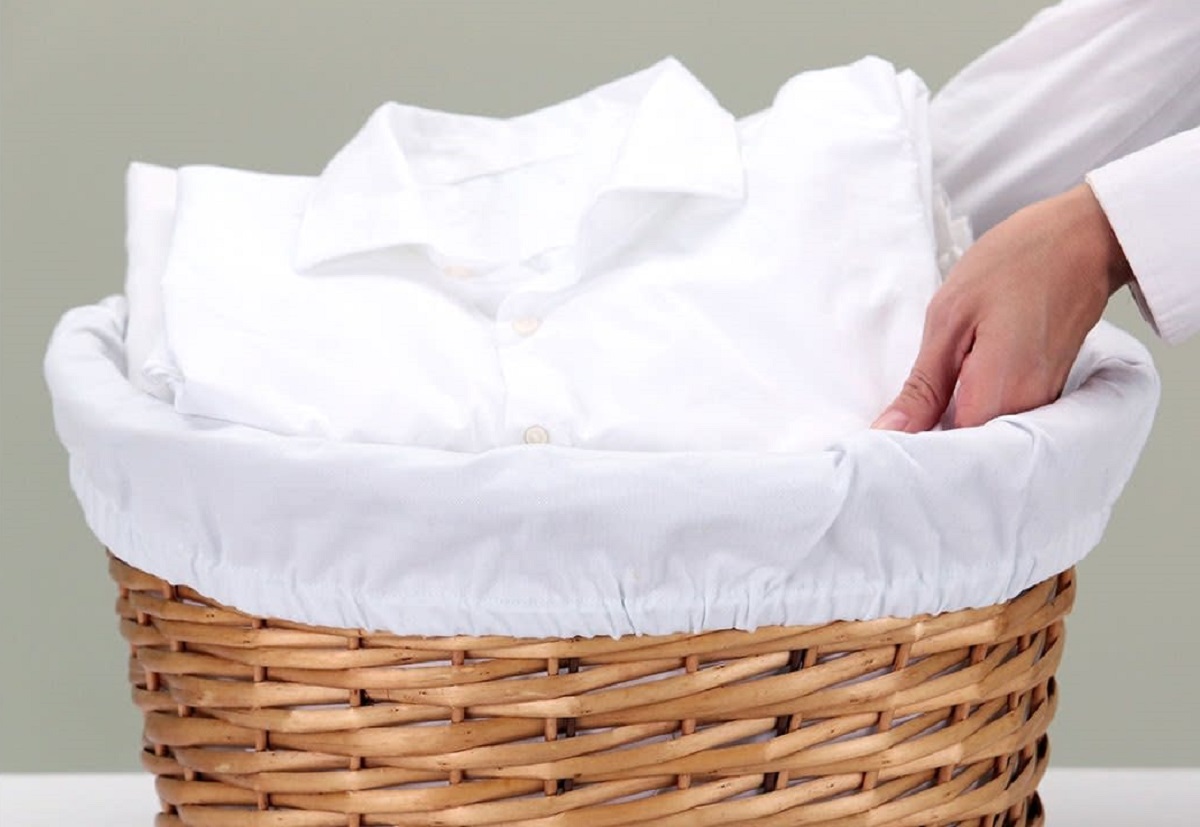
Step 3: Proper Folding Techniques
Properly folding kids’ clothes not only ensures that they fit neatly into storage containers but also helps maintain their shape and minimize wrinkles. Follow these folding techniques to make the most of your storage space:
- Shirts and Tops: Lay the shirt or top flat on a clean surface with the front facing up. Fold the sleeves towards the back, creating a straight line on each side. Then, fold the bottom portion up to the collar, creating a compact rectangle.
- Pants and Bottoms: Lay the pants or bottoms flat on a clean surface. Fold them in half vertically, aligning the legs. Then, fold them in half horizontally, tucking the waistband in for a neat, compact fold.
- Onesies and Rompers: Lay the onesie or romper flat on a clean surface. Fold the arms towards the back, creating a straight line on each side. Then, fold the bottom portion up to the collar, creating a rectangular shape.
- Dresses and Skirts: Lay the dress or skirt flat on a clean surface, facing down. Fold it in half vertically, aligning the sides. Then, fold it in half horizontally or roll it up from the bottom to the waistband.
- Sweaters and Knitwear: Lay the sweater or knitwear flat on a clean surface. Fold it in half vertically, aligning the sides. Then, fold it in half horizontally for a compact fold.
Remember to smooth out any wrinkles as you fold and avoid overstuffing the storage containers to maintain the clothes’ condition. Consider using acid-free tissue paper to wrap delicate or special garments to provide extra protection.
By using proper folding techniques, you can maximize your storage space, keep the clothes organized, minimize wrinkles, and make it easier to find specific items when needed.
Next, let’s explore the importance of choosing the right storage containers to ensure the long-term preservation of kids’ clothes.
Read more: How To Store Dog Clothes
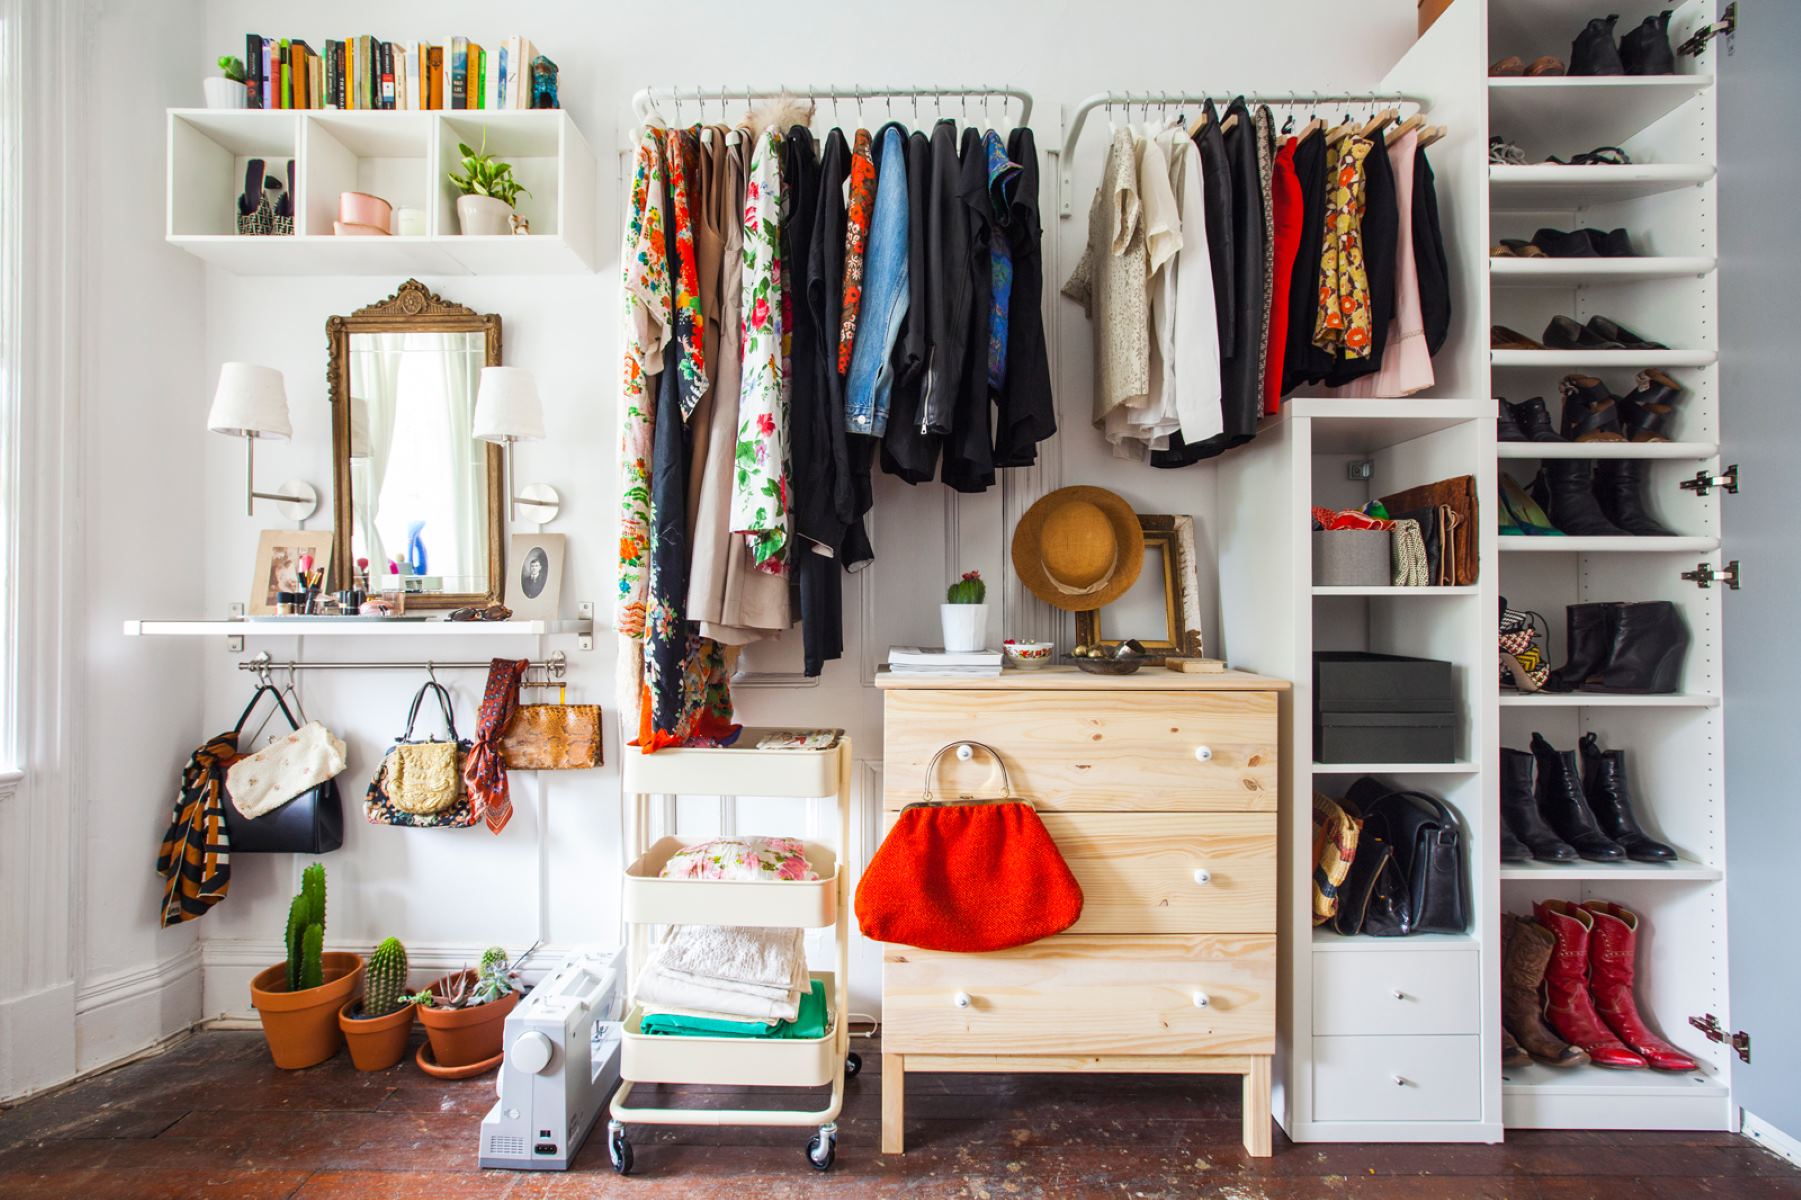
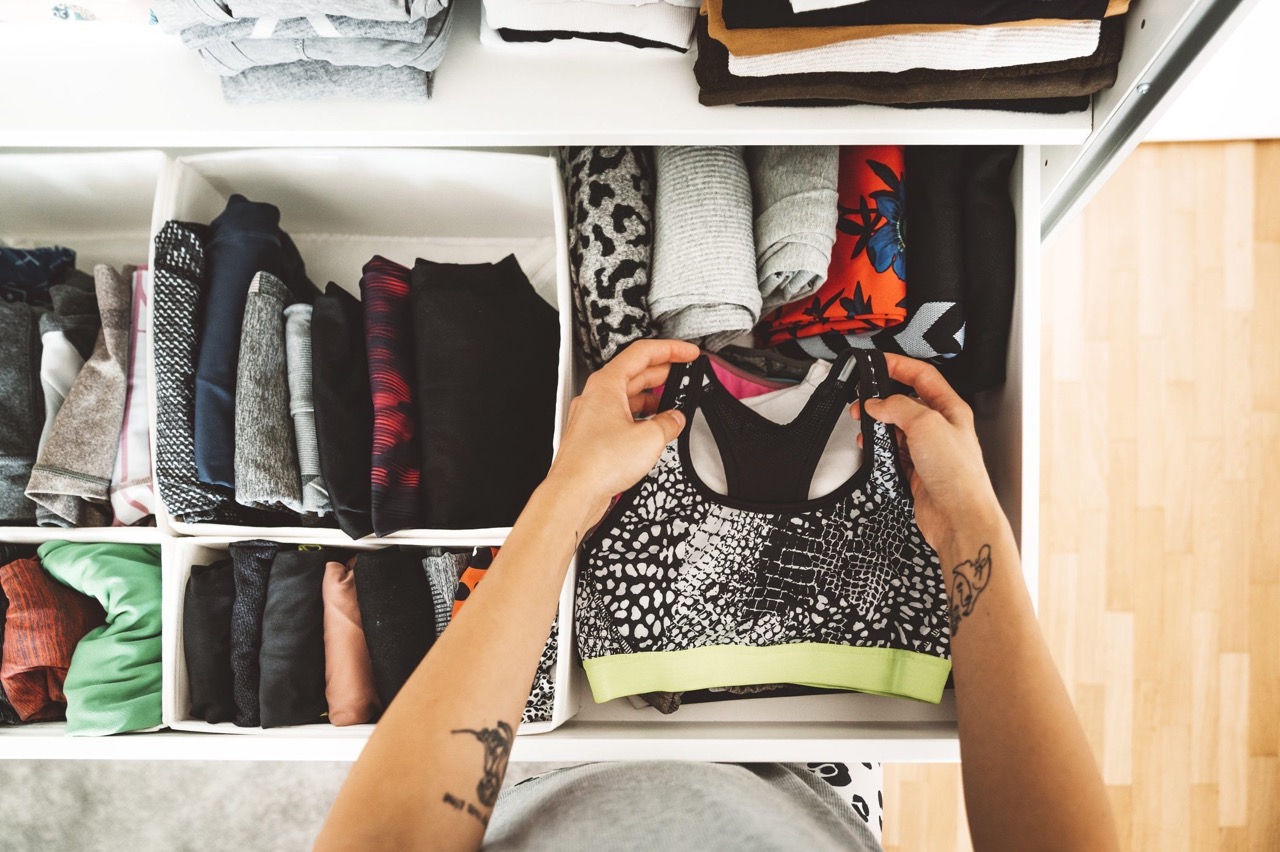
Step 4: Choosing the Right Storage Containers
Selecting the appropriate storage containers for kids’ clothes is crucial to protect them from dust, moisture, and potential damage. Here are some factors to consider when choosing the right storage containers:
- Size and Capacity: Opt for containers that are spacious enough to hold the clothes but not excessively large, as this can lead to unnecessary clutter. Consider the volume of clothes you need to store and choose containers accordingly.
- Material: Look for storage containers made from durable, moisture-resistant materials such as plastic or fabric. Avoid cardboard boxes that are susceptible to moisture and pests.
- Clear and Stackable: Transparent containers allow you to easily identify the contents without having to open each one. Stackable containers maximize vertical space and help save storage area.
- Lids and Closures: Ensure that the containers have secure lids or closures to keep out dust, pests, and moisture. This helps maintain the integrity of the clothes during storage.
- Handles for Easy Access: Containers with handles make it convenient to retrieve and transport the stored clothes. This is especially useful when you need to rotate or access specific items.
Label each container with the appropriate size range or category to make it easier to locate specific items when needed. This saves time and eliminates the need to open multiple containers.
Store the containers in a clean, dry area such as a closet, under-bed storage, or a designated storage room. Avoid storing them in places prone to high humidity, extreme temperature fluctuations, or direct sunlight, as these conditions can damage the clothes.
Now that you have chosen the right storage containers, it’s time to move on to the next step: labeling and categorizing the clothes for easy access and organization.
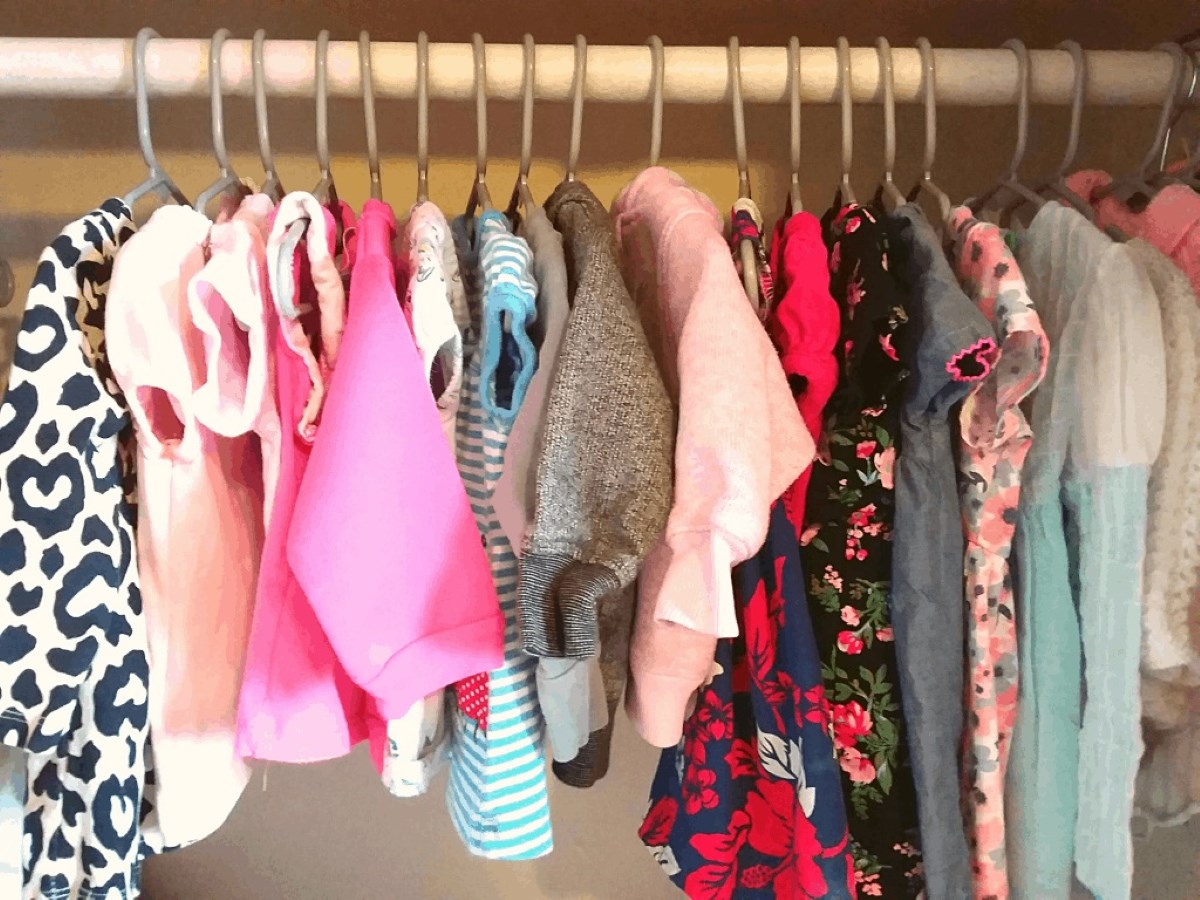
To store kids’ clothes, use clear plastic bins with labels for easy identification. Store out-of-season items to free up space in the closet.
Step 5: Labeling and Categorizing
Labeling and categorizing the stored clothes is essential for easy identification and access. By implementing a clear labeling system, you can quickly locate the desired items without having to rummage through each container. Follow these tips for effective labeling and categorizing:
- Use Clear and Visible Labels: Use clear labels that are easily readable. You can opt for pre-printed labels or create your own with a marker or label maker. Ensure the labels are visible on the containers.
- Categorize by Size and Type: Label each container according to the size range or specific type of clothing it holds. For example, label one as “0-3 months” or “Summer Dress Collection.” This makes it easier to find specific items when needed.
- Color Code: Consider using a color-coding system to further categorize and differentiate between various sizes or types of clothing. For instance, you can assign different colored labels or stickers for each category.
- Create an Inventory List: Maintain an inventory list of the clothes stored in each container. This allows you to keep track of what you have and make it easier to locate specific items without having to open every container.
- Keep a Master List: Create a master list that details the contents of all the storage containers. This serves as a quick reference when you need to find a particular item and helps you stay organized.
The labeling and categorizing process may take some time initially, but it saves you a lot of effort and frustration in the long run. It ensures that you can quickly locate the clothes you need and maintain an organized storage system.
Now that you have labeled and categorized the stored clothes, let’s move on to the next step: maintaining a proper storage environment to prevent damage from moisture, pests, and other factors.
Step 6: Storing in a Dry and Clean Environment
Storing kids’ clothes in a dry and clean environment is crucial to prevent the growth of mold, mildew, and the infestation of pests, which can damage the clothes. Follow these guidelines to ensure a suitable storage environment:
- Choose a Dry Location: Select a storage area that is dry and well-ventilated to prevent moisture buildup. Avoid areas prone to leaks, high humidity, or dampness, such as basements or attics.
- Use Desiccants or Moisture Absorbers: Place moisture-absorbing packets or desiccants, such as silica gel packets, inside the storage containers to help absorb excess moisture.
- Keep the Area Clean: Before storing the clothes, ensure the storage area is clean and free from dust, dirt, and any potential pests. Regularly clean and vacuum the area to prevent the accumulation of debris.
- Avoid Direct Contact with the Floor: Elevate the storage containers off the floor using pallets, shelves, or plastic bins to protect the clothes from moisture, pests, and potential damage.
- Inspect Regularly: Periodically check the stored clothes for any signs of damage, pests, or mold. This allows you to address any issues promptly and prevent further damage to the garments.
By ensuring a dry and clean storage environment, you can protect the clothes from moisture-related damage and minimize the risk of pests. This helps preserve their quality and extend their lifespan.
Now that you have set up the proper storage environment, let’s move on to the next step: protecting the clothes from moths and other potential pests.
Step 7: Protecting Clothes from Moths and Pests
Protecting kids’ clothes from moths and pests is crucial to preserve their quality and prevent costly damage. Implement these measures to safeguard your stored clothes:
- Wash or Dry Clean Before Storage: Clean all clothes thoroughly before storing them to remove any food particles, stains, or body oils that may attract pests.
- Use Moth Repellents: Place moth repellents, such as lavender sachets, cedar chips, or mothballs, in the storage containers to repel moths and other insects. Ensure that the moth repellents do not come into direct contact with the clothes.
- Avoid Plastic Bags: While plastic bags may seem like a convenient storage option, they can trap moisture and promote the growth of mold and mildew. Opt for breathable storage solutions such as fabric garment bags or acid-free tissue paper.
- Inspect for Signs of Pests: Regularly inspect the stored clothes for signs of moth larvae, such as small holes or web-like structures. If you notice any signs of infestation, take immediate action to prevent further damage.
- Consider Natural Pest Control: If you prefer a chemical-free approach, consider using natural pest control methods, such as freezing the clothes for a few days or exposing them to direct sunlight, as these can help eliminate pests.
- Keep the Storage Area Clean: Regularly clean the storage area to minimize the possibility of pests. Remove any food sources, keep the area free from debris, and seal any cracks or openings that pests may use to access the area.
By taking proactive measures to protect your stored clothes from moths and pests, you can ensure that they remain in excellent condition and ready to be used whenever needed.
Now that you have safeguarded your clothes, let’s explore the importance of seasonal swaps and rotation in maintaining an efficient storage system.
Read more: How To Store Latex Clothing
Step 8: Seasonal Swaps and Rotation
Implementing seasonal swaps and rotation of kids’ clothes is an effective way to maximize storage space and ensure easy access to appropriate clothing for each season. Follow these steps to stay organized throughout the year:
- Evaluate the Changing Seasons: As the seasons change, assess which clothes will be suitable for the upcoming season and which ones need to be stored.
- Retrieve Appropriate Clothing: Take out the stored clothes that are suitable for the current season. This may include items such as warm jackets and sweaters for winter or light dresses and shorts for summer.
- Inspect and Refresh: Before using the retrieved clothes, inspect them for any damage, stains, or pest infestation. Launder or dry clean them if necessary, ensuring they are in good condition for wear.
- Organize Swapped Clothing: As you retrieve the appropriate clothing, store the out-of-season items in the labeled containers. Make sure to fold them properly and use moth repellents to protect them during storage.
- Rotate as Needed: Continuously rotate the clothes stored in each container to accommodate your child’s growth and changing seasons. This ensures that the right-sized clothes are readily available when needed.
By implementing seasonal swaps and rotation, you can declutter your child’s closet, maintain an organized storage system, and ensure your child has suitable clothing for every season.
Now that you have mastered the art of seasonal swaps and rotation, let’s move on to some additional tips for storing special occasion and delicate clothes.
Tips for Storing Special Occasion and Delicate Clothes
Special occasion and delicate clothes require extra care and attention to ensure their longevity. Here are some tips to properly store these types of garments:
- Clean and Dry: Before storing special occasion or delicate clothes, make sure they are thoroughly cleaned and completely dry. Any stains or moisture left on the garments can lead to permanent damage or discoloration.
- Use Acid-Free Tissue Paper: Wrap delicate clothes in acid-free tissue paper to prevent creases, protect them from dust, and reduce the risk of color transfer. Avoid using regular tissue paper, as it may contain acidic elements that can damage the fabric over time.
- Invest in Garment Bags: Consider investing in breathable fabric garment bags or acid-free archival boxes for storing special occasion outfits. These protective covers shield the clothes from light, dust, and mildew, while allowing the fabrics to breathe.
- Avoid Wire Hangers: Say no to wire hangers! Instead, opt for padded or wooden hangers for special occasion garments. Wire hangers can cause the fabric to stretch or develop creases that are difficult to remove.
- Separate Layers: For multi-piece special occasion outfits, separate the layers and store them individually. This prevents excessive weight, wrinkling, and damage to delicate embellishments or fabrics.
- Store Flat or Hanging: Some garments, such as delicate dresses or suits, are best stored hanging to maintain their shape. Others, like intricately beaded items, may be better stored flat to protect delicate embellishments. Consider the specific garment’s needs when deciding on the storage method.
- Keep Away from Direct Sunlight: Store special occasion outfits in a dark and cool area to prevent fading caused by exposure to direct sunlight. Consider using a designated wardrobe or storage space that is away from windows or sources of natural light.
- Inspect Regularly: Check on your stored special occasion clothes periodically to ensure they remain in good condition. Look for any signs of damage, pests, or mold, and take appropriate measures to address any issues as soon as possible.
Following these tips will help preserve the quality and beauty of your special occasion and delicate clothes, ensuring they are ready to be worn and enjoyed for years to come.
Now that you have learned how to properly store special occasion and delicate clothes, let’s summarize the key points and conclude this article.
Conclusion
Properly storing kids’ clothes is essential for maintaining their condition, extending their lifespan, and ensuring an organized and efficient system. By following the step-by-step process outlined in this article, you can store your child’s clothes effectively and enjoy the benefits of a clutter-free and accessible wardrobe.
Remember to start by sorting and decluttering, organizing the clothes by size, and employing proper folding techniques to maximize storage space. Choose the right storage containers that are durable, stackable, and protect against moisture, pests, and dust. Utilize labeling and categorizing techniques to easily locate specific items, and maintain a clean and dry storage environment to prevent damage.
Additionally, when storing special occasion and delicate clothes, take extra precautions by cleaning them thoroughly, using acid-free tissue paper, investing in garment bags or acid-free archival boxes, and storing them separately to protect delicate fabrics and embellishments.
By implementing seasonal swaps and rotation, you can ensure that your child has appropriate clothing for each season while maximizing storage space. Regularly inspect the stored clothes for signs of damage, pests, or mold, and take prompt action if needed.
By following these guidelines and incorporating these tips, you can effectively store kids’ clothes and enjoy the benefits of an organized, well-preserved wardrobe. Not only will you save time and money, but you will also pass down clothes to younger siblings or contribute to a more sustainable approach to clothing consumption.
So, get started with the steps outlined in this article and create a storage system that works for your family. Say goodbye to rummaging through disorganized piles of clothes and hello to a well-structured and accessible wardrobe for your little ones!
Frequently Asked Questions about How To Store Kids Clothes
Was this page helpful?
At Storables.com, we guarantee accurate and reliable information. Our content, validated by Expert Board Contributors, is crafted following stringent Editorial Policies. We're committed to providing you with well-researched, expert-backed insights for all your informational needs.


0 thoughts on “How To Store Kids Clothes”