
Articles
How To Store Large Pool Floats
Modified: December 7, 2023
Learn how to store large pool floats in your backyard with our helpful articles. Keep your floats in good condition and ready for use all summer long.
(Many of the links in this article redirect to a specific reviewed product. Your purchase of these products through affiliate links helps to generate commission for Storables.com, at no extra cost. Learn more)
Introduction
Summer is here, and that means it’s time to enjoy some fun in the sun! Pool floats are a must-have for any pool party or day at the beach. These colorful and inflatable accessories provide hours of relaxation and entertainment. However, when the season comes to an end, you may find yourself faced with the challenge of storing these large pool floats.
Properly storing your pool floats will help extend their lifespan and ensure they are in great condition for the next summer season. Whether you have a single pool float or a collection of various shapes and sizes, there are several storage solutions available to keep them safe and organized during the off-season.
In this article, we will explore different methods for storing large pool floats, including choosing the right storage solution, clearing and cleaning the floats, folding and deflating them, and various storage options such as using a garage or shed, pool float holders, wall or ceiling hanging, storage bins or containers, and pool float mesh bags. By following these guidelines, you can keep your pool floats in excellent condition and ready for use next summer.
Key Takeaways:
- Properly storing large pool floats is crucial for their longevity and condition. Consider factors like space, protection, convenience, and organization when choosing a storage solution.
- Cleaning, folding, and deflating pool floats before storage is essential to prevent damage and ensure they remain in excellent condition for future use. Choose a suitable storage option to keep them safe and organized until the next summer season.
Read more: How To Store Pool Floats
Choosing the Right Storage Solution
When it comes to storing large pool floats, it’s important to choose the right storage solution to ensure they remain safe, protected, and easy to access. Consider the following factors when selecting the best storage option for your pool floats:
- Space: Evaluate the available space you have for storing your pool floats. This will help you determine whether you can use a garage, shed, or any other designated area for storage.
- Protection: Look for storage options that provide protection from harsh weather conditions, such as sunlight, rain, and extreme temperatures. This will help prevent fading, cracking, and other damages to the pool floats.
- Convenience: Consider how easily you can access and retrieve your pool floats when you want to use them again. Opt for storage solutions that allow for easy retrieval and minimal hassle.
- Organization: Choose a storage solution that helps keep your pool floats organized and prevents tangles or damages. This will make it easier to locate and identify specific floats when you need them.
Based on these factors, you can now explore different storage options for your large pool floats. Let’s delve into some popular choices and their benefits.
Clearing and Cleaning the Pool Floats
Before storing your large pool floats, it’s essential to clear and clean them thoroughly. This will help remove any dirt, debris, or residue that may have accumulated during their use. Follow these steps to ensure your floats are squeaky clean:
- Deflate the Floats: Start by deflating the pool floats completely. This will make it easier to clean and fold them. Use the deflate valve on each float and press it firmly until all the air is released.
- Remove any Debris: Check the floats for any dirt, sand, or leaves. Gently brush off any debris using a soft-bristle brush or a cloth. Pay attention to the seams and crevices to ensure thorough cleaning.
- Spot Cleaning: If you notice any stubborn stains or spots, you can spot clean them using a mild detergent or soap mixed with water. Apply the solution to a clean cloth and gently scrub the affected area. Rinse with clean water and pat dry.
- Full Cleaning: For a more comprehensive cleaning, you can fill a bucket with warm water and a gentle detergent. Submerge the pool floats in the soapy water and use a sponge or brush to scrub all the surfaces. Pay attention to the corners, seams, and handles. Rinse the floats thoroughly with clean water to remove any soap residue.
- Drying: After cleaning, ensure that the floats are completely dry before storing them. This will help prevent mold and mildew growth. Wipe off any excess water using a clean towel or let the floats air dry in a well-ventilated area.
By following these steps, your pool floats will be free from dirt and ready for storage. Clean floats not only maintain their appearance but also prevent any unwanted odors or damage that can occur if left untreated. Now, let’s move on to folding and deflating the floats for storage.
Folding and Deflating the Floats
Once your pool floats are clean and dry, it’s time to fold and deflate them for storage. Properly folding and deflating the floats will help save space and prevent any unnecessary strain or damage. Follow these steps to ensure your floats are neatly folded and ready for storage:
- Deflate Completely: Start by ensuring that all the air is completely removed from the floats. Gently press the deflate valve and compress the floats to release any remaining air. It’s important to deflate them fully to avoid any bulges or pressure points while storing.
- Smooth out the Surface: Smooth out the surface of the deflated pool floats. Remove any wrinkles or folds by gently pressing them with your hands.
- Fold in Half: Fold the float in half lengthwise, bringing one end of the float to meet the other. Make sure the sides are aligned as evenly as possible.
- Roll it Up: Starting from one end, tightly roll up the float towards the opposite end. This will help compress the float and reduce its overall size.
- Secure the Roll: Use straps, bungee cords, or elastic bands to secure the rolled-up float in place. This will prevent it from unraveling during storage and keep it neatly compacted.
- Repeat for Multiple Floats: If you have multiple floats, repeat the folding and rolling process for each one. It’s best to store similar-sized floats together to optimize space and keep them organized.
By following these steps, you will have neatly folded and deflated pool floats ready for storage. The compact size of the folded floats will ensure they take up minimal space and are easier to store in various storage solutions. Now, let’s explore different storage options for your pool floats.
Storing the Floats in a Garage or Shed
If you have a garage or shed, it can be an ideal storage space for your large pool floats. Here are some tips on how to store your floats in a garage or shed:
- Clean and Prepare: Before storing your floats, make sure the garage or shed is clean and free from any dirt or debris. Sweep the floor and remove any items that may cause damage to your floats.
- Keep Them off the Ground: To prevent potential damage, avoid storing the floats directly on the ground. Place them on a shelf, rack, or pallet to keep them elevated and away from any moisture or pests.
- Utilize Wall Space: Take advantage of the vertical space in your garage or shed. Install hooks or hangers on the walls to hang the deflated and folded pool floats. This will keep them off the floor and make efficient use of the space.
- Label and Organize: If you have multiple floats, consider labeling them to easily identify and retrieve the specific float you want. You can also group similar types or sizes of floats together to keep your storage area organized.
- Protect from Sunlight: If your garage or shed has windows or skylights, consider covering them or using curtains to protect the floats from direct sunlight. Prolonged exposure to sunlight can lead to fading and deterioration of the floats.
- Monitor Humidity: Keep an eye on the humidity levels in your storage space. If the area tends to get humid, consider using a dehumidifier or moisture-absorbing products to prevent mold or mildew growth on your floats.
Storing your floats in a garage or shed provides them with protection from the elements and keeps them easily accessible. Just make sure to properly clean and fold the floats before storing them and follow the above tips for a successful storage experience. Next, let’s explore another storage option: pool float holders.
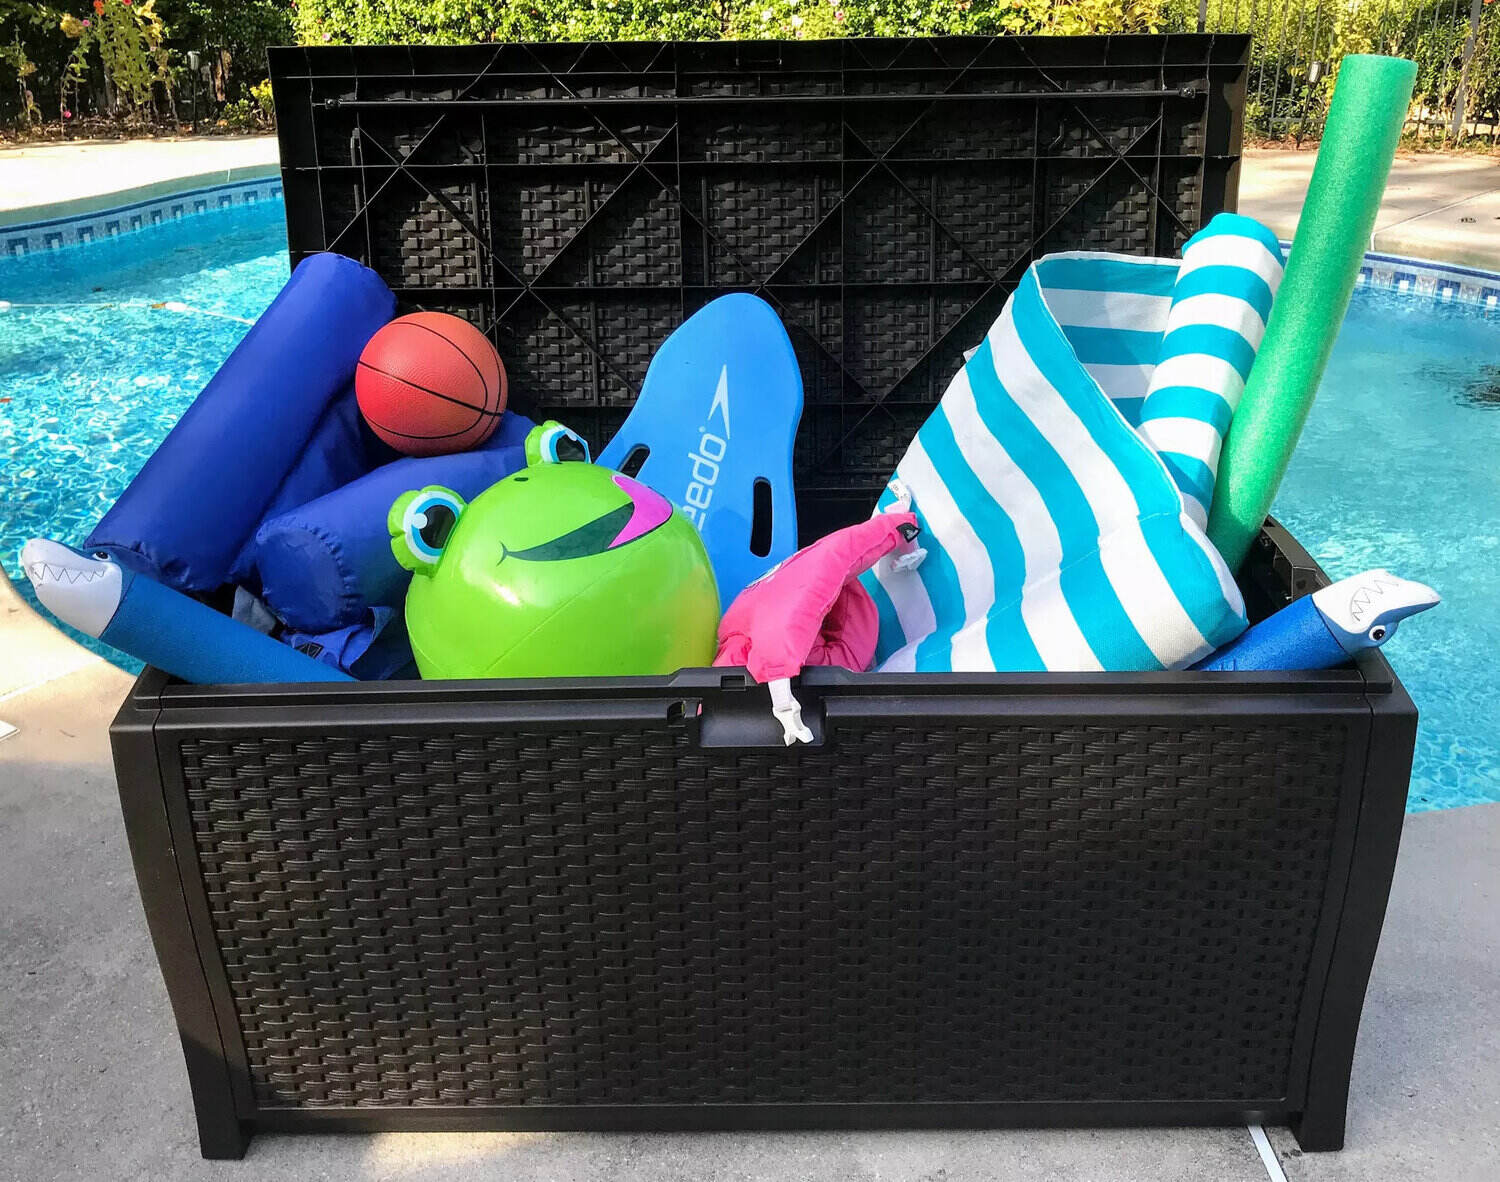
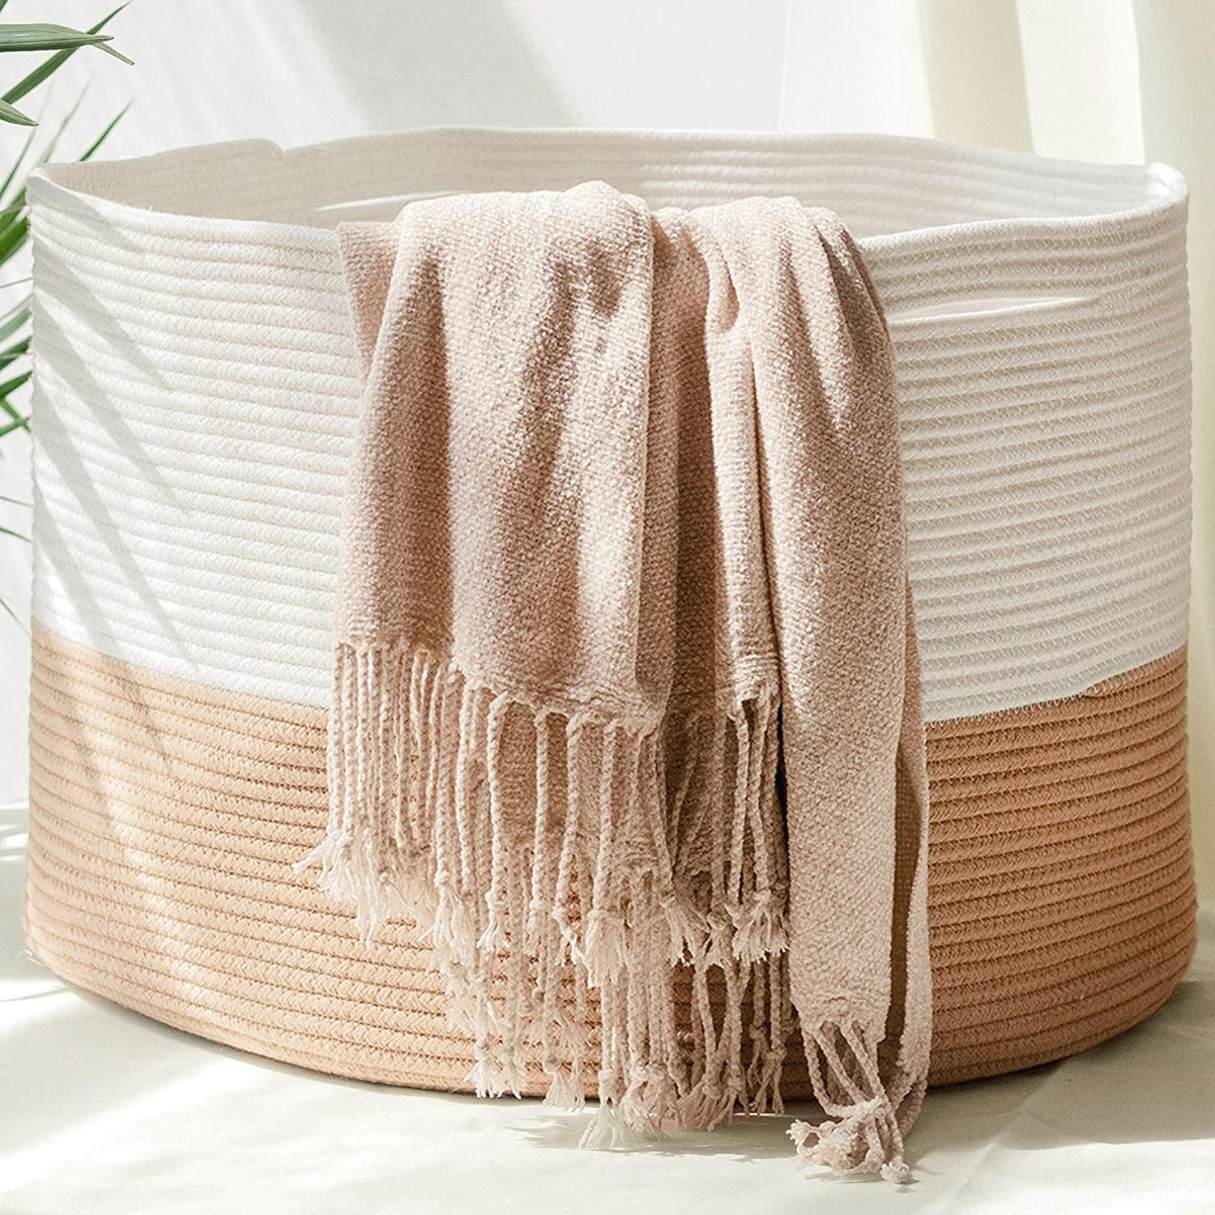
To store large pool floats, consider using a large storage bin or container to keep them clean and protected from the elements. Make sure to fully dry the floats before storing to prevent mold and mildew.
Read more: How To Store Pool Floats In Garage
Storing the Floats in a Pool Float Holder
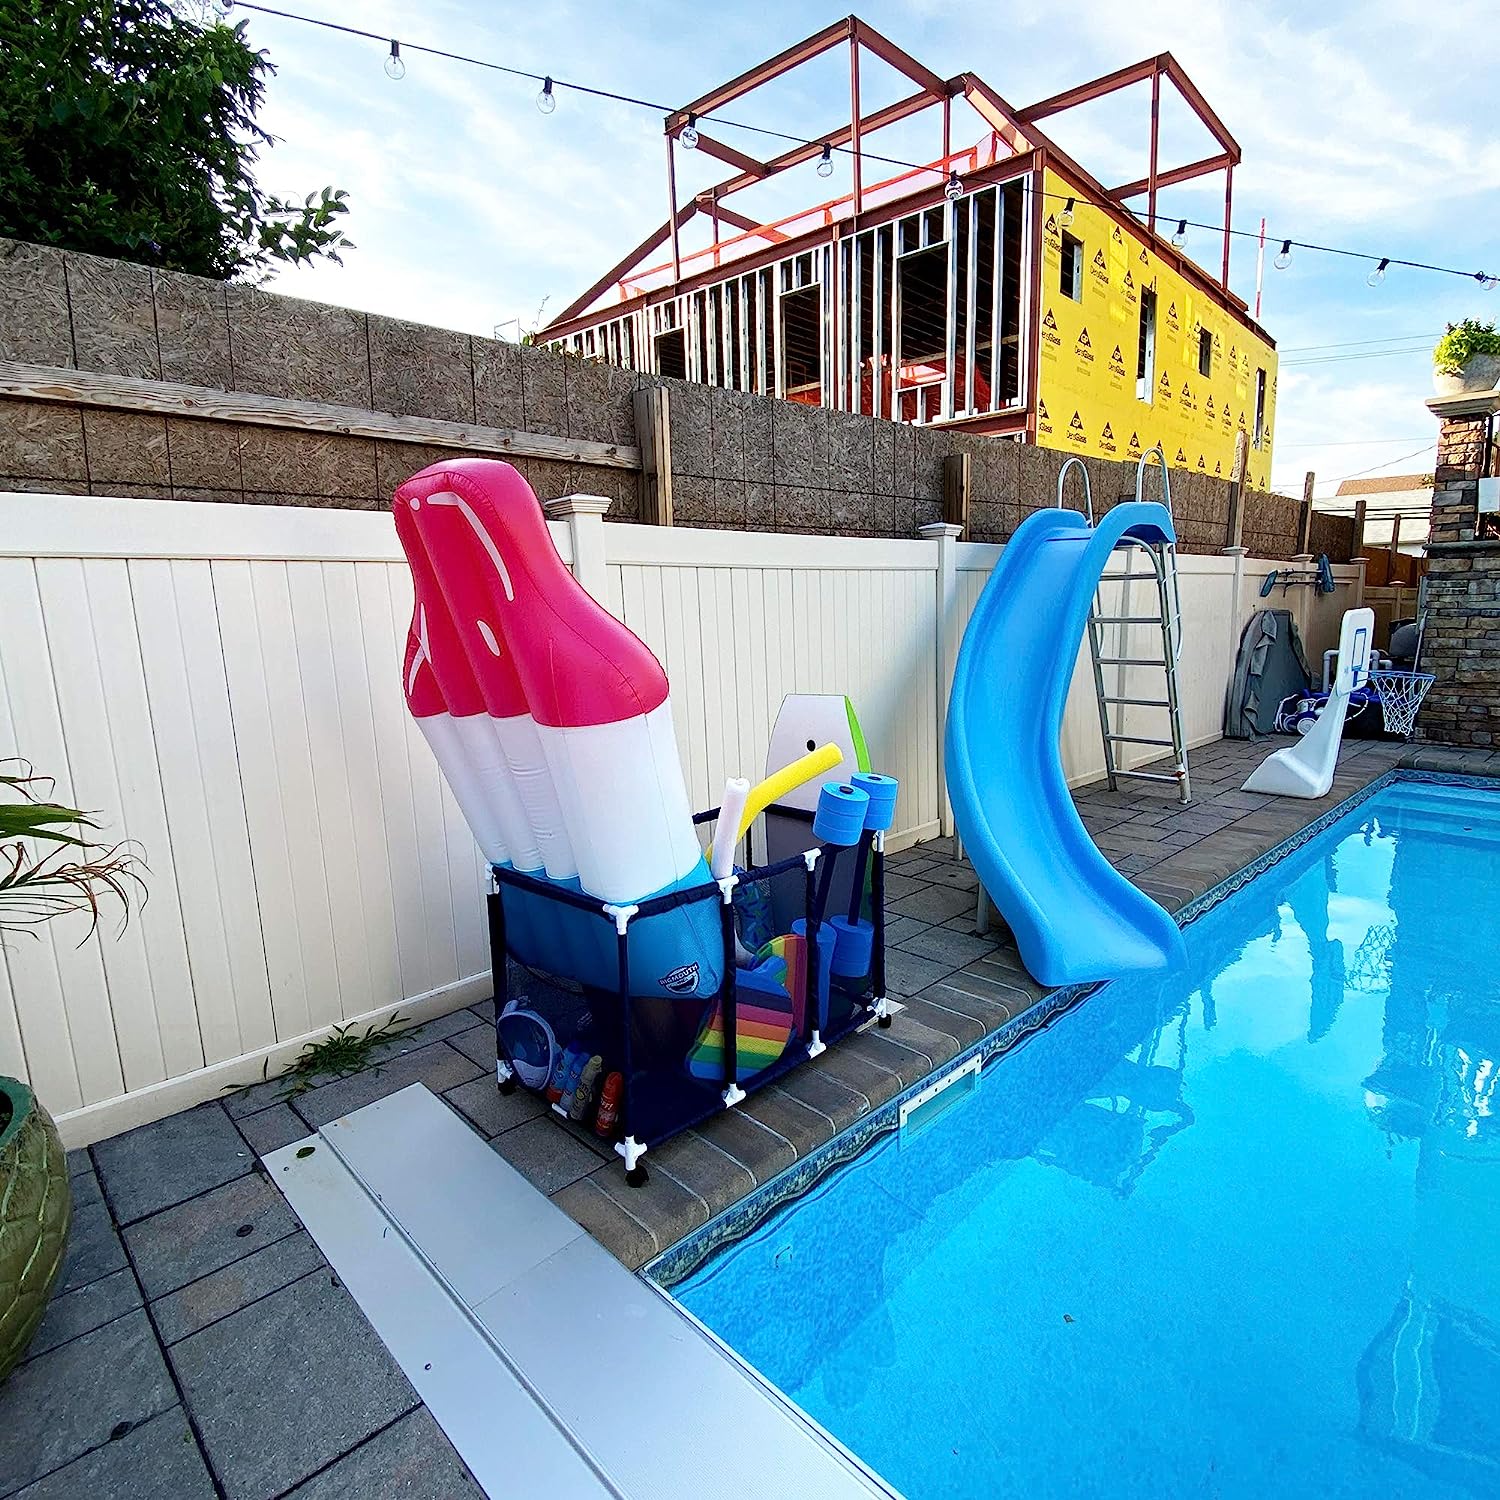
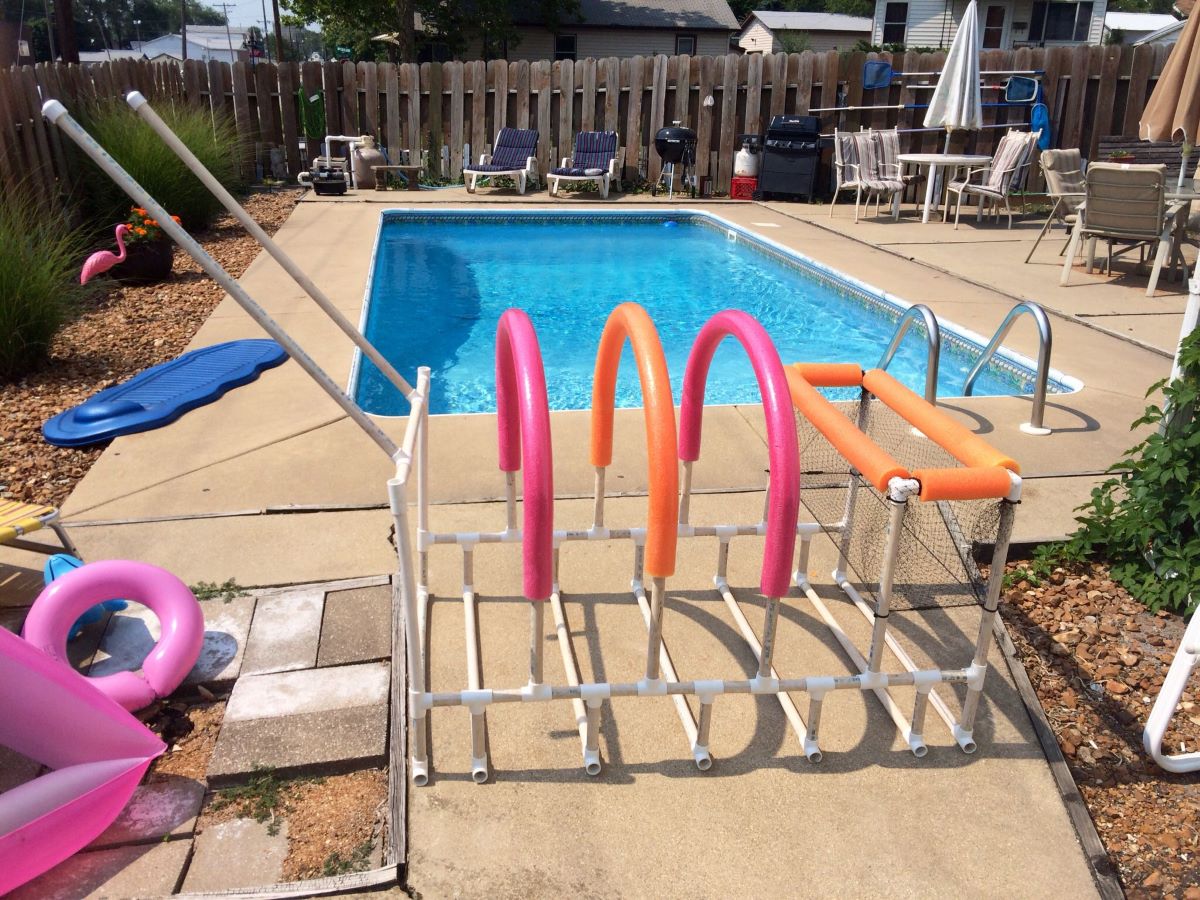
If you want a dedicated storage solution for your pool floats, a pool float holder is a great option. A pool float holder is designed specifically to keep your floats organized, protected, and easily accessible. Here’s how you can store your floats using a pool float holder:
- Select the Right Holder: Choose a pool float holder that suits your needs and fits the size and number of your floats. There are different types available, such as wall-mounted holders, freestanding racks, or hanging organizers.
- Clean and Prepare: Before placing your floats in the holder, ensure they are clean and dry. This will prevent any stains or odors from developing while in storage.
- Place the Floats: Gently slide the deflated and folded floats into the designated slots or compartments of the pool float holder. Make sure they fit properly and are secure to avoid any falls or damage.
- Organize by Size or Type: If you have different types or sizes of floats, consider organizing them within the holder. For example, you can allocate separate sections for loungers, inflatables, or pool noodles to maintain organization and ease of access.
- Utilize Additional Storage Space: Some pool float holders come with additional storage compartments or hooks. Take advantage of these spaces to store accessories like pool toys, inflator pumps, or towels.
- Keep It Covered: If the pool float holder has a cover or canopy, utilize it to provide additional protection from dust and sunlight. This will help prolong the lifespan of your floats and keep them in excellent condition.
- Regular Maintenance: Periodically check and clean the pool float holder to prevent any buildup of dirt or debris. This will ensure your floats remain in a clean and organized storage space.
Using a pool float holder not only keeps your floats neatly organized but also helps protect them from damage and prolong their lifespan. Consider investing in a pool float holder that suits your needs and enjoy the convenience of having your floats easily accessible whenever you need them. Next, let’s explore another storage option: hanging the floats on a wall or ceiling.
Hanging the Floats on a Wall or Ceiling
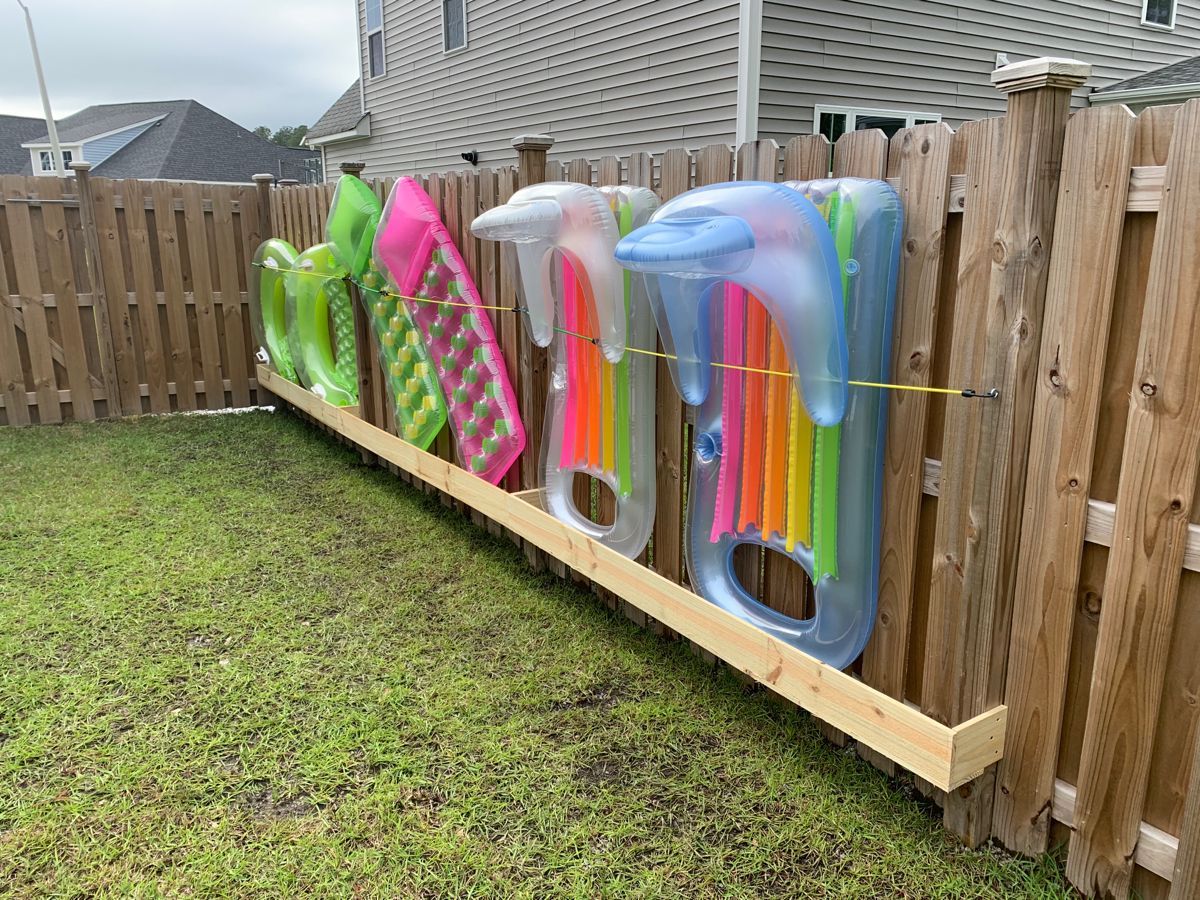
If you have limited floor space or simply prefer a visually appealing storage solution, hanging your pool floats on a wall or ceiling can be a great option. Here’s how you can effectively store your floats by hanging them:
- Select a Sturdy Mounting System: Before proceeding, ensure that the wall or ceiling can support the weight of the floats. It is crucial to choose a strong and secure mounting system, such as heavy-duty hooks, brackets, or hanging straps.
- Clean and Prep the Floats: Thoroughly clean and dry your pool floats before hanging them. This will prevent any dirt or moisture from accumulating while in storage.
- Choose a Hanging Method: There are a couple of options for hanging pool floats. You can use hooks or brackets to hang the floats individually, or you can opt for a hanging mesh organizer that can hold multiple floats.
- Hang the Floats Securely: Install the hooks or brackets onto the wall or ceiling at a suitable height and distance apart. Carefully hang the deflated and folded floats, ensuring they are evenly spaced and secured in place.
- Consider Wall-Mounted Racks: Another option is to install wall-mounted racks or shelves specifically designed for pool floats. These racks typically come with slots or compartments to hold your floats neatly, providing an organized and aesthetically pleasing display.
- Utilize Ceiling Space: If you have high ceilings, consider hanging your floats from the ceiling using heavy-duty hooks or straps. This not only keeps them out of the way but also utilizes otherwise unused space.
- Label or Color Code: If you have various types or sizes of floats, consider labeling or color coding them for easy identification. This will make it effortless to locate the specific float you want to use.
Hanging your pool floats on a wall or ceiling not only saves floor space but also adds a decorative element to your storage area. It allows for easy access and keeps your floats off the ground, preventing any potential damage. Next, let’s explore another storage option: using storage bins or containers.
Using Storage Bins or Containers
Storage bins or containers are a popular and practical option for storing large pool floats. They provide a convenient and organized solution, keeping your floats protected and easily accessible. Here’s how to effectively use storage bins or containers for your pool floats:
- Select the Right Size and Material: Choose a storage bin or container that can accommodate your pool floats comfortably. Look for a sturdy and durable material that can withstand the weight of the floats and protect them from moisture and dust.
- Clean and Dry the Floats: Before placing them into the storage bins or containers, make sure your pool floats are thoroughly cleaned and dried. This will help prevent any mold or mildew growth while in storage.
- Fold and Stack the Floats: Fold and stack your deflated floats neatly into the storage bin or container. Place larger floats at the bottom and stack smaller floats on top. Make sure they fit properly without excessive compression.
- Separate with Dividers or Towels: If you have multiple floats, consider using dividers or towels between them to prevent any friction or contact that may cause damage. This will also help maintain the shape and integrity of the floats.
- Utilize the Lid: If your storage bin or container comes with a lid, secure it tightly to protect the floats from dust, dirt, and pests. This will help keep the floats clean and in great condition until their next use.
- Label or Color Code: If you have a collection of pool floats, label the storage bins or containers or color code them for easy identification. This will make it effortless to locate specific floats when needed.
- Store in a Dry Area: Place the storage bins or containers in a dry area of your home, such as a basement or utility room. Avoid areas prone to excessive humidity or fluctuations in temperature that may affect the floats.
Using storage bins or containers is a practical and space-efficient option for storing large pool floats. It helps protect your floats from damage and ensures they remain in excellent condition for future use. Next, let’s explore another storage option: storing floats in a pool float mesh bag.
Storing Floats in a Pool Float Mesh Bag
A pool float mesh bag is a convenient and breathable storage solution for your pool floats. It allows air to circulate, preventing moisture buildup and keeping your floats in excellent condition. Here’s how you can effectively store your floats in a pool float mesh bag:
- Select the Right Size: Choose a pool float mesh bag that can accommodate your floats comfortably. Consider the size and number of floats you have to ensure a proper fit.
- Clean and Dry the Floats: Before placing them in the mesh bag, ensure your pool floats are thoroughly cleaned and dried. This will prevent any mold or mildew growth while in storage.
- Deflate and Fold the Floats: Deflate your floats completely using the deflate valve. Fold them neatly to minimize their size and ensure they fit in the mesh bag without excessive compression.
- Place the Floats in the Bag: Gently slide the folded floats into the mesh bag, one by one. Make sure they are arranged neatly and there is enough space between each float.
- Secure the Bag: Once all the floats are in the mesh bag, securely close the drawstring or zipper to keep them enclosed. This will prevent any unwanted debris from entering the bag.
- Hang or Store: You can hang the mesh bag on a hook or place it on a shelf for easy access. Alternatively, you can also store it in a storage bin or designated area, depending on your available space.
- Label or Color Code: If you have multiple mesh bags or different types of floats, consider labeling or color coding them for easy identification. This will make it effortless to locate specific floats when needed.
- Regularly Check for Moisture: Periodically check the mesh bag for any moisture buildup. If you notice any dampness, remove the floats, allow them to dry, and thoroughly dry the mesh bag before returning them.
Storing your floats in a pool float mesh bag not only keeps them organized but also allows for proper ventilation, preventing any potential mold or mildew growth. It’s a simple and effective storage solution that keeps your floats in great condition. Now, you have explored various storage options for your large pool floats. Choose the one that suits your needs and available space, and enjoy a clutter-free and organized storage area until their next use.
Read more: How To Store Pool Floats For Winter
Conclusion
Properly storing your large pool floats is essential to ensure their longevity and keep them in excellent condition for future use. By following the guidelines outlined in this article, you can easily and effectively store your pool floats, no matter their size or quantity. Whether you choose to utilize a garage or shed, invest in a pool float holder, hang them on a wall or ceiling, use storage bins or containers, or opt for a pool float mesh bag, each method offers its own benefits and considerations.
Remember to clean and dry your floats before storing them to prevent any mold or mildew growth. Fold and deflate them carefully to save space and avoid unnecessary strain. Choose storage options that offer protection from the elements, organize your floats for easy retrieval, and label or color code them for quick identification. Regularly check and maintain your storage areas to ensure your floats stay in optimal condition.
By properly storing your pool floats, you can extend their lifespan, prevent damage, and eliminate clutter in your outdoor space. When summer comes around again, you’ll be ready to take out your floats and enjoy some fun in the sun without the hassle of dealing with damaged or disorganized floats.
So, whether you’re storing a single pool float or a collection of various shapes and sizes, don’t overlook the importance of proper storage. Follow the tips and guidelines in this article, and you’ll be well on your way to storing your large pool floats in a way that keeps them safe, protected, and ready for the next summer season.
Frequently Asked Questions about How To Store Large Pool Floats
Was this page helpful?
At Storables.com, we guarantee accurate and reliable information. Our content, validated by Expert Board Contributors, is crafted following stringent Editorial Policies. We're committed to providing you with well-researched, expert-backed insights for all your informational needs.




0 thoughts on “How To Store Large Pool Floats”