
Articles
How To Store Pool Floats In Garage
Modified: January 5, 2024
Learn how to store pool floats in your garage with these articles. Maximize your space and keep your floats organized and protected.
(Many of the links in this article redirect to a specific reviewed product. Your purchase of these products through affiliate links helps to generate commission for Storables.com, at no extra cost. Learn more)
Introduction
Pool floats are a must-have accessory for any pool owner. They provide hours of relaxation and fun in the sun. However, when the pool season comes to an end, it’s important to properly store your pool floats to keep them in good condition for the next year. Storing pool floats in the garage is a popular option for many homeowners, as it keeps them out of the way and protected from the elements.
In this article, we will provide you with a step-by-step guide on how to store pool floats in the garage. From deflating and cleaning the floats to organizing your garage for optimal storage, we’ll cover all the essentials. So, let’s dive in and learn how to keep your pool floats in great shape during the off-season.
Key Takeaways:
- Properly storing pool floats in the garage involves deflating, cleaning, drying, folding, and organizing. This ensures they remain in excellent condition, ready for use when the pool season returns.
- Utilize air-tight bags, check for leaks, and rotate storage to maximize space and preserve pool floats. Regular maintenance and organization in the garage will ensure hassle-free and enjoyable pool seasons.
Read more: How To Store Pool Floats
Step 1: Deflating the Pool Floats
The first step in properly storing your pool floats is to deflate them. This will help save space and prevent any unnecessary strain on the floats during storage. Here’s how to deflate your pool floats:
- Find the valve: Look for the valve on your pool float. It is usually located on the side or bottom of the float and may be covered with a small plastic cap.
- Remove the cap: If there is a plastic cap covering the valve, gently remove it.
- Open the valve: Using your fingers, turn the valve counterclockwise to open it. This will release the air from the float.
- Press down on the float: With the valve open, press down on the float to remove as much air as possible. Start from one end and work your way to the other, applying steady pressure.
- Roll up the float: Once the majority of the air is out, roll up the float tightly from one end to the other. This will help squeeze out any remaining air.
- Close the valve: Once the float is rolled up, turn the valve clockwise to close it. This will prevent any air from re-entering the float.
By following these steps, you can ensure that your pool floats are fully deflated and ready for storage. Deflating the floats not only saves space but also prevents them from becoming misshapen or damaged during storage.
Step 2: Cleaning the Pool Floats
Before storing your pool floats in the garage, it’s crucial to clean them thoroughly. This helps remove any dirt, debris, or chemicals that may have accumulated during use. Follow these steps to clean your pool floats:
- Rinse with water: Start by rinsing the floats with clean water. Use a hose or a bucket to thoroughly wet the surface of the float.
- Use mild soap: Apply a small amount of mild soap, such as dish soap or gentle detergent, to a sponge or soft cloth.
- Scrub the surface: Gently scrub the entire surface of the pool float with the soapy sponge or cloth. Pay attention to any stains or stubborn dirt and make sure to clean them thoroughly.
- Rinse again: Once you have scrubbed the floats, rinse them again with clean water. This will remove any soap residue and ensure a complete clean.
- Dry the floats: After rinsing, allow the floats to air dry completely. Avoid using a towel or any other fabric to dry them, as it may leave behind lint or fibers.
By following these cleaning steps, you can remove any impurities and maintain the longevity of your pool floats. Clean floats not only look better but also prevent any mold or mildew growth during storage.
Step 3: Properly Drying the Pool Floats
Once you have cleaned your pool floats, it’s important to ensure that they are properly dried before storing them in the garage. This step is crucial in preventing mold, mildew, and potential damage to the floats. Here’s how to properly dry your pool floats:
- Shake off excess water: After rinsing the floats, give them a shake to remove any excess water from the surface. This will help speed up the drying process.
- Allow them to air dry: Find a well-ventilated area, such as a patio or backyard, where you can lay the floats flat to air dry. Make sure the area is clean and free from moisture to prevent any additional water from getting on the floats.
- Flip them over: After a few hours of drying on one side, flip the floats over to ensure that both sides are thoroughly dried. This will help prevent any moisture from being trapped between the folds or creases of the floats.
- Check for moisture: Before storing the floats, make sure they are completely dry to the touch. Feel for any damp spots or moisture, especially in the seams or corners of the floats. If you spot any moisture, allow them to dry for a bit longer.
Properly drying your pool floats is essential to prevent the growth of mold or mildew, which can cause unpleasant odors and damage to the floats. It also ensures that the floats are ready for storage without any moisture trapped inside.
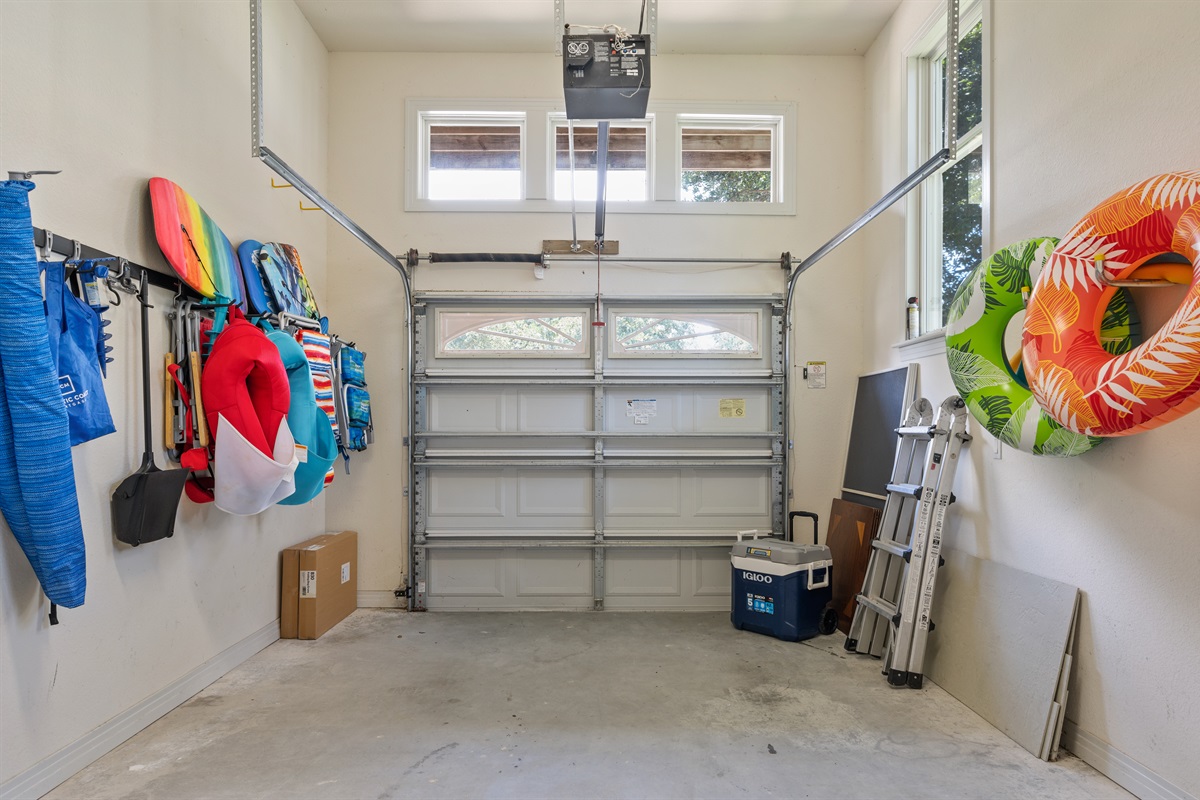
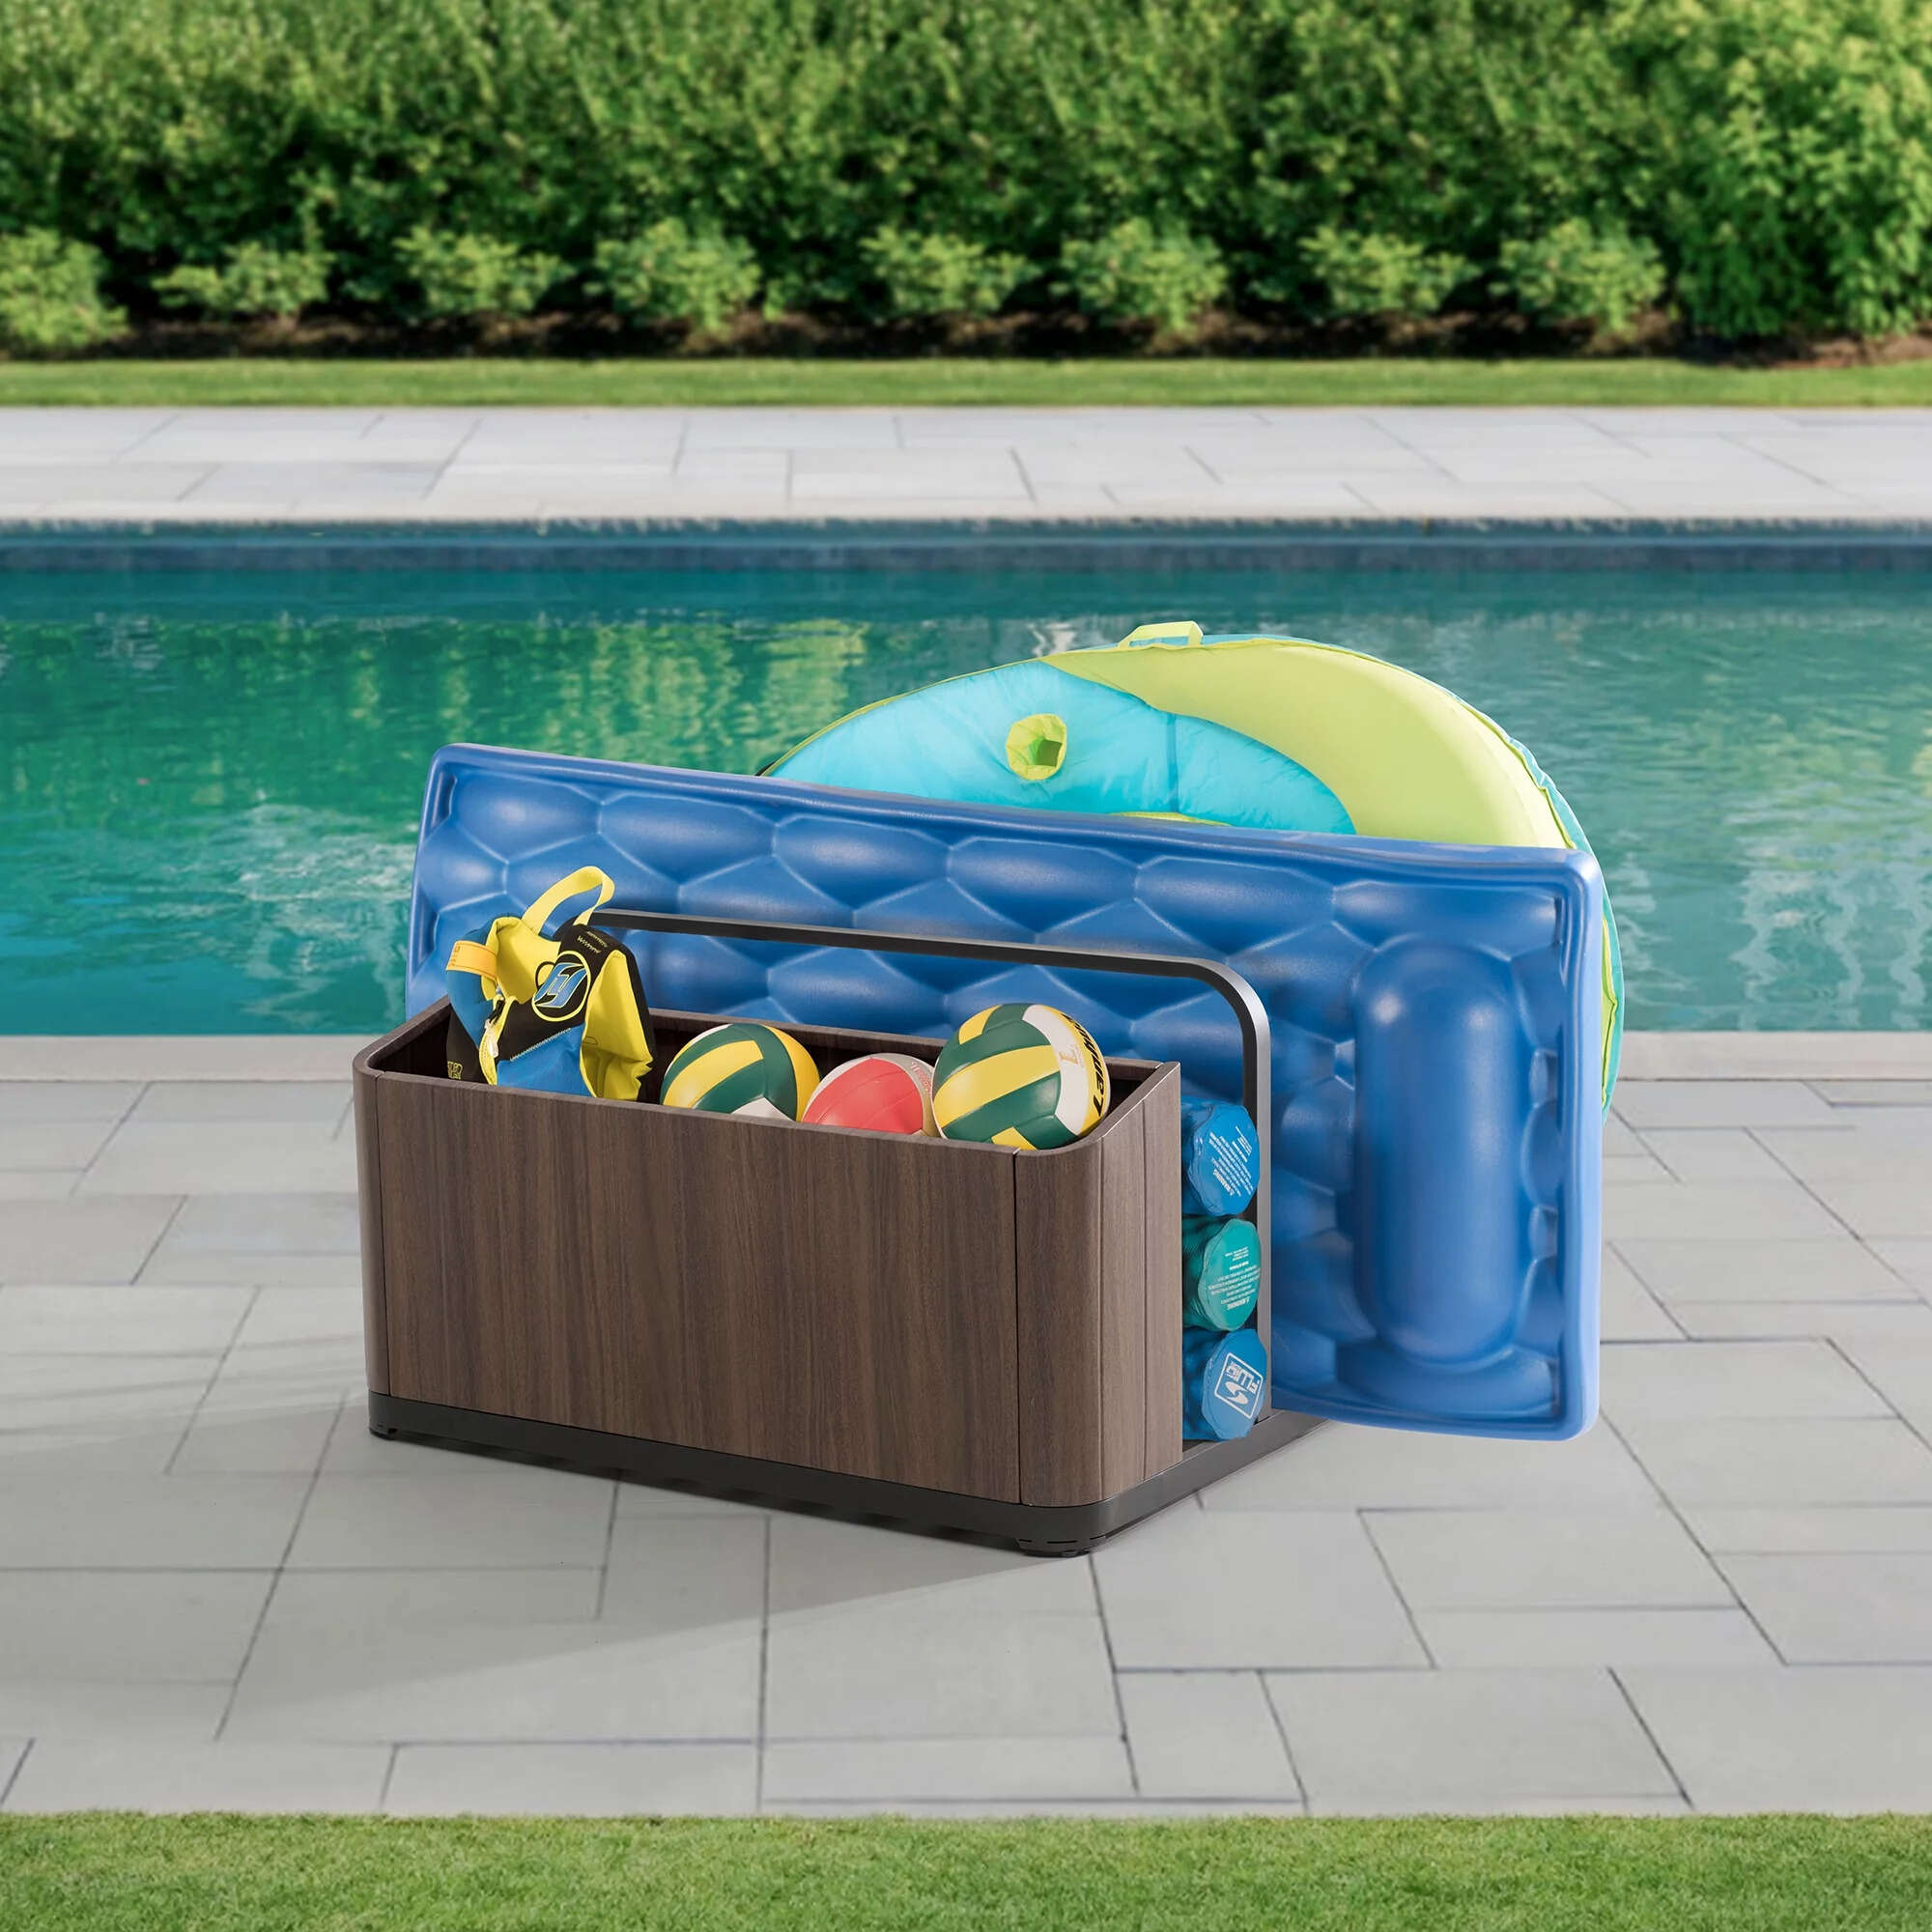
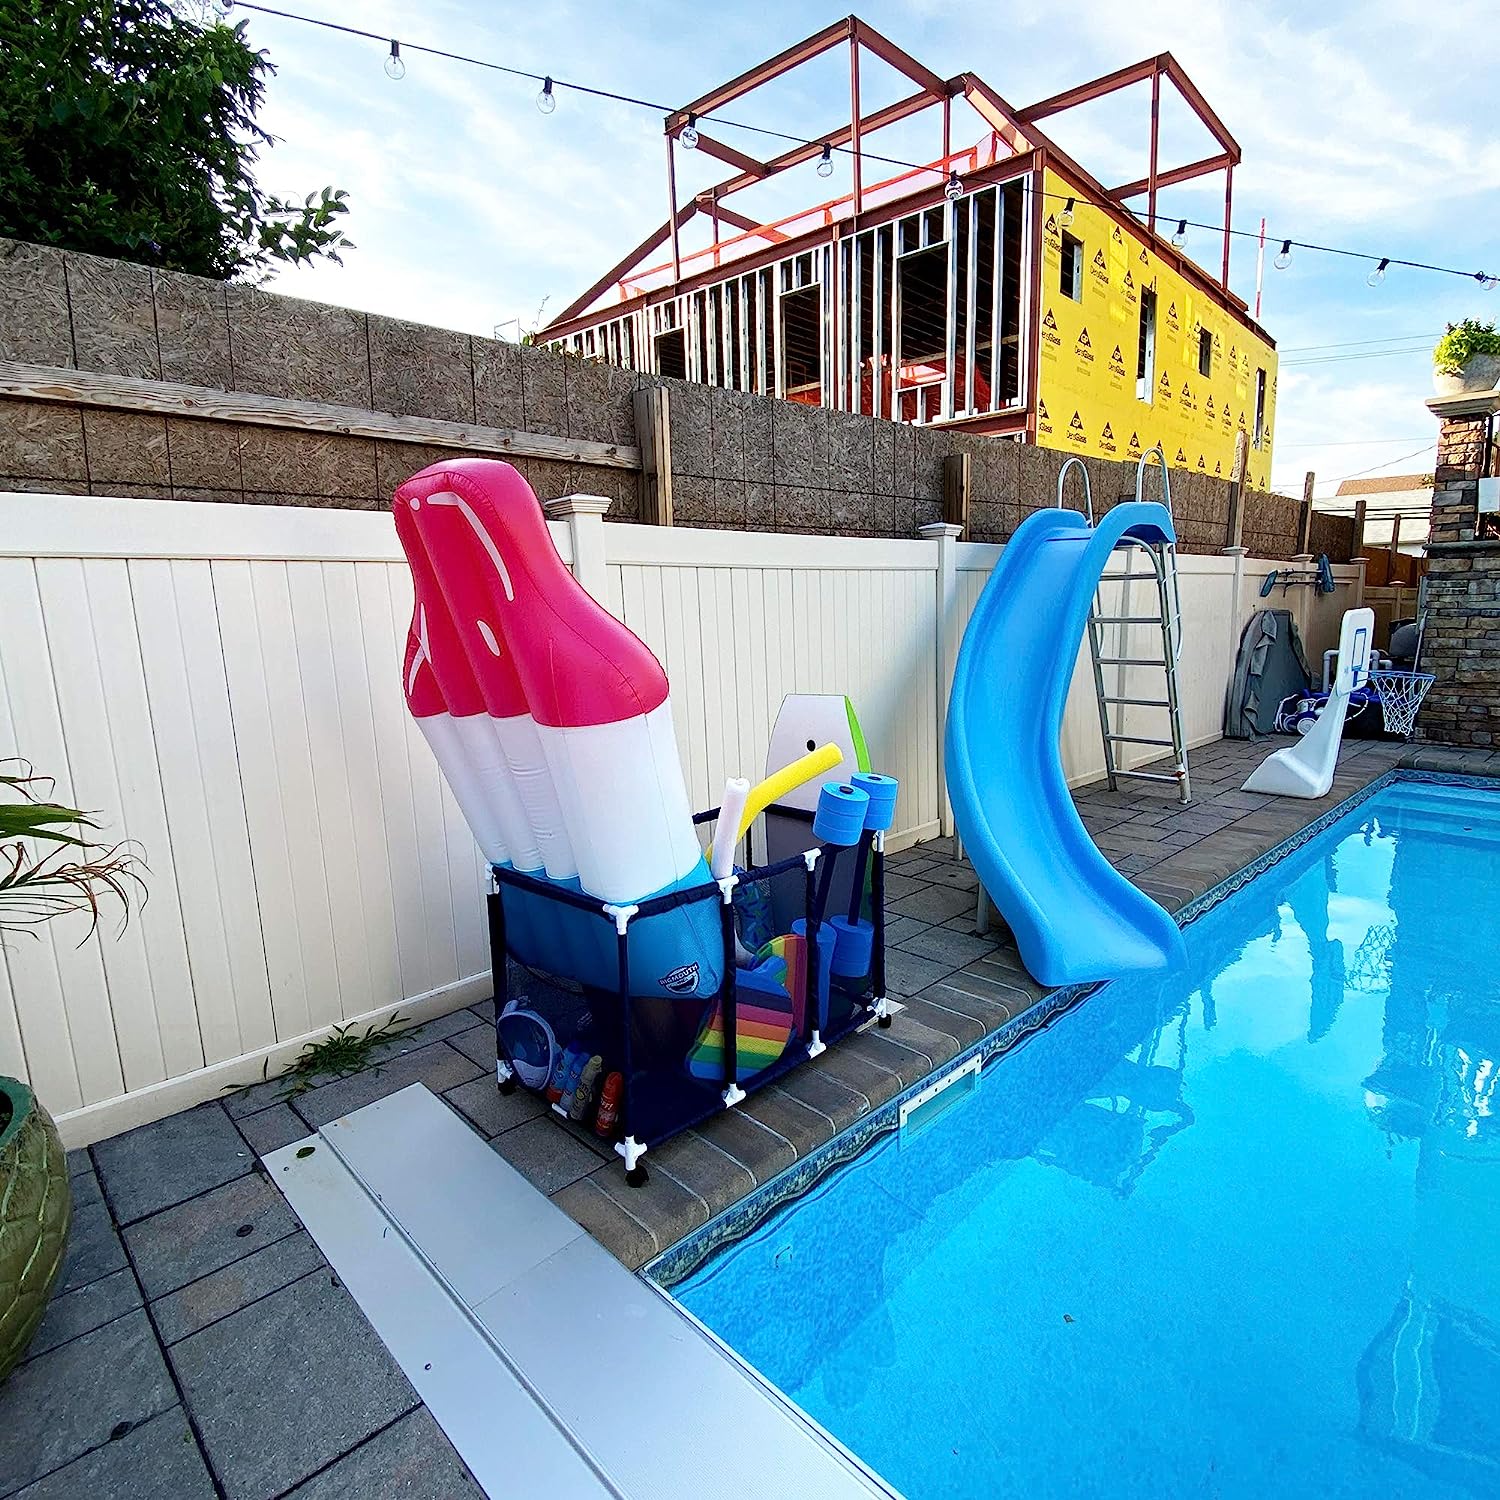
To store pool floats in the garage, consider using a hanging storage system or a large storage bin to keep them off the ground and prevent them from getting damaged. Make sure to clean and dry the floats before storing them to prevent mold and mildew.
Step 4: Folding and Storing the Pool Floats
Once your pool floats are clean and dry, it’s time to fold them properly for storage in the garage. This step will help save space and keep your floats in good condition for the next pool season. Here’s how to fold and store your pool floats:
- Remove any accessories: If your pool floats have any removable accessories, such as cup holders or built-in coolers, be sure to remove them before folding.
- Start with deflated floats: Ensure that your floats are fully deflated, as mentioned in Step 1. This will make the folding process easier and more efficient.
- Fold in half lengthwise: Take one end of the float and fold it in half lengthwise. Make sure the edges align properly, creating a neat fold.
- Continue folding: Once the float is folded in half, continue folding it in the same manner until it is compact and easy to manage. The number of folds will depend on the size and thickness of the float.
- Secure with straps or bungee cords: To keep the folded float in place, use straps or bungee cords to secure it. This will prevent it from unfolding during storage.
- Store in a cool, dry place: Find a designated area in your garage to store the folded pool floats. Keep them away from direct sunlight, extreme temperatures, and any potential sources of moisture.
By following these folding and storing techniques, you can maximize space in your garage while keeping your pool floats in good condition. Proper folding ensures that the floats stay compact and protected from any potential damage during storage.
Read more: How To Store Large Pool Floats
Step 5: Organizing the Garage for Pool Float Storage
To efficiently store your pool floats in the garage, it’s important to have a well-organized space dedicated to their storage. By implementing some organization tips, you can ensure easy access to your floats and keep them in good condition. Here’s how to organize your garage for pool float storage:
- Clean and declutter: Before setting up a storage area for your pool floats, take some time to clean and declutter your garage. Remove any unnecessary items to create more space for your floats.
- Install shelves or hooks: Consider installing shelves or hooks on the walls of your garage. This will provide designated storage spaces for your floats, keeping them off the floor and organized.
- Label the storage areas: To make it easier to locate specific floats, label the shelves or hooks with the names or types of floats they will hold. This way, you can easily find the float you want without searching through all of them.
- Use storage bins or containers: If you have smaller pool floats or accessories, consider using storage bins or containers to keep them organized. Label the bins accordingly to quickly identify their contents.
- Create a designated area: Dedicate a specific area in your garage solely for pool float storage. This will help keep the floats organized, prevent them from getting mixed up with other items, and make it easier to access them when needed.
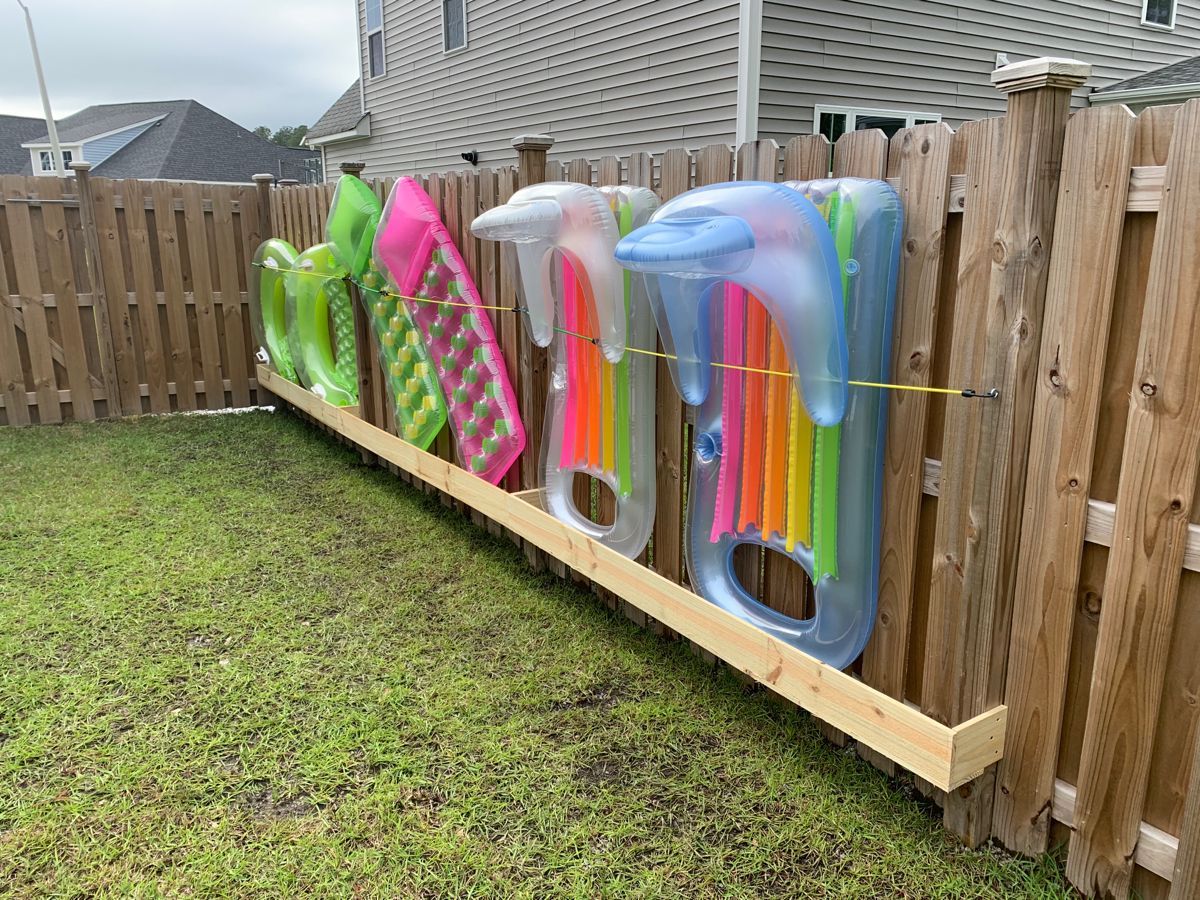
- Consider vertical storage options: If you have limited floor space, explore vertical storage options such as wall-mounted racks or hanging systems. These can provide additional storage space for your pool floats while keeping them easily accessible.
By organizing your garage specifically for pool float storage, you can ensure that your floats are well-preserved and easy to locate when it’s time to bring them out for the next pool season.
Additional Tips for Pool Float Storage
When it comes to storing pool floats in the garage, there are a few additional tips that can help ensure their longevity and ease of use. Consider these tips to make the most out of your pool float storage:
- Use air-tight bags: For added protection, consider storing your deflated pool floats in air-tight bags. This will prevent any dust, dirt, or pests from getting inside and potentially damaging the floats.
- Avoid sharp objects: Be mindful of any sharp objects or edges in your garage that could potentially puncture or tear your pool floats. Keep them away from tools, garden equipment, or any other objects that could cause damage.
- Rotate storage: If you have multiple pool floats, consider rotating their storage placement each season. This helps prevent any one float from being constantly stored in the same position, which can lead to uneven wear and tear.
- Check for leaks: Before storing your floats, thoroughly inspect them for any leaks or damage. Patch up any small leaks or tears using a repair kit specifically designed for pool floats. This will help extend their lifespan.
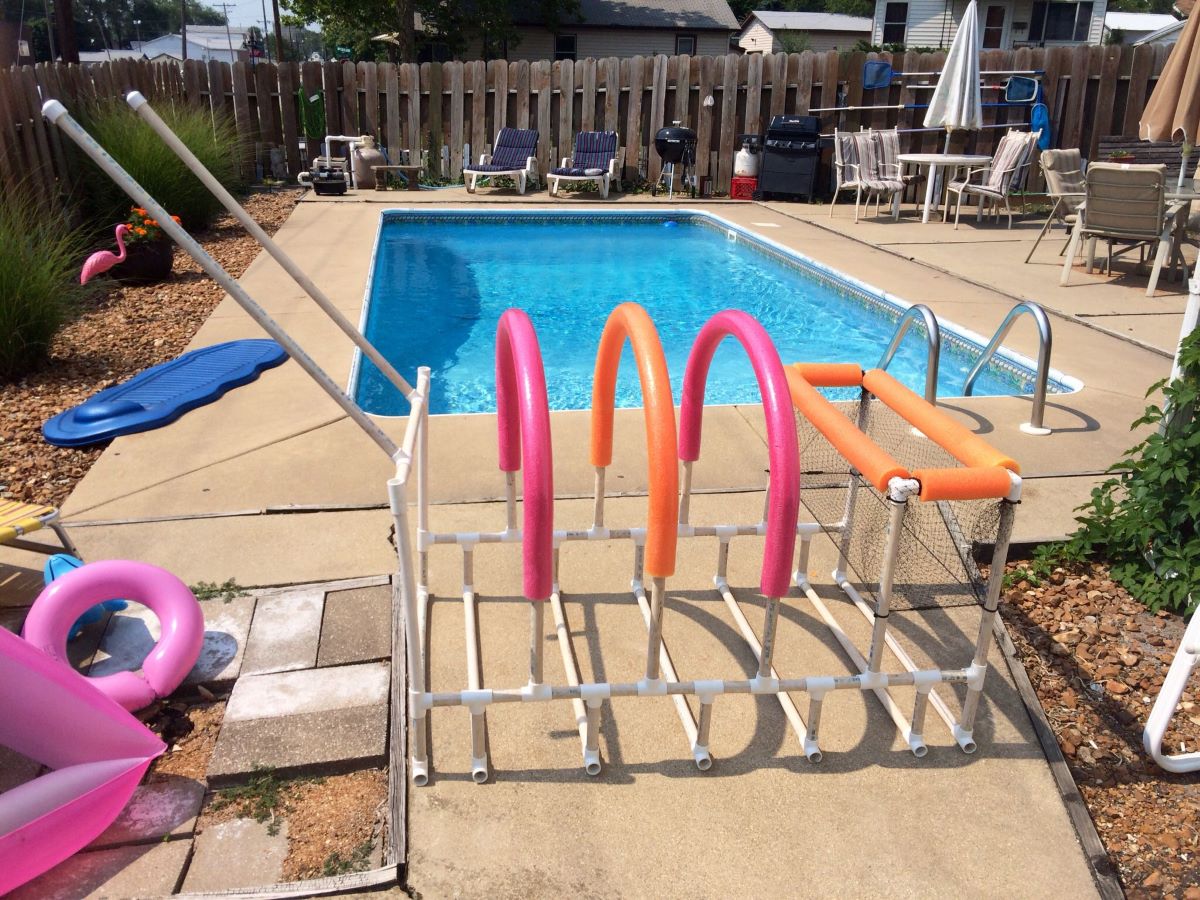
- Store other pool accessories: Alongside your pool floats, you can also utilize your garage space to store other pool accessories such as inflatable toys, pool noodles, or even pool equipment like skimmers and nets. Keep them organized and easily accessible in designated storage areas.
- Regular maintenance: Even during the off-season, it’s important to perform regular maintenance on your pool floats. Periodically check for any signs of damage or wear, and clean and dry them as needed to prevent any potential issues during storage.
By implementing these additional tips, you can ensure that your pool floats are stored properly, protected, and ready for use when the pool season returns. With a little care and organization, you can enjoy your pool floats for many seasons to come!
Conclusion
Properly storing your pool floats in the garage is essential for maintaining their condition and prolonging their lifespan. By following the steps outlined in this article, you can ensure that your pool floats are ready for use when the pool season rolls around again. From deflating and cleaning them to properly drying, folding, and organizing your garage, each step plays a crucial role in keeping your pool floats in excellent shape.
Remember to deflate your floats completely, clean them thoroughly using mild soap, and allow them to air dry before folding and storing them. Properly organizing your garage with shelves, hooks, and labeled storage areas will make it easier to access your floats and prevent them from becoming damaged or misplaced. Additionally, considering air-tight bags, checking for leaks, and storing other pool accessories alongside your floats are helpful tips to maximize your storage space and keep everything organized.
By following these guidelines, you can ensure that your pool floats remain in exceptional condition, ready to provide you with countless hours of relaxation and fun in the sun. Proper storage and maintenance will not only extend the lifespan of your pool floats but also save you time and money in the long run.
So, follow these steps, utilize the additional tips provided, and enjoy hassle-free storage and pristine pool floats season after season. Happy swimming!
Frequently Asked Questions about How To Store Pool Floats In Garage
Was this page helpful?
At Storables.com, we guarantee accurate and reliable information. Our content, validated by Expert Board Contributors, is crafted following stringent Editorial Policies. We're committed to providing you with well-researched, expert-backed insights for all your informational needs.




0 thoughts on “How To Store Pool Floats In Garage”