Home>Home Appliances>Bathroom Appliances>How To Inflate A Pool Float With A Hair Dryer

Bathroom Appliances
How To Inflate A Pool Float With A Hair Dryer
Modified: August 17, 2024
Learn how to easily inflate a pool float using a hair dryer. Get helpful tips and tricks for using bathroom appliances for this task. Discover the best techniques for quick and efficient inflation.
(Many of the links in this article redirect to a specific reviewed product. Your purchase of these products through affiliate links helps to generate commission for Storables.com, at no extra cost. Learn more)
Introduction
Inflating a pool float with a hair dryer is a convenient and efficient method that can save you time and effort. Whether you're gearing up for a fun day at the pool or preparing for a relaxing time at the beach, knowing how to inflate a pool float with a hair dryer can come in handy. This technique is especially useful when you don't have access to a traditional air pump or simply want to expedite the inflation process.
By using a hair dryer, you can quickly and easily inflate your pool float without the need for manual labor or specialized equipment. This method is not only practical but also versatile, as it allows you to inflate a pool float wherever there's an electrical outlet. From small inflatable loungers to large pool rafts, this technique can be applied to various types and sizes of pool floats, making it a valuable skill for any water recreation enthusiast.
In this comprehensive guide, we'll walk you through the step-by-step process of inflating a pool float with a hair dryer. From gathering the necessary materials to sealing the valve, you'll learn the ins and outs of this innovative inflation method. So, grab your favorite pool float, a trusty hair dryer, and let's dive into the exciting world of hassle-free pool float inflation!
Key Takeaways:
- Inflating a pool float with a hair dryer is a convenient and versatile method that saves time and effort, making it a valuable skill for water recreation enthusiasts.
- By following the step-by-step process, you can efficiently inflate your pool float with a hair dryer, ensuring a hassle-free and enjoyable experience for your aquatic adventures.
Read more: How To Float In A Swimming Pool
Materials Needed
Before you begin inflating your pool float with a hair dryer, it’s essential to gather the necessary materials. Here’s what you’ll need:
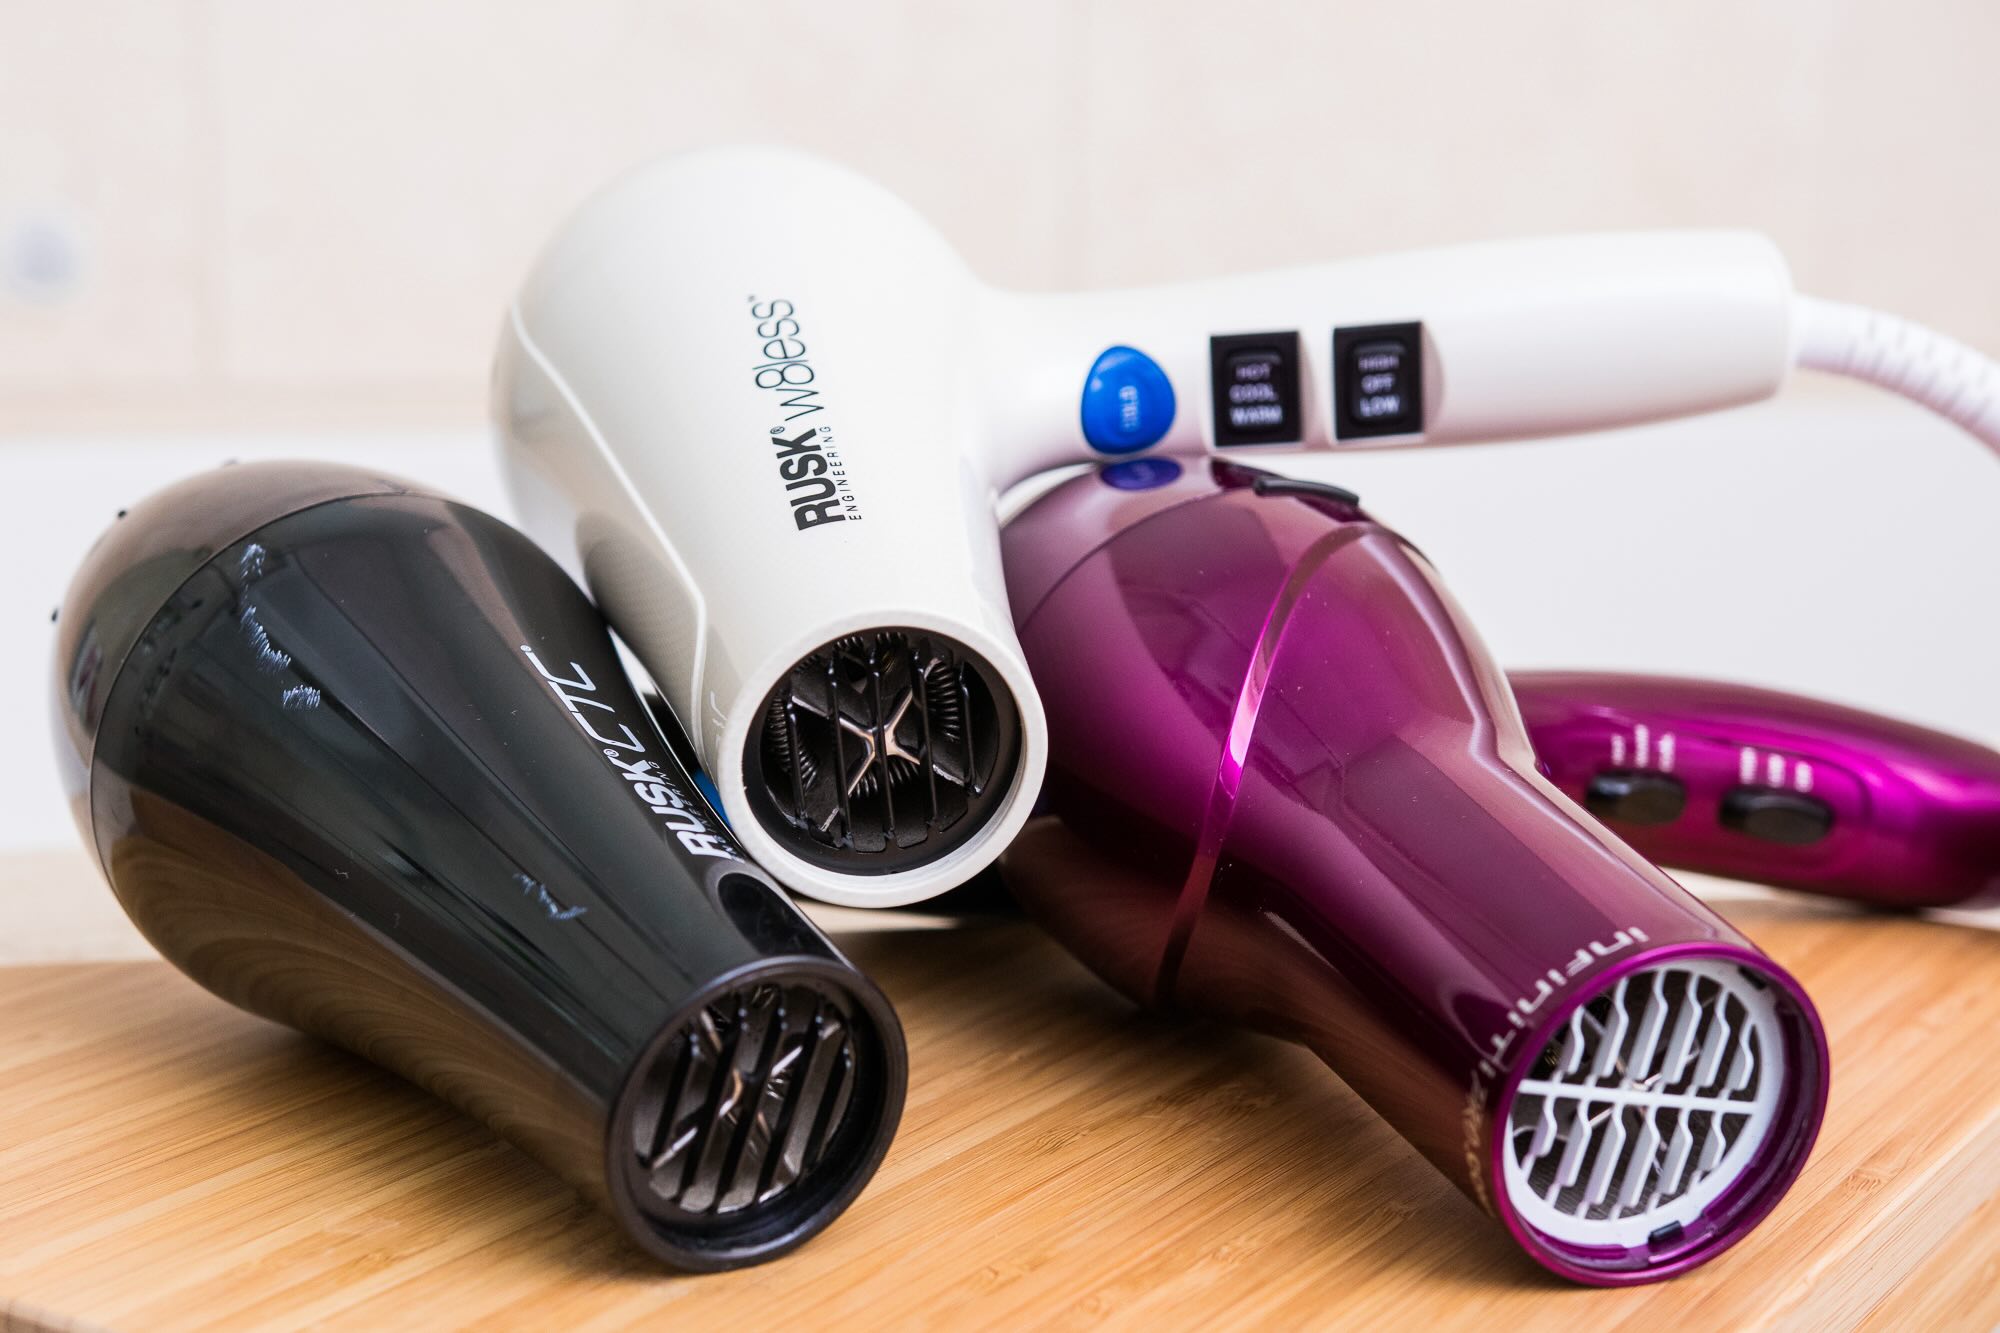
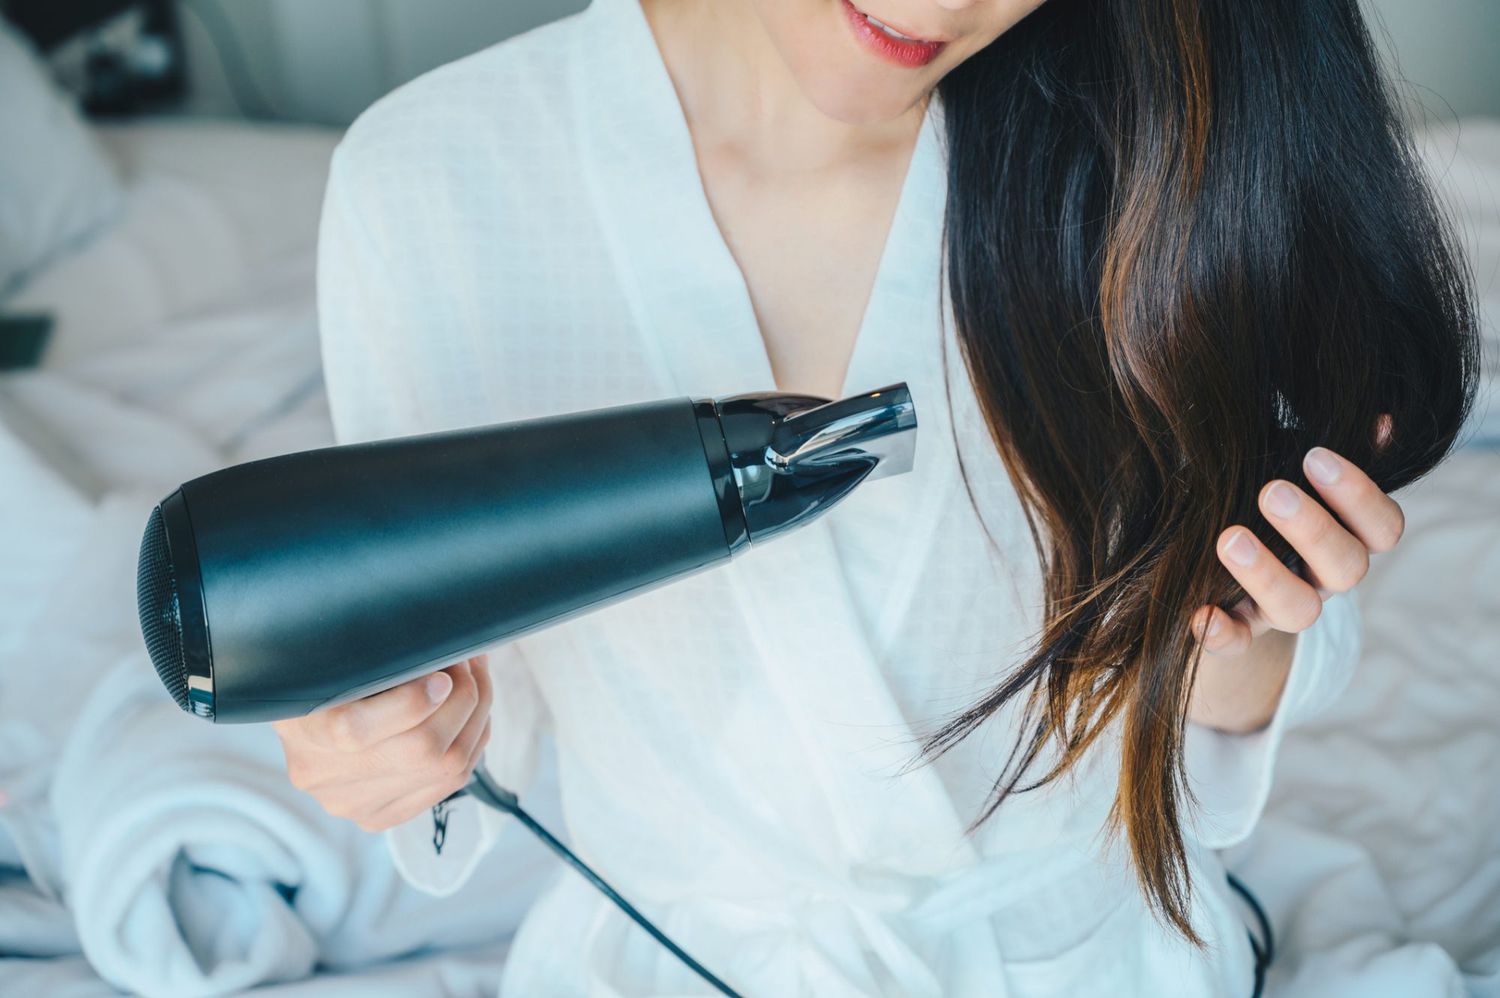
- A hair dryer: Opt for a hair dryer with adjustable heat settings and a cool air option, if available. The cool air setting can be particularly useful for preventing overheating and ensuring a gentle inflation process.
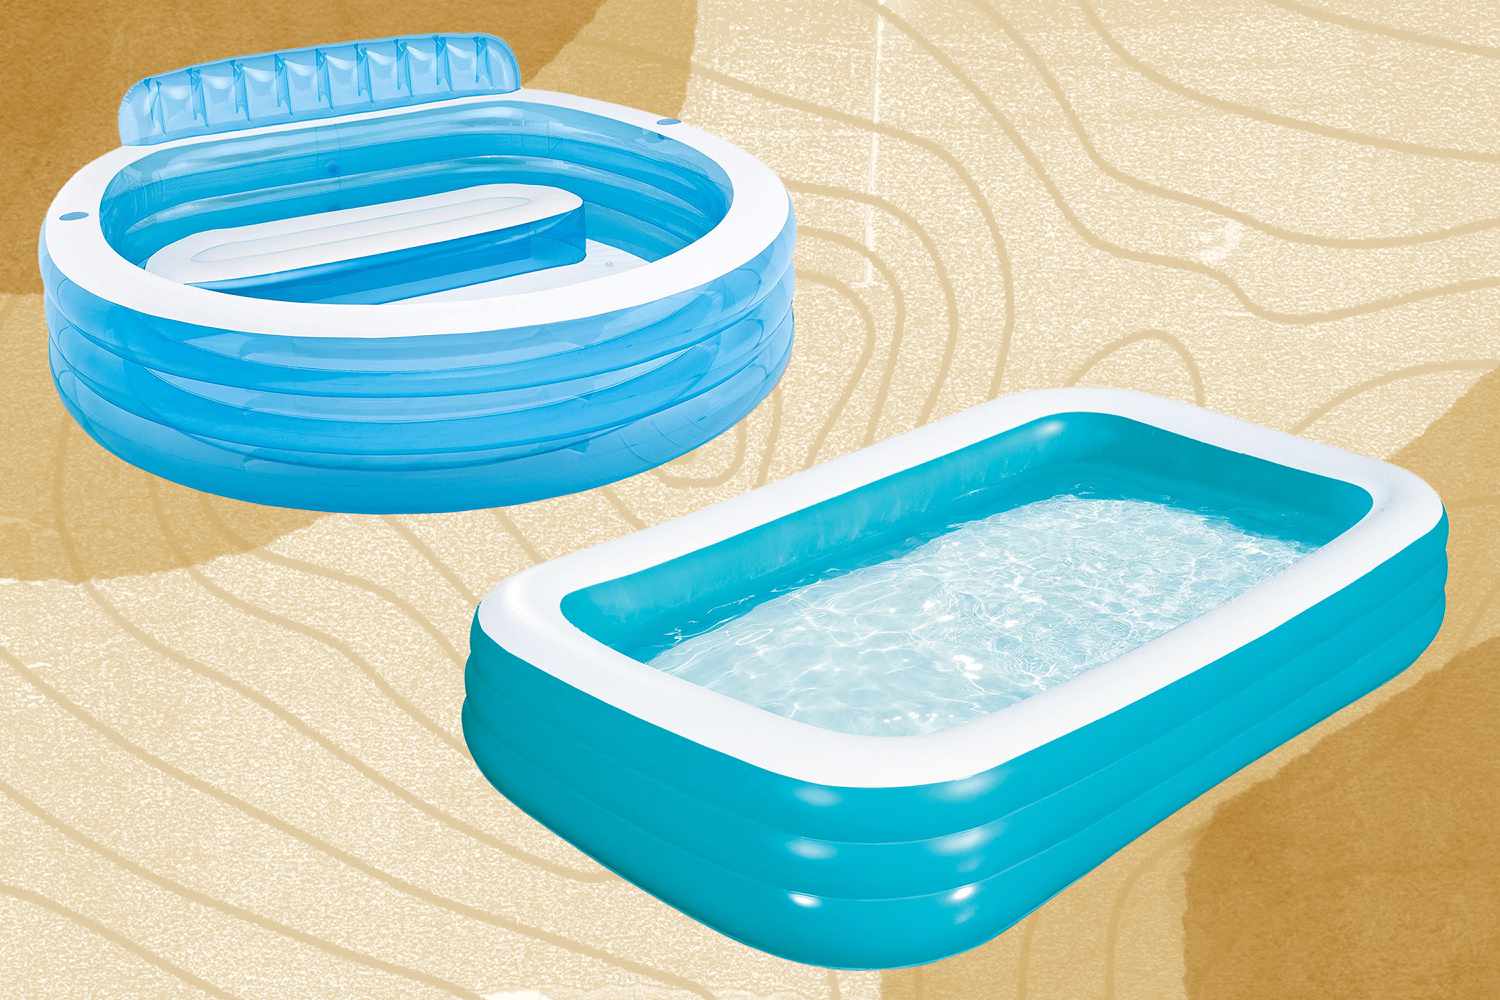
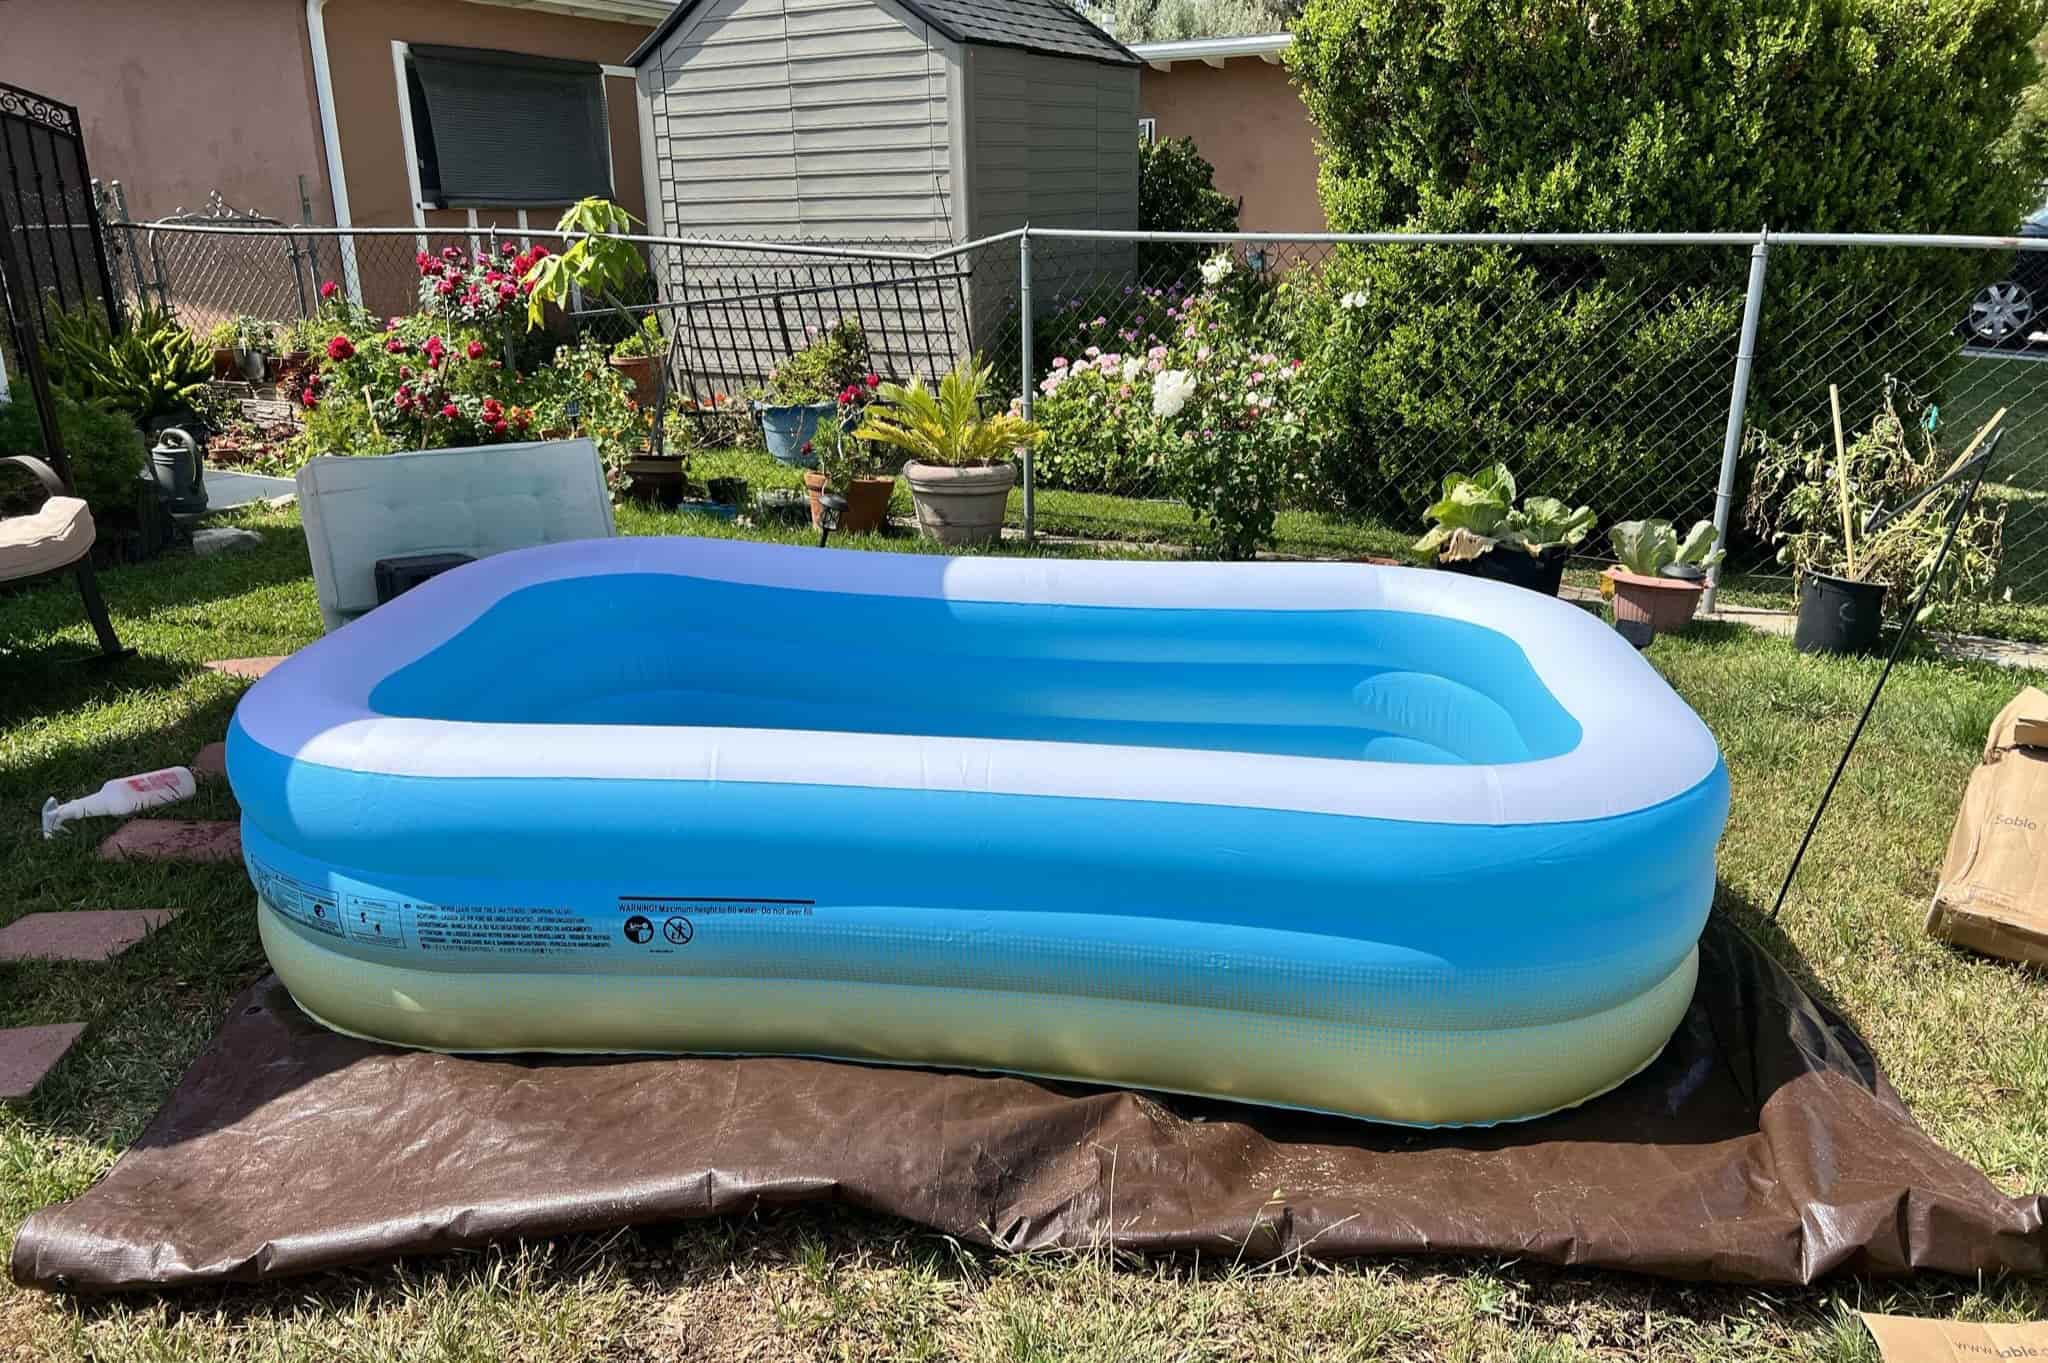
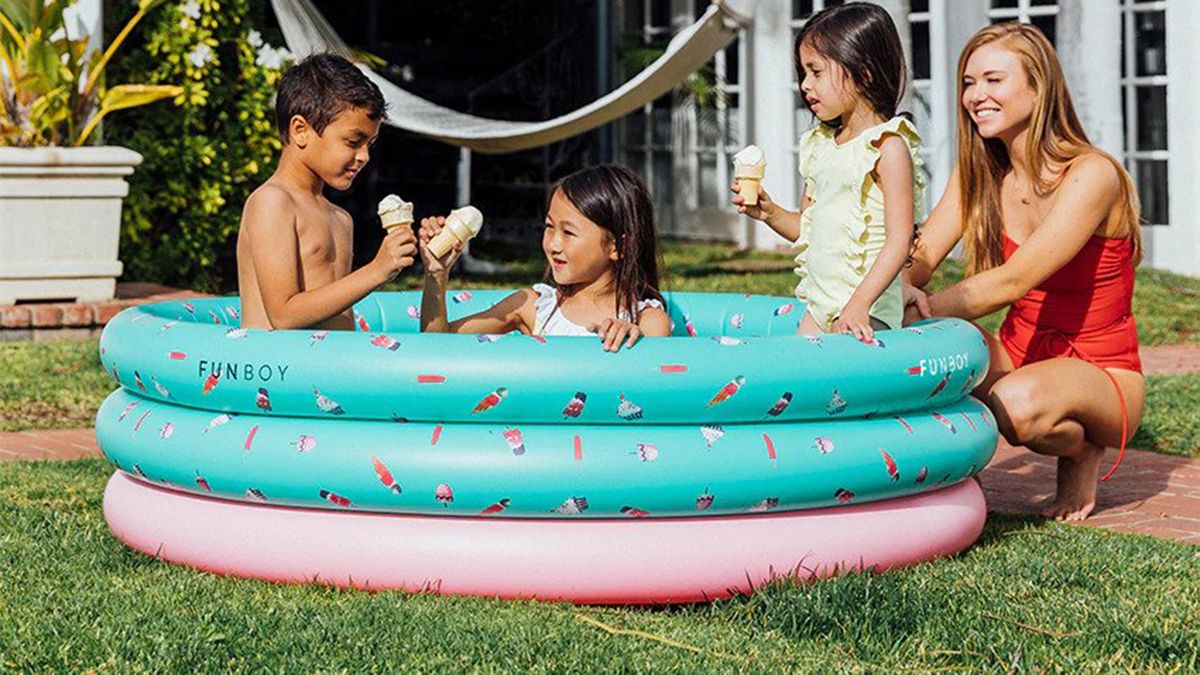
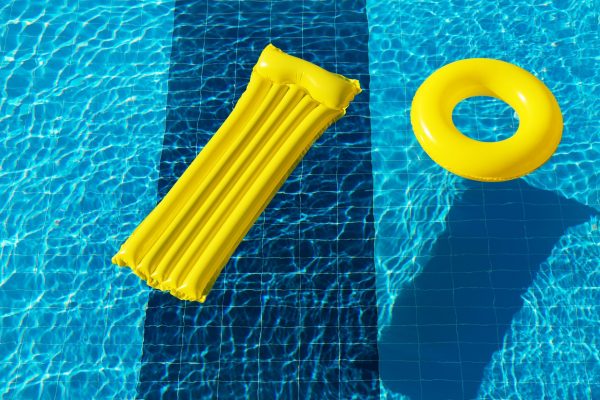
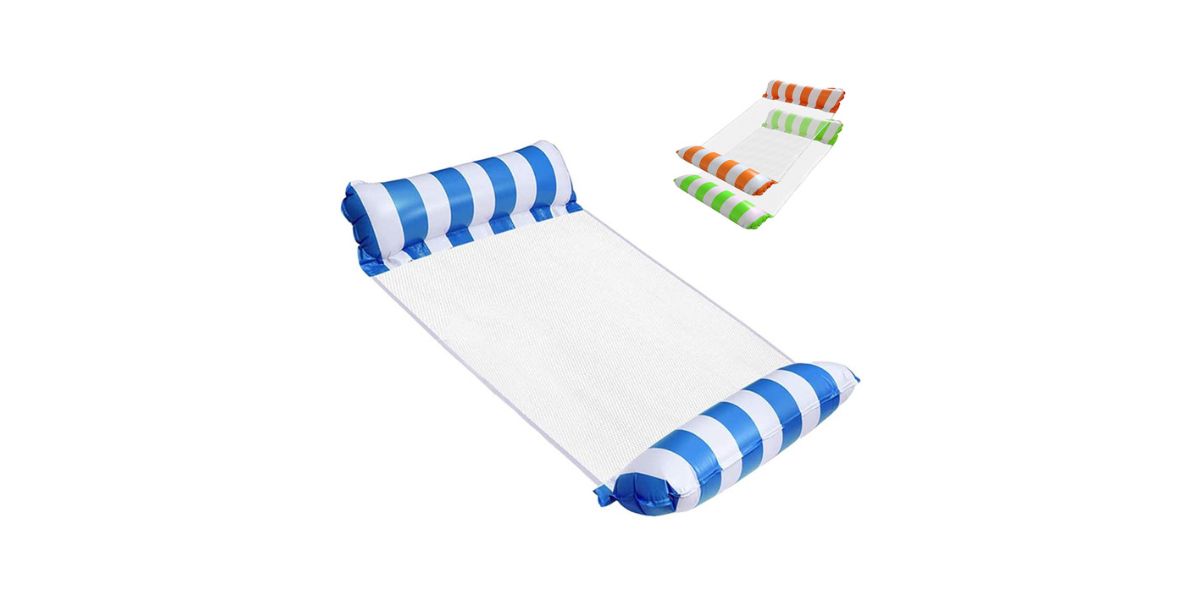
- A pool float: Choose the pool float you want to inflate. Whether it’s a classic donut-shaped float, a whimsical animal-themed design, or a spacious inflatable raft, ensure that the float is clean and free of any sharp objects or debris that could potentially cause damage during the inflation process.
- An electrical outlet: Locate a nearby electrical outlet where you can plug in the hair dryer. It’s crucial to position the pool float within reach of the outlet to allow for easy and safe inflation.
- A towel or soft cloth: Having a towel or soft cloth on hand can be helpful for wiping down the pool float before and after inflation, ensuring a clean and pleasant surface for relaxation.
- A valve cap (optional): Depending on the type of valve your pool float has, you may need a valve cap to secure the inflation once the process is complete. Some pool floats feature built-in valve caps, while others may require a separate cap to seal the valve effectively.
With these materials at your disposal, you’ll be well-prepared to embark on the journey of inflating your pool float with a hair dryer. Now that you have everything you need, let’s move on to the step-by-step process of achieving the perfect inflation!
Step 1: Prepare the Pool Float
Before you begin the inflation process, it’s crucial to prepare the pool float to ensure a smooth and successful outcome. Follow these steps to get your pool float ready for inflation:
- Inspect the Pool Float: Carefully examine the pool float for any signs of damage, such as punctures, tears, or leaks. If you notice any issues, repair them before proceeding with inflation to prevent air loss during the process.
- Clean the Surface: Use a damp cloth or gentle cleaning solution to wipe down the surface of the pool float, removing any dirt, sand, or debris. This step helps ensure a clean and hygienic inflation process while preventing potential damage to the float’s material.
- Locate the Valve: Identify the valve on the pool float through which you’ll be inflating it. Different pool floats feature various types of valves, such as twist valves, Boston valves, or pinch valves. Familiarize yourself with the specific valve type to prepare for the upcoming inflation method.
- Position the Pool Float: Place the pool float on a flat and stable surface, ensuring that it’s free from rough or sharp objects that could cause damage during inflation. Position the float in close proximity to the electrical outlet where you’ll be plugging in the hair dryer.
By meticulously preparing the pool float, you’ll set the stage for a successful and hassle-free inflation process. Once the pool float is inspected, cleaned, and positioned for inflation, you’re ready to move on to the next step of setting up the hair dryer for the inflation process.
Step 2: Set Up the Hair Dryer
With the pool float prepared for inflation, the next step is to set up the hair dryer for the inflation process. Follow these guidelines to ensure the hair dryer is ready to efficiently inflate the pool float:
- Select the Appropriate Heat Setting: If your hair dryer offers adjustable heat settings, choose a moderate or cool setting to prevent overheating the pool float’s material. Avoid using high heat, as it may damage or deform the float.
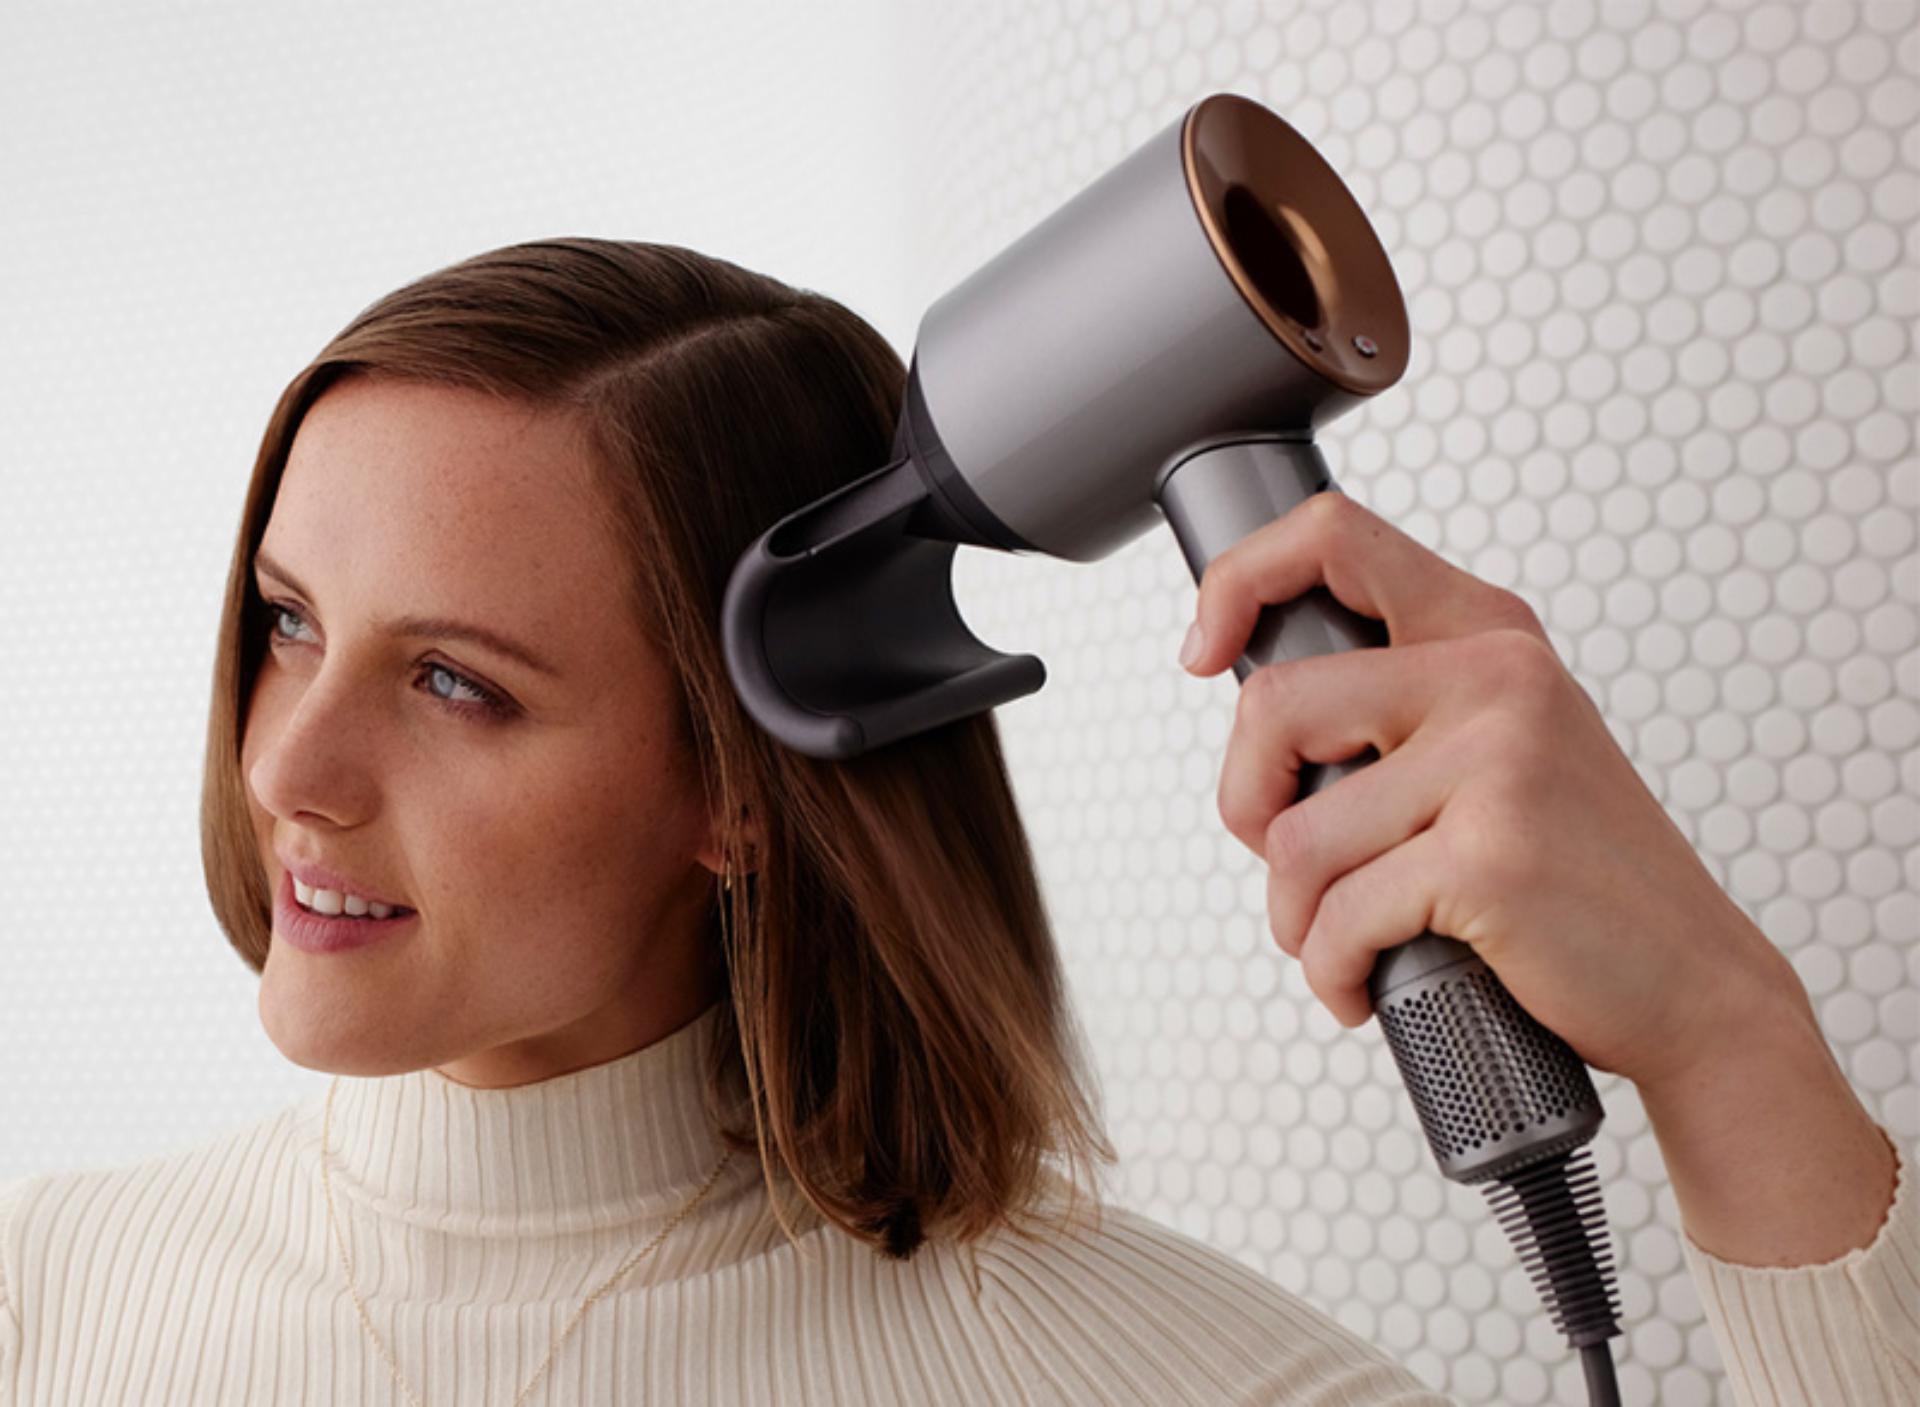
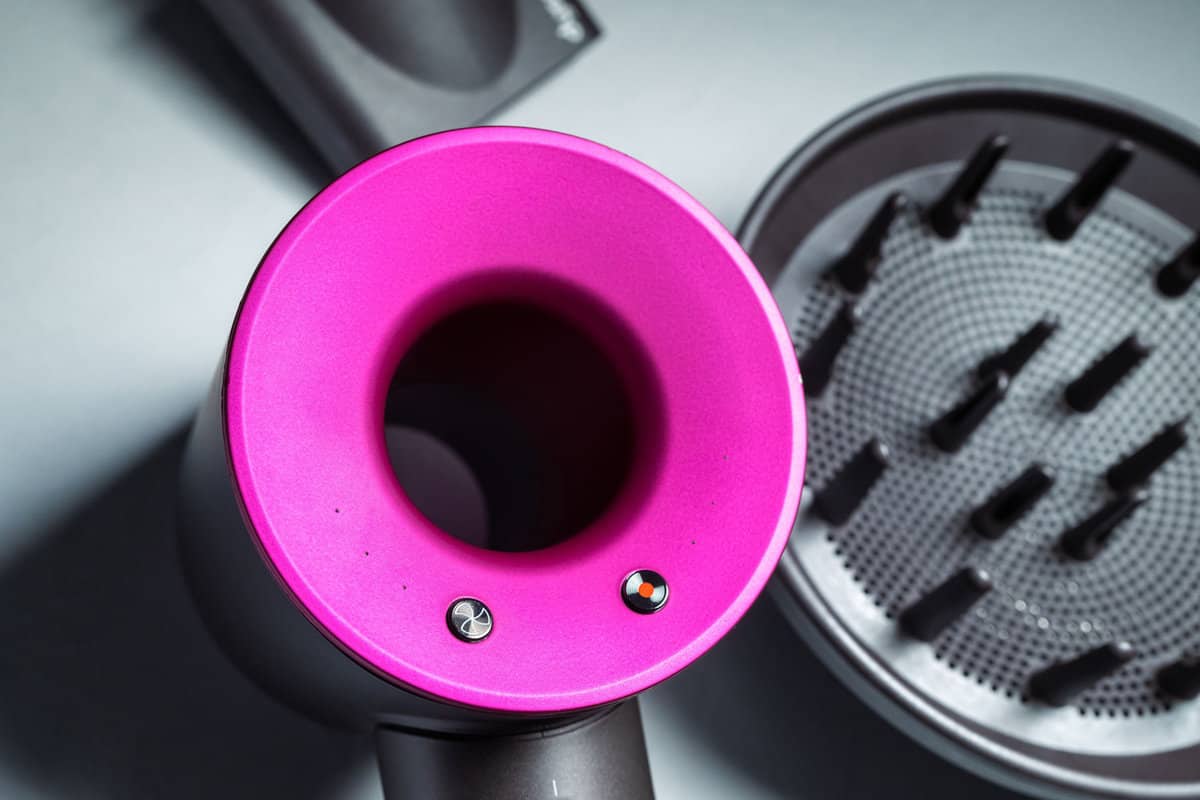
- Position the Hair Dryer: Place the hair dryer in a stable and secure position near the pool float, ensuring that the nozzle is directed towards the valve of the float. This setup allows for a direct and focused airflow into the valve, facilitating efficient inflation.
- Plug In the Hair Dryer: Locate the nearest electrical outlet and plug in the hair dryer. Ensure that the cord is positioned safely to avoid any tripping hazards or interference during the inflation process.
- Prepare the Cool Air Option (if available): If your hair dryer features a cool air setting, consider using it during the inflation process. Cool air can help maintain a safe and gentle inflation, especially for sensitive or delicate pool float materials.
By setting up the hair dryer with the appropriate heat settings and positioning it strategically near the pool float, you’re taking the necessary steps to ensure a controlled and effective inflation process. With the hair dryer ready to go, you’re now prepared to move on to the exciting phase of inflating the pool float with ease!
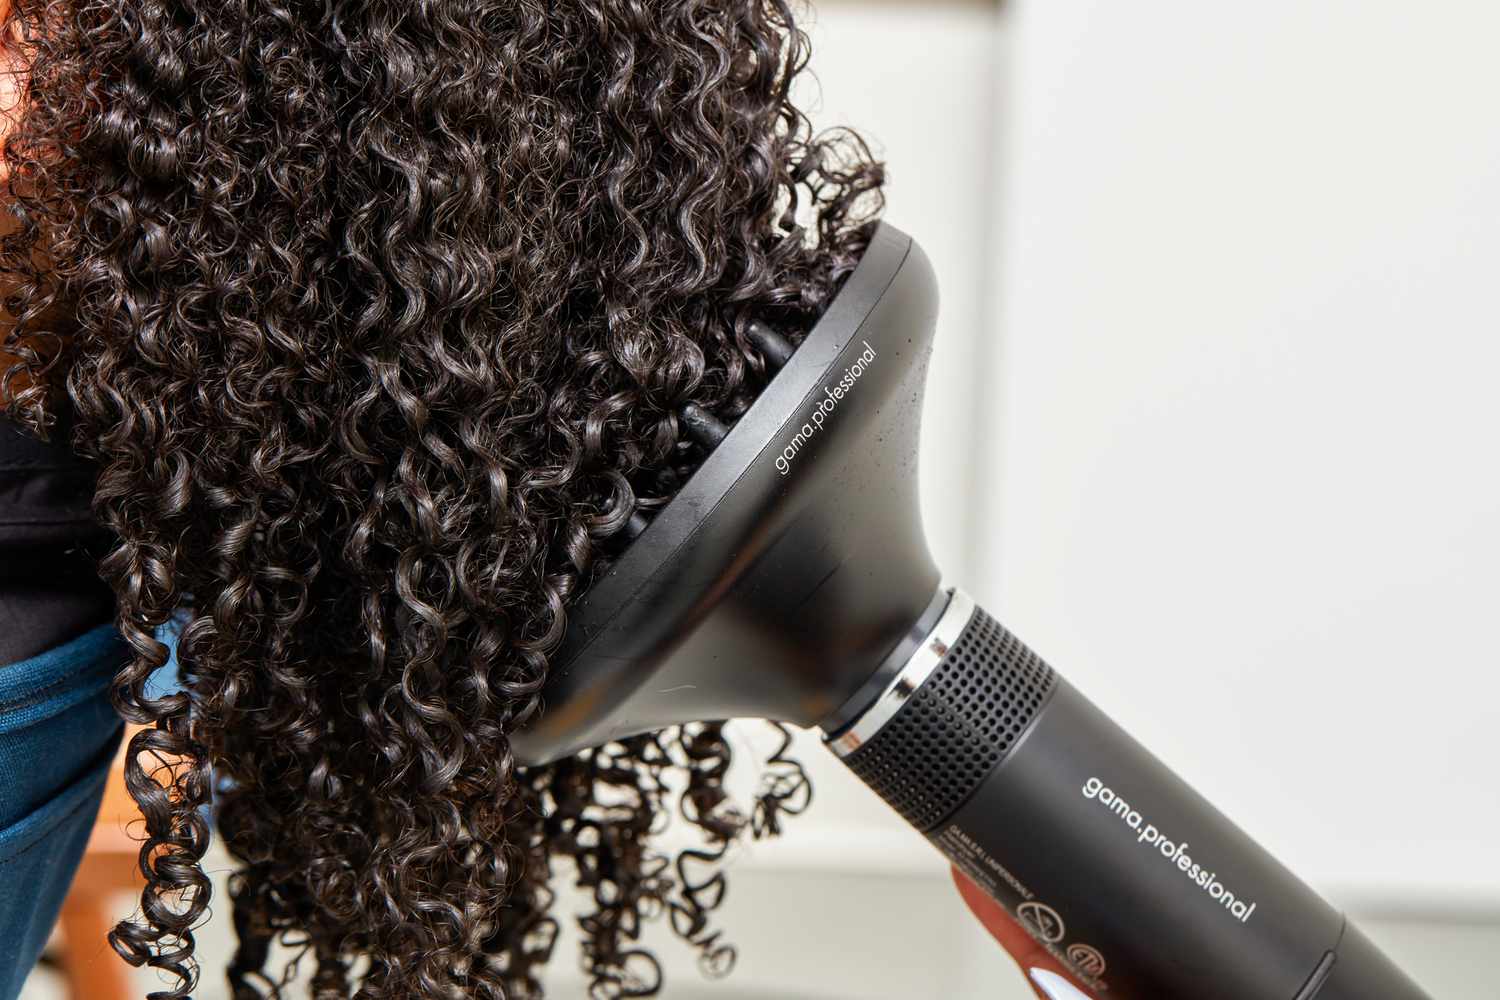
Make sure the hair dryer is set to the cool setting to avoid melting the plastic. Hold the hair dryer close to the valve and use it to blow air into the float until it is fully inflated.
Step 3: Inflate the Pool Float
Now that the pool float and hair dryer are prepared, it’s time to embark on the exhilarating process of inflating the pool float using the hair dryer. Follow these steps to achieve a successful and efficient inflation:
- Insert the Nozzle into the Valve: Carefully insert the nozzle of the hair dryer into the valve of the pool float, ensuring a secure and snug fit. This step is crucial for maintaining a consistent airflow and preventing air leakage during the inflation process.
- Activate the Hair Dryer: Turn on the hair dryer and direct the airflow into the valve of the pool float. If your hair dryer offers a cool air option, consider using it to ensure a gentle and controlled inflation process, especially for delicate or sensitive pool float materials.
- Monitor the Inflation: Keep a close eye on the pool float as it inflates, ensuring that it expands evenly and without any signs of overinflation. Periodically check the firmness of the float to gauge the progress and adjust the airflow as needed to achieve the desired level of inflation.
- Rotate the Pool Float (if applicable): Depending on the design of the pool float and the location of the valve, you may need to rotate the float to evenly distribute the airflow and achieve uniform inflation. Carefully reposition the float as necessary to facilitate complete and balanced inflation.
- Monitor the Temperature: Throughout the inflation process, pay attention to the temperature of the hair dryer and the pool float’s surface. Avoid prolonged exposure to high heat, and if using the cool air option, ensure that it effectively maintains a safe and comfortable inflation temperature.
By following these steps, you’ll be able to effectively and safely inflate the pool float using a hair dryer. This innovative method offers a convenient and efficient approach to preparing your pool float for a day of relaxation and enjoyment in the water. Once the pool float reaches the desired level of inflation, it’s time to proceed to the final step of sealing the valve to secure the air inside.
Read more: How To Store Pool Floats
Step 4: Seal the Valve
After successfully inflating the pool float with the hair dryer, the final step involves sealing the valve to secure the air inside and prepare the float for immediate use. Follow these essential guidelines to effectively seal the valve:
- Remove the Hair Dryer Nozzle: Carefully remove the hair dryer nozzle from the valve of the pool float, ensuring a gentle and gradual release to prevent any sudden air loss.
- Close the Valve Cap (if applicable): If your pool float is equipped with a separate valve cap, securely close the cap to seal the valve and prevent air from escaping. Ensure that the cap is tightly fastened to maintain the float’s inflation.
- Inspect for Air Leaks: After sealing the valve, inspect the pool float for any signs of air leaks around the valve area. Gently press on the inflated sections to check for firmness and identify any potential leaks that may require immediate attention.
- Test the Float’s Stability: Once the valve is sealed, carefully lift and reposition the pool float to ensure its stability and firmness. Confirm that the float maintains its inflation level and remains ready for immediate use in the water.
- Prepare for Enjoyment: With the valve securely sealed and the pool float fully inflated, your inflatable companion is now ready for a day of relaxation, fun, and aquatic adventures. Place the float in your desired location, whether it’s a pool, lake, or beach, and revel in the comfort and leisure it provides.
By following these steps to seal the valve, you’ll ensure that your pool float retains its inflation and remains ready for your aquatic escapades. With the inflation process successfully completed, you can look forward to enjoying the delightful comfort and buoyancy of your fully inflated pool float!
Conclusion
Congratulations! You’ve mastered the art of inflating a pool float with a hair dryer, unlocking a convenient and efficient method for preparing your inflatable oasis for aquatic adventures. By following the step-by-step process outlined in this guide, you’ve gained valuable insights into transforming a hair dryer into a versatile inflation tool for your pool float.
From preparing the pool float and setting up the hair dryer to executing the inflation process and sealing the valve, you’ve navigated each stage with precision and skill. This innovative approach not only offers a practical alternative to traditional air pumps but also empowers you to inflate your pool float wherever there’s an electrical outlet, providing unparalleled convenience and flexibility.
As you revel in the joy and relaxation of your fully inflated pool float, remember the versatility and ingenuity of the hair dryer as a reliable inflation ally. Whether you’re basking in the sun on a tranquil pool or drifting along the gentle waves of a serene lake, your newly inflated pool float stands as a testament to your resourcefulness and mastery of this inventive inflation technique.
So, the next time you’re gearing up for a day of aquatic leisure, grab your trusty hair dryer, select your favorite pool float, and embark on a seamless and efficient inflation journey. With your newfound expertise, inflating a pool float with a hair dryer is no longer a chore but an enjoyable and rewarding experience that enhances your water recreation pursuits.
Now, armed with the knowledge and skills acquired from this guide, you’re well-equipped to embark on countless inflatable adventures, all made possible by the remarkable fusion of a hair dryer and a beloved pool float. Embrace the convenience, revel in the comfort, and cherish the memories created with your perfectly inflated pool float, courtesy of your innovative approach and unwavering determination.
Here’s to many more delightful moments of relaxation and fun with your impeccably inflated pool float, showcasing the seamless harmony of modern ingenuity and timeless leisure!
Frequently Asked Questions about How To Inflate A Pool Float With A Hair Dryer
Was this page helpful?
At Storables.com, we guarantee accurate and reliable information. Our content, validated by Expert Board Contributors, is crafted following stringent Editorial Policies. We're committed to providing you with well-researched, expert-backed insights for all your informational needs.


0 thoughts on “How To Inflate A Pool Float With A Hair Dryer”