Articles
How To Store Pool Floats
Modified: October 20, 2024
Discover effective ways to store and preserve your pool floats with these informative articles. Keep your floats in top condition and ready for your next pool party!
(Many of the links in this article redirect to a specific reviewed product. Your purchase of these products through affiliate links helps to generate commission for Storables.com, at no extra cost. Learn more)
Introduction
When the warm weather arrives, there’s nothing quite like lounging on a pool float in the cool water. Whether you have an inflatable, foam, or mesh pool float, proper storage is essential to maintain their quality and extend their lifespan.
In this article, we will explore the importance of properly storing pool floats and provide you with some valuable tips to keep them in top condition. We’ll guide you through the cleaning process and outline step-by-step instructions on how to store inflatable, foam, and mesh pool floats. Additionally, we’ll discuss the ideal storage location and share some additional tips to help you maintain your pool floats.
By following these guidelines, you can ensure that your pool floats remain in great shape, ready for you to enjoy during the next swimming season.
Key Takeaways:
- Properly storing pool floats is crucial to preserve their quality, prevent damage, and extend their lifespan. Follow specific cleaning and storage steps for inflatable, foam, and mesh floats to ensure they remain in excellent condition.
- Choosing the right storage location, regular inspection, and prompt repairs are essential for maintaining pool floats. By following additional tips and proper cleaning practices, you can ensure your pool floats are always ready for relaxation and fun in the water.
Read more: How To Float In A Swimming Pool
Importance of Properly Storing Pool Floats
Properly storing pool floats is crucial to maintain their functionality and prolong their lifespan. Without proper storage, pool floats can easily get damaged, leading to tears, leaks, or mold growth. Here are some key reasons why it is important to store your pool floats correctly:
- Preserve Quality: By storing your pool floats properly, you can prevent sun damage, fading, and deterioration of materials. Exposure to direct sunlight for prolonged periods can cause the colors to fade and the float’s material to weaken.
- Avoid Damage: Storing pool floats incorrectly can result in punctures, tears, or leaks. Sharp objects or rough surfaces can significantly damage your floats, rendering them unusable.
- Prevent Mold and Mildew: If left damp or wet for extended periods, pool floats can become a breeding ground for mold and mildew. This not only damages the float’s material but can also pose potential health risks.
- Save Money: Properly storing your pool floats allows you to extend their lifespan, avoiding the need for premature replacement. This can save you money in the long run.
- Maintain Appearance: Storing pool floats properly helps them retain their original shape and appearance. This ensures that they look just as inviting and appealing in subsequent swimming seasons.
Now that we understand the importance of proper storage, let’s explore some helpful tips for cleaning your pool floats before storing them.
Tips for Cleaning Pool Floats
Before storing your pool floats, it is essential to give them a thorough cleaning to remove any dirt, debris, or buildup. This will not only keep your floats looking fresh but also prevent the growth of mold and mildew. Here are some tips for effectively cleaning your pool floats:
- Use Mild Soap and Water: Fill a large bucket or tub with warm water and add a small amount of mild soap. Avoid using harsh chemicals or abrasive cleaners, as they can damage the material of your floats.
- Gently Scrub: Dip a soft brush or sponge into the soapy water and gently scrub the surface of the float. Pay extra attention to any stained or dirty areas. Avoid using excessive force or scrubbing too vigorously, as this can cause damage.
- Rinse Thoroughly: After scrubbing, rinse the float thoroughly with clean water to remove any soap residue. Make sure to remove all traces of soap to prevent skin irritation when using the float in the future.
- Dry Completely: Allow the pool float to dry completely before storage. Ensure that both sides and any crevices are fully dry to prevent the growth of mold or mildew. Avoid direct sunlight during the drying process, as excessive heat can damage the float’s material.
- Spot Treat Stains: If you encounter tough stains on your pool float, consider spot treating them with a gentle stain remover. Test the stain remover on a small, inconspicuous area first to ensure it doesn’t cause any discoloration or damage.
- Apply UV Protectant (For Inflatables): If you have inflatable pool floats, it’s a good idea to apply a UV protectant spray after cleaning. This will help safeguard the float against sun damage and fading.
By following these cleaning tips, you can ensure that your pool floats are fresh, clean, and ready for proper storage. Now let’s move on to the step-by-step instructions for storing inflatable, foam, and mesh pool floats.
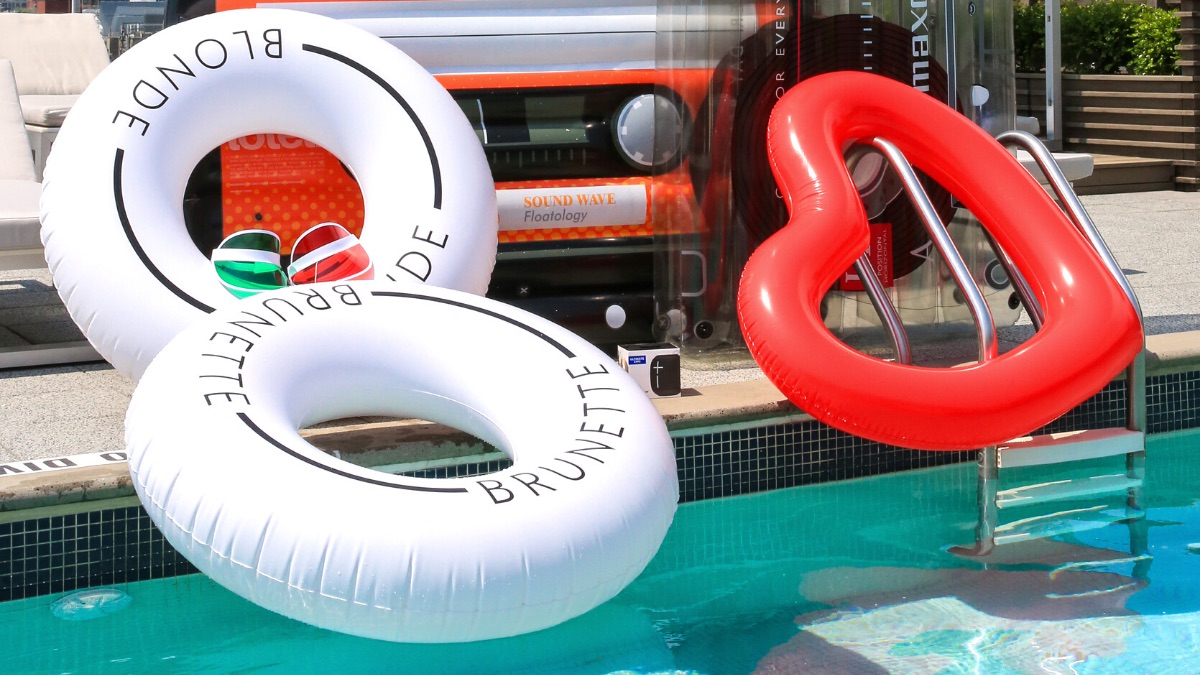
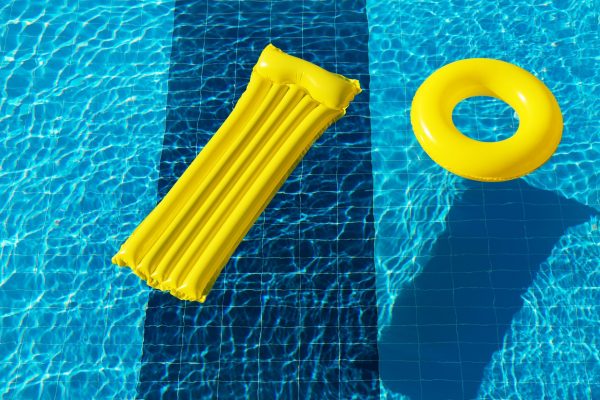
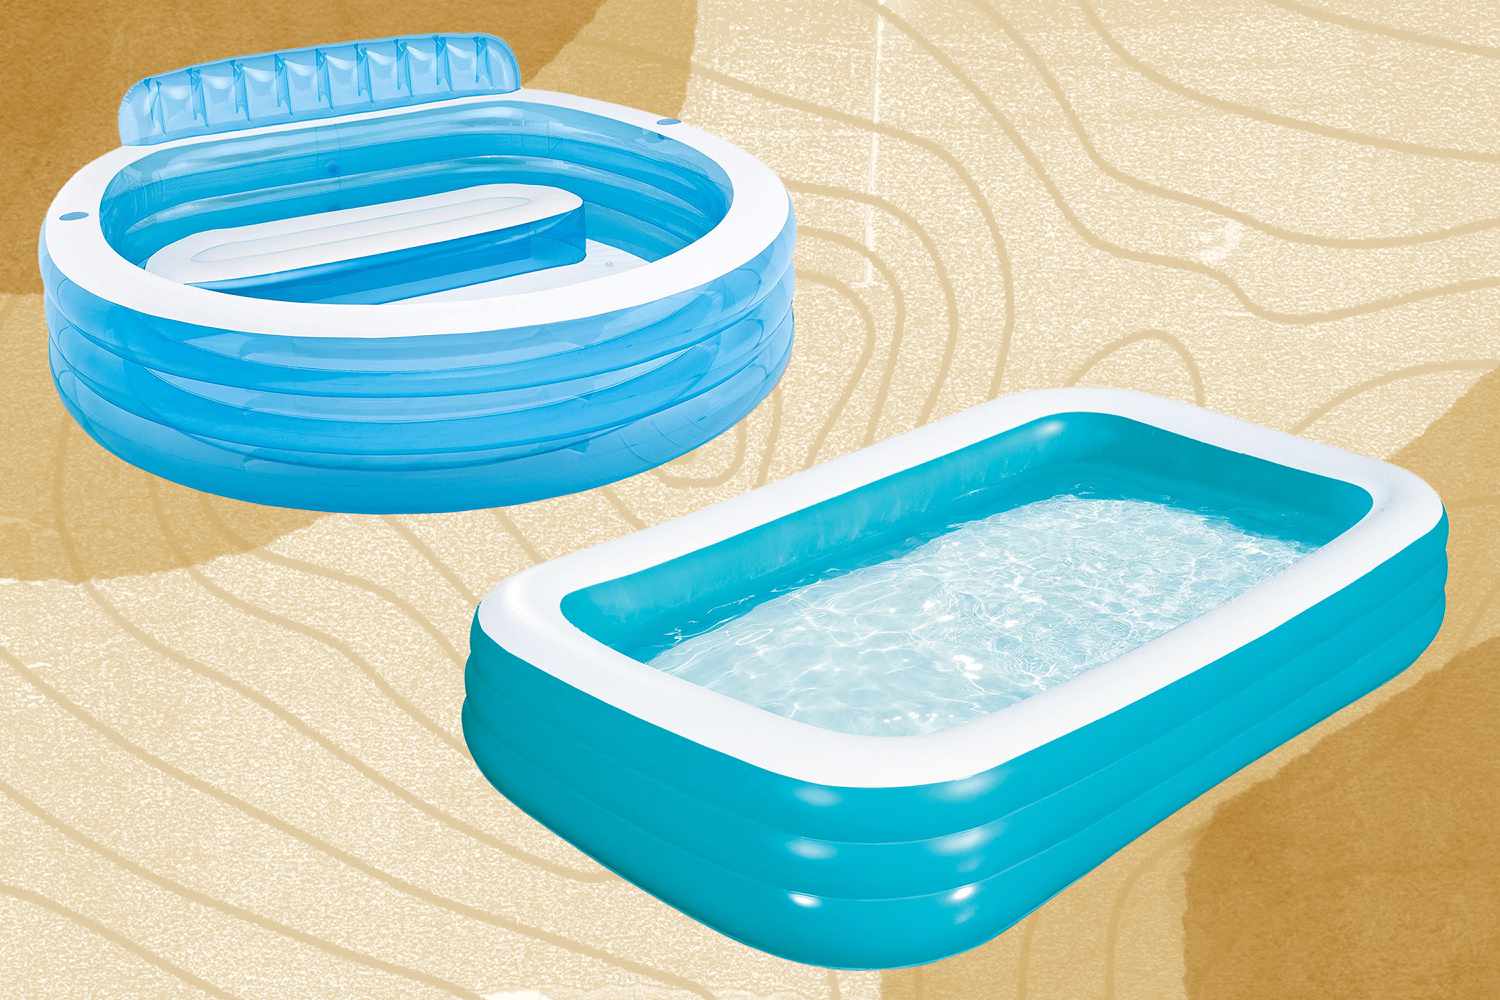
Steps to Store Inflatable Pool Floats
Inflatable pool floats are a popular choice due to their convenience and comfort. Properly storing inflatable floats can help prevent leaks, extend their lifespan, and ensure they remain in good condition for future use. Here are the steps to store inflatable pool floats:
- Clean and Dry: Before deflating your inflatable pool float, make sure it is clean and completely dry. Follow the cleaning tips mentioned earlier to remove any dirt or debris.
- Deflate Carefully: Gently deflate the pool float using the air valve or plug. Avoid removing the air too quickly, as this can cause stress on the seams or damage the float. Release the air gradually to prevent any sudden movements.
- Fold Neatly: Once the float is deflated, fold it neatly to minimize its size. Start by folding it in half lengthwise, then fold it in half again. Continue folding until you have a compact and manageable size.
- Store in a Dry Area: Find a cool, dry location to store your deflated and folded inflatable pool float. Ideally, it should be away from direct sunlight, moisture, and extreme temperature fluctuations.
- Avoid Sharp Objects: Ensure that there are no sharp objects or edges nearby that could puncture or damage the deflated float. Keep it away from hooks, nails, or other potentially harmful items.
- Protective Bag or Box: If possible, store your deflated inflatable pool float in a protective bag or box. This will provide an extra layer of protection against dust, dirt, and potential damage. If a bag or box is not available, wrapping it in a clean towel or sheet can also help protect it.
Following these steps will help preserve the quality and integrity of your inflatable pool floats, making them ready for use when the next swimming season arrives.
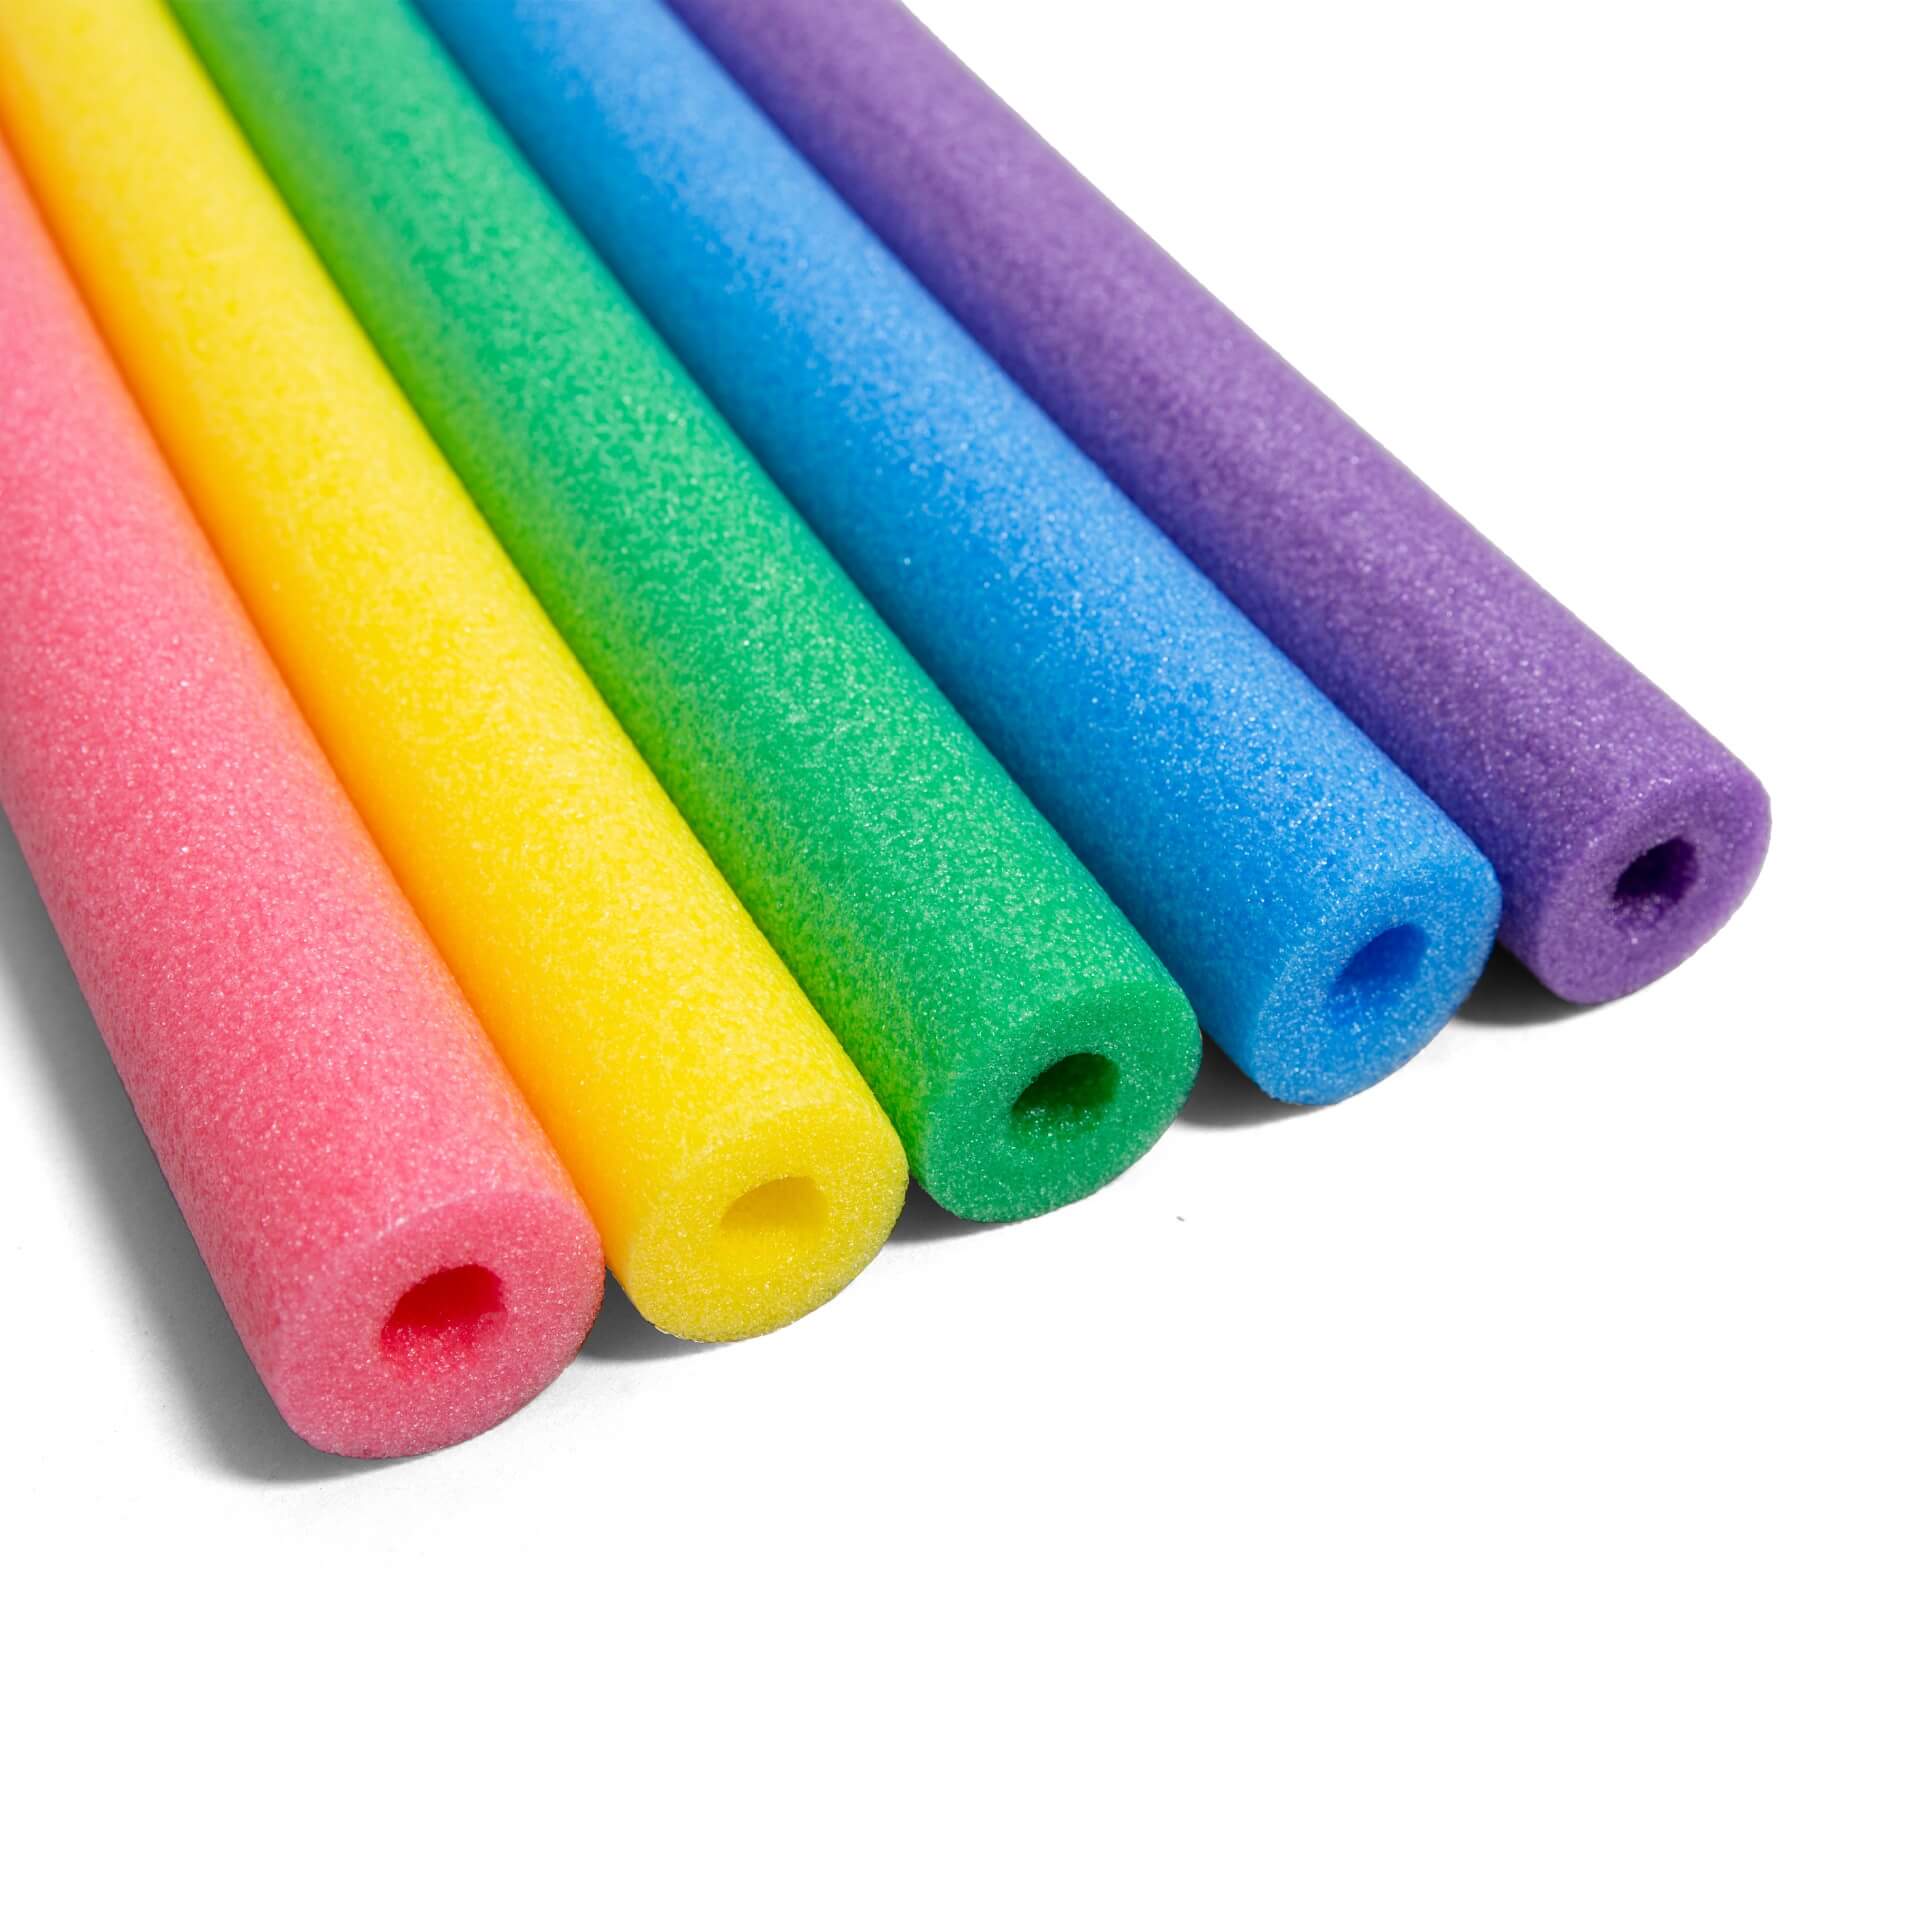
Steps to Store Foam Pool Floats
Foam pool floats provide excellent buoyancy and comfort, making them a popular choice for many pool owners. To ensure their longevity and prevent any damage, it’s important to store foam floats properly. Here are the steps to store foam pool floats:
- Clean and Dry: Before storing your foam pool float, make sure it is clean and completely dry. Follow the cleaning tips mentioned earlier to remove any dirt, debris, or residue.
- Remove Excess Water: Squeeze out any excess water from the foam float. Gently press or wring it to get rid of as much moisture as possible.
- Find a Flat Surface: Place your foam pool float on a flat surface, such as a deck or patio. Ensure that the area is clean and free of any sharp objects that could potentially damage the float.
- Allow to Air Dry: Let the foam pool float air dry thoroughly. It’s best to choose a sunny day for this step to expedite the drying process. Flip the float periodically to ensure both sides dry evenly.
- Protect from Sun Exposure: Direct sunlight can cause foam floats to become brittle and fade. To protect your foam float from the damaging effects of the sun, consider storing it in a shaded area or covering it with a towel or sheet.
- Store Vertically: To prevent any deformation or indentations, it’s recommended to store foam pool floats upright. This helps distribute the weight evenly and maintains the shape of the float.
- Avoid Stacking: If you have multiple foam floats, it’s best to avoid stacking them on top of each other. Stacking can result in compression and potential damage to the floats.
- Use Hanging Storage: Another option for storing foam pool floats is to use hanging storage racks or hooks. This method allows the floats to dry properly and keeps them off the ground, reducing the risk of damage.
By following these steps, you can ensure that your foam pool floats remain in excellent condition and ready for use when the swimming season returns.
To store pool floats, make sure they are completely dry before folding or rolling them up. Store them in a cool, dry place away from direct sunlight to prevent fading and damage.
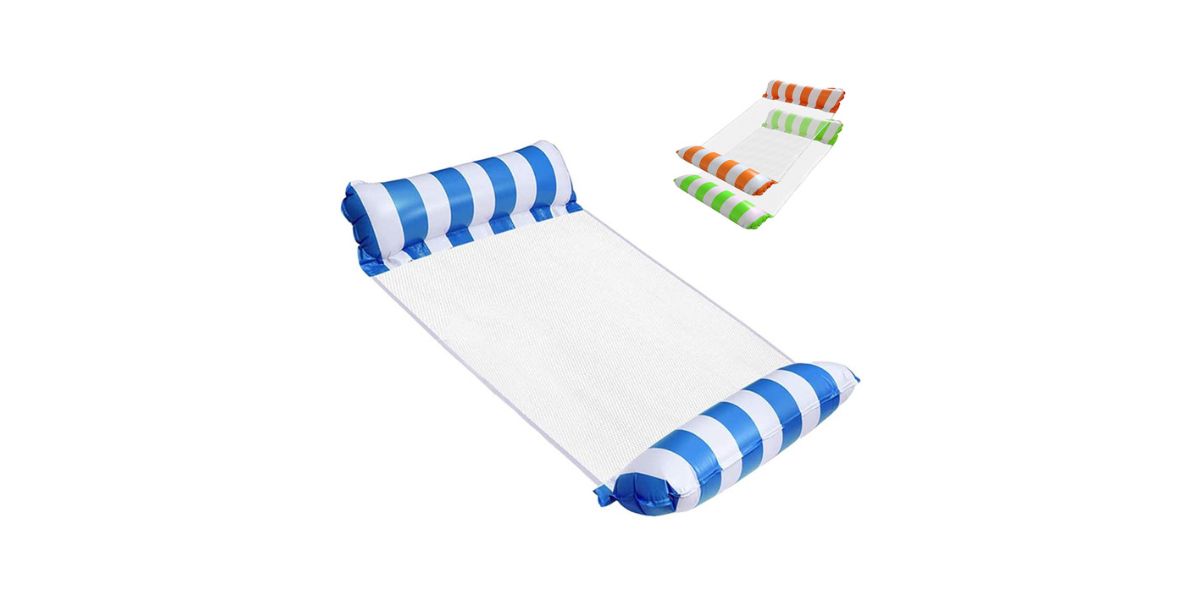
Steps to Store Mesh Pool Floats
Mesh pool floats are known for their quick-drying and lightweight properties, making them a popular choice for pool lounging. To maintain their durability and prevent any damage, it’s important to properly store mesh pool floats. Here are the steps to store mesh pool floats:
- Clean Thoroughly: Before storing your mesh pool float, give it a thorough cleaning to remove any dirt, debris, or residue. Use mild soap and water to gently scrub the surface, then rinse it thoroughly and let it air dry.
- Inspect for Damage: Check your mesh pool float for any signs of damage, such as tears or loose stitching. Repair any minor damages before storing to prevent further deterioration.
- Remove Excess Water: Squeeze out any excess water from the mesh float by gently pressing or wringing it. It’s important to remove as much moisture as possible to prevent the growth of mold or mildew.
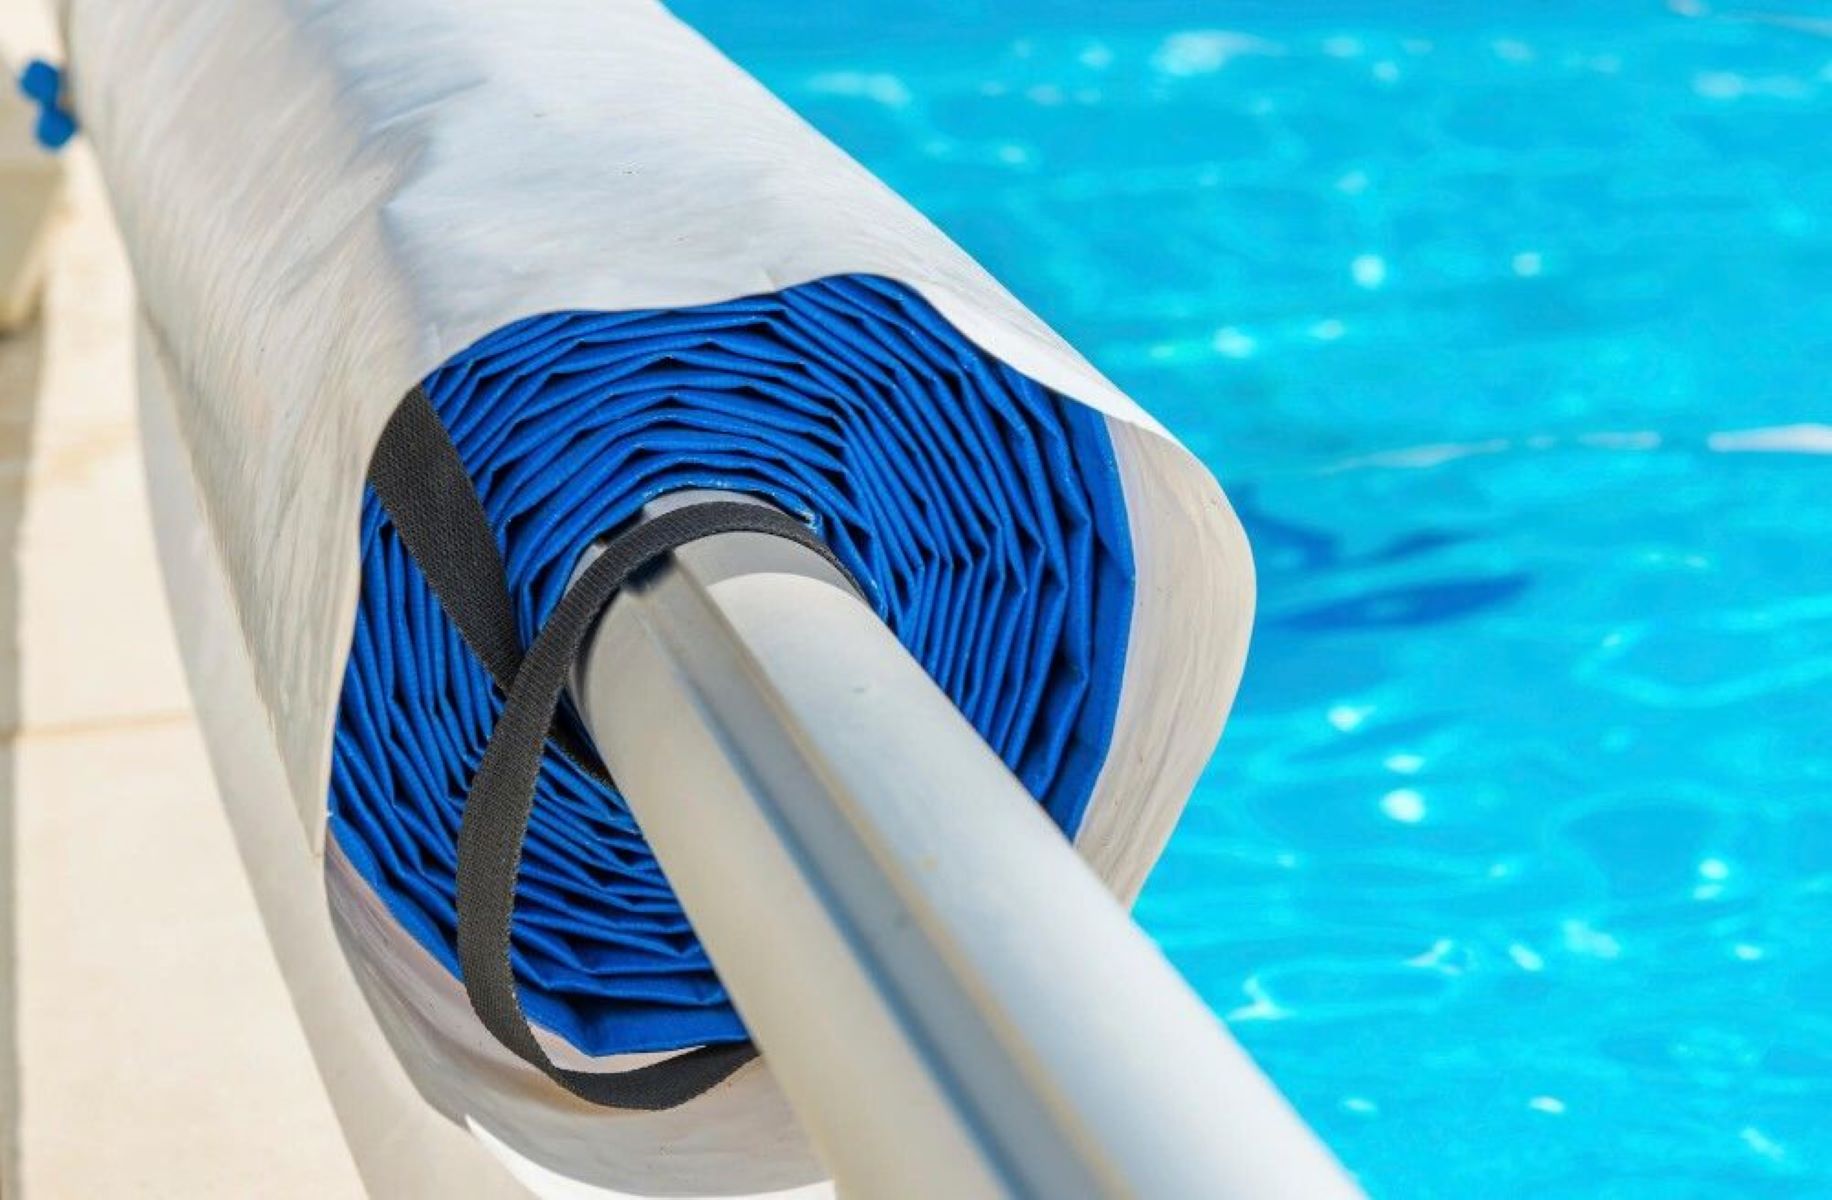
- Avoid Folding: Unlike inflatable or foam floats, it’s best to avoid folding mesh pool floats. Folding can cause unnecessary stress on the mesh material and lead to creases or permanent damage.
- Hang to Dry: Find a suitable location to hang your mesh pool float to allow it to dry completely. Choose a spot with good airflow and avoid direct sunlight, as prolonged exposure to the sun can fade the color of the mesh material.
- Avoid Stacking: When storing multiple mesh pool floats, it’s important to avoid stacking them on top of each other. Stacking can result in deformation or compression, potentially damaging the floats.
- Vertical Storage: Ideally, store your mesh pool float vertically to prevent any sagging or misshaping. This helps the float maintain its original form and prolong its lifespan.
- Protect from Pests: To prevent pests, insects, or rodents from damaging your mesh pool float, consider storing it in a sealable bag or container. This extra layer of protection will help keep unwanted critters away.
By following these steps, you can ensure that your mesh pool floats stay in excellent condition and are ready for use whenever you’re ready to relax and enjoy the pool.
Proper Storage Location for Pool Floats
Choosing the right storage location for your pool floats is essential to keep them in the best possible condition. Here are some guidelines to help you find the ideal storage spot:
- Indoor Storage: Whenever possible, it’s best to store your pool floats indoors. This protects them from prolonged exposure to the elements, such as sunlight, rain, and extreme temperature fluctuations. A basement, garage, or storage closet can provide a suitable indoor location.
- Shaded Area: If indoor storage is not available, look for a shaded area outdoors to protect your pool floats from direct sunlight. UV rays can cause fading and deterioration over time, so keeping them out of the sun is crucial.
- Dry Environment: Ensure that the storage area is dry and well-ventilated. Moisture can lead to the growth of mold and mildew, which can damage your pool floats. If necessary, use a dehumidifier or moisture-absorbing products to maintain a dry environment.
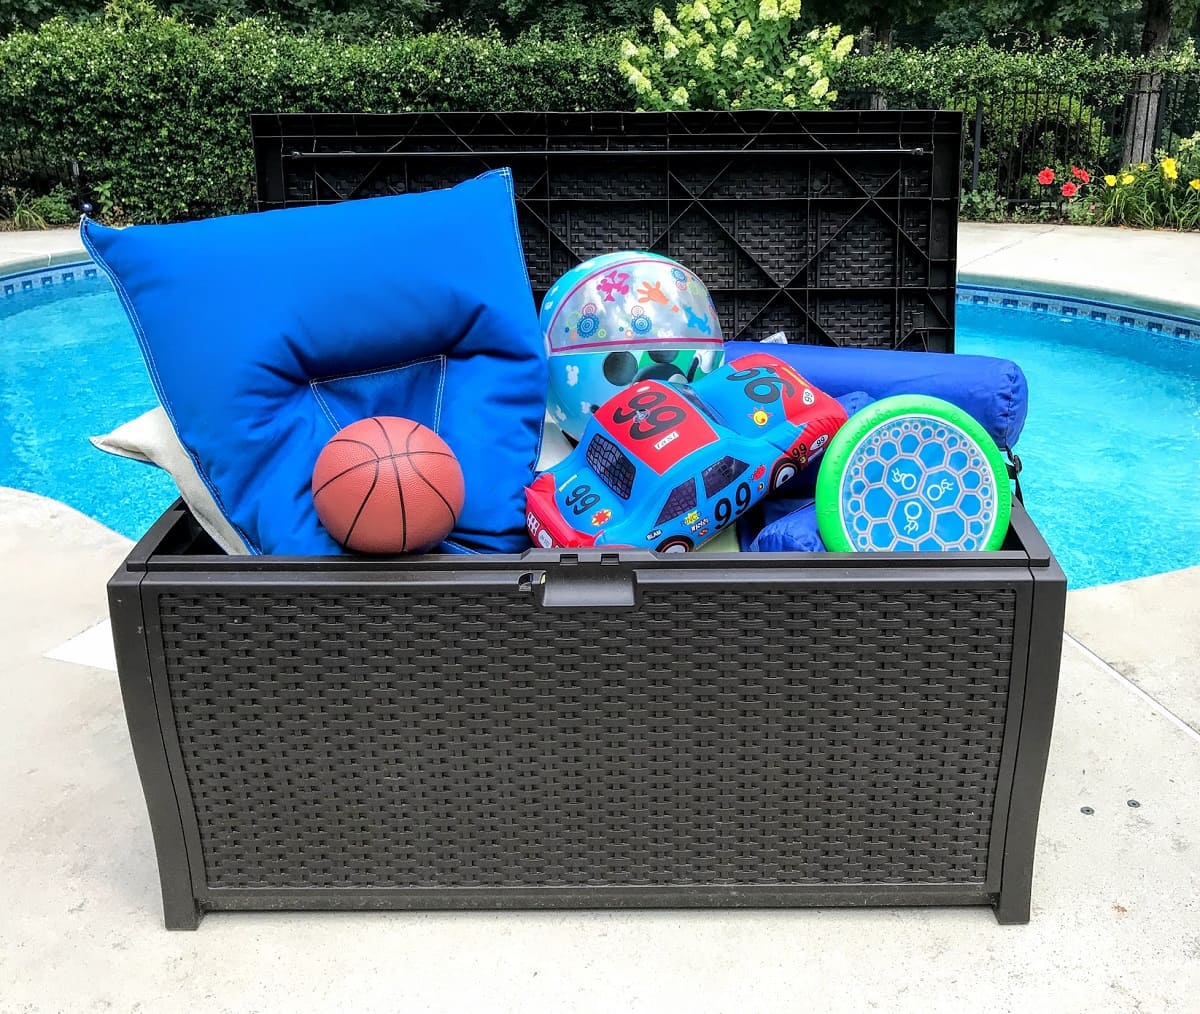
- Avoid Floor Contact: Try to store your pool floats off the ground to prevent contact with moisture or dirt. Using shelves, racks, or hooks can help keep them elevated and protect them from potential damage.
- Organized Storage: Keep your pool floats organized and separate from other items. Storing them separately prevents any accidental damage from heavy objects or sharp edges.
- Protective Coverings: If storing your pool floats in an outdoor area, consider using protective coverings to shield them from the elements. Waterproof covers or tarps can help protect against rain, dust, and other outdoor elements.
Remember to follow the specific storage instructions for each type of pool float, whether it’s inflatable, foam, or mesh. By choosing the right storage location, you’ll help preserve your pool floats’ quality and ensure they’re ready for use whenever you’re ready to relax and have fun in the pool.
Additional Tips for Maintaining Pool Floats
In addition to proper cleaning and storage, there are some additional tips you can follow to maintain your pool floats in excellent condition. These tips will help prolong their lifespan and ensure they remain ready for use whenever you want to relax by the pool:
- Inspect Regularly: Regularly check your pool floats for any signs of damage, such as tears, leaks, or fading colors. Early detection allows you to take prompt action and prevent further damage.
- Repair Promptly: If you notice any damages, take the time to repair them as soon as possible. Small tears or leaks can be fixed with a patch or repair kit designed specifically for your type of pool float. Ignoring minor issues can lead to more significant problems down the line.
- Keep Away from Sharp Objects: Avoid placing your pool floats near sharp objects or rough surfaces that can puncture or damage them. Pay attention to the area where you use and store your floats to ensure their safety.
- Limit Exposure to Chemicals: Limit prolonged exposure to chlorine or other pool chemicals, as they can potentially damage the material of your pool floats. Rinse your floats with clean water after each use to remove any chemical residue.
- Rotate Usage: If you have multiple pool floats, rotate their usage to distribute the wear and tear evenly. This will help prolong the lifespan of each float and prevent individual floats from becoming overly worn.
- Proper Inflation: When using inflatable pool floats, make sure to inflate them to the recommended level. Over-inflation can strain the seams and lead to leaks, while under-inflation can affect their buoyancy and comfort.
- Store in Climate-Controlled Environment: If you live in an area with extreme weather conditions, consider storing your pool floats in a climate-controlled environment. Extreme heat, cold, or humidity can accelerate the deterioration of the floats, so keeping them in a controlled environment is ideal.
By following these additional tips, you can ensure that your pool floats remain in top condition and provide you with many enjoyable moments by the pool for years to come.
Conclusion
Properly storing pool floats is essential to maintain their quality, functionality, and longevity. Whether you have inflatable, foam, or mesh floats, following the correct storage practices will ensure they remain in excellent condition for future use.
Start by cleaning your pool floats thoroughly to remove any dirt, debris, or residue. Take care to use mild soap and water, and rinse them well to avoid any skin irritation. Allow the floats to dry completely, ensuring both sides are free from moisture.
For inflatable pool floats, gently deflate them and fold them neatly to minimize their size. Store them in a cool, dry location away from direct sunlight and sharp objects. If possible, use a protective bag or box for added protection.
When it comes to foam pool floats, avoid folding them and allow them to air dry completely. Store them vertically to preserve their shape and protect them from damage. If you have multiple floats, refrain from stacking them to prevent deformation.
Mesh pool floats require proper cleaning and thorough drying. It’s important to hang them to dry, avoid folding, and store them in a cool, dry location. Protect them from pests and dirt with sealable bags or containers.
Remember to choose the right storage location for your pool floats, whether indoors or outdoors. Avoid exposing them to excessive sunlight, moisture, or extreme temperature fluctuations. Keeping them off the ground and organized will minimize the risk of damage.
Additionally, regularly inspect your pool floats for any signs of damage and repair them promptly. Limit exposure to pool chemicals and rotate usage if you have multiple floats. Properly inflate inflatable floats and consider storing them in a climate-controlled environment, especially in extreme weather conditions.
By following these guidelines and tips, you can prolong the lifespan of your pool floats and ensure they’re always ready for your next swimming season. Take care of your pool floats, and they will provide you with countless hours of relaxation and fun in the water.
Frequently Asked Questions about How To Store Pool Floats
Was this page helpful?
At Storables.com, we guarantee accurate and reliable information. Our content, validated by Expert Board Contributors, is crafted following stringent Editorial Policies. We're committed to providing you with well-researched, expert-backed insights for all your informational needs.


0 thoughts on “How To Store Pool Floats”