Articles
How To Store Latex Paint
Modified: August 28, 2024
Learn effective ways to store latex paint to prolong its lifespan and prevent it from drying out. Read our informative articles for valuable tips and advice.
(Many of the links in this article redirect to a specific reviewed product. Your purchase of these products through affiliate links helps to generate commission for Storables.com, at no extra cost. Learn more)
Introduction – Why proper paint storage is important
When it comes to painting projects, proper storage of paint can sometimes be overlooked. However, understanding how to store latex paint correctly is essential in preserving its quality and ensuring its longevity. Whether you’re an experienced painter or a DIY enthusiast, taking the time to store your paint properly can save you time, money, and frustration in the long run.
Proper storage of paint is crucial for several reasons. Firstly, it helps to maintain the paint’s consistency and color. Without proper storage, latex paint can separate, become lumpy, or even dry out completely. This can make it challenging to achieve smooth, even application and result in an unsatisfactory finish. By storing your paint correctly, you can avoid potential clumps and ensure that it remains in its optimal state.
Secondly, proper paint storage enables you to extend the shelf life of the product. Latex paint typically has a shelf life of around two to five years, depending on the brand and quality. By implementing appropriate storage techniques, you can maximize the usability of your paint and minimize waste. This will ultimately save you money by allowing you to use the paint for future projects rather than having to purchase new cans.
Additionally, storing paint correctly is essential for safety reasons. Many common household paints contain harmful chemicals that can be hazardous if not handled and stored properly. By adhering to proper storage practices, you can reduce the risk of accidents and exposure to potentially harmful substances.
Now that you understand the importance of proper paint storage, let’s delve into the steps you can take to ensure your latex paint is stored correctly and remains in optimal condition for future use.
Key Takeaways:
- Properly storing latex paint is essential for maintaining its quality, extending shelf life, and ensuring safety. Labeling, sealing, and choosing suitable storage locations are key steps to preserve paint for future use.
- Implementing additional tips such as proper sealing, stirring before use, and identifying signs of paint going bad can further extend the shelf life of latex paint. By following these guidelines, you can ensure that your paint remains in optimal condition for future projects.
Read more: How To Store Latex Clothing
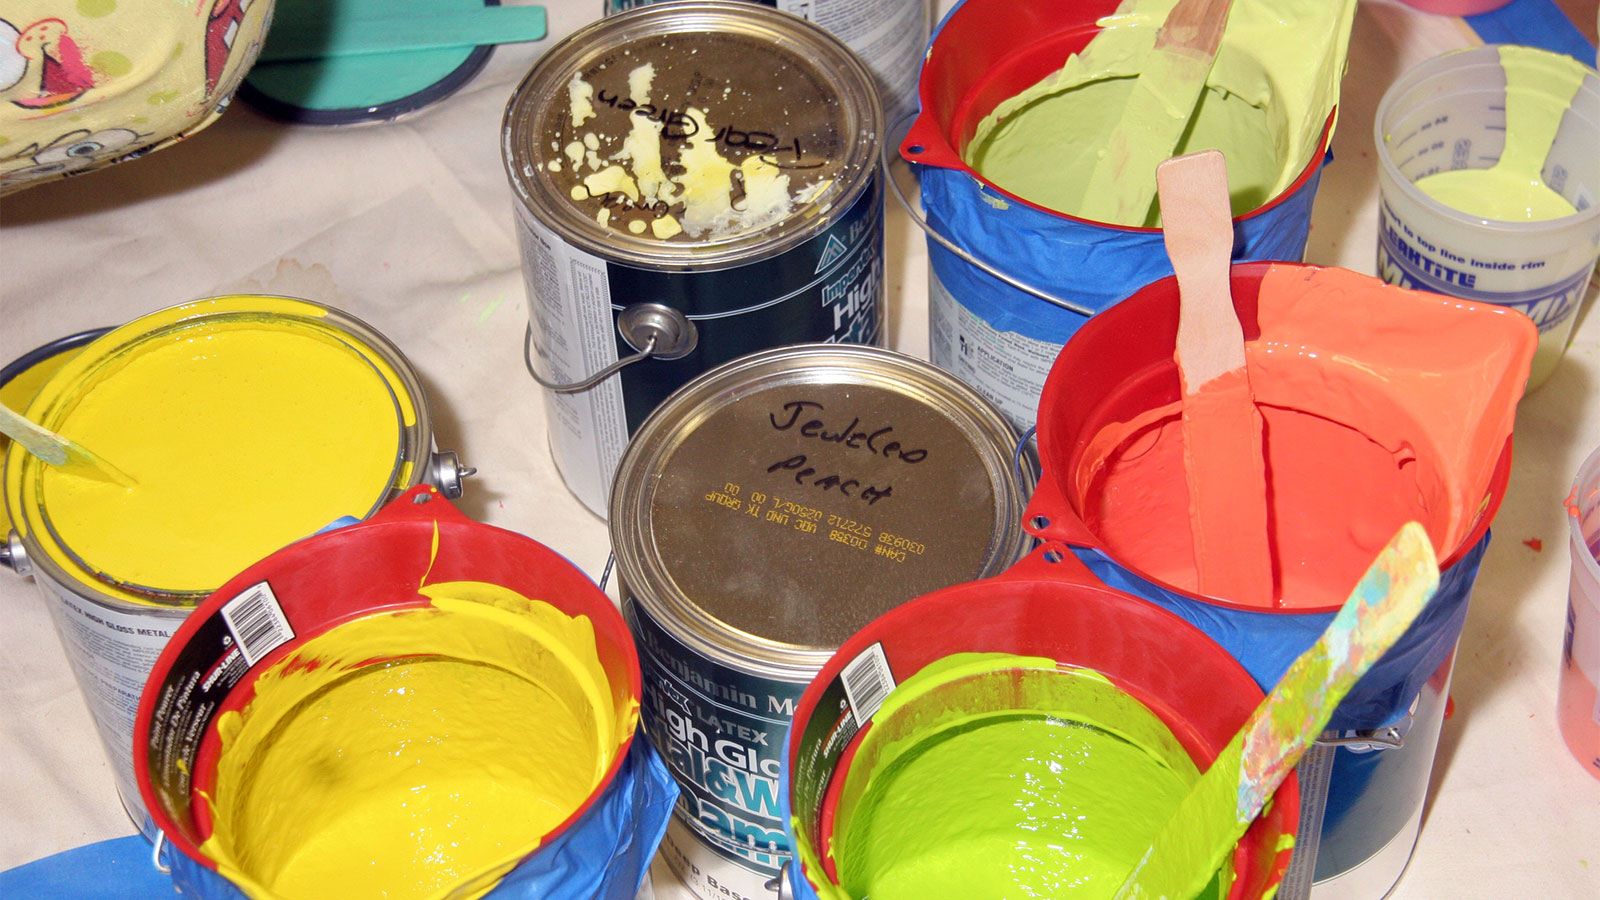
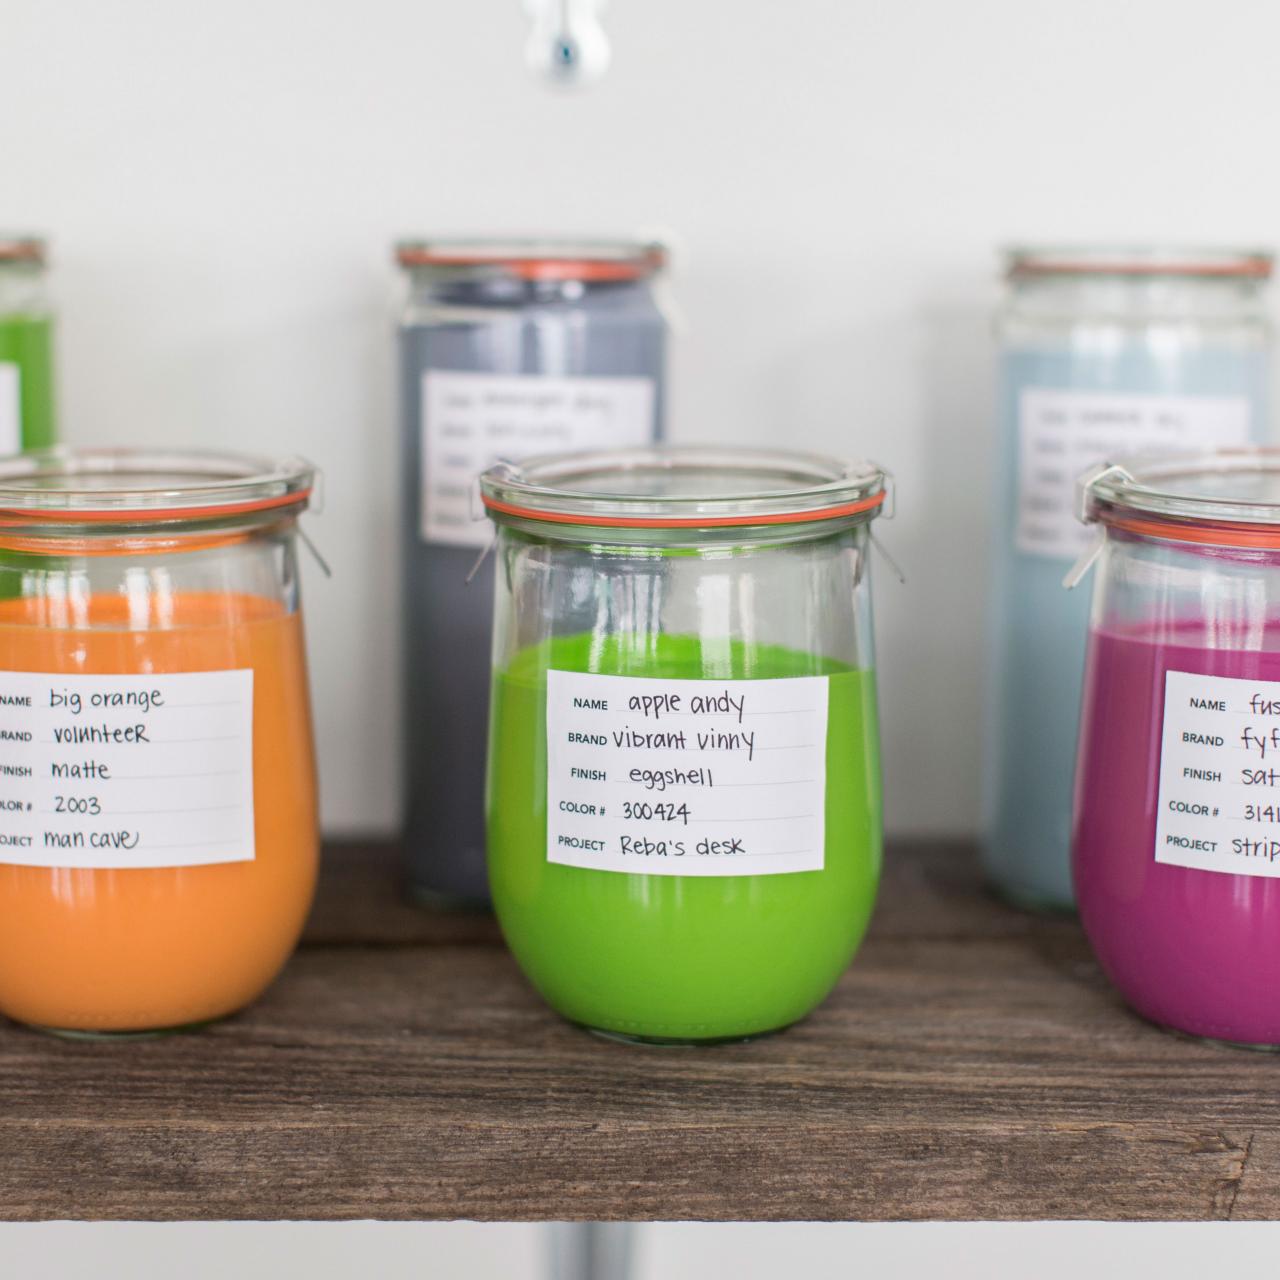
Step 1: Labeling – Ensuring clear identification of paint cans – Including essential information on the label
Labeling your paint cans is an important step in ensuring easy identification and organization of your paint supply. This step is especially crucial if you have multiple cans of paint in different colors or finishes. By clearly labeling your paint cans, you can easily locate the paint you need for future touch-ups or projects.
When labeling your paint cans, there are a few key pieces of information you should include:
- Color: Make sure to indicate the color of the paint on the label. You can either write the specific color name or use color swatches to visually represent the paint color.
- Finish: Specify the finish of the paint, whether it’s matte, satin, semi-gloss, or any other type of finish. This is important for achieving consistent results when you need to match or blend paint in the future.
- Brand and product name: Include the brand and specific product name on the label. This information can be helpful if you need to purchase additional paint of the same brand or if you want to match the paint in the future.
- Date of purchase or opening: Note down the date you purchased the paint or, if applicable, the date you opened the can. This will help you keep track of the paint’s age and determine if it’s still usable.
In addition to these essential pieces of information, you can also include any other relevant details on the label, such as the room or project the paint was used for. This can be particularly handy if you plan on reusing the paint for touch-ups or if you want to remember which paint color you used for a specific area of your home.
Once you have labeled your paint cans, make sure the labels are securely attached and easy to read. Use a permanent marker or adhesive labels that won’t smudge or wear off over time. Store your labeled paint cans upright to prevent any spills or leaks that can damage the labels and make identification more difficult.
By taking the time to properly label your paint cans, you’ll save yourself the hassle of searching through mismatched cans and ensure that you have the right paint readily available for your future painting projects.
Step 2: Closing the Paint Can – Properly sealing the can to prevent air exposure – Using a rubber mallet for more secure closure
Once you have finished using latex paint, it is crucial to properly seal the can to prevent air exposure. Exposure to air can cause the paint to dry out, form skin on the surface, and become unusable. By following the proper sealing techniques, you can ensure that your paint remains in its optimal condition for future use.
Here are the steps to effectively close a paint can:
- Remove excess paint: Before closing the can, use a paint scraper or the edge of the can to remove any excess paint from the rim. This will prevent the paint from drying and forming a seal that is difficult to open later.
- Clean the rim: Wipe the rim of the can clean with a damp cloth to remove any paint residue. This will help ensure a tight seal and prevent the lid from getting stuck.
- Position the lid: Place the lid back onto the can, making sure that it is properly aligned with the rim.
- Use a rubber mallet: To ensure a more secure closure, lightly tap the lid with a rubber mallet. The rubber mallet will provide enough force to tightly seal the can without damaging the lid or the can itself. Avoid using a regular hammer, as it may dent or damage the can.
When using a rubber mallet, start at one edge of the lid and work your way around in a circular motion, applying gentle taps. This will help evenly distribute the force and create a tight seal. Be cautious not to hit the lid too forcefully, as this can cause the paint to spill or the lid to deform.
Once the lid is securely closed, check that it is firmly in place by lightly pressing on the center. If there is any give or movement, this indicates that the seal may not be tight enough. In this case, use the rubber mallet to tap the lid again until it feels secure.
Properly sealed cans should prevent air from entering, keeping the paint fresh and usable for an extended period. Remember to store the cans upright to further minimize the chance of leaks or spills.
By following these steps and using a rubber mallet for a secure closure, you can maintain the quality and longevity of your latex paint, ensuring that it remains in optimal condition for future painting endeavors.
Step 3: Storing Paint Indoors – Choosing a suitable storage location – Maintaining consistent temperature and humidity
When it comes to storing latex paint indoors, choosing the right location and maintaining proper environmental conditions are essential. By following these guidelines, you can ensure that your paint remains in its best condition and is ready to use whenever you need it.
Choosing a suitable storage location:
The ideal storage location for paint indoors is a cool, dry, and well-ventilated area. Here are some considerations to keep in mind:
- Avoid extreme temperatures: Paint should be stored away from direct sunlight and areas with extreme heat or cold. Fluctuating temperatures can affect the consistency and color of the paint.
- Keep away from moisture: Moisture can cause the paint to deteriorate and separate. Avoid storing paint in damp areas such as basements, bathrooms, or near water sources.
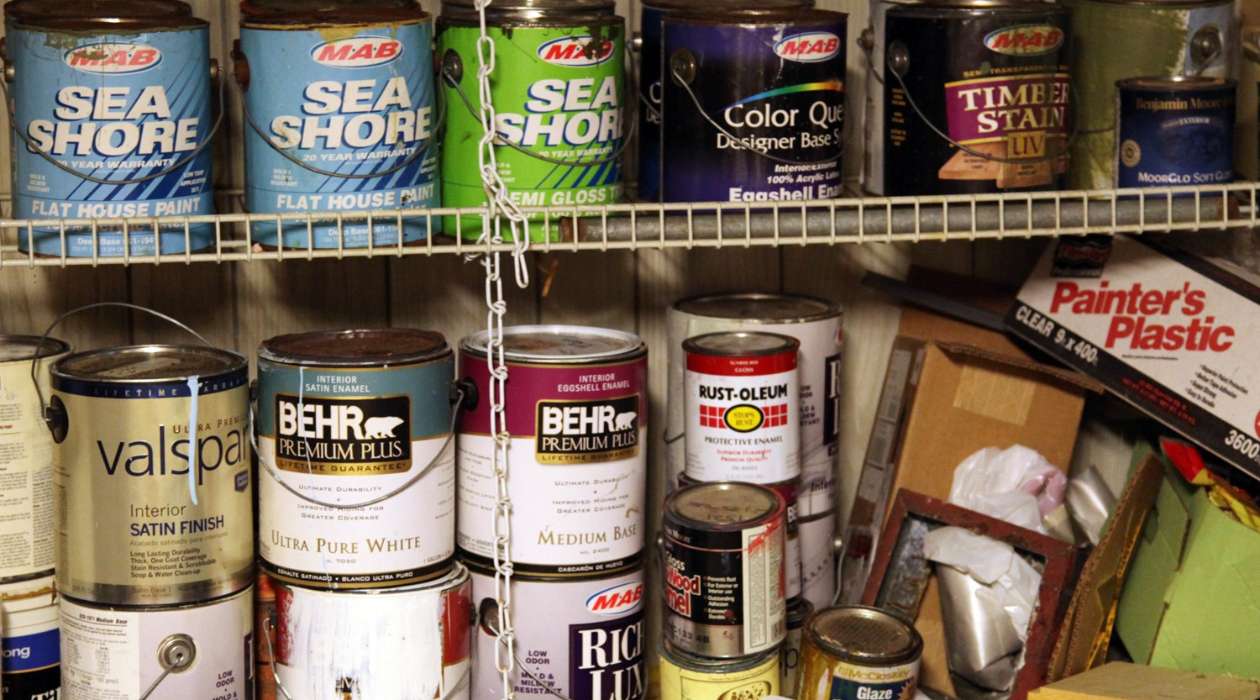
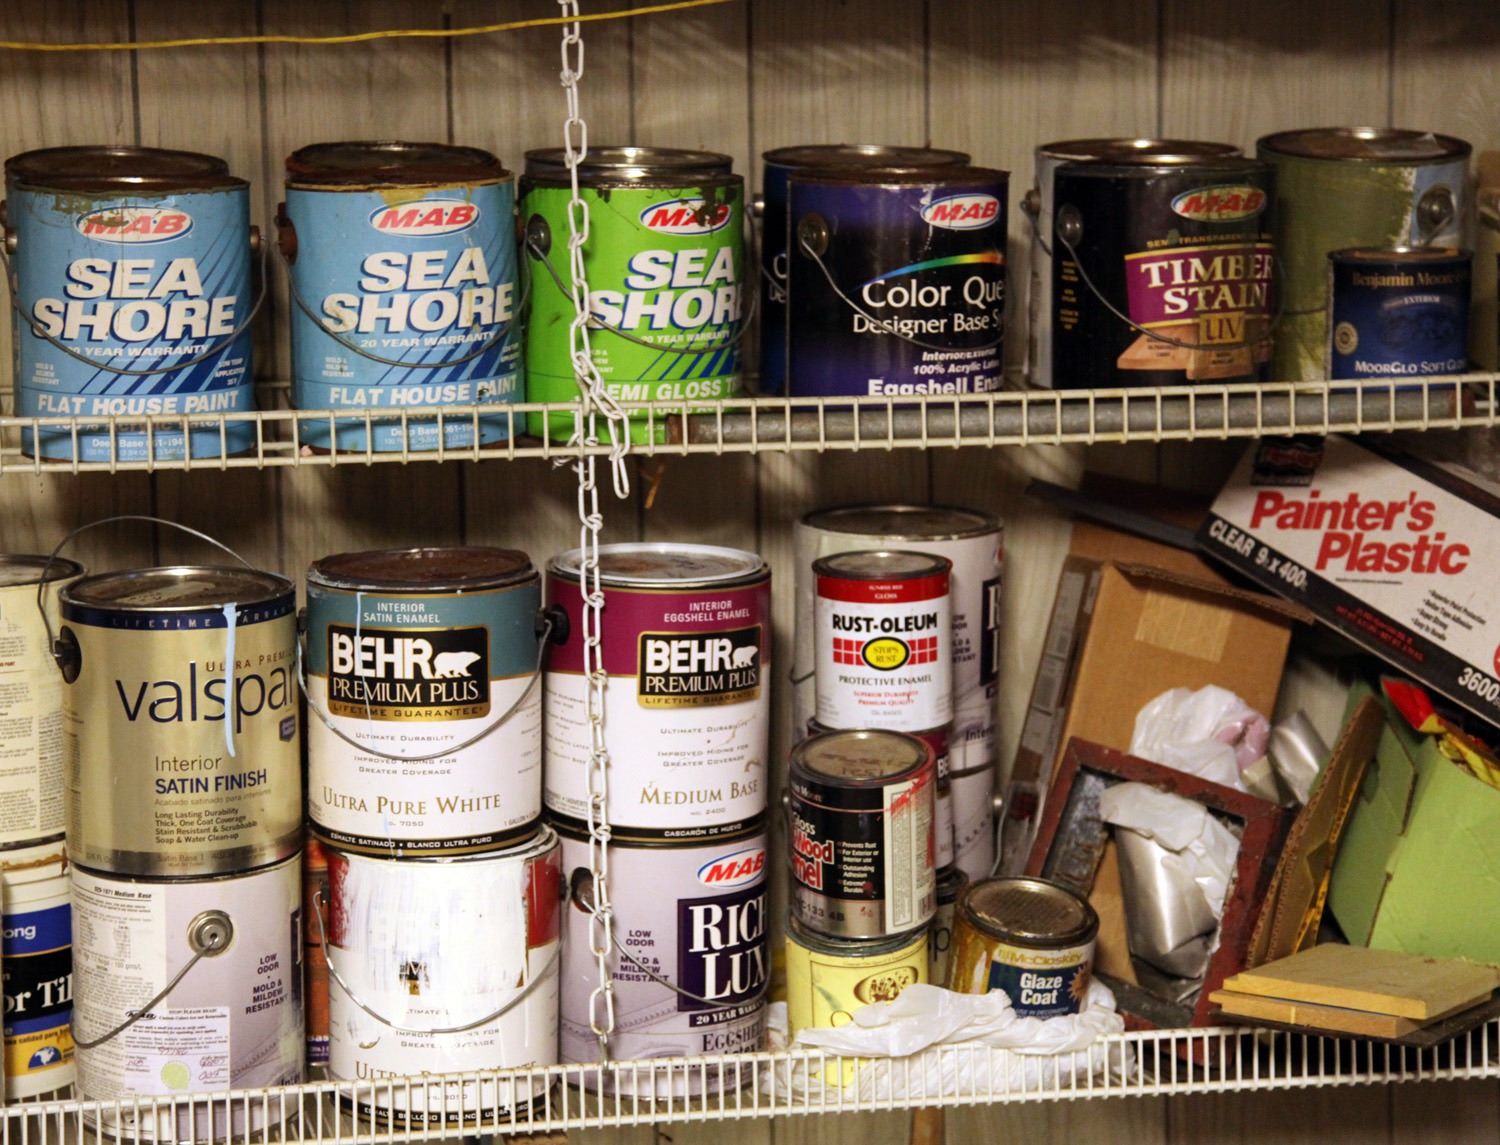
- Organize and protect: Store paint cans on shelves or in cabinets, keeping them away from the floor to prevent potential damage. Grouping paint cans by color or type can help with easy identification and organization.
Maintaining consistent temperature and humidity:
To ensure the longevity of your paint, it’s important to maintain consistent temperature and humidity levels in the storage area. Here are some tips:
- Temperature: Aim for a storage area with temperatures between 50°F (10°C) and 80°F (27°C). Avoid exposing the paint to extreme heat or cold, which can cause paint to spoil or freeze respectively.
- Humidity: Ideally, the humidity level in the storage area should be around 50%. Excessive humidity can lead to mold growth and paint degradation, while low humidity can cause the paint to dry out.
- Dehumidifiers: If you live in an area with high humidity, consider using a dehumidifier in the storage area to maintain optimal humidity levels. This can help prevent paint from spoiling due to excessive moisture.
It’s important to periodically check on your stored paint cans to ensure that there are no leaks or signs of deterioration. If you notice any damage or compromised cans, properly dispose of them following your local regulations for hazardous waste disposal.
By selecting a suitable storage location indoors and maintaining consistent temperature and humidity levels, you can preserve the quality of your latex paint and have it readily available for future painting projects.
When storing latex paint, make sure to seal the lid tightly to prevent air from entering. Store the paint in a cool, dry place away from direct sunlight and extreme temperatures to maintain its quality for future use.
Step 4: Storing Paint Outdoors – When storing paint outside is necessary – Protecting cans from extreme weather conditions
Sometimes, storing paint outdoors becomes necessary due to limited indoor space or specific project requirements. However, it’s crucial to take precautions to protect the paint from the elements and ensure its usability in the future. Follow these guidelines for effective outdoor paint storage:
When storing paint outside is necessary:
While storing paint indoors is generally recommended, there are situations where outdoor storage may be unavoidable. If storing paint in a garage or shed is not an option, consider the following:
- Space limitations: If you have limited storage space indoors, carefully evaluate the weather conditions and choose the most suitable outdoor location to store your paint.
- Project needs: If you are actively working on a project and need quick access to the paint, outdoor storage near the project area may be more convenient.
Protecting cans from extreme weather conditions:
Outdoor storage exposes paint cans to various weather conditions that can deteriorate the quality of the paint. Take these precautions to protect your paint cans:
- Sheltered storage: Whenever possible, store paint cans in a covered area such as a shed, carport, or under a sturdy awning. This protects the cans from rain, direct sunlight, and extreme temperature fluctuations.
- Elevated storage: Place paint cans on pallets, shelves, or raised surfaces to prevent them from direct contact with the ground. This helps to avoid water damage and potential rusting of the cans.
- Covering the cans: If there are no covered storage options, consider covering the paint cans with a waterproof tarp or plastic sheet to shield them from rain and direct sunlight. Make sure the covering is securely fastened to prevent it from blowing away in strong winds.
- Rotation and inspection: Regularly check the paint cans for any signs of damage or leaks caused by exposure to the elements. If you notice any compromised cans, transfer the paint to a new container or properly dispose of it following local regulations.
It’s important to note that even with protective measures, the shelf life of paint stored outdoors may be shorter compared to indoor storage. Outdoor storage is best used for short-term needs or for paints that are close to their expiration date.
By being mindful of the weather conditions and taking appropriate steps to protect your paint cans, you can minimize the impact of outdoor storage and maintain the usability of your paint for as long as possible.
Read more: How To Get Latex Paint Off Of Brick
Step 5: Additional Tips – Extending the shelf life of latex paint – Identifying when paint has gone bad
Extending the shelf life of latex paint is beneficial for both your wallet and the environment. By following a few additional tips and knowing how to identify when paint has gone bad, you can ensure that your paint remains usable for longer periods. Here are some guidelines to consider:
Extending the shelf life of latex paint:
- Proper sealing: As mentioned earlier, make sure to properly seal your paint cans to prevent air exposure. This helps to maintain the paint’s quality and consistency over time.
- Stirring before use: Before opening a can of paint that has been stored for a while, give it a thorough stir. This helps to blend any settled pigments and ensures an even color and consistency.
- Store paint in smaller containers: If you have a large amount of leftover paint, consider transferring it to smaller, airtight containers. This reduces the amount of air trapped in the container, preserving the paint’s freshness.
- Keep it cool: Store your paint in a cool location, away from direct sunlight and heat sources. High temperatures can cause the paint to spoil more quickly.
- Avoid freezing: Freezing temperatures can damage latex paint and cause it to separate or become lumpy. Keep your paint in a frost-free area, especially during the winter months.
- Keep track of paint age: Label your paint cans with the date of purchase or opening. This allows you to keep track of their age and use older cans first, ensuring that the freshest paint is always available when needed.
Identifying when paint has gone bad:
Over time, paint can go bad and become unusable. Here are some signs to look out for indicating that your paint may have gone bad:
- Strange odor: If the paint has a foul smell, similar to rotten eggs or a strong chemical odor, it is likely spoiled and should be disposed of.
- Chunky or lumpy texture: Inspect the paint for clumps or chunks. If the texture appears uneven or lumpy, it’s a clear indication that the paint has deteriorated.
- Separation and curdling: If the paint has separated into layers or appears curdled, it is no longer usable. Attempting to mix or stir it back together will not restore its quality.
- Mold or mildew growth: Paint cans that have been exposed to excess moisture may develop mold or mildew on the surface. If you notice any growth, it is best to discard the paint.
- Unusual color or consistency: Pay attention to any significant changes in color or consistency. If the paint has significantly darkened, lightened, or become watery, it may have gone bad.
If you observe any of these signs, it’s best not to use the paint. Improperly stored or expired paint can lead to poor results, uneven coverage, or even damage to the surface being painted.
By implementing these additional tips and knowing the signs of paint going bad, you can make the most of your latex paint and ensure that it remains usable for future projects.
Conclusion
Properly storing latex paint is a crucial step in maintaining its quality and usability for future painting projects. By following the steps outlined in this guide, you can ensure that your paint remains in optimal condition, allowing for smooth and consistent application.
Labeling your paint cans with essential information such as color, finish, brand, and purchase date helps in easy identification and organization. Closing the paint cans tightly using a rubber mallet prevents air exposure and keeps the paint fresh. Storing paint indoors in a suitable location with consistent temperature and humidity levels helps to extend its shelf life.
If storing paint outdoors becomes necessary, taking precautions to protect the cans from extreme weather conditions is important. This includes sheltering the paint cans, elevating them off the ground, and covering them to prevent damage from rain and sunlight.
Additionally, implementing additional tips such as proper sealing, stirring before use, storing paint in smaller containers, and keeping it cool can further extend the shelf life of latex paint. It is also important to know the signs that indicate paint has gone bad, such as strange odor, lumpy texture, separation, or mold growth.
By following these guidelines, you can ensure that your latex paint remains in optimal condition, saving you time, money, and frustration in your future painting endeavors.
Remember, taking the time to store your paint properly is an investment in the quality of your projects and the longevity of your paint supply. So, be mindful of these steps and tips to enjoy the benefits of well-preserved latex paint for years to come.
Frequently Asked Questions about How To Store Latex Paint
Was this page helpful?
At Storables.com, we guarantee accurate and reliable information. Our content, validated by Expert Board Contributors, is crafted following stringent Editorial Policies. We're committed to providing you with well-researched, expert-backed insights for all your informational needs.


0 thoughts on “How To Store Latex Paint”