
Articles
How To Store Leftover Dough
Modified: October 31, 2024
Learn how to store leftover dough properly and keep it fresh for later use with these helpful articles.
(Many of the links in this article redirect to a specific reviewed product. Your purchase of these products through affiliate links helps to generate commission for Storables.com, at no extra cost. Learn more)
Introduction
Have you ever found yourself with leftover dough after baking a delicious pie or bread? It can be a waste to throw it away, especially when you’ve put time and effort into making it. Luckily, there are ways to store leftover dough that will keep it fresh for future use. With a few simple steps, you can ensure that your dough remains in top condition and ready to be transformed into another mouthwatering creation.
In this article, we will guide you through the process of storing leftover dough, whether you plan to use it in a day or a few weeks later. By following these steps, you can minimize waste and get the most out of your homemade dough.
So, let’s delve into the various methods of storing leftover dough to ensure its freshness and maintain its quality until you’re ready to use it again.
Key Takeaways:
- Don’t let leftover dough go to waste! Follow these simple steps to store and preserve your dough, whether in the refrigerator for short-term use or in the freezer for long-term storage. Enjoy the convenience of having dough on hand for future baking adventures!
- Properly wrapping and labeling leftover dough before storing it in the refrigerator or freezer ensures that it remains fresh and ready for future use. Thaw it gradually for optimal results and enjoy the convenience of having homemade dough at your fingertips!
Read more: How To Store Leftover Sushi
Step 1: Cooling the Dough
Before you can store your leftover dough, it’s important to cool it down. Cooling the dough helps to prevent any further fermentation or rise, which could lead to an unpleasant texture or taste when you use it again.
Start by removing the dough from the mixing bowl or shaping surface and placing it on a clean and lightly floured surface. Use your hands or a dough scraper to shape the dough into a ball or a disc, depending on its original form. This will make it easier to handle and store.
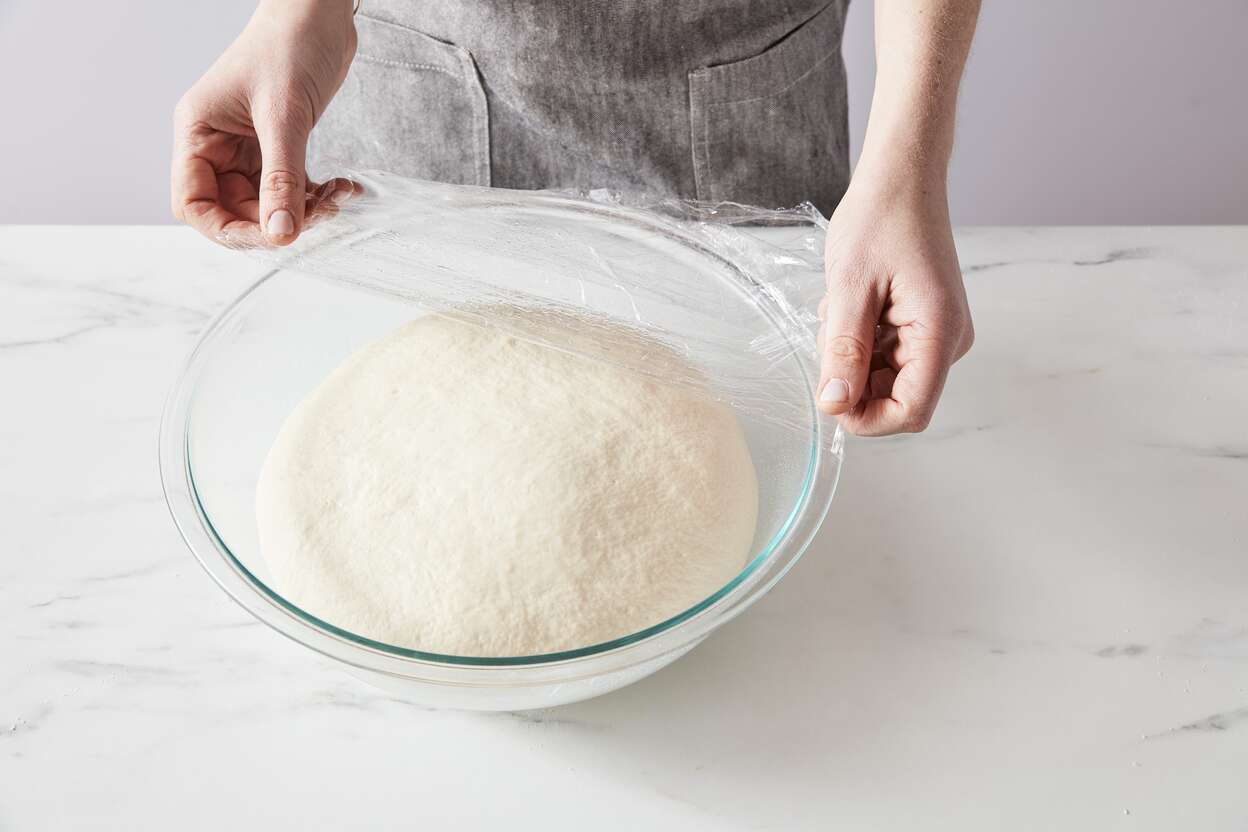
Next, cover the dough with a clean kitchen towel or plastic wrap and let it sit at room temperature for about 20-30 minutes. This short rest period allows the gluten in the dough to relax, making it easier to handle, shape, and store.
Once the dough has had a chance to rest, transfer it to the refrigerator. Place the dough in a sealable container or wrap it tightly in plastic wrap to prevent it from drying out or absorbing any odors from other foods in the fridge.
Leave the dough in the refrigerator for at least 1-2 hours to cool completely. Cooling the dough helps to firm it up, making it easier to handle during the storage process. It also slows down any further fermentation, ensuring that the dough retains its flavor and texture.
After the dough has cooled, it’s ready to be stored using one of the methods we’ll discuss in the following steps.
Step 2: Wrapping the Dough
Once your dough has been properly cooled, the next step is to wrap it securely to protect it from drying out or picking up any unwanted flavors in the refrigerator or freezer.
There are a few different options for wrapping the dough, depending on your preference and the type of dough you’re working with:
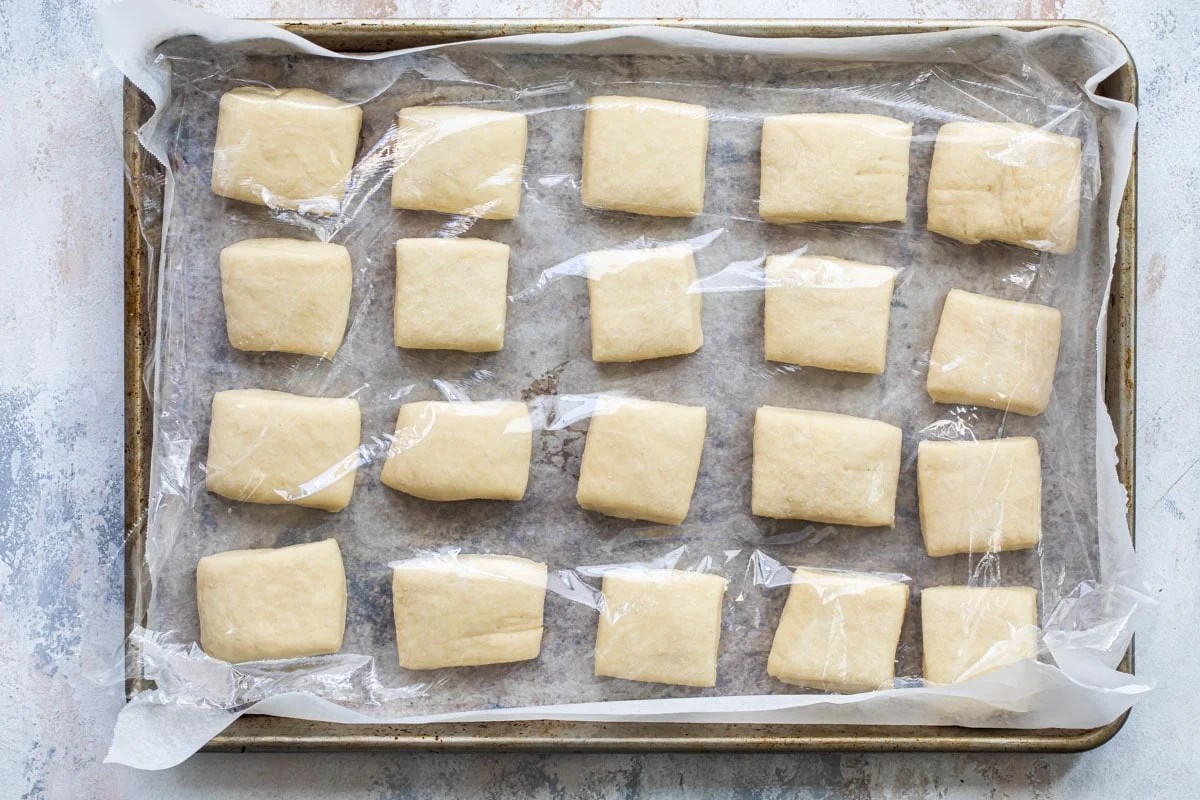
- Plastic wrap: This is a common and convenient method for wrapping dough. Start by tearing off a sheet of plastic wrap that is large enough to completely cover the dough. Place the dough in the center of the plastic wrap, then fold the edges over the top to create a tight seal. Make sure there are no gaps or openings where air can enter.
- Zip-top bags: If you prefer a more reusable option, you can place the dough in a zip-top bag. Gently press out any excess air before sealing the bag to maintain freshness.
- Parchment paper and foil: For dough that needs a little more protection, such as delicate pastry dough, you can first wrap it in parchment paper and then wrap it again with foil. This double layer of protection helps to maintain the dough’s shape and prevent freezer burn.
Whichever method you choose, make sure the dough is tightly wrapped to prevent any air or moisture from reaching it. This will help maintain the dough’s quality and make it easier to thaw and use later on.
Before moving on to the next step, take a moment to label the wrapped dough with the date and a brief description of the type of dough. This will come in handy when you’re deciding which dough to use in the future.
Step 3: Storing in the Refrigerator
After wrapping the dough securely, it’s time to store it in the refrigerator. This is the best option if you plan to use the dough within a few days or up to a week.
Find a designated spot in your refrigerator where you can keep the dough undisturbed. Ideally, place it on a shelf where it won’t be crushed or bumped around by other items.
Remember to keep the wrapped dough away from strong-smelling foods, as dough has a tendency to absorb odors. You wouldn’t want your pizza dough to end up tasting like onions!
When storing the dough in the refrigerator, it’s important to note that different types of dough have varying lifespans. Here are some general guidelines:
- Bread dough: Bread dough will typically stay fresh in the refrigerator for 3-5 days. After this period, the yeast may start to lose its strength, resulting in less successful rising.
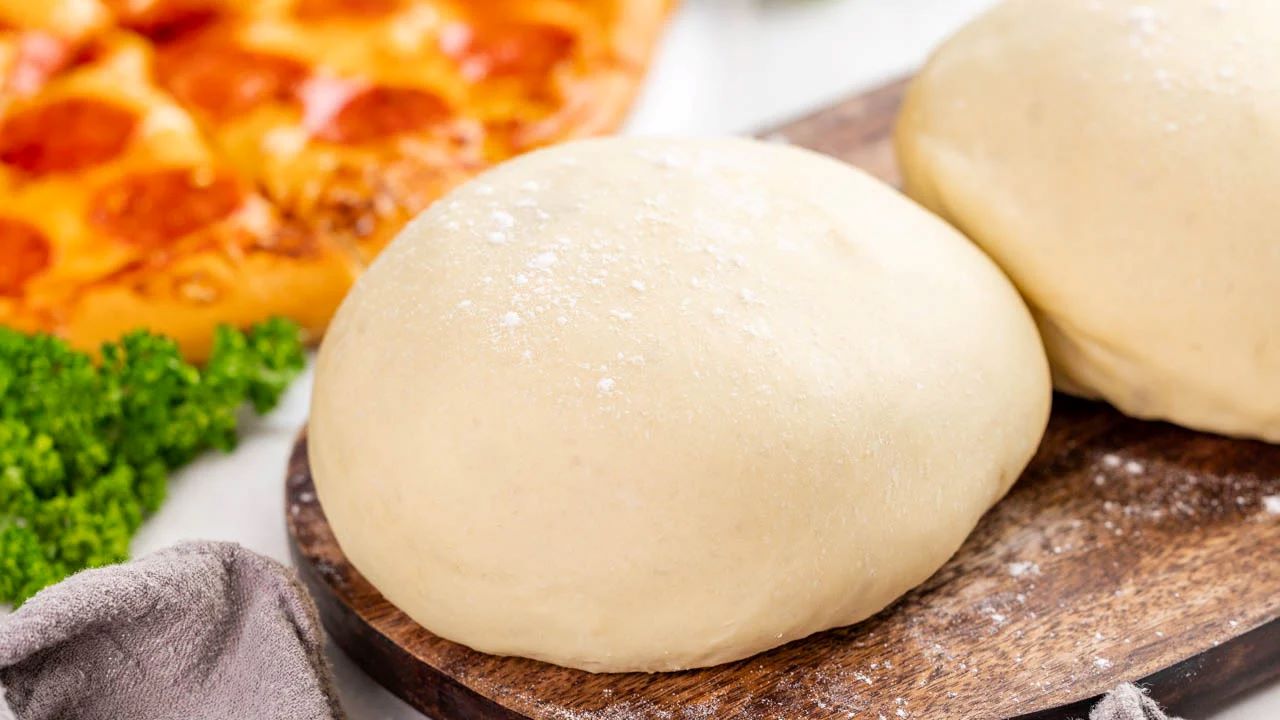
- Pizza dough: Pizza dough can be stored in the refrigerator for 3-4 days. It’s important to note that as the dough ages, it will develop a more pronounced fermented flavor.
- Pie or tart dough: Pie or tart dough can be stored in the refrigerator for up to 2-3 days. If you plan to use it for a longer period, it’s best to freeze it for better preservation.
Make sure to check the dough’s texture and smell before using it. If you notice any unusual changes, such as discoloration, an off smell, or excess moisture, it’s best to discard the dough and make a fresh batch.
Now that you know how to store dough in the refrigerator, let’s move on to the next step: freezing the dough for longer-term storage.
Store leftover dough in an airtight container or tightly wrapped in plastic wrap to prevent it from drying out. You can also freeze the dough for later use, just make sure to thaw it in the refrigerator before using.
Step 4: Freezing the Dough
If you have leftover dough that you won’t be using within a week, or if you simply want to extend its shelf life, freezing is the best option. Freezing the dough allows you to store it for several months, giving you the flexibility to use it whenever you’re ready.
Here’s how to freeze your leftover dough:
- Prepare the dough for freezing: Before you can freeze the dough, make sure it has been properly wrapped using one of the methods mentioned in Step 2. Ensure that it is tightly sealed to prevent freezer burn or moisture from affecting the dough’s texture.
- Label and date the dough: Take a moment to label the wrapped dough with the date and description. This will help you identify it later and keep track of its freshness.
- Place the dough in the freezer: Find a flat surface in your freezer where the dough can be placed without being squished or bent. If you have multiple pieces of dough, you can stack them, but be sure to place a layer of parchment paper or plastic wrap between each piece for easy separation.
- Freeze the dough: Allow the dough to freeze for several hours or until completely solid. This usually takes about 2-3 hours, depending on the size and thickness of the dough. After the dough has frozen, you can rearrange it to make better use of the space in your freezer.
By following these simple steps, your dough will be properly frozen and ready to be stored for an extended period of time.
It’s important to note that while freezing dough can preserve its freshness, the quality may slightly deteriorate over time. The texture and rising potential may not be the same as freshly made dough, but it can still be used to create delicious baked goods.
Now that you know how to freeze your dough, let’s move on to the final step: thawing and using the leftover dough.
Read more: How To Store Leftover Soup
Step 5: Thawing and Using the Leftover Dough
When you’re ready to use the dough you stored in the refrigerator or freezer, it’s important to thaw it properly to ensure optimal results. Thawing the dough gradually and at the right temperature will help maintain its texture and prevent any potential issues.
Here’s how to thaw and use your leftover dough:
- Refrigerator thawing (preferred method): The best way to thaw dough is in the refrigerator. Remove the wrapped dough from the freezer or refrigerator and place it on a plate or in a bowl. Allow the dough to thaw slowly and evenly in the refrigerator for several hours or overnight. This gradual thawing process helps to maintain the dough’s quality and prevent any sudden temperature changes.
- Room temperature thawing: If you’re in a hurry and need to thaw the dough quickly, you can do so at room temperature. Remove the wrapped dough from the refrigerator or freezer and let it sit at room temperature for about 1-2 hours until it becomes soft and pliable. Keep in mind that this method may result in a slightly different texture compared to refrigerated thawing.
Once the dough is thawed, it’s ready to be used in your desired recipe. Simply follow the original instructions for shaping, baking, or cooking the dough. Keep in mind that you may need to adjust the rising time slightly, as the thawed dough may take a little longer to rise compared to freshly made dough.
It’s important to note that once the thawed dough has been used, it cannot be refrozen. Therefore, it’s best to thaw and use only the amount of dough you need for your recipe to avoid any waste.
By following these steps, you can ensure that your leftover dough is thawed and ready to be transformed into delicious baked goods or other culinary creations.
Conclusion
Storing leftover dough doesn’t have to be a challenge. With a few simple steps, you can ensure that your dough remains fresh and ready to use whenever the baking bug strikes.
Cooling the dough, wrapping it securely, and storing it in the refrigerator are the first crucial steps in preserving its quality. If you have dough that won’t be used within a week, freezing is the ideal option for long-term storage.
Thawing the dough properly is equally important to maintain its texture and flavor. Gradually thawing in the refrigerator is the preferred method, while room temperature thawing can be used when time is of the essence.
By following these steps, you can minimize waste and enjoy the convenience of having leftover dough on hand. Whether it’s bread, pizza, or pastry dough, you can now store it with confidence, knowing that it will be ready to be transformed into delectable treats whenever you desire.
So the next time you find yourself with extra dough, remember these steps and don’t let it go to waste. Store it properly, thaw it correctly, and let your culinary creativity take over. Happy baking!
Frequently Asked Questions about How To Store Leftover Dough
Was this page helpful?
At Storables.com, we guarantee accurate and reliable information. Our content, validated by Expert Board Contributors, is crafted following stringent Editorial Policies. We're committed to providing you with well-researched, expert-backed insights for all your informational needs.


0 thoughts on “How To Store Leftover Dough”