
Articles
How To Store Homemade Dough
Modified: August 16, 2024
Learn the best practices for storing homemade dough in this informative article. Discover tips and techniques to keep your dough fresh and ready for baking.
(Many of the links in this article redirect to a specific reviewed product. Your purchase of these products through affiliate links helps to generate commission for Storables.com, at no extra cost. Learn more)
Introduction
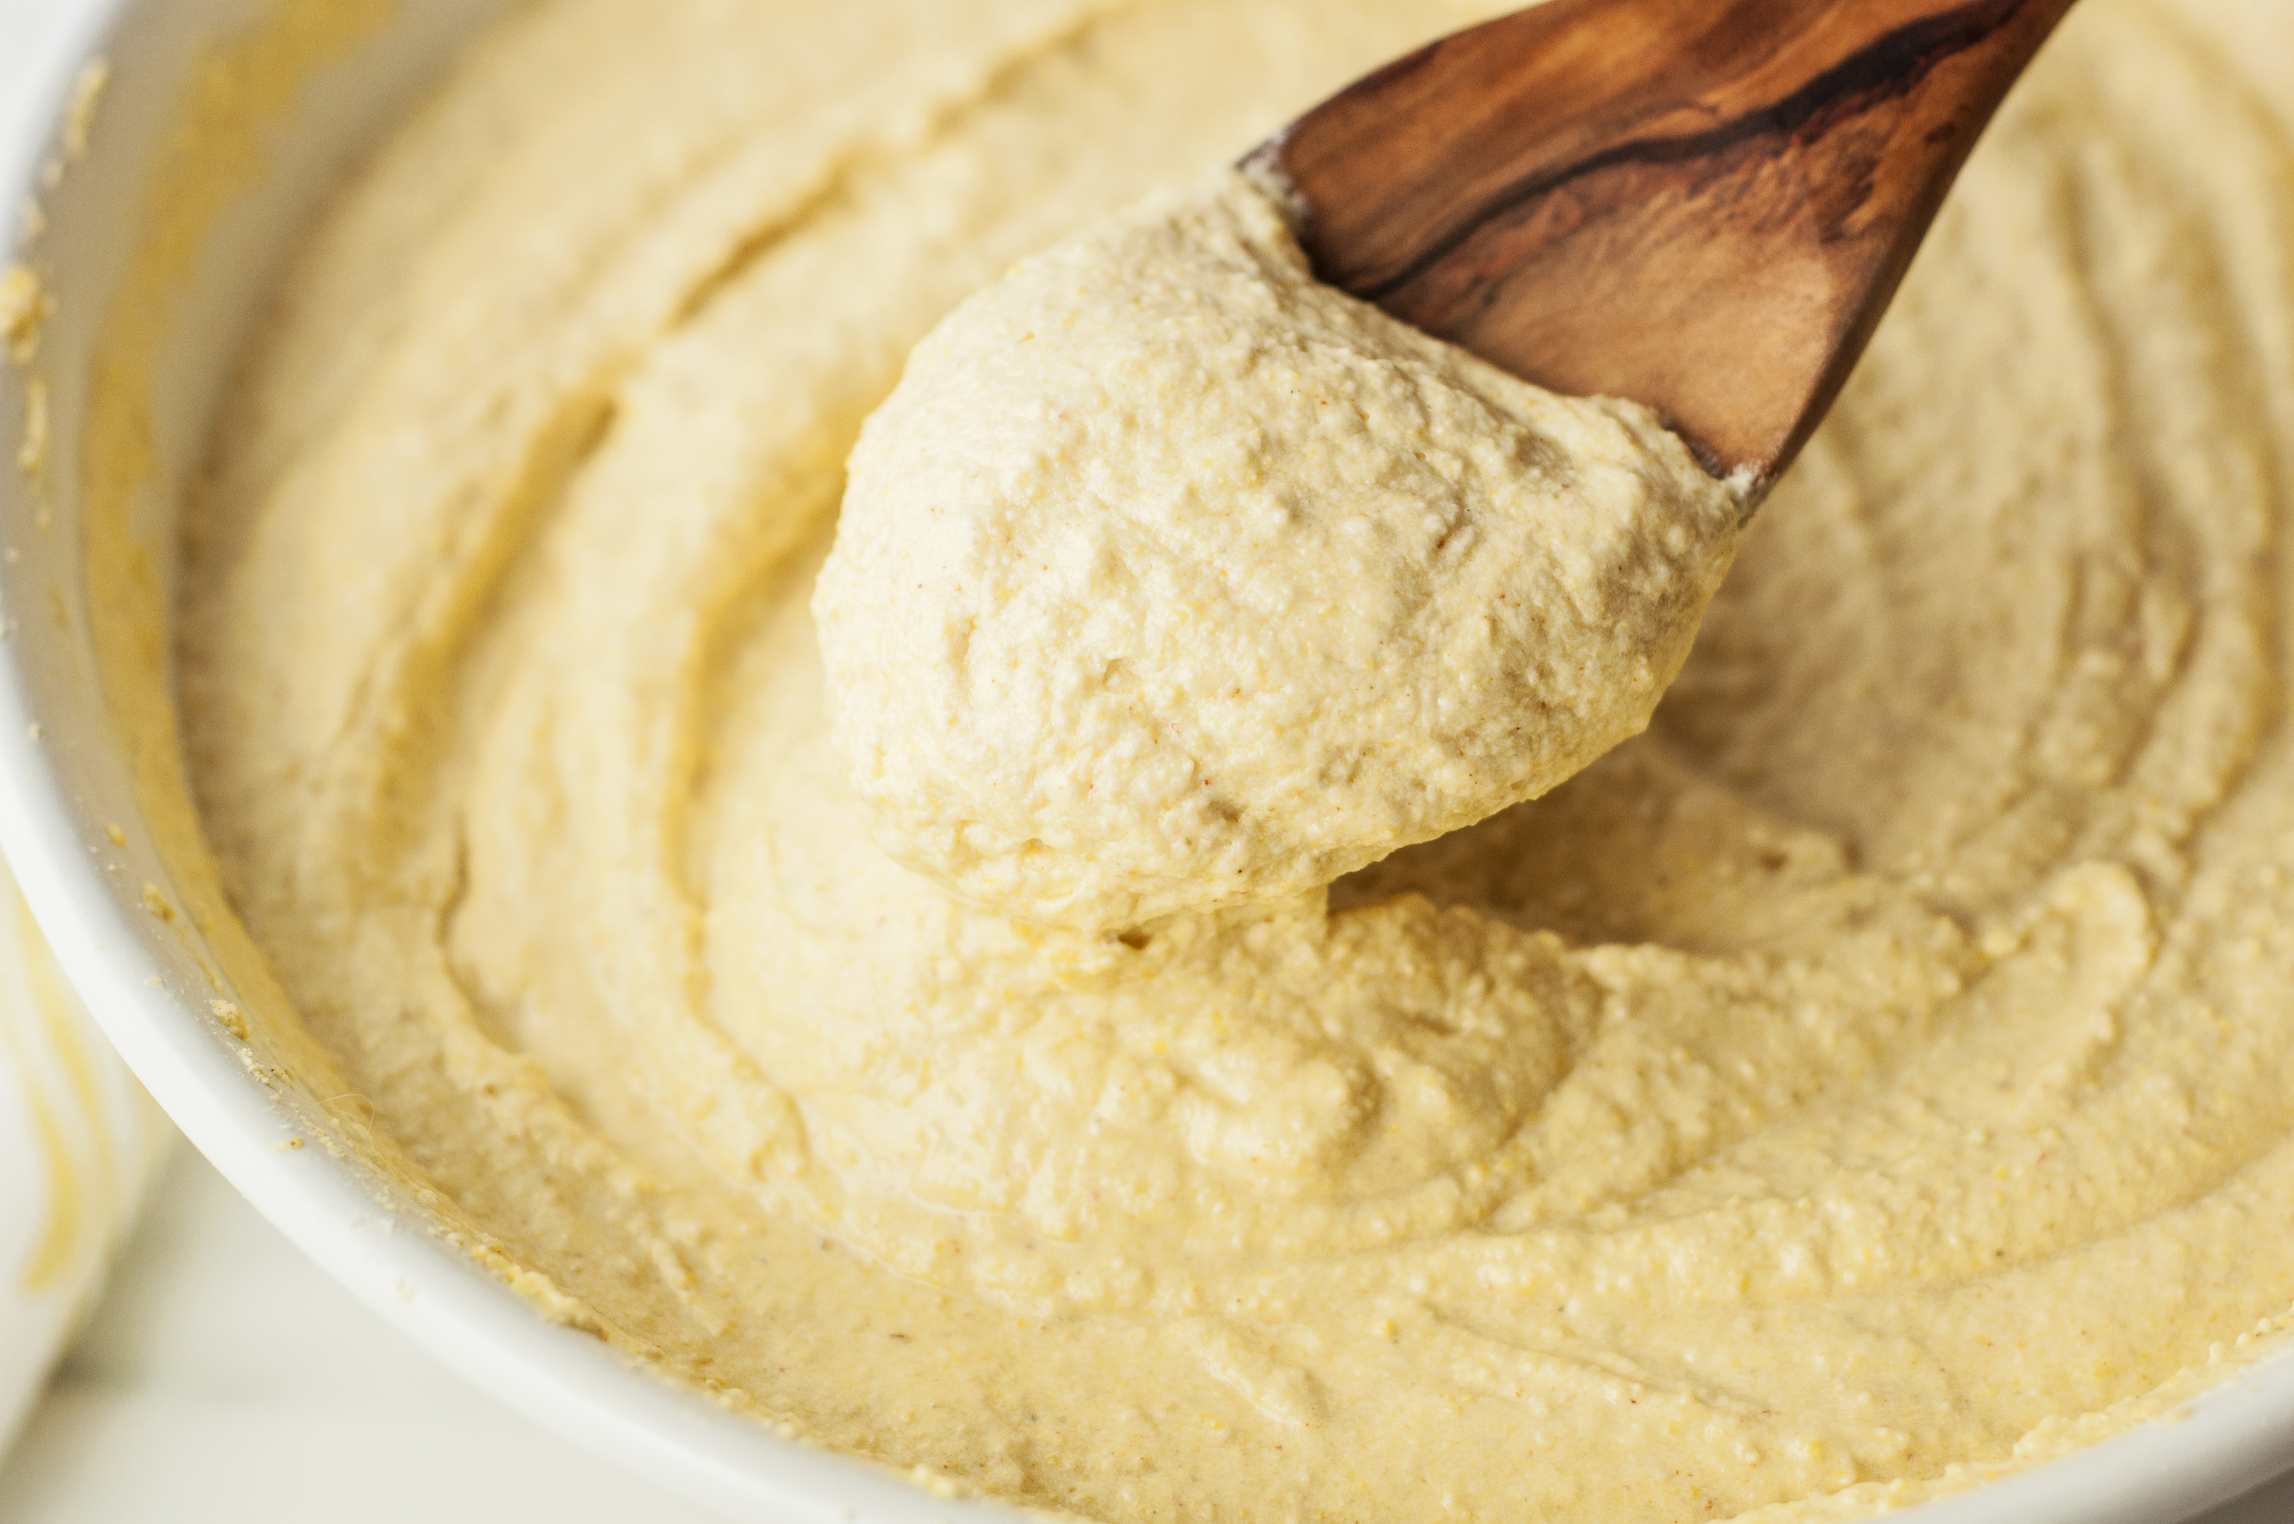
Homemade dough is a versatile and delicious ingredient that can be used to make a variety of baked goods, from breads and pizzas to pastries and cookies. Whether you’re an avid baker or just enjoy the satisfaction of creating your own dough from scratch, it’s important to know how to store it properly to maintain its freshness and quality.
Storing homemade dough correctly is crucial to preserve its texture, rise, and flavor. Proper storage not only ensures that the dough is ready to use whenever you need it but also helps to prevent waste and save you time and effort in the kitchen.
In this article, we will explore the best practices for storing homemade dough, whether you plan to refrigerate it for a short period or freeze it for longer-term storage. We’ll also provide some tips and tricks to help you make the most out of your stored dough. Let’s get started!
Key Takeaways:
- Properly storing homemade dough is essential for maintaining its freshness and quality, whether refrigerating for short-term use or freezing for longer-term storage. Choosing the right container, preparing the dough, and following proper storage techniques are key to ensuring delicious baked goods whenever you desire.
- Experimenting with flavors, portion control, and staying organized with recipes and storage times can elevate your homemade dough game. By following these tips and techniques, you can optimize your dough storage and enjoy the convenience of having freshly baked treats whenever the baking urge strikes.
Read more: How To Store Homemade Pasta Dough
Choosing the Right Container for Dough
When it comes to storing homemade dough, selecting the right container is essential to maintain its freshness and prevent it from absorbing any unwanted odors or flavors. Here are a few factors to consider when choosing a container for your dough:
- Airtight Seal: Opt for containers with a tight-sealing lid to keep the dough protected from air and moisture. This will help to maintain its moisture content and prevent it from drying out.
- Size and Shape: Choose a container that can accommodate the size and shape of your dough. The container should have enough room for the dough to rise, but not be too big to take up unnecessary space in your refrigerator or freezer.
- Material: Look for containers made of food-grade plastic or glass. These materials are safe for storing dough and won’t impart any unwanted flavors or chemicals into your dough.
Once you have your container, make sure it is clean and dry before storing your dough. Any residual moisture or contaminants can affect the quality of the dough, so it’s important to start with a clean slate.
If you prefer an environmentally friendly option, you can also use reusable silicone bags specifically designed for storing food. These bags are a great alternative to plastic or glass containers and can be easily washed and reused.
Preparing the Dough for Storage
Before you store your homemade dough, there are a few steps you should take to ensure its quality and longevity:
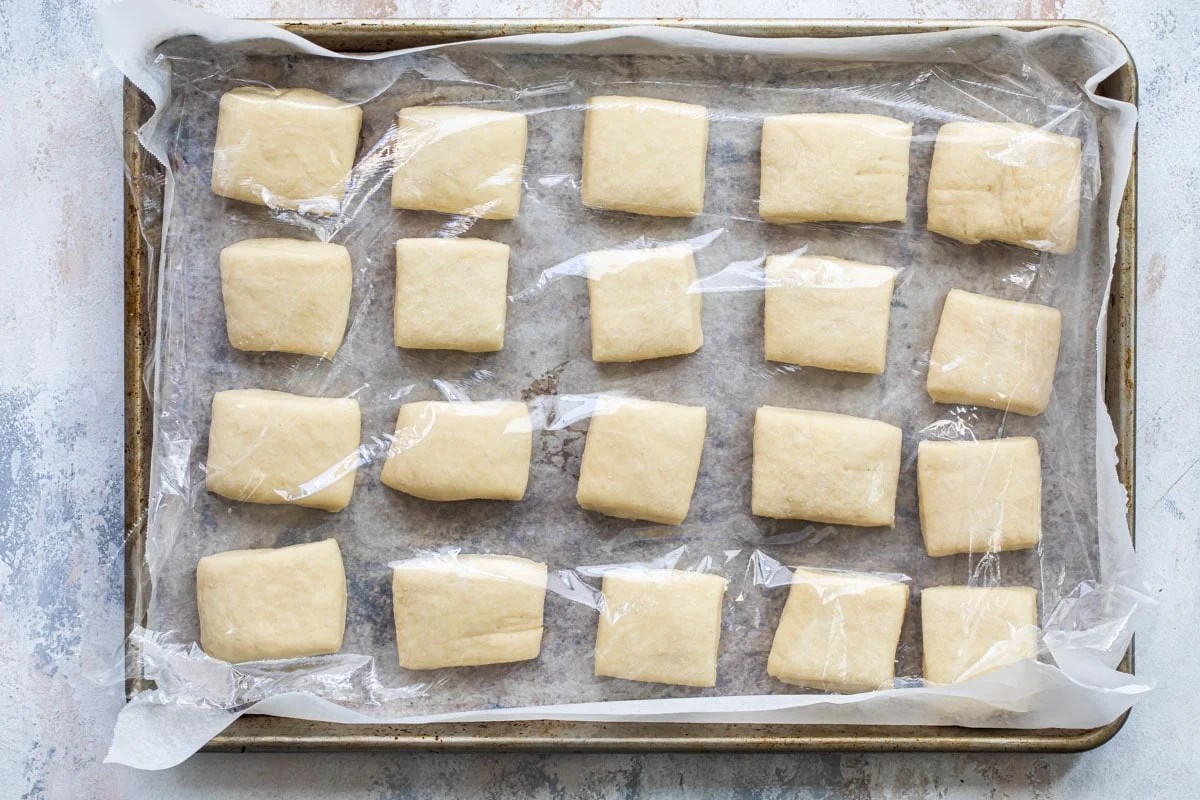
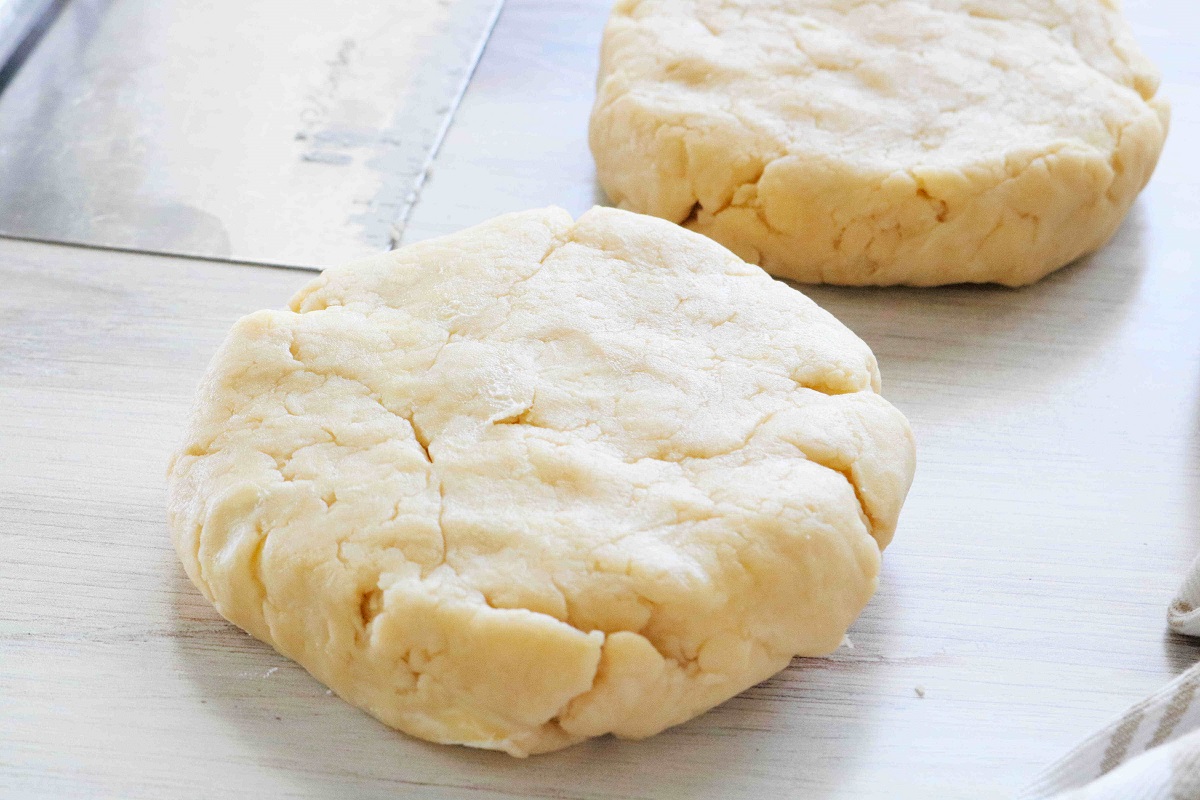
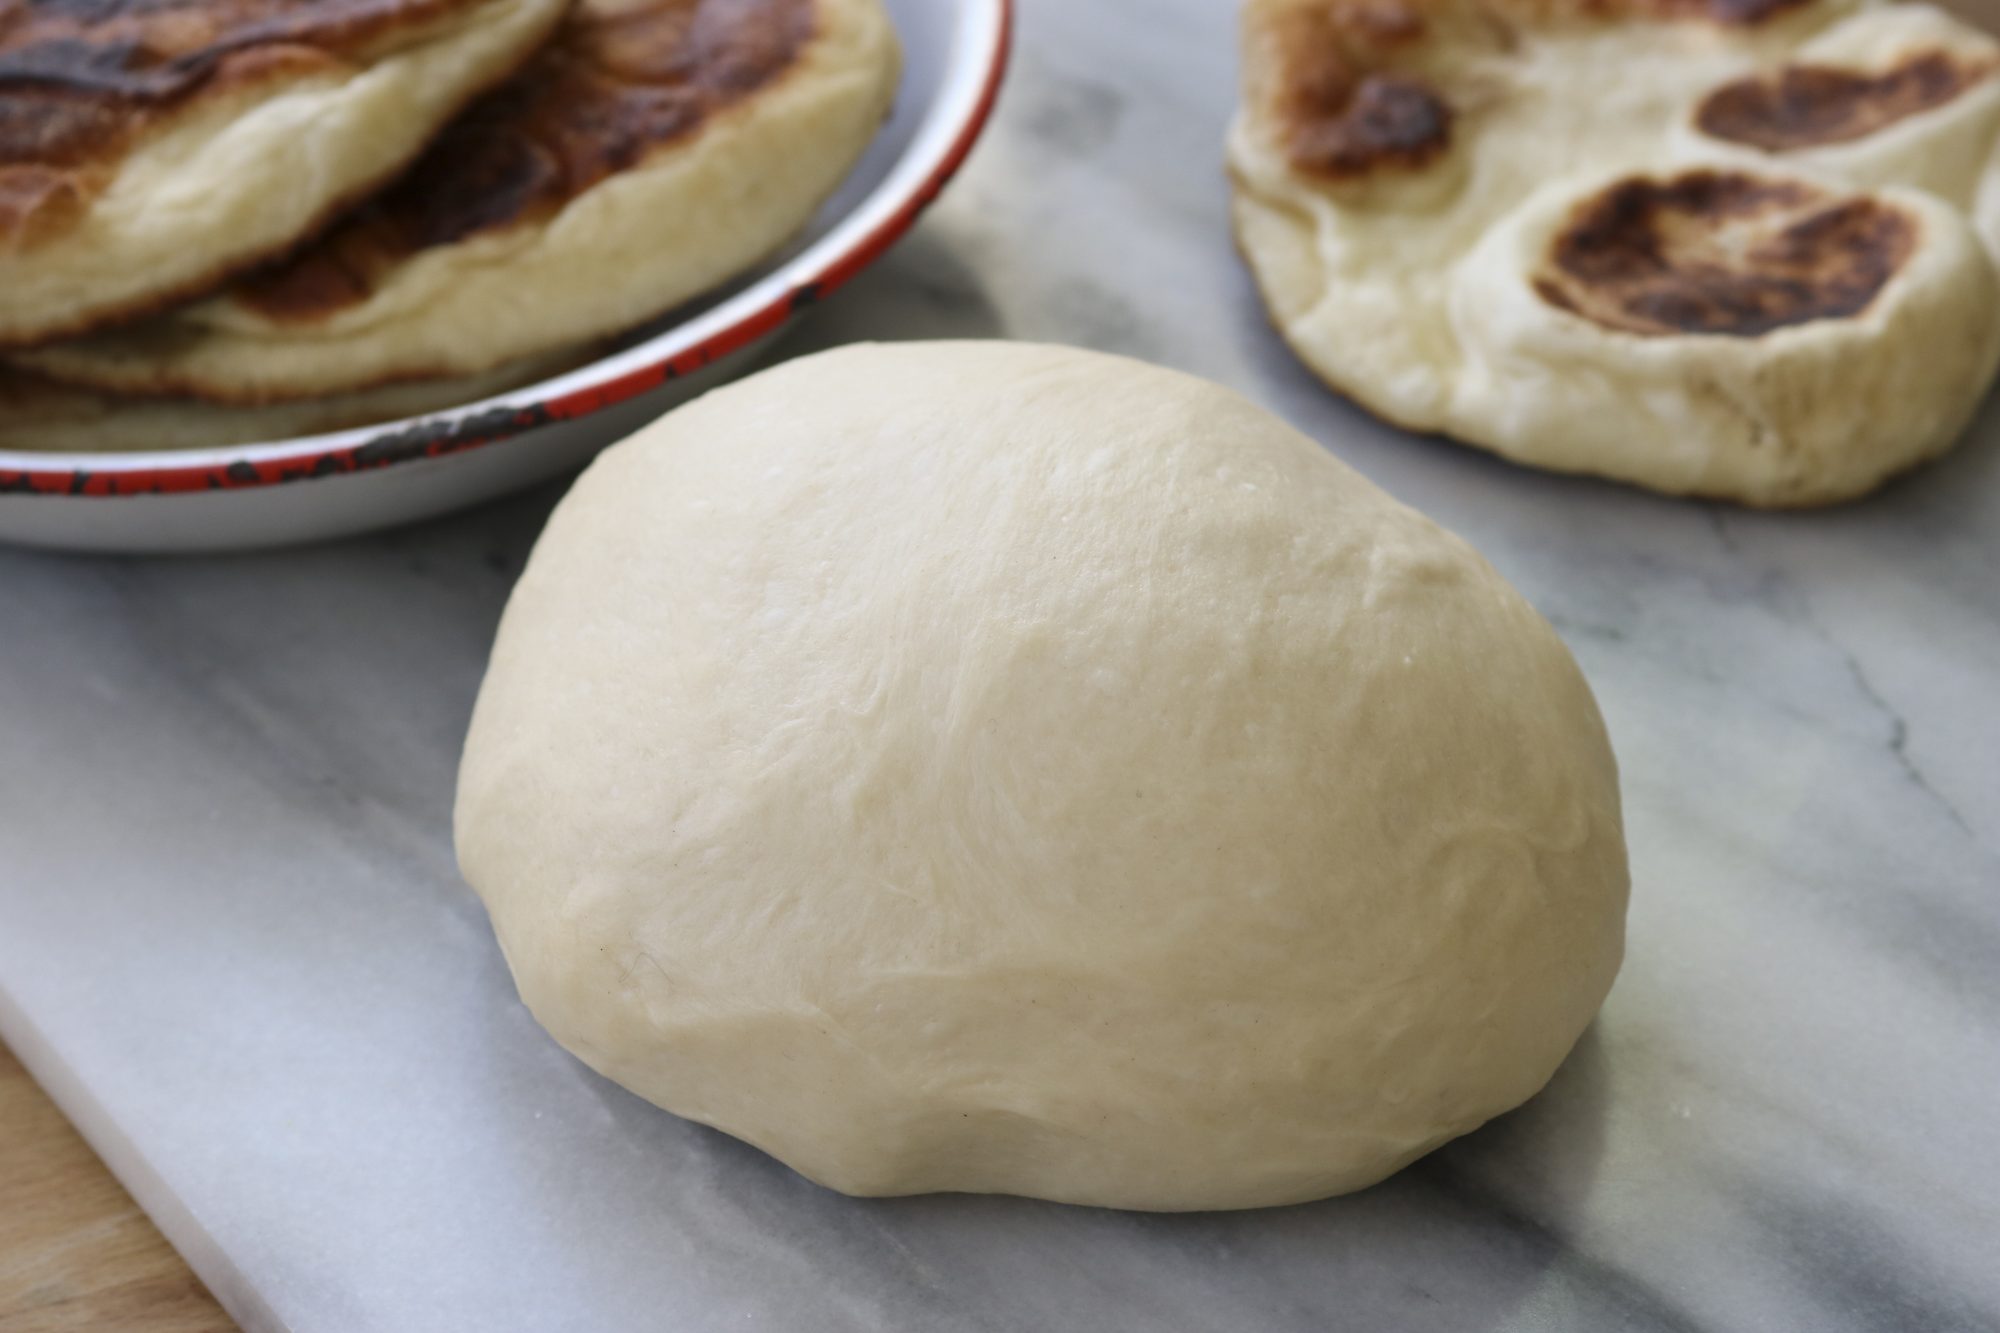
- Shape and Size: Depending on the type of dough, you may want to shape it into the desired form before storing it. For example, if you’re making bread dough, you can shape it into a loaf or rolls. This not only makes it easier to use later but also helps with even rising and baking.
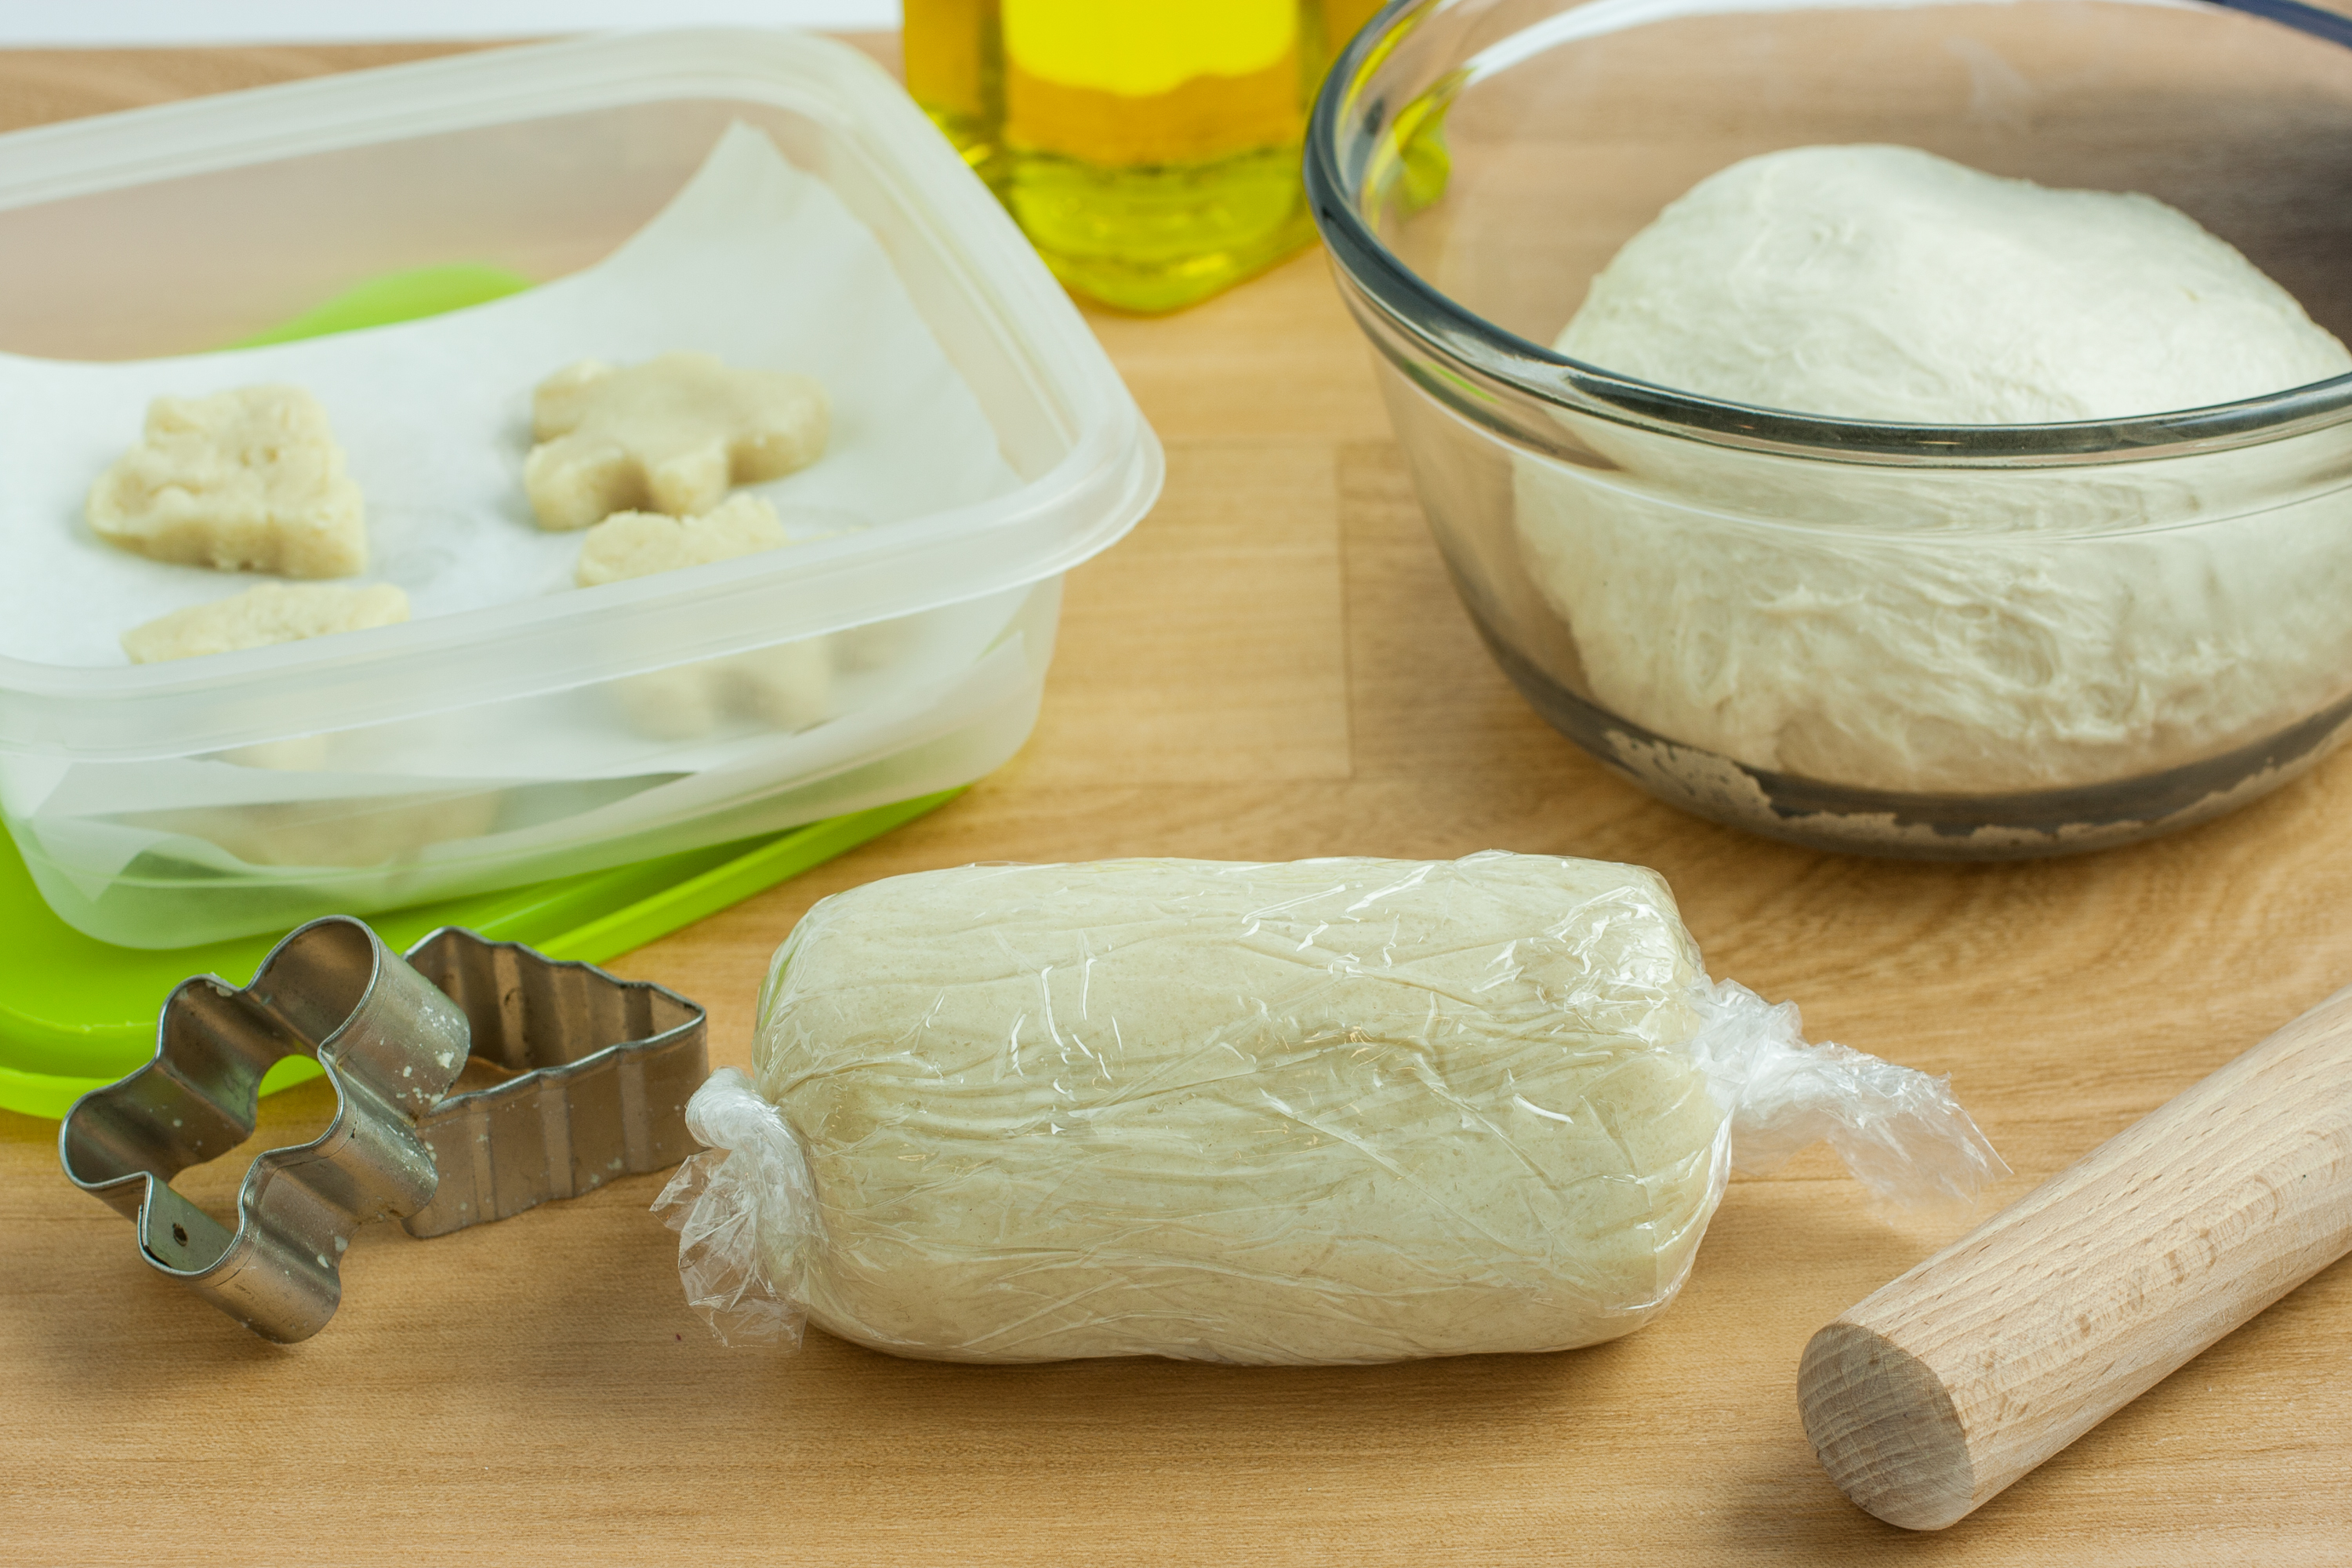
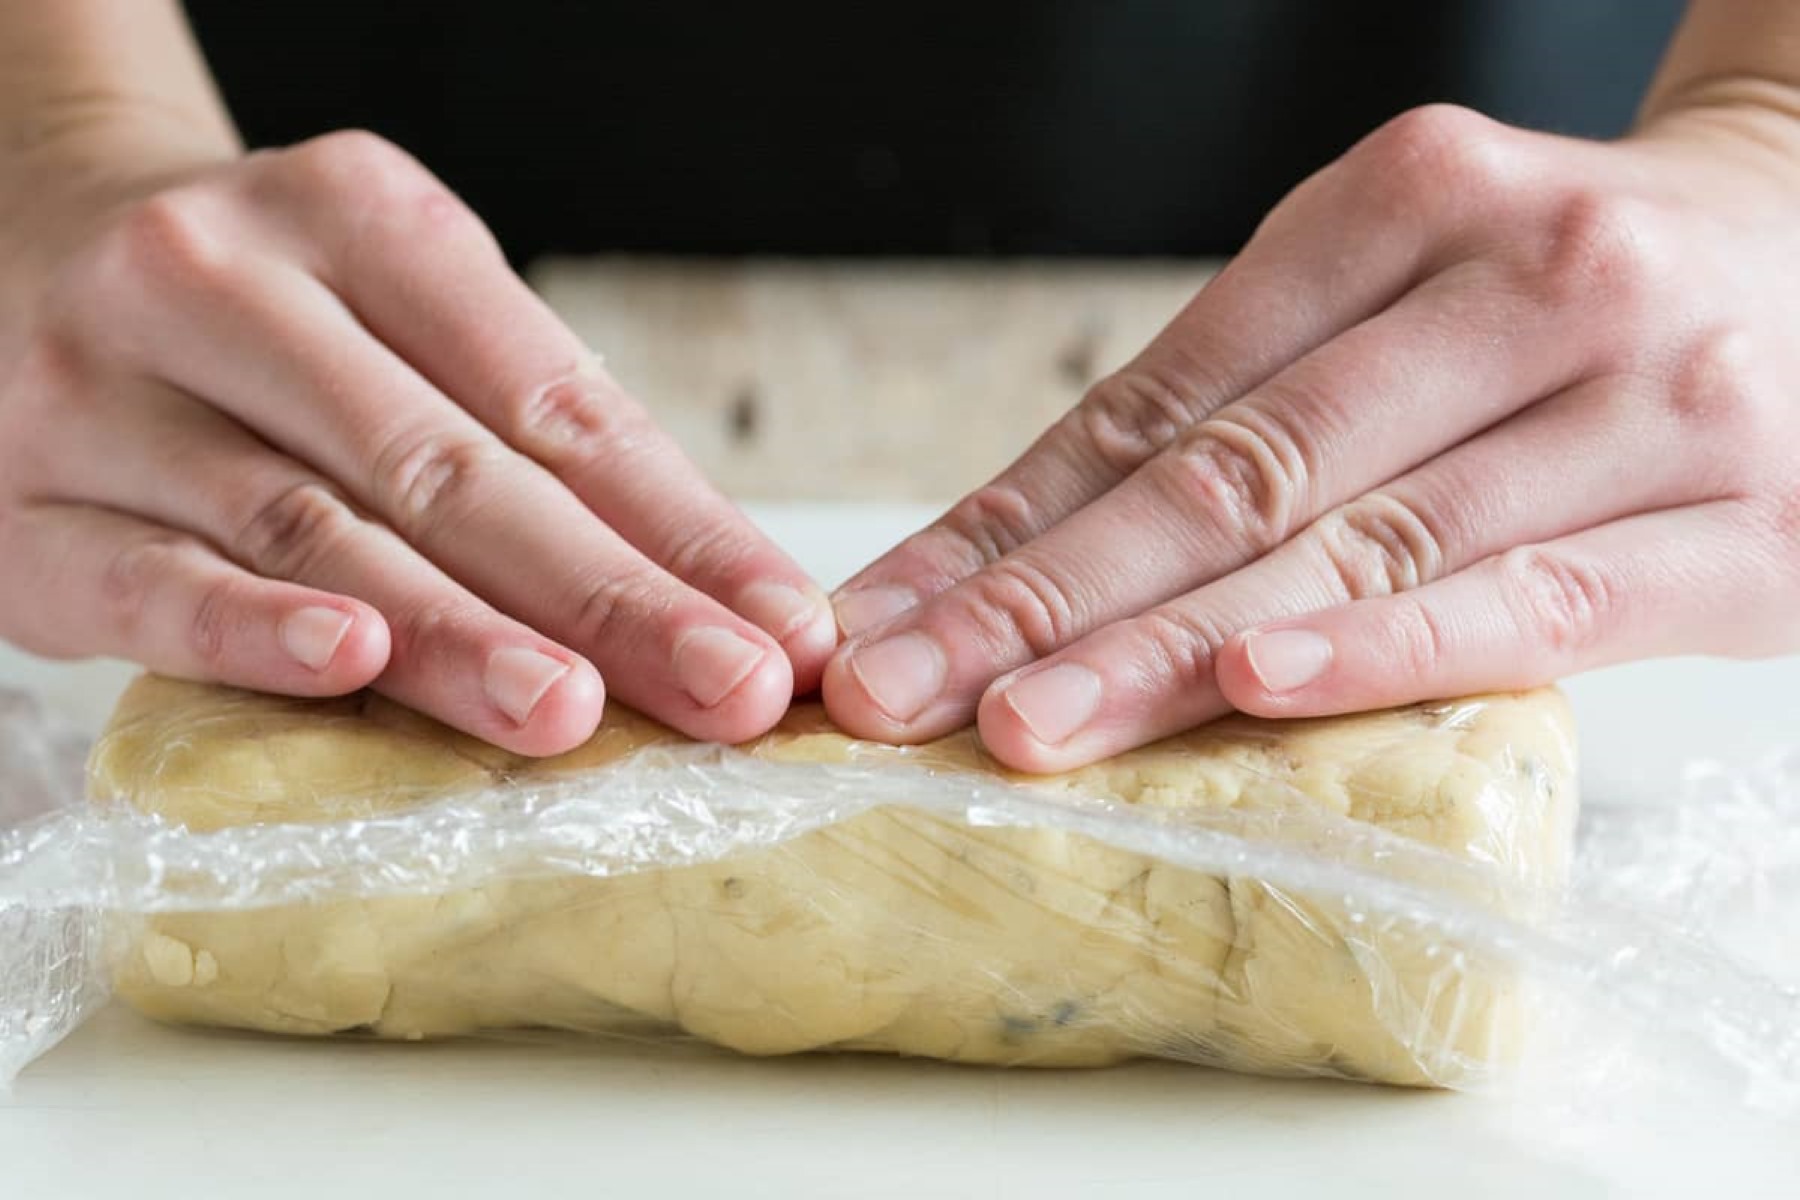
- Wrap in Plastic Wrap or Wax Paper: Once the dough is shaped, tightly wrap it in plastic wrap or wax paper. This helps to prevent any air from reaching the dough, which can cause it to dry out. Additionally, it helps to keep the dough’s shape intact and prevents it from sticking to the container.
- Date and Label: It’s a good practice to label your dough with the date so that you can keep track of its freshness. Use a permanent marker or a label on the container to indicate when the dough was prepared.
By taking these simple steps, you’ll ensure that your dough stays fresh and ready to use whenever you need it. Additionally, the proper preparation of the dough before storage helps to maintain its quality and prevent any undesirable changes during its storage period.
Refrigerating Homemade Dough
Refrigerating homemade dough is a great option if you plan to use it within a few days. The cold temperature of the refrigerator slows down the yeast activity, allowing you to keep the dough fresh and ready to use. Here’s how to refrigerate your homemade dough:
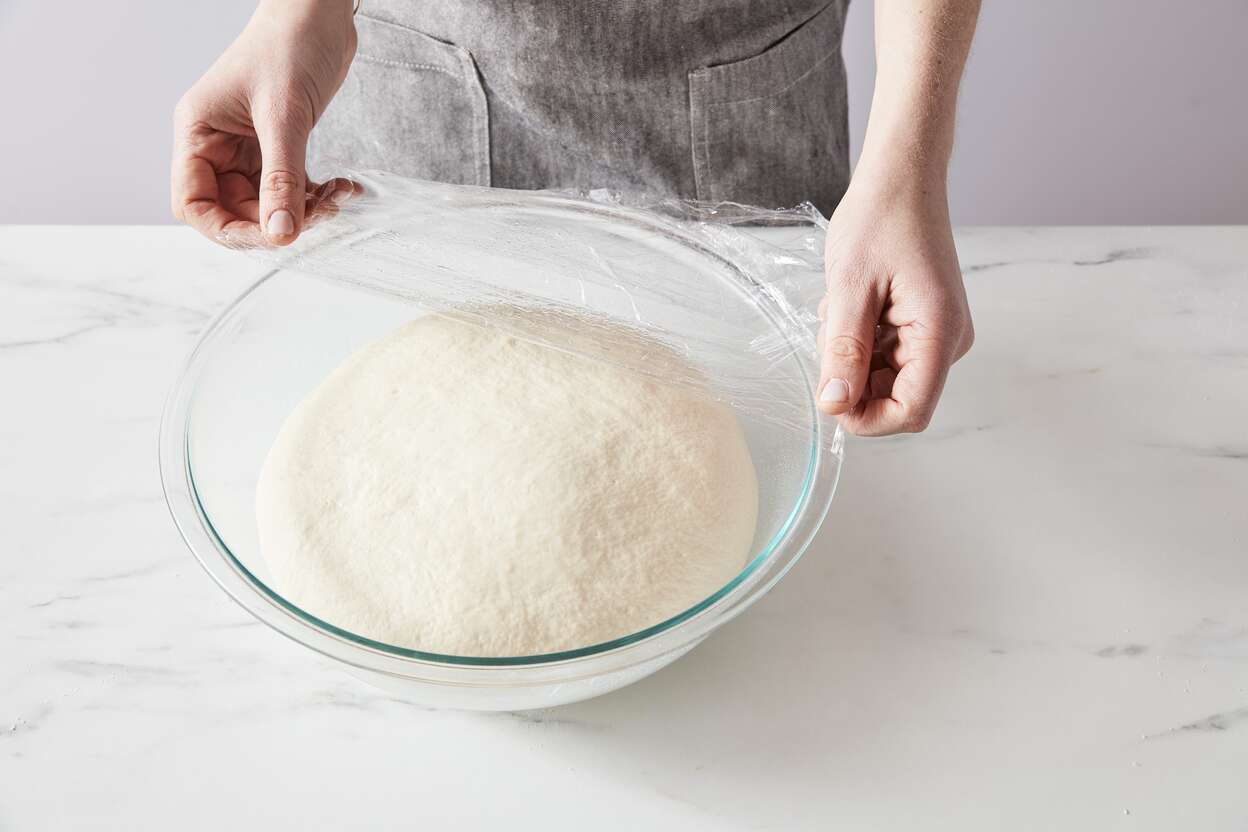
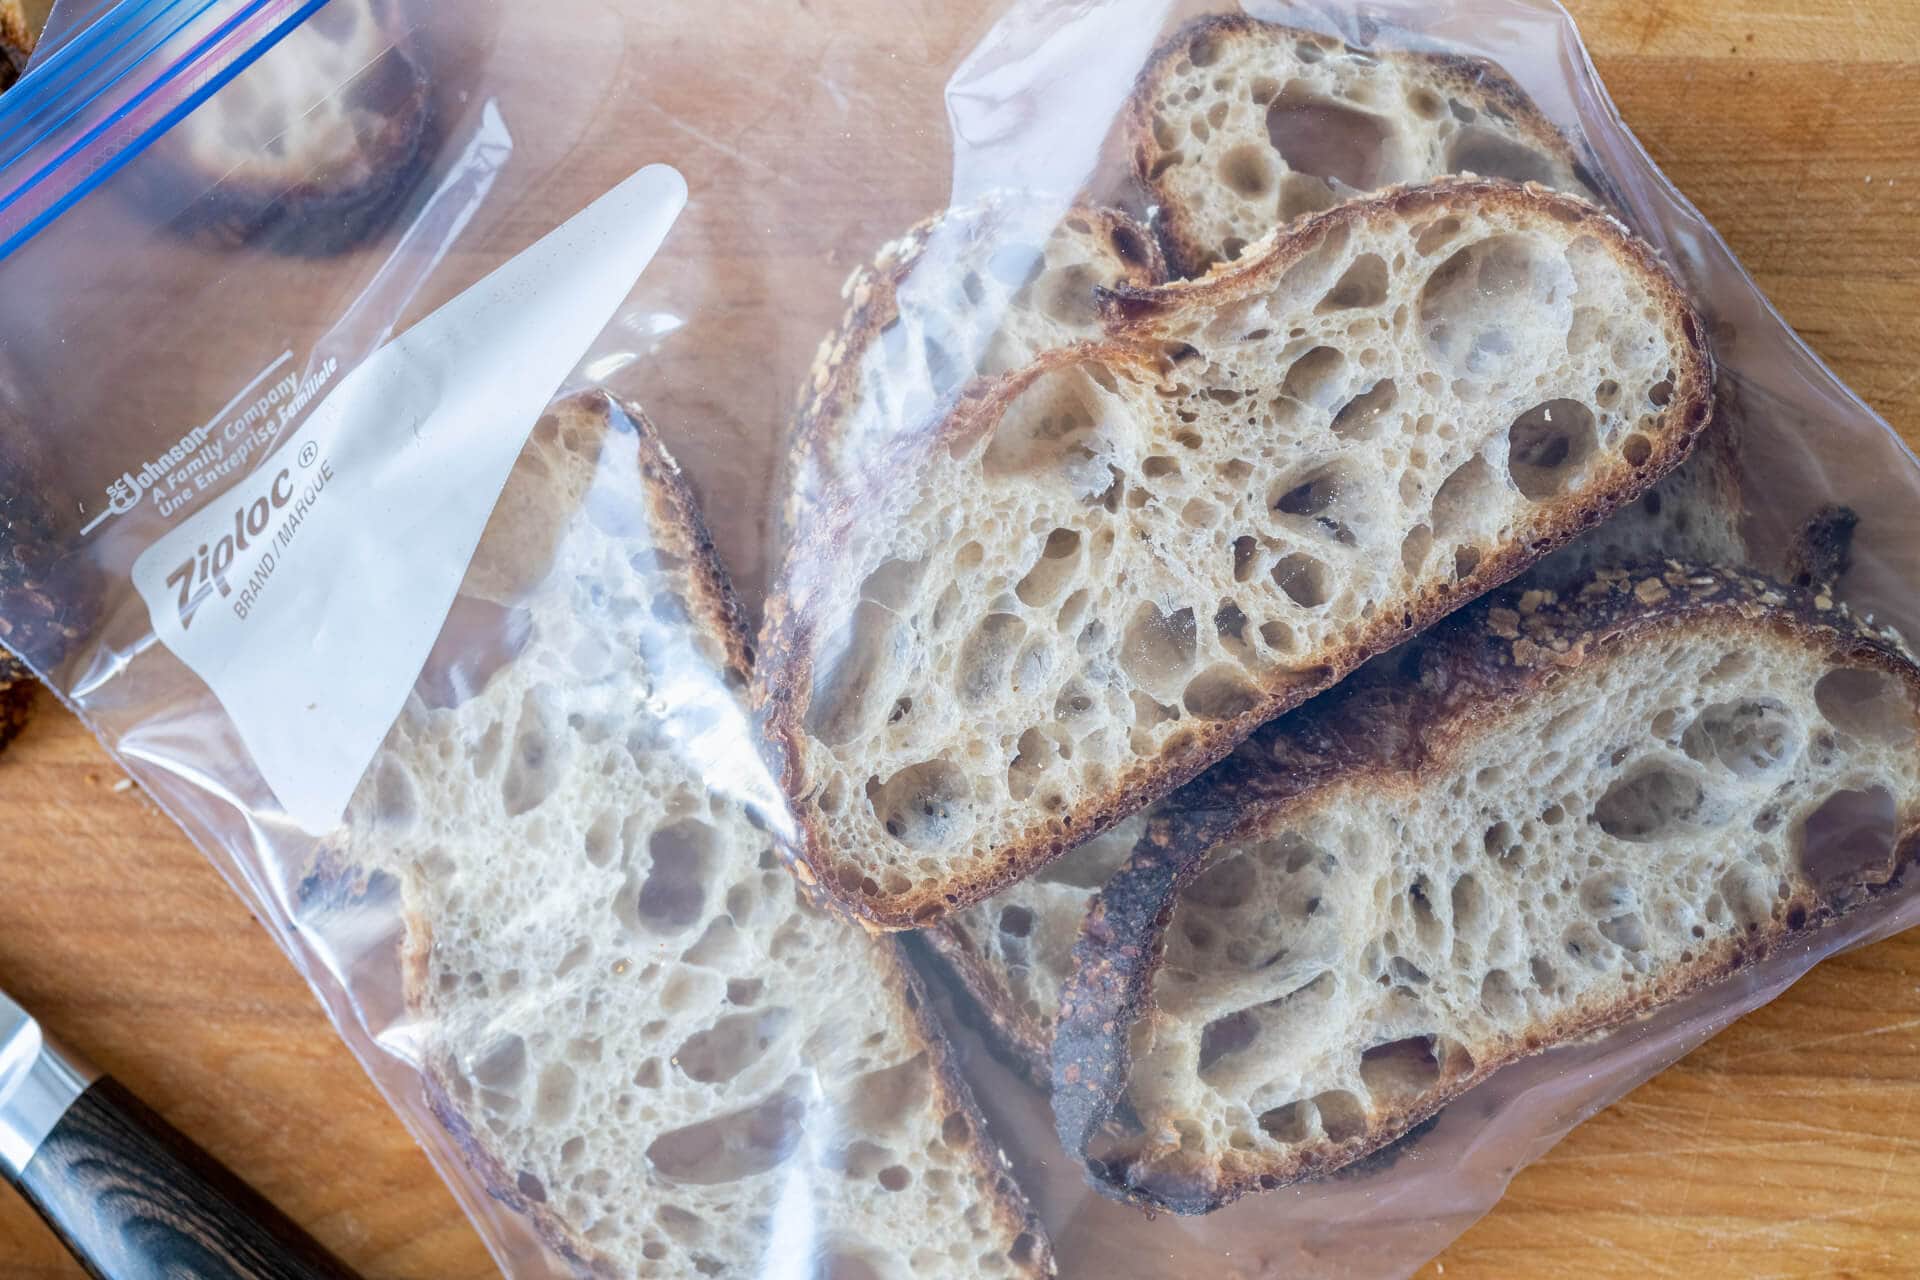
- Select an Airtight Container: Place your wrapped dough in an airtight container or a resealable plastic bag that is large enough to accommodate the dough without squishing it. Ensure that the container is sealed tightly to prevent any air from entering, which can cause the dough to dry out.
- Store at The Right Temperature: Refrigerate the dough at a temperature between 35°F and 40°F (1.5°C to 4°C). This is the optimal range to slow down yeast activity while still maintaining the dough’s freshness. It’s recommended to store the dough in the main part of the refrigerator, not in the door or near the back where the temperature can fluctuate.
- Check and Use Within the Recommended Time: Different types of dough have varying shelf lives in the refrigerator. Check your recipe or dough type to determine the recommended storage time. Generally, most dough can be refrigerated for up to 72 hours. After that, it may lose its rising power and become dense.
When you’re ready to use the refrigerated dough, take it out of the refrigerator and let it come to room temperature for about 1-2 hours before working with it. This allows the dough to relax and become more pliable, making it easier to shape and handle.
Refrigerating homemade dough is a convenient option that allows you to have freshly made dough on hand whenever you need it. Whether you want to bake bread for breakfast or whip up some delicious homemade pizza for dinner, refrigerating the dough gives you the flexibility to plan your baking schedule accordingly.
Store homemade dough in an airtight container or tightly wrapped in plastic wrap to prevent it from drying out. You can also freeze the dough for longer storage, just make sure to thaw it in the refrigerator before using.
Freezing Homemade Dough
If you have excess homemade dough or want to prepare dough in advance for future use, freezing is an ideal option. Freezing dough allows you to extend its shelf life and have it readily available whenever you need it. Here’s how to freeze your homemade dough:
- Prepare the Dough: Follow the instructions for shaping and wrapping your dough as mentioned earlier. Ensure that the dough is well-wrapped to prevent freezer burn and maintain its moisture.
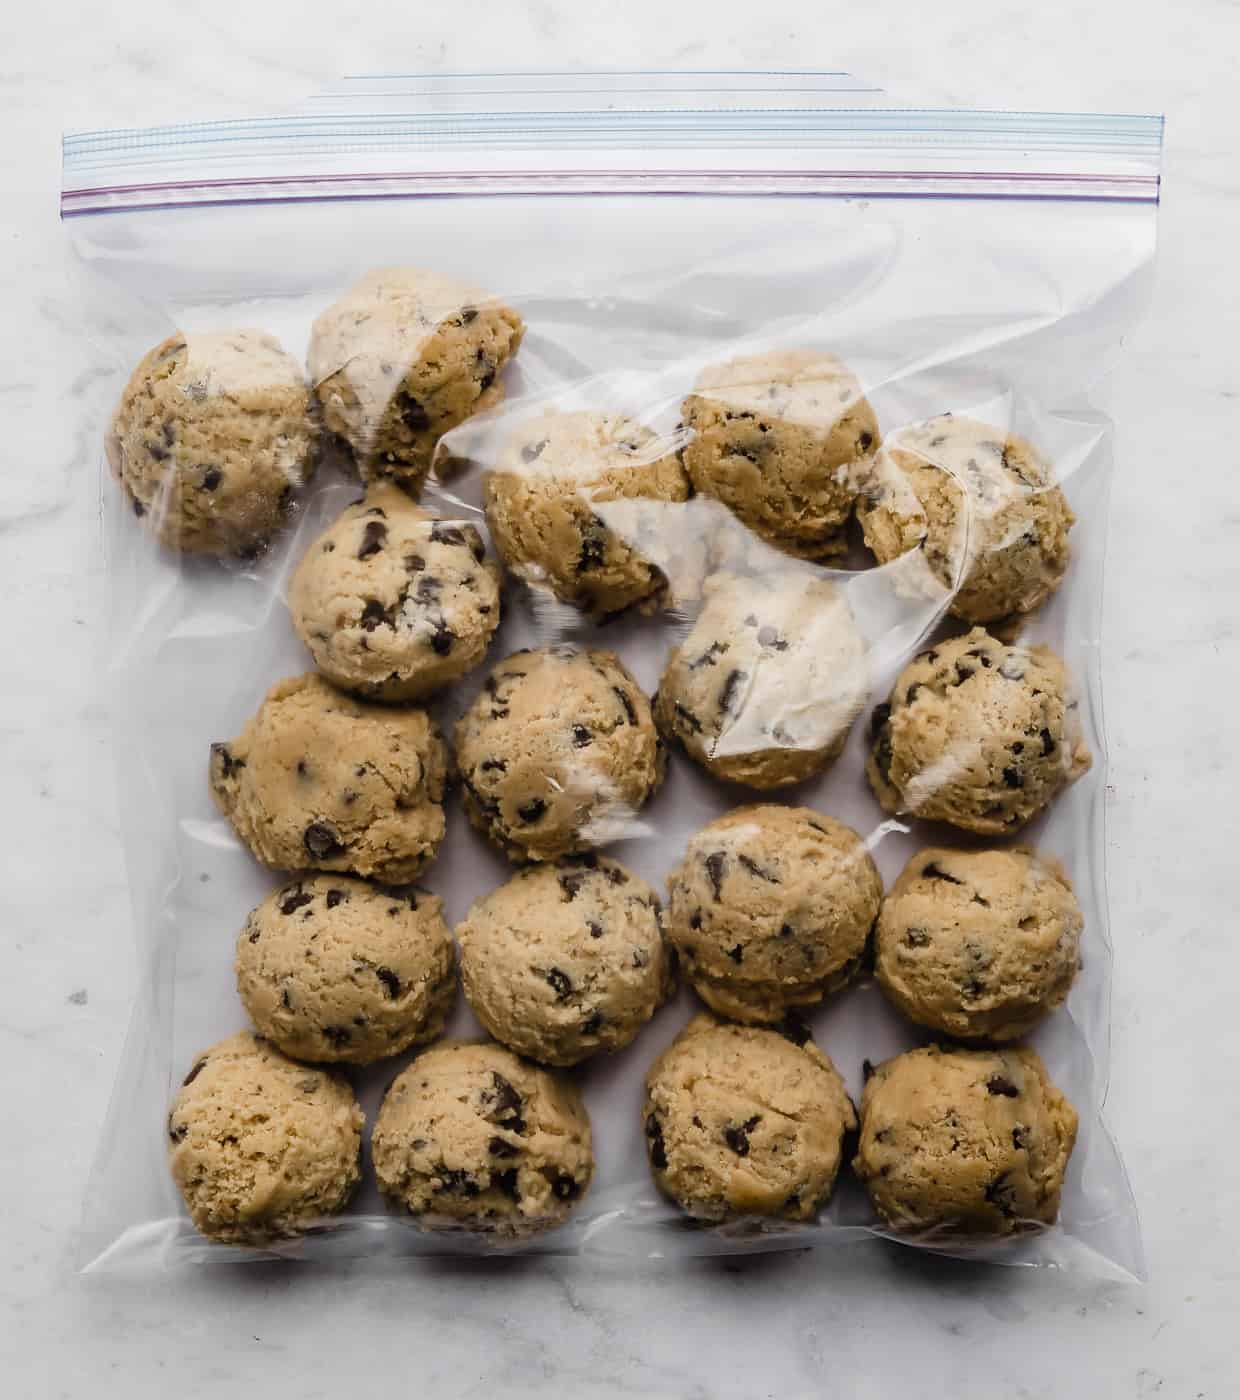
- Choose the Right Freezer Container: Select an airtight freezer-safe container or a freezer bag for storing the dough. Make sure the container is labeled with the date for easy reference.
- Place in the Freezer: Put the dough in the freezer, making sure to lay it flat to maintain its shape. If you’re using a bag, remove any excess air before sealing it to prevent freezer burn. For round dough like pizza dough, you can pre-shape it into a ball before freezing.
It’s important to note that different types of dough have varying freezer storage times. In general, most dough can be stored in the freezer for up to 3 months without compromising its quality. However, it’s recommended to use the dough within the first month for the best results.
When you’re ready to use the frozen dough, remove it from the freezer and transfer it to the refrigerator. Allow it to thaw overnight or for about 8-12 hours. Once thawed, let the dough sit at room temperature for about 1-2 hours before working with it to bring it to a workable consistency.
Freezing homemade dough not only extends its shelf life but also gives you the convenience of having dough ready to use whenever the baking urge strikes. Whether you’re preparing dough for special occasions or simply want to have a stash of dough for quick and easy baking, freezing is a reliable storage method.
Read more: How To Store Homemade Cookie Dough
Thawing and Using Frozen Dough
Thawing frozen dough properly is crucial to ensure that it maintains its texture, rise, and flavor. Here’s a step-by-step guide on how to thaw and use your frozen dough:
- Transfer to Refrigerator: Remove the frozen dough from the freezer and transfer it to the refrigerator. Place it on a plate or in a dish to catch any condensation that may occur during the thawing process. Thawing dough in the refrigerator is the best method as it allows for a slow and even thaw, preserving the dough’s quality.
- Allow Time to Thaw: Depending on the size and type of dough, it may take anywhere from 8 to 12 hours, or even overnight, to fully thaw in the refrigerator. It’s important to plan ahead and thaw the dough well in advance to ensure it’s ready when you need it.
- Bring the Dough to Room Temperature: Once the dough is thawed in the refrigerator, let it sit at room temperature for about 1-2 hours. This step helps the dough to reach a workable consistency and makes it easier to shape and handle. During this time, the dough will also continue to rise slightly.
- Shape and Bake: Once the dough has reached room temperature, it’s ready to be shaped and baked according to your recipe. Follow the instructions in your recipe for shaping, rising, and baking the dough. Be mindful that frozen dough may take slightly longer to rise compared to fresh dough, so allow for some extra time.
Thawed frozen dough can be used to make a wide range of baked goods, including bread, rolls, pizzas, pastries, and more. The convenience of having frozen dough on hand means you can enjoy freshly baked treats without the need for extensive preparation every time.
Remember, after thawing, it’s important to use the dough within a reasonable timeframe to maintain its quality. Refreezing dough that has already been thawed and brought to room temperature is not recommended, as it can affect the texture and rise of the final baked product.
By following these thawing and usage instructions, you can make the most out of your frozen dough and enjoy the convenience of having homemade baked goods whenever you want them.
Tips for Proper Dough Storage
To ensure the best quality and longevity of your homemade dough, here are some additional tips for proper dough storage:
- Label and Date: Always label your containers or bags with the type of dough and the date it was prepared. This will help you keep track of the dough’s freshness and rotation.
- Portion Control: Consider portioning your dough before storing it. This way, you can easily thaw or use just the amount you need without having to thaw the entire batch.
- Keep It Clean: Sanitize your hands, utensils, and work surfaces before handling the dough. This helps prevent any contamination and maintains the dough’s quality.
- Avoid Excessive Handling: Minimize excessive handling of the dough during both storage and preparation. Overworking the dough can lead to tough and dense baked goods.
- Experiment with Flavors: Add flavors to your dough for variety. You can incorporate herbs, spices, cheese, or even sweet additions like chocolate chips or dried fruit at the preparation stage. This adds depth and interest to your baked goods.
- Rotate Your Dough: If you have multiple batches of dough in your freezer or refrigerator, make sure to rotate them properly. Use the older ones first to prevent them from being forgotten and going to waste.
- Labeling Containers: If you prefer storing your dough in reusable containers, use adhesive labels or washi tape to write the name of the dough type and the date. This makes it easier to identify the contents without having to open each container to check.
- Batch Size: Consider adjusting the size of your dough batch based on your needs. If you frequently find yourself with excess dough, it might be worth reducing the recipe quantities to avoid wastage.
- Stay Organized: Keep a record of your favorite dough recipes, storage times, and any modifications you made. This way, you can refer back to your notes for future baking sessions and achieve consistent results.
By following these tips, you can optimize your dough storage and ensure that your homemade dough stays fresh, flavorful, and ready to use whenever you need it. Whether you’re an experienced baker or just starting out, proper dough storage is an essential skill that will elevate your baking game.
Conclusion
Storing homemade dough properly is key to maintaining its freshness, texture, and flavor. By following the right storage techniques, you can ensure that your dough is always ready to use whenever you have a craving for freshly baked goods.
Choosing the right container for dough, such as one with an airtight seal, is essential to prevent moisture loss and the absorption of unwanted odors. Preparing the dough for storage by shaping it and wrapping it tightly in plastic wrap or wax paper helps to maintain its shape and prevent it from sticking.
If you need to store the dough for a short period, refrigeration is the way to go, with a temperature range between 35°F and 40°F. This option allows the dough to remain fresh for up to 72 hours. Freezing the dough is ideal for longer storage periods, with a shelf life of up to 3 months. Thawing frozen dough in the refrigerator and allowing it to come to room temperature ensures it’s ready for shaping and baking.
To ensure the best results, follow these additional tips for proper dough storage: label and date your containers, practice portion control, keep everything clean, avoid excessive handling, experiment with flavors, rotate your dough, use labeled containers, adjust batch sizes, and stay organized with your recipes and storage times.
With these guidelines and techniques, you can make the most out of your homemade dough and enjoy freshly baked treats whenever you desire. Whether it’s a warm loaf of bread, a crispy pizza, or delectable pastries, your stored dough will serve as the foundation for creating delicious baked goods with ease.
So go ahead, embrace the joy of homemade dough, and master the art of proper storage. Your future self and your taste buds will thank you for it!
Frequently Asked Questions about How To Store Homemade Dough
Was this page helpful?
At Storables.com, we guarantee accurate and reliable information. Our content, validated by Expert Board Contributors, is crafted following stringent Editorial Policies. We're committed to providing you with well-researched, expert-backed insights for all your informational needs.


0 thoughts on “How To Store Homemade Dough”