Articles
How To Store Cake Pop Dough
Modified: February 23, 2024
Learn how to store cake pop dough properly with these helpful articles. Keep your dough fresh and ready for baking with our expert tips.
(Many of the links in this article redirect to a specific reviewed product. Your purchase of these products through affiliate links helps to generate commission for Storables.com, at no extra cost. Learn more)
Introduction
Creating delicious cake pops is a fun and creative way to satisfy your sweet tooth. But what happens when you have leftover cake pop dough that you don’t want to waste? In these situations, knowing how to store cake pop dough properly is crucial. By storing the dough correctly, you can ensure that it stays fresh and ready for future baking sessions.
In this article, we will walk you through the step-by-step process of storing cake pop dough. From the necessary equipment and ingredients to freezing tips and thawing techniques, we’ve got you covered. So let’s get started and master the art of storing cake pop dough!
Key Takeaways:
- Master the art of storing cake pop dough with these step-by-step tips, ensuring your delicious treats remain fresh and ready for enjoyment whenever cravings strike.
- From mixing and shaping to freezing and decorating, learn how to store cake pop dough efficiently, allowing you to conveniently satisfy your sweet tooth at any time.
Read more: How To Store Cake Pops After Dipping
Equipment Needed
Before diving into the process of storing cake pop dough, make sure you have the following equipment on hand:
- A mixing bowl
- A mixing spoon or spatula
- A plastic wrap or cling film
- A resealable freezer bag or an airtight container
- A marker or label for dating the dough
Having these essential tools will not only make the storing process easier but also help maintain the quality of your dough for an extended period.
Ingredients
To ensure that your cake pop dough stays fresh and delicious, you’ll need the following ingredients:
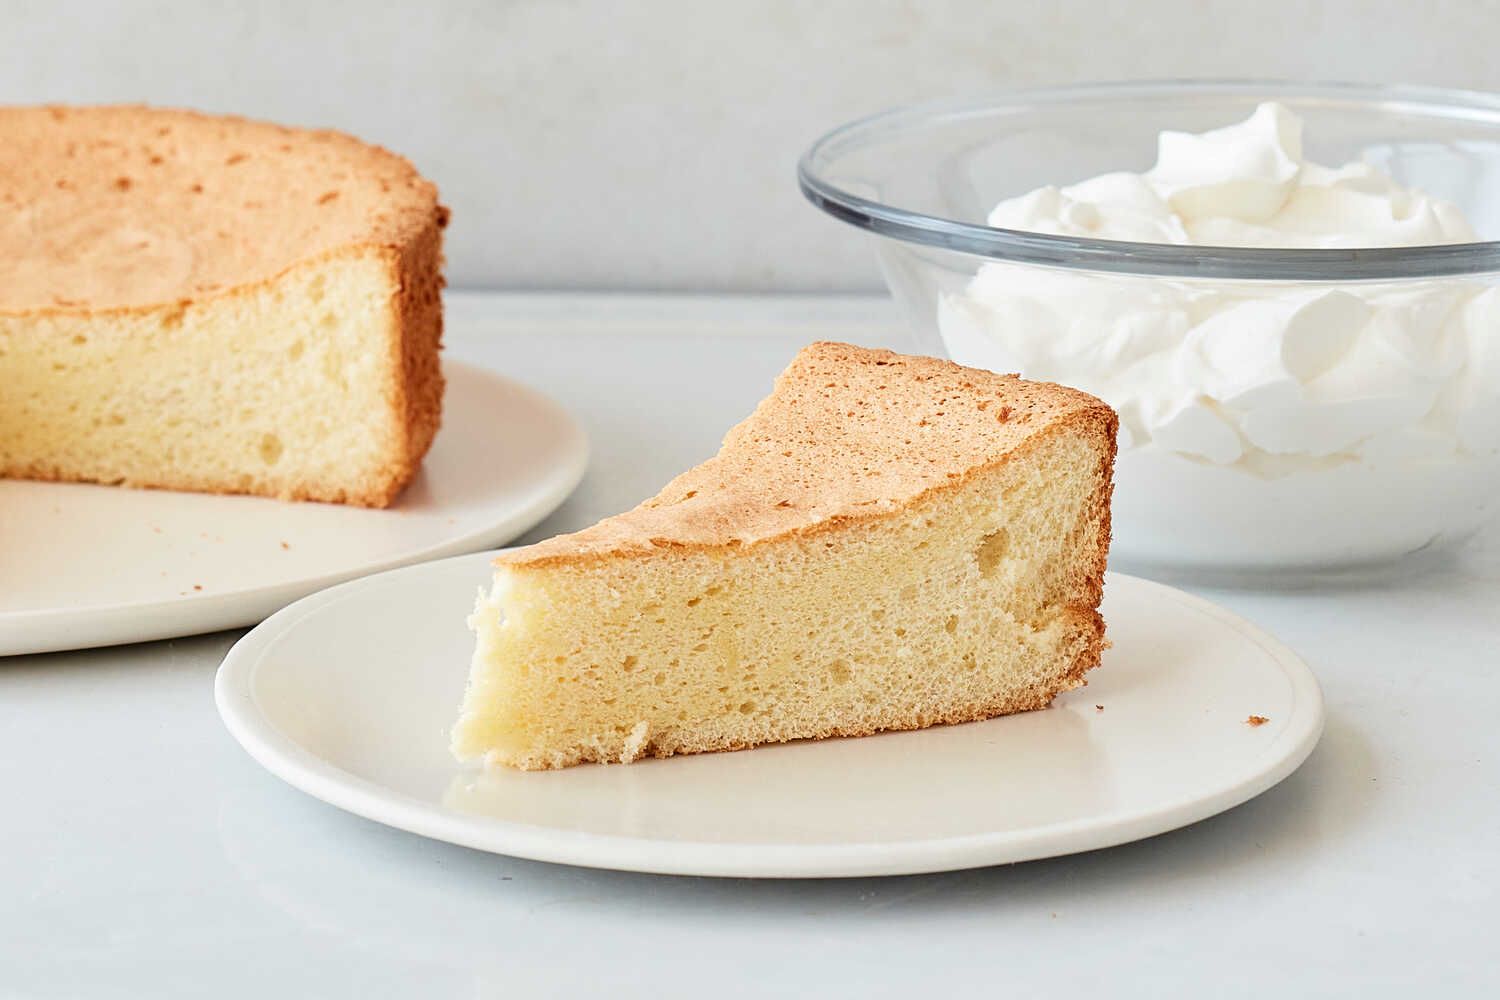
- Cake: Use your favorite cake recipe or a boxed cake mix, prepared according to the instructions on the package. You can choose any flavor that suits your taste.
- Frosting: Select a frosting that complements the flavor of your cake. Buttercream frosting is a popular choice, but you can experiment with different flavors like cream cheese or chocolate ganache.
These two ingredients will form the base of your cake pop dough, creating a moist and flavorful mixture that is perfect for shaping into pops.
Step 1: Mixing the Dough
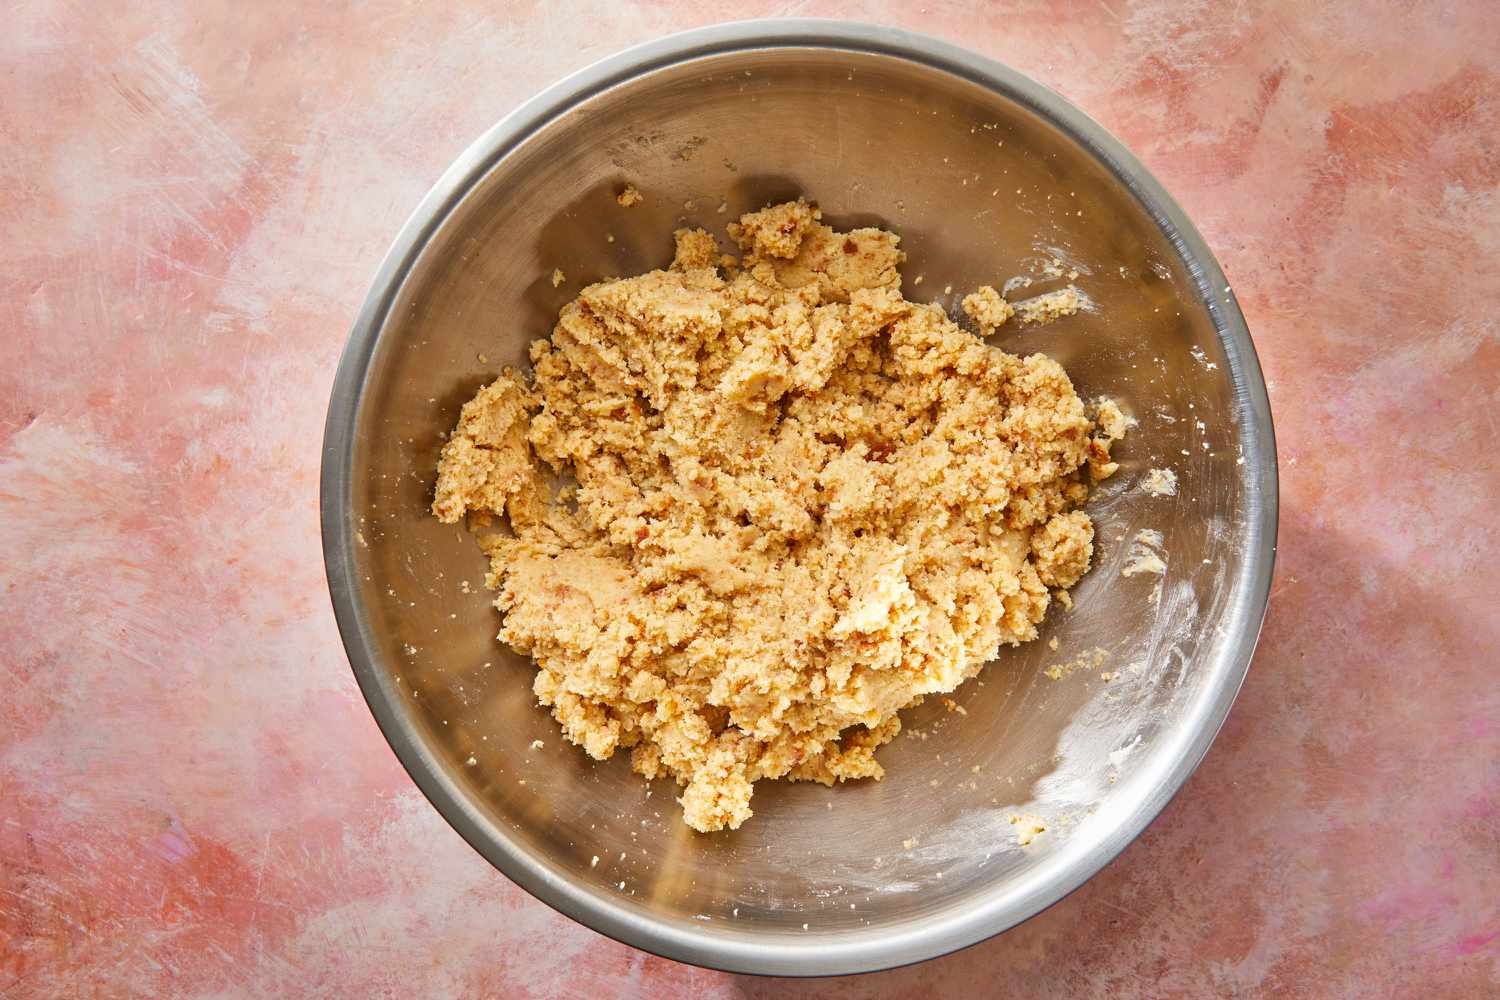
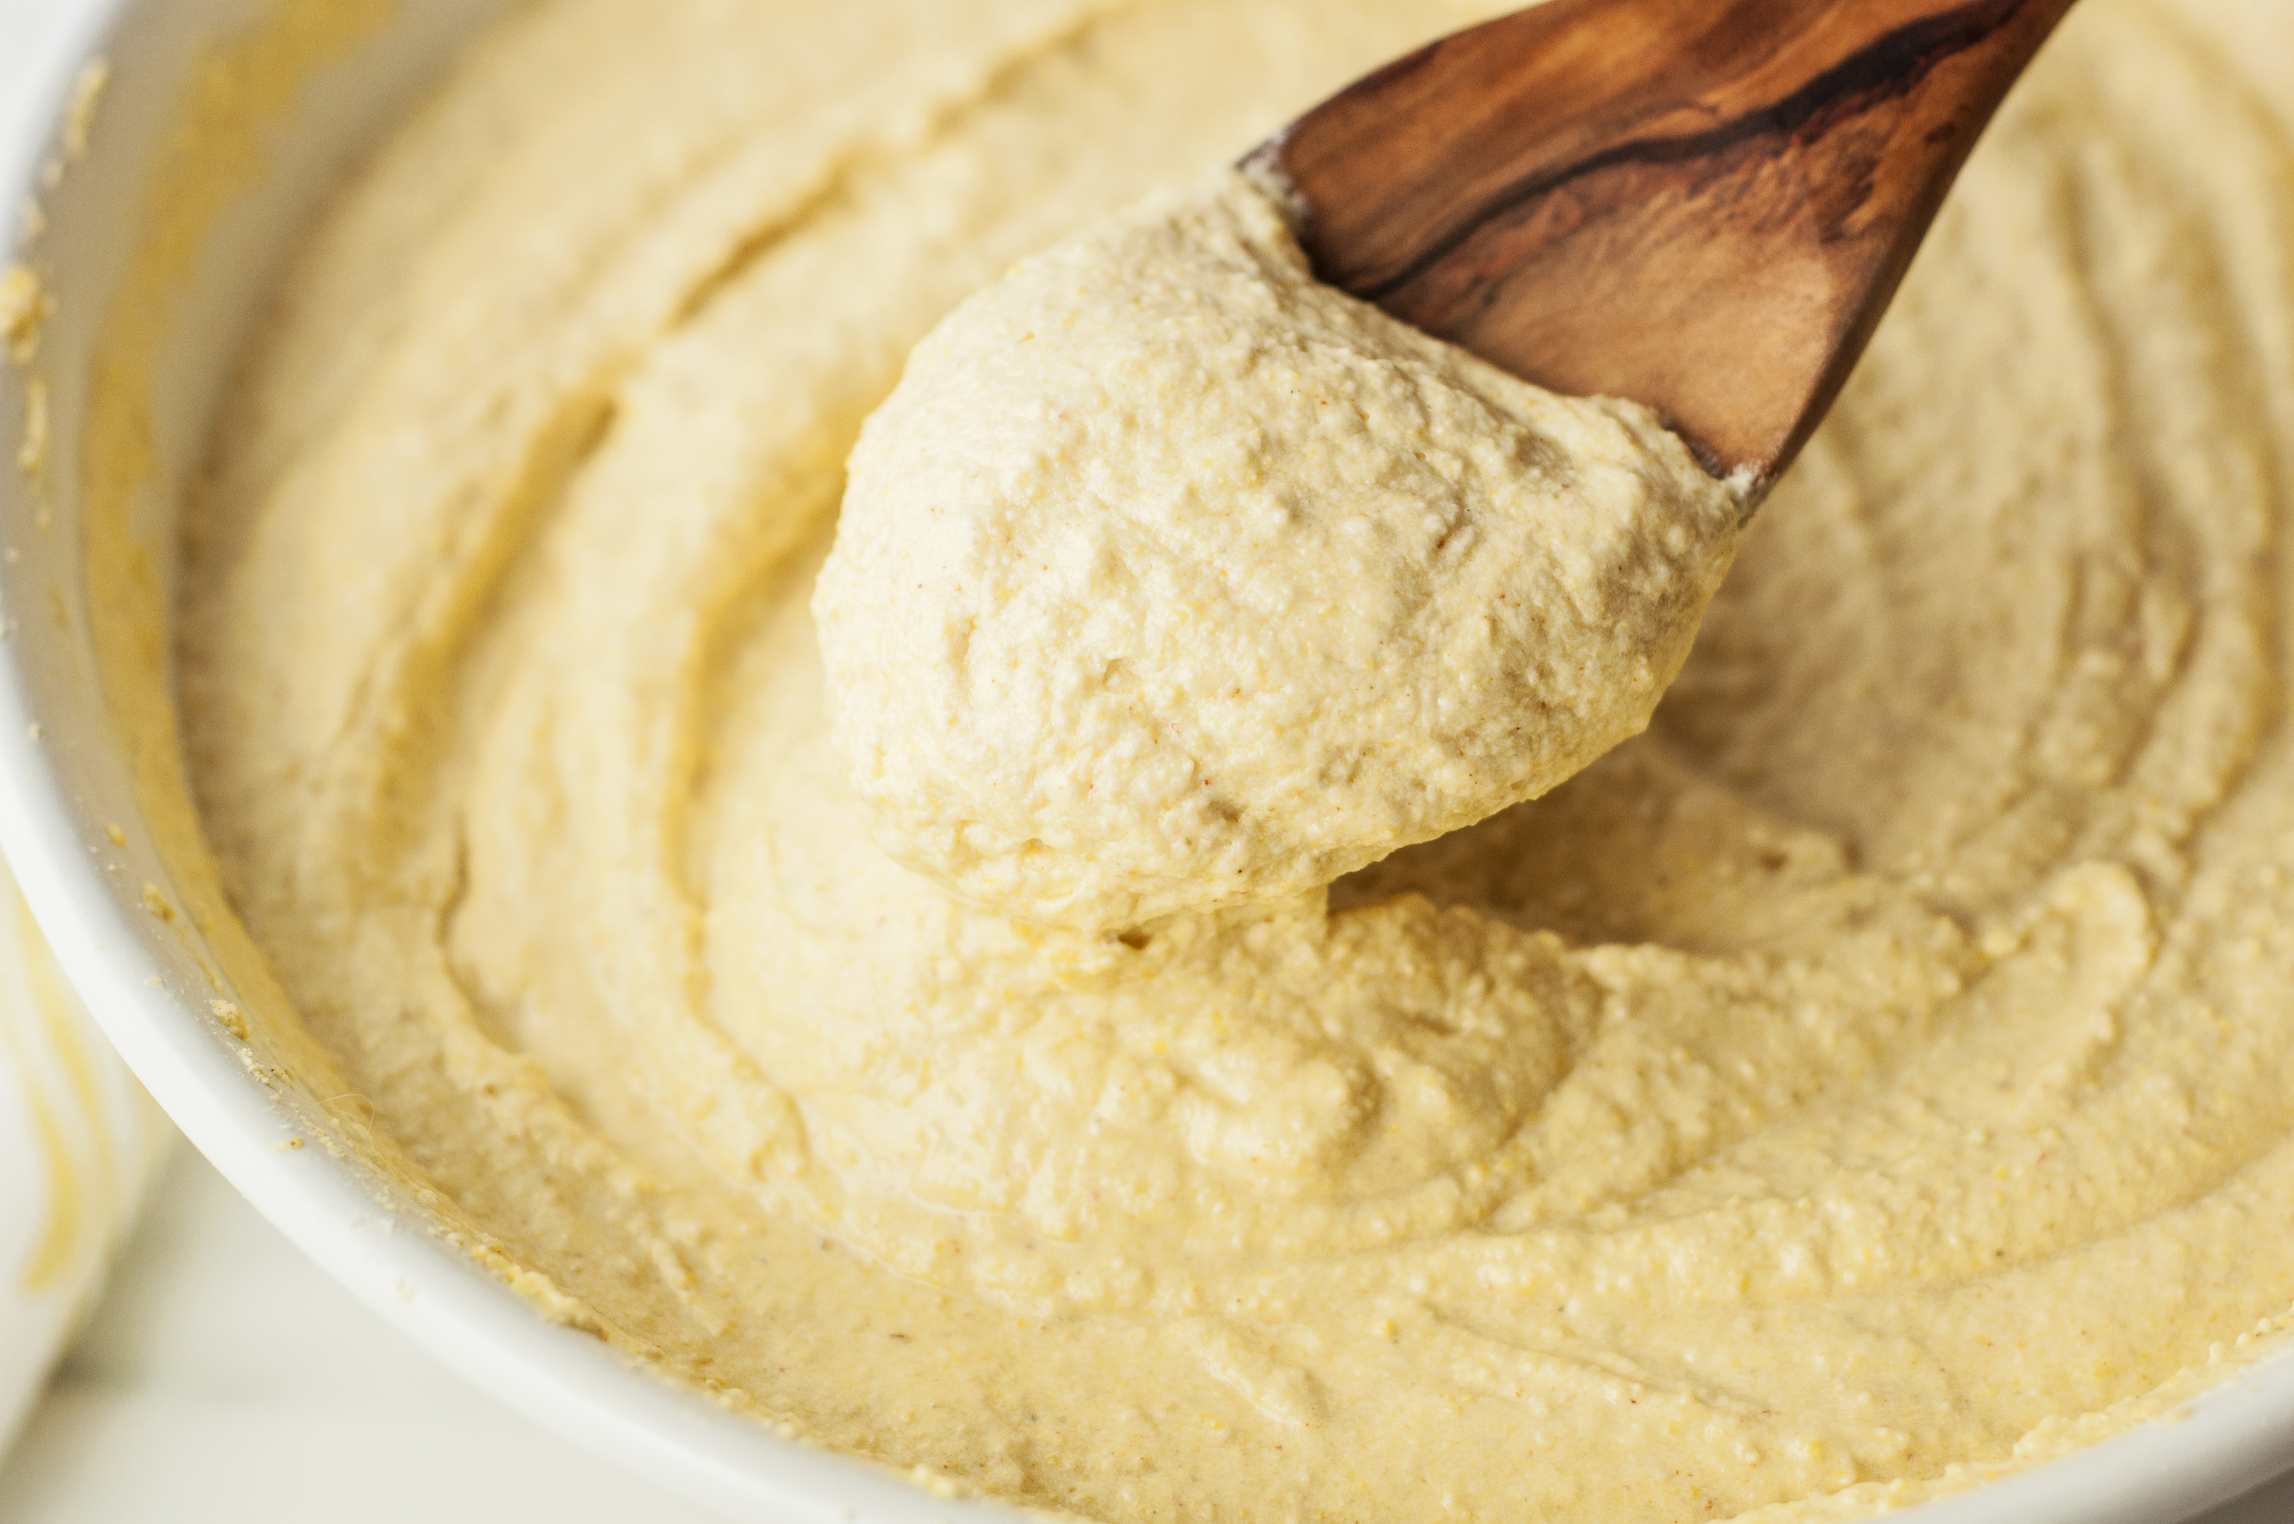
The first step in storing cake pop dough is to mix the cake and frosting together to create a consistent and moldable mixture. Follow these simple steps:
- Crumble the cake: After the cake has cooled completely, use your hands or a fork to crumble it into fine crumbs. Make sure there are no large chunks remaining.
- Add the frosting: Gradually add the frosting to the cake crumbs, starting with a small amount. Mix well using a spoon or spatula until the crumbs and frosting are fully combined. You want a dough that holds together when pressed, but is not overly sticky.
Take your time during this step, as thoroughly mixing the cake and frosting ensures that the flavors are evenly distributed and the dough holds its shape when formed into cake pops.
Step 2: Shaping the Cake Pops
Once you have mixed the cake and frosting together, it’s time to shape the dough into cake pops. Follow these steps to create uniform and perfectly shaped cake pops:
- Scoop the dough: Use a cookie scoop or a tablespoon to scoop out even portions of the dough. This will ensure that each cake pop is the same size.
- Roll the dough: Roll each portion of dough between your palms to create a smooth round shape. Apply gentle pressure to ensure that the dough holds together without cracking.
- Insert the sticks: Gently insert a cake pop stick into the center of each dough ball. Make sure the stick is securely embedded in the dough but not poking through the other side.
By following these steps, you’ll create uniform cake pops that are ready for storage or immediate enjoyment.
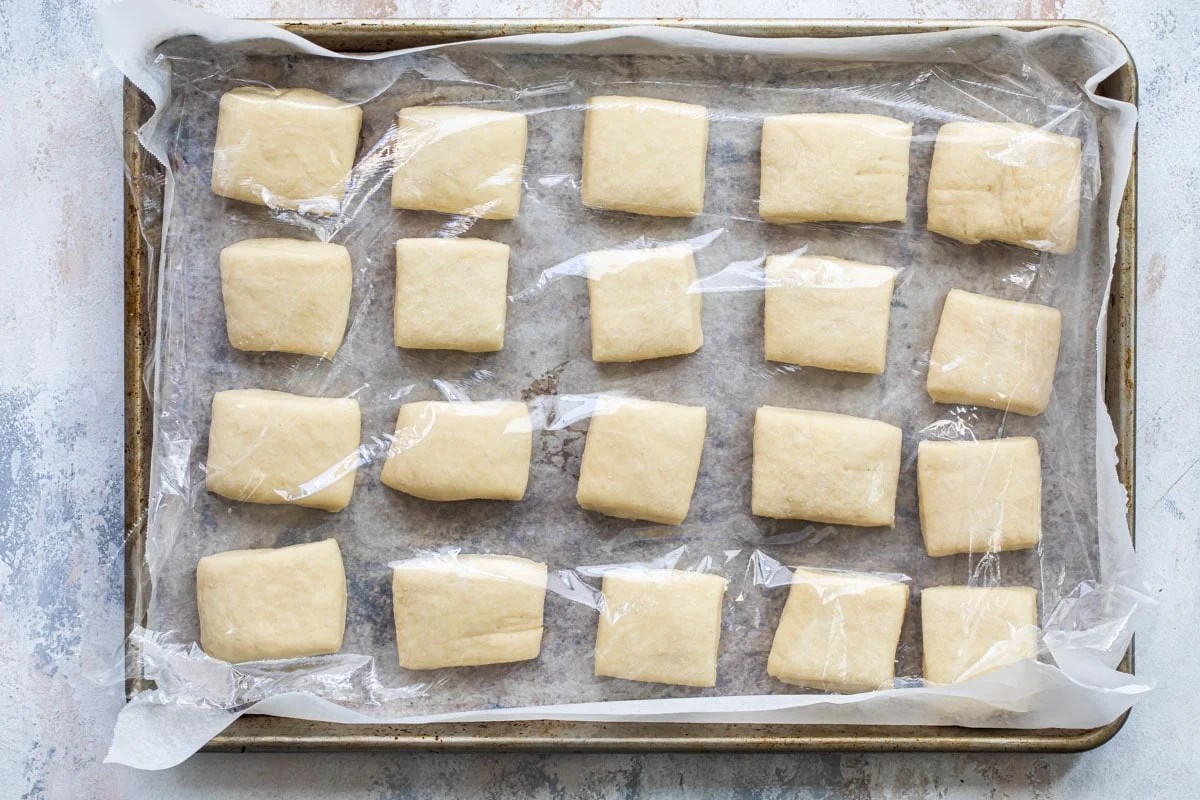
After rolling the cake pop dough into balls, place them on a baking sheet lined with parchment paper and cover with plastic wrap. Store in the refrigerator for up to 2 days before dipping in chocolate and decorating.
Read more: How To Store Popped Popcorn
Step 3: Storing the Dough for Later Use
Now that you have shaped your cake pop dough, it’s time to store it properly for future use. Here’s how to store the dough:
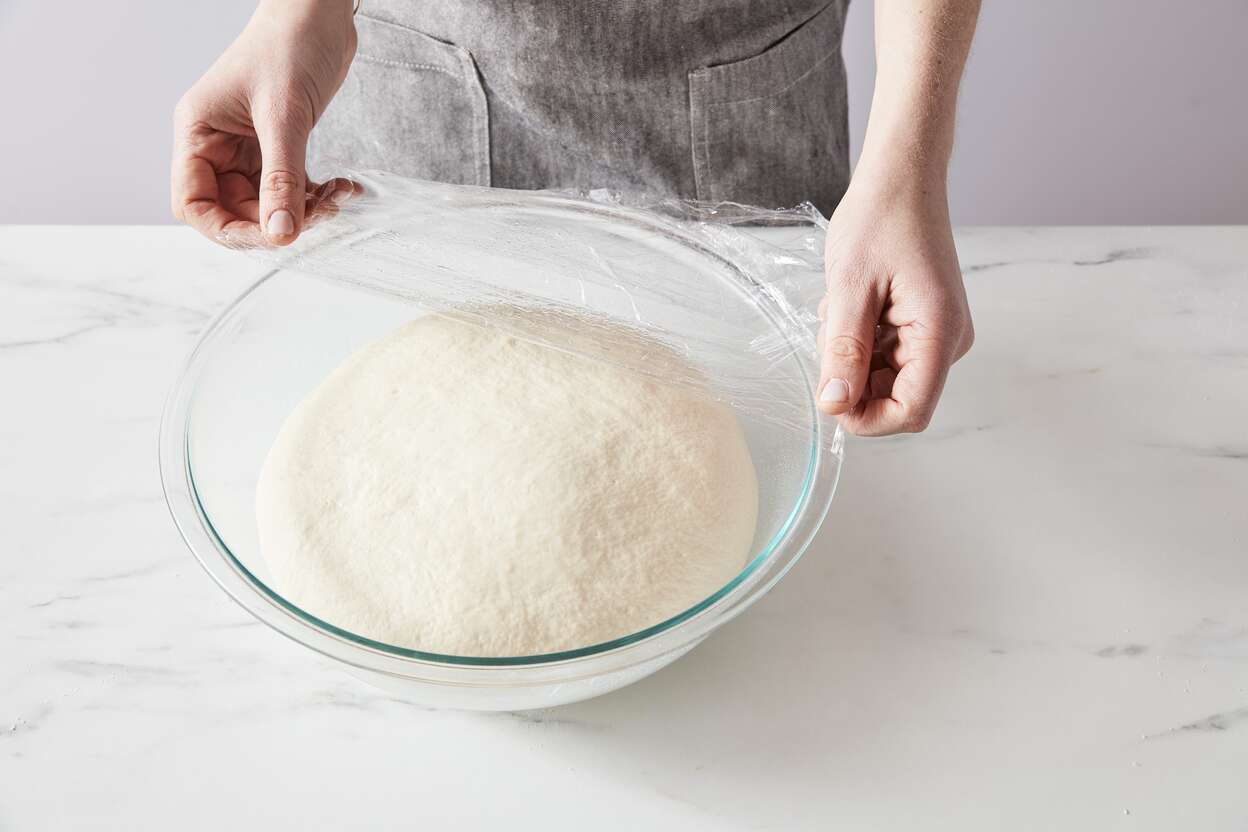
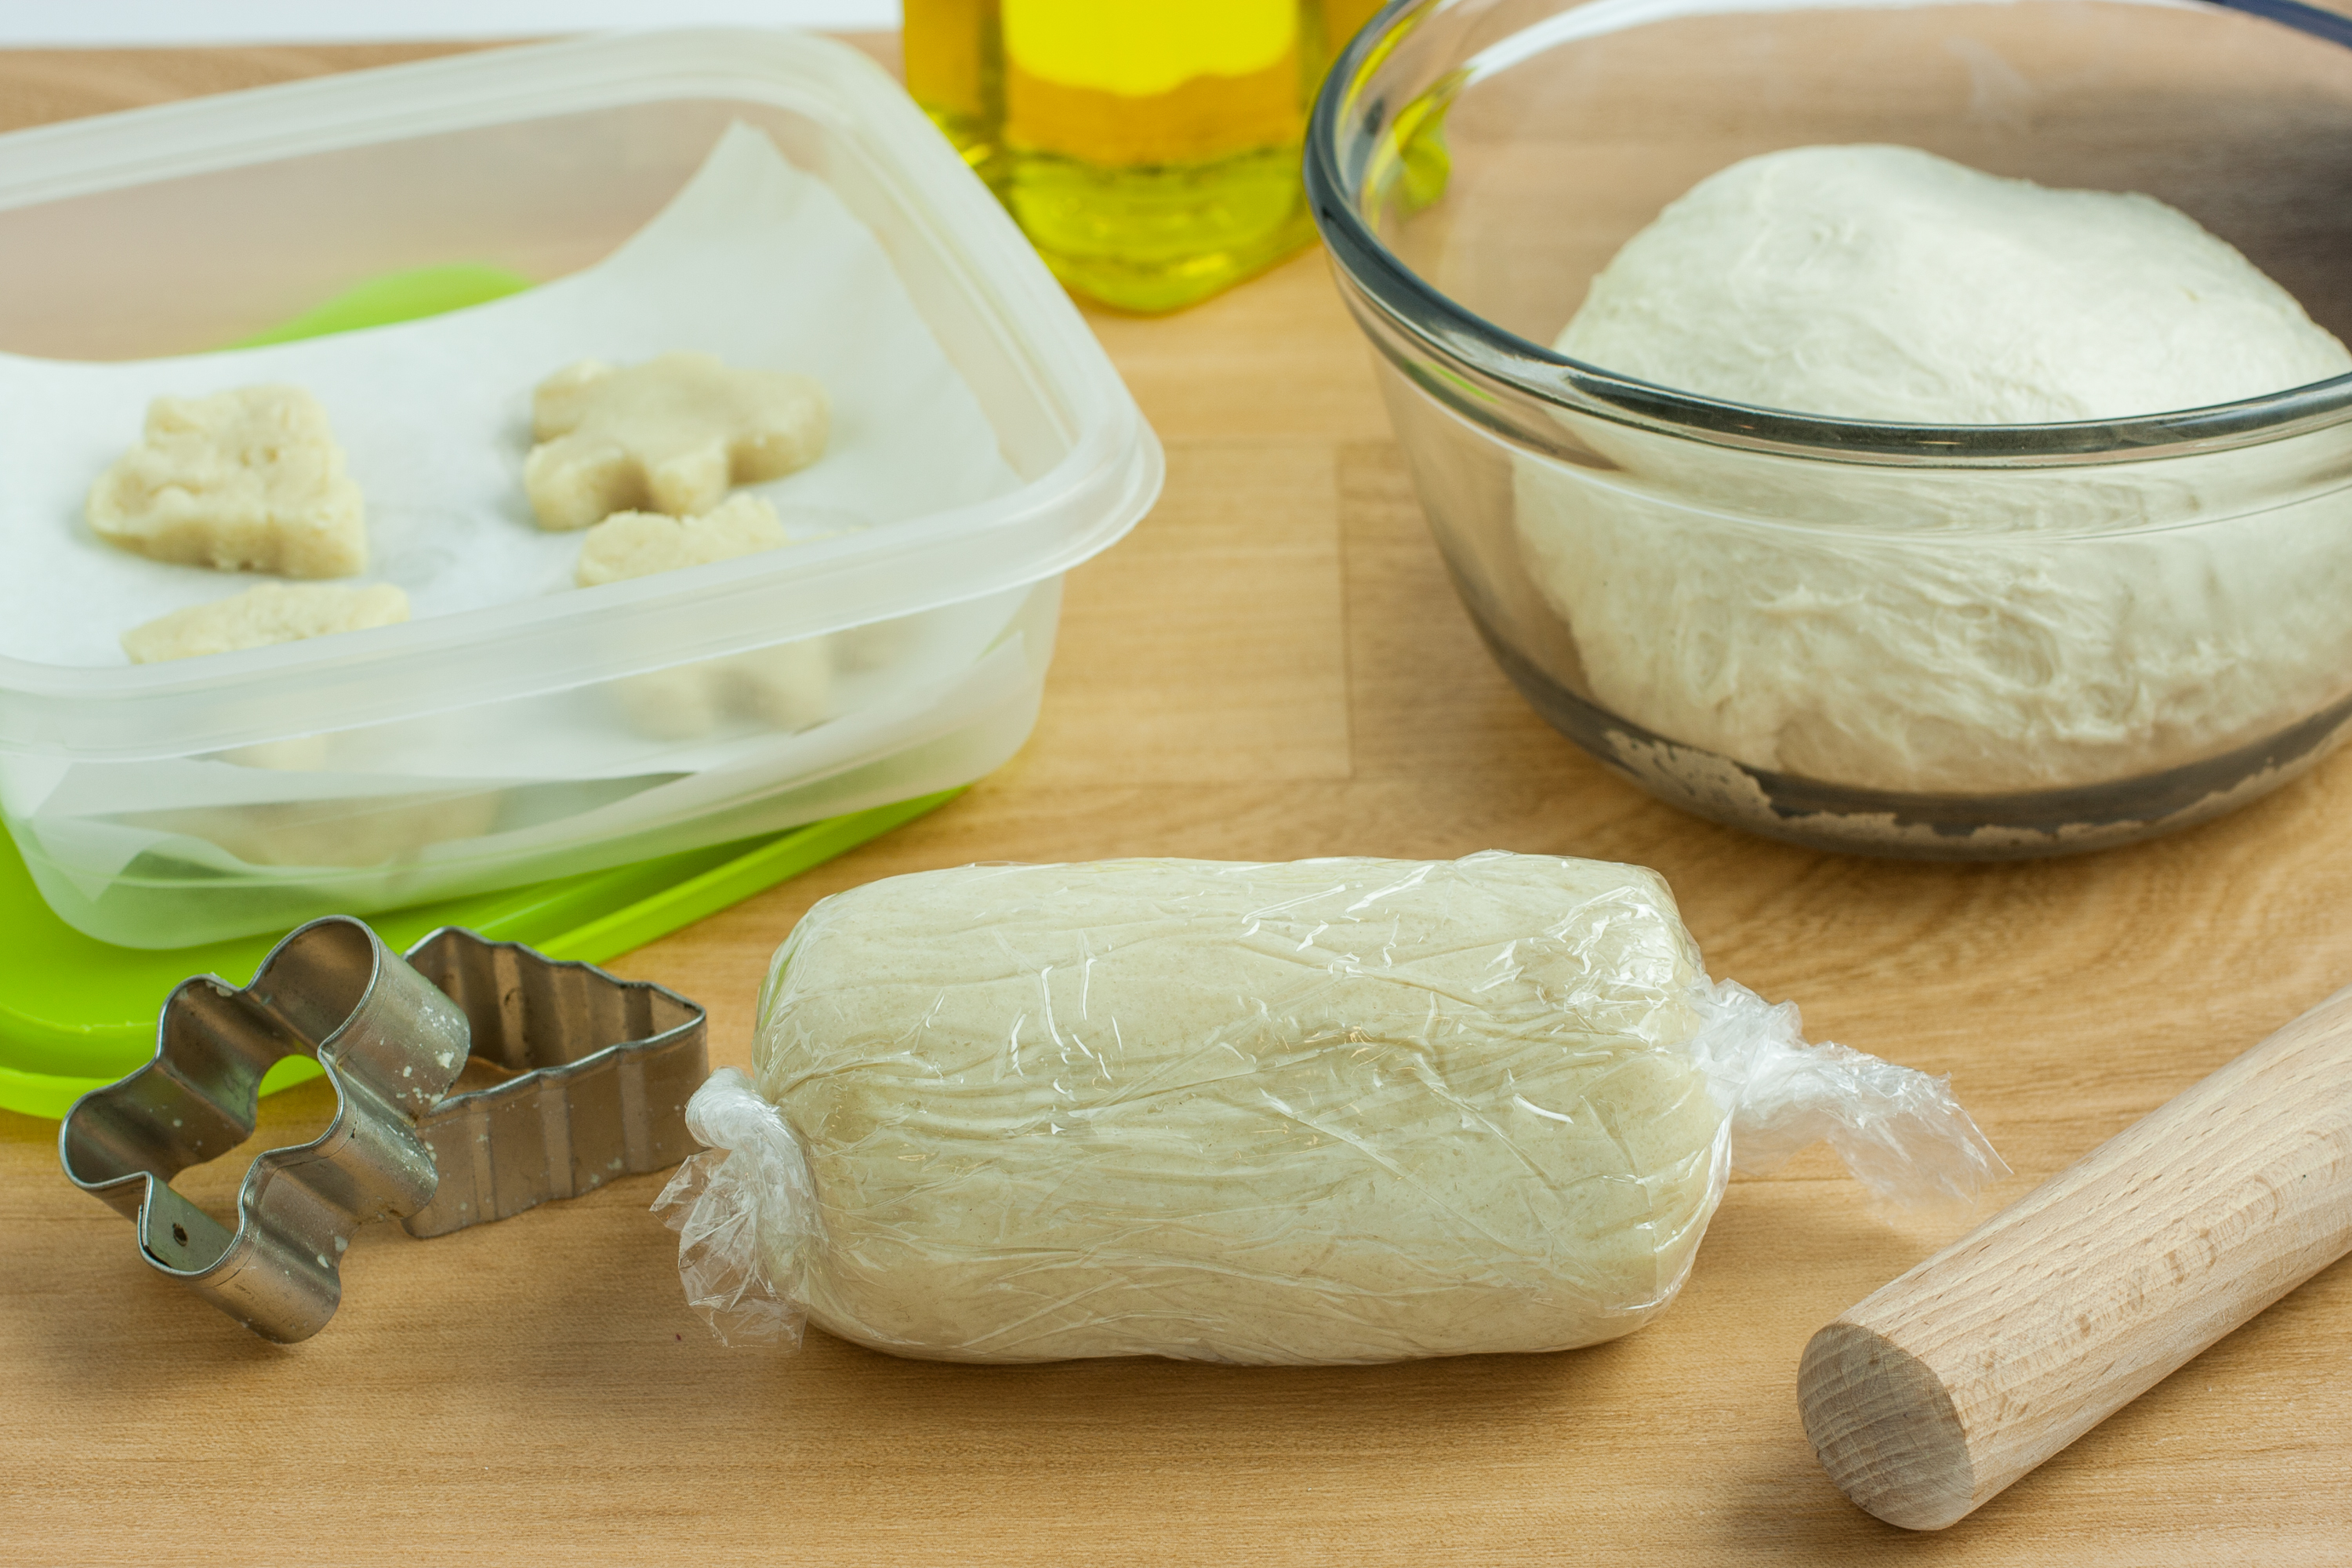
- Wrap the dough: Take each shaped cake pop and wrap it tightly with plastic wrap or cling film. Ensure that the entire surface of the dough is covered to prevent it from drying out.
- Place in a container: Transfer the wrapped cake pops into a resealable freezer bag or an airtight container. Make sure to leave enough space between each cake pop to avoid sticking together.
- Date the dough: Using a marker or a label, write down the date of storage on the bag or container. This will help you keep track of the freshness of the dough.
It’s important to store the cake pop dough in the freezer rather than the refrigerator. Freezing the dough prevents it from spoiling and allows you to store it for an extended period.
Remember, freezing your cake pop dough at this stage allows you to have ready-to-bake pops whenever cravings strike or when you need a quick dessert option for a special occasion.
Step 4: Tips for Freezing Cake Pops
Freezing cake pops is a convenient way to store them for a longer period. Follow these tips to ensure that your frozen cake pops remain fresh and tasty:
- Use airtight packaging: When storing the wrapped cake pops in a freezer bag or container, make sure it is well sealed to prevent any air from entering. This will help maintain the moisture and flavor of the cake pops.
- Separate layers: If you need to stack layers of cake pops in the container, it’s essential to place a sheet of parchment paper or wax paper between each layer. This prevents them from sticking together and makes it easier to remove individual pops when needed.
- Label and rotate: Remember to label the bag or container with the storage date and use a “first in, first out” system. This ensures that older cake pops are used first, maintaining the freshness of your stored dough.
- Storage duration: Cake pop dough can be stored in the freezer for up to 2-3 months. Beyond this period, the texture and flavor might deteriorate.
By following these freezing tips, you can be confident that your cake pops will retain their quality and taste when you’re ready to thaw and enjoy them.
Step 5: Thawing and Decorating Cake Pops
When the time comes to enjoy your frozen cake pops, it’s essential to thaw them properly and add the finishing touches. Follow these steps to thaw and decorate your cake pops:
- Thawing the cake pops: Remove the desired number of cake pops from the freezer and place them in the refrigerator. Allow them to thaw slowly for a few hours or overnight. Thawing in the refrigerator helps prevent condensation and maintains the texture of the cake pops.
- Decorating options: Once the cake pops have fully thawed, it’s time to get creative with the decorations. You can dip them in melted chocolate or candy melts, sprinkle them with colored sugar or sprinkles, or even add edible decorations like miniature fondant shapes or edible glitter.
- Chill for setting: After decorating, place the cake pops in the refrigerator for a short period to allow the chocolate or candy coating to set. This will ensure that the decorations adhere properly to the pops.
Thawing and decorating the cake pops is the final step in the process, transforming them into a visually appealing and delectable treat that is ready to be enjoyed.
Conclusion
Learning how to store cake pop dough is a valuable skill that allows you to enjoy these delightful treats at your convenience. By following the steps outlined in this article, you can ensure that your cake pops remain fresh and delicious for future enjoyment.
Remember to gather the necessary equipment and ingredients, mix the cake and frosting to create the dough, shape the dough into pops, and store them properly in the freezer. Utilize tips like using airtight packaging, separating layers, and labeling for easy rotation. When you’re ready to indulge, thaw the cake pops in the refrigerator, decorate them to your liking, and allow them to set in the fridge once again.
Whether you’re preparing for a special occasion or simply want to have a sweet treat stocked up for yourself or your loved ones, storing cake pop dough efficiently allows you to save time and conveniently satisfy your cravings.
So go ahead and start storing your cake pop dough with confidence. With these tips and techniques, you’ll always have a delightful batch of cake pops ready to be enjoyed whenever you desire.
Frequently Asked Questions about How To Store Cake Pop Dough
Was this page helpful?
At Storables.com, we guarantee accurate and reliable information. Our content, validated by Expert Board Contributors, is crafted following stringent Editorial Policies. We're committed to providing you with well-researched, expert-backed insights for all your informational needs.


0 thoughts on “How To Store Cake Pop Dough”