Articles
How To Store Limes
Modified: February 22, 2024
Learn the best ways to store limes with these informative articles. Keep your limes fresh longer and enjoy their tangy flavor in your favorite recipes.
(Many of the links in this article redirect to a specific reviewed product. Your purchase of these products through affiliate links helps to generate commission for Storables.com, at no extra cost. Learn more)
Introduction
Welcome to our comprehensive guide on how to store limes! Whether you’ve just harvested a bunch of limes from your backyard tree or purchased a large quantity from the grocery store, knowing the proper storage methods is crucial to preserving their freshness and flavor.
Limes are a versatile citrus fruit that can add a tangy and refreshing kick to various dishes and beverages. However, they are also quite perishable and can quickly lose their juiciness and vibrant flavor if not stored correctly.
In this article, we will walk you through the step-by-step process of storing limes to prolong their shelf life and maintain their quality. We’ll cover everything from selecting the freshest limes to choosing the right storage method for your needs. So let’s dive right in!
Key Takeaways:
- Choose firm, heavy, and glossy limes for longer shelf life. Properly prepare, store in the fridge, freeze, or can limes to enjoy their zesty flavor in various recipes and beverages.
- Extend lime freshness by avoiding moisture, direct sunlight, and ethylene-producing fruits. Regularly inspect and rotate stock to minimize wastage and enjoy vibrant, tangy limes year-round.
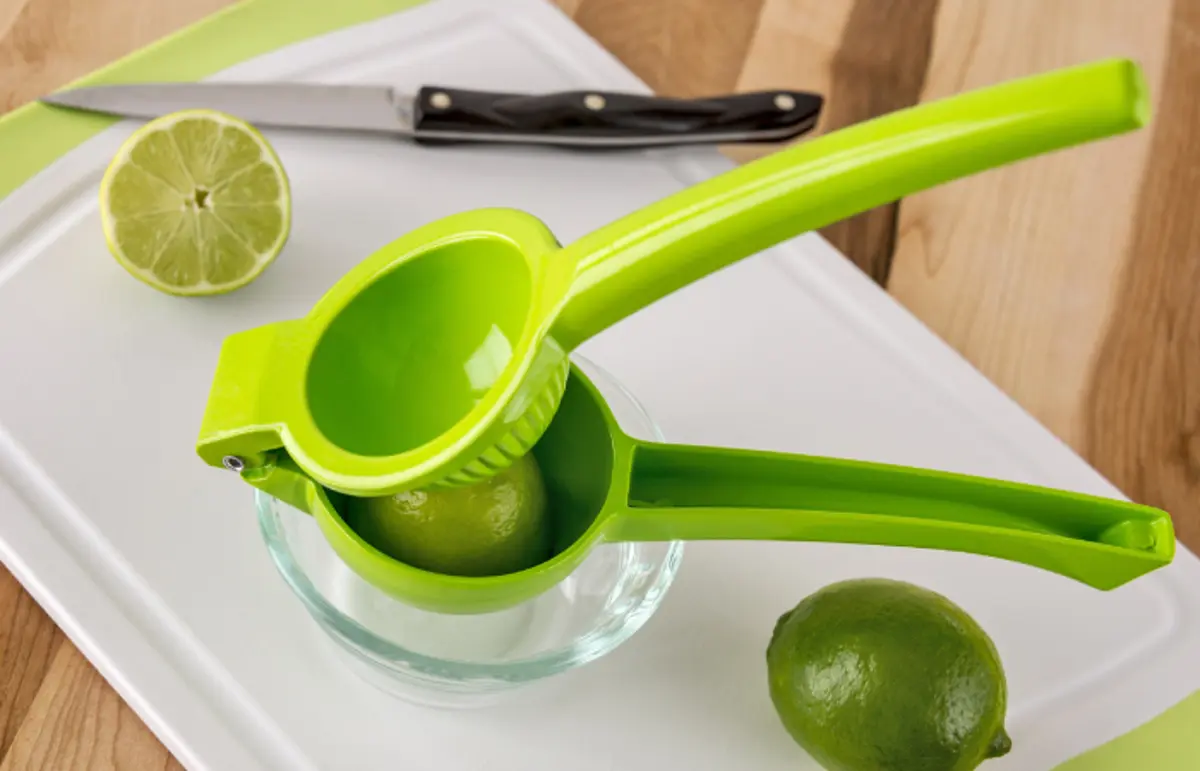
Read more: How To Store Limes In Water
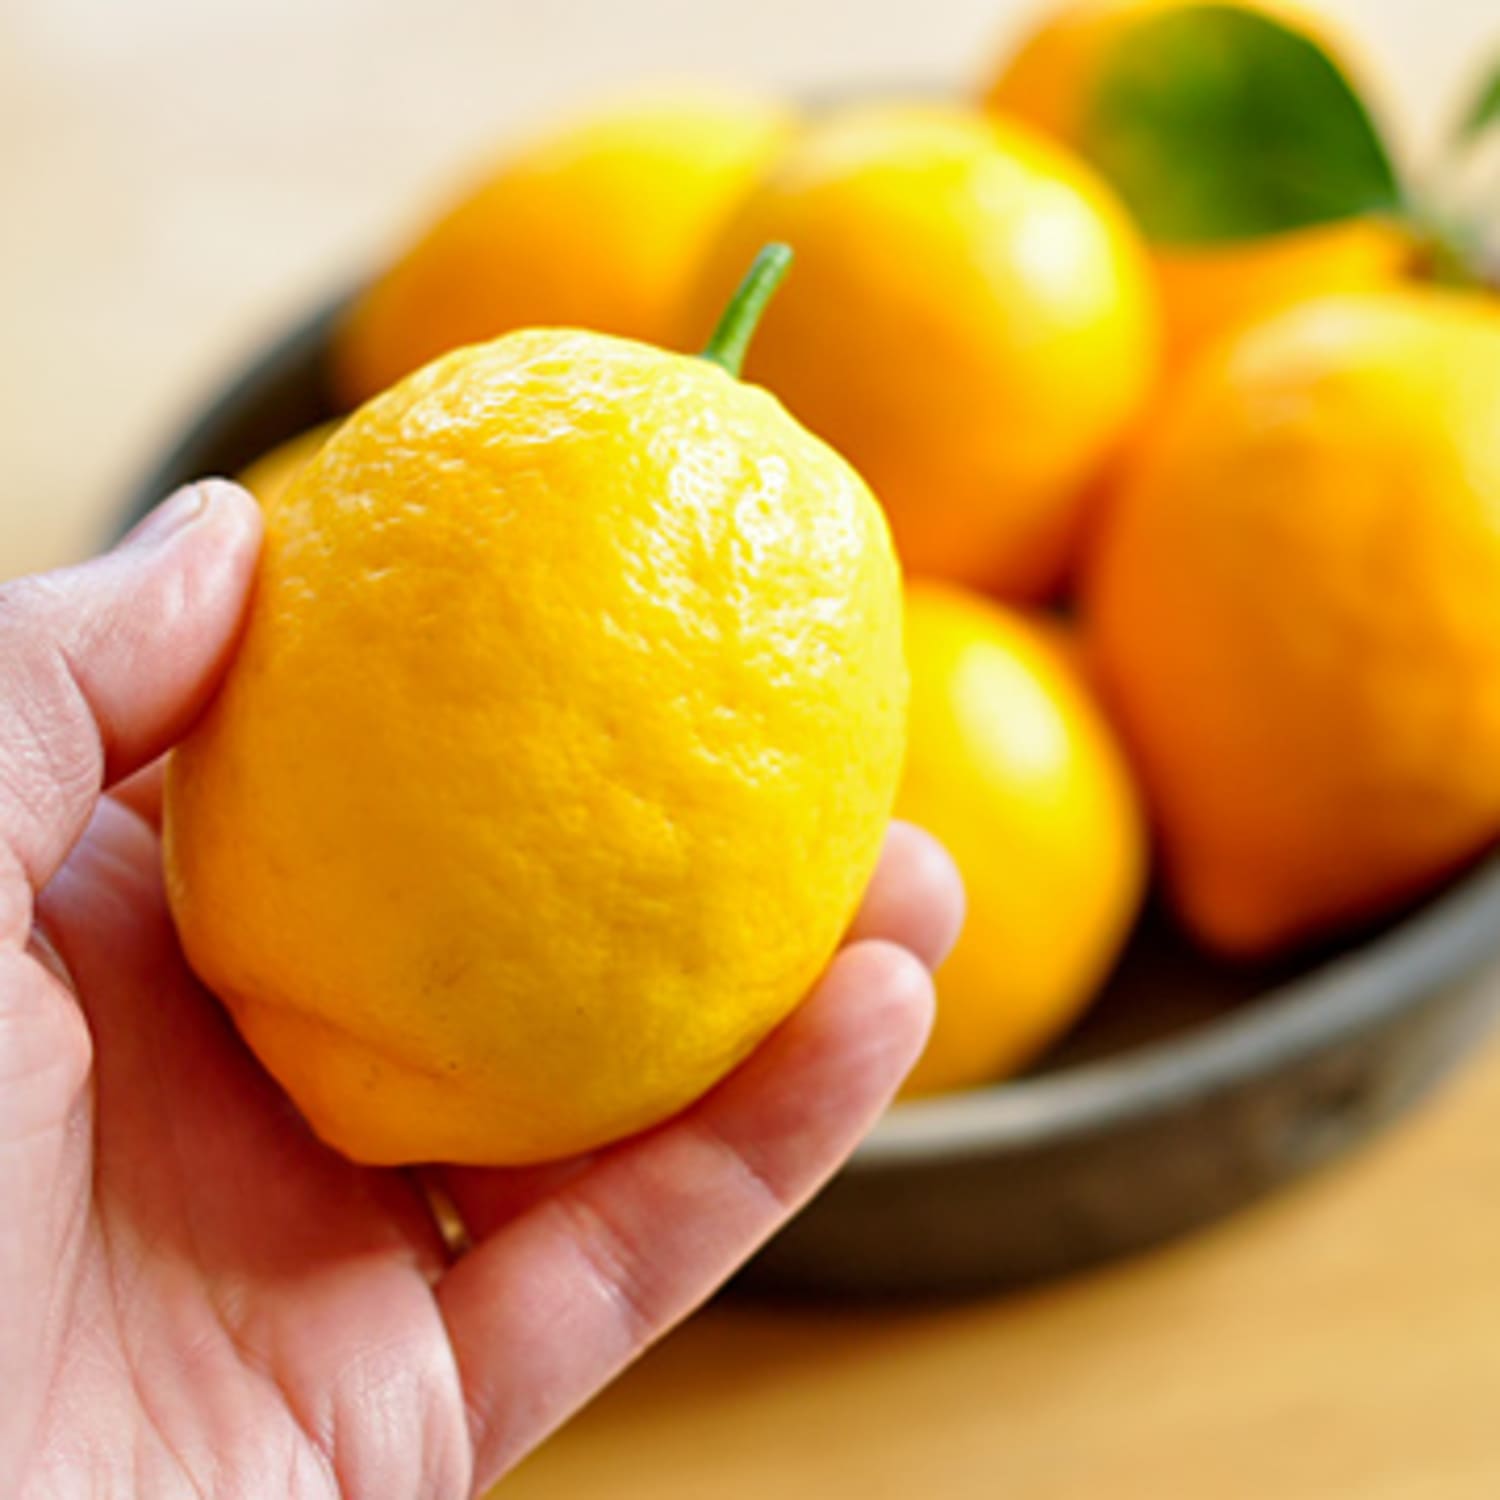
Step 1: Choosing Fresh Limes
When it comes to storing limes, selecting fresh and high-quality fruits is the first and most crucial step. Here are some tips to help you choose the best limes:
- Look for limes that have a bright, glossy skin without any blemishes or soft spots. The skin should feel firm and smooth to the touch.
- Avoid limes with wrinkled or shriveled skin, as this indicates that the fruit is past its prime and may have already started to dry out.
- Choose limes that feel heavy for their size. A heavier lime suggests that it is juicy and packed with flavor.
- Check the aroma of the limes. They should have a fragrant citrus scent, indicating that they are fresh and ripe.
- If possible, opt for organic limes. Organic limes are grown without the use of synthetic pesticides or fertilizers, making them a healthier choice.
Remember, fresh limes will have a longer shelf life and will retain their flavor and juiciness for a more extended period. So take your time to carefully select the best limes for storage.
Step 2: Preparing Limes for Storage
Before storing limes, it’s essential to prepare them properly to ensure optimal freshness. Here are the steps to follow:
- Wash the limes: Rinse the limes under cool water to remove any dirt, debris, or residue on the skin. Gently scrub the skin with a soft brush to eliminate any stubborn dirt.
- Dry the limes: After washing, pat the limes dry with a clean towel or paper towel. Excess moisture can promote mold or spoilage, so make sure the limes are thoroughly dried.
- Sort and inspect: Take a moment to inspect each lime individually. Discard any limes that show signs of mold, soft spots, or other damage. Sorting them before storage helps prevent the spread of decay to other limes.
- Leave the skins intact: It’s best to store limes with their skin intact, as this helps retain moisture and flavor. Avoid peeling or cutting the limes before storage, unless you plan to use them immediately.
- Optional: Remove stickers or labels: If your limes have any stickers or labels, it’s a good idea to remove them before storing. The adhesive from stickers can trap moisture and affect the quality of the fruit.
By properly preparing your limes, you can ensure that they are clean, dry, and free from any issues that could impact their freshness during storage.
Step 3: Choosing the Right Storage Method
Now that you have fresh and prepared limes, it’s time to decide on the most suitable storage method based on your needs and preferences. Here are three common storage methods for limes:
- Fridge Storage: Storing limes in the refrigerator is a popular choice as it helps to prolong their shelf life. Place the limes in a perforated plastic bag or airtight container to prevent moisture loss. The cool temperature of the fridge will slow down the ripening process and help maintain the limes’ freshness for up to two weeks.
- Freezing Limes: Freezing is an excellent option if you have a surplus of limes or want to have them on hand for longer periods. Start by squeezing out the lime juice and transferring it into ice cube trays. Once frozen, transfer the lime cubes into a freezer bag or container. Alternatively, you can freeze whole limes by placing them directly in the freezer. Frozen limes can be stored for up to six months.
- Canning Limes: Canning is a great way to preserve limes for an extended period. Start by sterilizing canning jars and lids. Slice the limes or cut them into wedges, packing them into the jars tightly. Prepare a solution of water, sugar, and lime juice, and pour it over the limes, leaving some headspace. Seal the jars and process them in a water bath canner according to the instructions. Canned limes can last up to a year.
Consider your storage needs, the quantity of limes you have, and how you plan to use them in deciding which storage method is best for you.
It’s worth noting that while limes can also be stored at room temperature like other citrus fruits, they will have a shorter shelf life and may lose their juiciness and flavor more quickly.
Choose the storage method that aligns with your preferences and enjoy the zesty freshness of limes whenever you need them.
Method 1: Fridge Storage
Storing limes in the refrigerator is a popular and easy method to extend their shelf life. Follow these steps for optimal fridge storage:
- Prepare the limes: Wash and dry the limes thoroughly as mentioned earlier in the article. This ensures that they are clean and free from any dirt or residue.
- Choose the right container: Select airtight containers or plastic bags that are perforated to allow proper air circulation. This helps prevent moisture buildup while maintaining the freshness of the limes.
- Organize the limes: Place the limes in a single layer inside the container or bag. It’s best not to stack them on top of each other to prevent bruising or damage to the fruits.
- Store in the refrigerator: Find a designated spot in your refrigerator to store the limes. Ideally, this should be a cooler area with a consistent temperature, such as the crisper drawer.
- Avoid placing near strong odors: Limes can absorb odors from other strong-smelling foods. Keep them away from items like onions or garlic to prevent flavor contamination.
- Regularly check and rotate: Periodically check the limes for any signs of spoilage, such as mold or soft spots. If you notice any spoiled limes, remove them immediately to prevent the decay from spreading to others.
When stored in the refrigerator, limes can generally maintain their freshness for up to two weeks. However, keep in mind that their flavor and juiciness may deteriorate over time. So it’s best to use them as soon as possible for the most vibrant and zesty experience.
Fridge storage is a convenient option if you prefer to have readily available limes for your recipes, beverages, or garnishes. Enjoy the tangy and refreshing taste of fresh limes straight from your fridge!
Store limes at room temperature for up to a week, or in the refrigerator for up to 2 weeks. To extend their shelf life, you can also freeze lime juice in ice cube trays for later use.
Read more: How To Store Limes In Freezer
Method 2: Freezing Limes
Freezing limes is an excellent option if you have a surplus of limes or want to extend their shelf life for future use. Follow these steps to freeze limes:
- Prepare the limes: Wash the limes thoroughly and dry them with a clean towel. This removes any dirt or residue on the skin.
- Squeeze the juice (optional): If you primarily use lime juice in your recipes, it’s best to extract the juice before freezing. Cut the limes in half and squeeze out the juice into a container or ice cube trays.
- Freeze the juice: If you’ve extracted the juice, pour it into ice cube trays and place them in the freezer. Once the juice is frozen, transfer the lime cubes into a freezer bag or container. This allows you to easily portion out the required amount of lime juice for your recipes.
- Freeze whole limes: If you prefer to freeze whole limes, place them directly into freezer bags or airtight containers. It’s recommended to wrap each lime individually in plastic wrap to prevent freezer burn. This method is ideal if you plan to use the limes for their zest or as a garnish.
- Label and date: Properly label the freezer bags or containers with the contents and the date of freezing. This helps you keep track of the freshness of the limes and avoid any confusion later on.
- Store in the freezer: Place the freezer bags or containers in the coldest part of your freezer, usually the back or the bottom shelf. This ensures a consistent temperature and helps maintain the quality of the frozen limes.
Frozen limes can be kept in the freezer for up to six months. When you’re ready to use them, simply thaw the frozen limes in the refrigerator overnight or use them directly in your recipes if they will be cooked or blended.
Freezing limes allows you to have a convenient supply of lime juice or whole limes available whenever you need them. Whether it’s for cocktails, marinades, or baking, frozen limes are a versatile and practical option. Enjoy the tangy goodness of limes all year round!
Method 3: Canning Limes
Canning limes is a fantastic way to preserve their flavor and enjoy them for an extended period. Here’s how you can can limes:
- Prepare the limes: Wash the limes thoroughly and pat them dry with a clean towel. Remove any stickers or labels from the skin.
- Sterilize the jars: Place the canning jars and their lids in a large pot of boiling water. Let them boil for about 10 minutes to ensure they are properly sterilized.
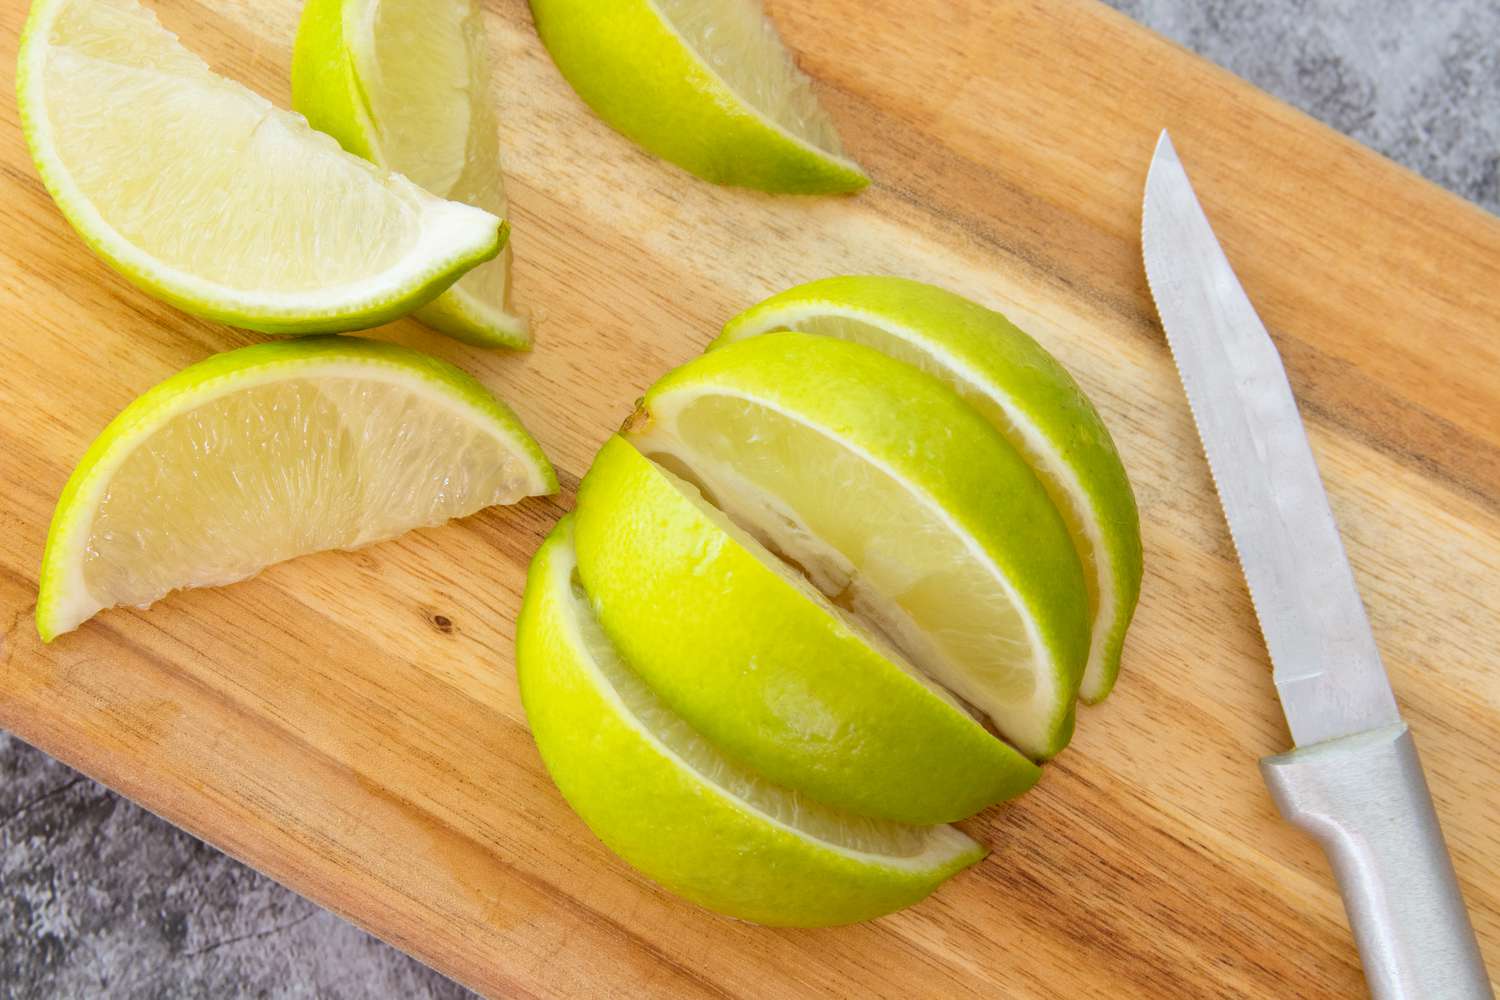
- Slice or wedge the limes: Depending on your preference, you can either slice the limes crosswise into thin rounds or cut them into wedges. Remove any seeds or pith if desired.
- Pack the jars: Take the sterilized jars out of the boiling water and fill them tightly with the sliced or wedged limes. Leave a 1/2-inch headspace at the top of each jar.
- Prepare the canning syrup: In a separate pot, combine water, sugar, and freshly squeezed lime juice. Bring the mixture to a boil and stir until the sugar dissolves. Adjust the sweetness according to your preference.
- Fill the jars with syrup: Pour the hot syrup over the limes in each jar, ensuring that the limes are completely submerged. Leave the 1/2-inch headspace mentioned earlier.
- Remove air bubbles: Use a clean utensil, such as a wooden chopstick, to remove any air bubbles trapped in the jar. This ensures better preservation and prevents spoilage.
- Seal the jars: Wipe the jar rims to remove any residue. Place the sterilized lids on top of the jars and screw the bands on until they are just tight.
- Process the jars: Submerge the filled jars in a water bath canner and process them according to the recommended processing time for limes. This usually ranges from 10 to 15 minutes.
- Cool and store: Once the processing time is complete, carefully remove the jars from the canner and place them on a towel to cool. As they cool down, you should hear the satisfying sound of the lids sealing.
- Label and store: Once the jars are completely cooled, label them with the contents and date before storing them in a cool, dark place. Canned limes can last for up to a year.
Canned limes are perfect for various culinary uses, including pies, tarts, beverages, and more. They offer a burst of tangy flavor even long after the lime season has passed. Enjoy the convenience of having preserved limes at your fingertips!
Step 4: Storing Cut Limes
When you have leftover cut limes or have used only a portion of a lime, it’s important to store them properly to maintain their freshness. Here’s how to store cut limes:
- Wrap the cut side: If you have cut a lime in half or into wedges, wrap the exposed cut side tightly with plastic wrap or place it in an airtight container. This helps prevent moisture loss and stops the lime from drying out.
- Refrigerate the cut limes: Place the wrapped or container-enclosed cut limes in the refrigerator. It’s best to use them within a couple of days to ensure optimal flavor and juiciness.
- Consider using airtight containers: If you frequently have leftover cut limes, consider investing in small airtight containers. These containers prevent air and moisture from coming into contact with the cut limes, helping to maintain their quality for a longer period.
- Label and date the containers: To keep track of the freshness of the cut limes, label the containers with the contents and date of storage. This will help you determine when to use them before they start to deteriorate in quality.
- Inspect before use: Before using the stored cut limes, inspect them for any signs of spoilage, such as mold or an unpleasant odor. If they appear to be spoiled or have an off-putting smell, it’s best to discard them.
While storing cut limes can help extend their usability, it’s always recommended to use them as soon as possible for the best flavor and juiciness. If you consistently find that you have leftover cut limes, consider adjusting your recipes or portioning to minimize waste.
Now that you know how to properly store cut limes, you can continue to enjoy their zesty flavor even after they have been cut!
Step 5: Tips for Extending Lime Shelf Life
To maximize the shelf life of limes and ensure they stay fresh and flavorful for as long as possible, consider the following tips:
- Avoid direct sunlight: Limes are sensitive to heat and light. Store them in a cool and dark place, away from direct sunlight, to slow down the ripening process and prevent premature spoilage.
- Avoid moisture: Excess moisture can lead to mold or decay. Make sure the limes are dry before storing them and avoid storing them in humid environments in order to prolong their freshness.
- Separate from other fruits: Some fruits produce ethylene gas, a natural ripening agent. Keep limes separate from such fruits, such as apples or bananas, as the ethylene gas can speed up the ripening and spoilage of the limes.
- Use proper storage containers: Whether you are storing limes in the refrigerator or freezer, use appropriate containers that are airtight or permeable to maintain freshness and prevent odor absorption.
- Rotate your stock: When storing multiple batches of limes, use the older ones first to prevent any wastage. This practice ensures that you always have fresh limes available and reduces the chances of them going bad.
- Consider canning or freezing: If you have a large quantity of limes, consider canning them or freezing the juice or whole limes. These methods can greatly extend their shelf life and preserve their flavor for future use.
- Do a regular check: Periodically inspect your stored limes for any signs of spoilage, such as mold, soft spots, or a foul smell. Remove any spoiled limes immediately to prevent the spread of decay to the rest of the batch.
By following these tips, you can extend the shelf life of your limes and ensure they remain fresh, juicy, and full of flavor. Enjoy the tangy zest of limes in your favorite recipes for an extended period!
Read more: How To Store A Cut Lime
Conclusion
Storing limes properly is essential to preserve their freshness and flavor, allowing you to enjoy their tangy zing in various recipes and beverages. By following the steps and tips outlined in this comprehensive guide, you can extend the shelf life of your limes and minimize wastage. Whether you choose to store them in the fridge, freeze them, or can them, each method offers its own advantages depending on the quantity of limes and your intended usage.
Remember, when selecting limes, opt for ones that are firm, glossy, and heavy for their size. Properly preparing the limes by washing and drying them, as well as removing any stickers or labels, is crucial before storing. And when it comes to storing cut limes, wrapping them tightly or using airtight containers is key to maintaining their freshness.
By implementing the tips for extending lime shelf life, such as avoiding moisture, keeping them away from direct sunlight, and regularly inspecting your stored limes, you can ensure that they stay at their best for as long as possible. And don’t forget to label and date your storage containers to stay organized and track their freshness.
Whether you’re using limes for garnishes, marinades, baked goods, or refreshing drinks, having a supply of fresh limes on hand is invaluable. With the knowledge gained from this guide, you can confidently store and preserve your limes, making them a staple in your culinary adventures all year round.
So go ahead and enjoy the vibrant and tangy flavor of limes in your favorite dishes and drinks, knowing that you have mastered the art of properly storing them!
Frequently Asked Questions about How To Store Limes
Was this page helpful?
At Storables.com, we guarantee accurate and reliable information. Our content, validated by Expert Board Contributors, is crafted following stringent Editorial Policies. We're committed to providing you with well-researched, expert-backed insights for all your informational needs.


0 thoughts on “How To Store Limes”