Articles
How To Lime Wash Interior Walls
Modified: January 5, 2024
Discover the ultimate guide on how to lime wash interior walls. Read our informative articles and learn the step-by-step process for achieving a stunning whitewashed effect.
(Many of the links in this article redirect to a specific reviewed product. Your purchase of these products through affiliate links helps to generate commission for Storables.com, at no extra cost. Learn more)
Introduction
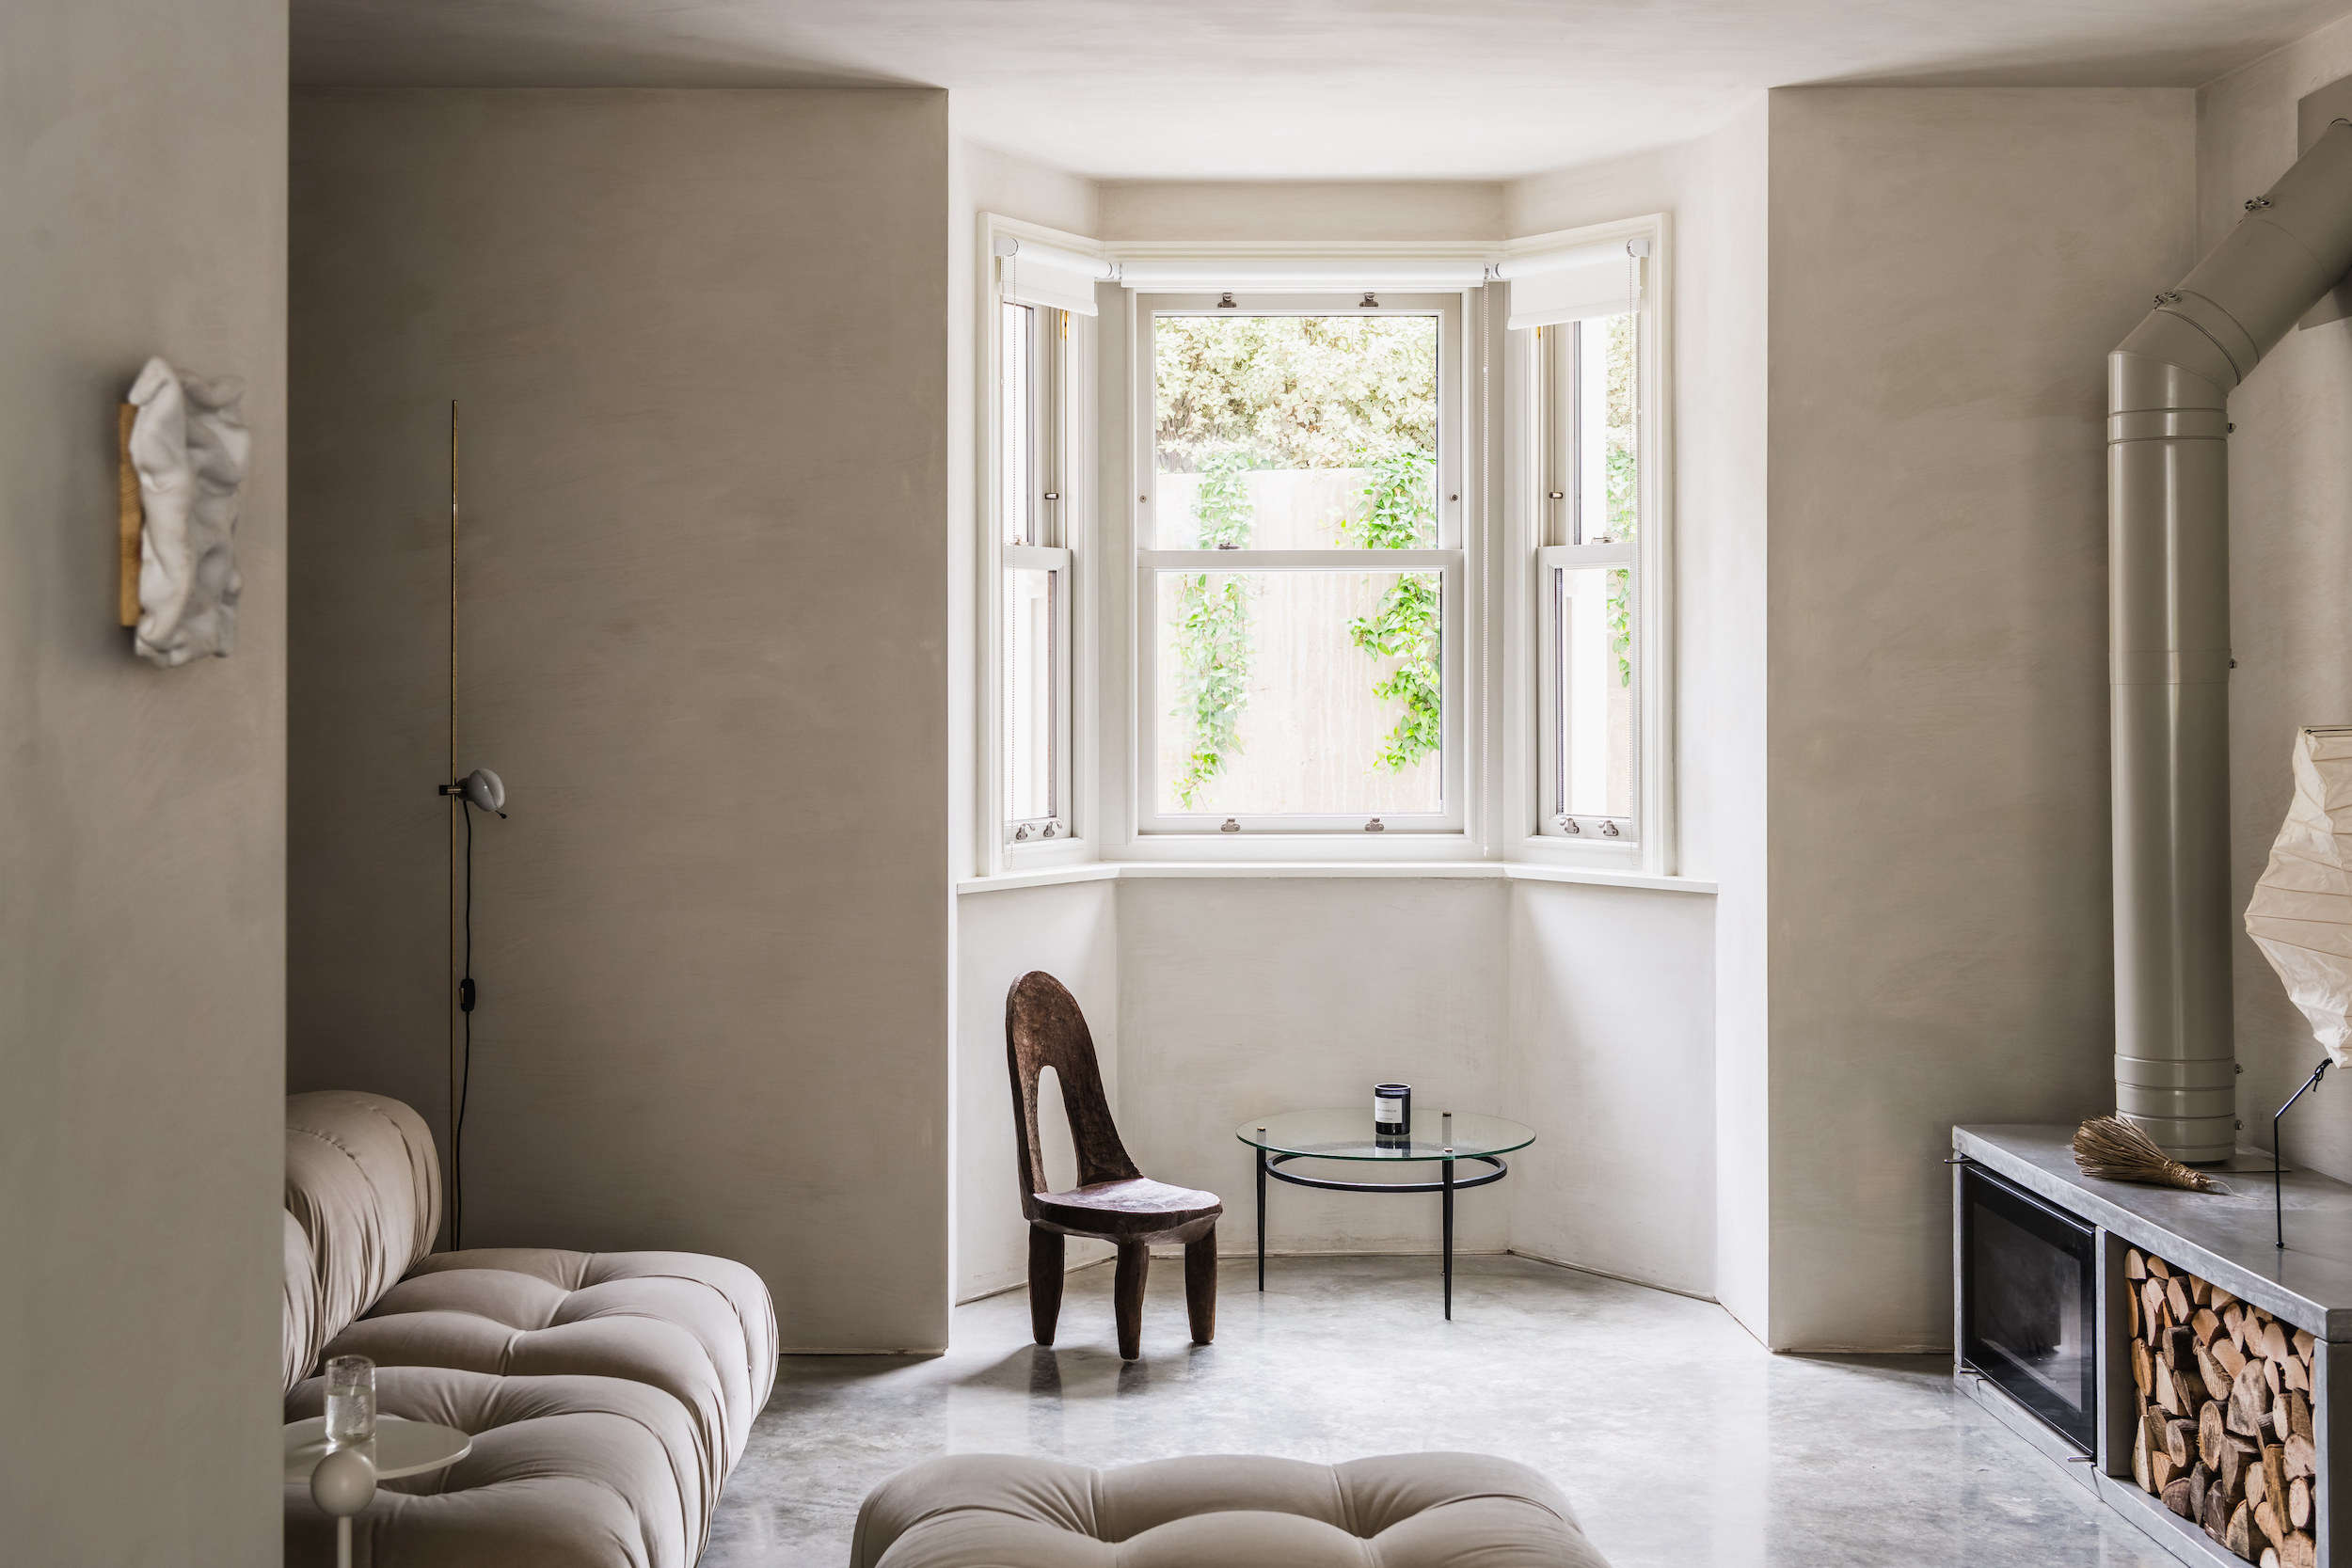
Welcome to the world of interior design! When it comes to decorating your home, choosing the right wall treatment can make a significant difference. One popular and timeless option is the art of lime washing. Lime washing not only adds a unique and stylish finish to your walls but also offers a plethora of benefits that you won’t find with other wall treatments.
If you’re looking to transform the look and feel of your interior space, while also embracing an environmentally friendly and natural solution, lime washing is the perfect choice. In this article, we will explore what lime wash is, the benefits it offers, how to choose the right lime wash, how to prepare your walls and mix the lime wash solution, how to apply it, and how to care for lime wash walls.
So, grab a cup of tea and let’s dive into the world of lime wash!
Key Takeaways:
- Embrace the timeless beauty of lime wash for interior walls, offering a natural, eco-friendly, and breathable finish that develops a unique patina over time, adding character and charm to any space.
- Transform your interior space with lime wash, a versatile and sustainable wall treatment that provides a soft, matte finish, antibacterial properties, and ease of application, creating a timeless and elegant aesthetic.
Read more: How To Cover Stucco Interior Walls
What is Lime Wash?
Lime wash is a traditional painting technique that has been used for centuries as a means of beautifying and protecting interior and exterior walls. It is made from a combination of slaked lime, water, and natural pigments. The mixture is then applied to walls with a brush, creating a soft, matte finish that allows the texture of the underlying surface to show through.
Unlike other types of wall paints, lime wash is breathable, which means it allows moisture to pass through the walls. This quality makes it ideal for older buildings with solid walls that may not have a damp-proof course. Lime wash also has natural anti-bacterial and anti-fungal properties, ensuring a healthier and cleaner indoor environment.
One of the unique features of lime wash is its ability to create a timeless and aged look. Over time, the lime wash will subtly change its appearance, developing a beautiful patina that adds character and depth to the walls. This natural weathering process is highly desired by many homeowners and interior designers.
In addition to its aesthetic appeal, lime wash is also an environmentally friendly choice. It is made from natural ingredients that are non-toxic and biodegradable, making it a safe option for both you and the environment.
Whether you’re renovating an old farmhouse or simply looking to add some charm to your modern home, lime wash is a versatile and sustainable option that can transform any space.
Benefits of Lime Wash
Lime wash offers a wide range of benefits that make it a popular choice among homeowners and interior designers. Let’s take a look at some of the key advantages of using lime wash as a wall treatment:
1. Natural and Eco-Friendly: Lime wash is made from natural ingredients such as lime, water, and pigments. It is a non-toxic and biodegradable option that is safe for both your family and the environment.
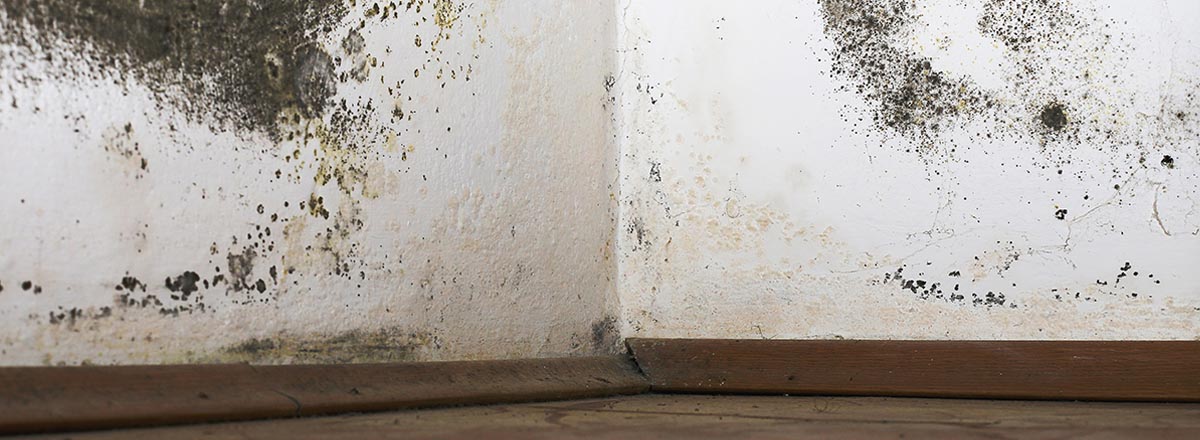
2. Breathable: Lime wash allows the walls to breathe, which means it allows moisture to pass through. This breathability helps prevent the buildup of moisture and mold, resulting in a healthier living environment.
3. Antibacterial and Antifungal Properties: Lime wash has natural properties that inhibit the growth of bacteria and fungi. This makes it an excellent choice for rooms where cleanliness is crucial, such as kitchens and bathrooms.
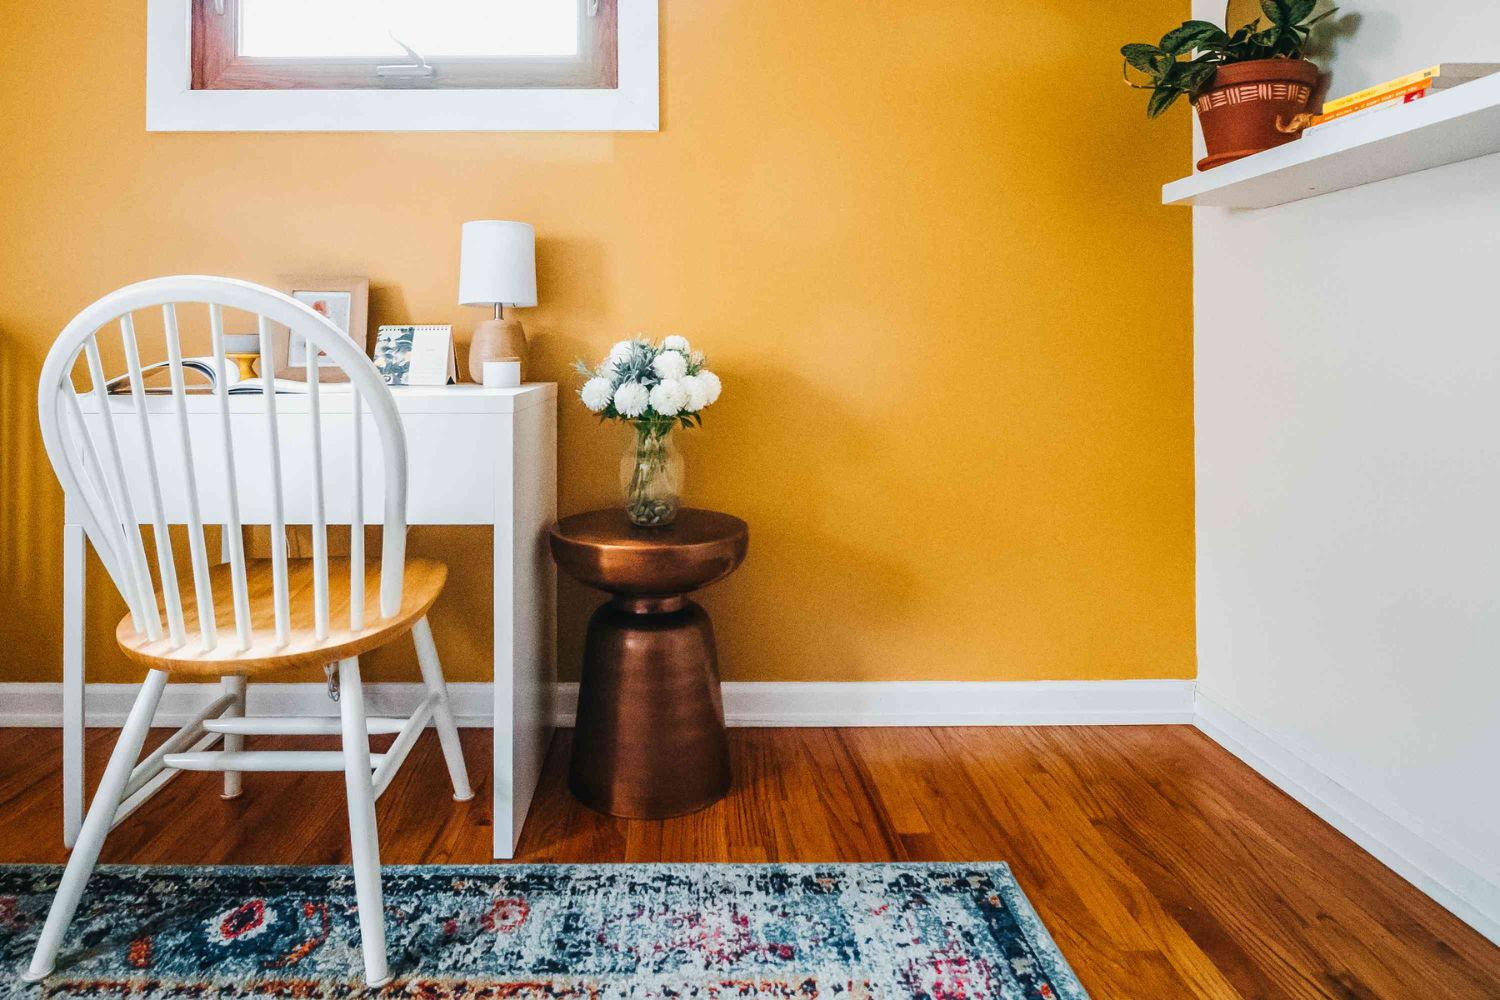
4. Timeless and Aged Look: Lime wash develops a beautiful patina over time, giving the walls a unique and aged appearance. This adds character and warmth to any interior space, creating a sense of history and charm.
5. Soft and Matte Finish: Lime wash creates a gentle, matte finish that adds a touch of elegance to any room. It has a subtle texture that allows the underlying surface to show through, adding depth and dimension to the walls.
6. Ease of Application: Lime wash is relatively easy to apply, making it accessible to DIY enthusiasts. It can be applied with a brush or a sprayer, depending on the desired effect. The application process allows for creativity and experimentation, giving you the opportunity to customize the look of your walls.
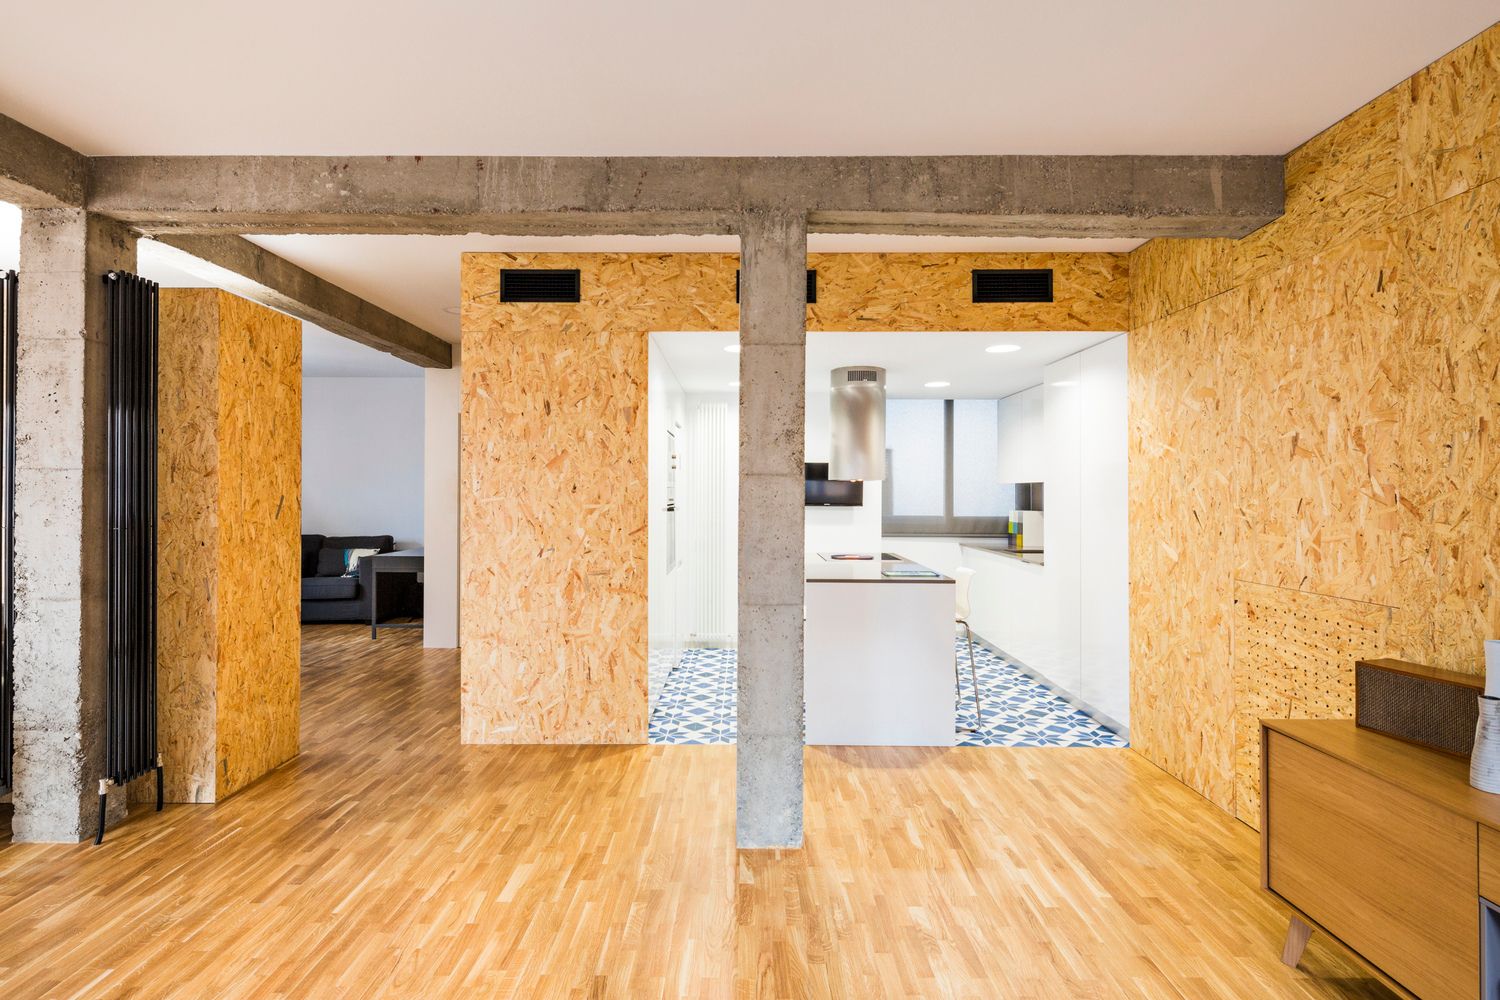
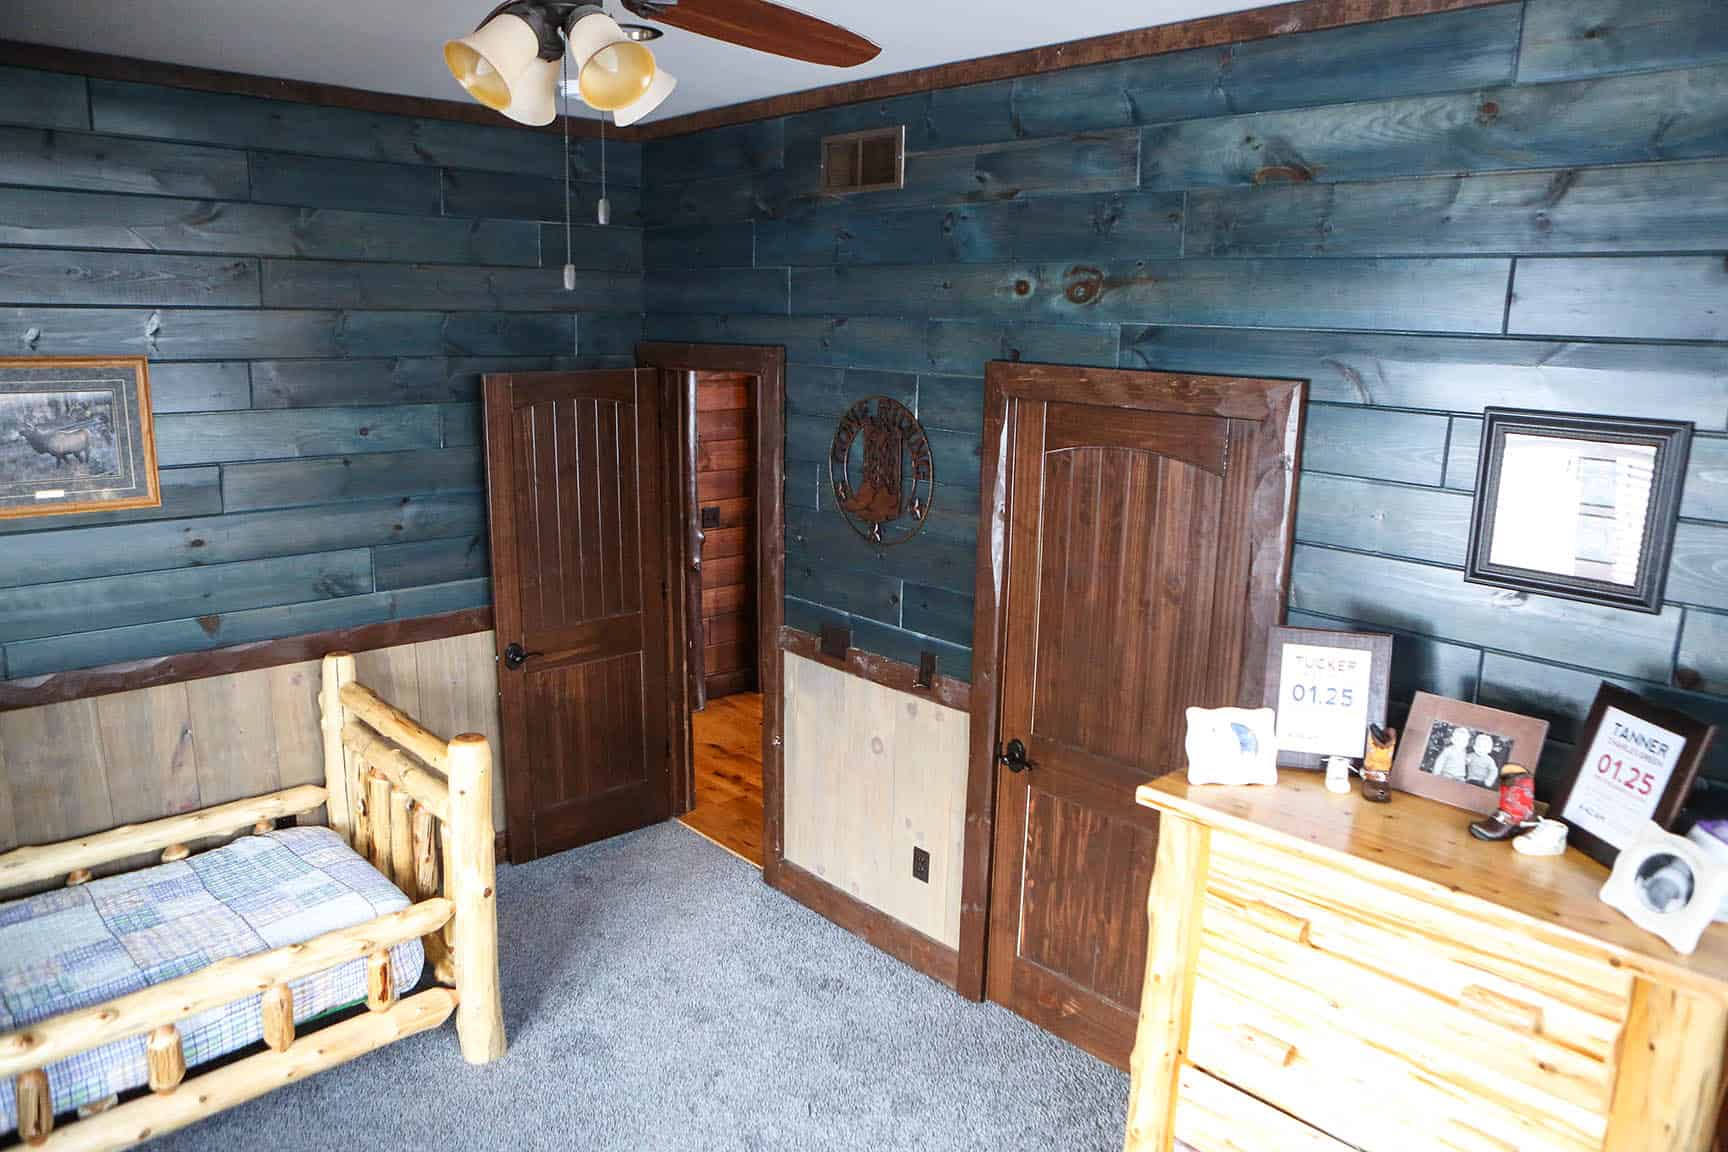
7. Versatility: Lime wash can be used on a variety of surfaces, including plaster, brick, stone, and even wood. This versatility allows you to use lime wash throughout your home, creating a cohesive and harmonious look.
8. Repairable: In the event of any damage or wear over time, lime wash can be easily repaired by simply reapplying the mixture to the affected area. This makes it a cost-effective and practical choice in the long run.
Overall, lime wash offers a unique blend of aesthetic appeal, sustainability, and practicality. With its numerous benefits, it’s no wonder that lime wash continues to be a cherished wall treatment option for homeowners around the world.
Choosing the Right Lime Wash
When it comes to choosing the right lime wash for your interior walls, there are a few factors to consider. Here are some important considerations to keep in mind:
1. Type of Lime: There are two main types of lime used in lime wash: hydrated lime and natural hydraulic lime. Hydrated lime is more commonly available and easier to work with, while natural hydraulic lime offers better adhesion and durability. Consider your specific needs and preferences when deciding which type to use.
2. Pigments: Lime wash can be mixed with various natural pigments to add color and beauty to your walls. Think about the color scheme you want to achieve and choose pigments accordingly. Keep in mind that lime wash tends to produce softer and more muted hues compared to traditional wall paints.
3. Opacity: Lime wash comes in different levels of opacity, ranging from translucent to opaque. Consider the amount of coverage you desire on your walls. If you want the underlying surface to show through, opt for a more translucent lime wash. If you prefer a more solid and opaque look, choose a thicker mixture.
4. Texture: Lime wash can be applied in various textures, depending on your preference. Some people prefer a smoother finish, while others enjoy a more textured appearance. Experiment with different application techniques to achieve the desired texture, such as using a brush for a stippled effect or a roller for a smoother finish.
5. Sample Testing: Before committing to a particular lime wash, it’s a good idea to test it on a small section of your wall. This will give you a sense of how the color, opacity, and texture will look in your space. Additionally, consider how the lime wash interacts with different wall surfaces, as the final result can vary depending on the material.
6. Quality and Reputation: Research and choose a reputable brand or supplier to ensure the quality of the lime wash. Read reviews, seek recommendations, and look for certifications or endorsements that demonstrate the product’s performance and reliability.
7. Budget: Consider your budget when selecting a lime wash. Prices can vary depending on the brand, type of lime, and quantity needed. Keep in mind that investing in high-quality lime wash may result in better longevity and overall satisfaction.
Remember, the choice of lime wash is a personal one, and it should align with your overall design vision and preferences. Take your time to explore different options, consult with experts if needed, and most importantly, enjoy the process of selecting the perfect lime wash for your interior walls.
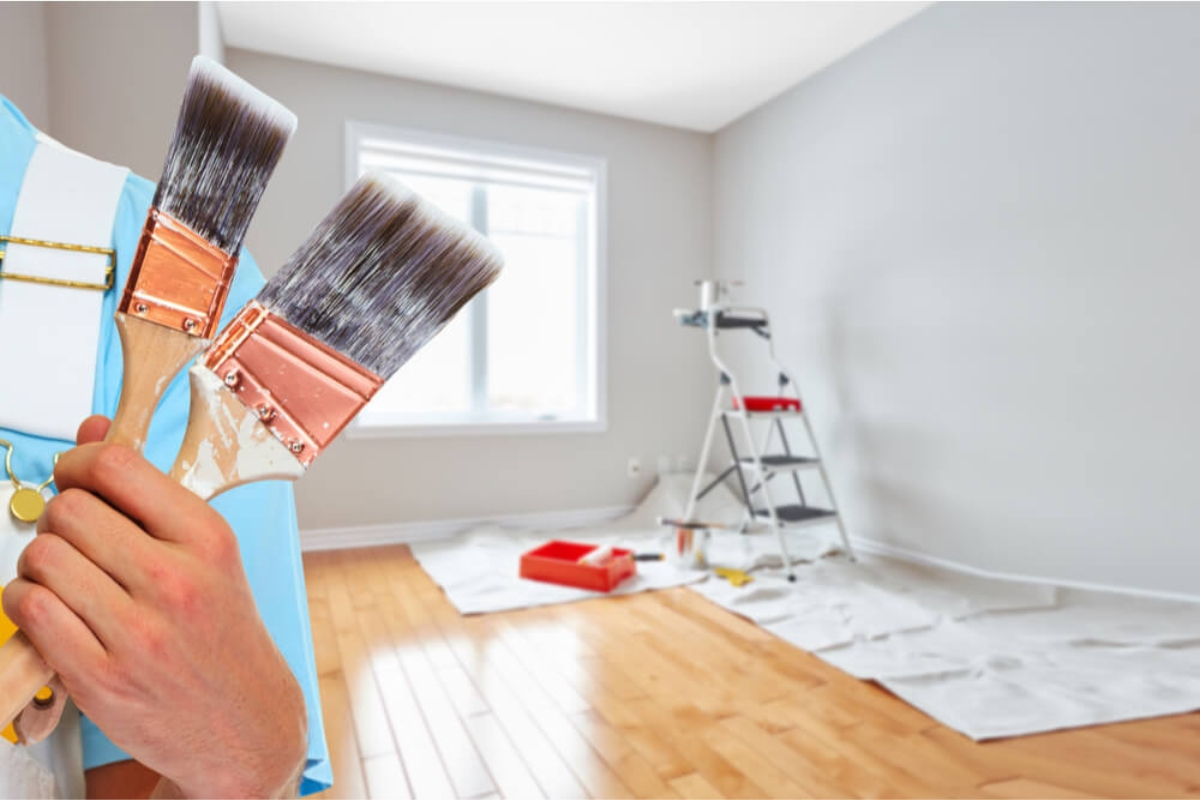
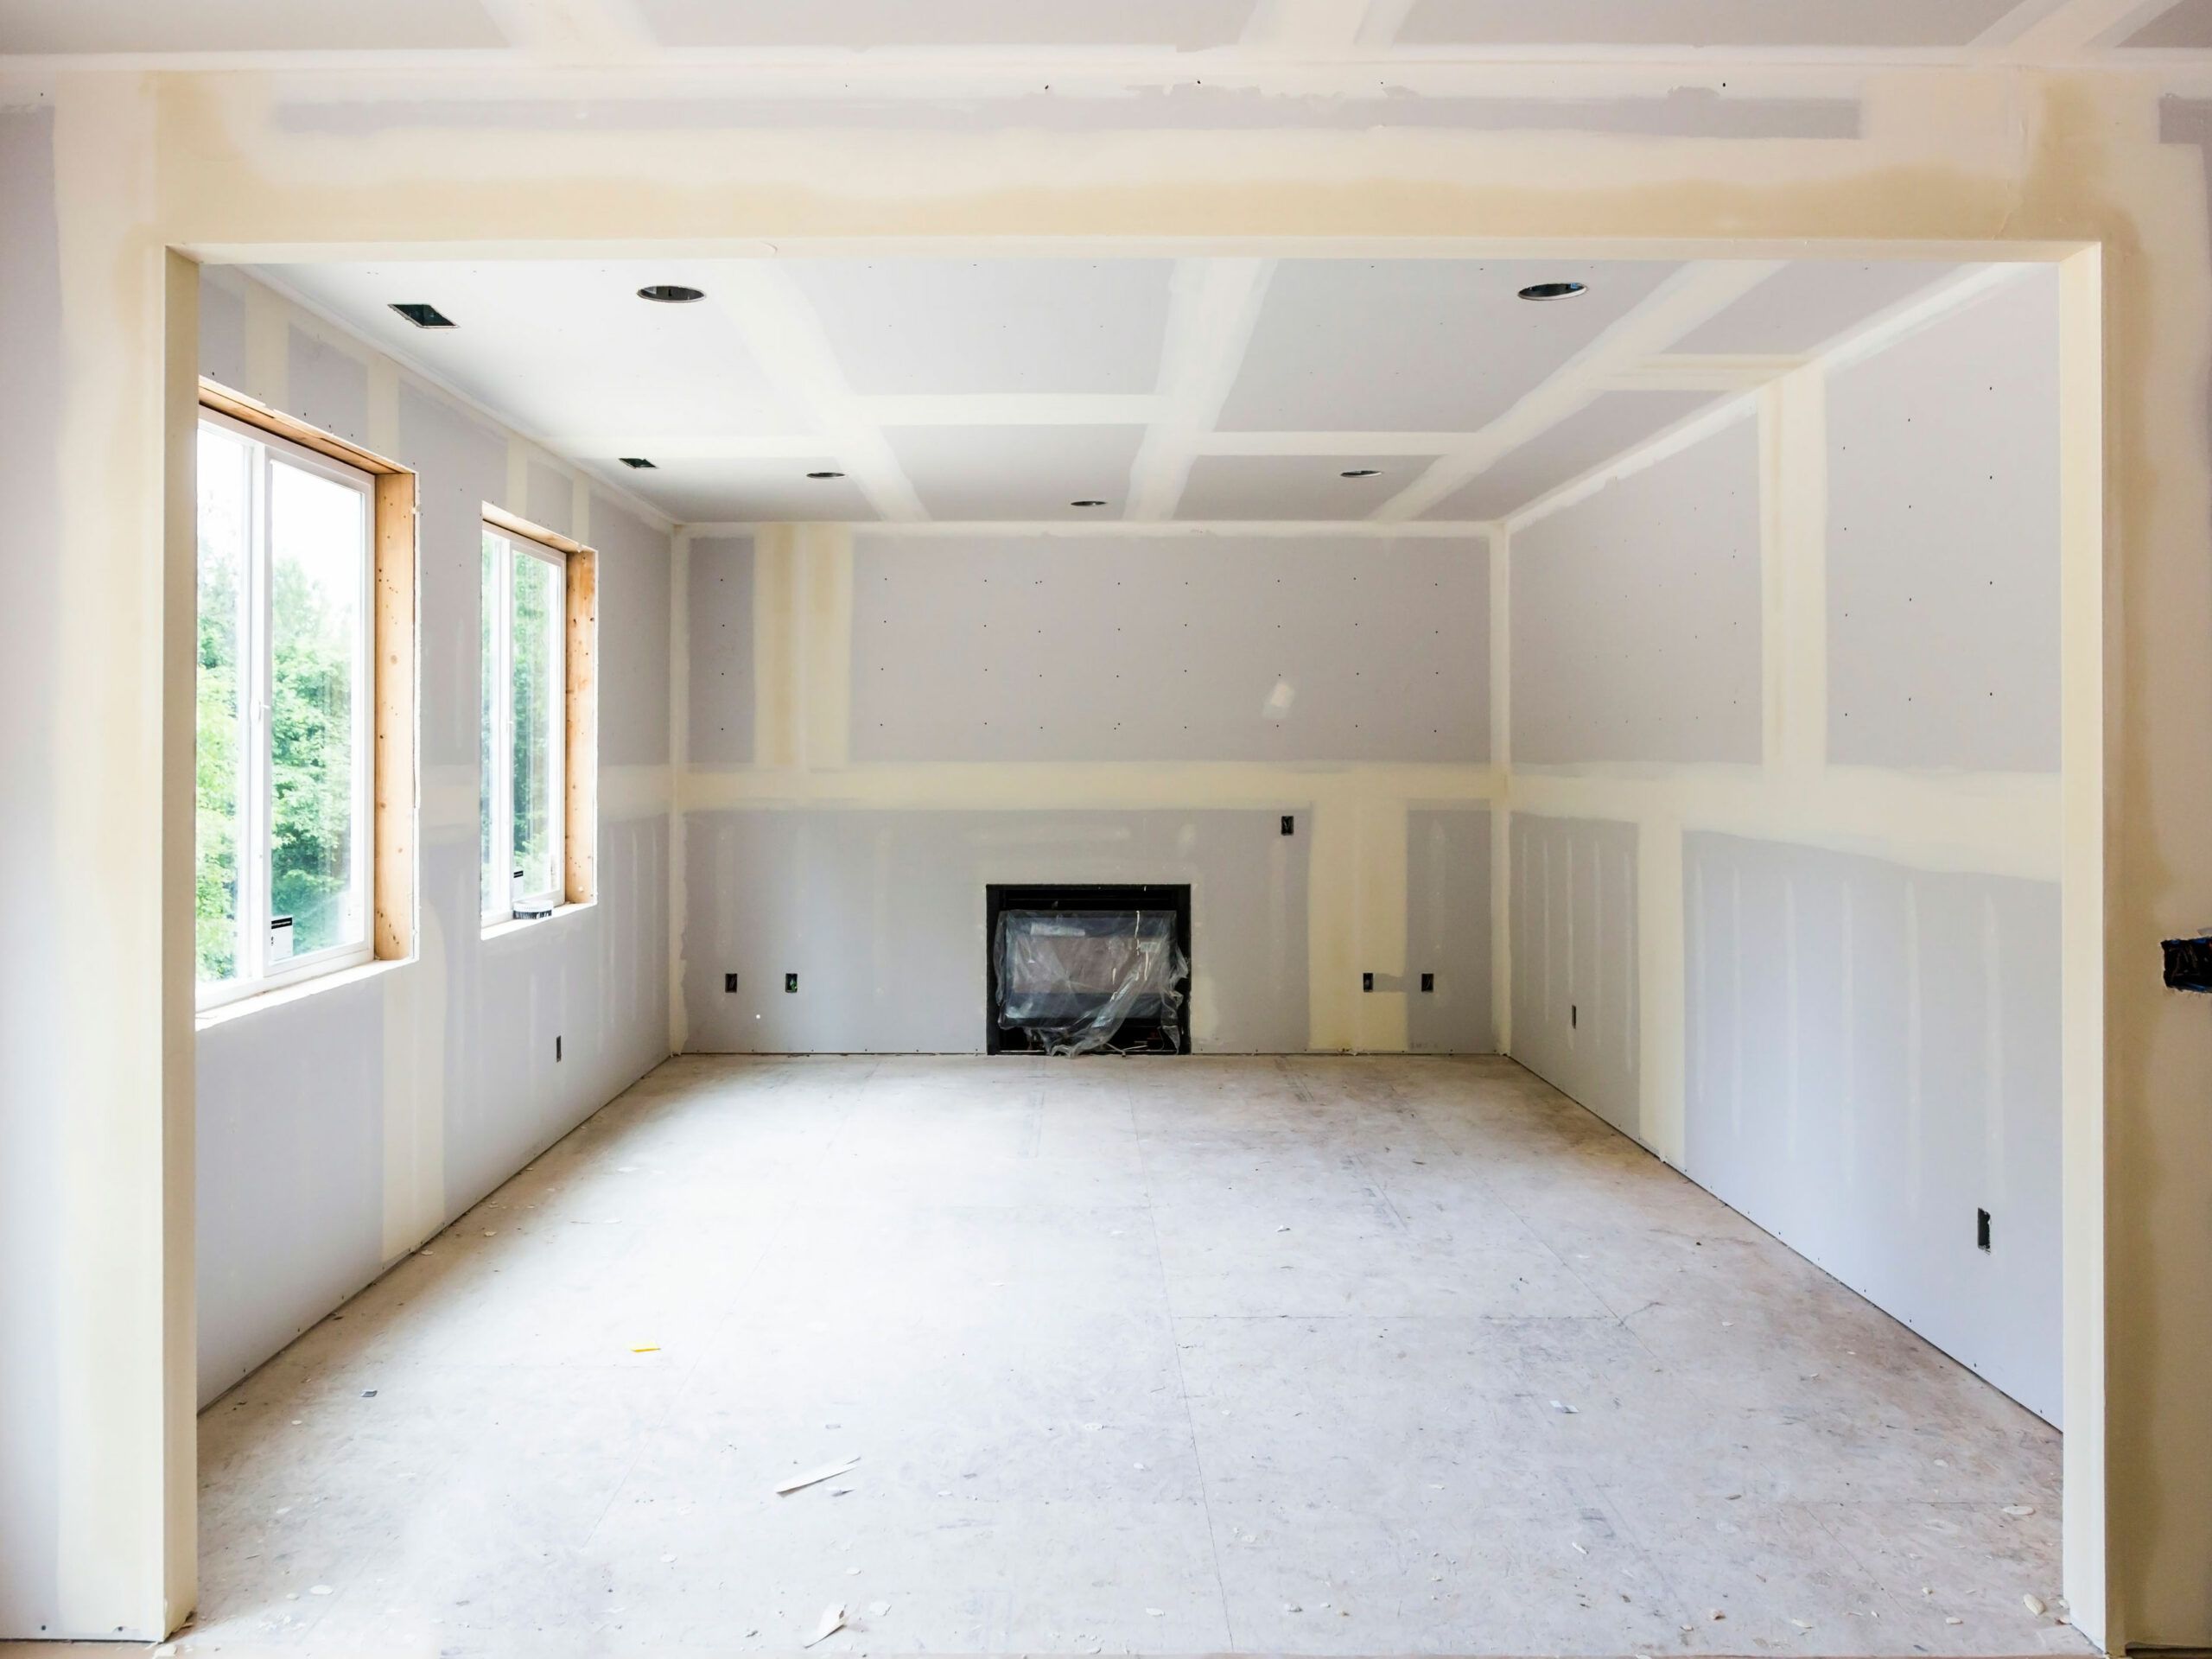
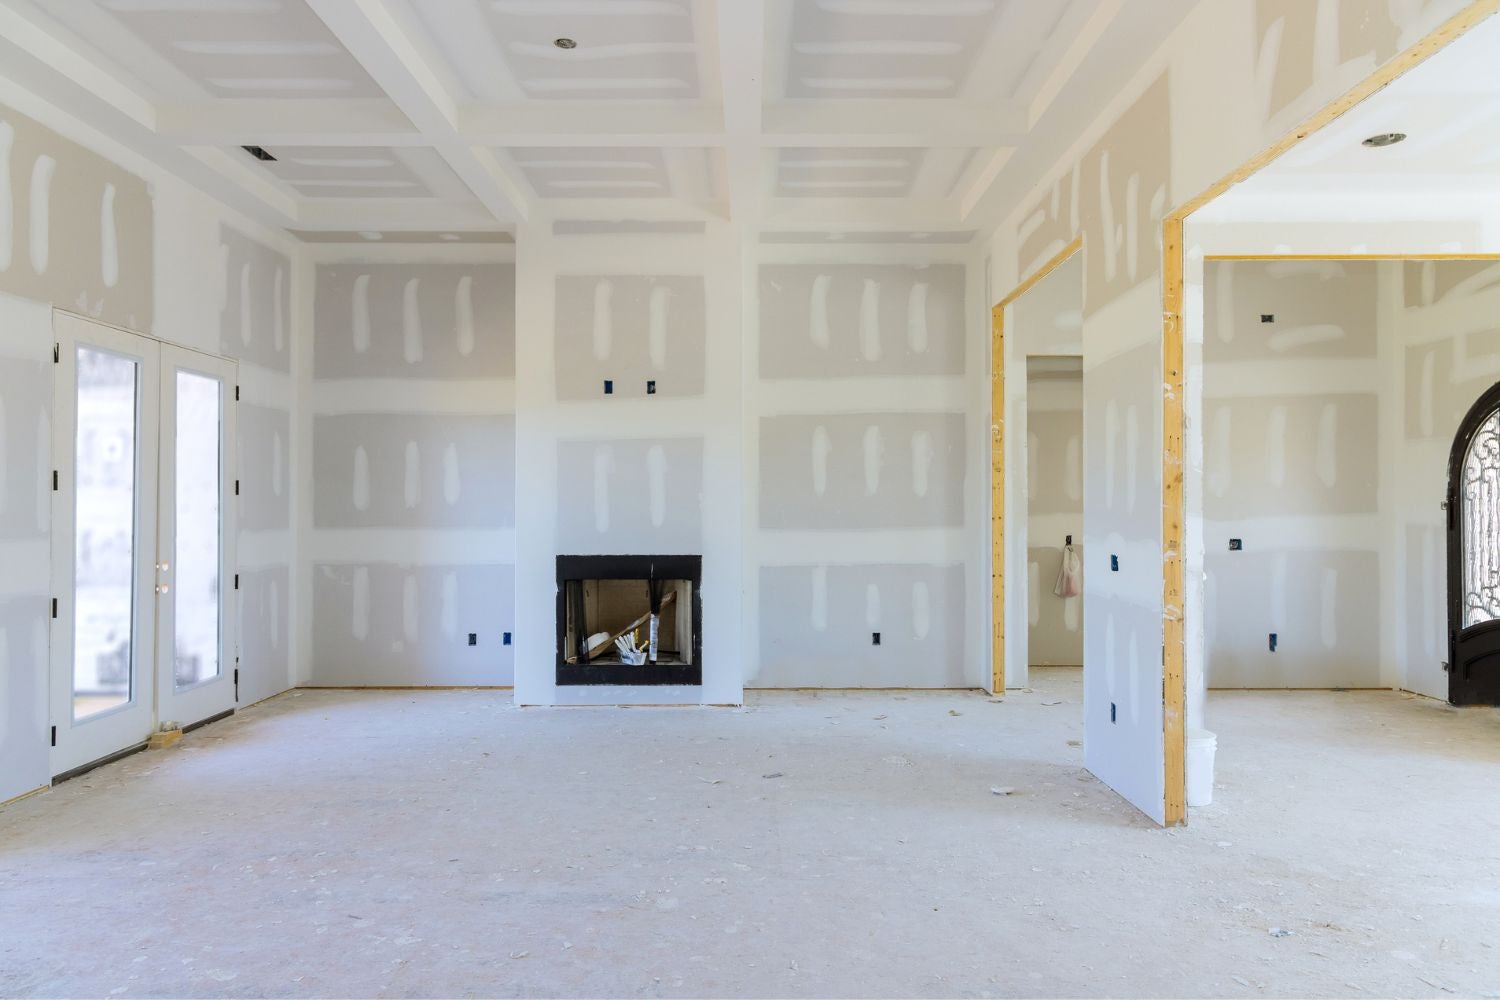
Preparing the Walls
Before applying lime wash to your interior walls, it’s essential to properly prepare the surface to ensure optimal adhesion and a smooth finish. Follow these steps to prepare your walls:
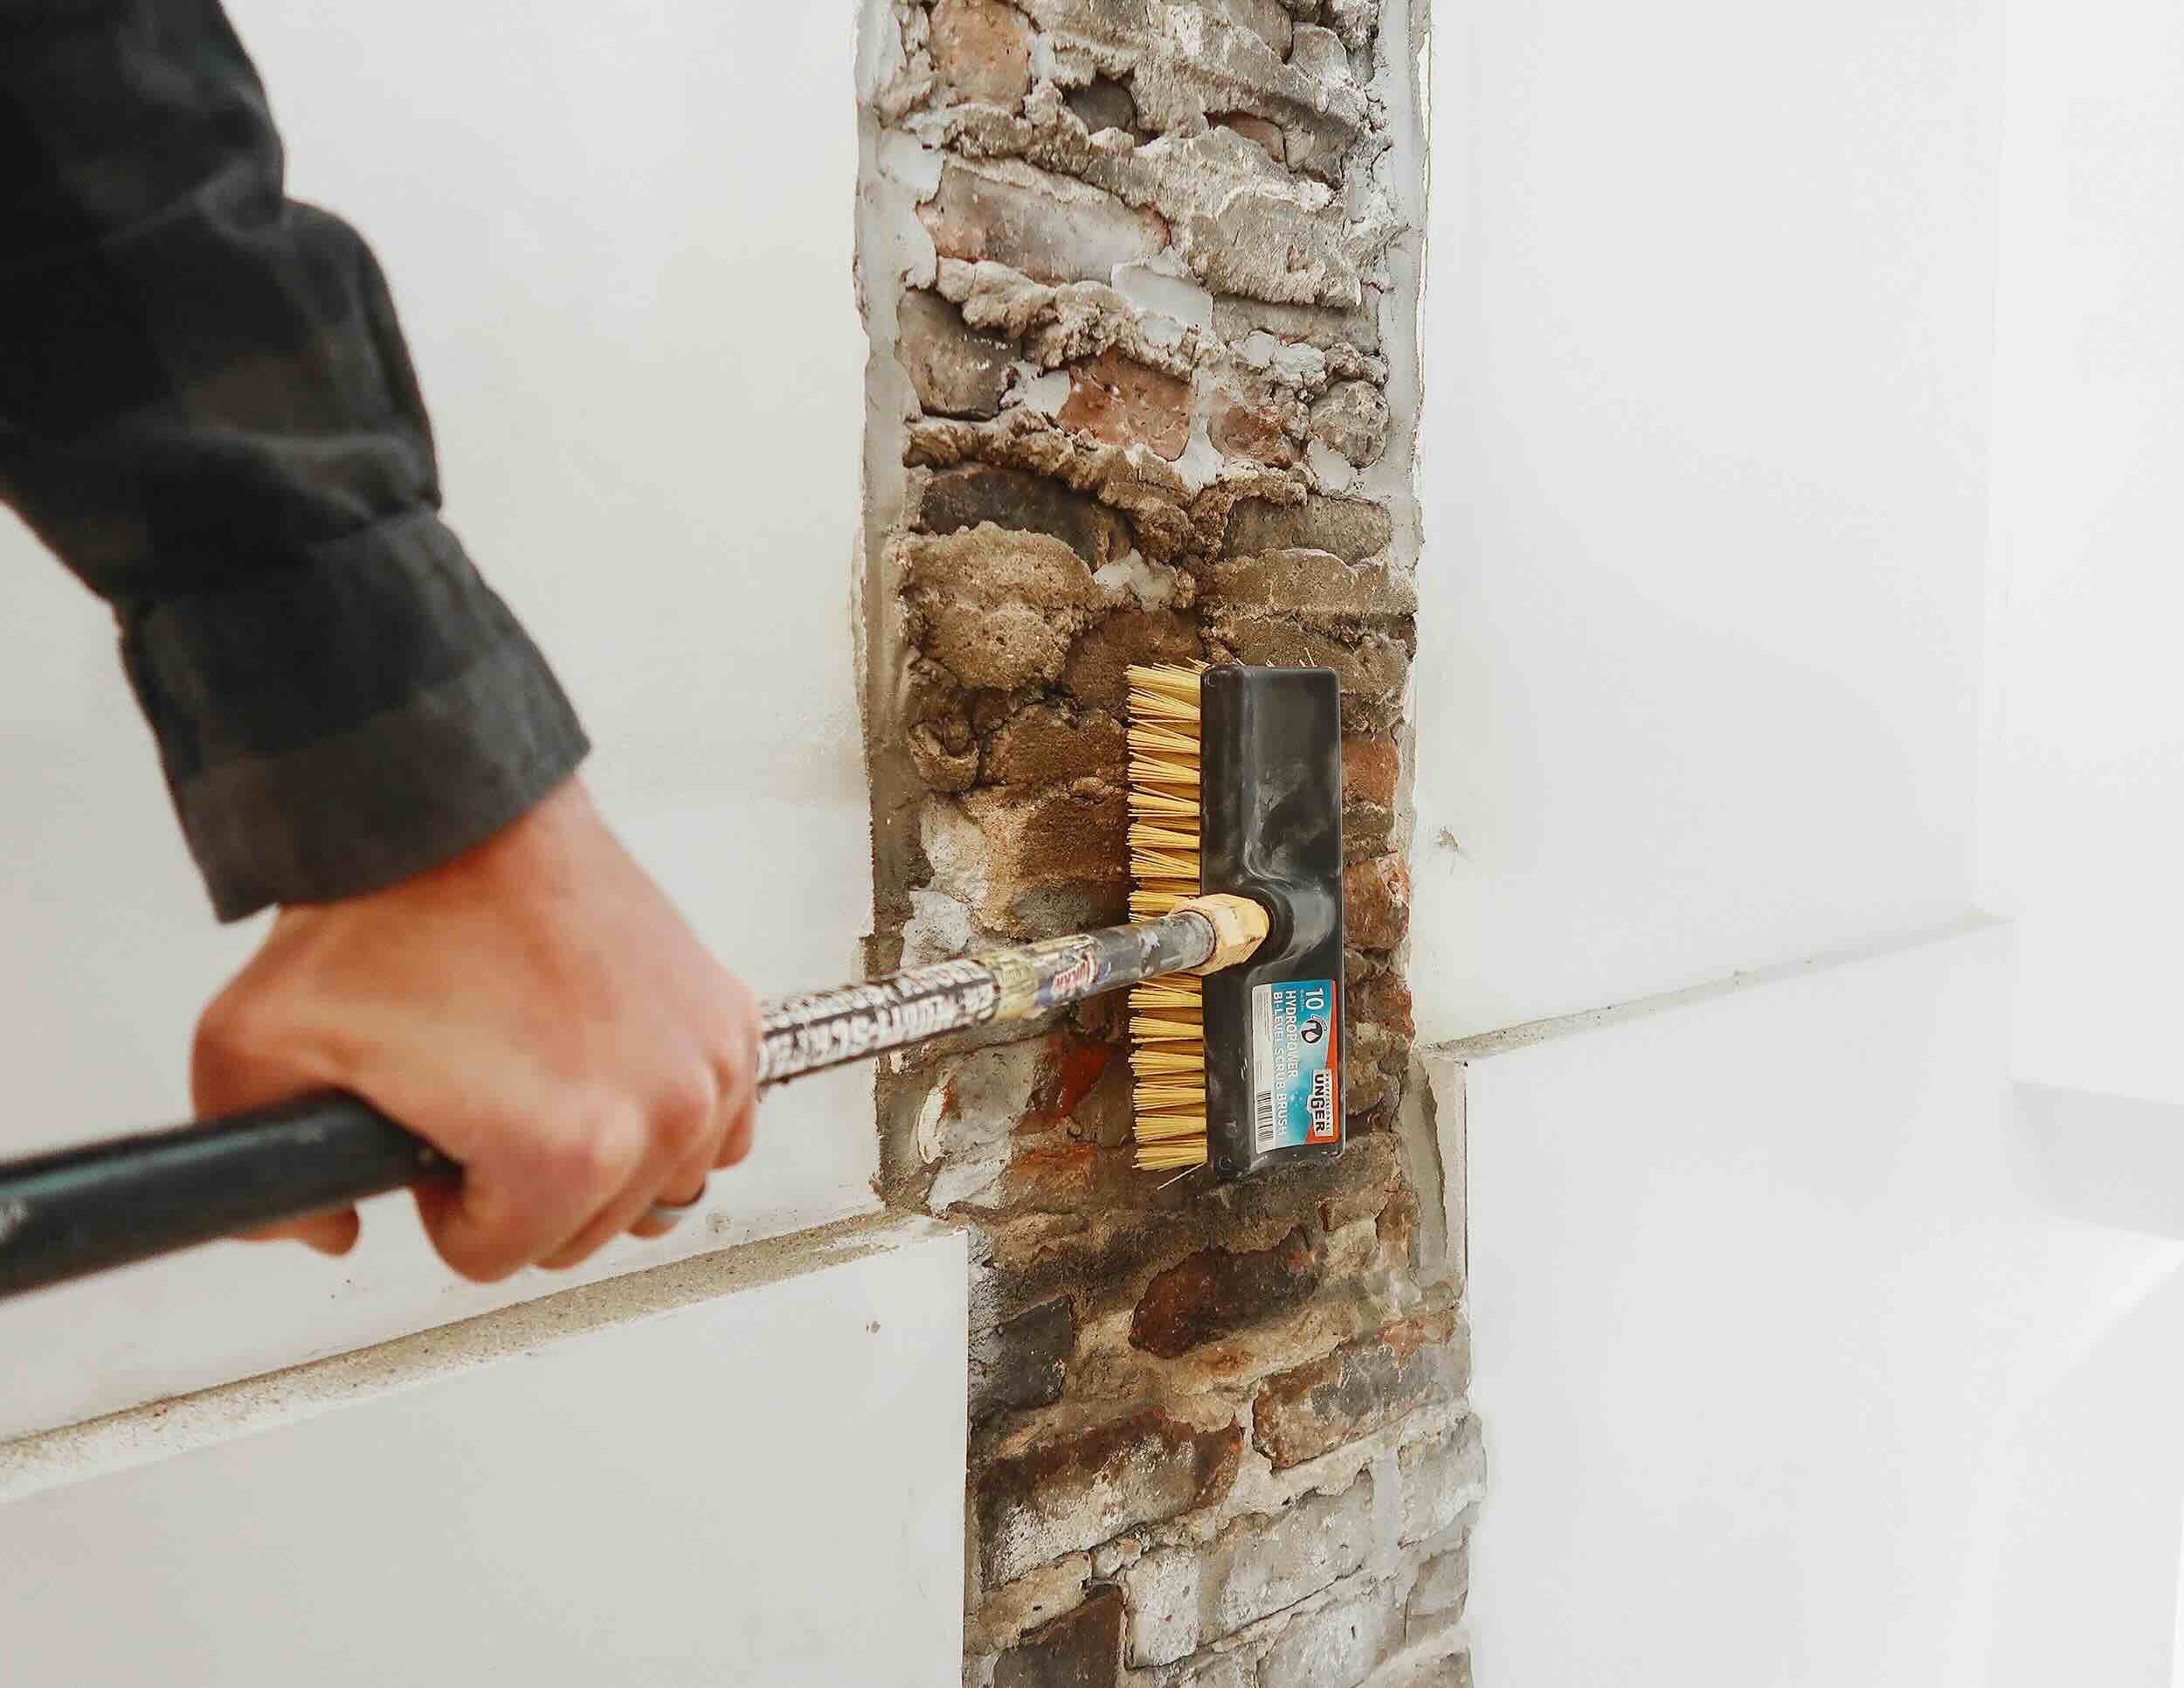
1. Clean the Walls: Begin by thoroughly cleaning the walls to remove any dirt, dust, grease, or previous coatings. Use a mild detergent mixed with water and a sponge or cloth to gently scrub the surface. Rinse the walls with clean water and allow them to dry completely.
2. Repair Damaged Areas: Inspect the walls for any cracks, holes, or uneven surfaces. Fill in any gaps or cracks with a suitable filler or patching compound. Smooth out the repaired areas with sandpaper or a sanding block to create a level surface.
3. Remove Loose Paint or Plaster: If there are any areas where the paint or plaster is loose or peeling, gently scrape off the loose material. Sand the edges of the remaining paint or plaster to create a smooth transition between the old and new surfaces.
4. Smooth Out Imperfections: Sand the entire wall surface lightly to remove any rough patches, bumps, or imperfections. This will create a smooth and even base for the lime wash.
5. Prime the Walls (if necessary): Depending on the condition of your walls and the type of lime wash you’re using, you may need to apply a primer. A primer can help improve adhesion and enhance the longevity of the lime wash. Consult the manufacturer’s instructions or seek professional advice to determine if a primer is necessary for your specific situation.
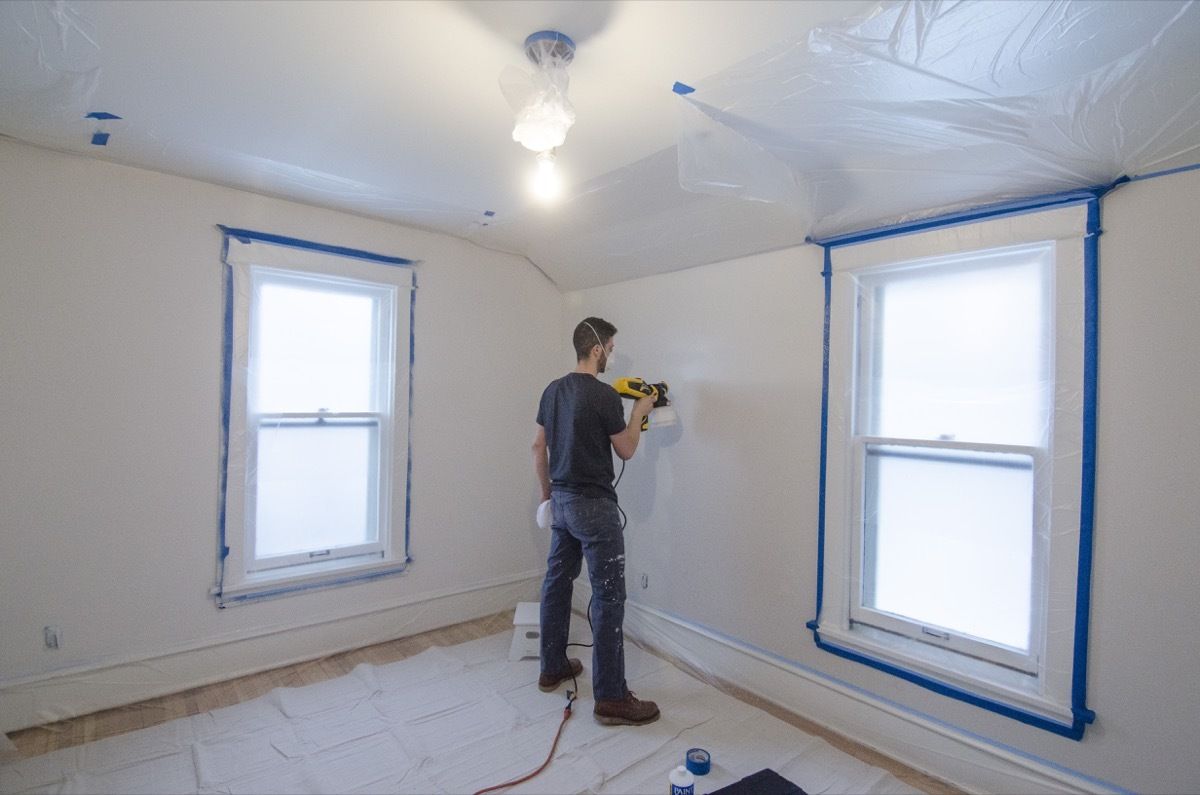
6. Protect Adjacent Surfaces: Before applying the lime wash, use painter’s tape and plastic sheets to protect any adjacent surfaces, such as windows, trim, or furniture, from accidental splatters or drips.
By taking the time to properly prepare your walls, you’ll create a clean and smooth canvas for the lime wash, ensuring a beautiful and long-lasting result.
Before applying lime wash to interior walls, make sure to clean the surface thoroughly to remove any dirt, dust, or grease. This will ensure better adhesion and a more even finish.
Read more: How To Build Interior Walls
Mixing the Lime Wash Solution
Now that your walls are properly prepared, it’s time to mix the lime wash solution. Here’s a step-by-step guide on how to create the perfect mixture:
1. Gather Your Materials: You’ll need slaked lime (also known as hydrated lime), water, natural pigments (if desired), a large bucket, a whisk or paint mixer, and measuring tools.
2. Measure the Lime: Follow the manufacturer’s instructions to determine the correct ratio of lime to water for the desired consistency. Generally, a common ratio is 1 part lime to 3 parts water for a thicker mixture. Adjust the ratio based on the opacity and texture you desire for your lime wash.
3. Gradually Add Water: Start by adding a small amount of water to the bucket, then slowly add the slaked lime. Mix the lime and water together using a whisk or paint mixer until the mixture is smooth and free of lumps. Gradually add more water while stirring until you achieve the desired consistency. Aim for a creamy texture that is easy to spread but not overly thin.
4. Add Natural Pigments (Optional): If you desire a colored lime wash, this is the time to add natural pigments. Choose pigments that are compatible with lime-based products. Add the pigments gradually, while constantly stirring the mixture, until you achieve the desired color intensity.
5. Allow the Mixture to Rest: After the lime wash solution is mixed, let it sit for about 24 hours. This resting period allows the lime particles to fully dissolve and the mixture to mature.
6. Stir Before Use: Before applying the lime wash, give the mixture a thorough stir to ensure a consistent texture and color throughout.
Remember, it’s important to follow the manufacturer’s instructions for the specific lime product you’re using, as ratios and mixing methods may vary. Additionally, always wear appropriate protective gear, such as gloves and goggles, when working with lime-based products.
With your lime wash solution mixed and ready to go, you’re now one step closer to transforming your walls into works of art!
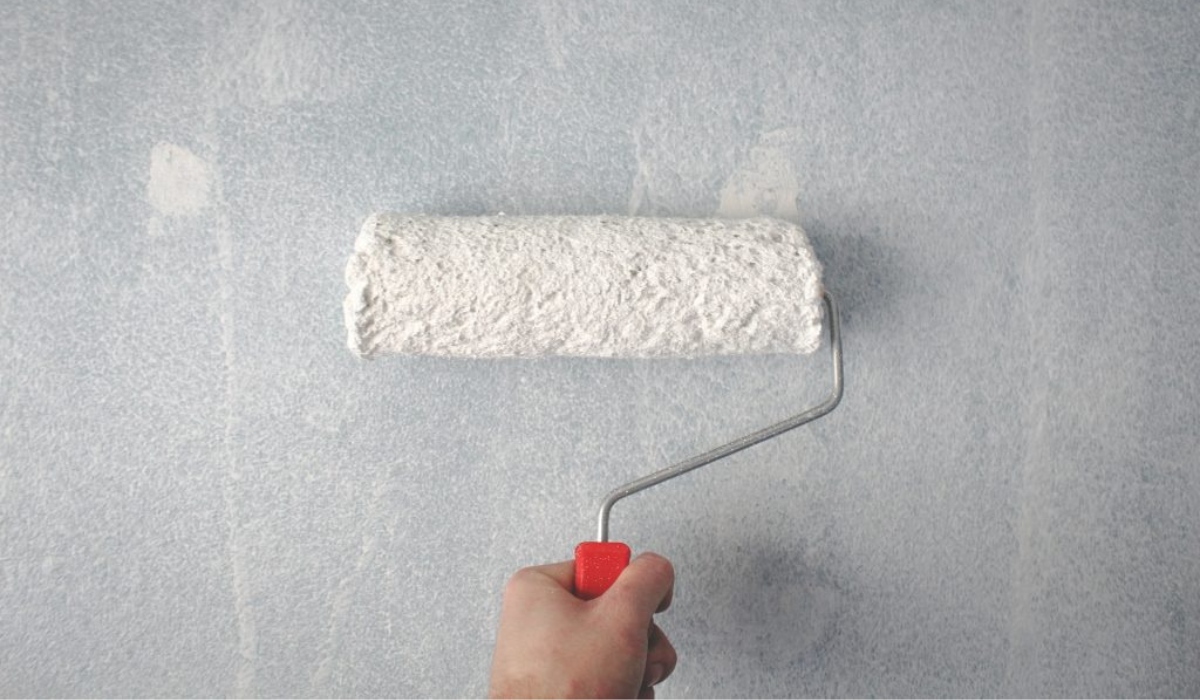
Applying the Lime Wash
Congratulations, you’re now ready to apply the lime wash! Follow these steps to achieve a smooth and beautiful finish on your interior walls:
1. Prepare the Work Area: Clear the space around the walls and cover the floor with drop cloths or plastic sheets to protect against any accidental spills or splatters.
2. Moisten the Walls (Optional): Before applying the lime wash, lightly dampen the walls with a spray bottle filled with clean water. This can help improve the adhesion and workability of the lime wash.
3. Start with a Test Area: Begin by applying a small section of the lime wash to a inconspicuous area or a test wall. This will allow you to assess the color, opacity, and texture of the lime wash before proceeding with the entire wall.
4. Apply the Lime Wash: Dip your brush or roller into the lime wash mixture and start applying it to the walls in even, overlapping strokes. Work section by section, covering small areas at a time to ensure consistency in color and texture. Keep in mind that lime wash dries lighter than its wet appearance, so the color may appear more intense while wet.
5. Work in Thin Layers: Lime wash should be applied in thin, even coats to achieve the desired effect. Avoid excessive build-up of the wash, as this can lead to uneven drying and an overly textured finish. If a more translucent look is desired, apply fewer layers of the lime wash.
6. Blend Seamlessly: As you move from one section to another, make sure to blend the overlapping areas to avoid visible lines or unevenness. This can be done by keeping a wet edge while working and lightly feathering the edges of each new section.
7. Allow for Drying Time: Lime wash requires adequate drying time between coats. Follow the manufacturer’s instructions for the recommended drying time before applying subsequent layers. This will help ensure proper adhesion and prevent any issues with the final result.
8. Assess the Finish: Once the final coat is applied, step back and assess the finished result. Take note of any areas that may require touch-ups or adjustments. If desired, you can lightly sand certain areas to create a more distressed or aged look.
9. Clean Up: Clean your tools and equipment with water immediately after use, as dried lime wash can be difficult to remove once dry. Dispose of any leftover lime wash and packaging materials responsibly.
Remember, each application of lime wash will create a slightly different effect, so embrace the unique character and charm that it brings to your walls. Enjoy the process and watch as your interior space transforms into a stunning work of art!
Caring for Lime Wash Walls
Once you’ve successfully applied lime wash to your interior walls, it’s important to properly care for and maintain them to ensure their longevity and beauty. Follow these tips to keep your lime wash walls looking their best:
1. Avoid Harsh Cleaning Agents: Lime wash walls are delicate, so it’s important to avoid using harsh cleaning agents or abrasive materials. Instead, use a soft cloth or sponge and mild, non-abrasive cleaners to gently clean any dirt or stains. Test any cleaner on a small, inconspicuous area before applying it to the entire wall.
2. Wipe Up Spills Promptly: Lime wash is not as resistant to moisture and stains as some other wall treatments, so it’s crucial to clean up spills immediately. Blot the spill with a soft cloth or paper towel without rubbing, which could spread the stain.
3. Avoid Excessive Moisture: Lime wash is breathable, but excessive moisture can still cause damage over time. Use ventilation in rooms with high humidity, such as bathrooms and kitchens, to reduce the risk of moisture buildup.
4. Inspect for Cracks or Damage: Regularly inspect your lime wash walls for any signs of cracks or damage. If you notice any issues, repair them promptly to prevent further deterioration. Fill cracks with a lime-based filler and smooth it out with sandpaper or a sponge to maintain a seamless appearance.
5. Be Mindful of Fading: Over time, lime wash walls may naturally fade due to exposure to light. Take precautions to minimize direct sunlight on the walls by using curtains or blinds. If you notice any areas that have faded, consider applying a fresh coat of lime wash to rejuvenate the color.
6. Avoid Sharp Objects: Lime wash can be susceptible to scratches, so be careful when placing or moving sharp or abrasive objects near the walls. Use furniture pads or protective coverings to prevent accidental damage.
7. Reapply Lime Wash (if necessary): Depending on the level of wear and tear, you may need to reapply lime wash to your walls after a few years. This will help maintain the appearance and integrity of the finish. Follow the same application process as before, ensuring proper preparation of the walls beforehand.
8. Maintain Regular Cleaning: Regularly dust or gently wipe down your lime wash walls to remove any accumulated dirt or debris. This will help keep the walls looking fresh and prevent dust from settling into the porous surface.
By following these care tips, you can ensure that your lime wash walls remain beautiful and well-maintained for years to come. With proper care, your lime wash walls will continue to impress and bring a unique touch of elegance to your interior space.
Conclusion
Congratulations on discovering the beauty and benefits of lime wash for your interior walls! Lime wash offers a unique and timeless finish that adds character and charm to any space. Its natural properties, breathability, and environmentally friendly nature make it a sustainable choice for those seeking an eco-conscious wall treatment.
In this article, we explored what lime wash is and its numerous benefits, including its antibacterial properties, aged and patina look, and soft matte finish. We also discussed how to choose the right lime wash for your project, including considerations such as type of lime, pigments, opacity, texture, and budget.
We also delved into the preparation process, emphasizing the importance of cleaning the walls, repairing any damage, and creating a smooth surface before applying the lime wash. We provided a step-by-step guide on how to mix the lime wash solution correctly and offered insights on how to apply it evenly and achieve the desired effect.
Caring for your lime wash walls is crucial for their long-term preservation, and we shared valuable tips on how to clean them gently, prevent fading, avoid excessive moisture, and address any cracks or damage that may occur over time.
Whether you’re looking to create a rustic and aged ambience or add a touch of elegance to your home, lime wash is a versatile and environmentally friendly option that can enhance the beauty and character of any interior space.
So, go ahead and embrace the art of lime wash – transform your walls, create a unique aesthetic, and enjoy the natural beauty that this timeless technique can bring to your home.
Frequently Asked Questions about How To Lime Wash Interior Walls
Was this page helpful?
At Storables.com, we guarantee accurate and reliable information. Our content, validated by Expert Board Contributors, is crafted following stringent Editorial Policies. We're committed to providing you with well-researched, expert-backed insights for all your informational needs.


0 thoughts on “How To Lime Wash Interior Walls”