Home>Garden Essentials>How To Grow Lime Tree From Seed

Garden Essentials
How To Grow Lime Tree From Seed
Modified: August 17, 2024
Learn the step-by-step process of growing a lime tree from seed in your garden. Discover valuable tips and tricks for successful cultivation.
(Many of the links in this article redirect to a specific reviewed product. Your purchase of these products through affiliate links helps to generate commission for Storables.com, at no extra cost. Learn more)
Introduction
Welcome to the wonderful world of gardening! If you’re looking to add some zest to your garden, growing a lime tree from seed is a rewarding and fulfilling adventure. Not only will you have the satisfaction of nurturing a plant from its very beginning, but you’ll also be reaping the delicious rewards of homegrown limes in no time.
While growing a lime tree from seed may take a bit of patience and care, the process is surprisingly straightforward. In this guide, we’ll walk you through each step, from gathering the seeds to caring for mature lime trees. So, roll up your sleeves, grab a gardening tool, and let’s get started!
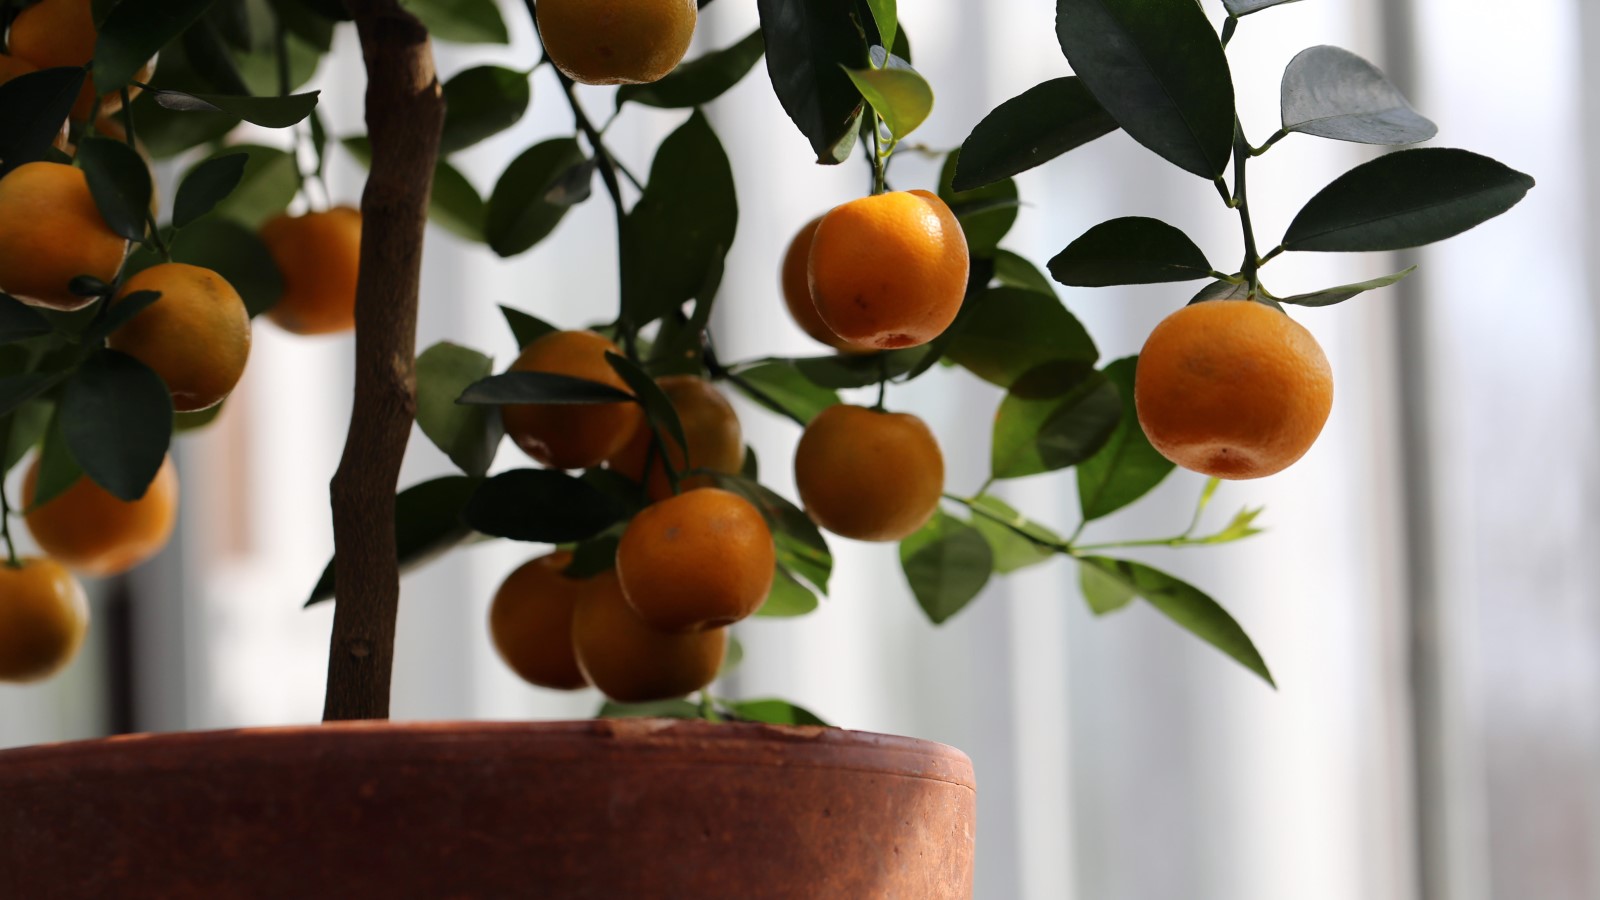
Before we dive into the specifics, let’s take a moment to appreciate the beauty and benefits of lime trees. Lime trees, scientifically known as Citrus aurantifolia, are evergreen plants that belong to the Rutaceae family. They are known for their vibrant green foliage, fragrant flowers, and of course, the tangy and refreshing limes they produce.
Not only do lime trees add an aesthetic touch to any garden, but they also provide a bountiful harvest of delicious fruits. Limes are not only versatile in the kitchen, but they also offer numerous health benefits. Rich in vitamin C and antioxidants, limes can boost your immune system and aid digestion. Plus, they add an invigorating burst of flavor to beverages, sauces, and desserts.
Now that we’ve set the stage, let’s dive into the step-by-step process of growing a lime tree from seed. Don’t worry if you’re a beginner gardener – we’ll guide you through each stage with easy-to-follow instructions and valuable tips to ensure your success.
Key Takeaways:
- Growing lime trees from seed is a fun and rewarding adventure that requires patience and care. From gathering and preparing seeds to nurturing the seedlings, you can enjoy the process of witnessing nature’s growth and reaping the delicious rewards of homegrown limes.
- To successfully grow lime trees, provide optimal conditions like warm temperatures, ample sunlight, and proper watering. Regular monitoring, pruning, and pest control will ensure the health and vitality of your lime trees, allowing you to enjoy a bountiful harvest of tangy, homegrown limes.
Read more: How To Grow A Tree From A Seed
Step 1: Gather Seeds
The first step in growing a lime tree from seed is to gather the seeds themselves. You have a couple of options when it comes to sourcing lime seeds:
- Purchasing seeds: If you don’t have access to a lime tree or know someone who does, you can purchase lime seeds from a reputable garden center or online seed supplier. Look for fresh and viable seeds to increase your chances of successful germination.
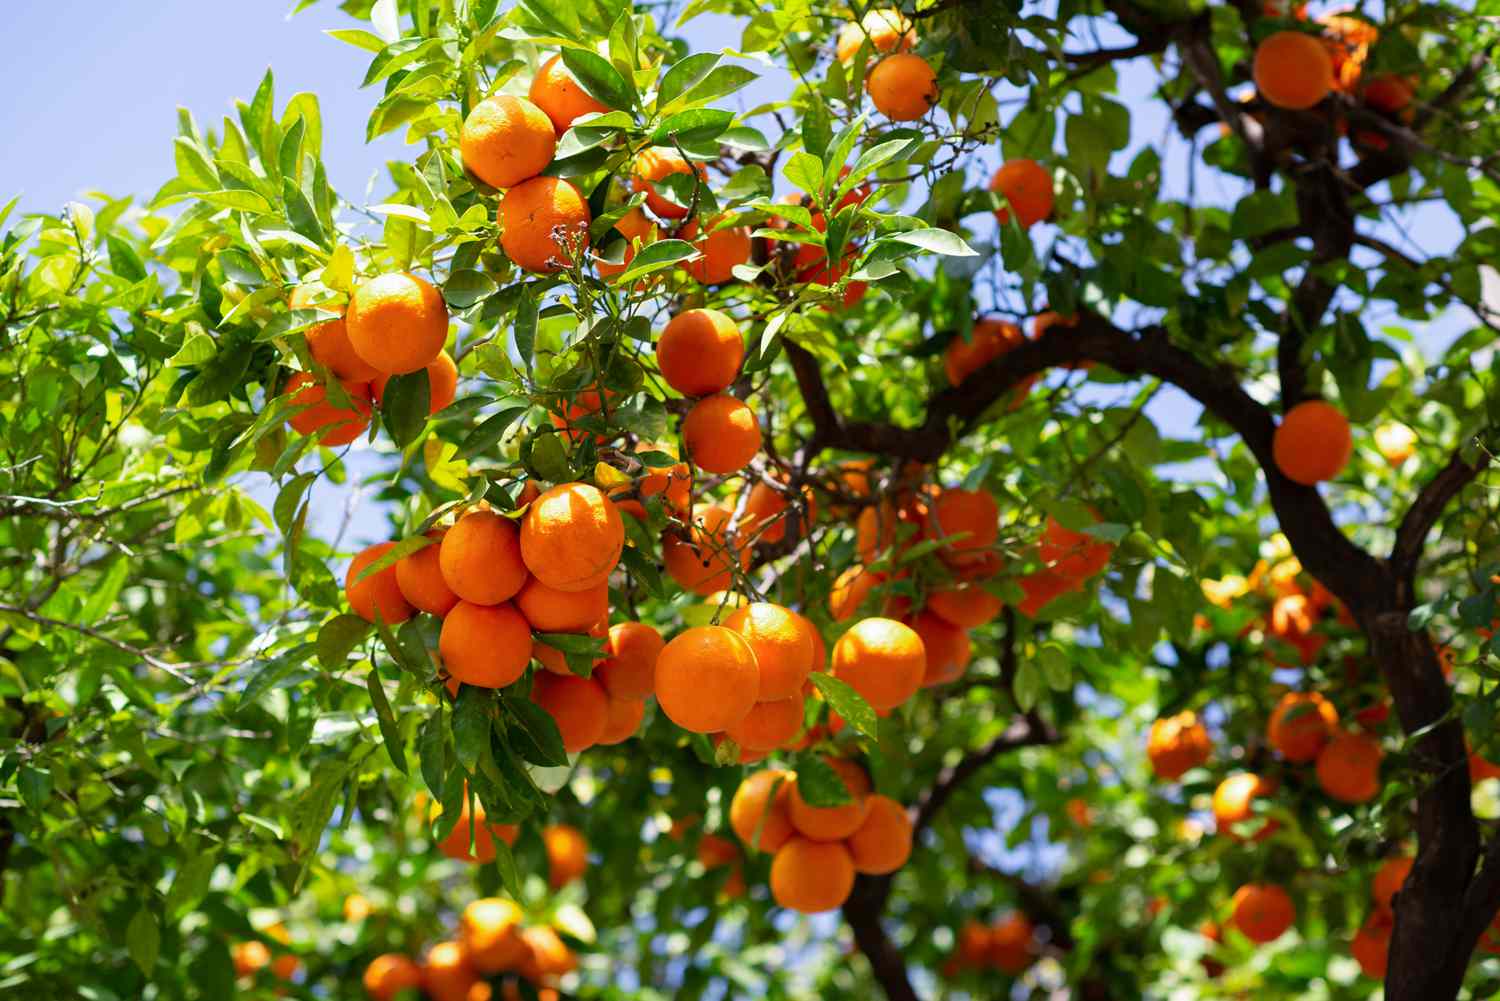
- Harvesting seeds: If you have access to a mature lime tree, consider harvesting the seeds yourself. Look for fully ripened limes on the tree. Once the limes are ripe, carefully cut them open and remove the seeds. Rinse the seeds with water to remove any pulp or residue, then pat them dry.
Regardless of whether you purchase or harvest the seeds, it’s important to note that lime seeds have a relatively short shelf life. For the best germination results, aim to plant the fresh seeds as soon as possible. If you need to store the seeds temporarily, place them in a sealed plastic bag or airtight container and store them in the refrigerator for a few days.
Now that you have your lime seeds ready, it’s time to move on to the next step: preparing the seeds for planting. Let’s get our hands dirty!
Step 2: Prepare the Seeds
Preparing the seeds properly is crucial to ensure successful germination. Follow these steps to prepare your lime seeds:
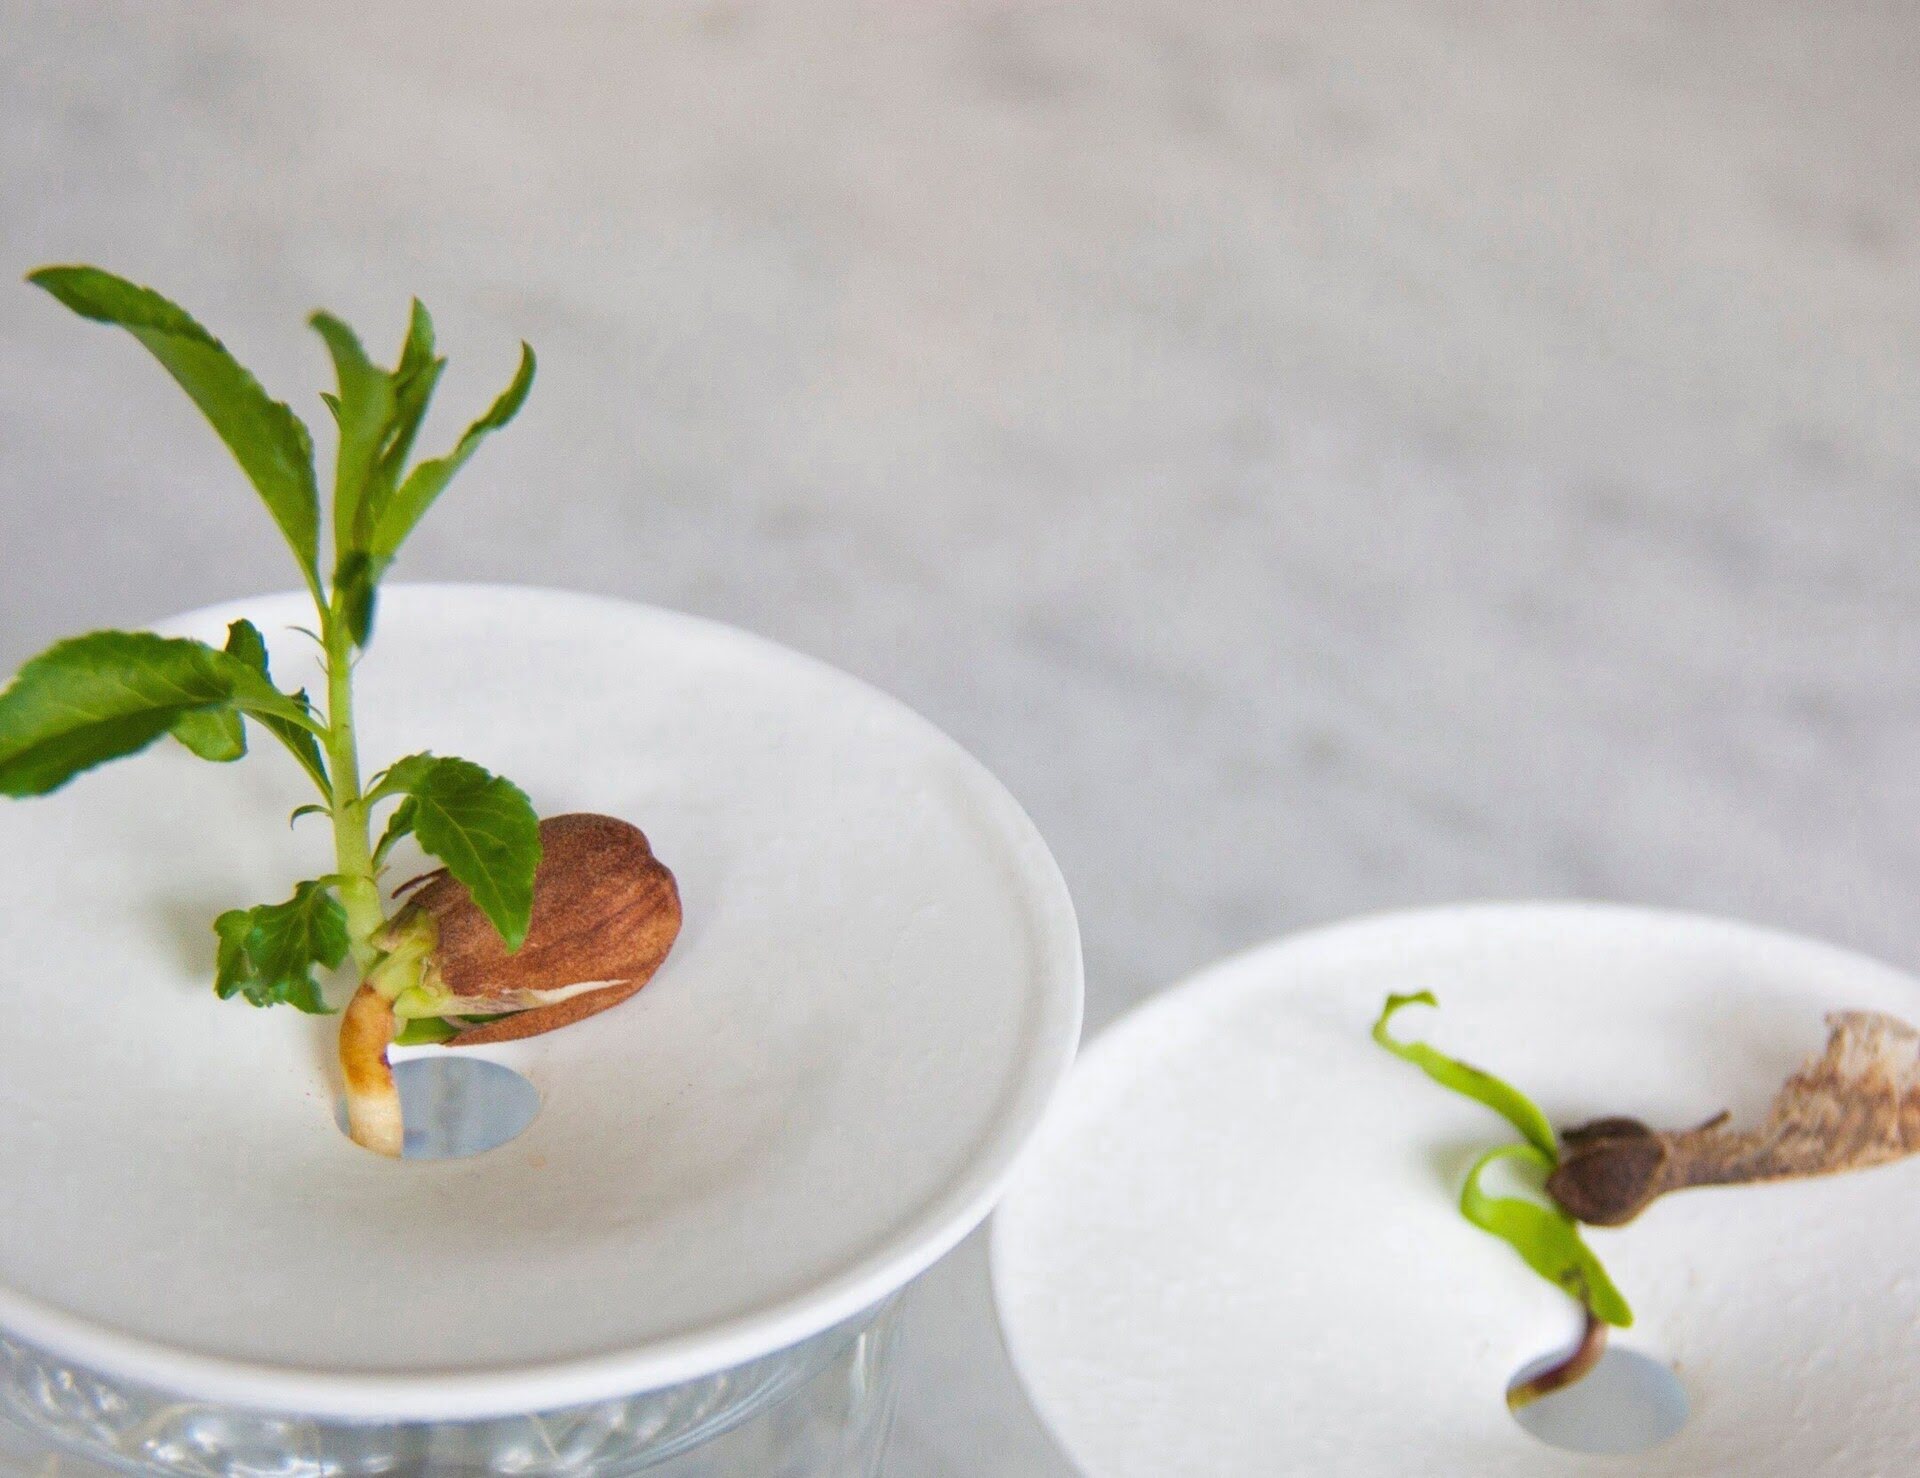
- Soak the seeds: Begin by soaking the lime seeds in water for 24 to 48 hours. This process helps to soften the seed coat and promote healthy germination. Make sure to change the water every 12 hours to prevent any potential bacterial growth.
- Scarify the seeds: After soaking, gently rub the seeds with sandpaper or use a small knife to scratch the surface of the seed coat. This scarification process helps to break any hard barriers and allows moisture to penetrate the seed for germination.
- Optional: Use the float test: If you have multiple seeds and want to increase your chances of success, you can perform a float test to determine the viability of the seeds. Fill a bowl with water and place the seeds in it. Discard any seeds that float as they are likely to be empty or damaged.
Once you have completed these steps, your lime seeds are ready for planting. The next section will guide you through the process of planting the prepared seeds and providing the optimal growing conditions for their development.
Step 3: Planting the Seeds
Now that your lime seeds are prepared, it’s time to plant them and give them a cozy home to grow. Follow these steps to ensure successful planting:
- Select a container: Choose a planting container that has drainage holes to prevent waterlogging. A 4- to 6-inch pot with good drainage is ideal for starting the lime seeds.
- Prepare the potting mix: Create a well-draining potting mix by combining equal parts of peat moss or coconut coir, perlite or vermiculite, and compost. This mixture provides a balanced environment for the seeds to germinate.
- Plant the seeds: Fill the container with the prepared potting mix, leaving about 1 inch of space from the rim. Make a small hole about 1 inch deep in the center of the container and place the seed in the hole with the pointed end facing down. Gently cover the seed with potting mix and lightly press it down.
- Water the seeds: After planting, give the seeds a good watering. Moisten the potting mix thoroughly, but be careful not to soak it. The goal is to provide enough moisture to initiate germination.
Now that your lime seeds are safely nestled in their new home, it’s time to move on to the next step: providing optimal growing conditions. Creating the right environment is crucial for the seeds to sprout and thrive. We’ll delve into that in the next section.
Step 4: Provide Optimal Growing Conditions
Creating the perfect environment for your lime seeds is essential for their healthy growth and development. Follow these guidelines to provide optimal growing conditions:
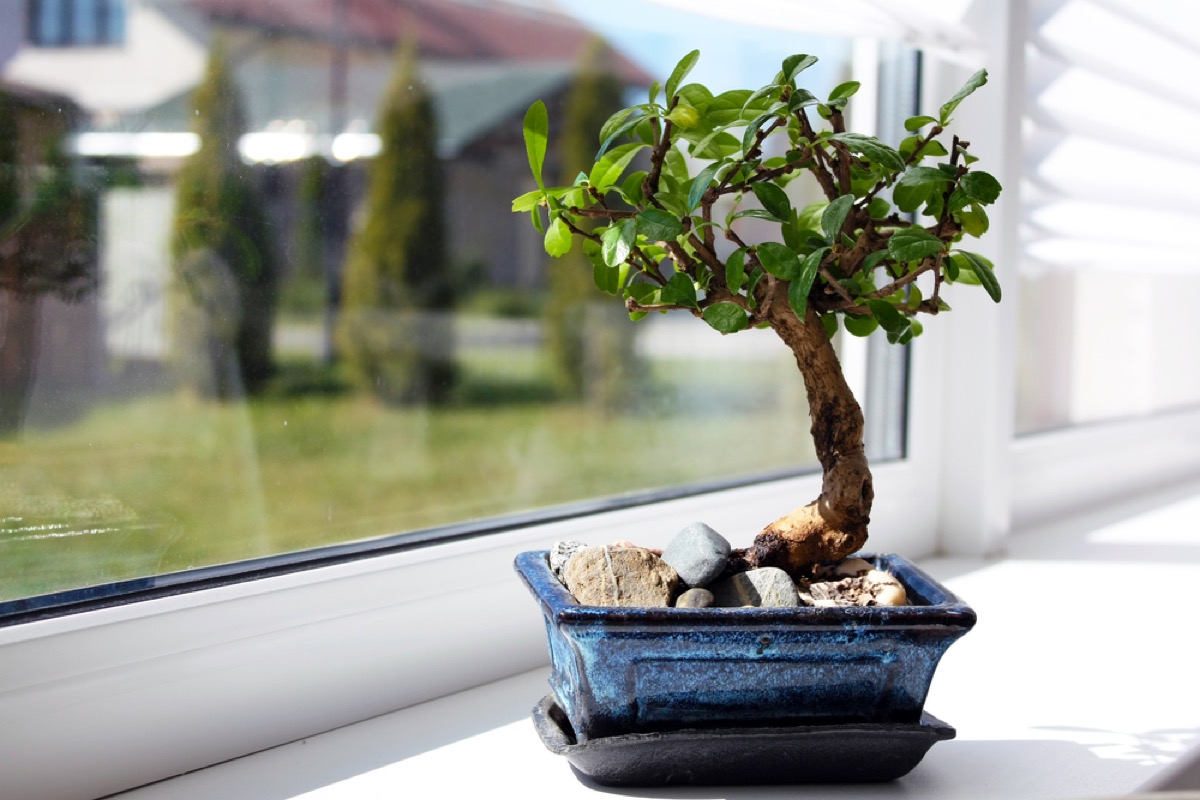
- Temperature: Lime seeds thrive in warm temperatures between 70°F and 85°F (21°C – 29°C). Place the planting container in a warm spot, such as a sunny window sill or a greenhouse.
- Light: Lime seeds require ample sunlight to germinate and grow. Provide at least 6-8 hours of direct sunlight each day. If you don’t have access to sufficient natural light, consider using a fluorescent grow light to supplement the absence of sunlight.
- Air circulation: Good air circulation is important to prevent fungal diseases and promote healthy growth. Place a small fan near the seedlings to ensure gentle air movement. This will also help strengthen the stems as the seedlings grow.
- Humidity: Lime seeds prefer slightly higher humidity levels. You can increase humidity by misting the seedlings with water using a spray bottle or placing a tray of water near the plants to create a humid microclimate.
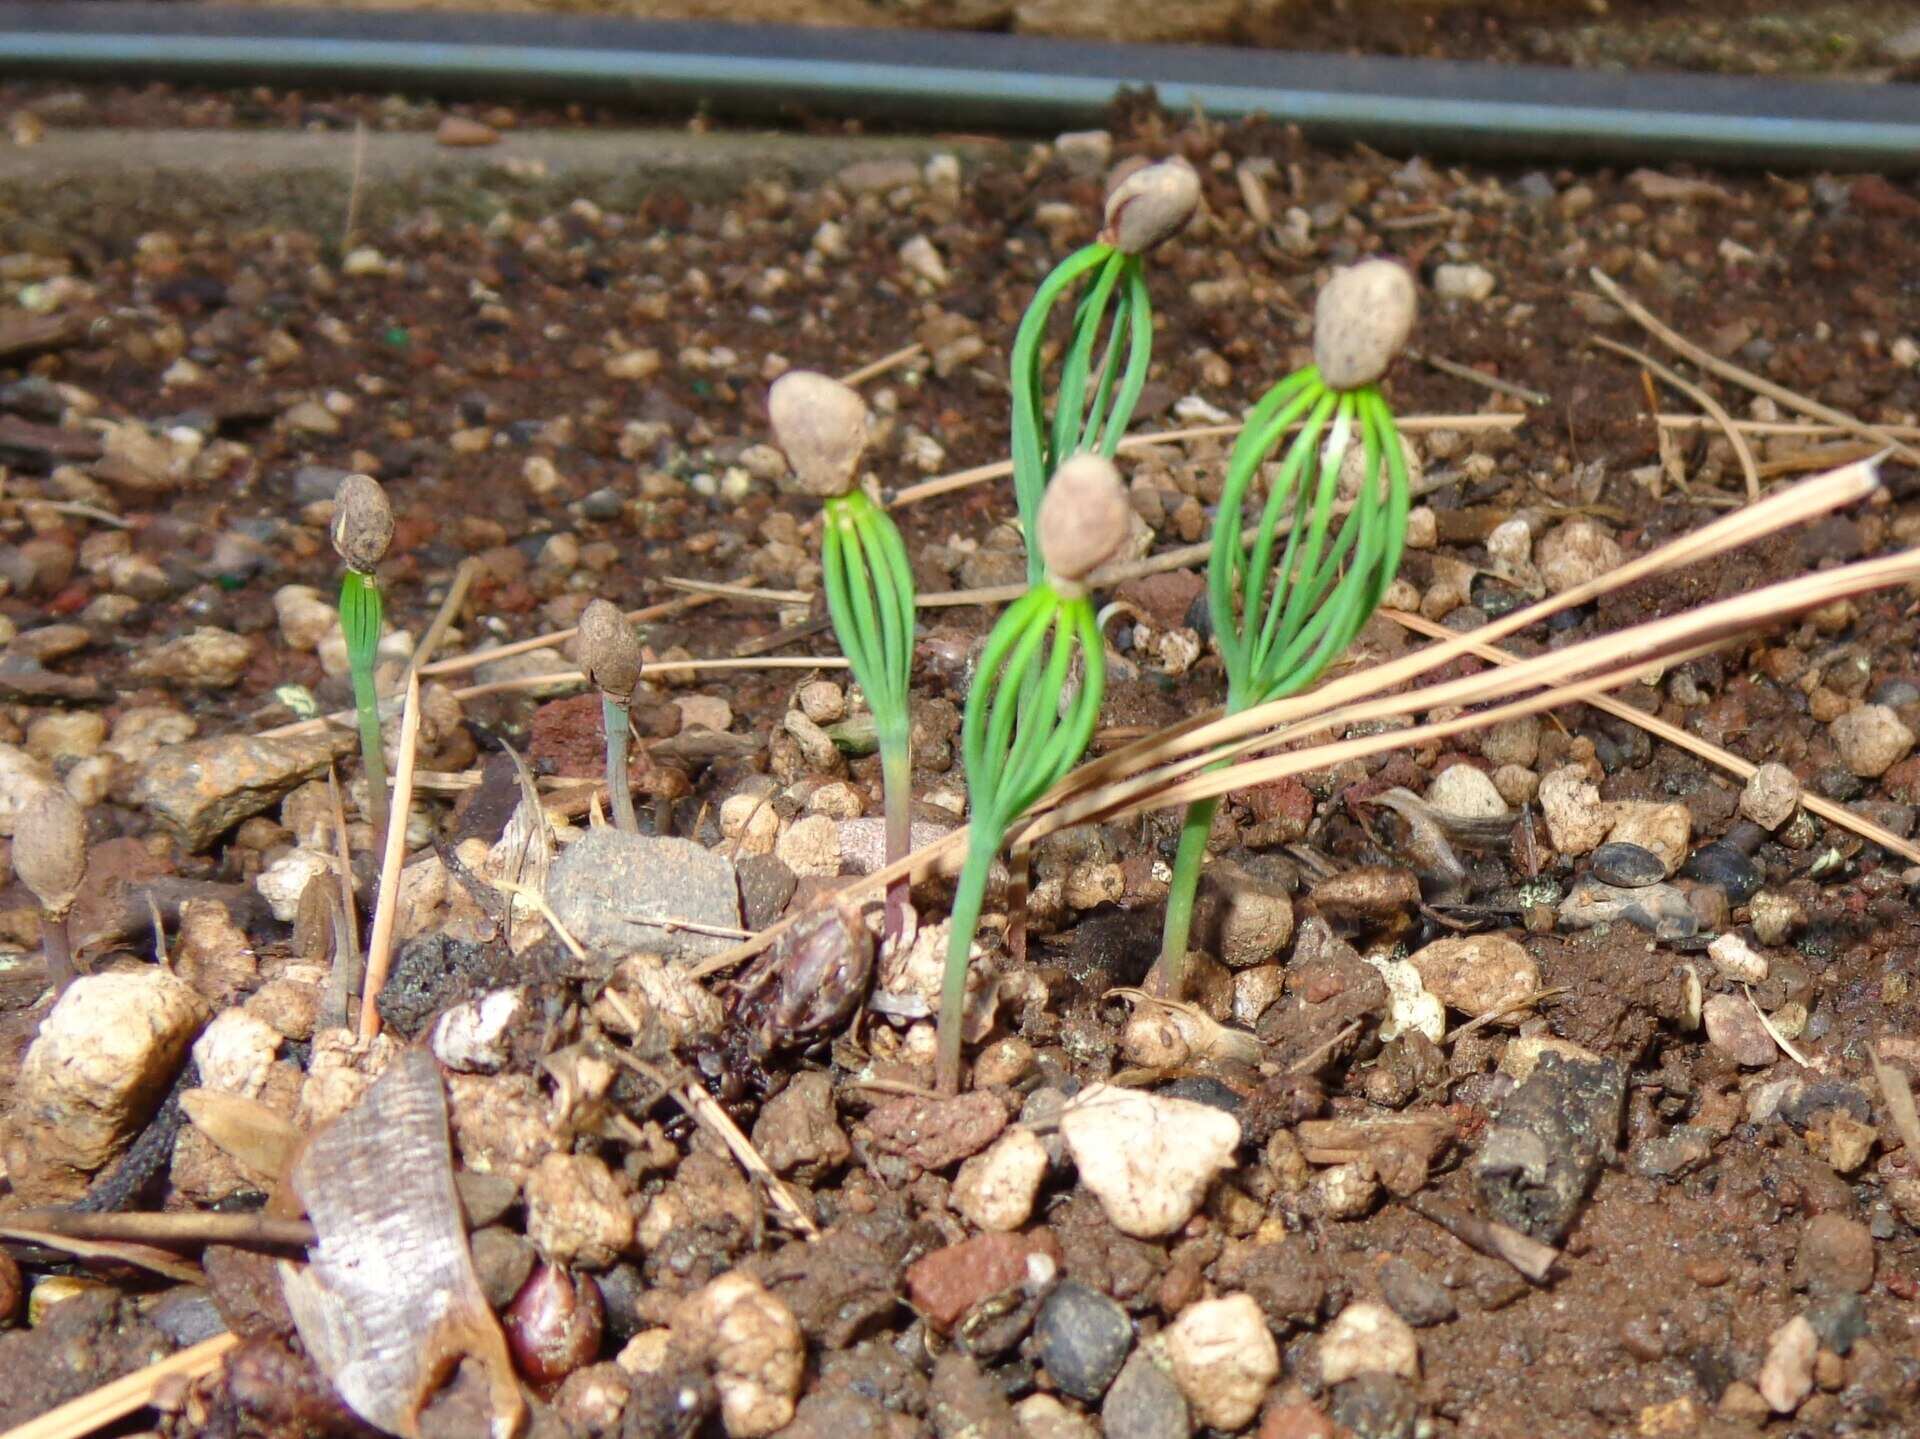
Remember to monitor the temperature and humidity levels regularly to ensure optimal conditions for your lime seedlings. It’s also important to be patient, as germination can take anywhere from 2 to 6 weeks. Once the seedlings have sprouted, it’s time to move on to the next step: watering and caring for the young plants.
To grow a lime tree from seed, first remove the seeds from a ripe lime and plant them in a well-draining soil mix. Keep the soil consistently moist and provide plenty of sunlight. It may take several years for the tree to produce fruit.
Read more: How To Grow Tree From Seed
Step 5: Watering the Seedlings
Proper watering is crucial for the health and growth of your lime seedlings. Follow these watering guidelines to ensure their well-being:
- Moist, not saturated: Keep the potting mix consistently moist, but avoid overwatering. Saturated soil can lead to root rot, while dry soil can hinder growth. Aim for a balance by checking the moisture level regularly.
- Frequency: Water the seedlings when the top inch of the soil feels dry to the touch. This usually equates to watering every 2-3 days, but it can vary depending on environmental conditions.
- Watering technique: Use a watering can or a gentle spray bottle to water the seedlings. Be careful not to pour water directly onto the delicate stems, as this can cause damage. Instead, aim for the soil around the base of the plant.
- Drainage: Ensure that the planting container has proper drainage holes to allow excess water to escape. This prevents waterlogged soil, which can lead to root rot. If excess water accumulates in the saucer or tray beneath the pot, empty it promptly.
Remember, the key to successful watering is to provide adequate moisture without drowning the seedlings. Pay attention to the moisture levels and adjust your watering frequency accordingly. As the seedlings grow and develop, they will require more water. However, be cautious and avoid waterlogging.
Now that you’re nurturing your lime seedlings with proper watering, let’s move on to the next step: monitoring and caring for the young plants to ensure their healthy growth.
Step 6: Monitoring and Care
Monitoring and caring for your lime seedlings is important to ensure their healthy growth and development. Follow these steps to keep an eye on your plants and provide the necessary care:
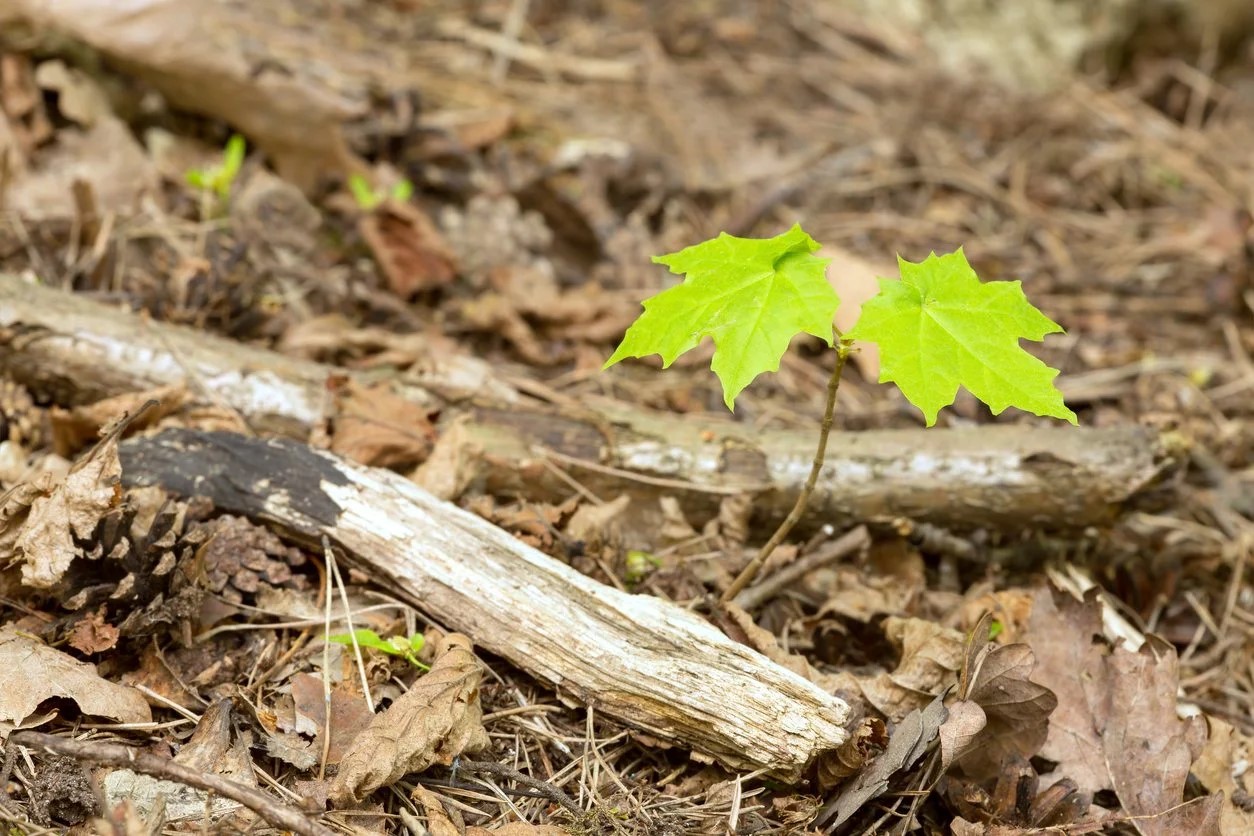
- Monitor growth: Regularly observe the seedlings for signs of growth. Look for the emergence of new leaves and an increase in height. This indicates that the plants are thriving.
- Support the seedlings: As the seedlings grow taller, they may need support to prevent them from toppling over. Gently insert a small wooden stake or plant support near the base of the seedling and loosely tie the stem to the stake with a soft string or plant tie.
- Prune if necessary: If you notice any weak or damaged stems or leaves, carefully prune them using clean and sterile pruning shears. This helps redirect the plant’s energy towards healthy growth.
- Feed with fertilizer: After the seedlings have developed a few sets of leaves, you can begin feeding them with a balanced liquid or slow-release fertilizer specifically formulated for citrus plants. Follow the instructions on the fertilizer packaging for the correct dosage and frequency.
- Weed control: Keep the area around the seedlings free from weeds, as they can compete for nutrients and water. Gently remove any weeds that appear near the base of the plants, taking care not to disturb the delicate seedling roots.
- Pest control: Keep an eye out for common pests that may affect lime trees, such as aphids, whiteflies, or scale insects. If you notice any signs of pest infestation, treat the plants with appropriate organic or chemical pest control methods to prevent damage.
Regular monitoring and care will help ensure the health and vitality of your lime seedlings as they progress into mature trees. Now that your seedlings are growing strong, it’s time to prepare for their eventual transplanting into larger containers or outdoors. We’ll cover that in the next step.
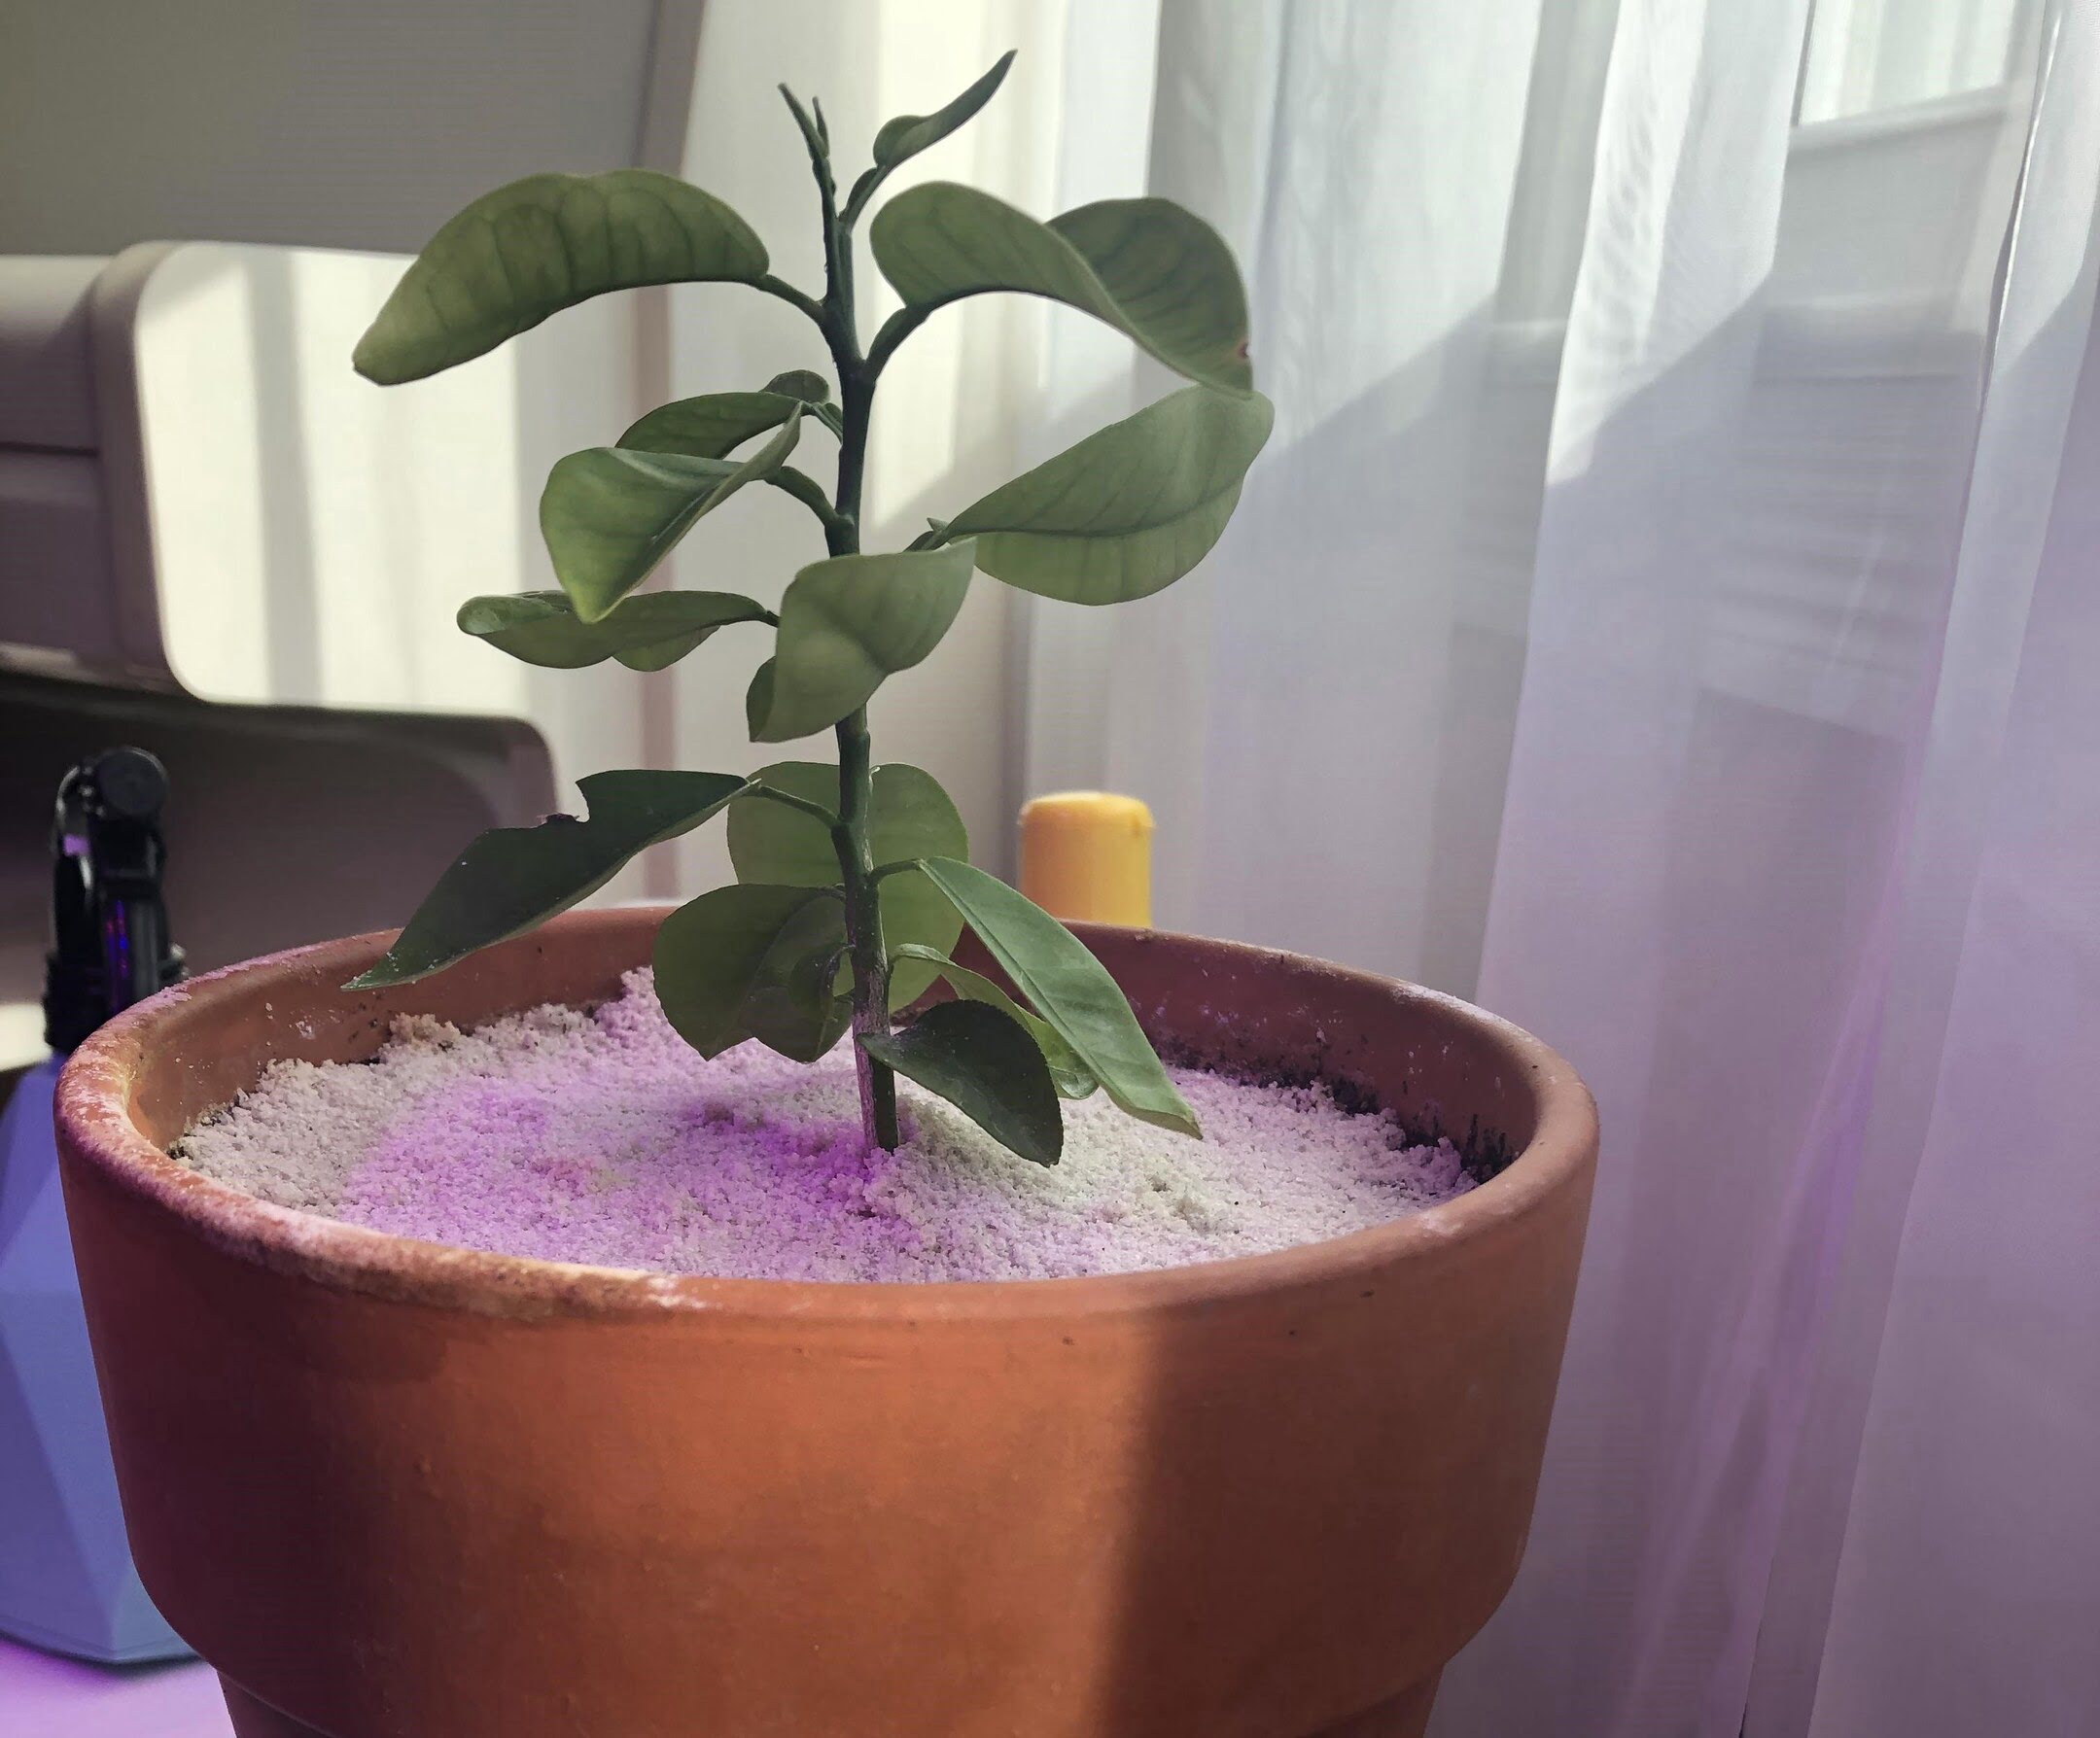
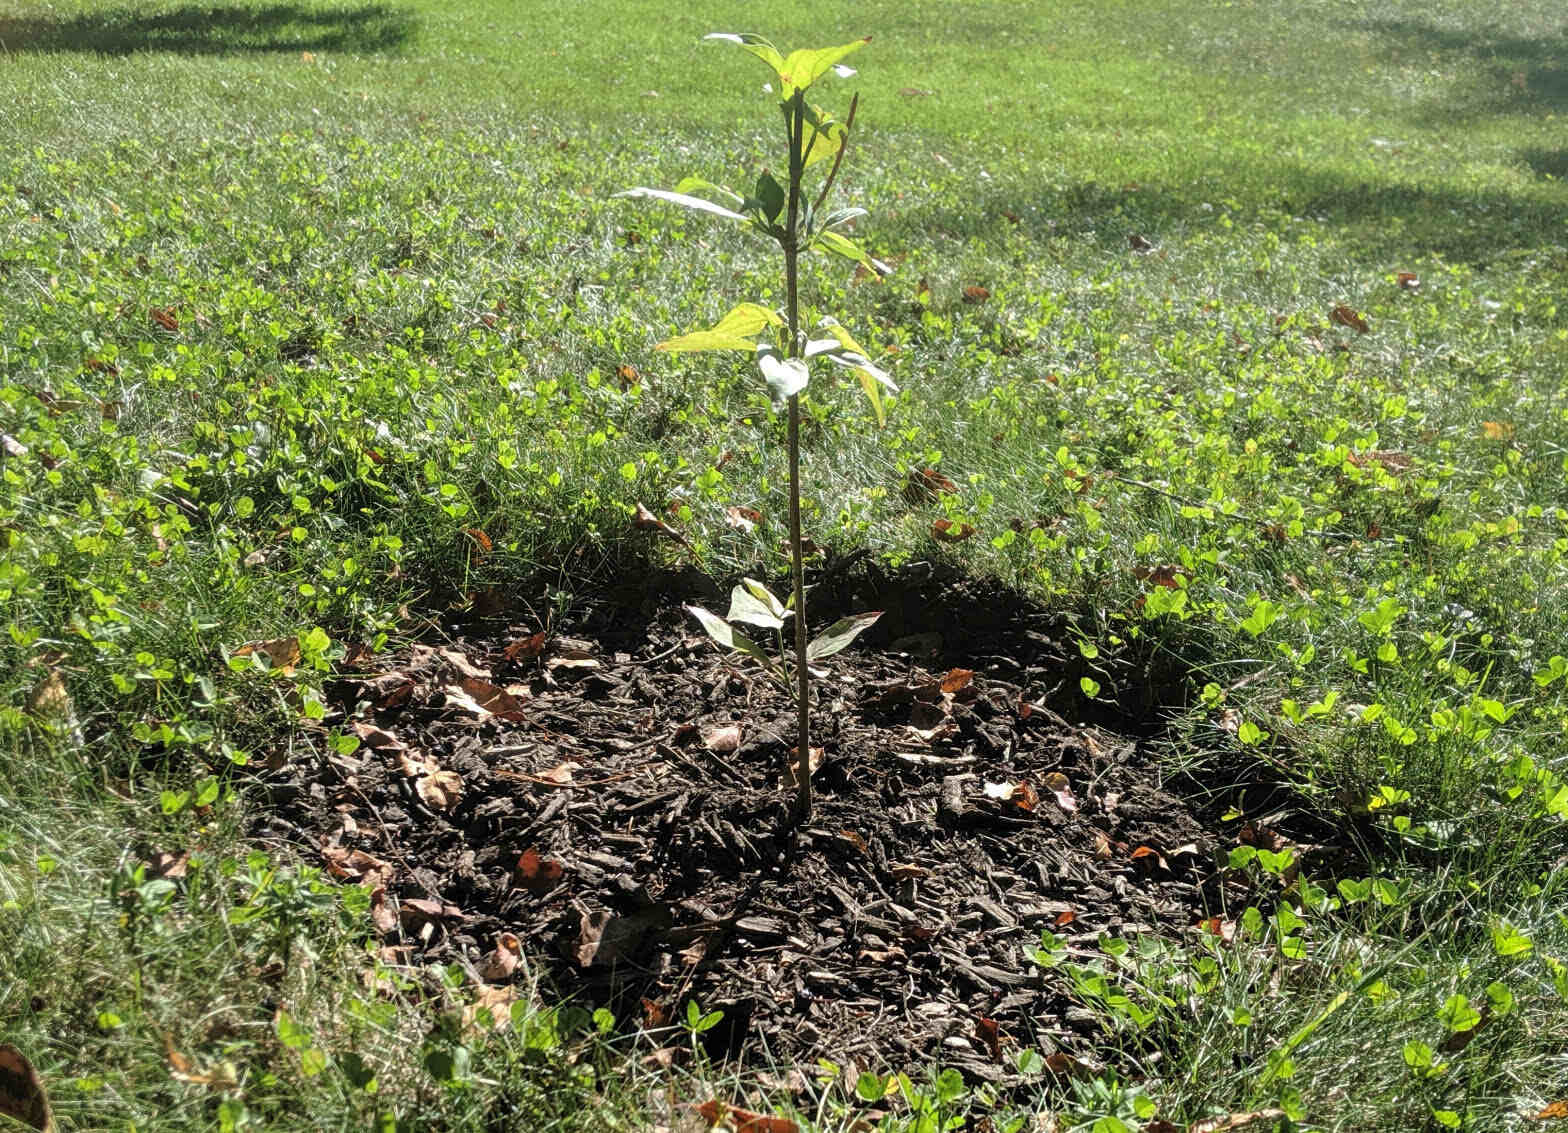
Step 7: Transplanting the Seedlings
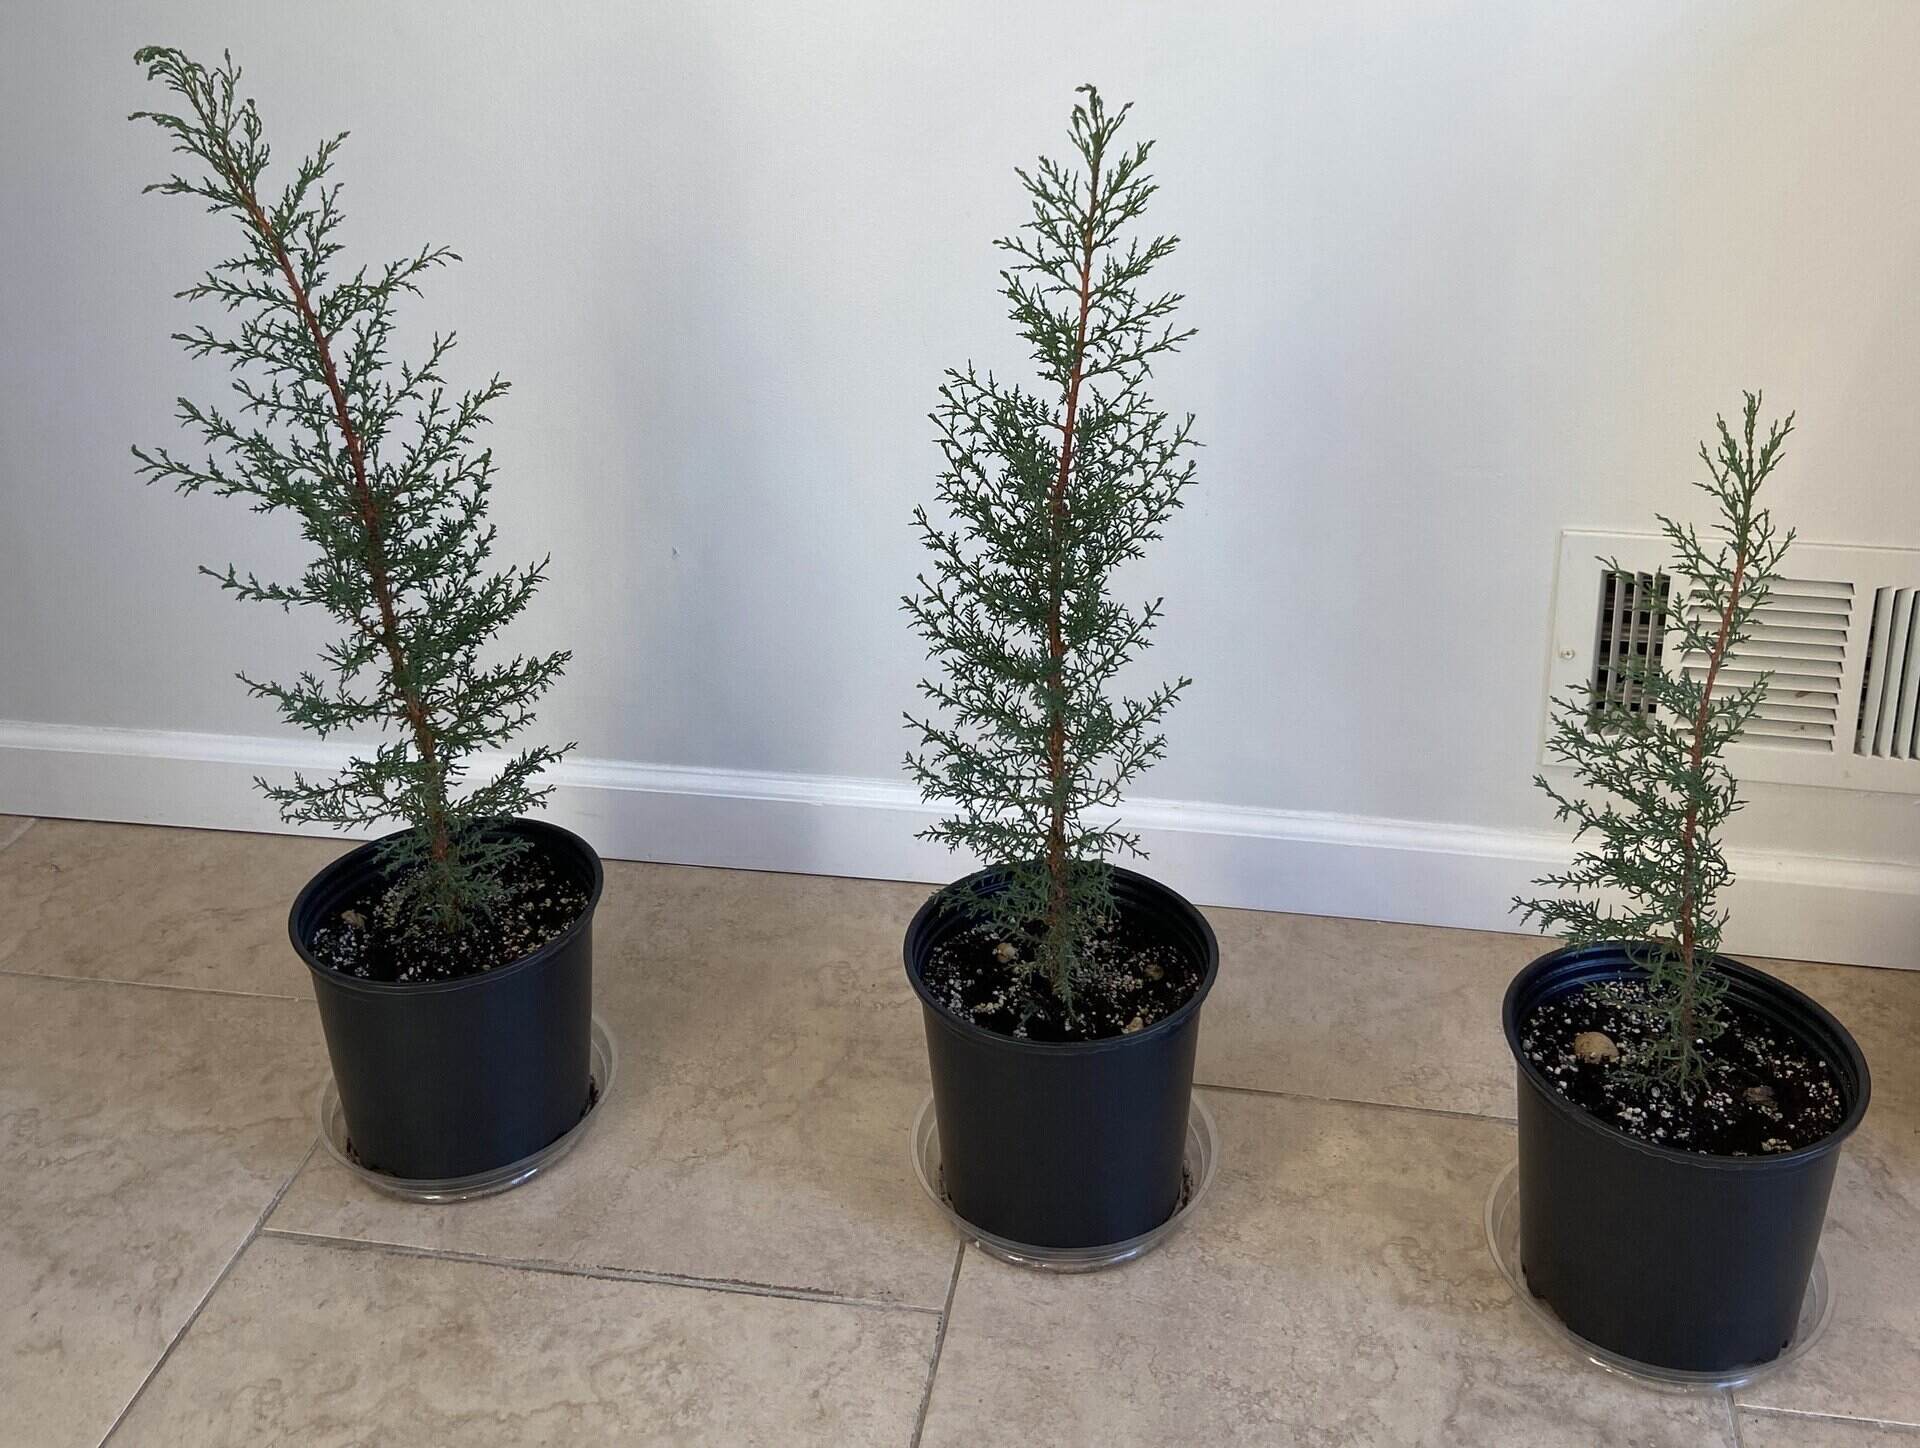
As your lime seedlings grow and develop, they will eventually outgrow their initial containers and require more space for their roots to spread. Follow these steps to successfully transplant your seedlings:
- Choose the right time: Wait until the seedlings have established a sturdy root system and have grown several sets of true leaves before transplanting. This is usually around 6-8 weeks after germination.
- Select a larger container: Choose a container that is about 12-16 inches in diameter and has good drainage. Fill the new container with a well-draining potting mix similar to the one used initially.
- Prepare the seedlings: Gently loosen the soil around the seedlings in the original container. Carefully lift each seedling, taking care not to damage the delicate roots. If the roots are tangled, you can carefully tease them apart to encourage healthy growth.
- Plant the seedlings: Dig a hole in the center of the new container, deep enough to accommodate the root ball of the seedling. Place the seedling in the hole and fill it with potting mix, ensuring that the crown of the plant is level with the soil surface. Press the soil gently around the seedling to secure it in place.
- Water the transplanted seedlings: Give the newly transplanted seedlings a thorough watering to settle the soil and help reduce transplant shock. Ensure that the potting mix is evenly moist, but avoid overwatering.
After transplanting, place the containers in a sunny location with adequate airflow. Continue monitoring the seedlings for any signs of stress, and adjust watering as necessary to promote healthy root development. As your lime trees grow, they will require consistent care and attention. Let’s explore that in the next step.
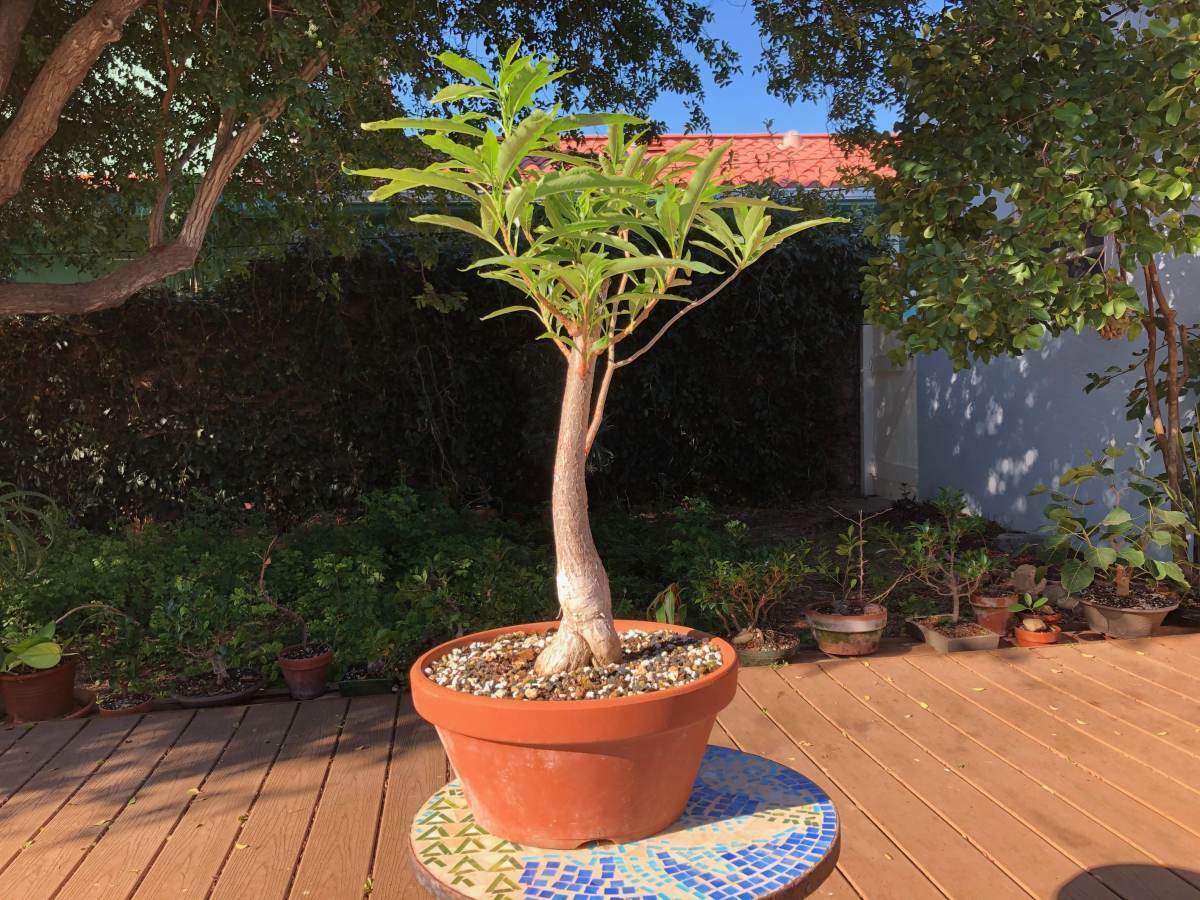
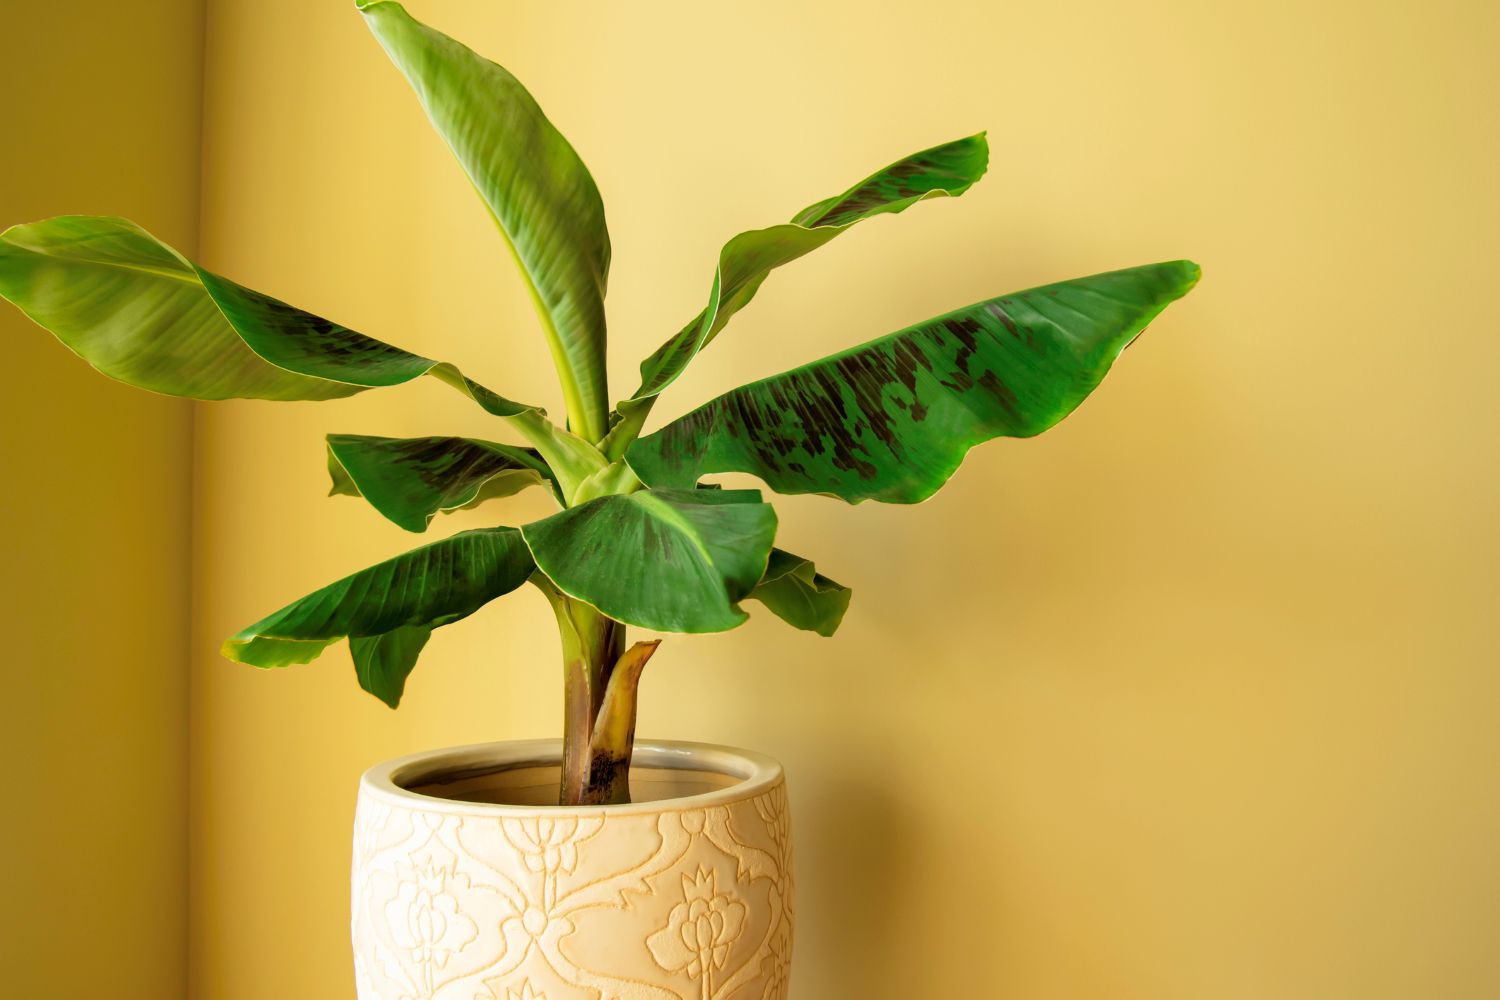
Step 8: Continued Care for Mature Lime Trees
Congratulations, your lime seedlings have successfully grown into mature trees! Now, it’s time to shift your focus towards providing the ongoing care needed to ensure their long-term vitality. Follow these guidelines for the continued care of your mature lime trees:
- Sunlight and temperature: Mature lime trees prefer full sun exposure, so ensure they are placed in a spot that receives at least 6-8 hours of direct sunlight each day. They also prefer temperatures between 70°F and 85°F (21°C – 29°C), so protect them from extreme heat or cold.
- Watering: Water your lime trees deeply and thoroughly, allowing the soil to dry out slightly between waterings. Aim for regular but moderate watering, as overwatering can lead to root diseases.
- Fertilization: Feed your lime trees with a balanced citrus fertilizer according to the package instructions. Apply the fertilizer several times a year, typically in early spring, mid-summer, and early fall, to provide essential nutrients for healthy growth and fruit production.
- Pruning: Prune your lime trees annually during late winter or early spring to shape them and remove any dead, damaged, or crossing branches. Pruning helps improve airflow, light penetration, and overall tree health.
- Pest and disease management: Regularly inspect your lime trees for any signs of pests, such as aphids, scale insects, or citrus leafminers. If detected, treat them promptly with appropriate organic or chemical pest control methods. Additionally, watch out for common diseases like citrus canker and citrus greening and take necessary preventive measures.
- Harvesting: Once your lime trees start producing fruits, harvest them when they reach their optimal size and color. Simply twist or cut the fruits from the tree, taking care not to damage the remaining branches or buds.
Remember, lime trees are generally hardy and resilient, but they still require regular care and attention. By providing the proper environmental conditions, watering, fertilizing, pruning, and pest control, you’ll be able to enjoy a bounty of delicious, homegrown limes for years to come.
So, take pride in your green thumb, keep nurturing your lime trees, and revel in the joy of growing your own citrus fruits!
Read more: How To Grow Pecan Tree From Seed
Conclusion
Congratulations on completing your journey of growing lime trees from seed! By following the step-by-step process outlined in this guide, you have learned how to gather and prepare seeds, plant and care for seedlings, and provide optimal growing conditions for your lime trees to thrive.
Growing lime trees from seed is a fulfilling and rewarding experience. From the moment you plant the seeds to the eventual harvest of tangy, refreshing limes, you have the opportunity to witness the beauty of nature’s growth and nurture.
Remember, patience is key when it comes to growing lime trees. It takes time for the seeds to germinate and the seedlings to develop into mature trees. But with proper care, attention, and a little bit of green-thumb magic, you’ll be rewarded with a bountiful harvest and the satisfaction of enjoying your homegrown limes.
As you continue caring for your mature lime trees, be sure to provide them with the right amount of sunlight, water, and nutrients. Prune and manage pests to maintain their health and vigour. With your continued dedication, your lime trees will thrive and bring you joy for years to come.
So, seize the opportunity to embark on this garden adventure and enrich your life with the beauty and taste of freshly grown limes. Enjoy the process, embrace the challenges, and revel in the satisfaction of growing your own lime trees!
Happy gardening!
Excited to see your lime tree flourish? Knowing how long seeds take to sprout is crucial for any gardening enthusiast. Dive deeper into our guide on seed germination to master the timing and techniques that ensure your garden remains vibrant and healthy. With practical advice tailored to help seeds thrive, you'll be well-equipped to nurture your green space effectively.
Frequently Asked Questions about How To Grow Lime Tree From Seed
Was this page helpful?
At Storables.com, we guarantee accurate and reliable information. Our content, validated by Expert Board Contributors, is crafted following stringent Editorial Policies. We're committed to providing you with well-researched, expert-backed insights for all your informational needs.


0 thoughts on “How To Grow Lime Tree From Seed”