Articles
How To Store Markers And Pens
Modified: January 19, 2024
Learn how to properly store your markers and pens to extend their lifespan. Check out these helpful articles for tips and tricks.
(Many of the links in this article redirect to a specific reviewed product. Your purchase of these products through affiliate links helps to generate commission for Storables.com, at no extra cost. Learn more)
Introduction
Markers and pens are valuable tools for artists, students, office workers, and anyone else who enjoys writing, drawing, or coloring. However, keeping your markers and pens organized and stored properly is essential to ensure they last longer and stay in good condition. In this article, we will explore the importance of proper marker and pen storage and provide tips and solutions to help you keep your favorite writing instruments tidy and accessible.
Proper storage not only helps prevent loss or damage to your markers and pens but also makes it easier to find the exact color or pen you need when you need it. Whether you’re an artist who depends on a wide range of colors or a student who needs a reliable pen for note-taking, having a well-organized storage system can greatly improve your productivity and creativity.
Before we delve into the various storage solutions available, it’s important to consider a few factors. First, think about the number of markers and pens you own. Are you an avid collector with a large assortment, or do you have a smaller set for occasional use? The size of your collection will influence the type and size of the storage solution you choose.
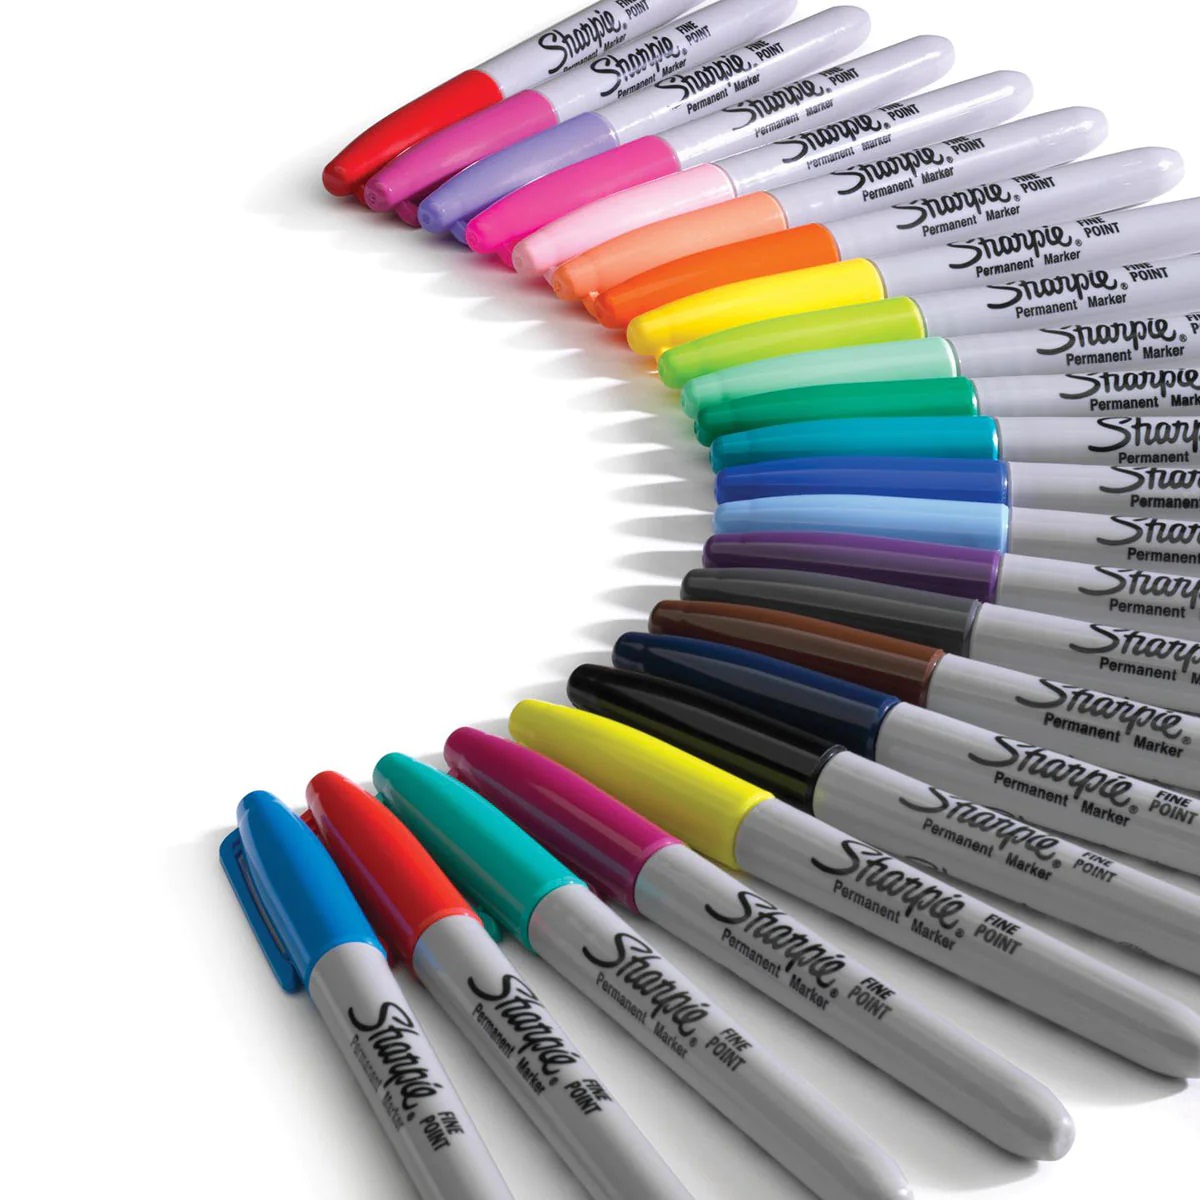
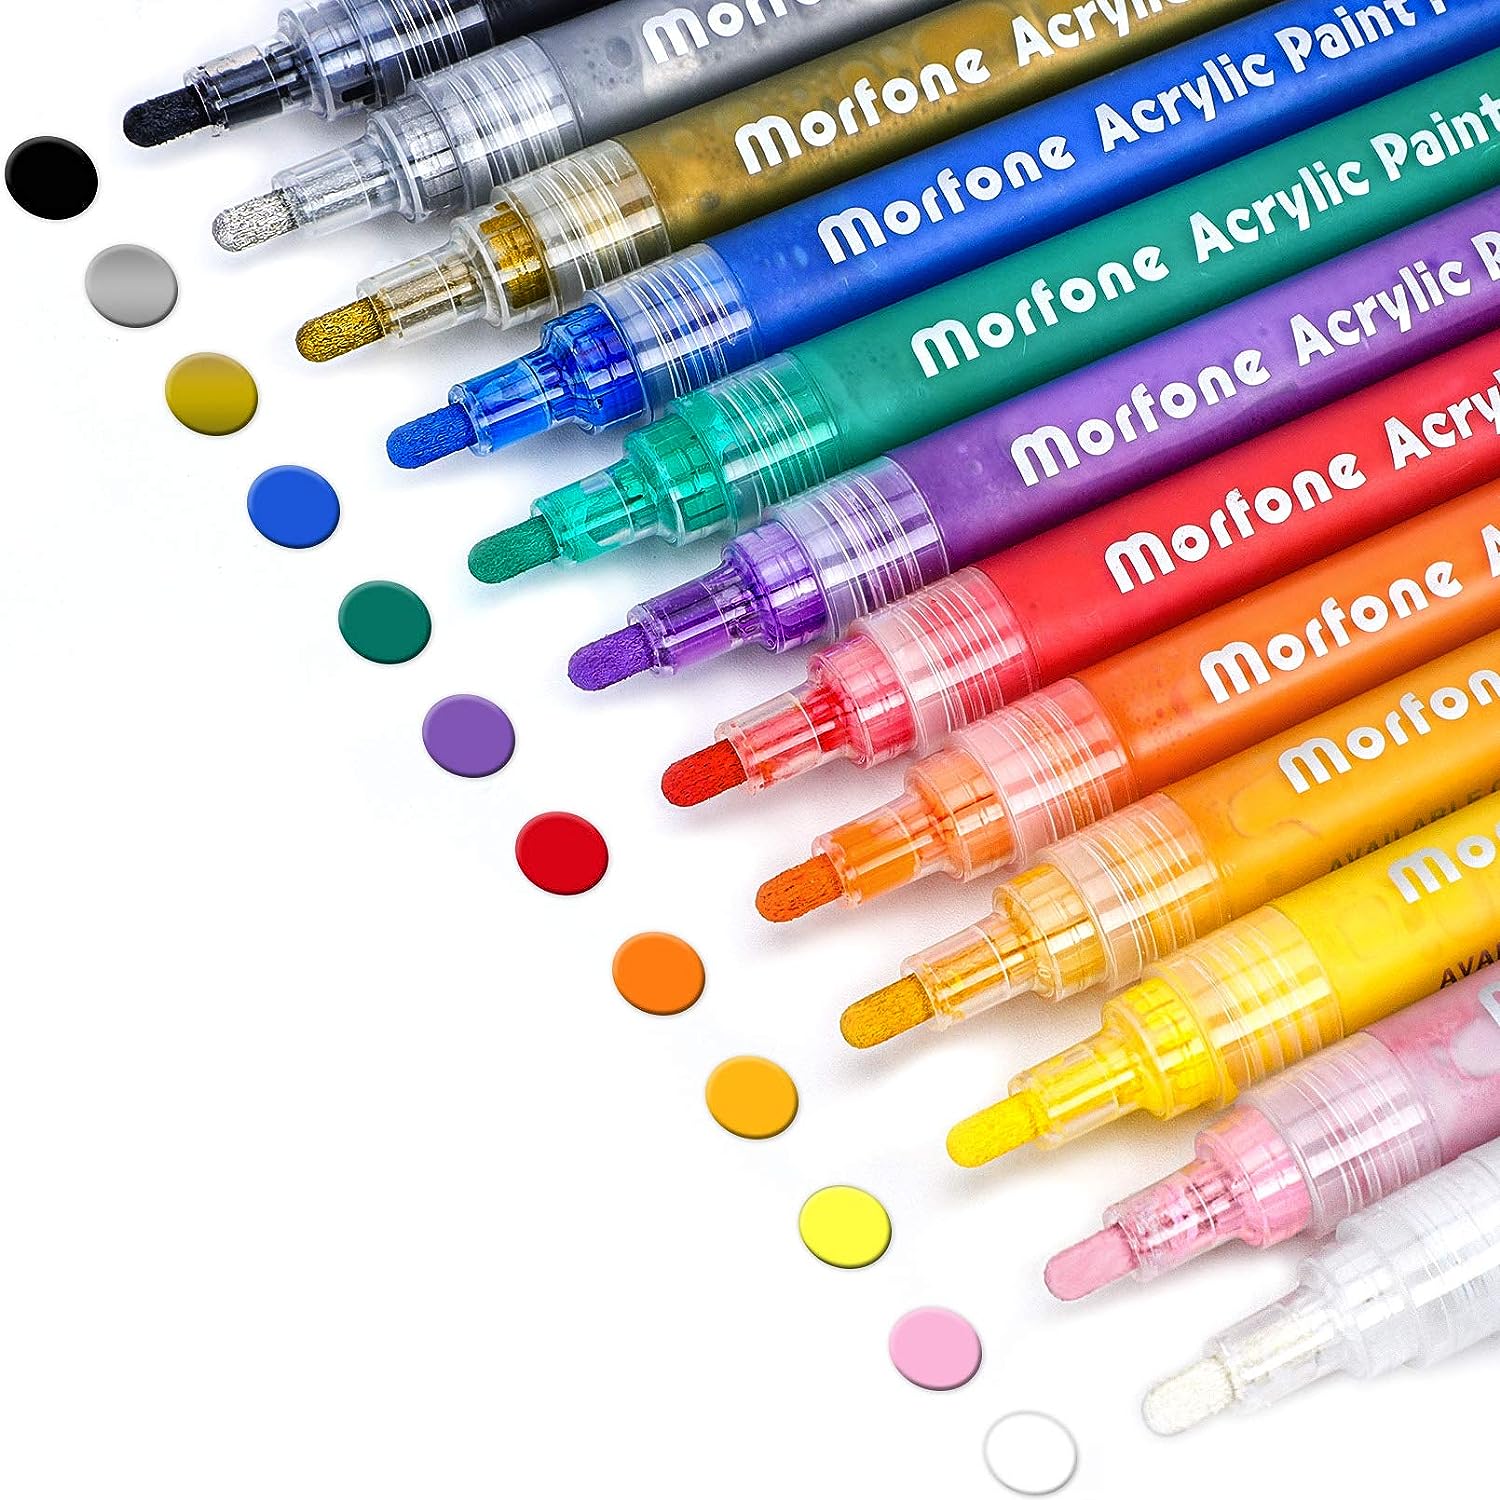
Another factor to consider is the type of markers and pens you own. Are they water-based markers, alcohol-based markers, or permanent markers? Are your pens gel pens, ballpoint pens, or fountain pens? Different types of markers and pens have different storage requirements to maintain their quality and functionality.
Lastly, consider your available space and how you prefer to organize your markers and pens. Some people prefer to have them easily accessible on a desk or tabletop, while others may prefer to store them in drawers, cases, or wall-mounted storage solutions to save space.
Now, let’s explore some of the different types of marker and pen storage solutions available to help you find the best option for your needs.
Key Takeaways:
- Proper marker and pen storage is crucial for maintaining quality, longevity, and accessibility. Choose from a variety of storage solutions, such as organizers, drawers, pouches, wall-mounted options, or get creative with DIY solutions.
- Implementing effective storage tips, such as keeping markers upright, capping them tightly, and regularly decluttering, ensures your markers and pens remain in optimal condition and ready for use. Organize your workspace to showcase your creativity and personal style.
Read more: How To Store Copic Markers
Importance of Proper Marker and Pen Storage
Proper marker and pen storage may seem like a trivial matter, but it plays a crucial role in maintaining the quality and longevity of these writing instruments. Here are a few reasons why it’s important to store your markers and pens properly:
- Preserving Ink Quality: When markers and pens are not stored properly, their ink can dry out or become clumpy, leading to poor performance and frustrating writing experiences. By keeping them stored in the right environment, you can ensure the ink remains smooth and vibrant, ready for use whenever you need it.
- Preventing Damage: Markers and pens are delicate tools that can be easily damaged if not stored correctly. Caps can be lost, tips can get bent or frayed, and ink barrels can crack. Proper storage, such as using cases or organizers, helps protect these writing instruments from accidental damage, prolonging their lifespan.
- Easy Accessibility: Have you ever wasted time searching for a specific color or pen in a messy drawer or scattered collection? Properly storing your markers and pens makes it easier to find the exact color or pen you need, saving you time and frustration. With organized storage, you can have all your markers and pens easily accessible, speeding up your creative or writing process.
- Space Optimization: Cluttered desks or workspaces not only impede productivity but can also lead to accidental damage or loss of markers and pens. Using storage solutions specifically designed for markers and pens, such as organizers or wall-mounted storage, helps optimize your space, keeping your writing instruments neat and within reach.
- Inspiration and Creativity: A neat and organized marker and pen collection can inspire creativity. Imagine having all your markers neatly arranged by color or having your pens displayed beautifully on a wall. It can spark your creativity and motivate you to use them more often.
Remember, marker and pen storage isn’t just about keeping things tidy; it’s about protecting your investment and ensuring your writing instruments are always ready for use. Now that you understand the importance of proper storage, let’s explore the different storage options available.
Factors to Consider Before Choosing a Storage Method
When selecting a storage method for your markers and pens, it’s important to consider several factors to ensure you choose the right solution for your needs. Here are some key factors to consider:
- Collection Size: The size of your marker and pen collection is an important consideration when choosing a storage method. If you have a small collection, a compact organizer or pencil case might be sufficient. However, if you have a large assortment, you might need a storage solution with more capacity, such as a drawer or wall-mounted storage.
- Type of Markers and Pens: Different types of markers and pens have specific storage requirements. For example, alcohol-based markers should be stored horizontally to prevent the ink from pooling at one end, while water-based markers can be stored vertically. Take into account the type of markers and pens you have in your collection to choose a storage method that best suits their needs.
- Accessibility: Consider how easily you want to access your markers and pens. If you frequently use them and need quick access, opting for a storage solution that offers easy visibility and retrieval, such as a desktop organizer or wall-mounted storage, might be ideal. On the other hand, if you prefer to keep your markers and pens hidden away when not in use, a drawer or case might be more suitable.
- Available Space: Evaluate the available space in your home, office, or studio before selecting a storage method. If you have limited space, consider compact options like pencil cases or wall-mounted storage to maximize the use of vertical space. If you have ample space, you can opt for larger organizers or drawers.
- Portability: If you often carry your markers and pens with you when you’re on the go, portability becomes a crucial factor. Look for storage solutions that are lightweight, compact, and easily transportable, such as portable pencil cases or pouches.
By considering these factors, you can narrow down your options and choose a storage method that not only fits your marker and pen collection but also suits your preferences and storage needs. Now, let’s explore some of the different types of marker and pen storage solutions available in the market.
Different Types of Marker and Pen Storage Solutions
When it comes to marker and pen storage, there is a wide array of solutions available to accommodate different storage needs and preferences. Here are some of the most common types of storage solutions:
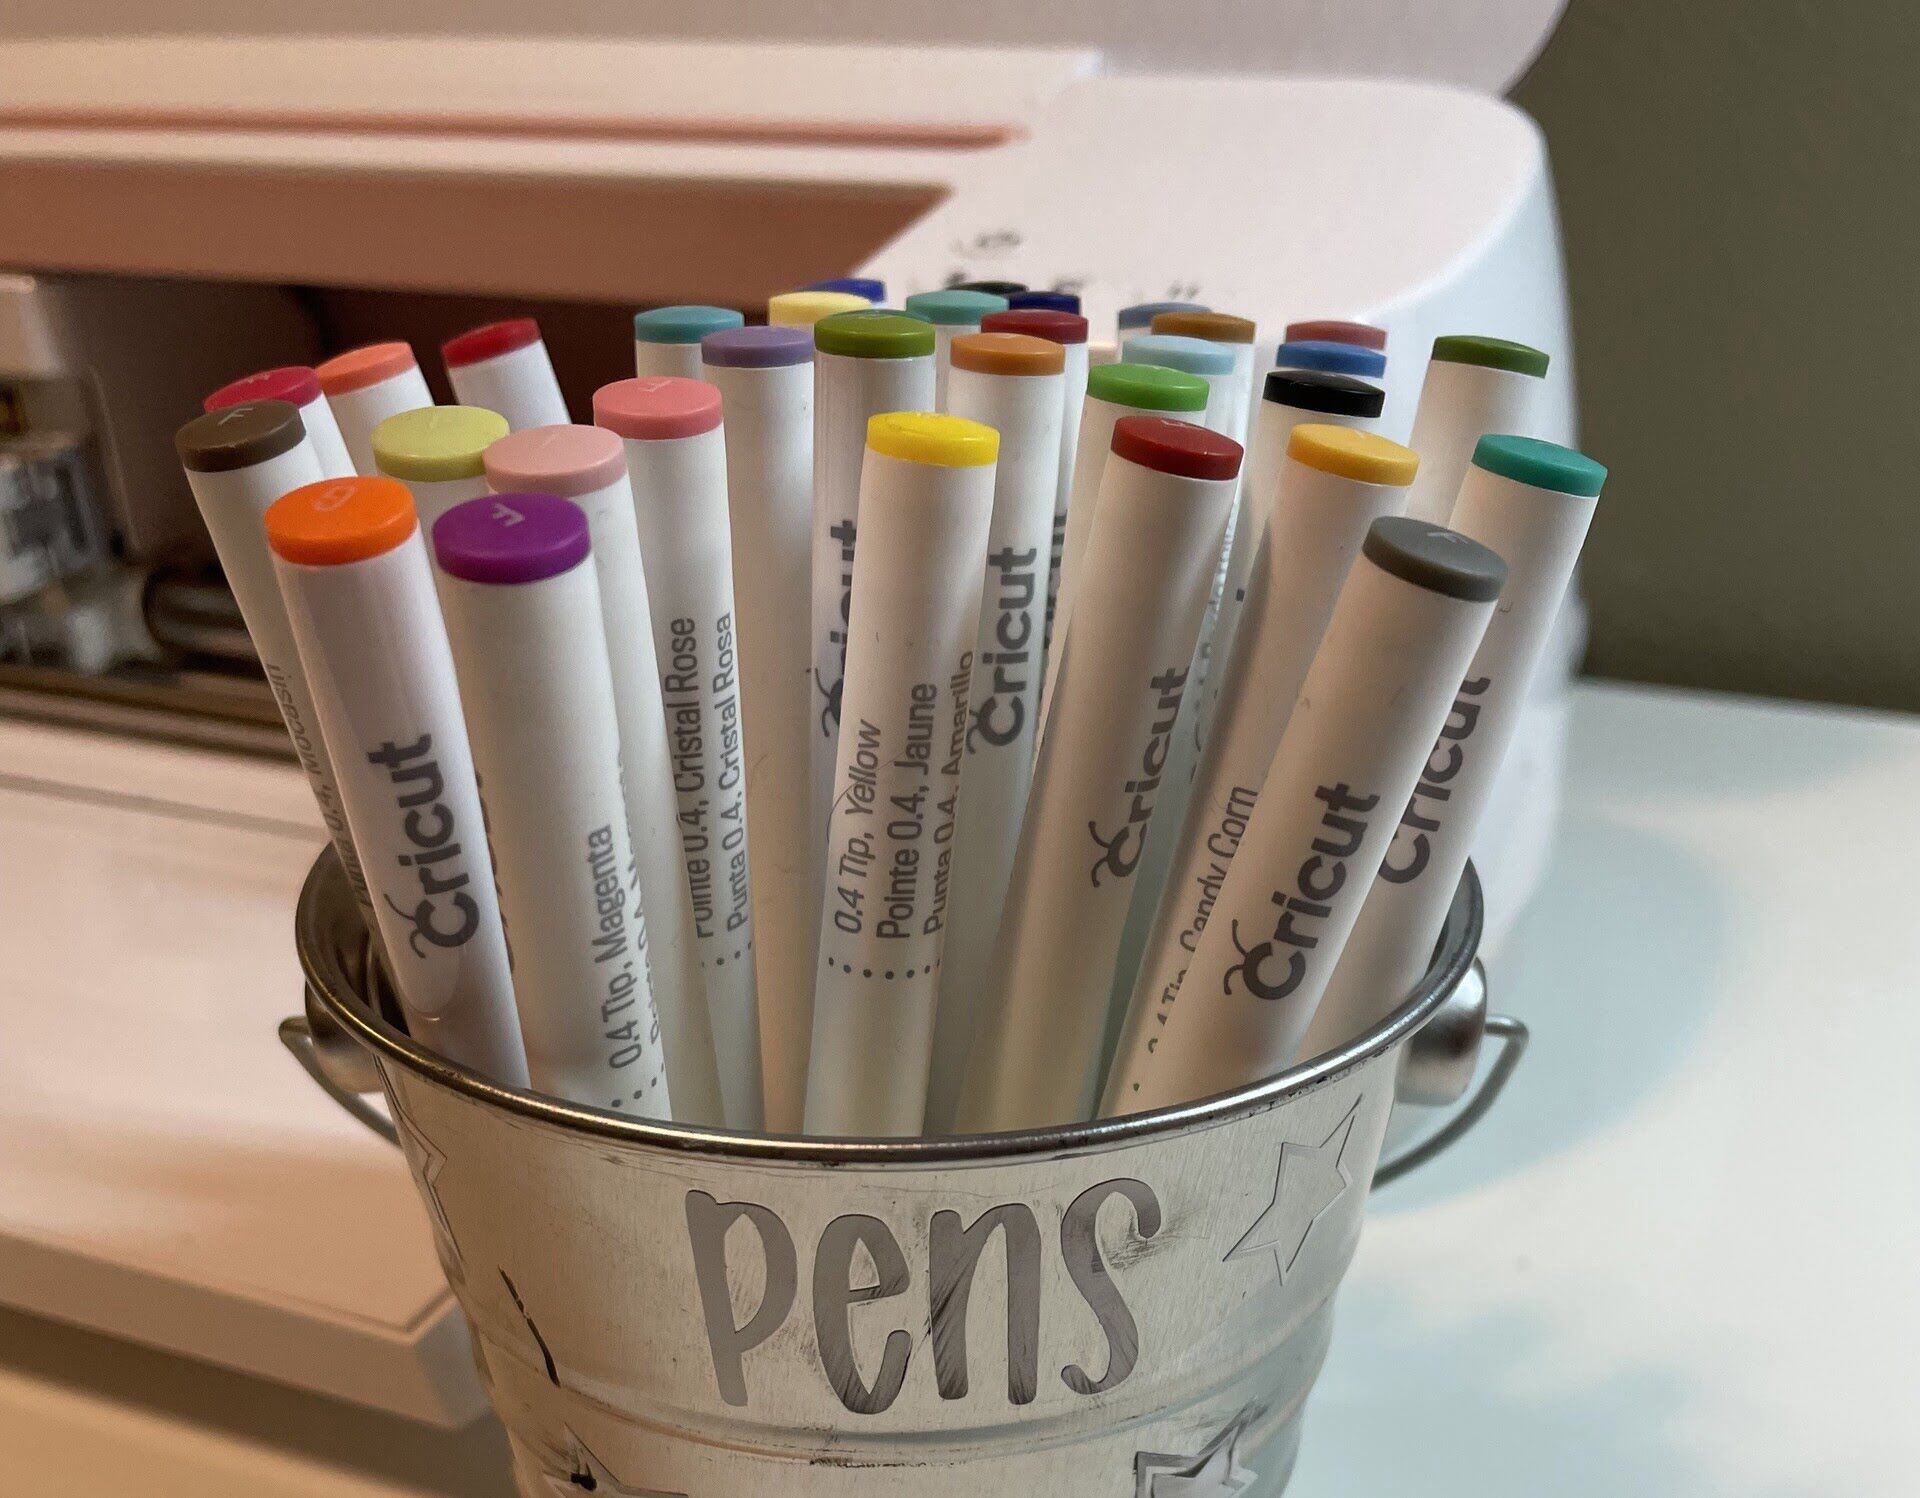
- Marker and Pen Organizers: These organizers are specifically designed to hold markers and pens of various sizes. They typically feature individual compartments or slots to keep each marker or pen upright and easily accessible. Some organizers have adjustable dividers, allowing you to customize the compartment sizes to fit your specific markers and pens. You can find organizers made of plastic, wood, or fabric, depending on your preference.
- Drawers and Trays: Using drawers or trays is a popular choice for marker and pen storage. You can opt for stackable plastic drawers or wooden trays with dividers to create separate compartments for your markers and pens. Drawers and trays offer a neat and organized way to store your markers and pens, while keeping them easily accessible whenever you need them.
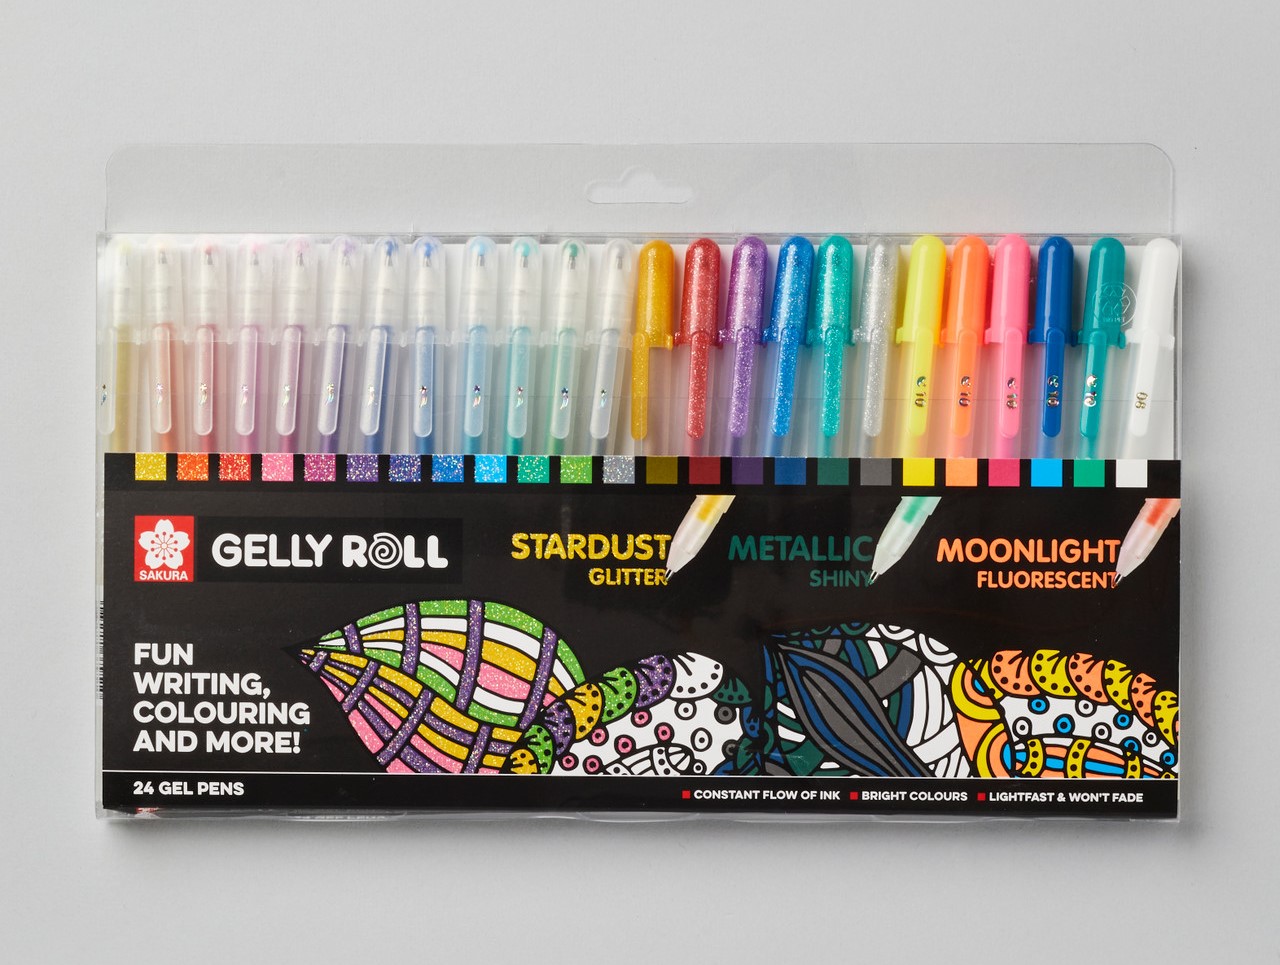
- Pencil Cases and Pouches: Pencil cases and pouches are portable storage options that are ideal for traveling or carrying your markers and pens around. They come in various sizes and designs, offering compartments or elastic loops to keep your markers and pens secure and organized. Pencil cases and pouches are often made of durable materials like canvas or nylon to protect your writing instruments from damage.
- Wall-Mounted Storage: Wall-mounted storage solutions are an excellent choice if you want to save desk or table space. You can find wall-mounted organizers that feature slots, cups, or hooks to hold your markers and pens securely. These storage options not only keep your markers and pens easily accessible but also add a decorative element to your workspace.
- DIY Storage Solutions: If you’re feeling crafty or have unique storage needs, you can create your own marker and pen storage. DIY storage solutions can range from repurposed items like mason jars or shoe organizers to custom-built storage racks or shelves. The possibilities are endless, allowing you to personalize your storage based on your preferences and available materials.
Each of these storage solutions has its advantages and considerations, so think about your specific requirements and preferences before making a decision. Don’t be afraid to mix and match storage options to create a system that suits you best. Now that you’re familiar with the different types of storage solutions available, let’s move on to some tips for effectively storing your markers and pens.
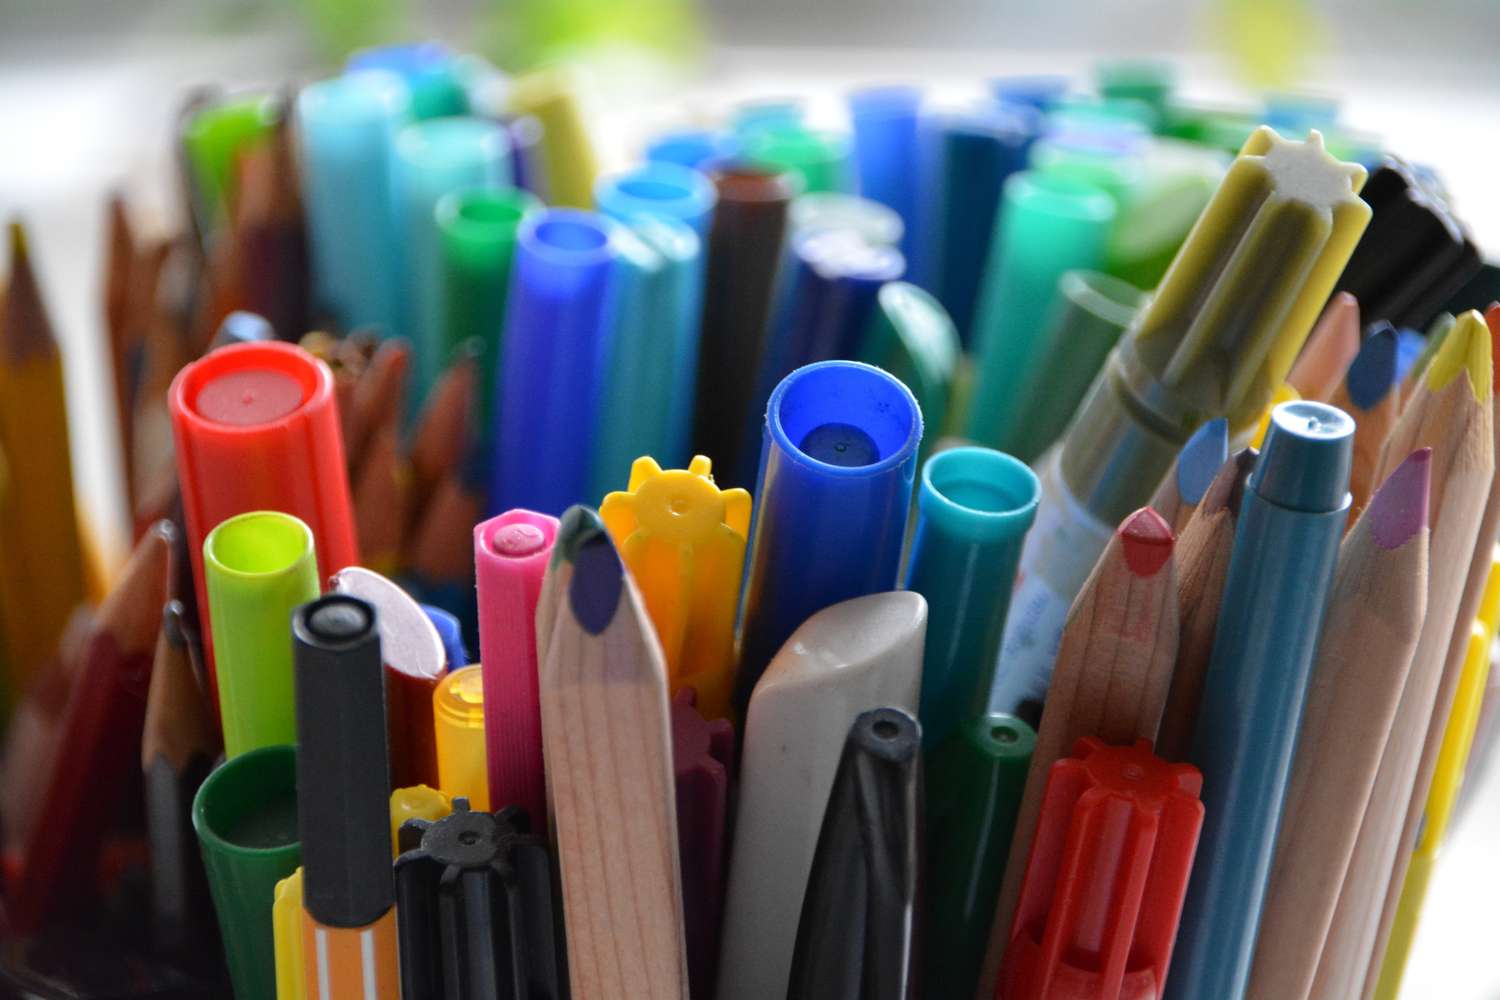
Marker and Pen Organizers
Marker and pen organizers are specifically designed storage solutions that offer a practical and efficient way to keep your markers and pens neatly organized. Here’s why marker and pen organizers are a popular choice:
- Easily Accessible: Marker and pen organizers provide individual compartments or slots for each marker or pen, allowing you to easily see and access the desired color or pen without rummaging through a jumbled collection.
- Customizable Compartments: Many marker and pen organizers come with adjustable dividers, enabling you to customize the compartment sizes to fit your marker and pen collection. This flexibility allows you to accommodate markers and pens of various sizes and shapes.
- Protection: Marker and pen organizers provide protection for your writing instruments by keeping them upright and preventing them from rolling or getting damaged. The individual compartments help to maintain the integrity of the marker or pen tips and prevent them from drying out.
- Space-Saving: Marker and pen organizers are designed to maximize space efficiency. They come in various sizes, from compact cases that fit on your desk to larger organizers that can be stored in drawers or cabinets. Whatever your space limitations may be, there is a marker and pen organizer available to suit your needs.
- Easy Identification: With marker and pen organizers, you can organize your markers and pens by color, brand, or type, making it easier to locate the specific marker or pen you need at any given time. This saves you valuable time and eliminates the frustration of searching through a disorganized collection.
When choosing a marker and pen organizer, consider the size of your collection and the type of markers and pens you own. Look for organizers with compartments that have the appropriate dimensions to accommodate your collection. Additionally, consider the material and durability of the organizer to ensure it will withstand regular use.
If you have limited desk space, you may opt for a vertical organizer that stands upright, or if you prefer a more portable solution, consider a compact organizer with a carrying handle. Ultimately, the choice of marker and pen organizer will depend on your personal preferences and storage needs.
Remember to regularly clean and organize your marker and pen organizer to maintain its functionality. Remove any dried-out markers or pens and wipe down the compartments to keep them clean and ready for use.
Marker and pen organizers are an excellent investment for keeping your drawing supplies in order, protecting them from damage, and making them easily accessible. Now that you’re familiar with marker and pen organizers, let’s move on to explore another type of storage solution: drawers and trays.
Read more: How To Store Posca Pens
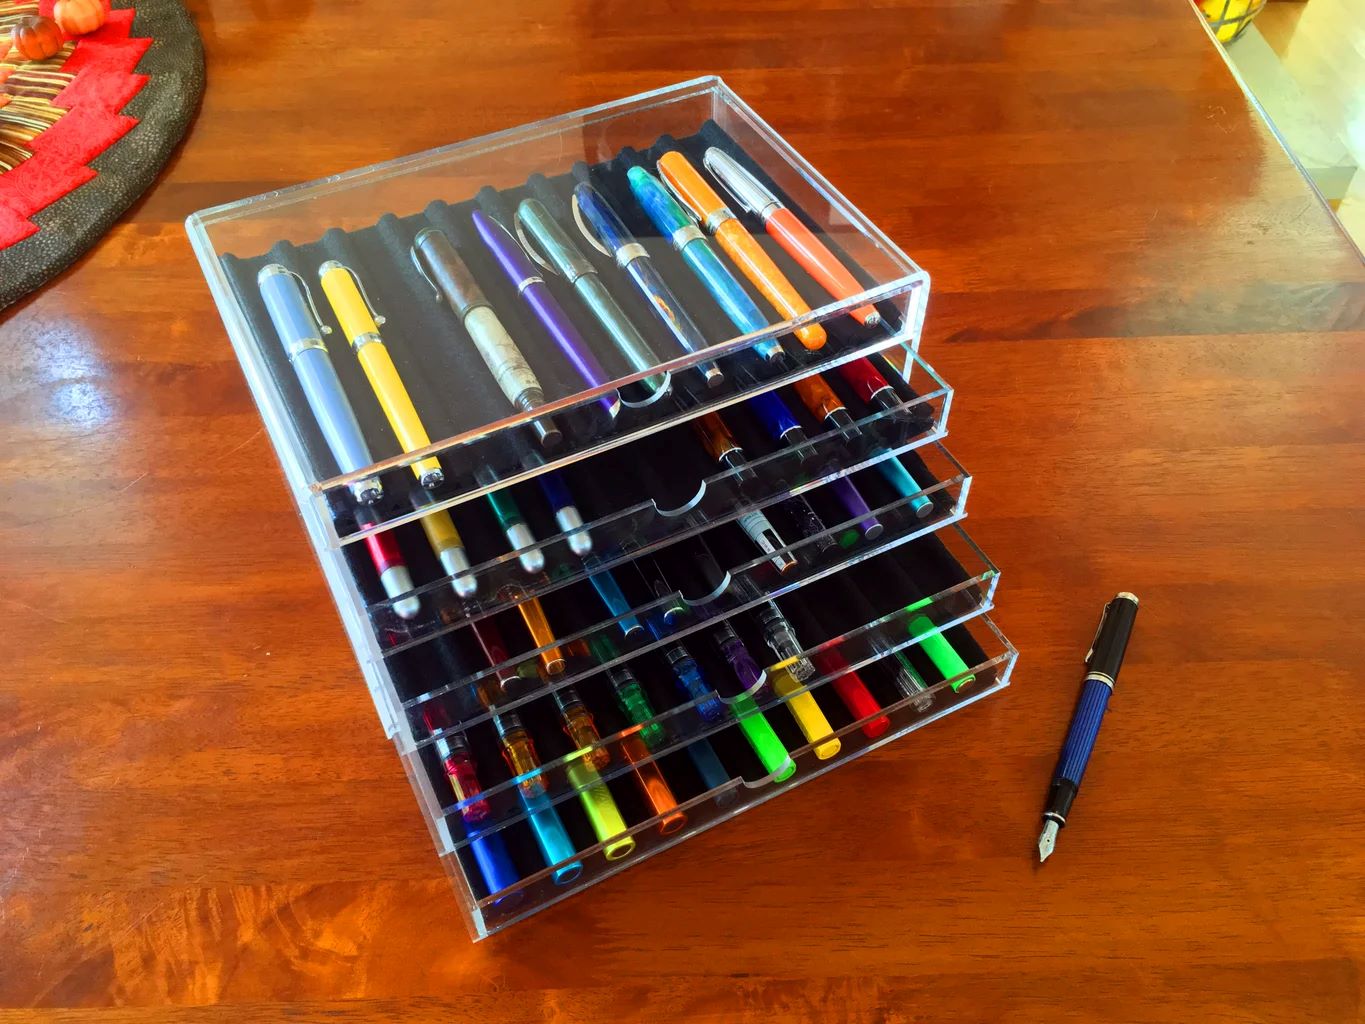
Drawers and Trays
Drawers and trays are popular and versatile storage solutions for markers and pens. They offer a practical and organized way to store your writing instruments, whether you have a small or large collection. Here are some key benefits of using drawers and trays for marker and pen storage:
- Organization and Visibility: Drawers and trays provide a designated space for your markers and pens, keeping them organized and easily visible. You can use dividers or compartments within the drawers or trays to separate different colors or types of markers and pens, helping you quickly find the one you need for your creative or writing projects.
- Protection: Drawers and trays offer protection for your markers and pens by keeping them safely stored away from potential damage. They prevent your markers and pens from rolling off the desk or getting misplaced, reducing the risk of them getting lost or damaged.
- Space Efficiency: If you have limited desk space, storing your markers and pens in drawers or trays can help declutter your workspace and optimize your available surface area. You can stack the trays or place them in a drawer, keeping your markers and pens neatly stored and out of the way when not in use.
- Customizable Compartments: Some drawers and trays come with adjustable dividers or compartments, allowing you to customize the storage layout to fit your specific marker and pen collection. This flexibility enables you to accommodate markers and pens of different sizes and shapes, keeping them securely in place.
- Portability: If you prefer to take your markers and pens with you on the go, some drawers and trays are designed to be portable. They may have carrying handles or foldable designs, making it convenient to transport your markers and pens to different locations while keeping them organized.
When selecting drawers or trays for marker and pen storage, consider the size and quantity of your collection. If you have a small assortment, a single tray or small drawer might suffice. However, if you have a large collection, opt for multiple trays or a deeper drawer to accommodate all your markers and pens comfortably.
Choose drawers or trays made of sturdy materials like plastic or wood to ensure durability and longevity. Consider the design and functionality of the drawers or trays, such as whether they have non-slip surfaces or clear lids for easy visibility. Additionally, check if they offer organization options like adjustable dividers or compartments to meet your storage needs.
Keep your drawers or trays clean and organized by periodically removing any dried-out or expired markers and pens. Wipe down the surfaces to remove dust and debris, ensuring your markers and pens are stored in a clean and tidy environment.
Drawers and trays are versatile storage solutions that offer a visually appealing and efficient way to keep your markers and pens organized and protected. Now that you’re familiar with drawers and trays, let’s move on to explore another type of storage solution: pencil cases and pouches.
Store markers and pens horizontally to prevent the ink from pooling at one end. Keep them in a cool, dry place to extend their shelf life and maintain their quality.
Pencil Cases and Pouches
Pencil cases and pouches are portable and convenient storage solutions for your markers and pens. Whether you are a student, artist, or professional on the go, these compact containers offer several benefits for storing your writing instruments:
- Portability: Pencil cases and pouches are designed to be easily carried around, allowing you to have your markers and pens with you wherever you go. They are lightweight and compact, making them ideal for travel or taking your markers and pens to school, work, or creative outings.
- Organization: Many pencil cases and pouches come with individual elastic loops or compartments to keep each marker and pen secure and organized. These compartments prevent your markers and pens from moving around or bumping into each other, protecting them from damage and ensuring easy accessibility.
- Space Efficiency: Pencil cases and pouches optimize space efficiency by minimizing the amount of room required to store your markers and pens. They can easily fit into bags, backpacks, or even pockets, keeping your writing instruments within reach without occupying excessive space.
- Protection: Pencil cases and pouches offer a protective layer for your markers and pens, shielding them from external elements like dust, dirt, and moisture. The durable fabric or material of these cases helps to prevent any accidental damage or breakage while transporting your markers and pens.
- Visibility: Many pencil cases and pouches are designed with transparent or mesh panels, allowing you to quickly see which markers and pens are inside without having to open the case. This makes it easier to identify the colors or types of markers and pens you need, saving you time and effort.
When choosing a pencil case or pouch for marker and pen storage, consider the size and quantity of your collection. Ensure that the case or pouch has enough compartments or elastic loops to accommodate all your markers and pens securely. Look for cases with sturdy zippers or closures to prevent any accidental spills or loss of markers and pens.
Consider the material of the pencil case or pouch. Opt for durable materials like canvas, nylon, or polyester that can withstand regular use and provide adequate protection for your markers and pens. Additionally, look for cases or pouches that are easy to clean, as occasionally markers and pens may leak or exhibit ink transfer.
Remember to regularly clean your pencil case or pouch to maintain a hygienic storage environment for your markers and pens. Wipe any spills or stains promptly, and remove any dried-out or empty markers or pens to keep your collection organized and in good condition.
Pencil cases and pouches are versatile and practical storage solutions for those who require portability and convenience. Now that you’re familiar with pencil cases and pouches, let’s move on to explore another type of storage solution: wall-mounted storage.
Wall-Mounted Storage
Wall-mounted storage solutions offer a unique and space-saving way to store your markers and pens. By utilizing vertical space, you can keep your markers and pens easily accessible while adding a decorative element to your workspace. Let’s explore the benefits of wall-mounted storage:
- Space Optimization: Wall-mounted storage solutions are ideal for those with limited desk space or those who prefer to keep their workspace clutter-free. By mounting your markers and pens on the wall, you can free up valuable tabletop or desk space while still having easy access to your writing instruments.
- Visibility and Display: Wall-mounted storage solutions allow you to display your markers and pens in an organized and visually appealing manner. This not only makes it easier to locate the color or pen you need but also adds a decorative touch to your workspace, showcasing your collection and inspiring creativity.
- Customization: Wall-mounted storage systems come in various designs and configurations, offering flexibility in organizing your markers and pens. Whether you prefer individual slots, cups, or magnetic strips, you can choose a setup that best suits your collection size and personal style.
- Easy Accessibility: Wall-mounted storage ensures that your markers and pens are within arm’s reach, allowing you to grab the specific color or pen you need without searching through drawers or organizers. This can save you time and keep your creative or writing flow uninterrupted.
- An Organized Workspace: By mounting your markers and pens on the wall, you create a dedicated space for your writing instruments, helping to maintain a tidy and organized work area. This not only enhances your productivity but also fosters a sense of calm and focus in your workspace.
When selecting a wall-mounted storage solution, consider the size of your marker and pen collection. Choose a system that can accommodate your entire collection, whether it’s a simple wall-mounted rack or a modular system with expandable options.
Look for wall-mounted storage solutions that are sturdy and durable to hold the weight of your markers and pens securely. Consider the material, such as wood, metal, or plastic, based on your preference and the overall aesthetic of your workspace.
Take measurements of your available wall space and consider the installation method required. Some wall-mounted storage options may require drilling or mounting hardware, while others may have adhesive or magnetic backing for easy installation and removal.
Finally, arrange your markers and pens in a visually pleasing manner on the wall-mounted storage system. This could involve sorting them by color, brand, or type to create an organized and visually appealing display.
Wall-mounted storage is a creative and efficient way to store your markers and pens while adding a touch of style to your workspace. Now that you’re familiar with wall-mounted storage, let’s move on to explore another type of storage solution: DIY storage solutions.
DIY Storage Solutions
If you have a creative spirit and enjoy personalized storage solutions, DIY storage options are a fantastic choice for your marker and pen collection. These do-it-yourself solutions not only allow you to customize your storage based on your specific needs but also provide an opportunity for upcycling and repurposing materials. Let’s explore the benefits of DIY marker and pen storage:
- Customization: DIY storage solutions give you the freedom to design and create a storage system that perfectly fits your marker and pen collection. You can tailor the compartments, dimensions, and organization features to accommodate your specific markers and pens, ensuring a perfect fit.
- Budget-Friendly: DIY storage solutions often utilize materials and items you may already have at home, making them a cost-effective option. Instead of purchasing storage products, repurposing household objects or using recyclable materials can help you save money while achieving an organized storage system.
- Creative Expression: DIY storage solutions allow you to showcase your creativity and personal style. You can transform everyday items like mason jars, shoe organizers, or even wooden crates into unique, artistic storage for your markers and pens. This not only adds functionality but also adds a touch of personal flair to your workspace.
- Environmentally Friendly: By repurposing materials for your DIY storage, you contribute to reducing waste and environmental impact. Instead of purchasing new storage items, you give a new life to items that might otherwise be discarded, promoting sustainability in your creative endeavors.
- Flexibility: DIY storage solutions offer flexibility in terms of size, shape, and design. Whether you need a compact storage solution for a few markers and pens or a larger one for an extensive collection, you can tailor your DIY creation to fit your unique storage needs.
When creating your own DIY marker and pen storage, let your creativity shine. Consider using materials like shoe organizers, cardboard boxes, PVC pipes, or repurposed wooden pallets as a base for your storage system. Incorporate dividers, cups, or hooks to hold your markers and pens securely and keep them organized.
Explore online tutorials, blogs, or social media platforms for inspiration and ideas. You’ll find a wealth of DIY storage projects that can guide you in creating your own unique storage solution. Adding labels or color-coding systems can further enhance the functionality and aesthetics of your DIY storage creation.
Keep in mind that DIY storage solutions require some time and effort to design and build. However, the satisfaction and pride of seeing your personalized creation in action make it well worth the investment. Enjoy the process and let your DIY storage solution reflect your creativity and style.
Now that you’ve learned about the various types of marker and pen storage solutions, as well as the benefits of DIY storage, you can choose the method that best suits your needs and preferences. Remember, the key is to keep your markers and pens organized, protected, and easily accessible, allowing you to unleash your creativity with ease.
Read more: How To Store Chalk Markers
Tips for Effectively Storing Markers and Pens
Proper storage is essential for maintaining the quality and longevity of your markers and pens. Here are some valuable tips to help you effectively store your markers and pens:
- Keep them upright: Store markers and pens vertically whenever possible. This helps prevent leakage, maintains the integrity of the ink, and ensures consistent ink flow.
- Cap them tightly: Always make sure to securely cap your markers and pens after each use. This helps prevent the ink from drying out and extends the life of your markers and pens.
- Separate by type: If you have different types of markers or pens, organize them separately. Water-based markers, alcohol-based markers, and permanent markers may require different storage conditions to maintain their optimal performance.
- Protect from sunlight and heat: Avoid storing your markers and pens in direct sunlight or in areas with extreme temperature fluctuations. Excessive exposure to heat or sunlight can impact the quality and longevity of the markers and pens.
- Regularly clean and maintain: Periodically clean the tips of your markers and pen nibs to remove any buildup or dried ink. This ensures smooth and consistent ink flow. Use a gentle cleaning solution or rubbing alcohol when necessary.
- Consider ink refills: For markers or pens that are refillable, keep extra ink refills accessible and stored separately. This ensures that you can easily replenish the ink when needed, keeping your markers and pens in continuous use.
- Labeling: If you have a large collection, consider labeling your markers and pens. This can be particularly helpful when searching for specific colors or types, making it easier to find exactly what you need.
- Regularly rotate use: To prevent one marker or pen from drying out or becoming unused for extended periods, rotate your usage. Use different markers or pens regularly to ensure they all stay in good condition.
- Keep away from children and pets: If you have markers and pens that may pose a risk to children or pets, store them out of reach in a secure location. This helps prevent accidents or any potential ingestion of harmful substances.
- Regularly declutter: Take the time to periodically declutter your marker and pen collection. Discard dried-out or empty markers/pens and consider donating any duplicates or ones you no longer use. This ensures you maintain an organized and functional collection.
By following these tips, you can ensure that your markers and pens stay in optimum condition, ready for use when inspiration strikes. Remember, proper storage not only protects your investment but also enhances your creative and writing experience.
Now that you have a thorough understanding of marker and pen storage, as well as valuable tips for effective storage, you are well-equipped to organize your collection. Enjoy the process of creating a storage system that suits your needs, and let your creativity and productivity flourish!
Conclusion
Proper storage of markers and pens is essential for maintaining their quality, longevity, and accessibility. Whether you’re an artist, student, or office worker, taking the time to organize and store your markers and pens effectively will enhance your creative and writing experience. This article has discussed different types of marker and pen storage solutions, including marker and pen organizers, drawers and trays, pencil cases and pouches, wall-mounted storage, and DIY storage options.
Marker and pen organizers offer easy accessibility and customization, allowing you to keep your markers and pens neatly organized in individual compartments. Drawers and trays provide a practical and space-efficient solution, keeping your markers and pens organized while optimizing workspace. Pencil cases and pouches are portable and convenient, ensuring your markers and pens are always on hand, whether you’re on the move or working in a shared space.
Wall-mounted storage solutions not only save space but also add a decorative element to your workspace, displaying your collection in an organized and visually appealing manner. DIY storage solutions give you the opportunity to unleash your creativity and design a customized storage system that perfectly suits your marker and pen collection, budget, and personal style.
To effectively store your markers and pens, remember to keep them upright, cap them tightly to prevent ink drying, separate them by type, protect them from sunlight and heat, regularly clean them, consider ink refills, label them, regularly rotate usage, store them safely away from children and pets, and regularly declutter your collection.
By implementing these storage tips and choosing the right storage solution for your markers and pens, you can transform your workspace into an organized and inspiring environment. You’ll be able to easily locate the markers and pens you need, protect them from damage, and ensure they are always ready for use.
Remember, effective marker and pen storage is not only about functionality, but also about showcasing your creativity and personal style. Find a storage solution that fits your unique needs and preferences while adding a touch of aesthetic appeal to your workspace.
Now, it’s time to put these tips into action and create an organized and efficient storage system for your markers and pens. Enjoy the process and let your creativity flow as you embark on this project. Happy organizing!
Frequently Asked Questions about How To Store Markers And Pens
Was this page helpful?
At Storables.com, we guarantee accurate and reliable information. Our content, validated by Expert Board Contributors, is crafted following stringent Editorial Policies. We're committed to providing you with well-researched, expert-backed insights for all your informational needs.


0 thoughts on “How To Store Markers And Pens”