Home>Technology>Home Office Tech>How To Organize Markers
Home Office Tech
How To Organize Markers
Modified: October 20, 2024
Learn how to efficiently organize your markers at home or in the office with these tech-savvy tips. Keep your workspace tidy and your creativity flowing.
(Many of the links in this article redirect to a specific reviewed product. Your purchase of these products through affiliate links helps to generate commission for Storables.com, at no extra cost. Learn more)
Introduction
Are you tired of rummaging through drawers and bins to find the right markers for your next project? Organizing your markers can save you time and frustration, allowing you to focus on your creative endeavors. In this article, we will explore various methods to efficiently organize your markers so that you can easily locate the colors you need and keep your workspace clutter-free. Whether you're an artist, teacher, or simply enjoy crafting, these tips will help you maintain a tidy and functional marker collection.
Key Takeaways:
- Keep your markers organized by sorting them by color and using color-coded containers. Label your markers for easy identification and create a marker inventory to track your collection. A clean workspace ensures a clutter-free and inspiring creative experience.
- Organize your markers by color, use suitable storage containers, and label them for easy access. Create a marker inventory to track your collection and maintain a clean workspace for a stress-free and enjoyable creative process.
Read more: How To Store Copic Markers
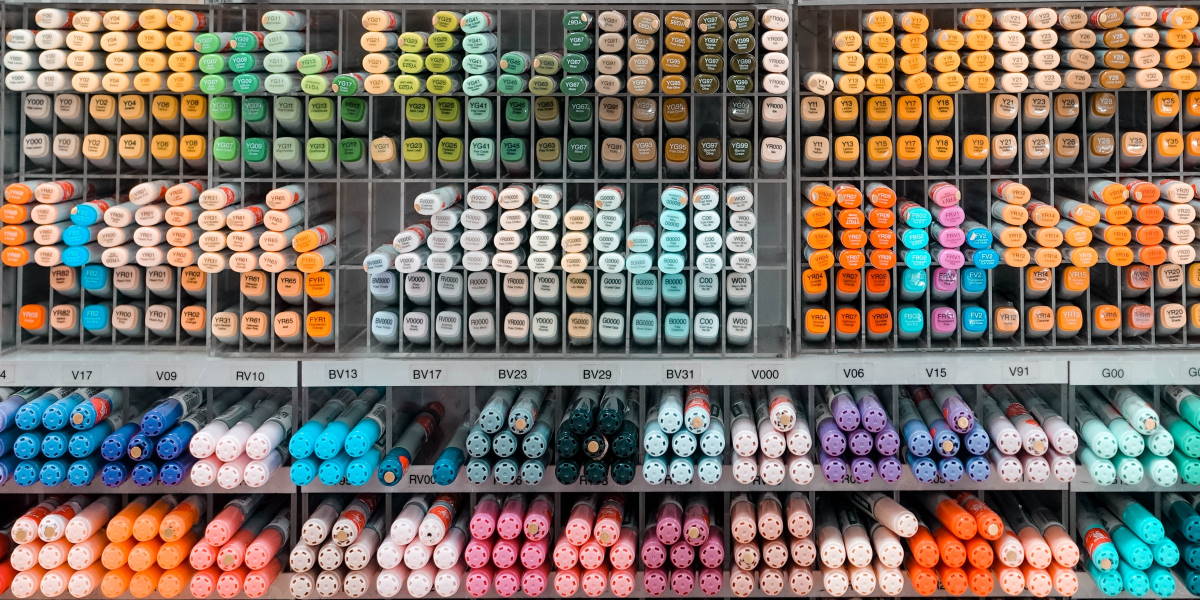
Sorting by Color
Sorting your markers by color is a simple yet effective way to organize them. This method allows you to quickly locate the specific color you need without having to sift through a jumble of markers. Here's how you can do it:
-
Gather Your Markers: Collect all your markers and arrange them in a well-lit workspace.
-
Separate by Color: Begin by separating the markers into piles based on their colors. You can create piles for red, blue, green, yellow, and so on.
-
Arrange in Order: Once you have your color piles, you can further organize them by shades or hues. For example, within the blue pile, you can arrange the markers from light to dark shades.
-
Use Color-Coded Containers: Consider using color-coded containers or bins to store each group of markers. This not only keeps them organized but also adds a visually appealing touch to your workspace.
By sorting your markers in this manner, you can easily access the colors you need and maintain a neat and visually pleasing storage system.
Using Storage Containers
When it comes to organizing your markers, using the right storage containers is crucial for keeping them tidy and easily accessible. Here's how you can effectively utilize storage containers:
-
Select Appropriate Containers: Choose containers that are spacious enough to hold your markers without overcrowding them. Consider transparent containers, as they allow you to see the colors without having to open each container.
-
Divide by Color: If you have a large marker collection, consider using separate containers for each color group. This makes it easier to locate specific colors and prevents mixing or misplacement.
-
Portable Options: If you often work on projects in different locations, opt for portable storage solutions such as marker cases or caddies. These allow you to transport your markers conveniently while keeping them organized.
-
Vertical Storage: Utilize vertical storage options such as marker stands or racks. These not only save space but also display your markers prominently, making it easier to select the colors you need.
-
Customizable Compartments: Look for containers with customizable compartments or dividers. This allows you to adjust the size of each section based on the length of your markers, keeping them snug and preventing them from rolling around.
By using suitable storage containers, you can maintain a well-organized marker collection, ensuring that your colors are readily available whenever inspiration strikes.
To organize markers, use a storage container with separate compartments or dividers to keep different colors together. Label each section for easy access.
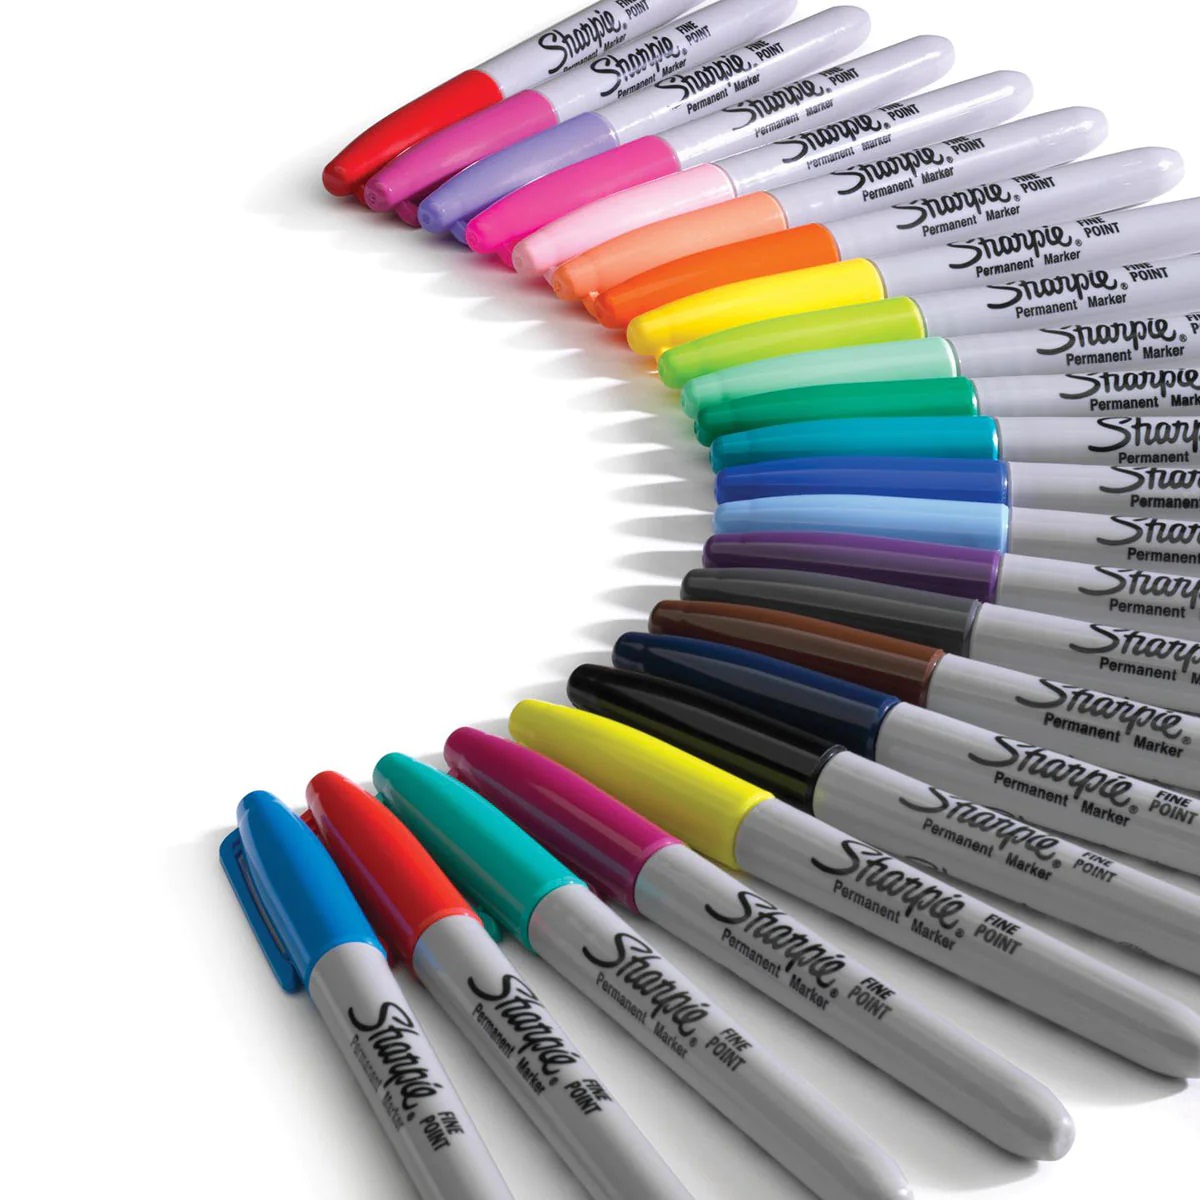
Labeling the Markers
Labeling your markers is a crucial step in maintaining an organized collection. Not only does it help you quickly identify each color, but it also ensures that you return the markers to their designated places. Here's how you can effectively label your markers:
-
Color-Coded Labels: Create color-coded labels for each marker using sticker dots or adhesive labels. Match the label color to the marker's actual color to make identification a breeze.
-
Clear and Legible: When labeling your markers, ensure that the text on the labels is clear and easy to read. Use a fine-tip permanent marker or a label maker to print the color names neatly.
-
Include Swatches: To provide a visual reference for each color, consider adding a small color swatch next to the label. This allows you to quickly compare the labeled color with your project's requirements.
-
Placement: Affix the labels to the marker caps or barrels, depending on your preference. Placing them on the caps allows for easy identification when the markers are stored horizontally, while labeling the barrels is ideal for vertical storage.
-
Maintain Consistency: Whether you choose to label the caps or barrels, ensure that you maintain consistency throughout your entire marker collection. This uniform labeling system streamlines the identification process.
By labeling your markers effectively, you can streamline your creative process and minimize the time spent searching for the right colors. It also encourages you to return each marker to its designated spot, maintaining the overall organization of your collection.
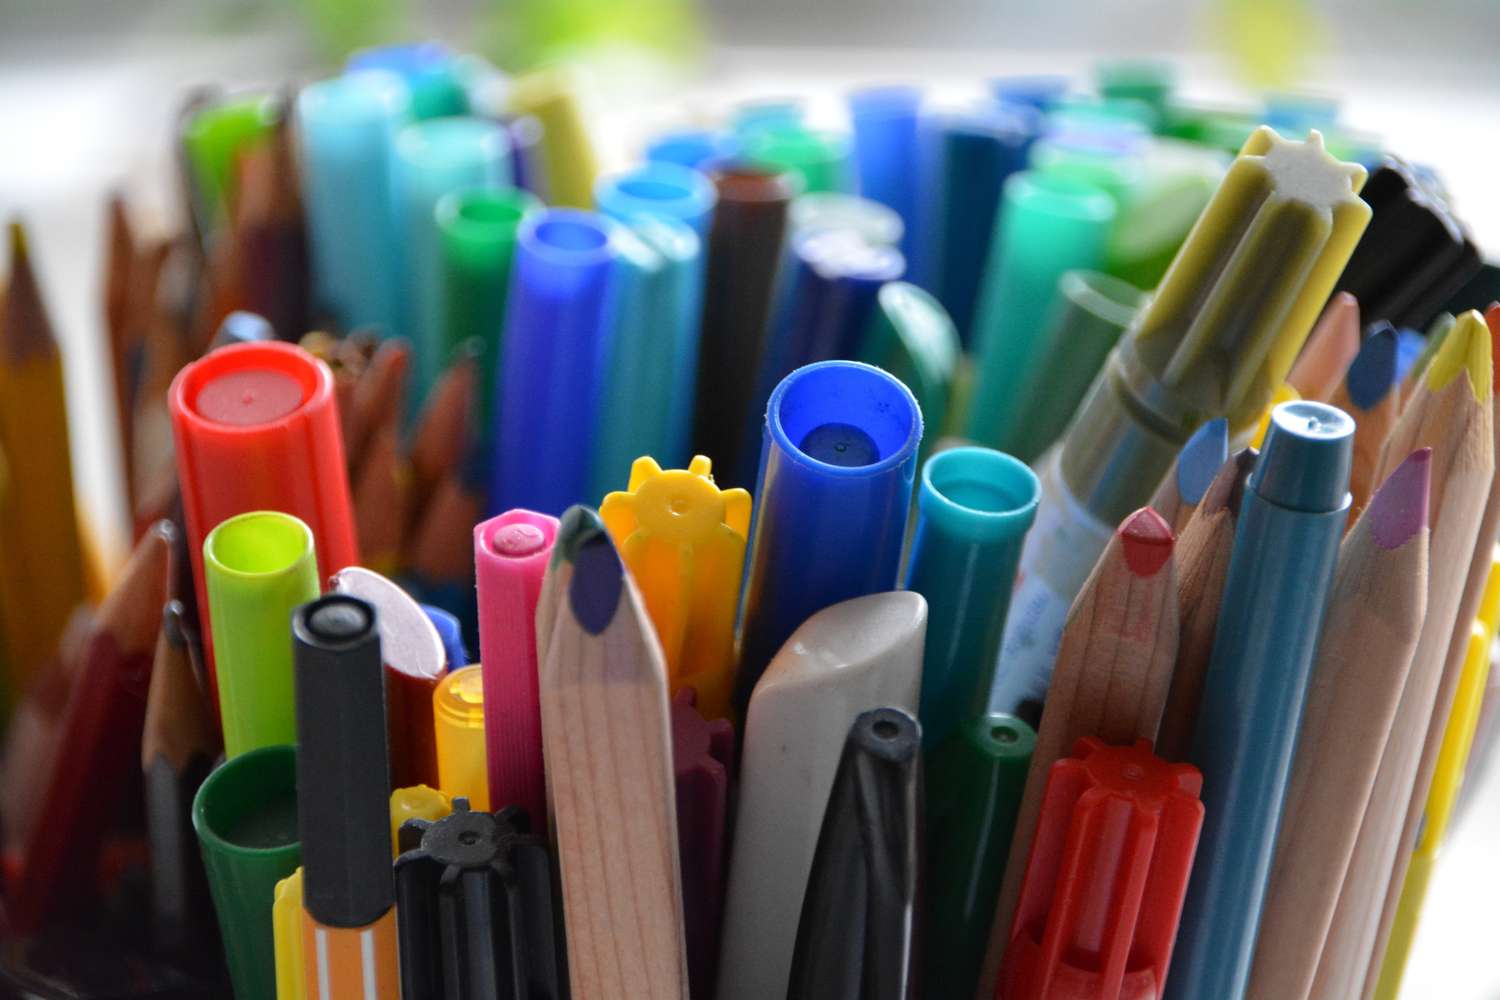
Creating a Marker Inventory
Creating a marker inventory is a practical approach to keeping track of your marker collection and ensuring that no colors are misplaced or lost. Follow these steps to establish a comprehensive marker inventory:
-
Cataloging Your Markers: Begin by cataloging your markers by color, brand, and type. Create a spreadsheet or use inventory management software to record the details of each marker, including its color name, brand, and any specific characteristics or features.
-
Organizing by Categories: Group your markers into categories based on their type, such as alcohol-based, water-based, or permanent markers. This categorization allows you to quickly identify the type of marker you need for a particular project.
-
Recording Quantities: Record the quantity of each marker color in your inventory. This helps you keep track of any colors that are running low and need to be replenished, preventing any interruptions to your creative projects.
-
Adding Purchase Dates: Include the purchase dates of your markers in the inventory. This information is valuable for tracking the age of your markers and identifying any that may be drying out or nearing the end of their lifespan.
-
Tracking Usage: Consider adding a section in your inventory to track the usage of each marker. This can include details such as the date of last use, frequency of use, and specific projects for which the marker was utilized.
-
Regular Updates: Commit to regularly updating your marker inventory as you acquire new markers or deplete existing ones. This ensures that your inventory remains accurate and reflective of your current marker collection.
By creating a comprehensive marker inventory, you can effectively manage your markers, monitor their usage, and make informed decisions when it comes to replenishing or expanding your collection. This organized approach also allows you to maintain a clear overview of your marker resources, enhancing your creative workflow.
Read more: How To Store Chalk Markers
Keeping the Workspace Clean
Maintaining a clean workspace is essential for an efficient and enjoyable creative experience. A clutter-free environment not only enhances productivity but also prolongs the life of your markers. Here are some tips for keeping your workspace clean and organized:
-
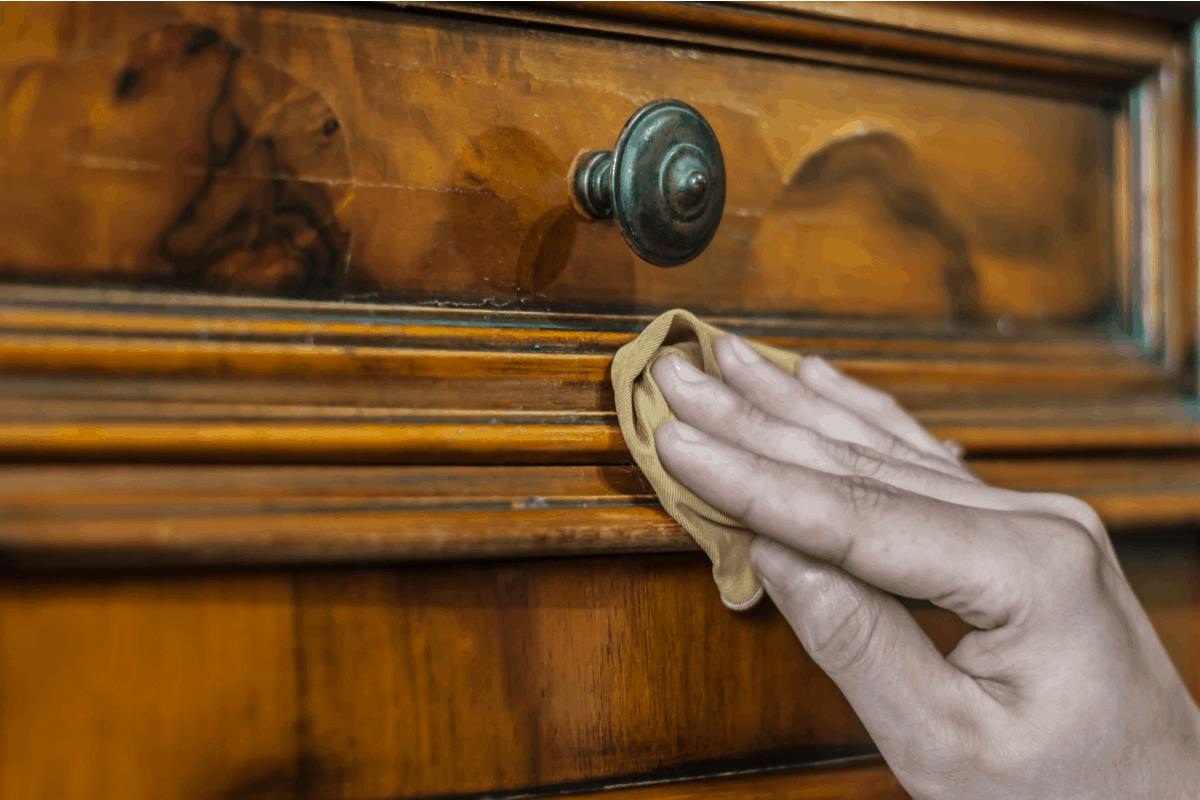
Regular Cleaning Routine: Dedicate time to regularly clean your workspace. Wipe down surfaces, remove any dust or debris, and ensure that your storage containers and shelves are free from any accumulated dirt.
-
Designated Storage Areas: Allocate specific storage areas for your markers, such as shelves, drawers, or caddies. By returning the markers to their designated spots after each use, you can prevent them from cluttering your workspace.
-
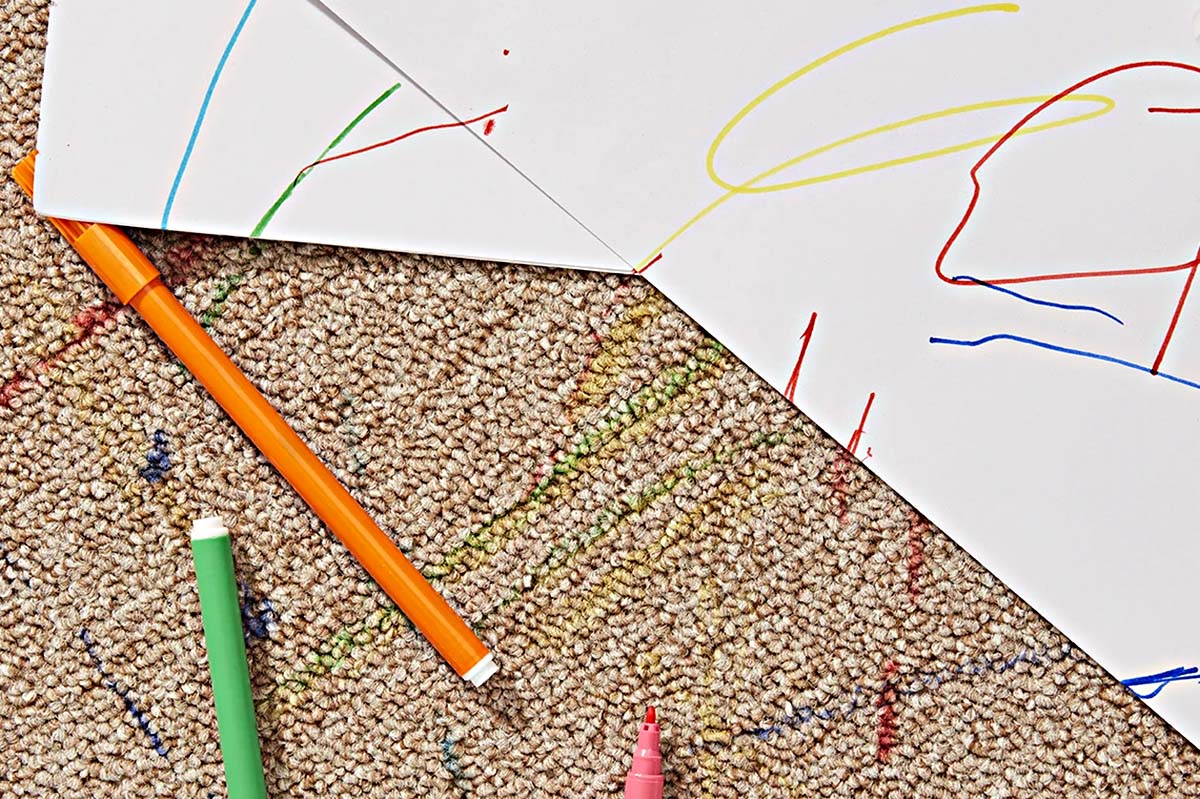
Dispose of Dried Out Markers: Periodically inspect your marker collection for any dried out or unusable markers. Discard these markers to free up space and maintain an organized collection of functional markers.
-
Utilize Cleaning Supplies: Keep cleaning supplies such as microfiber cloths, gentle cleansers, and dusting tools within reach. This allows you to quickly address any spills, stains, or dust accumulation on your workspace and storage containers.
-
Implement a "Clean as You Go" Approach: Adopt a "clean as you go" mindset when working with your markers. Wipe the marker tips after use, recap them promptly, and return them to their storage containers. This proactive approach minimizes mess and maintains a tidy workspace.
-
Organize Additional Supplies: Apart from markers, organize other crafting or art supplies in designated areas. This prevents miscellaneous items from encroaching on your marker workspace, promoting a clean and focused environment.
-
Regular Workspace Evaluation: Periodically evaluate your workspace layout and organization. Assess if any adjustments are needed to optimize the efficiency and cleanliness of your marker storage and usage areas.
By incorporating these practices, you can ensure that your workspace remains clean, organized, and conducive to your creative pursuits. A tidy environment not only showcases your markers effectively but also sets the stage for inspired and productive artistic endeavors.
Frequently Asked Questions about How To Organize Markers
Was this page helpful?
At Storables.com, we guarantee accurate and reliable information. Our content, validated by Expert Board Contributors, is crafted following stringent Editorial Policies. We're committed to providing you with well-researched, expert-backed insights for all your informational needs.


0 thoughts on “How To Organize Markers”