Home>Articles>How To Store Meat Long Term Without Refrigeration
Articles
How To Store Meat Long Term Without Refrigeration
Modified: January 18, 2024
Learn effective methods for storing meat long term without refrigeration. Discover expert articles and tips to keep your meat fresh and safe for consumption.
(Many of the links in this article redirect to a specific reviewed product. Your purchase of these products through affiliate links helps to generate commission for Storables.com, at no extra cost. Learn more)
Introduction
When it comes to storing meat long-term without refrigeration, many people may think it’s impossible or highly risky. However, with the right techniques and methods, it is indeed possible to preserve meat for an extended period without the need for a refrigerator. This can be particularly useful in situations where access to electricity or refrigeration is limited, such as during power outages, camping trips, or in remote areas.
By utilizing various preservation techniques, you can ensure that your meat stays fresh, safe to eat, and full of flavor. In this article, we will explore different methods that you can use to store meat without refrigeration. From dry brining and smoking to vacuum sealing and utilizing root cellars, there are plenty of options to choose from.
Before we delve into the different methods, it’s important to note that while these techniques can extend the shelf life of your meat, they do not guarantee indefinite preservation. It is essential to follow proper food safety guidelines, use fresh and high-quality meat, and regularly inspect and monitor the stored meat to ensure its safety.
With that said, let’s now explore the various methods for storing meat long-term without refrigeration.
Key Takeaways:
- Preserve meat without refrigeration using methods like dry brining, smoking, vacuum sealing, and utilizing root cellars. Experiment with flavors and textures for a unique long-term storage experience.
- Choose the right cuts, properly trim and prepare the meat, and explore various preservation techniques to ensure safe, flavorful, and long-lasting meat without the need for refrigeration.
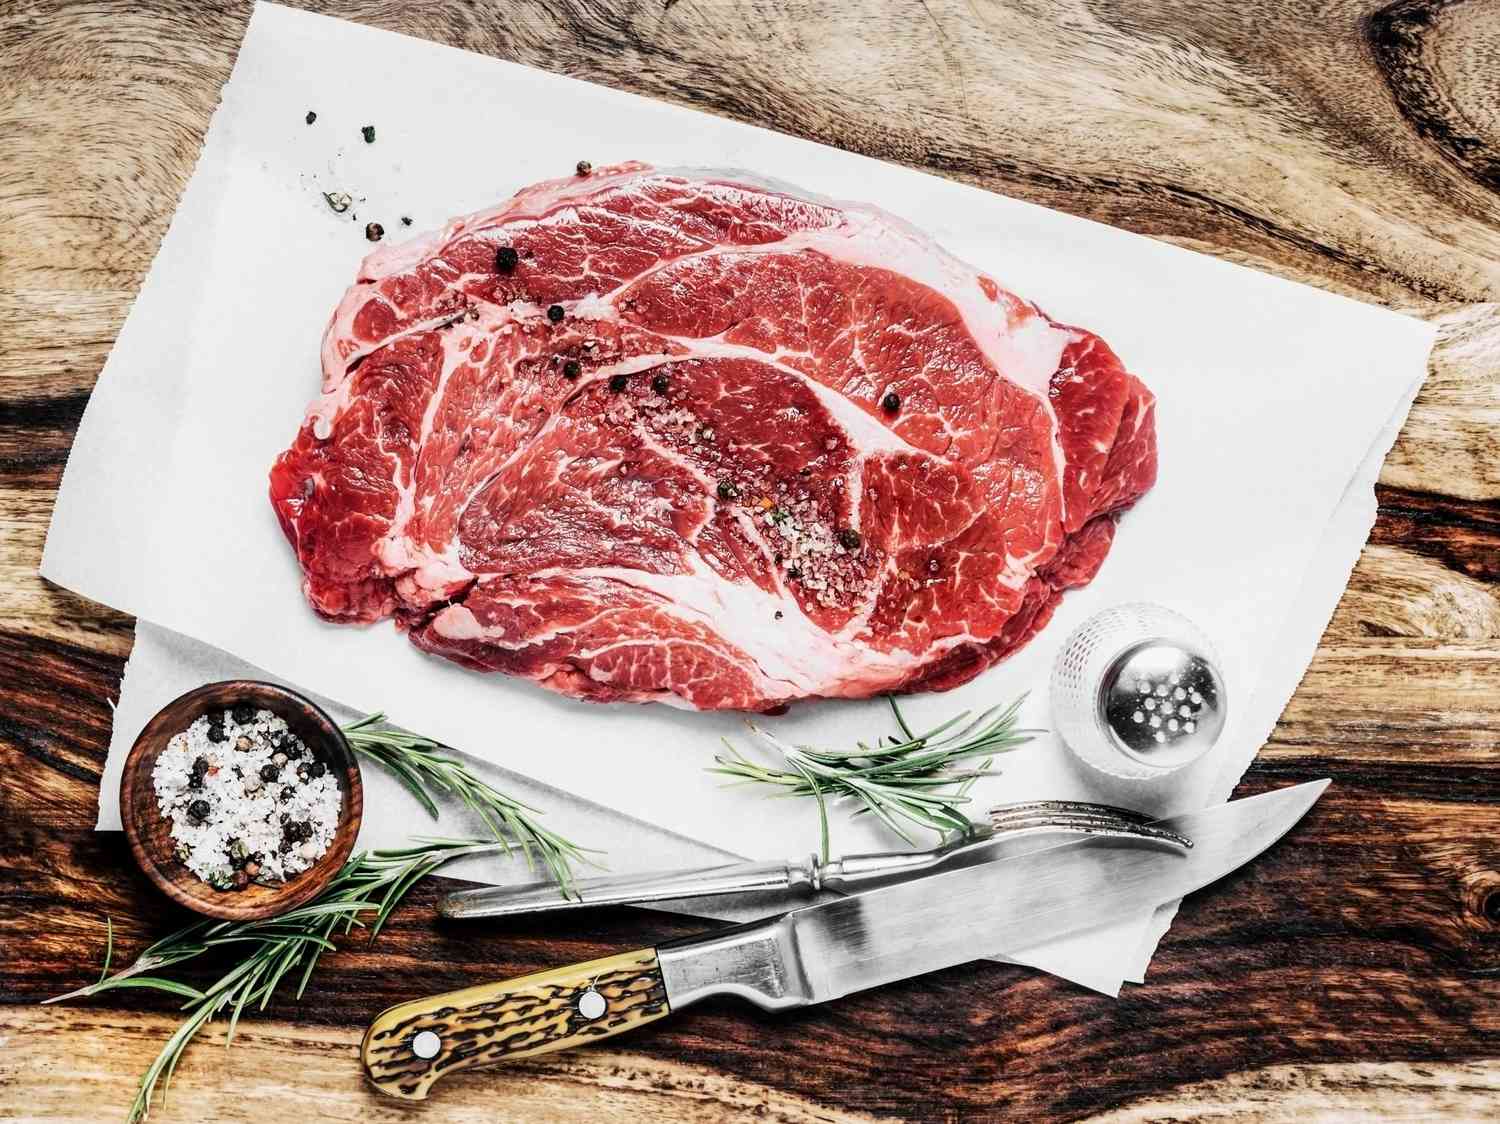
Choose the Right Meat Cuts
When it comes to storing meat long-term without refrigeration, it is crucial to start with the right cuts of meat. Some cuts are more suitable for long-term storage than others. The key is to choose cuts that have a lower moisture content and higher fat content, as these factors contribute to better preservation.
Leaner cuts of meat, such as skinless chicken breasts or filet mignon, are not as ideal for long-term storage without refrigeration. Instead, opt for cuts that have more fat marbling, such as beef chuck, pork shoulder, or lamb shoulder. The fat helps to maintain moisture and provides a protective barrier against bacteria.
Additionally, selecting larger cuts of meat is beneficial as they have a lower surface area-to-volume ratio, reducing the risk of bacteria growth. Whole roasts, hams, or large pieces of poultry are excellent options for long-term storage.
Before purchasing the meat, ensure that it is fresh and of high quality. Look for vibrant color, firm texture, and minimal odor. Avoid meat that appears slimy, discolored, or has a strong, off-putting smell.
Furthermore, it is important to consider the source of the meat. Opt for meat from reliable sources, such as local farms or trusted suppliers, to ensure that the animals were raised in hygienic conditions and fed a healthy diet.
By selecting the right meat cuts, you lay a solid foundation for successful long-term storage without refrigeration. Remember to prioritize cuts with higher fat content and lower moisture content, as they are more suitable for extended preservation.
Properly Trim and Prepare the Meat
Before you begin the process of storing meat long-term without refrigeration, it’s important to properly trim and prepare the meat. This step is crucial for ensuring the longevity and safety of the stored meat.
First, start by removing any excess fat from the meat. While fat is important for preservation, too much can lead to spoilage. Trim off any thick layers of visible fat, as well as any silver skin or connective tissue. This not only helps to prevent rancidity but also improves the texture and flavor of the meat.
Next, inspect the meat for any bruised or damaged areas. These areas are more susceptible to bacterial growth and should be removed. Cut away and discard any portions that appear discolored, slimy, or have an unpleasant odor.
Once the meat is trimmed, it’s crucial to handle it with clean hands and on a clean surface. Maintain proper hygiene throughout the preparation process to minimize the risk of contamination.
After trimming, consider marinating the meat before storage. Marinating not only adds flavor but can also act as a natural preservative. Use a marinade that contains salt, vinegar, or citrus juices, as these ingredients help to inhibit bacterial growth. Allow the meat to marinate for a few hours or overnight before proceeding with the preservation method.
Properly trimming and preparing the meat sets the stage for successful long-term storage. By removing excess fat, inspecting for damage, and following good hygiene practices, you can ensure that the meat stays fresh and safe throughout the preservation process.
Dry Brining for Preservation
Dry brining is a technique that involves using salt to preserve meat and enhance its flavor. It works by drawing out moisture from the meat, creating an inhospitable environment for bacterial growth. This method is particularly effective for preserving smaller cuts of meat.
To dry brine your meat, start by generously coating it with kosher salt or sea salt. Make sure to evenly distribute the salt over the entire surface of the meat. Then, place the salted meat on a wire rack set over a tray or baking sheet to allow any excess moisture to drain away.
Next, refrigerate the meat uncovered for a period of time, usually 24 to 48 hours. During this time, the salt will penetrate the meat, drawing out moisture and creating a concentrated brine. This process not only helps to kill bacteria but also enhances the flavor and texture of the meat.
After the brining period, rinse off the excess salt from the meat and pat it dry with paper towels. At this point, you can proceed with the desired preservation method, such as smoking, vacuum sealing, or wrapping in wax paper.
Dry brining is an effective technique for preserving meat without refrigeration, as it helps to inhibit bacterial growth while imparting delicious flavor. However, it’s important to note that dry brined meat may have a saltier taste, so adjust the seasoning accordingly when cooking or consuming the preserved meat.
Smoking or Curing the Meat
Smoking and curing are age-old techniques for preserving meat, and they work exceptionally well for long-term storage without refrigeration. These methods not only add flavor but also help to kill bacteria and inhibit spoilage.
Smoking involves exposing the meat to low heat and smoke for an extended period. The smoke helps to dry out the meat while imparting a distinct flavor. This process also creates an acidic environment that inhibits bacterial growth.
To smoke meat, start by preparing a smoker or grill with indirect heat. Use wood chips or chunks that are suitable for smoking, such as hickory, apple, or mesquite. The choice of wood will influence the flavor of the meat, so select one that complements the type of meat you’re preserving.
Next, season the meat with spices and herbs of your choice. Place the meat on the smoker and maintain a consistent low temperature, usually between 200°F and 250°F (93°C and 121°C), for several hours. The duration of smoking will depend on the size and type of meat being preserved.
Curing, on the other hand, involves treating the meat with a mixture of salt, sugar, and sometimes other curing agents, such as sodium nitrate or sodium nitrite. The curing process helps to preserve the meat by reducing moisture content and inhibiting bacterial growth.
To cure meat, create a curing mixture by combining salt, sugar, and any desired spices or herbs. Rub the mixture all over the meat, making sure to cover every surface. Place the seasoned meat in a nonreactive container or sealable plastic bag and let it rest in the refrigerator for a specific period, following the recommended curing time for the type of meat being preserved.
After smoking or curing the meat, it can be enjoyed sliced thin as is or further cooked before consumption. Vacuum sealing or wrapping in wax paper can be additional steps to prolong the shelf life of the smoked or cured meat.
Smoking and curing are effective methods for preserving meat without refrigeration. Not only do they extend the shelf life of the meat, but they also add delicious flavors that can elevate your culinary experience.
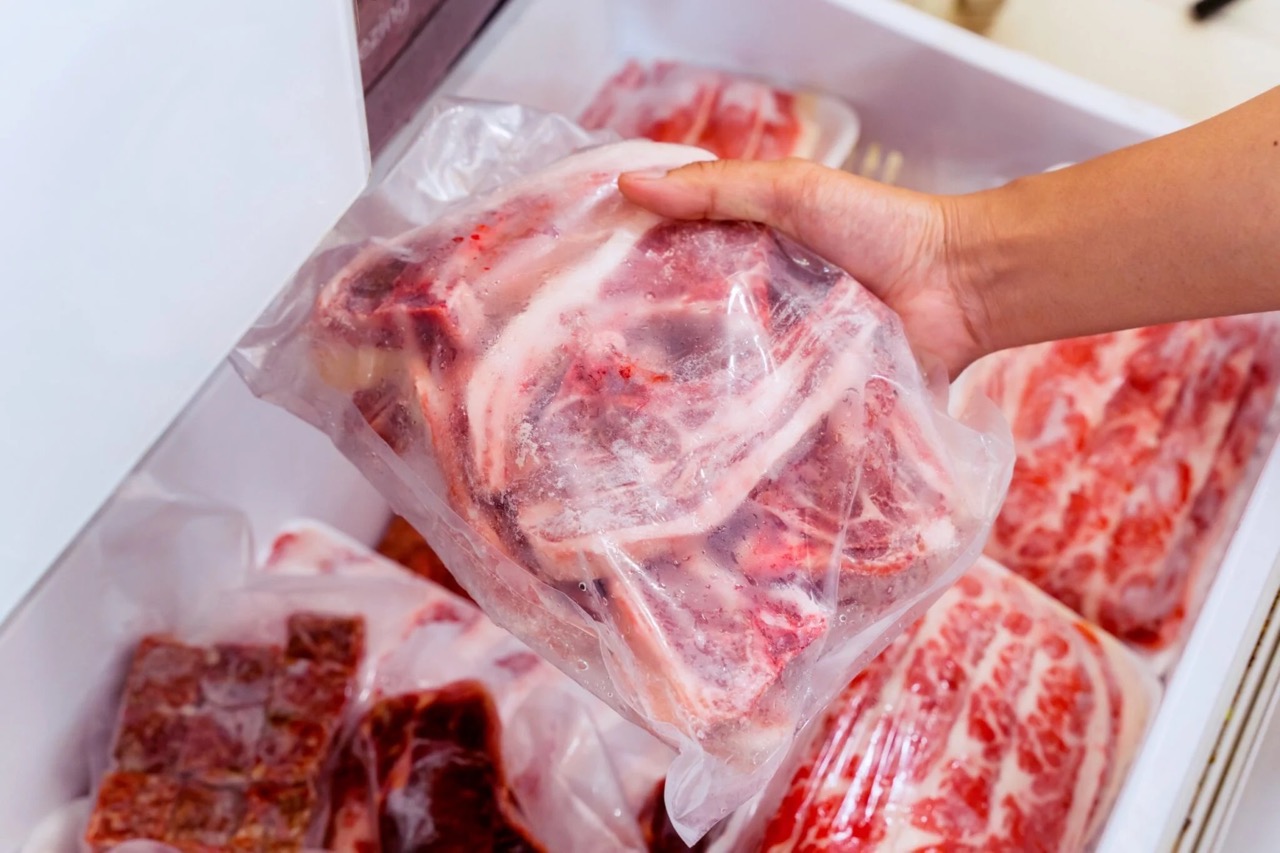
Vacuum Sealing for Long-Term Storage
Vacuum sealing is a popular method for preserving meat for long-term storage without refrigeration. It creates an airtight seal around the meat, preventing the entry of oxygen and moisture, which are the main culprits of spoilage.
To vacuum seal meat, you will need a vacuum sealing machine, specially designed vacuum bags, and a heat-sealing mechanism. Start by portioning the meat into desired serving sizes. Place each portion into a vacuum bag, ensuring that there is enough space around the meat for the bag to seal properly.
Next, insert the open end of the bag into the vacuum sealing machine and activate the vacuum function. The machine will remove the air from the bag, creating a tight seal around the meat. Once the air is fully evacuated, the machine will automatically seal the bag with heat, ensuring a secure closure.
One of the advantages of vacuum sealing is that it not only prevents spoilage but also helps to maintain the quality and flavor of the meat. By removing the air, the risk of freezer burn is significantly reduced, and the meat remains succulent and tender even after long periods of storage.
When vacuum sealing meat for long-term storage, it’s essential to label each package with the date of sealing. This allows you to keep track of the freshness and helps prioritize the consumption of older packages first.
Remember to store the vacuum-sealed meat in a cool, dry place away from direct sunlight. A pantry or cellar with a stable temperature is ideal for long-term storage.
Vacuum sealing is a reliable method for preserving meat without refrigeration, providing convenience and extended shelf life. It is worth investing in a quality vacuum sealing machine and bags to ensure the best results and enjoy delicious, preserved meat for months or even years.
Wrapping in Wax Paper or Butcher Paper
Another method for storing meat long-term without refrigeration is wrapping it in wax paper or butcher paper. This technique provides a breathable yet protective barrier that helps to prevent moisture loss and microbial contamination.
Wax paper is a food-grade paper that has a thin wax coating on both sides. It provides a moisture-resistant and non-stick surface, making it suitable for wrapping meat. Butcher paper, on the other hand, is a sturdy and uncoated paper specifically designed for wrapping meat and other food items.
To wrap meat using this method, start by cutting a piece of wax paper or butcher paper that is large enough to fully enclose the meat. Place the meat in the center of the paper and fold the edges over to create a tight seal. It’s essential to fold and crease the paper securely to prevent any air or moisture from entering.
Once wrapped, you can further secure the package with butcher twine or tape if desired. This will ensure that the paper stays in place during storage.
One of the advantages of using wax paper or butcher paper is that it allows the meat to breathe. The paper’s breathable nature prevents the buildup of moisture and condensation, which can lead to spoilage. It also protects the meat from exposure to light, which can cause flavor alteration and discoloration.
When storing meat wrapped in wax paper or butcher paper, it’s important to keep it in a cool and dry location. A pantry or cellar with a stable temperature is ideal. Regularly check the wrapped meat for any signs of spoilage, such as off odors or mold formation.
Wrapping meat in wax paper or butcher paper is an effective method for preserving it without refrigeration. The breathable yet protective nature of the paper helps to maintain the quality and flavor of the meat for an extended period.
Utilizing Salt for Meat Preservation
Salt has been used as a natural preservative for centuries due to its ability to draw out moisture and inhibit the growth of bacteria. Utilizing salt is an effective method for preserving meat without refrigeration, especially for smaller cuts or ground meat.
To preserve meat using salt, start by thoroughly coating the meat with salt. Use a coarse salt, such as kosher salt or sea salt, to ensure even coverage. It’s important to be generous with the salt, as it will help create a brine that inhibits bacterial growth.
Once the meat is adequately salted, place it in a nonreactive container or a sealable plastic bag. Make sure any excess salt is also included. Store the meat in a cool and dry place, such as a pantry or cellar, with a stable temperature.
Over time, the salt will draw out moisture from the meat through osmosis, creating a concentrated brine. This brine acts as a barrier to bacteria and helps to prevent spoilage. The salt also enhances the flavor of the meat and helps to tenderize it.
It’s important to note that salt preservation does result in a saltier taste in the meat. Therefore, when cooking or consuming preserved meat, it’s essential to adjust the seasoning accordingly.
When using this method, it’s crucial to regularly inspect the meat for any signs of spoilage. Look for discoloration, unusual odors, or mold formation. Depending on the size and type of meat, the salt preservation process can take anywhere from a few days to several weeks.
Utilizing salt for meat preservation is a traditional and effective method that requires minimal equipment. Whether you’re preserving cuts of meat or ground meat, salt can help extend the shelf life and keep your meat safe to consume without the need for refrigeration.
Store meat long term without refrigeration by curing it with salt or sugar, smoking it, or drying it into jerky. These methods can help preserve meat for several months.
Creating a DIY Root Cellar for Storage
A root cellar is a traditional storage space that provides cool and consistent temperatures, making it an ideal environment for long-term meat storage without refrigeration. By creating a DIY root cellar, you can extend the shelf life of your meat while preserving its quality.
Here’s how you can create your own root cellar:
- Choose a Location: Select a suitable location for your root cellar. It should be a cool, dark, and well-ventilated space. Ideally, it should have a steady temperature between 32°F and 50°F (0°C to 10°C).
- Prepare the Space: Clear out the area and ensure that it is clean and dry. Remove any debris, dust, or moisture that may be present.
- Insulate the Walls: Insulate the walls of the space to maintain a consistent temperature. You can use materials such as foam insulation board or straw bales to create an insulated barrier.
- Create Ventilation: Install ventilation to allow for good airflow within the root cellar. This can be achieved by adding vents or small windows that can be opened or closed as needed.
- Control Humidity: In order to maintain the freshness of the meat, it is important to control the humidity level within the root cellar. Use a hygrometer to monitor the humidity and adjust it if necessary. You can achieve this by adding or removing moisture sources, such as buckets of water or damp towels.
- Organize Shelves or Racks: Create sturdy and organized shelves or racks to store your meat. Make sure the shelves are made of materials that can withstand the cool and damp conditions of the root cellar.
- Monitor and Rotate: Regularly monitor the stored meat for any signs of spoilage. Rotate the meat if necessary to ensure that the oldest cuts are used first.
A DIY root cellar offers a natural and cost-effective solution for long-term meat storage without the need for refrigeration. By implementing these steps, you can create an optimal environment to preserve the quality and flavor of your stored meat.
Read more: How To Store Meat Long Term
Dehydrating the Meat
Dehydrating meat is an excellent method for long-term storage without refrigeration. This preservation technique involves removing the moisture from the meat, making it less susceptible to spoilage and bacterial growth.
To dehydrate meat, you will need a food dehydrator or an oven with a low-temperature setting. Here’s how you can dehydrate meat:
- Choose the Meat: Select lean cuts of meat with minimal fat and connective tissue. Beef and poultry such as chicken or turkey are commonly used for dehydrating.
- Prepare the Meat: Trim off excess fat and silver skin from the meat. Slice the meat into thin, evenly sized pieces. This will ensure even drying and consistent results.
- Season the Meat: Optional: Season the meat with herbs, spices, or marinades to enhance the flavor. You can use a variety of seasonings based on personal preference or recipe recommendations.
- Dehydrate the Meat: If using a food dehydrator, place the seasoned meat slices on the dehydrator trays, leaving space between each piece for air circulation. Set the dehydrator to the recommended temperature specific to the type of meat being dehydrated. It typically ranges from 130°F to 160°F (54°C to 71°C). Dehydrate the meat for several hours to overnight, until it reaches a dry and leathery texture.
- If using the oven: Preheat the oven to the lowest temperature possible. Arrange the seasoned meat slices on a wire rack set over a baking sheet to allow for air circulation. Place the baking sheet in the oven and keep the oven door slightly ajar to allow moisture to escape. Dehydrate the meat for several hours to overnight, checking periodically for desired dryness.
- Store the Dehydrated Meat: Allow the dehydrated meat to cool completely before storing. Store the meat in airtight containers, vacuum-sealed bags, or mason jars to prevent moisture absorption. Keep the containers in a cool and dry place, away from direct sunlight.
Dehydrated meat can be rehydrated by soaking it in hot water or using it directly in soups, stews, or other recipes. Alternatively, you can enjoy it as a protein-rich snack on its own.
Dehydrating meat not only extends its shelf life but also concentrates its flavors, making it a versatile and convenient option for long-term storage without refrigeration.
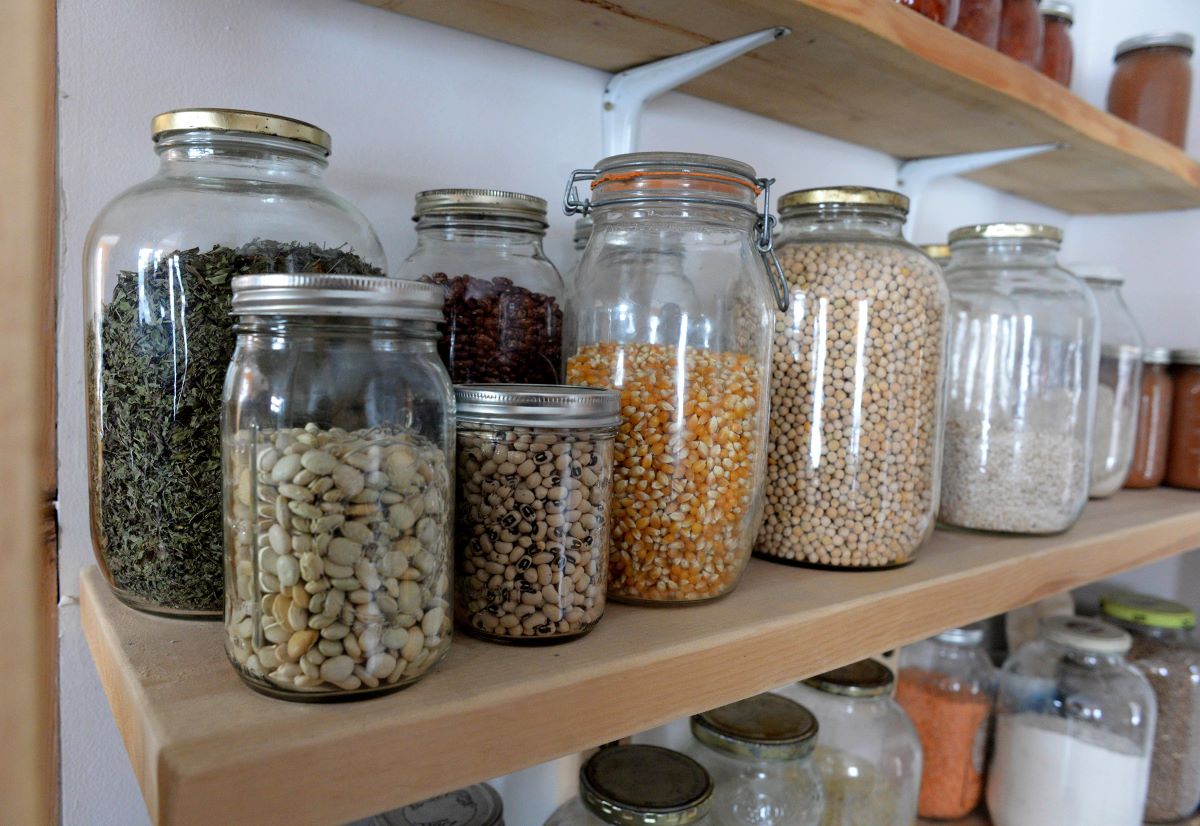
Utilizing Canning or Jarring Techniques
Canning or jarring is a tried and true method of preserving meat for long-term storage without refrigeration. This method involves the process of sealing meat in airtight containers, creating a barrier against bacteria and spoilage.
Here’s how you can utilize canning or jarring techniques to preserve meat:
- Select the Meat: Choose meats that are suitable for canning, such as low-fat cuts of beef, pork, or poultry. It is important to use fresh and high-quality meat to ensure the best results.
- Prepare the Meat: Trim excess fat and silver skin from the meat. Cut the meat into small, evenly sized pieces that will fit easily into the canning jars.
- Precook the Meat: Precooking the meat before canning is recommended to ensure proper food safety. Options for precooking include boiling, roasting, or pressure cooking, depending on the type and cut of meat. Follow recommended cooking times and temperatures to fully cook the meat.
- Prepare the Jars: Sterilize the canning jars and lids according to the manufacturer’s instructions. This step is crucial to maintain a clean and sanitary environment for the meat.
- Fill the Jars: Pack the precooked meat tightly into the sterilized jars, leaving appropriate headspace to allow for expansion during the canning process. You may choose to add broth or liquid seasoning to enhance the flavor and moisture content of the meat.
- Seal the Jars: Place the lids on the filled jars and screw on the bands until they are fingertip tight. Follow the specific canning method recommended for the type of meat you are preserving, such as pressure canning or water bath canning. Process the jars according to the recommended time and pressure guidelines.
- Store the Canned Meat: Once the jars are processed and sealed, allow them to cool completely. Check the lids to ensure they are sealed properly. Store the canned meat in a cool and dark place, away from direct sunlight. Properly sealed jars can be stored for long periods, and it’s important to periodically check for any signs of spoilage.
Utilizing canning or jarring techniques allows you to preserve meat in a safe and reliable manner. Canned meat offers convenience and flexibility, as it can be used in various recipes or enjoyed on its own during long-term storage without refrigeration.
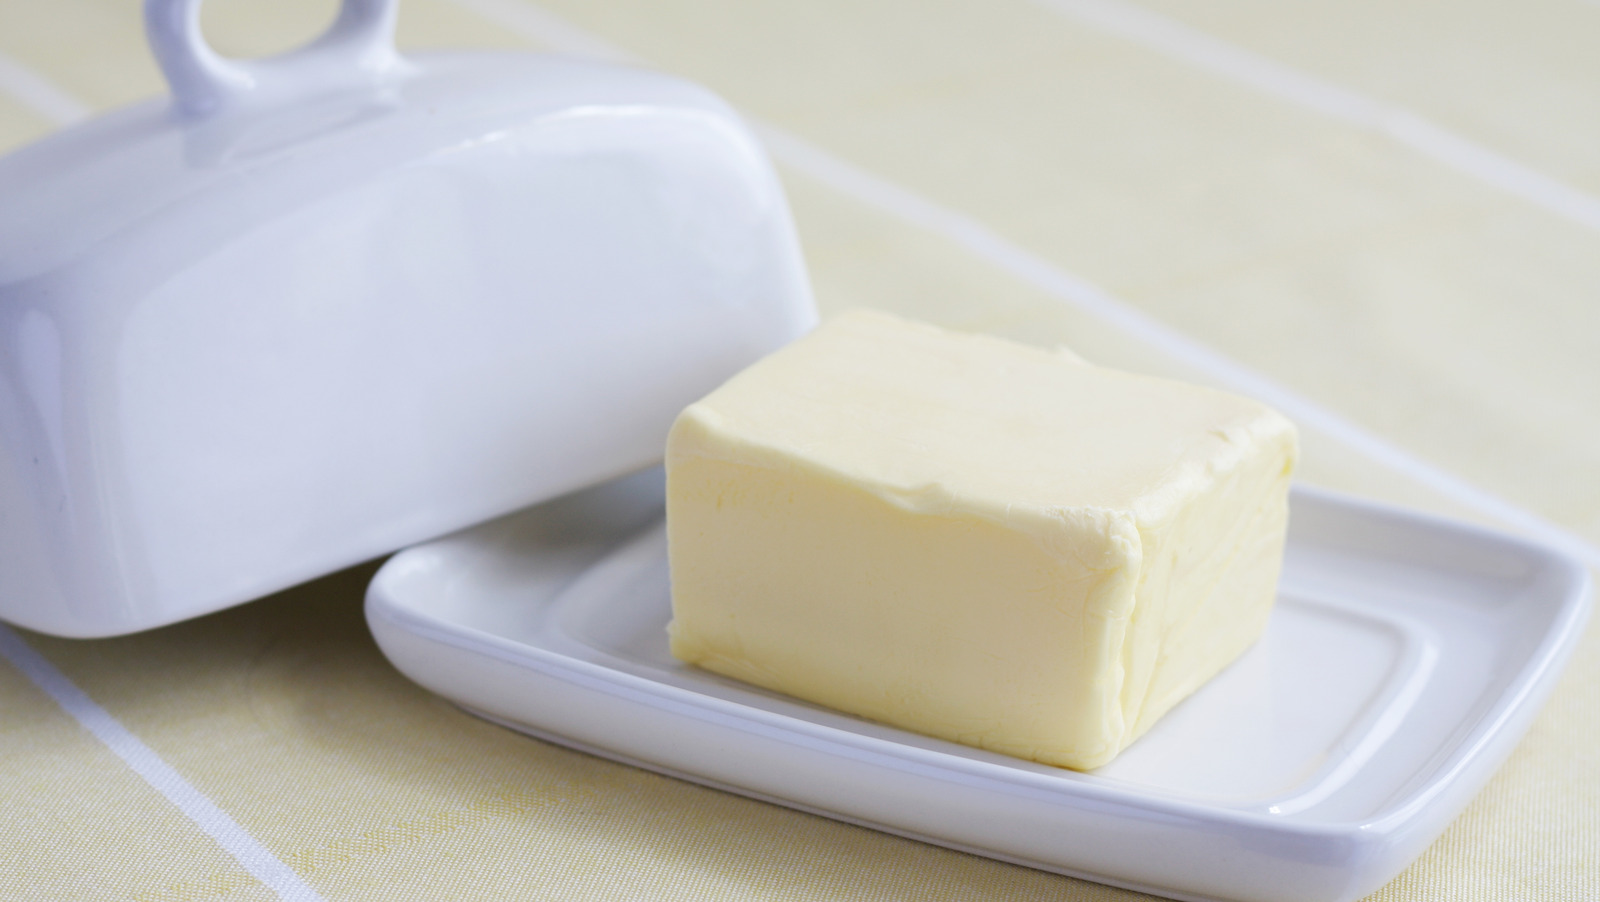
Storing Meat in Lard or Fat
Storing meat in lard or fat is a traditional method that provides a protective layer, sealing in moisture and preventing spoilage. This technique involves coating or submerging the meat in a layer of melted fat or lard, creating a barrier against air and bacteria.
Here’s how you can store meat in lard or fat:
- Choose the Meat: Select cuts of meat that are suitable for this preservation method, such as pork, beef, or game meat. Opt for cuts that have a higher fat content, as they provide better flavor and moisture retention.
- Prepare the Meat: Trim any excess fat or connective tissue from the meat. Cut the meat into smaller portions that will fit comfortably in your storage container.
- Melt the Fat or Lard: In a large pot or saucepan, melt enough fat or lard to fully cover the meat. Choose a fat or lard with a high melting point, such as rendered animal fat or solid vegetable shortening.
- Cook the Meat: Gently cook the meat in the melted fat or lard over low heat. This will help to partially cook the meat and infuse it with flavor. You can add herbs, spices, or aromatics to the fat for additional flavor if desired.
- Transfer to Storage Containers: Once the meat is cooked, transfer it to sterilized, airtight containers, such as glass jars or crocks. Make sure the meat is fully submerged in the melted fat or lard, leaving a small space at the top for expansion.
- Cool and Store: Allow the containers to cool at room temperature until the fat or lard solidifies. Once solidified, seal the containers tightly and store them in a cool and dark place, such as a pantry or cellar.
When you’re ready to use the stored meat, simply remove the desired amount from the container, scraping off any excess fat or lard, and cook it as desired. The fat or lard helps to lock in moisture, creating tender and flavorful meat.
It’s important to properly label and date your containers to keep track of the storage time. Stored in this manner, meat can last for several months or even longer.
Storing meat in lard or fat provides a practical and flavorful method of long-term preservation without the need for refrigeration. It’s a great way to ensure a supply of tender and succulent meat for future use.
Using a Cool Storage Area
Using a cool storage area is a simple yet effective method for preserving meat without refrigeration. This technique takes advantage of naturally cool spaces in your home or property to maintain a lower temperature, creating an environment that helps slow down the spoilage process.
Here’s how you can utilize a cool storage area for meat preservation:
- Identify a Suitable Location: Look for areas within your home or property that naturally stay cooler than the rest, such as basements, cellars, or storage rooms. These spaces provide a more stable temperature and are less susceptible to temperature fluctuations.
- Ensure Proper Ventilation: Good ventilation is essential in a cool storage area as it helps maintain airflow and prevent the growth of mold and mildew. Make sure there is adequate air circulation by using fans or leaving windows or vents open if available.
- Control the Moisture Level: Excessive moisture can contribute to the growth of bacteria and accelerate spoilage. Monitor and control the humidity levels in the storage area using dehumidifiers, moisture-absorbing materials such as silica gel packs, or by ensuring proper drainage.
- Organize and Store the Meat: Prepare the meat by trimming excess fat and silver skin. Consider portioning the meat into smaller packages depending on your needs. Place the meat in sealable plastic bags, vacuum-sealed bags, or airtight containers to protect it from moisture and pests.
- Arrange the Storage: Keep the stored meat off the floor to prevent moisture absorption. Use shelves, racks, or even sturdy boxes to neatly organize and stack the meat packages, ensuring proper airflow between them.
- Regularly Monitor and Rotate: Continuously check for any signs of spoilage or degradation, such as unusual odors, mold growth, or changes in texture. Rotate the meat as necessary, using older packages first to prevent waste.
By utilizing a cool storage area, you can take advantage of the natural coolness of certain spaces to extend the shelf life of meat without the need for refrigeration. Remember to regularly inspect the stored meat and maintain cleanliness in the storage area to ensure optimal preservation conditions.
Keep in mind that the effectiveness of this method depends on the ambient temperature and climate of your specific location. Adjustments or additional measures may be necessary in extreme temperature conditions.
Read more: How To Store Meat Long-Term
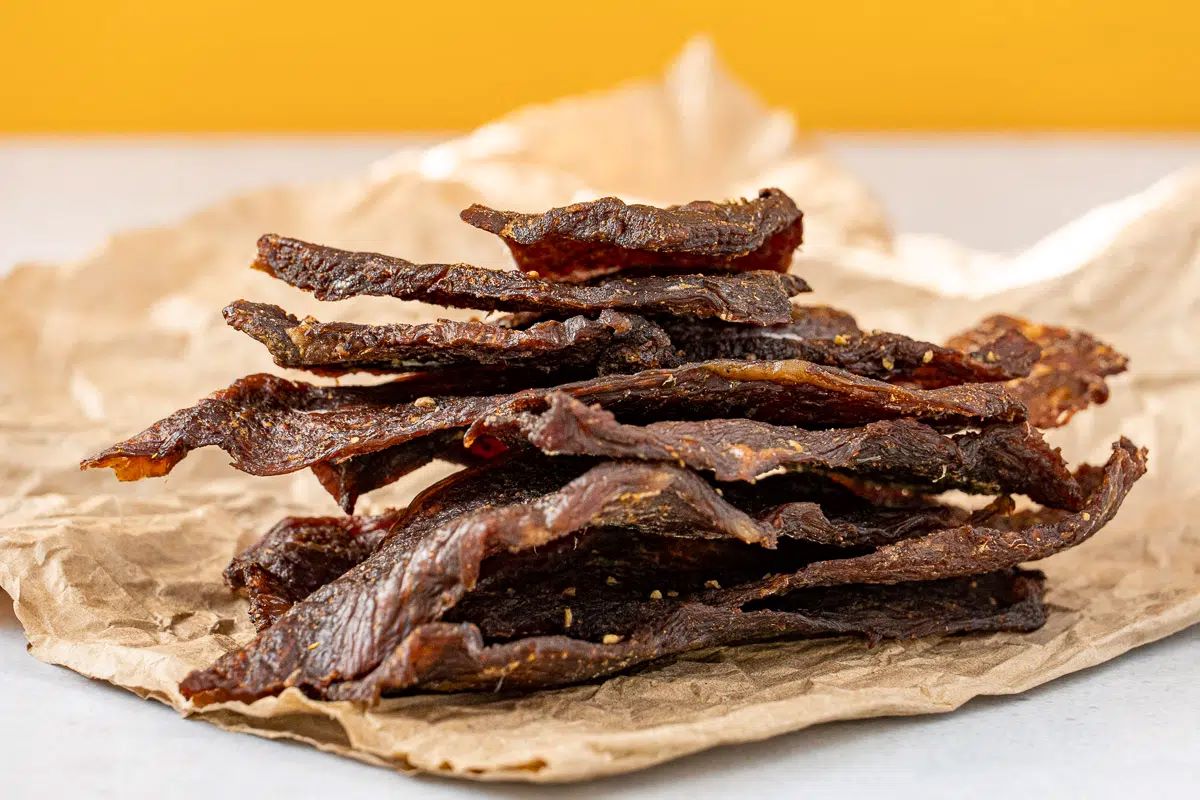
Making Jerky for Long-Term Meat Storage
Making jerky is a popular method for long-term meat storage without refrigeration. Jerky is lean meat that has been seasoned, dried, and often smoked to create a shelf-stable product with a unique flavor and texture. This technique not only preserves the meat but also provides a convenient and protein-packed snack.
Here’s how you can make jerky for long-term meat storage:
- Select the Meat: Choose lean cuts of meat, such as beef, venison, or turkey breast. Trim off any excess fat to prevent spoilage and to improve the drying process.
- Prep and Marinate: Slice the meat into thin strips, about a quarter to a half an inch thick. Prepare a marinade using your desired combination of flavors, such as soy sauce, Worcestershire sauce, honey, garlic, or spices. Submerge the meat strips in the marinade, ensuring they are fully coated. Let them marinate in the refrigerator for several hours or overnight to absorb the flavors.
- Remove Excess Moisture: Before drying, pat the marinated meat strips dry with paper towels to remove excess moisture. This helps speed up the drying process and prevents the growth of bacteria.
- Dry the Meat: There are various options to dry the meat, such as using a food dehydrator, an oven with a low-temperature setting, or even air-drying in a well-ventilated area. Follow the specific instructions for the drying method you choose, adjusting the time and temperature accordingly. The goal is to gradually remove the moisture from the meat until it becomes firm and chewy.
- Store Properly: Once the jerky is dried to your desired texture, let it cool completely. Ensure that it is fully dry to prevent any moisture from remaining, as this can lead to spoilage. Store the jerky in airtight containers, vacuum-sealed bags, or zip-top bags with the air squeezed out. Keep it in a cool, dark, and dry place to extend its shelf life.
- Monitor and Enjoy: Regularly inspect the stored jerky for any signs of moisture, mold, or off odors. Properly sealed and stored jerky can last for several months, providing a convenient and protein-rich snack or ingredient for various recipes.
Making jerky is a versatile and flavorful way to preserve meat for long-term storage without refrigeration. It allows you to enjoy a delicious and nutritious snack that can be easily taken on the go or enjoyed at any time.
Remember to follow food safety guidelines and maintain cleanliness throughout the preparation and drying process to ensure the safety and quality of the jerky. Experiment with different flavors and cuts of meat to create the perfect jerky for your tastes.
Conclusion
Storing meat long-term without refrigeration is a challenge that can be overcome with the right techniques and methods. By utilizing various preservation techniques, you can ensure that your meat stays fresh, safe to eat, and full of flavor, even in situations where access to refrigeration is limited or unavailable.
In this article, we explored a range of methods for long-term meat storage without refrigeration. These methods include choosing the right cuts of meat, properly trimming and preparing the meat, using dry brining, smoking or curing the meat, vacuum sealing, wrapping in wax paper or butcher paper, utilizing salt for preservation, creating a DIY root cellar, dehydrating the meat, canning or jarring, storing meat in lard or fat, using a cool storage area, making jerky, and more.
Each method offers its own benefits, whether it’s enhancing the flavor, maintaining moisture, or inhibiting bacterial growth. It’s important to consider the specific requirements and limitations of each technique when selecting the most suitable method for your needs.
Remember, proper food safety practices are crucial throughout the entire process. Always use fresh and high-quality meat, maintain hygiene during preparation, and regularly inspect the stored meat for any signs of spoilage or degradation.
Experimenting with various preservation methods can be an enjoyable experience. It allows you to not only extend the shelf life of your meat but also explore different flavors and textures. With proper execution, you can confidently store meat long-term without refrigeration while still preserving its quality and taste.
Whether you’re preparing for a camping trip, facing a power outage, or simply looking for alternative methods of preservation, the techniques discussed in this article provide practical solutions for long-term meat storage without refrigeration.
So go ahead and give these methods a try, and discover the joy of preserving meat without relying solely on refrigeration.
Frequently Asked Questions about How To Store Meat Long Term Without Refrigeration
Was this page helpful?
At Storables.com, we guarantee accurate and reliable information. Our content, validated by Expert Board Contributors, is crafted following stringent Editorial Policies. We're committed to providing you with well-researched, expert-backed insights for all your informational needs.


0 thoughts on “How To Store Meat Long Term Without Refrigeration”