Articles
How To Store Milk Kefir Grains
Modified: February 23, 2024
Learn how to store milk kefir grains to keep them fresh and active for all your future batches of delicious homemade kefir. Discover the best methods and tips in this helpful articles.
(Many of the links in this article redirect to a specific reviewed product. Your purchase of these products through affiliate links helps to generate commission for Storables.com, at no extra cost. Learn more)
Introduction
When it comes to fermented foods, milk kefir is one of the most popular choices. With its tangy and creamy flavor, milk kefir is not only delicious but also packed with beneficial bacteria and yeast that can promote gut health. Many people enjoy making their own milk kefir at home, which involves using milk kefir grains to ferment milk. But what do you do with the grains when you’re not actively making kefir? In this article, we will explore the best practices for storing milk kefir grains to ensure their longevity and continued performance.
Before we dive into the storage methods, let’s first understand what milk kefir grains are and why they are an essential component of milk kefir production.
Key Takeaways:
- Properly storing milk kefir grains is crucial for maintaining their vitality. Choose the right container, prepare the milk correctly, and follow the steps for fermentation, straining, and storage to ensure long-term viability.
- Whether covering them with fresh milk or storing them dry, ensure clean containers and provide the necessary conditions for longevity. By following proper storage guidelines, you can enjoy flavorful and nutritious homemade kefir for years to come.
Read more: How To Store Kefir Grains Without Milk
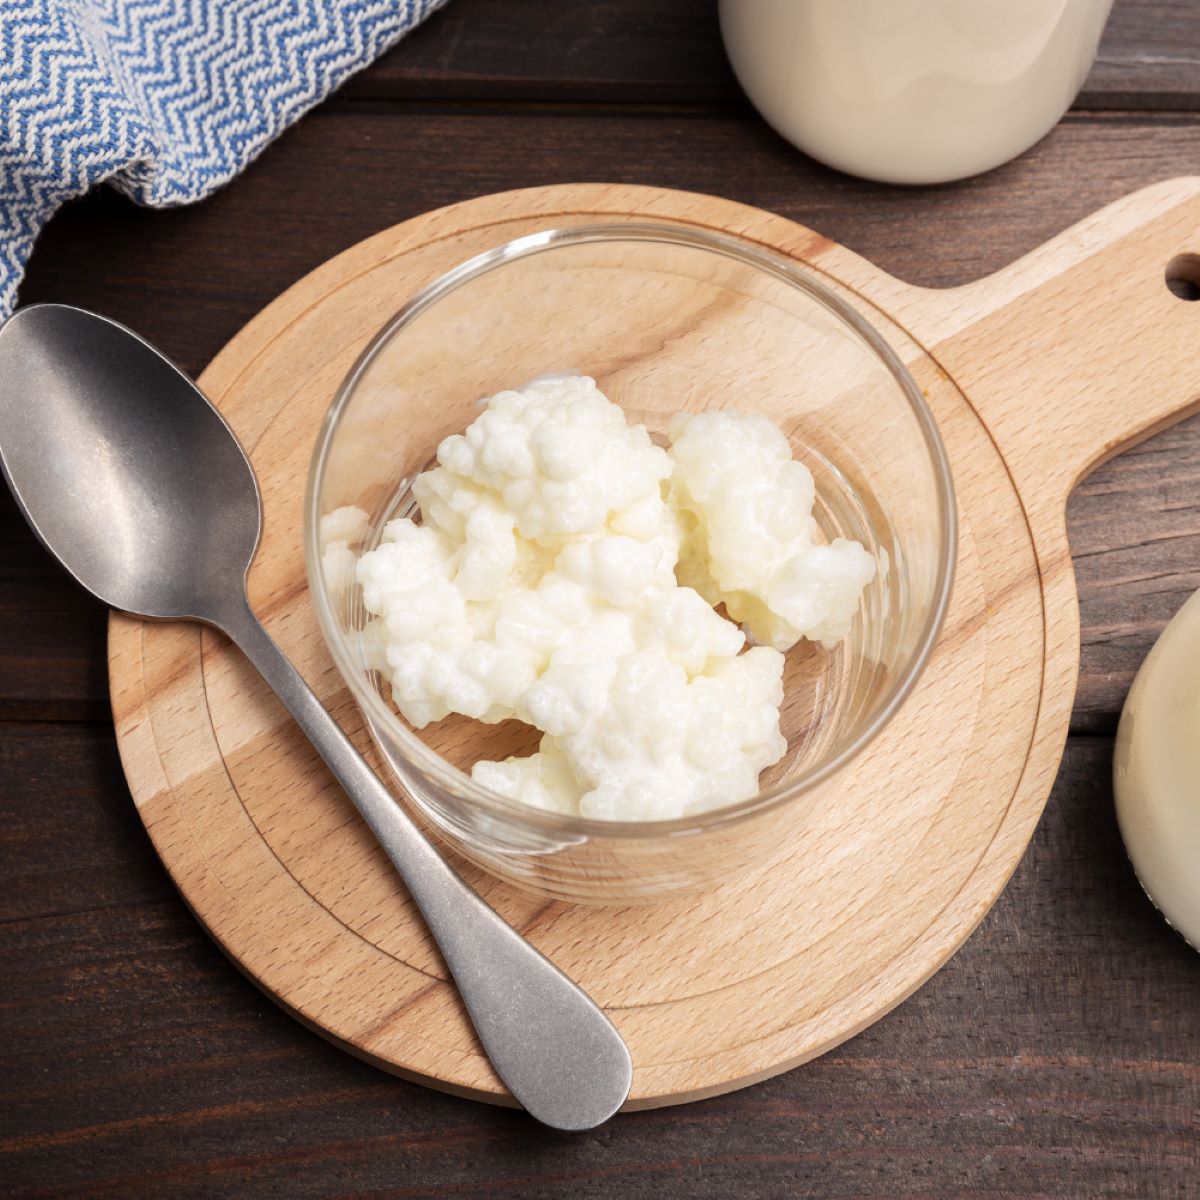
What are Milk Kefir Grains?
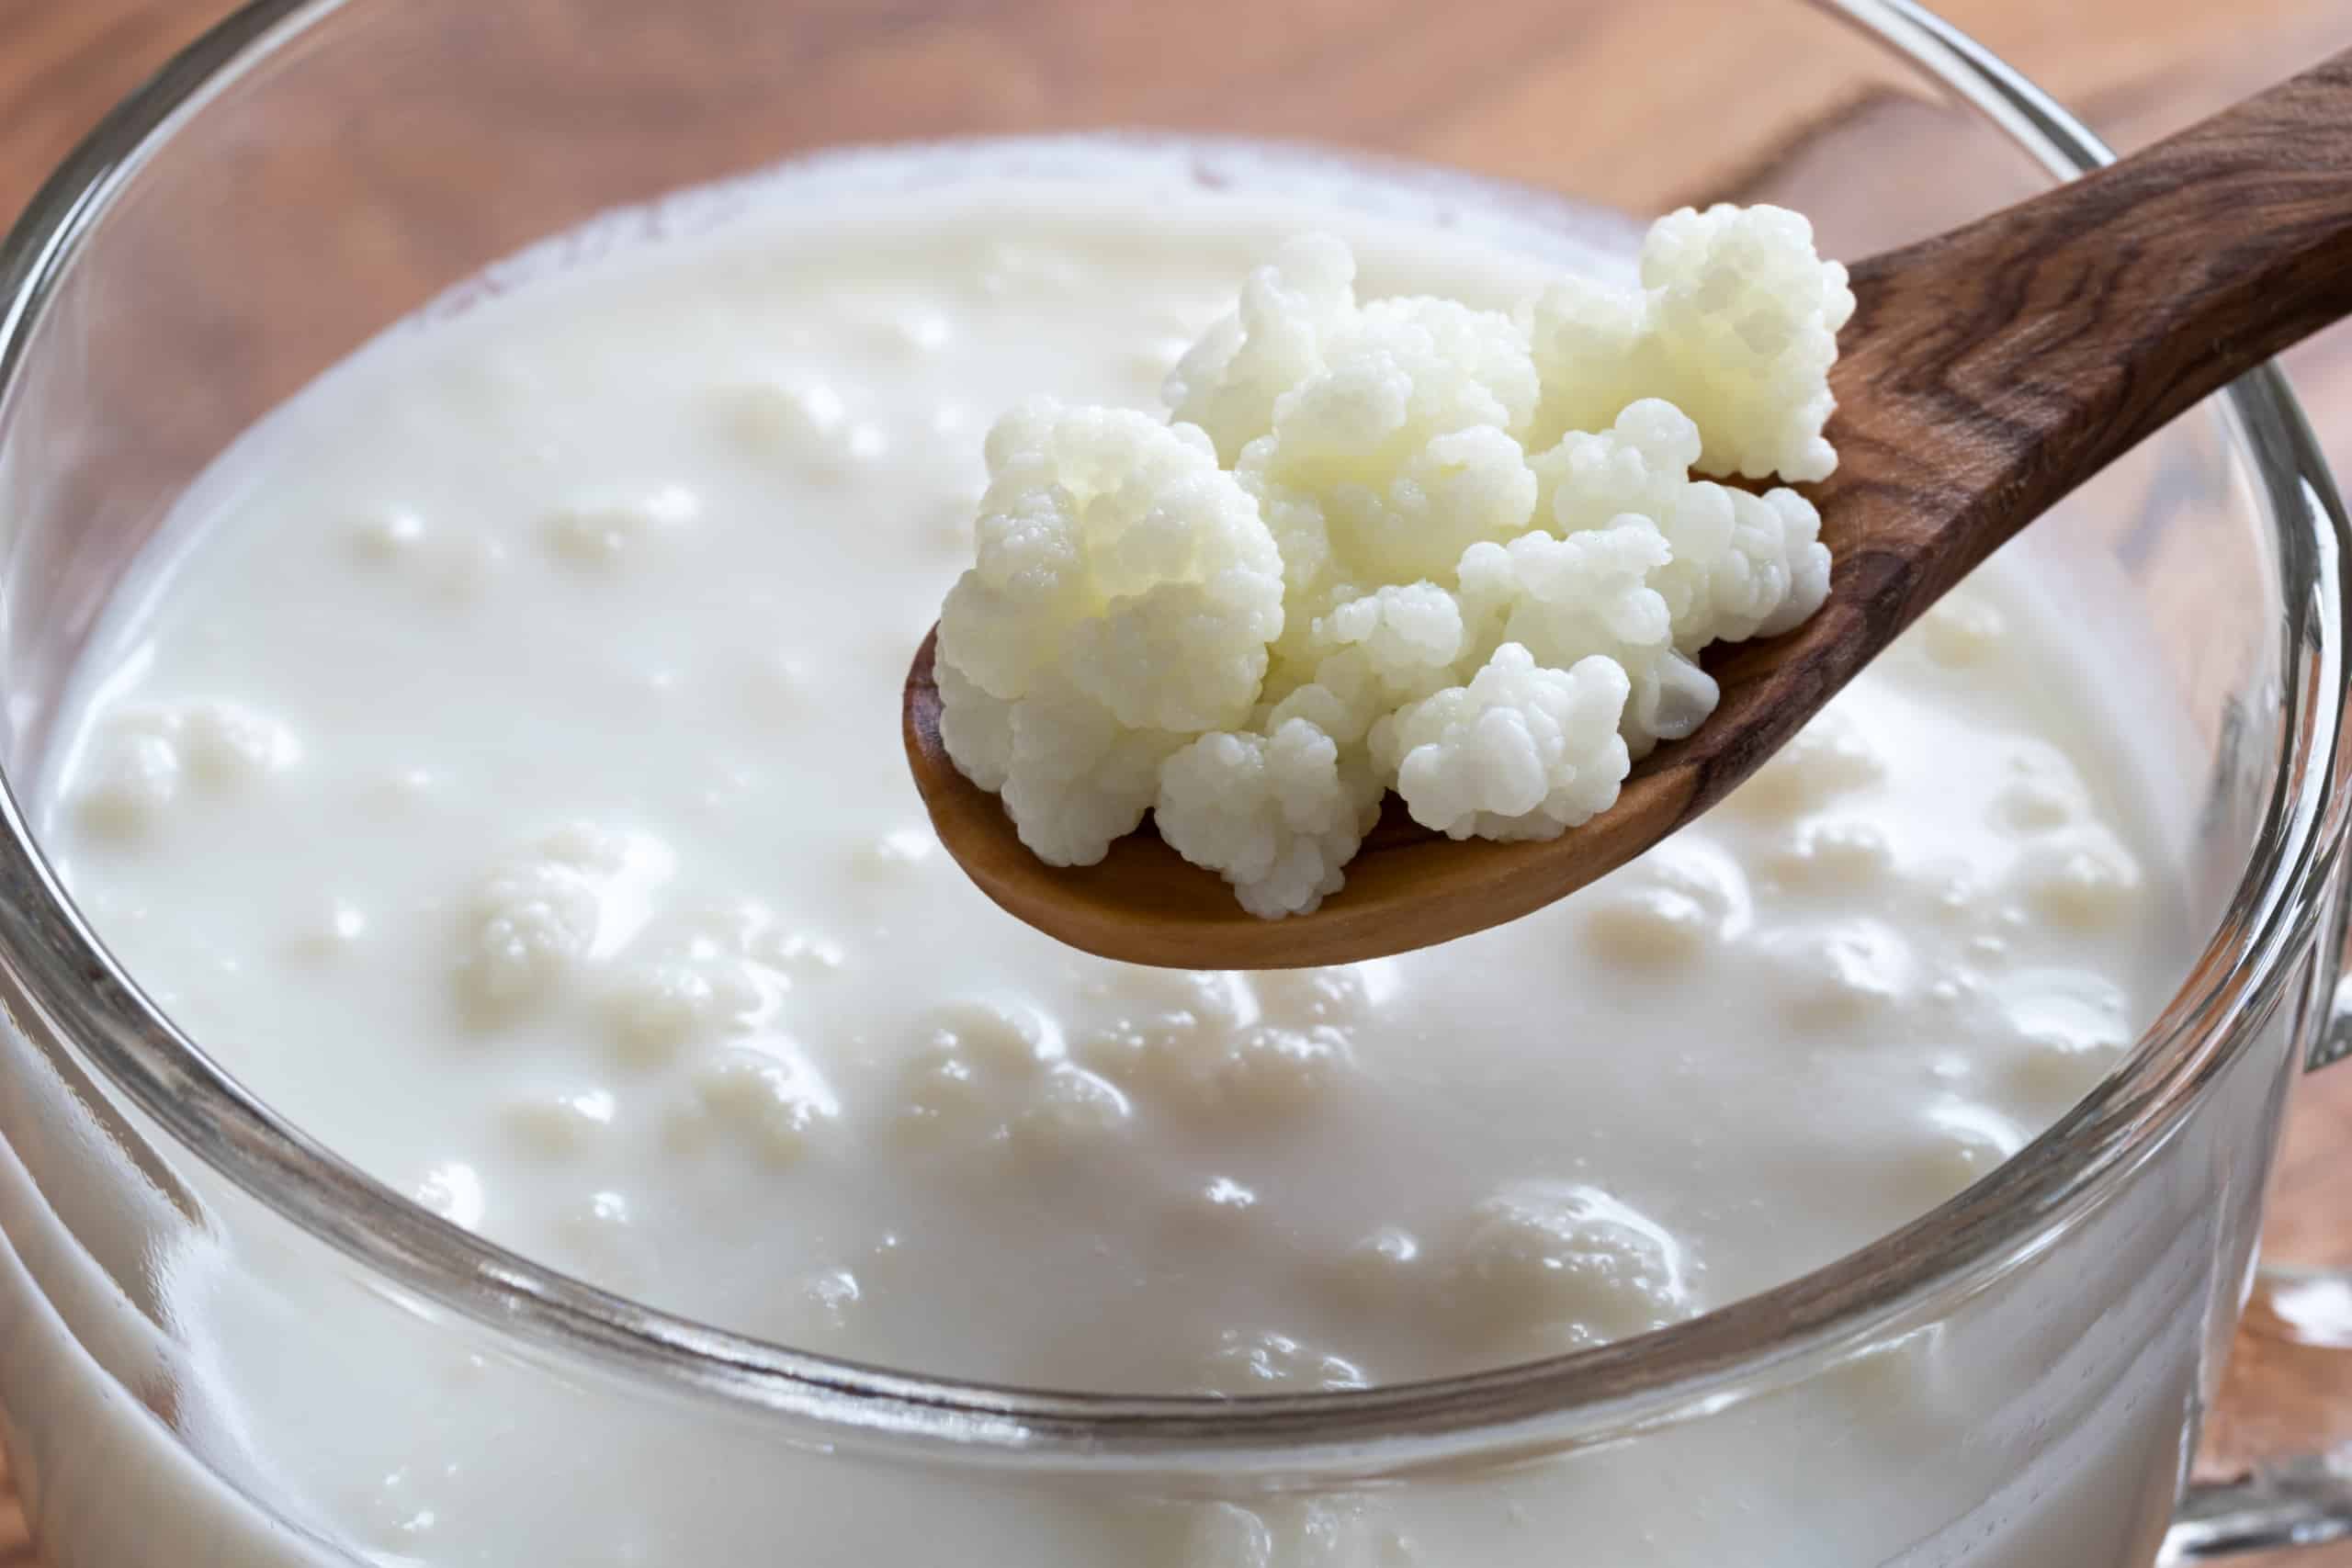
Milk kefir grains are not grains in the traditional sense, but rather a combination of bacteria and yeast that form clusters resembling small cauliflower florets. These grains are responsible for the fermentation process that transforms milk into kefir. They contain a symbiotic culture of lactic acid bacteria, acetic acid bacteria, and yeast.
The bacteria and yeast in milk kefir grains interact during fermentation, breaking down lactose in the milk into lactic acid. This process results in the tangy flavor and thick texture of kefir. The grains also multiply during fermentation, allowing for the continuous production of kefir.
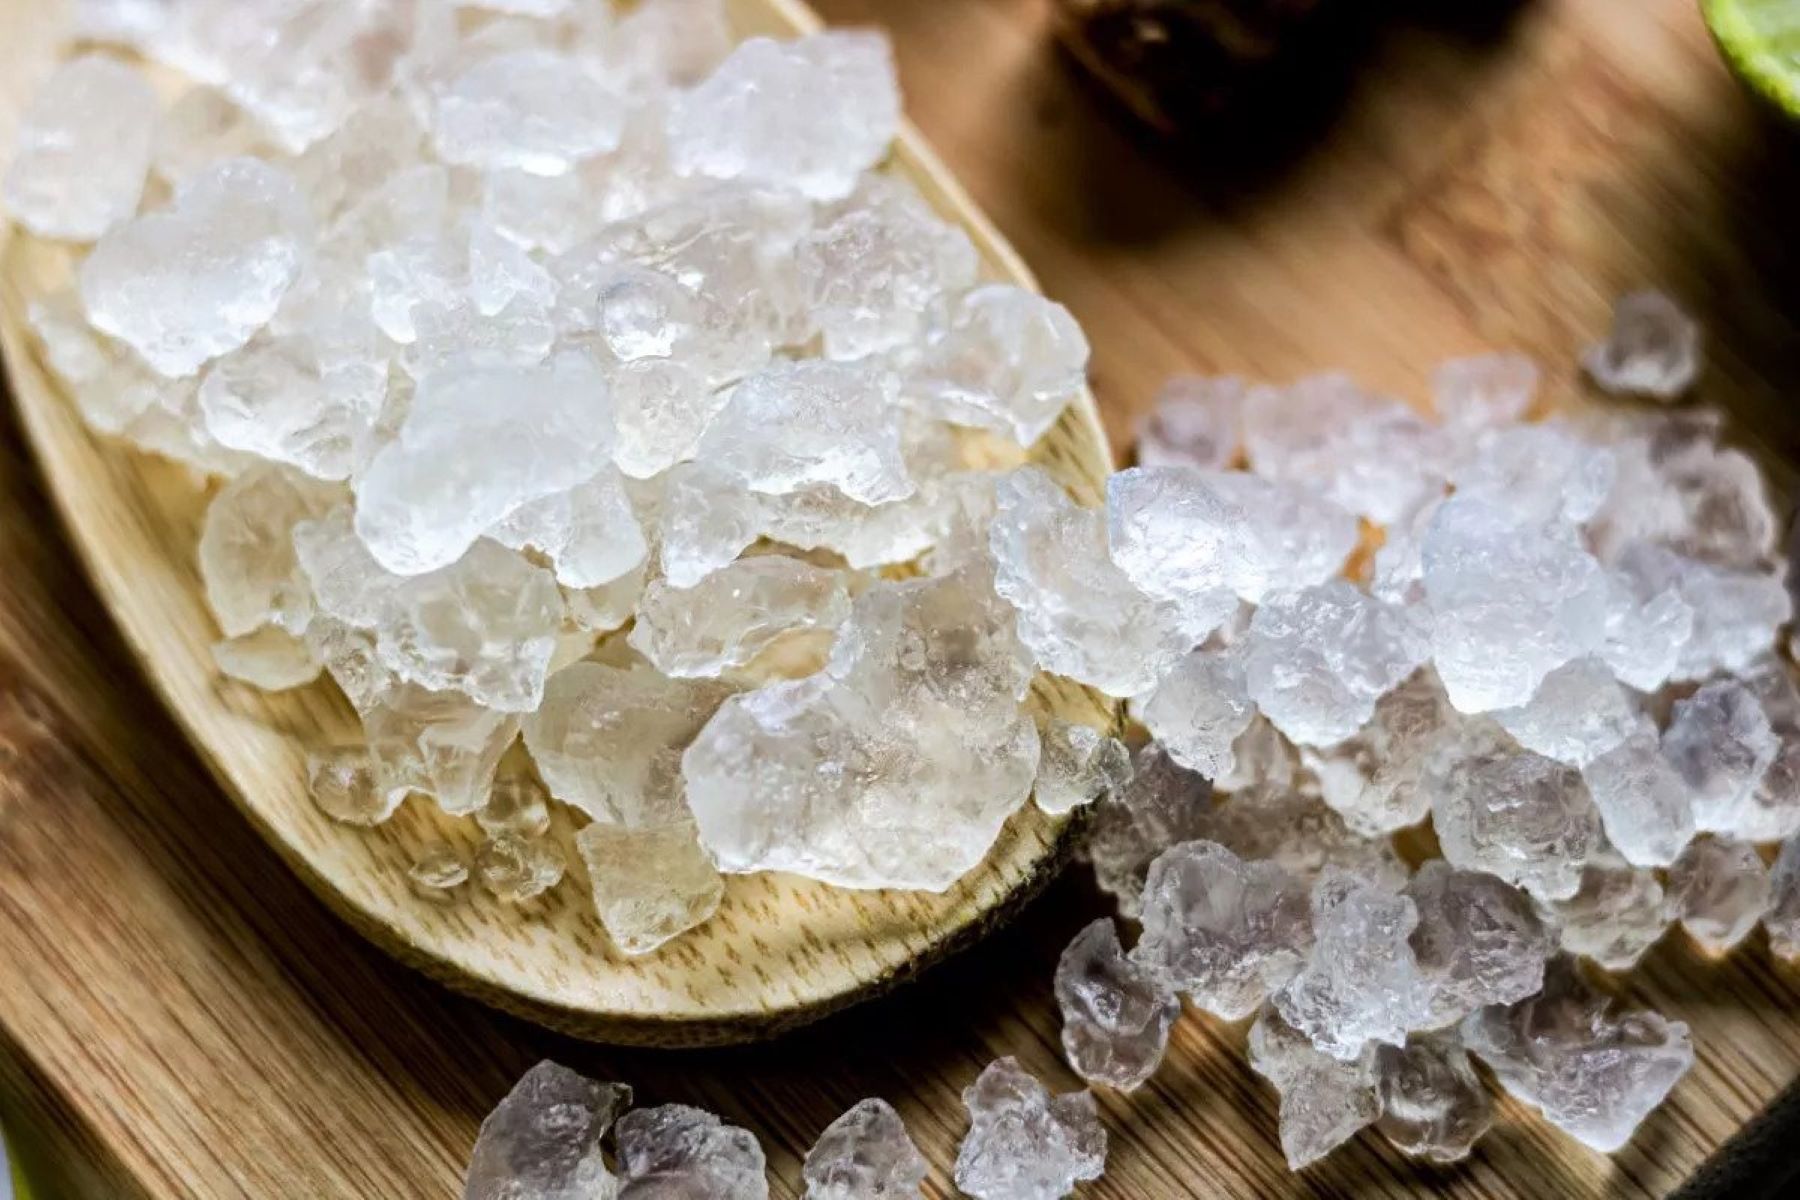
Milk kefir grains are highly resilient and can be used repeatedly with proper care. However, if you’re not making kefir regularly, it’s important to store the grains correctly to preserve their health and vitality.
Now that we understand what milk kefir grains are let’s move on to the next step – choosing the right container for storing the grains.
Choosing the Right Container
When it comes to storing milk kefir grains, choosing the right container is crucial. You’ll want to ensure that the container provides a suitable environment for the grains to stay healthy and continue fermenting. Here are a few considerations to keep in mind:
- Material: Opt for a non-reactive material such as glass or food-grade plastic. Avoid containers made of metal or reactive materials, as they can potentially alter the taste and quality of the kefir grains.
- Airtightness: While milk kefir grains do not require an airtight environment, it’s best to choose a container with a tight-fitting lid to prevent contamination and maintain cleanliness.
- Size: Select a container that provides enough space for the grains to move and ferment. A larger container can also accommodate the growth of the grains over time.
Once you’ve chosen the appropriate container, it’s time to prepare the milk that will house the grains.
Preparing the Milk
Before storing the milk kefir grains, it’s important to ensure that the milk you use is suitable for fermentation. Here are a few guidelines for preparing the milk:
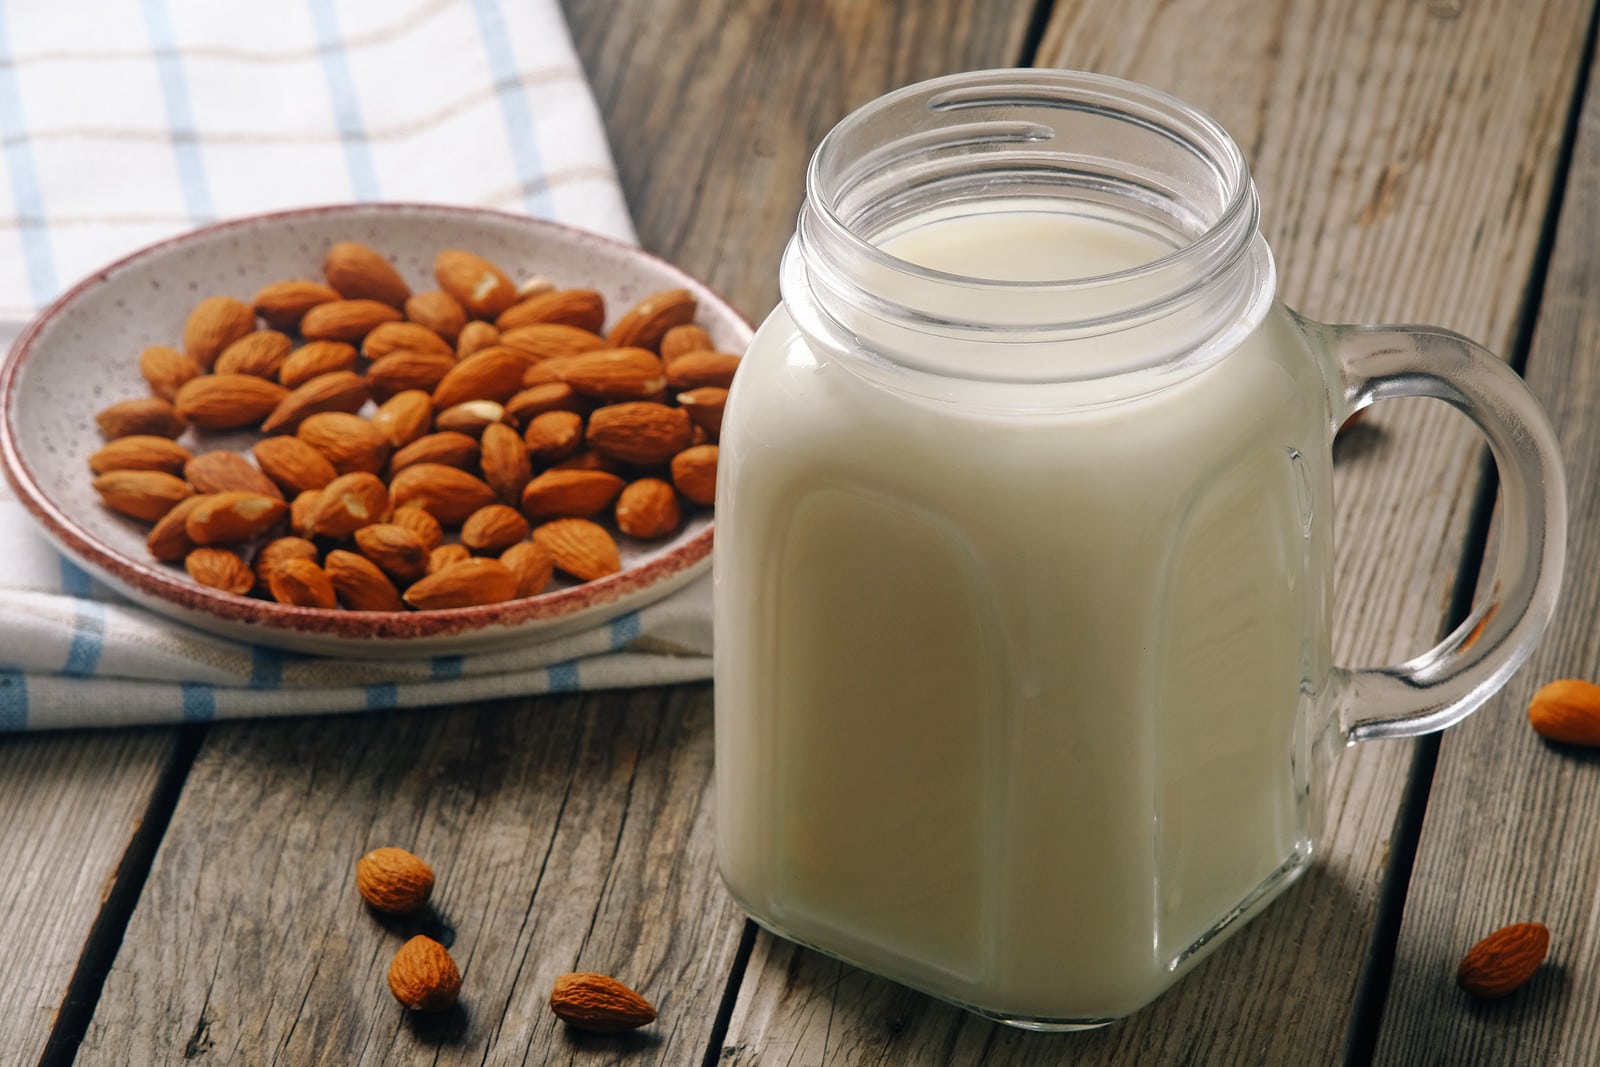
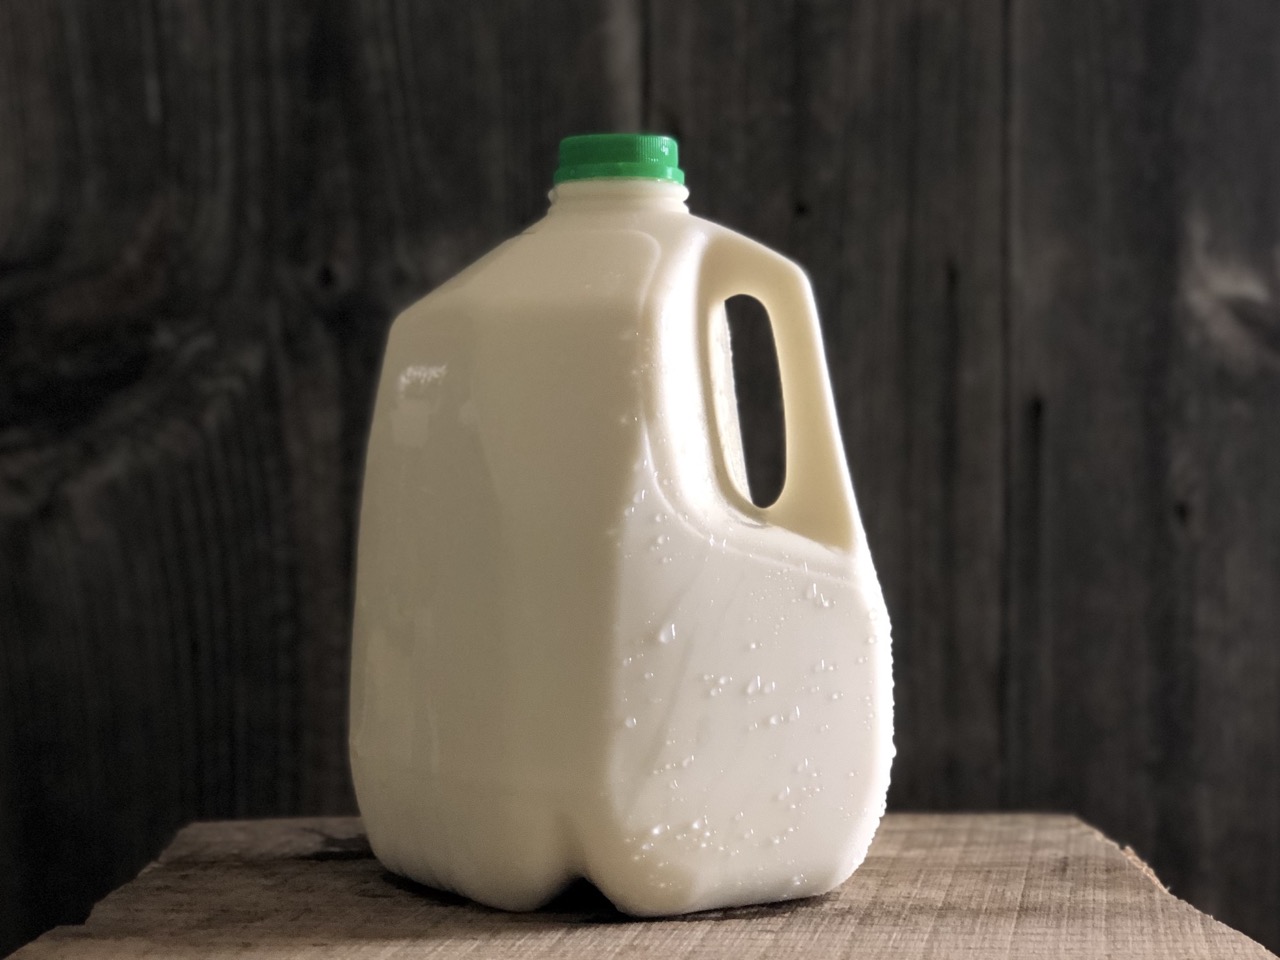
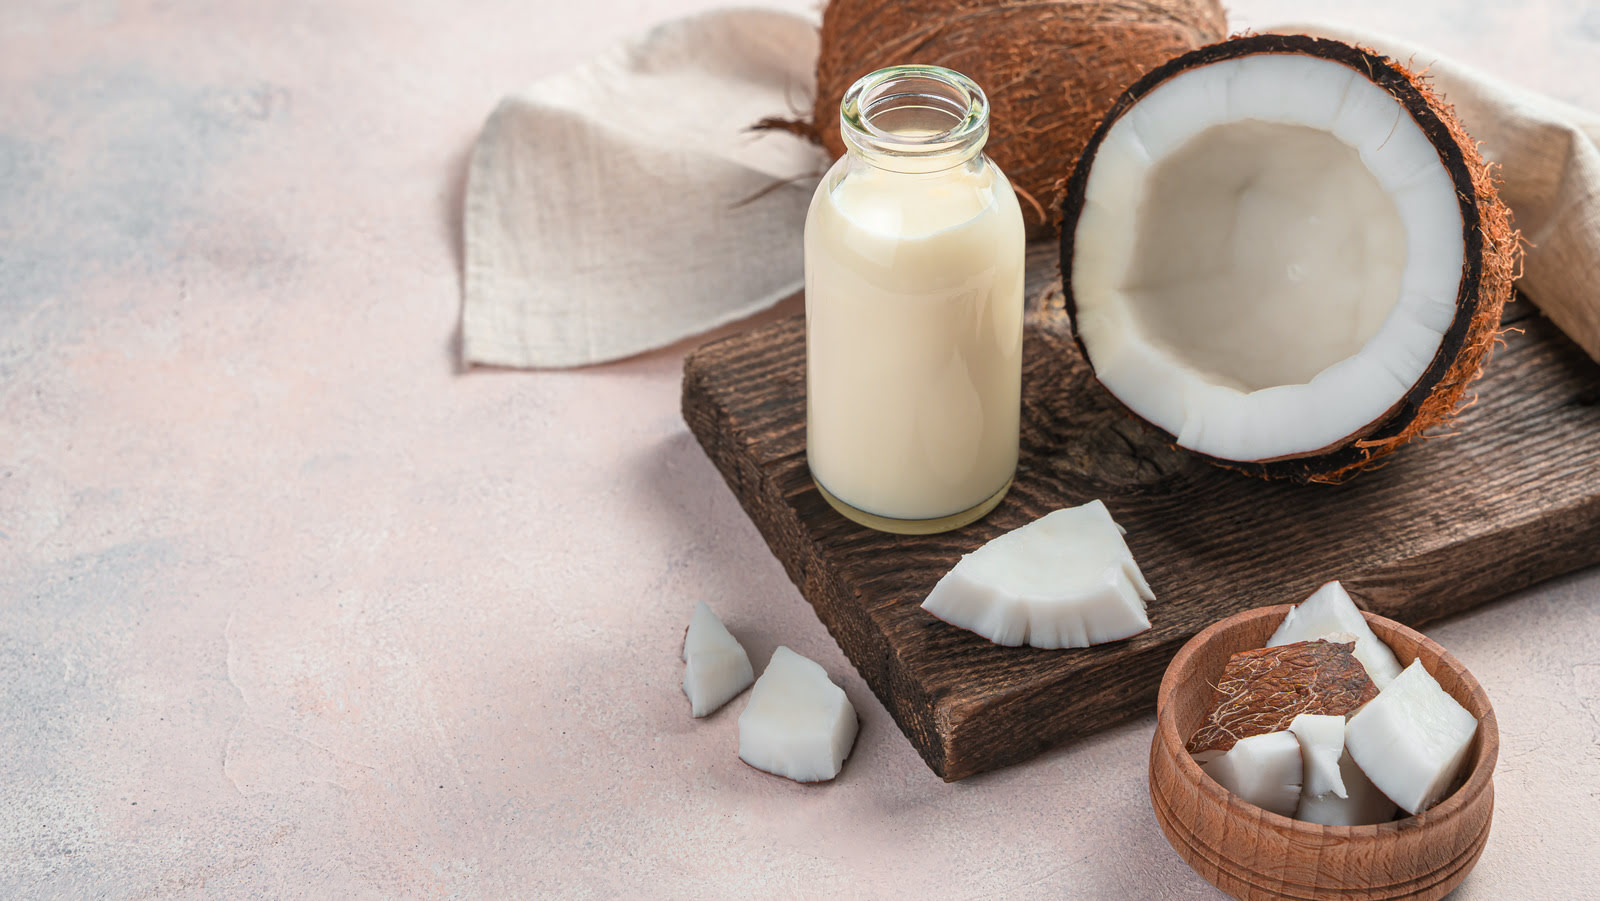
- Type of Milk: You can use various types of milk, including cow’s milk, goat’s milk, or even plant-based milk alternatives like coconut milk or almond milk. However, keep in mind that different types of milk may yield slightly different flavors and textures of kefir.
- Quality of Milk: Always use fresh, pasteurized milk for fermentation. Avoid using ultra-pasteurized or UHT (Ultra High-Temperature) milk, as they may contain fewer beneficial bacteria and may not provide favorable conditions for kefir fermentation.
- Temperature: Ideally, the milk should be at room temperature or slightly warmed. Avoid using cold milk straight from the fridge, as it may slow down the fermentation process.
Once you’ve prepared the milk, it’s time to add the milk kefir grains.
Adding Milk Kefir Grains
Now that you have your container ready and milk prepared, it’s time to add the milk kefir grains. Here’s a step-by-step guide on adding the grains:
- Sanitize Hands and Equipment: Before handling the grains, make sure to wash your hands thoroughly and sanitize all equipment to prevent contamination.
- Add Milk Kefir Grains: Gently place the milk kefir grains into the container with the prepared milk. The amount of grains to use depends on the volume of milk. As a general guideline, you can start with approximately 1-2 tablespoons of grains for every 2 cups of milk.
- Stir: Use a clean spoon or spatula to gently stir the milk and grains together. This helps distribute the grains evenly and ensures they have adequate contact with the milk.
Once you’ve added the grains, it’s time to let the fermentation process begin!
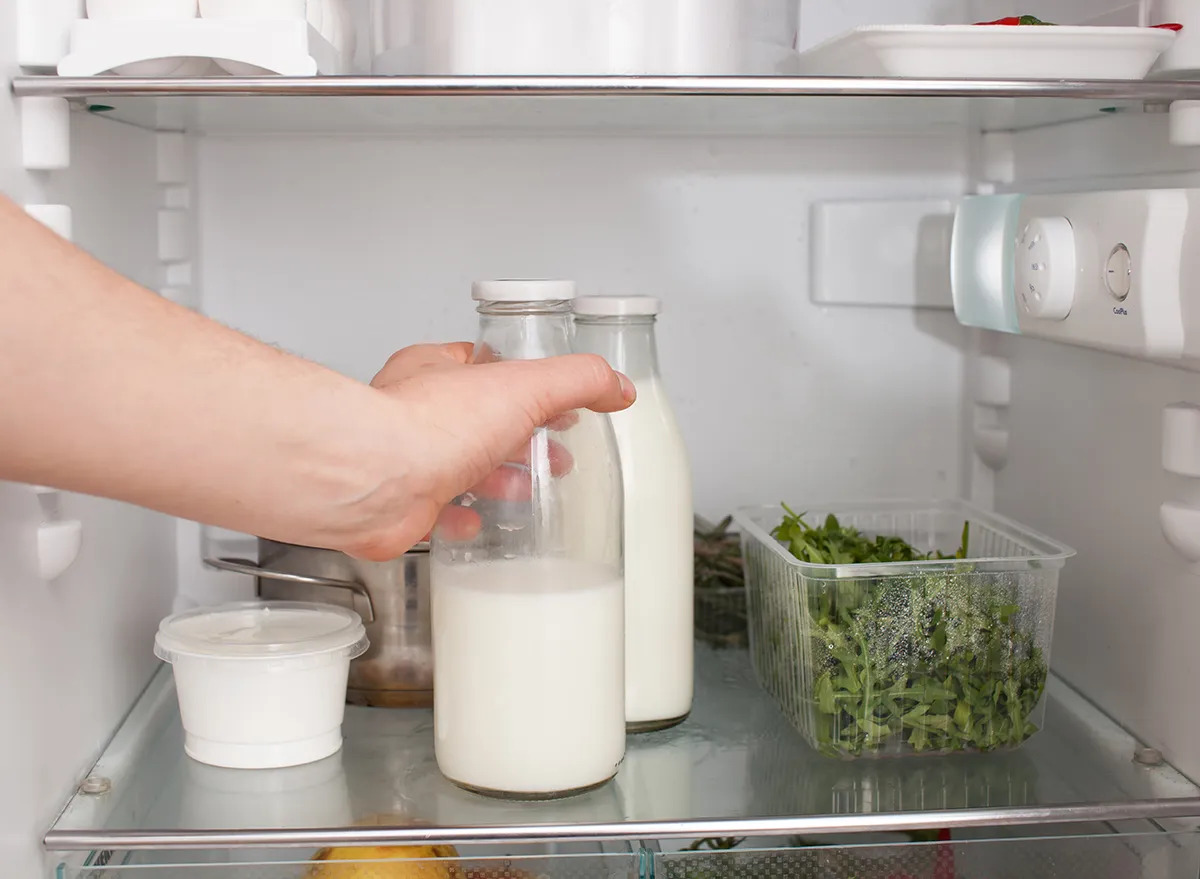
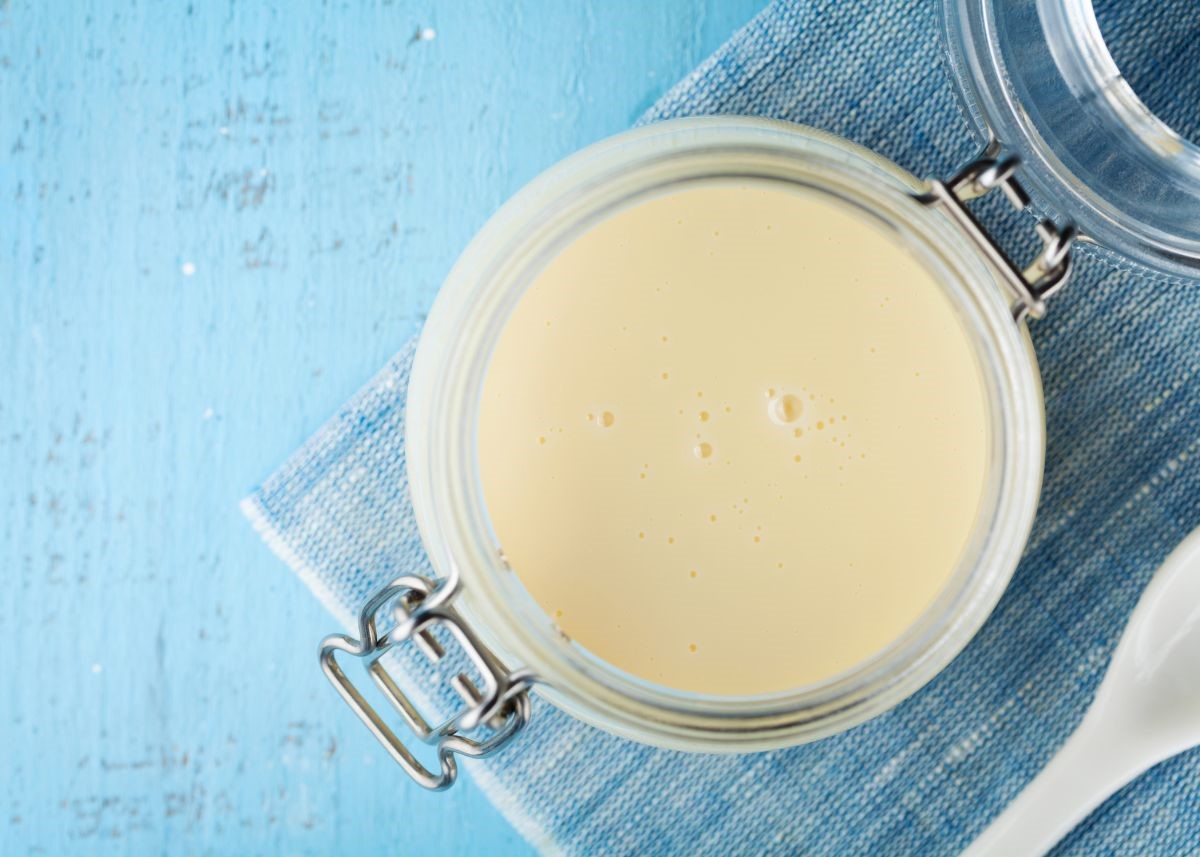
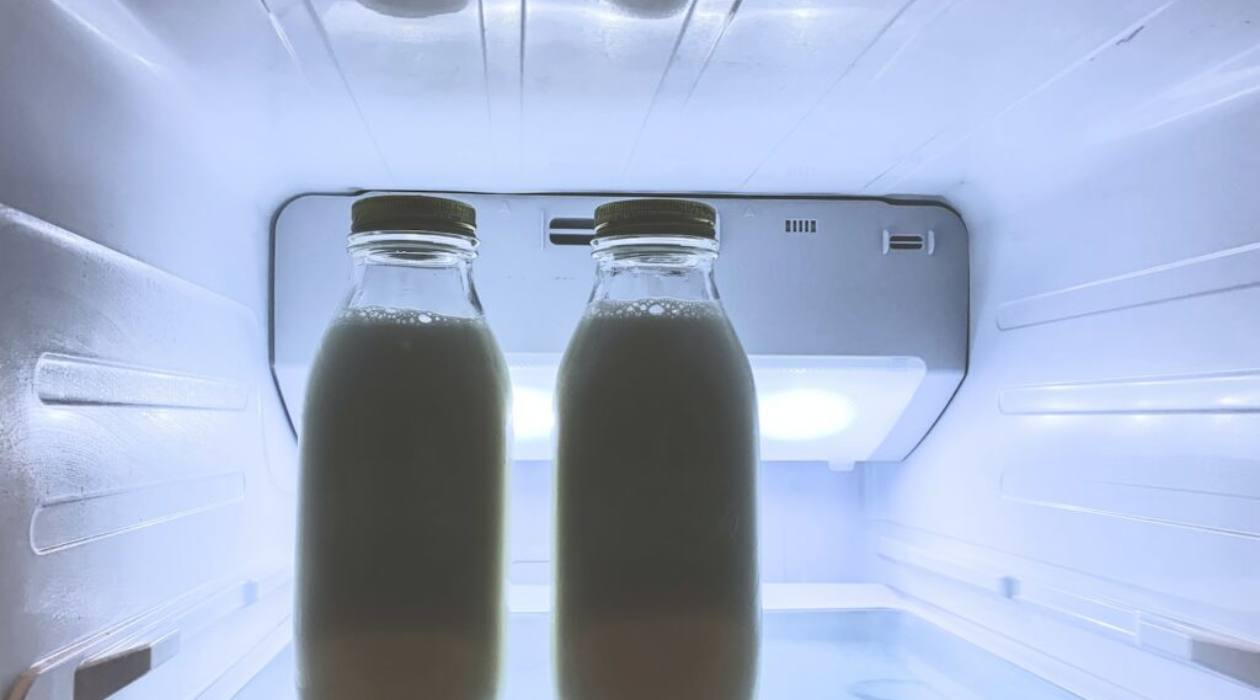
When storing milk kefir grains, place them in a clean glass jar and cover them with milk. Seal the jar with a lid and store it in the refrigerator for up to two weeks. Change the milk every 7-10 days to keep the grains healthy.
Read more: How To Store Kefir
Fermenting the Milk
Now that you’ve added the milk kefir grains to the container, it’s time to let the fermentation magic happen. Fermentation is the process where the bacteria and yeast in the grains convert the lactose in the milk into lactic acid, resulting in the tangy and creamy kefir. Here’s what you need to know about fermenting the milk:
- Time and Temperature: The fermentation time and temperature can vary depending on various factors, such as the health of the grains, the ambient temperature, and your personal preference. In general, ferment your milk kefir at room temperature (around 20-25°C or 68-77°F) for 24-48 hours. For colder temperatures, you may need to increase the fermentation time accordingly.
- Ongoing Monitoring: Keep an eye on the fermentation process by observing the appearance of the kefir. Over time, the milk will become thicker, and slight separation may occur. The longer you ferment, the tangier the kefir will become. Taste the kefir occasionally to determine its desired flavor and texture.
- Avoid Over-Fermentation: Be mindful not to over-ferment the kefir, as it can become too acidic and develop an unpleasant taste. If you notice a strong sour smell or the separation of whey, it’s an indication that the kefir has fermented for too long.
Once the milk has reached your desired level of fermentation, it’s time to strain the milk kefir grains from the kefir.
Straining the Milk Kefir Grains
Now that the milk kefir has undergone fermentation, it’s time to separate the grains from the kefir. Straining the milk kefir grains is a crucial step to ensure their proper care and maintenance. Here’s how you can strain the grains effectively:
- Gather the necessary equipment: You’ll need a clean, non-reactive sieve or strainer, a glass or bowl to collect the kefir, and a clean spoon or spatula.
- Position the strainer: Place the strainer over the collection container, ensuring that it is stable and won’t tip over during the straining process.
- Pour the kefir: Carefully pour the fermented milk kefir into the strainer, allowing the liquid to flow through while capturing the grains in the strainer.
- Gently separate the grains: Once the majority of the kefir has strained through, use a clean spoon or spatula to gently separate any clinging kefir from the grains. Take care not to press or squeeze the grains too forcefully, as this may damage them.
- Transfer the grains to a storage container: Once the grains are separated from the kefir, transfer them to a clean container that is suitable for long-term storage.
Now that the milk kefir grains are strained, the next step is to store them properly for future use.
Storing the Milk Kefir Grains
Properly storing milk kefir grains is essential to maintain their vitality and ensure their long-term viability. Here are some guidelines to follow when storing your milk kefir grains:
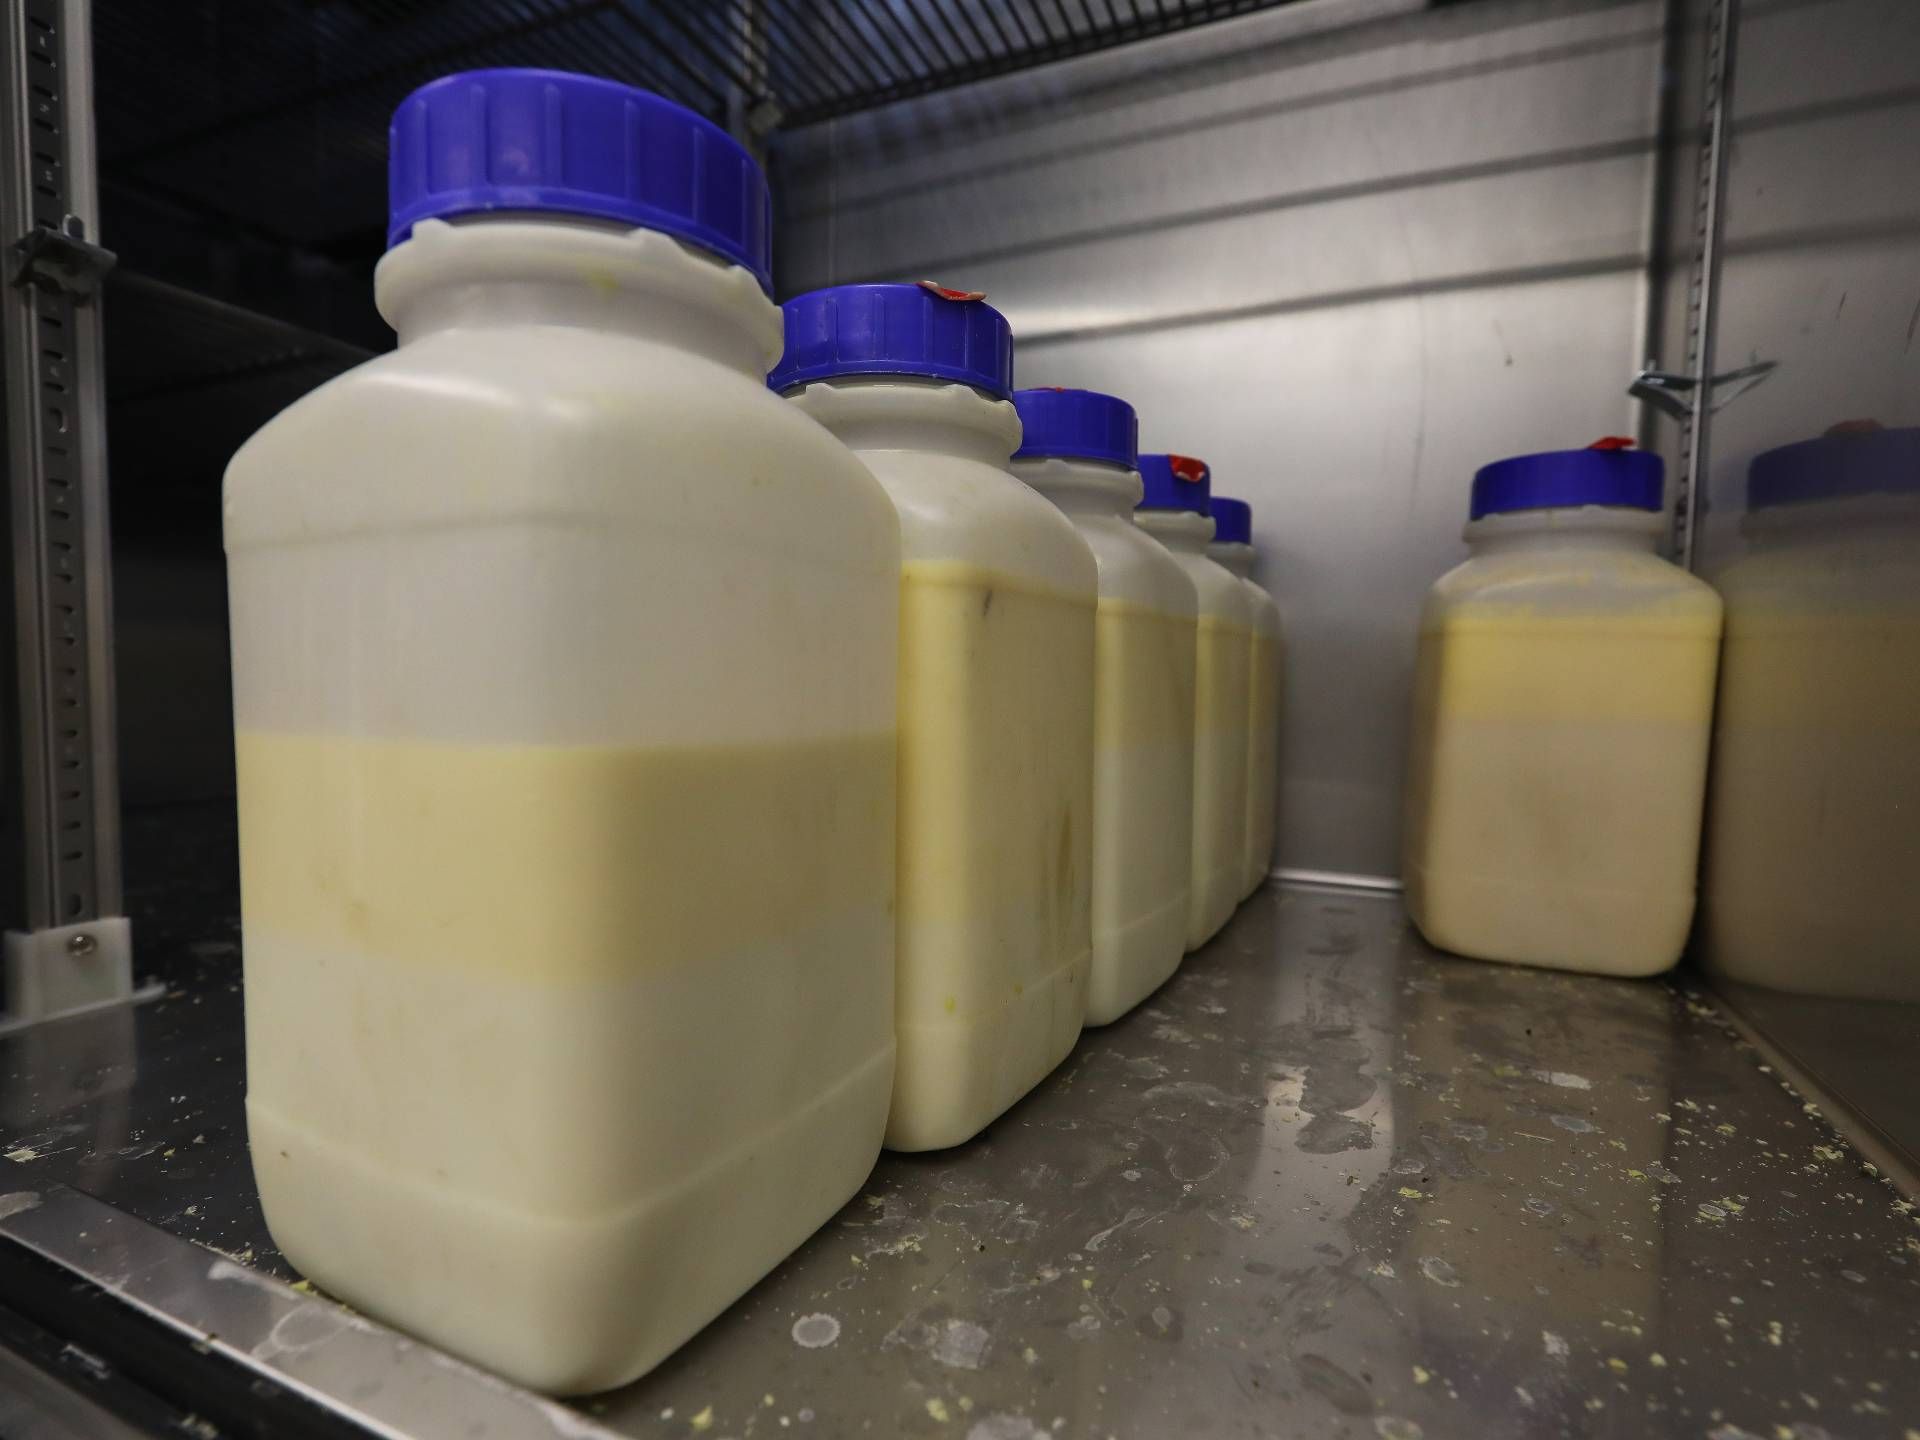
- Clean and Dry Storage Container: Choose a clean, dry, and airtight container for storing your milk kefir grains. Glass jars or containers with locking lids are ideal options. Make sure the container is thoroughly cleaned and completely dry before transferring the grains into it.
- Cover with Milk or Store Dry: You have two options for storing the grains: cover them with fresh milk or store them dry. If you choose to cover the grains with milk, make sure to use fresh milk and change it every 1-2 weeks to provide nutrients to the grains. If you prefer to store the grains dry, ensure they are completely dried before sealing them in the container.
- Refrigeration: Storing milk kefir grains in the refrigerator can help prolong their lifespan. If you decide to refrigerate them, make sure the container is airtight to prevent any cross-contamination with other food items. The grains can remain dormant in the refrigerator for several weeks or even months.
- Reviving Dormant Grains: If you have stored your kefir grains in the refrigerator and want to use them again, give them a good rinse in filtered water before using them in fresh milk. This helps remove any residual milk or contaminants and reawakens the grains for fermentation.
By following these storage guidelines, you can ensure the continued health and vitality of your milk kefir grains, allowing you to enjoy homemade kefir whenever you desire.
Conclusion
Storing milk kefir grains properly is essential to maintain their health and viability for long-term use. By choosing the right container, preparing the milk correctly, and following the steps for fermentation, straining, and storage, you can ensure that your milk kefir grains remain active and thrive.
Remember, milk kefir grains are resilient and can be used repeatedly with proper care. Whether you choose to cover them with fresh milk or store them dry, make sure to use clean containers and provide them with the necessary conditions for longevity.
With the ability to ferment various types of milk and produce a tangy and creamy kefir, milk kefir grains are a valuable resource for delicious and probiotic-rich beverages. By following the guidelines outlined in this article, you can confidently store your milk kefir grains and continue enjoying the benefits of homemade kefir for years to come.
So, take the time to properly store and care for your milk kefir grains, and they will reward you with flavorful and nutritious kefir time and time again.
Frequently Asked Questions about How To Store Milk Kefir Grains
Was this page helpful?
At Storables.com, we guarantee accurate and reliable information. Our content, validated by Expert Board Contributors, is crafted following stringent Editorial Policies. We're committed to providing you with well-researched, expert-backed insights for all your informational needs.


0 thoughts on “How To Store Milk Kefir Grains”